Building of Sheila's coop

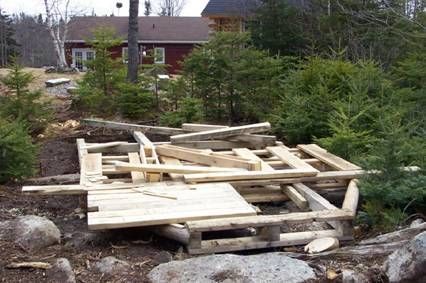
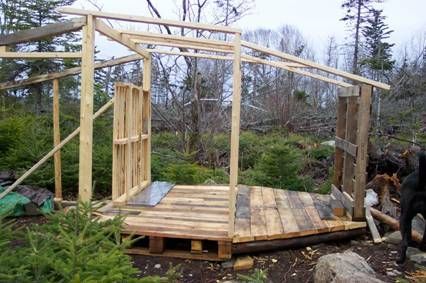
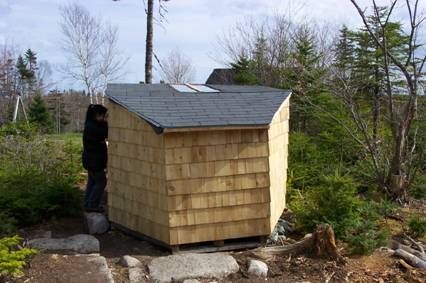
It took a while to build. We used 2 palettes for the base one 8x4 and one 4x4. I used left over logs to attach the corners, then covered it with wood from other palettes. The building is roughly framed with 2x4's. My husband couldn't wait for more palettes.
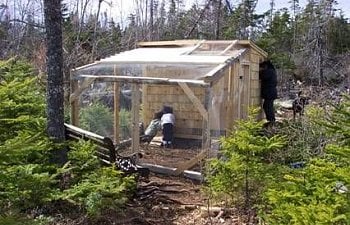
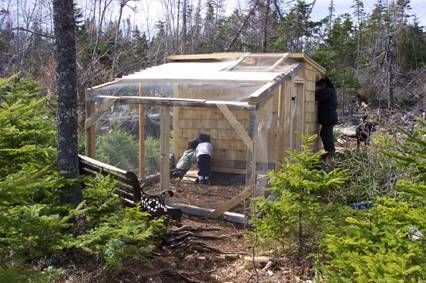
When more palettes arrived we used them to fill the space between the 2x4's, again leftover wood from other palettes were used to sheath the outside walls. We then used cedar shakes to cover the outside.
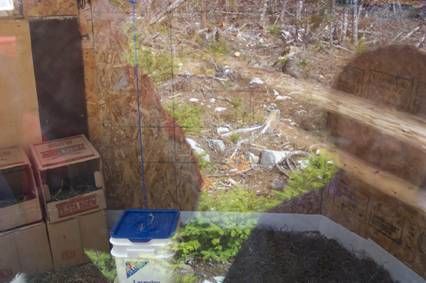
I cut up styrofoam from packaging and I used it to stuff and insulate the walls. We then used wood from a waterbed and shelving to sheath and cover the styrofoam. Three windows were installed using salvaged lexan. The front window is a slider for increased ventilation. The roof has a mix of tar papper and banner material, and a sun roof from lexan. This make it easier to see inside.
The roof was then shingled. The back part of the coop has a soffit for ventilation. Lastly the run is completely enclosed and coraplast was used to provide shade.
There is a chicken door, and person door, inside has a hanging feeder and a plastic waterer, I haven't built the nest yet so we are currently using cardboard boxed for nests and the chickens are using them. The roost is made from 2 long log pools staggered in height.
I am very proud to say 80% of the material used for the coop was reused and I stop it from going to the garbage. I even reused nails from the palettes as much as possible. This structure cost less then $180 including netting and fixtures. Thank you all for your ideas, I love the web site! Sheila
It took a while to build. We used 2 palettes for the base one 8x4 and one 4x4. I used left over logs to attach the corners, then covered it with wood from other palettes. The building is roughly framed with 2x4's. My husband couldn't wait for more palettes.
When more palettes arrived we used them to fill the space between the 2x4's, again leftover wood from other palettes were used to sheath the outside walls. We then used cedar shakes to cover the outside.
I cut up styrofoam from packaging and I used it to stuff and insulate the walls. We then used wood from a waterbed and shelving to sheath and cover the styrofoam. Three windows were installed using salvaged lexan. The front window is a slider for increased ventilation. The roof has a mix of tar papper and banner material, and a sun roof from lexan. This make it easier to see inside.

The roof was then shingled. The back part of the coop has a soffit for ventilation. Lastly the run is completely enclosed and coraplast was used to provide shade.
There is a chicken door, and person door, inside has a hanging feeder and a plastic waterer, I haven't built the nest yet so we are currently using cardboard boxed for nests and the chickens are using them. The roost is made from 2 long log pools staggered in height.
I am very proud to say 80% of the material used for the coop was reused and I stop it from going to the garbage. I even reused nails from the palettes as much as possible. This structure cost less then $180 including netting and fixtures. Thank you all for your ideas, I love the web site! Sheila