Welcome to Cackle Cabin

They came innocently enough......25 eggs to hatch for a 4-H club project called ChickQuest. It was so cool! I was secretly hoping we could keep a few hens if the hatch was successful. It was very successful and we had 8 Leghorn and 6 Australorp chicks. They were beyond cute!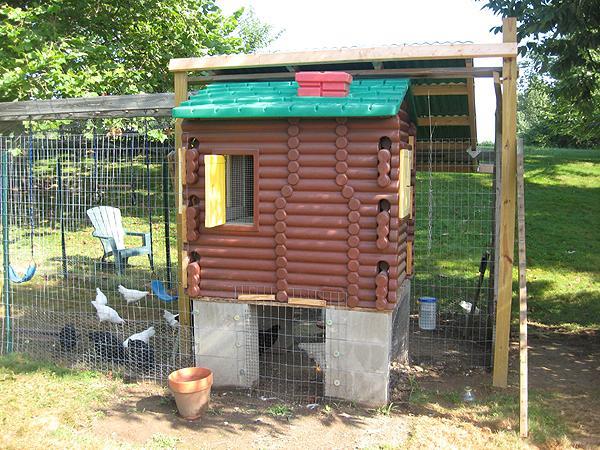
I'd always wanted chickens. My husband, on the other hand, thought I was really, I mean really, crazy. I started doing a lot of research. BYC was one of the best information resources! I wanted eggs, the eggs that are from happy free-range hens that taste so amazing.
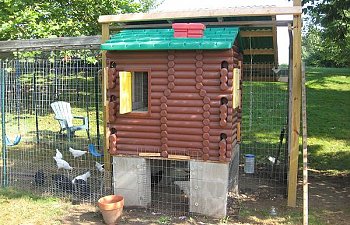
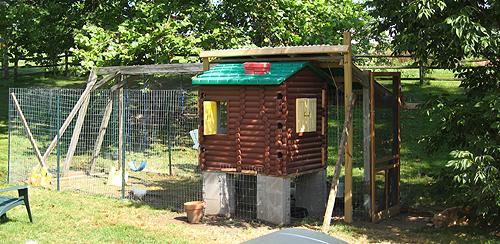
We live in a rural area, but we had no coop. I was just about convinced there was no way we could afford a coop, until I spotted the out-grown Little Tikes Cabin in our back yard. There was a swingset attached too. If anyone could make this a coop, my husband could. I did some research and saw another family had converted their Playskool Coop into a Chicken Ranch!
The coop was built in a little less that 3 weeks. We had a deadline so that helped move things quickly. If I had to estimate, it took about 40 hours to build.
This coop was designed to house 4-5 large breed hens. You will see more that 5 chickens in the pictures below. As of 7/27/10 .....We are trying seperate the pullets from the cockerals. The flock will be reduced soon! The chicks below were hatched on 6/1/10.
In a nutshell the building process went like this:
1) Took the playhouse apart and washed very well with a bleach solution.
2) Put a wood floor on playhouse.
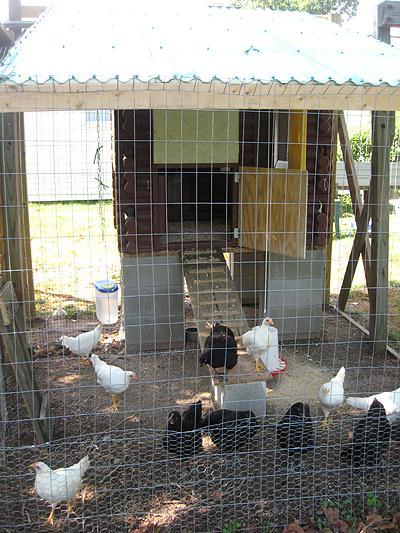
3) Set house on 4 blocks for height and predator protection. Leveling took the longest time.
4) Covered 3 windows with hardware cloth--used scrap wood to make frames so there was no sharp edges. Left 4th window closed and it will become an elevated nest box that will be accessible from outside coop/run.
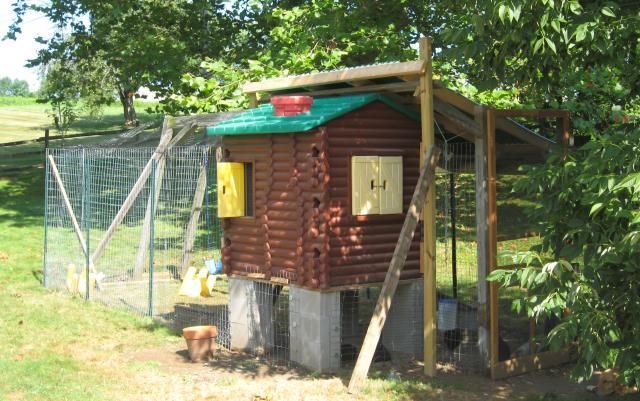
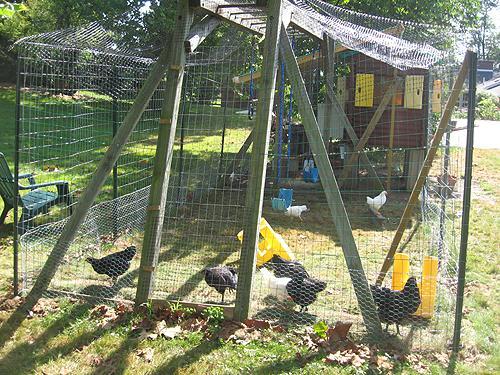
5) Built corrugated roof to provide dry area in run & protection in winter.
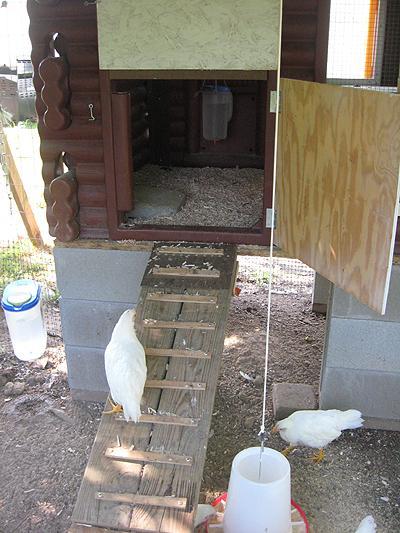
6) Built ladder for pop hole.
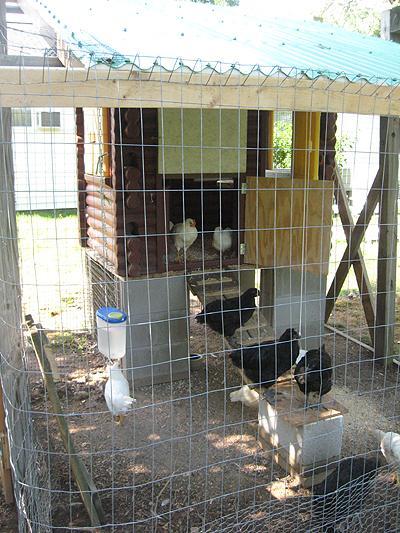
7) Fenced in run and around coop. Buried wire about 4" down. Had to add chicken wire at bottom for Leghorn escapees! Draped netting over all for hawk protection.
8) Added Dutch Door --bottom is pop hole for chickens to get out.
9) Hung food and water.
10) Stopped drafts in corners by drilling wood sheets in corners. We will need to do more winterization as it gets colder.
11) Yet to do: add nest box.
We used recycled materials for everything except: fencing, block, corrugated roof sections, and water/feeders. Cost estimate ~ $200.00
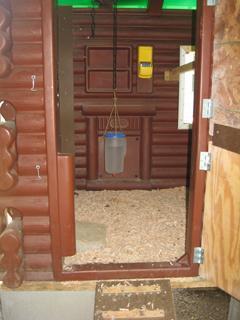
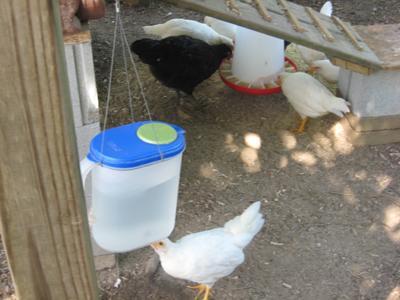
We made our waterers from advice that someone posted to BYC: https://www.backyardchickens.com/articles/trishs-waterer-made-from-an-ordinary-milk-jug.48118/
I was so frustrated with dirty smelly water day after day. We bought 3 chicken nipples here:
Tek Supply, 360° Super Flow Push-In Nipple, Item# WC1045
http://www.teksupply.com/farm/supplies/ … mp;isDoc=N
Then bought a 1 gallon and a 2 Qt. pitchers at Dollar General. Drilled the holes according to the directions at Tek Supply: Drill holes in the bottom of the sealed bucket with an 11/32" drill bit.
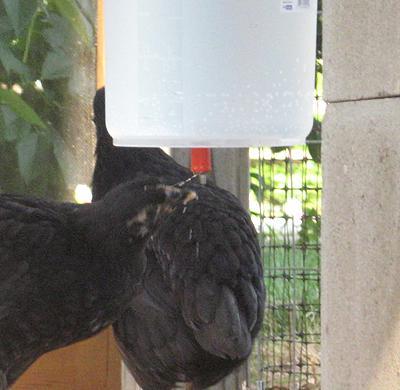
The chicks took about 2 minutes to figure this out from the fount waterers we had in their coop before.
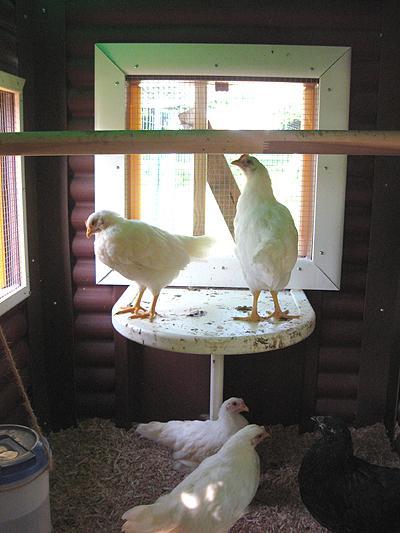
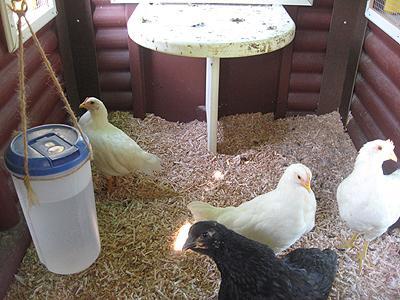
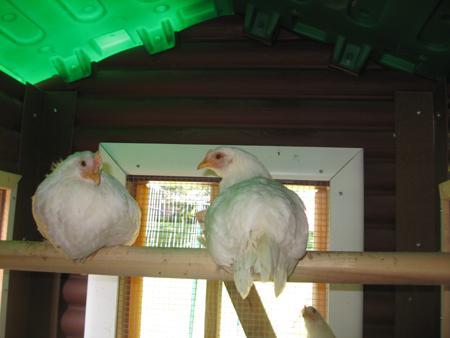
The built in table that came with the cabin provides a step or landing as the chickens learn to roost. They also love to look out the windows!
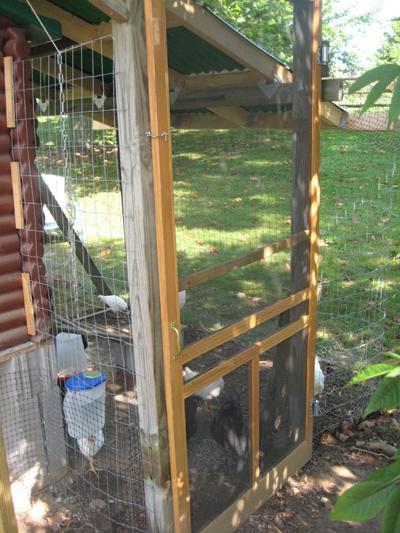
The screen door was salvaged from my husband's office building. He put spring closures and a latch inside and out to help with escapees!
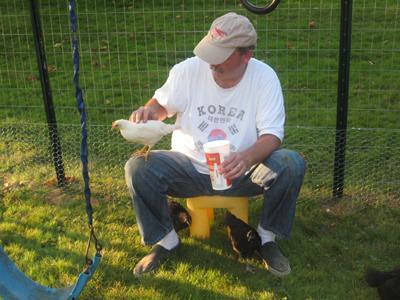
The engineer of Cackle Cabin.....and a converted chicken lover too. I spotted him having lunch with the chickens!
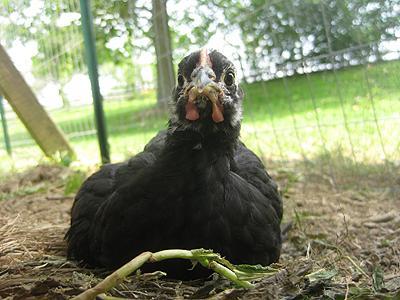
Happy Chickens!
Update to Cackle Cabin 2016!
We have added more features to our Cackle Cabin.......
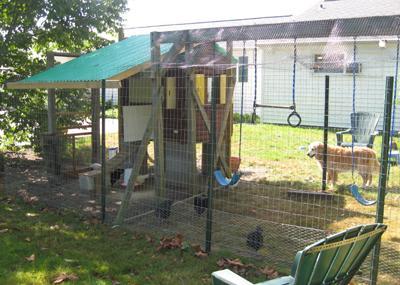
We added a covered common area, we like to call the "Ball Room" to the back of the cabin. This allows the hens to have a nice area to hang out in the winter and when it's rainy. It also provides a wind block. We are facing north. We like to think the hens have dances at night in the "ball room" and even had a disco ball hanging in the center of it for a while!
A run is attached to the hen house and is covered with netting. We have hawks in the area. The top of the run is part of our old swing set.
Underneath the cabin is a window made of plexiglass. The ladies love to look out and also sun themselves in the winter.
The dog house provided a covered area for pullets as they integrated into the flock. Many times the older ladies won't let them in the ball room or out of the rain. This worked great for the young pullets to have cover from the rain and wind. However when they started laying eggs, they put some in the dog house. So we had to turn it around to close it off.
Inside the "ball room". This is their common area. It has food and water. We added a litter box that serves as an extra nesting box.
The ramp up to the hen house where most roost at night. We can lock to lower dutch door.
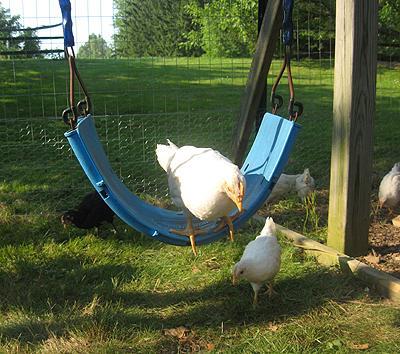
The run opens up into a very large pasture. The hens love this and spend most of their time here in the summer. We have lots of shade.
This is the view from our back door!