My Chicken Coop
I decided I wanted to get chickens this spring, my husband and I had talked about getting a few hens at our other home but we were worried about our neighbors. At our new house our lot is bigger and we have a wooded area on one side.....perfect for a chicken coop for a few birds. So this spring while a family friend was staying with us for a few weeks he and I decided to build a henhouse and attached run. Much to my husbands delight(he travels for work and doesn't have so much time for a big project). Our coop is basically the playhouse coop with some minor changes along the way. I added additional nesting boxes as I ended up with 8 bantams instead of laying hens like originally planned. Below are photos of the finished coop, coop construction and our new additions to the family.
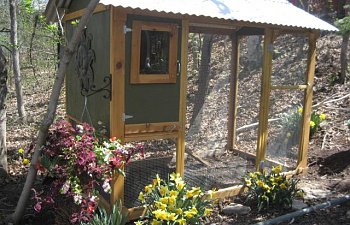
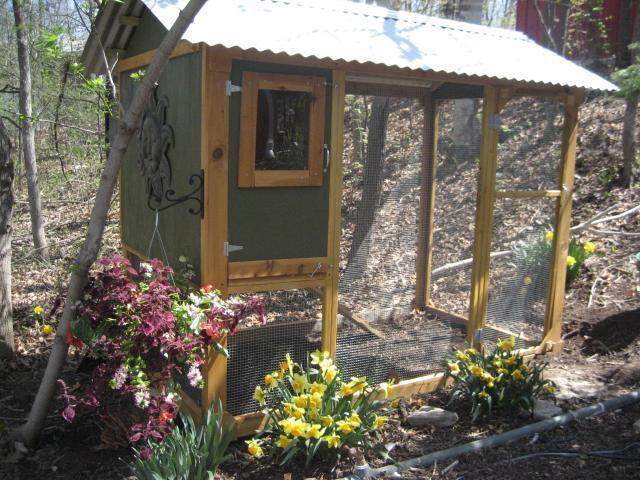
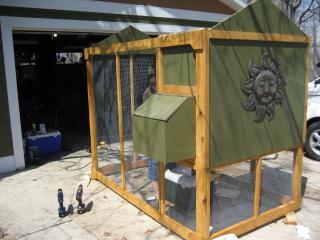
Here is the finished coop
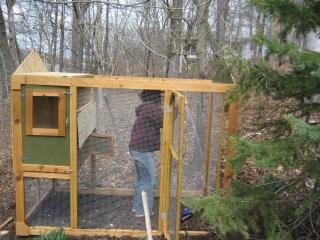
Below are a few of the contruction photos: we really added on and changed things as we went.
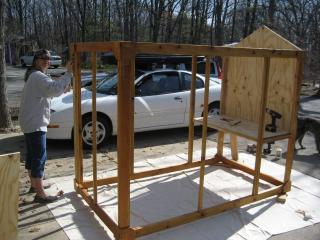
Here is the framing for the run with one coop wall up. We used 2x4's for the bottom and top framing, then 2x2 for the uprights. I used cedar wherever possible. We also used gussets at all corners for more support.
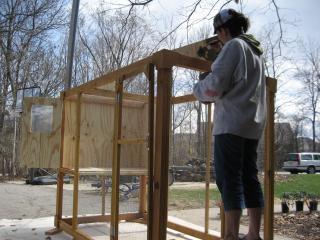
The rest of the walls are up and some of the wire is in. We didn't special order wider wire so we made sure the sections were spaced so we could attach the wire without having to splice it together with loops. I started painting as I went since the weather really wasn't cooperating. I used 2 coats of exterior latex to prolong the life of the coop and make it look fancy for the girls.
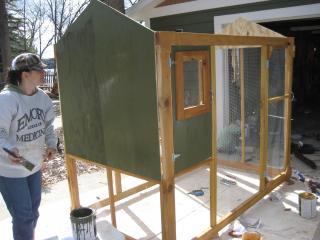
We decided to put the window on the door so once the coop was in position in the yard it would have southern exposure and we also added nexting boxes to the back later. We also made the whole side of the coop the door for easier cleanout.
Here is the view with the first nesting box added. We also added the decrative sun as chickens need to be fashionable too.
We moved the coop to it's final spot before it was done... I was waiting on roofing so we completed that after the coop was in place. Which was good because it weighed a ton without being completed. I also dug down 6-8 inches all around the inside of the coop and ran hardware cloth down to keep the critters out (we have a lot of them). i alo saw a suggestion of rocks around the outside perimeter and plan on adding those later.
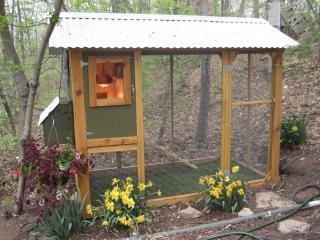
Here is the final coop, we used corrugated steel roofing which looks really nice and was not overly heavy. We also added another nesting box off the back with three spots inside as I ended up with 8 birds. We also planted grass inside the run for the girls.
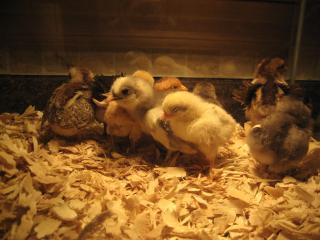
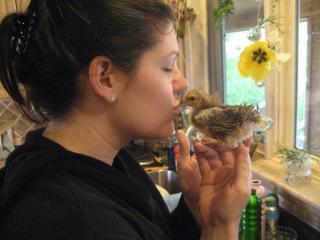
Here is a picture of the girls in the aquarium they are enjoying while they wait for their feathers to come in and the weather to warm up enough in Wisconsin for their Mommy to feel OK with putting them in the actual coop she worked forever on!!!!
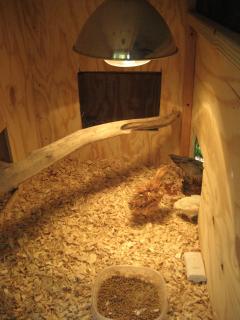
Here is the interior of the coop I moved the girls out there after about a month. I had one large nesting box to the back that you can see, I then added 3 more off the side of the coop to accomodate the additional girls.
I REALLY LOVE MY CHICKENS!!!!!!!
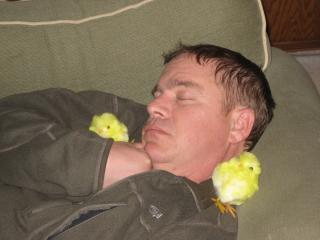
A special thanks to my friend Rick who helped me build the entire crazy coop and put up with me the whole time!!!! As you can see he is exhausted!!
Things I like about the coop:
I love the metal corrugated roofing, it's sturdy and looks really nice. I am glad I ordered it and waited instead of using plastic or another product.
The fact that the run is tall enough to step inside. The kids and I go in there often to feed the girls treats and it makes my work in the run much easier.
The entire side being a door, this makes clean out pretty easy as I can reach with a hand broom all the way to the other side.
Things I would change:
Better construction of the nexting boxes, I am worried with heavy rain water may drip in.
Also in general I think I would have just made the coop bigger all the way around bigger coop and bigger run for the girls. We changed the location for the coop near completion and the new site would have allowed for a bigger setup. Had I known I would have gone bigger. I am sure addition plans are in the future.
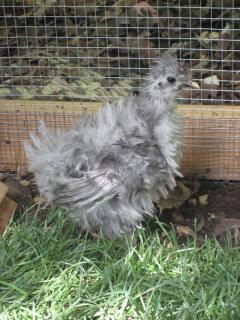
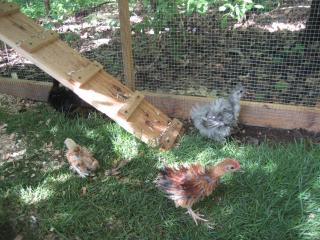
UPDATE 05.27.09: The girls have been in the coop for a couple of weeks now with a heat lamp at night. Most of them have figured out how to use the chicken ramp and are enjoying the run with the grass and and dirt area to pick. Also we have discovered they love mealworms (jumbo) from the local bird store, they get them in weekly there and my son and daughter LOVE feeding them to the chickens. They come running everytime the kids come over to the coop!!!!!! Treat ready!!! Here are some pictures of my girls and my son feeding them.
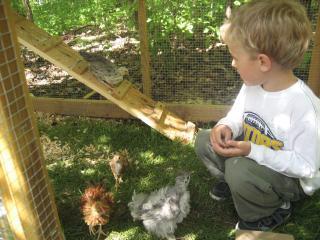
This Tristan (5) giving Leslie some mealworms!