Green Egg Farm
Building "green" chicken items and growing chichens on free range beliefs. I'm all about using old things to make do for things around our farm. My animals are chickens. Here are some examples of things that I've done to save money.
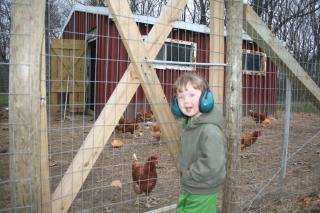
No my daughter was not free, but this picture shows our gate that we built out of 2x4's and welded wire fencing. And, yes she is wearing eaar protection...our rooster is loud she says. She loves watching the chickens walk around.
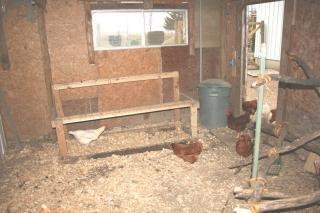
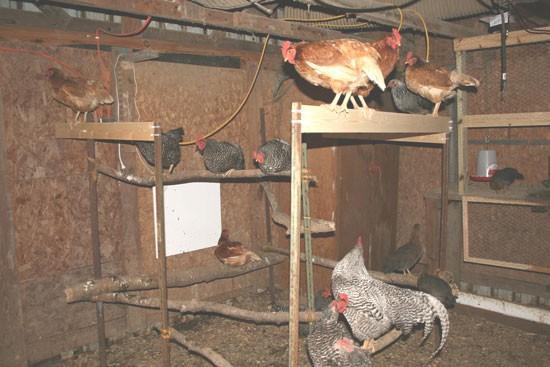
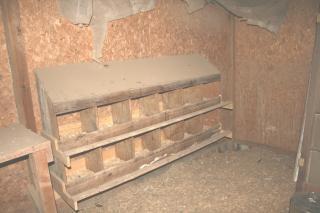
My home made roost. There is a heater on the wall now to help with the cold Northern Indiana winter nights. It takes them a long time to try new things, but they are comming around. The one on the left was my first. It is made from 2x4's and 1x4's. They still use it but in hindsite I would not use 1x4 again. I was going to add to it but then thought, why? They still use it. The one on the right is my new creation. Several t-posts with branches lashed on. It works great. The top are 1x4's that were used to staple chicken fence woo when my ducks were small and I thought they would not roost that high. It's six feet off the ground and they love it.
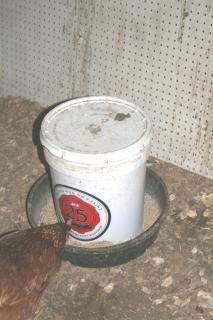
One of my home made feeders. Just a five gallon bucket with holes on the bottom cut out, bolted on to a rubbar feed bucket. Cheaper than TSC chicken feeder. Works great. And if you can get a free bucket with some sales then that's even better. Total cost about $7.00. I now have them hanging. We had a rat problem so now every night we put them about 4 feet above the ground. This worked so the rats went to the bait stations. It took about four weeks to get rid of all of the rats. Now we are rat free!!!
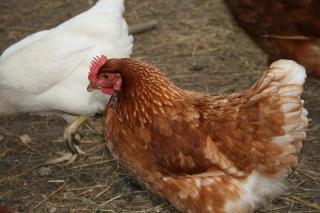
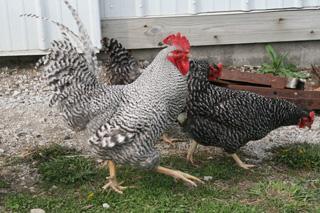
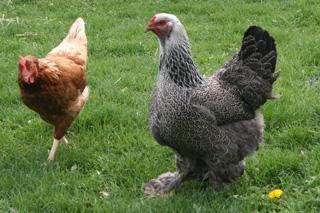
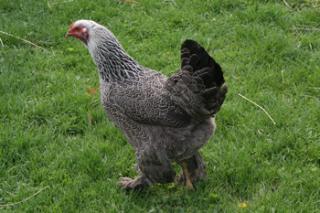
So here are some of our hens and our rooster, a Barred Rock named Jake. A dark Brahma named Penny.
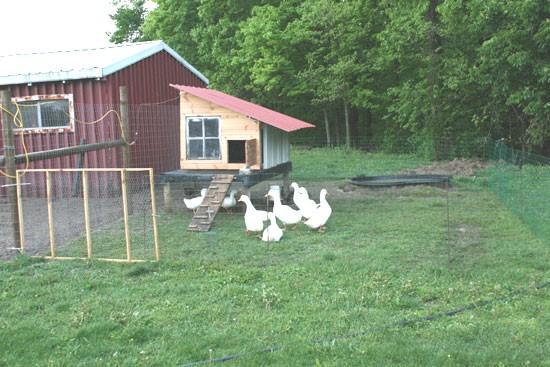
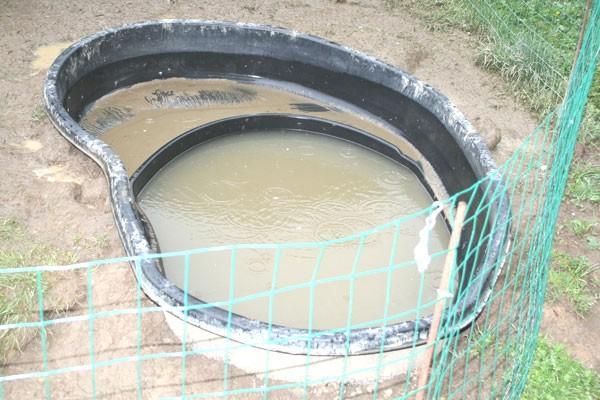
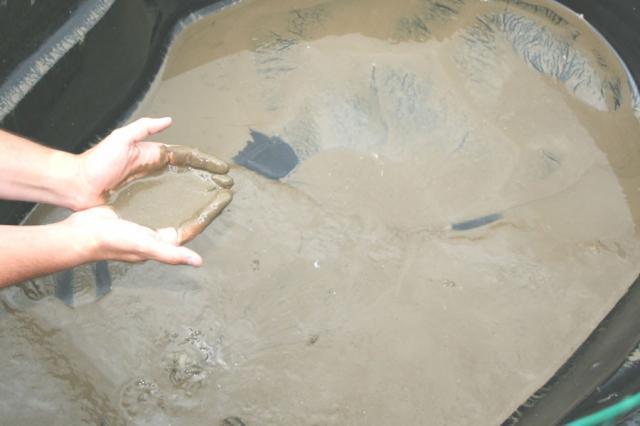
Here is a picture of our duck house and duck pond. The pond is a garden pool that has a field tile under it that leads out to our drop off in the forrest (about 30 feet away). It takes me about 30 minutes to drain, clean and refill.
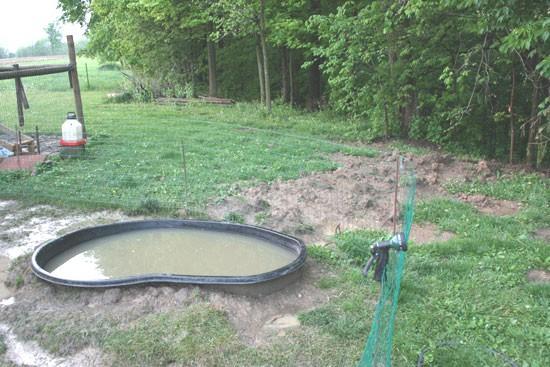
How to change a pond water in a few short steps.
Step 1:
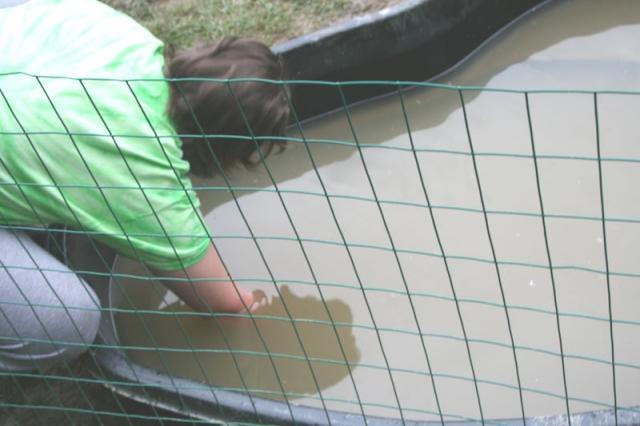
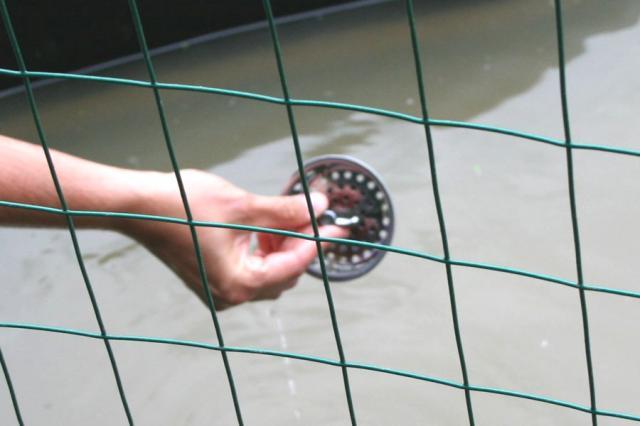
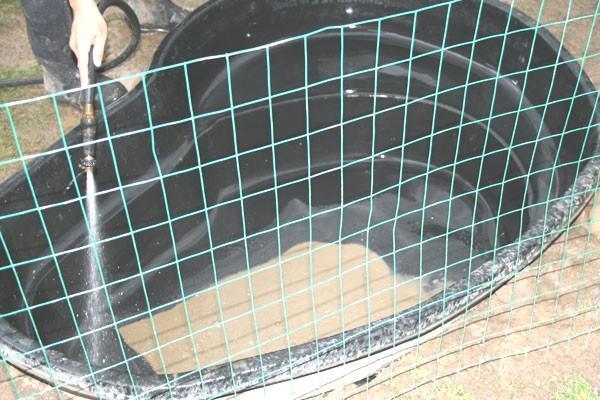
Step 2:
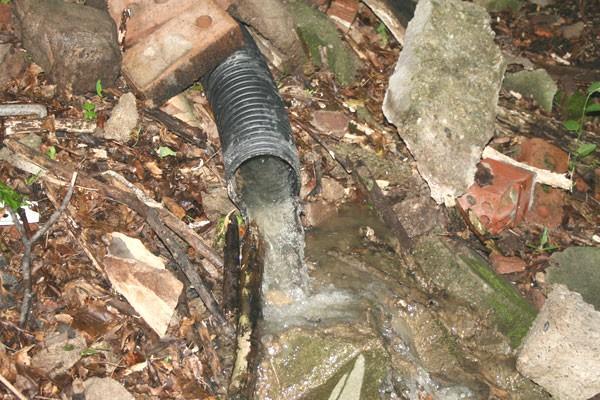
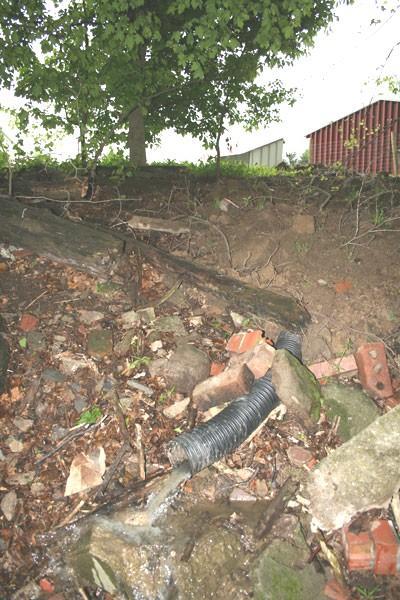
You can see the duck house at the top of the picture on the right. It's about 30 feet away from the drop off. It anyone trys this please be aware of where you are dumping the water. We are not putting it into any water source. Ours goes down a 20 feet hill and soaks into the ground in a thick woods.
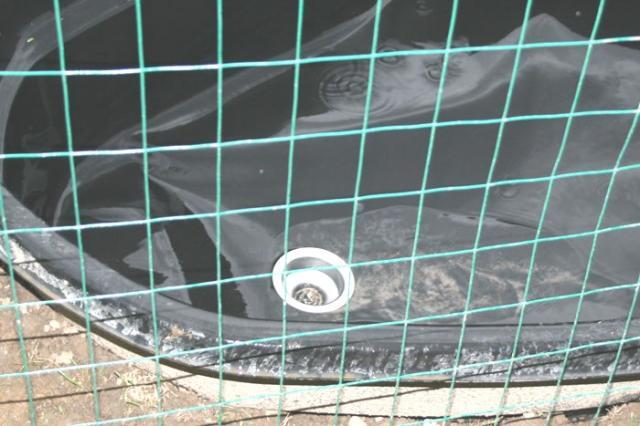
Step 3:
Step 4: Sray out the bottom with a hose.
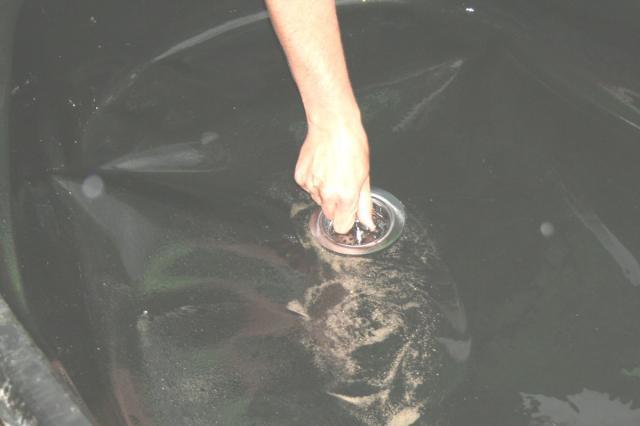
Step 5: I have to stop every short bit to pick out grass in the drain.

Step 6: A clean pool bottom.
Step 7: Put the drain back in and fill with garden hose.
Sorry, that's the last picture. I wanted to take a pic of all my ducks geting and splashing around happy. They love the clean water. They dive across it and come up in between all the other ducks. They have the best time. However, today the rain started as soon as we were done. We've had three days of rain and their duck area is turning into mud. In one week I can switch their food and they can start to free range. Happy ducks!!!