Farmer Cluck had some chickens..........E-I-E-I-O
I am excited to be part of BYC...............as a newbie chicken farmer (as I write this I don't actually HAVE any chickens yet) this website has been an invaluable resource as my husband and I plan and build our chicken coop. After doing a lot of research on this site and around the web, we decided the most economical way for us to get started was to renovate an existing shed on our property instead of building or buying from scratch. So......I'm creating this page to document the progress we make on our coop. And in just a few short weeks, our little babies will arrive in the mail from My Pet Chicken and then I'll be sharing our adventures in raising chickens on our little acreage here in the midwest USA.
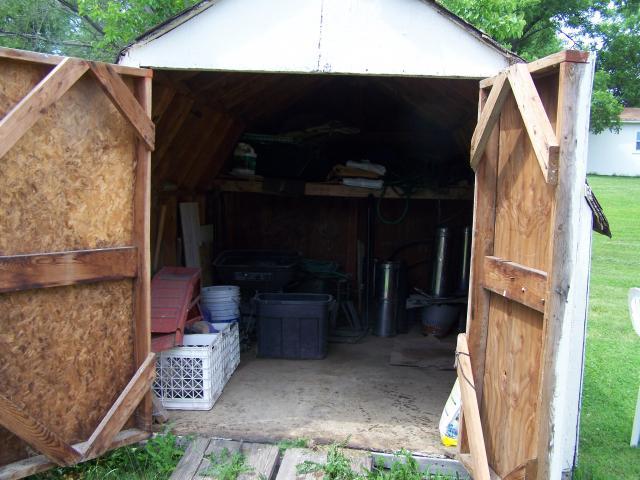
This photo shows our shed before we started renovating it. My husband had to clean out and get rid of all the stuff that was being stored in it.

This photo shows our shed before we started renovating it. My husband had to clean out and get rid of all the stuff that was being stored in it.
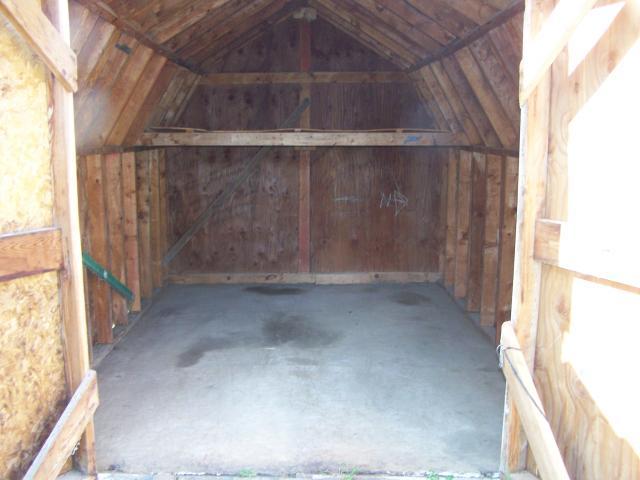
Here is the inside of the shed once everything was cleared out. You can see the floor was in pretty bad shape, so our first job was to frame out a new floor.
Even though the next photo is kind of dark, you can see how we framed in a new floor. We used 4X6s and just laid the frame right on top of the current floor even though the floor wasn't level. In hindsight, we wish we would have added another floor joist, but I think it will be fine for our girls.
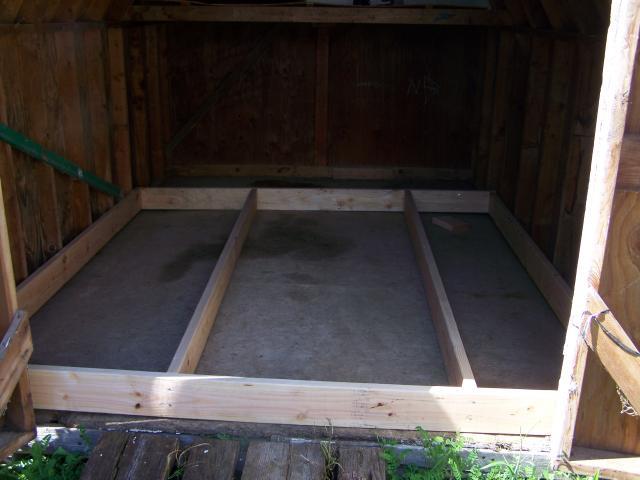
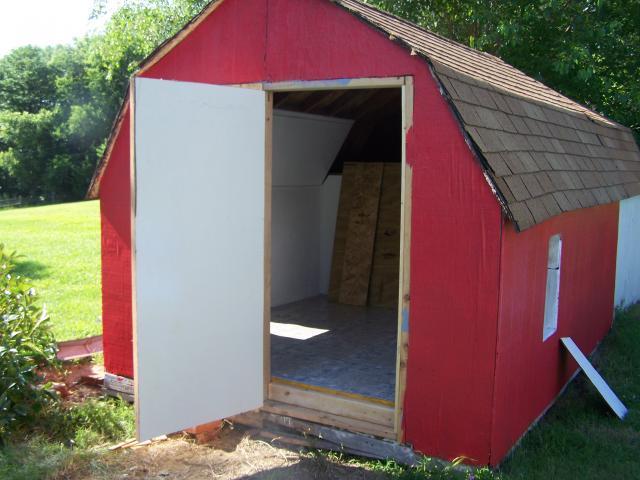
We used OSB for the flooring. Before attaching it, we used 3 inch nails to nail the frome to the existing studs. This will keep the floor nice and solid since it wasn't level. You can also see in this photo that we added some supports in the back for a new back wall. The shed measures about 8 feet wide by 10 feet deep. We decided to frame in a back wall to make it a little smaller and cozier (since we are only going to have 5 hens). This also allows us some storage space above the new wall. We also removed the existing doors. They were really awkward and heavy and didn't really fit the opening very well. The new doorway will be walled in on the left with a chicken door and the right side will be a people door.

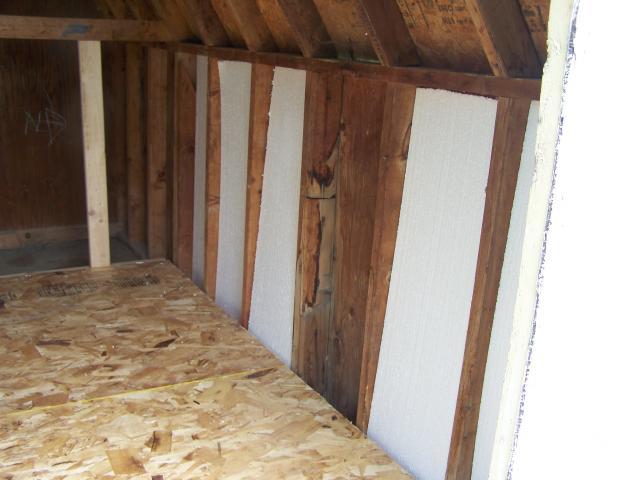
We added some sheets of 3/4 inch Styrofoam between the studs to insulate the walls. It gets very cold here in the winter and the walls are made of pretty thin plywood. At Home Depot you can buy packs of precut Styrofoam which is so much easier than cutting down a huge sheet.
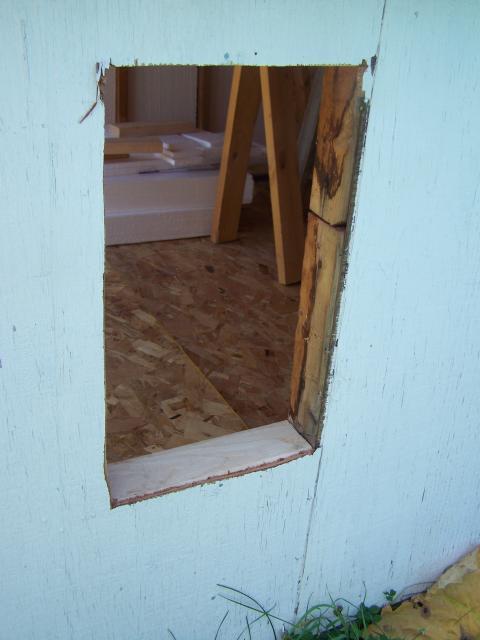
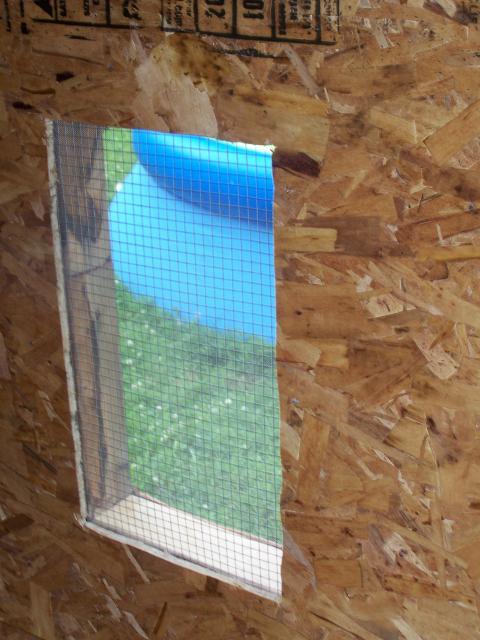
We cut holes in the side walls between the studs, one on each side, to add windows for light and ventilation. The height of the windows is 23 inches. They should be low enough that the girls can peek out while standing on the floor inside. We made them the exact width of the distance between the studs, then just added another piece of 2X4 to the top and bottom to frame it out.
Below you can see the new back wall. It's all coming together now! Very exciting!!
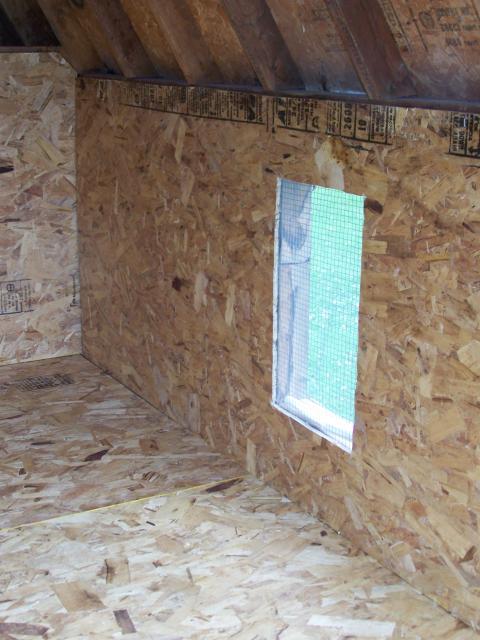
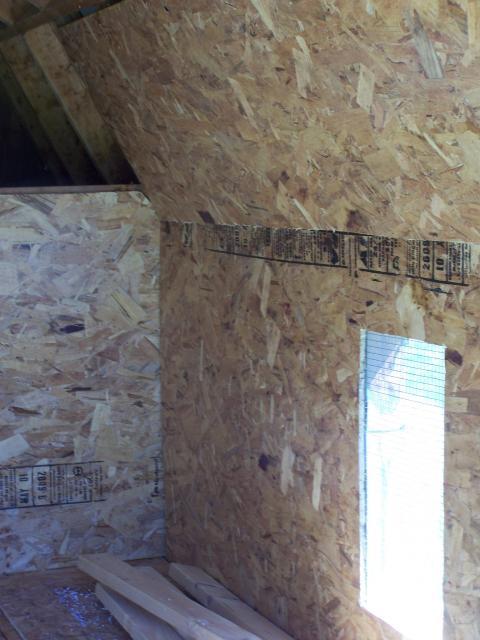
We have now added 1/2 inch hardware cloth and window screen to the inside of the window holes. We used both because all you chicken experts here at BYC recommended using the screen and the cloth to keep out wasps. We attached the screen and wire cloth before nailing on the interior walls so there would be no rough edges on the inside.
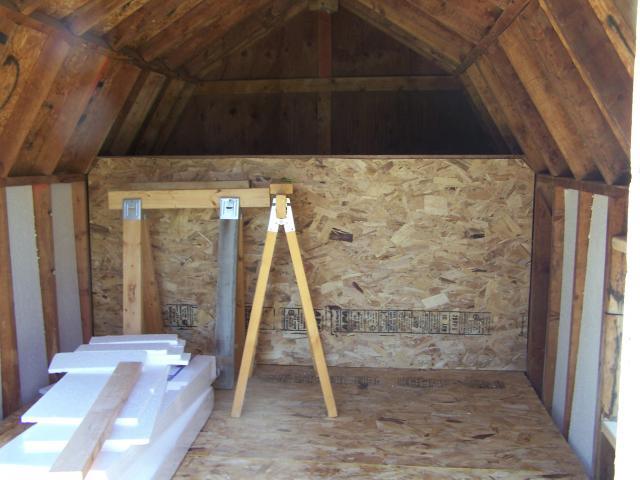
Now our coop has new interior walls. It's exciting to make so much progress, but we still have many things to finish such as framing out the windows inside, insultating the ceiling, painting the interior, laying vinyl flooring, framing in and building a whole new front wall with a people door and chicken door, making the exterior windows, painting the exterior, adding roof vents, redoing the roof, not to mention building a chicken run.
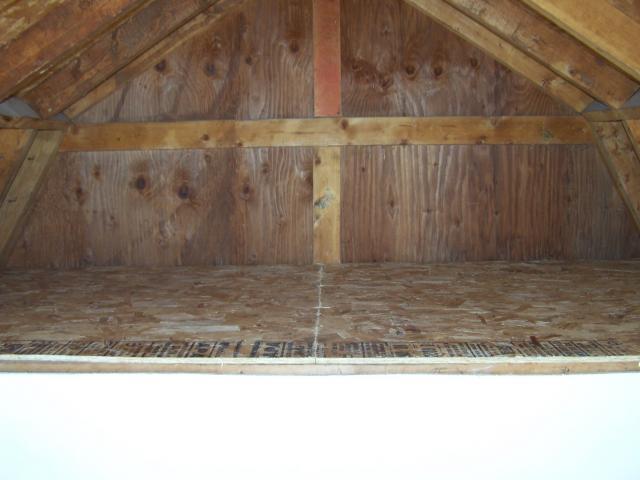
Today (June 28th) I tacked up some more Styrofoam insulation on the bottom ceiling sections and we covered it with more OSB. We also made another trip to Home Depot to pick up more supplies. Among the things we bought were a can of KILZ primer and a gallon of white semi-gloss exterior paint. I can't wait to see how much different the inside of the coop is going to look once it's primed and painted. That's on my to-do list for this week. I still haven't decided yet what color to paint the outside. I love some of the coops I've seen that are yellow and white, but my oldest son really wants red, and our shed IS shaped like a barn and I can get a gallon of red barn paint at Tractor Supply for $11, so it's likely to be red. We'll see.

Today (July 5th) it finally stopped raining here and I was able to paint the interior of the coop. I used KILZ primer and white exterior semi-gloss paint (2 coats). It looks so fresh and clean now! I'm so glad I took the time to add this extra touch.

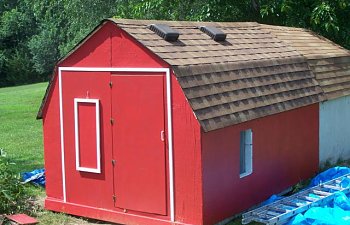
Sunday, July 12th: Earlier this week I painted the exterior of the coop red. I primed it first with my leftover KILZ which I had tinted gray at the local hardware store. I used 2 coats of red semi-gloss exterior paint.

Today we had a marathon chicken coop building session. We insulated the back bottom walls and installed a new shelf as you can see below.
We also framed in the new front wall. In the photo below you can see the new door. We used an old hollow-core door that had a piece of shower laminate attached to the back. That's why it's already white in the photo. The right side of the new wall is the people door. We were fortunate to find some hinges in our stash and they worked just fine.
Here's the new front wall. The left side will have a little chicken door cut into it. Of course I still need to prime and paint the new front wall and door and also trim it out with white 1X2s. It's exciting that it's all coming together, although it's taking so much longer than we thought.
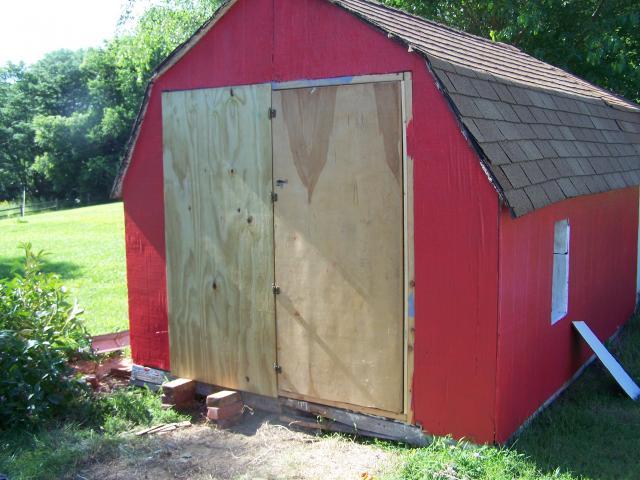
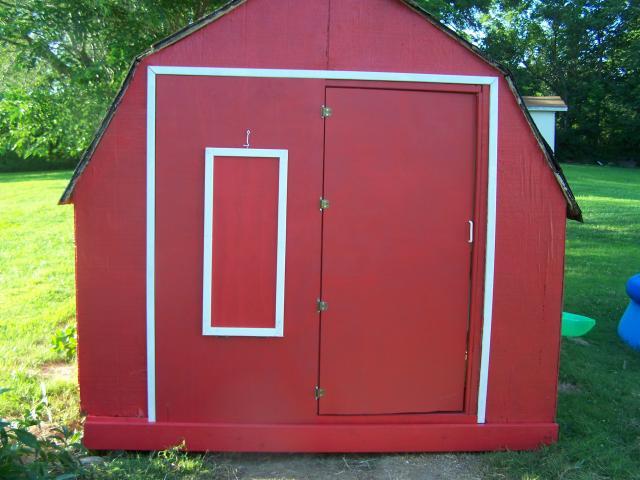
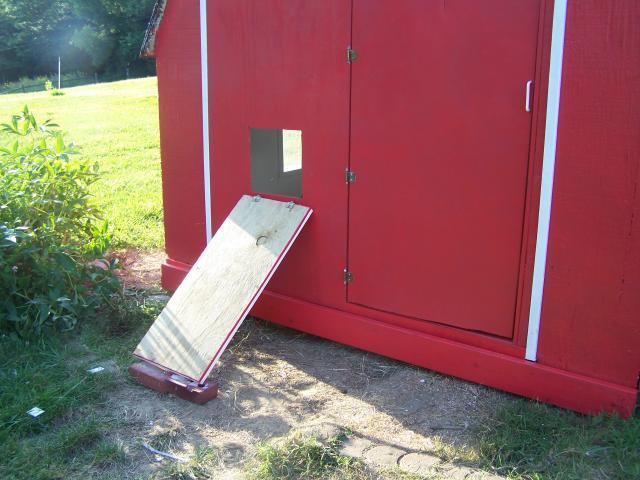
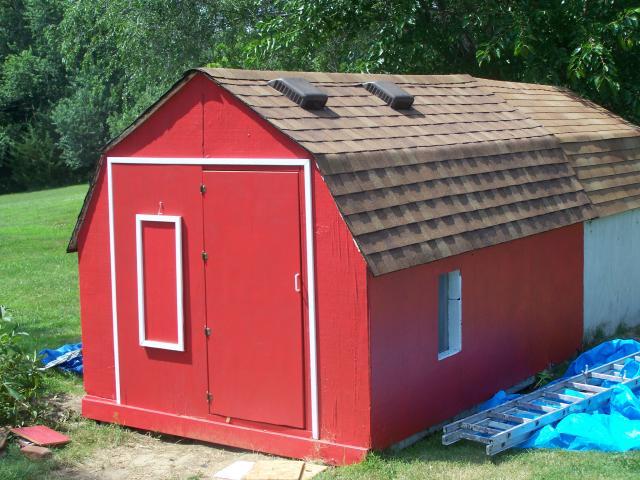
As of today (July 25th, 2009) we are nearly finished with our coop. Today we cut out the chicken door and created a door to cover it that is hinged at the bottom. When open it will double as a chicken ladder. Before today I had painted the door and front wall and painted and attached 1X2 white trim around the outside. Oh, and today we also added an 8 foot 2X6 at the bottom of the front where the previous wood was all rotten and yucky......and I painted it red to match the rest of the coop.
In late July my DEAR HUSBAND spent MANY hours tearing off the old shingles from the coop, adding roof vents (2 on each side) and hanging new shingles. We were lucky to have shingles left over from having our house and garage re-roofed. However, it was still a HUGE job. The old shingles were in pretty bad shape, so it's a good improvement.
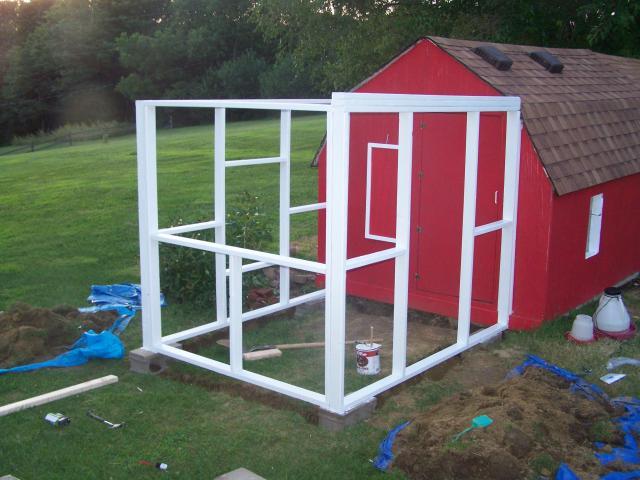
On August 16th, we framed in the walls for the chicken run. Then I added 2 coats of Behr Barn & Fence paint.