UNDER CONSTRUCTION FOR UPDATES 03/26/12GREEN ACRE FARM
"Our home, Our min-farm, Our way of life"

Welcome to our page about our "Green Acre Farm" It is named this because we now have an actual full acre after a purchase of neighboring 1/4 acre. Green Acre also seemed appropriate because we are truly like the 1970's show Green Acre, city folk learning to farm. I am always learning new skills still 6 years after beginning. I went from business suits and high heels to mud boots and sweatpants, and love every minute of it. We are only missing Wilbur the pig, although my husband has suggested such an addition.
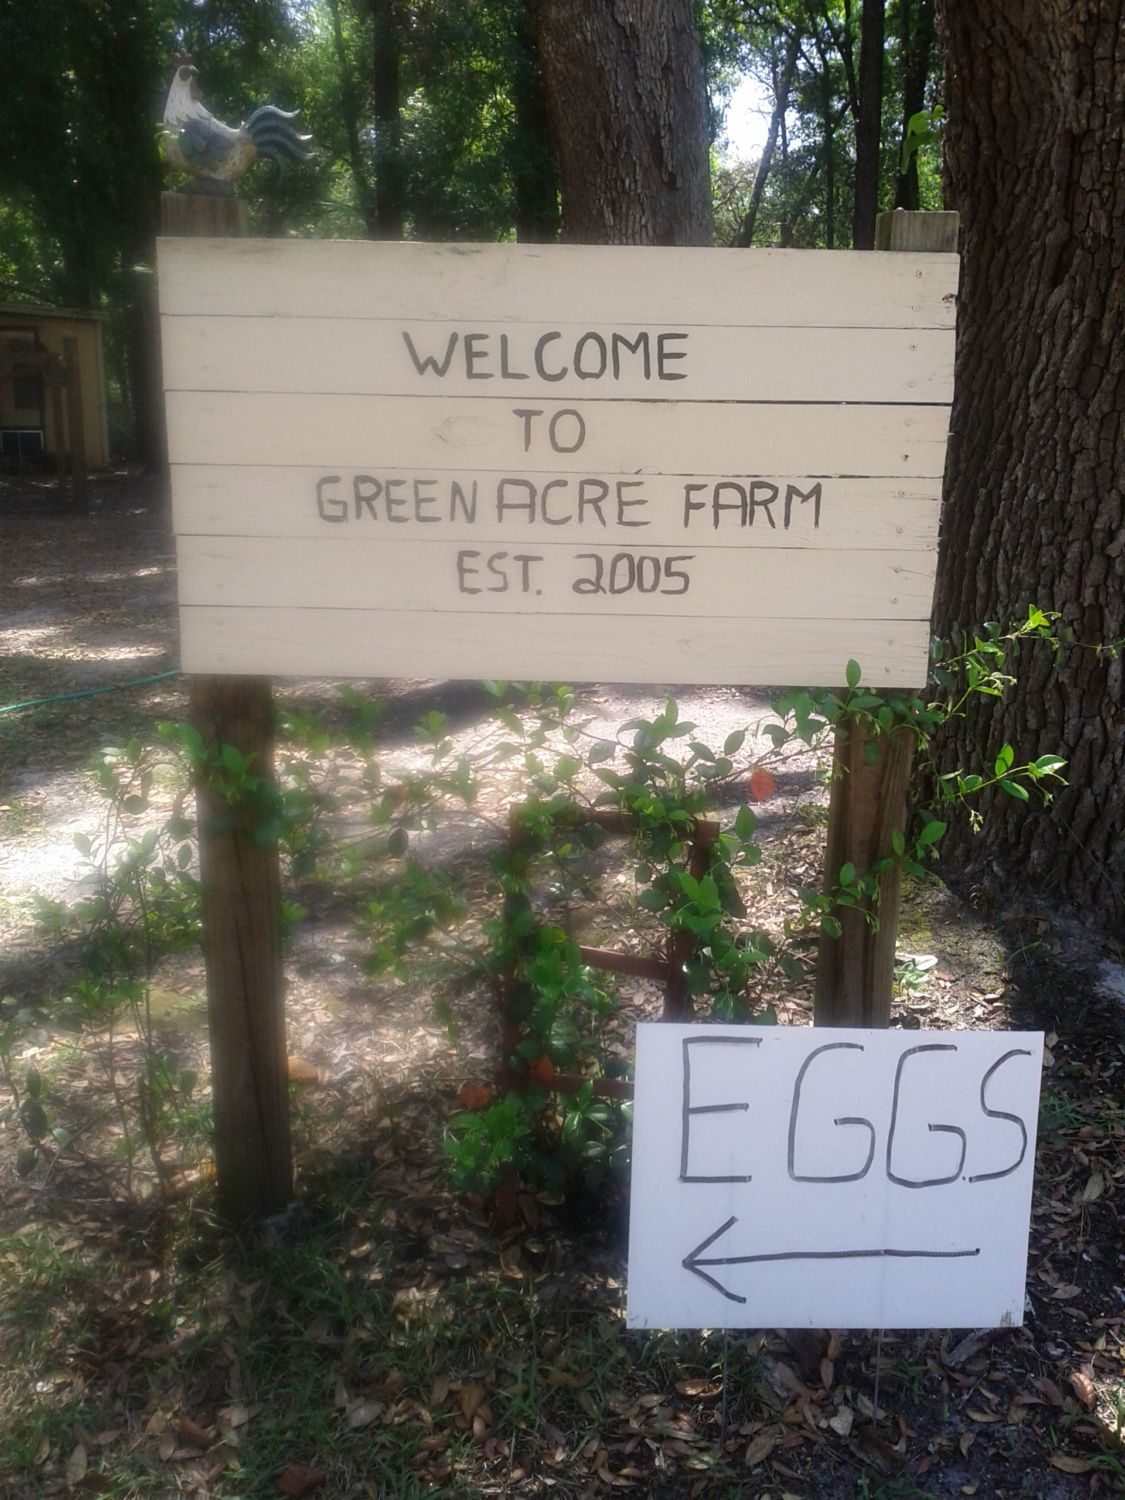
The photo above is of our “farm” sign at the entryway of our driveway. It was meant as a joke gift to my husband for our 5th wedding anniversary. He mentioned he wanted a farm sign like those large farms so I made it out of recycled pallet wood assuming he would put it in the back yard by the coop. Nope, on the street at the entry and he planted confederate jasmine which has begun to overtake the sign. Confederate jasmine is also a joke for our family. My husband is a true southerner and I am a yankee. We are still fighting the war in this house!
Our farm began with job losses/changes and trying to figure out how to feed our family and save money. We cut bills where we could, began couponing, got rid of cable tv and began our modest garden growing; tomatoes, zucchini, squash, corn, green beans, cucumbers, watermelon, lettuce, strawberries, blueberries, grapes, and oranges. Along with this I have learned canning of not only what I grow but farmers market finds and bartering with others for services and items needed.
I have learned that the sandy soil in Florida is not the best to grow things so I use the raised bed and square foot gardening methods. This allows me to grow the maximum amount in the smallest amount of space and I can control the quality of the soil. It is fenced in so the chickens will not eat it faster than it can grow. They love tilling it at the end of the season for me.
The garden venture was followed by my husband's desire to add chickens. I fought for a year and then gave in. We built the first coop now known as “the nursery”. I researched for months and drew out exactly what I thought we would need for our flock of 12. We would never want more than that I was certain. Boy how I laugh at those days! We purchased 12, week old chicks from a recommended seller by our local feed store. After a few months of raising them we learned 9 were roo's! So we began preparing for meat as we live too close to neighbors for roo's. We then purchased 25 more chicks from a well known hatchery and hoped for better results this time.
We use it for babies, sick, injured, and meat chickens when we raise them. The first photo was the day the nursery was completed. The second photo is after 4 years of use and changes to the coop took place to give them more shade and added protection during rainstorms. An "addition" of 64 sq ft “play pen” on the back of the now nursery from my daughter taking over the nursery to raise meaties for an AG business project at school and doing so well her repeat customers wish we would keep the nursery filled with Cornish crosses all the time now. So at the age of 15 she had found herself an income without having to leave the yard. she did this for a couple years and her customers still are very anxious for her to do another batch but she is now in college and has lost the desire. We stll bring cornish in for family consumption twice a year.
YES WE RAISE OUR EGG LAYERS AND MEATIES TOGETHER. Our daughter and I share the nursery so when she orders meaties I order a few egg layers and they are raised in the nursery together. The chicks have never had a picking issue or argument. Space is not an issue for any of them and they tend to sleep cuddled as shown in the next photos. When we mow our yard and two of our neighbor's we always use the bagger and fill their pen with fresh cuttings for scratching, sleeping, and eating several times a week.
After the first year and the expansion of our flock we built "Fort Clux". It began as "Le Poulet Chateau". This name change came as many modifications to the adult coop happened due to we were under racoon attack. We suffered the lose of 18 hens over a month's time. Coming out in the morning became a chore I hated. Never knew what mess I would be cleaning up.
Things we had learned and incorporated when building the larger coop were we wanted easy to clean. All the roosts are not attached. They are 10’ long 2” x 4”’s that run wall to wall and sit on 2” x 4” braces. They can be removed easily for cleaning. There is ramp (a simple plank board) for the bantams to get up to the roost at night.
I We added an automatic door. This was the absolute best investment and I wish I had done it from the beginning. Now we can travel or even go to supper with friends and not hurry home to lock up the girls. I made the door out of luan and used 2’ x 4” to make the runner for the door. I used shims for spacers behind the 2” x 4”’s to complete the runners.
The nests are made of Lowe's pails. I LOVE how I can power wash everything clean which helps keep odor down.
When we built this coop I put hardware cloth before the plywood sheets sides for the windows which was the best (cheapest) way to make secure windows. The outside window covers keep rain out and can be brought down and latched shut in case of hurricane, which being in FL we have to prepare everyone for. The girls get a breeze all night and I have no concern about any predator getting in their windows. We did add fencing in the rafters after all the attacks. I closed the entire underneath with hardware cloth so I do not have to go egg hunting under the coop.
I have a fridge set up in our carport. Customers (neighbors) come in and get their eggs on the honor system of leaving money in the drawer of the fridge and leave me empty cartons on top.
The most important area is the water and food area. We used several different areas before this and I have to say this is my favorite. It is an old cement parking pad. I can sweep up extra feed and put back in the feed bucket. I can powerwash the area which is wonderful after having muddy areas during rain season. Currently there is a tarp over the area to provide shade and protection from hawks and rain in the feed. Someday we will build a lean to. The 300 gal waterer is replenished from the gutter attached to the roof. During slow rain seasons I add a couple ounces of chlorine to the water to make certain nothing grows in it.
The feed barrel is an old trash can that is sitting in a water heater catch pan. Inside the trash can is a large plant pot upside down to help funnel the feed towards the sides so no old food sits in the middle. The entire feed station is sitting on two cement blocks. This feeder can hold 150 lbs of feed. It can be washed out and sterilized. This is one thing I also wish I had done from day one.
Here is a close up of the water cups attached to pvc, attached to the 300 gal tank (had been used for cooking oil prior) The blocks under the pvc is because a couple girls like to play queen of the roost and sit on top of the pvc. I also can pull the waterer off and attach a garden hose to water plants from it. 98% of the chicks use this for water. There are a few that prefer the other waterers. Although when those are empty, they do use this. I keep the others around just in case this fails.
Our flock consists of barred rock, white leghorn, compine, amercauna, brown leghorn, new Hampshire red rock, Easter eggers, silkie and many mutts. Currently 79 ages 1-3 years of age. Sometimes nursery of Cornish rock cross.
This photo was taken during cracked corn snack time. Easy way to check how everyone is doing and get them all to one meeting. As you can see everyone is very healthy (fat) and happy.
Hope you enjoyed learning a little about our mini-farm. It is an ever changing and evolving work in progress. Check back with us!
"Our home, Our min-farm, Our way of life"
Welcome to our page about our "Green Acre Farm" It is named this because we now have an actual full acre after a purchase of neighboring 1/4 acre. Green Acre also seemed appropriate because we are truly like the 1970's show Green Acre, city folk learning to farm. I am always learning new skills still 6 years after beginning. I went from business suits and high heels to mud boots and sweatpants, and love every minute of it. We are only missing Wilbur the pig, although my husband has suggested such an addition.
The photo above is of our “farm” sign at the entryway of our driveway. It was meant as a joke gift to my husband for our 5th wedding anniversary. He mentioned he wanted a farm sign like those large farms so I made it out of recycled pallet wood assuming he would put it in the back yard by the coop. Nope, on the street at the entry and he planted confederate jasmine which has begun to overtake the sign. Confederate jasmine is also a joke for our family. My husband is a true southerner and I am a yankee. We are still fighting the war in this house!
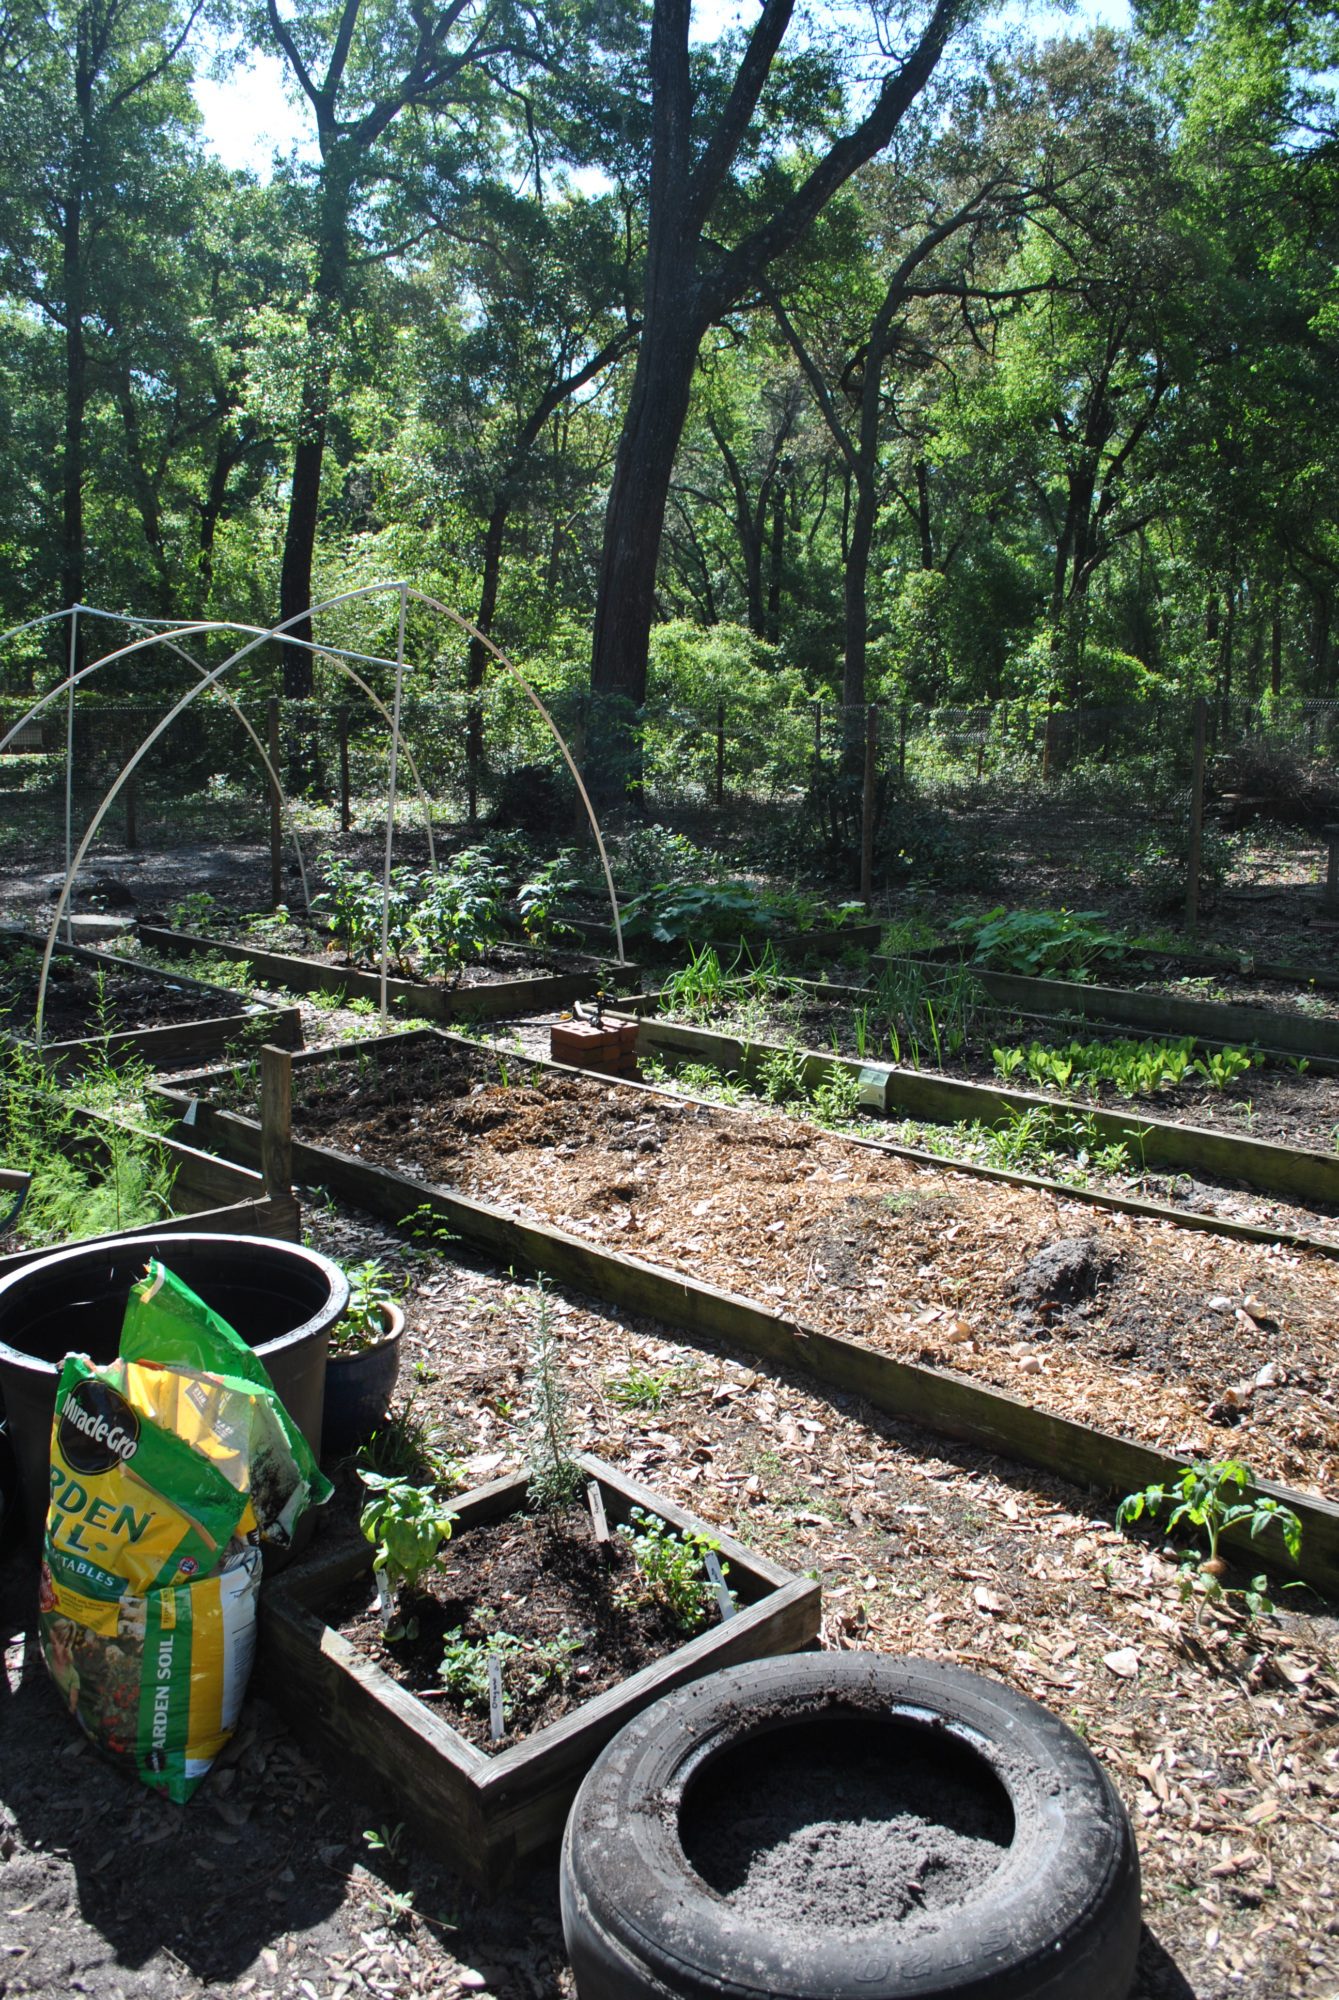
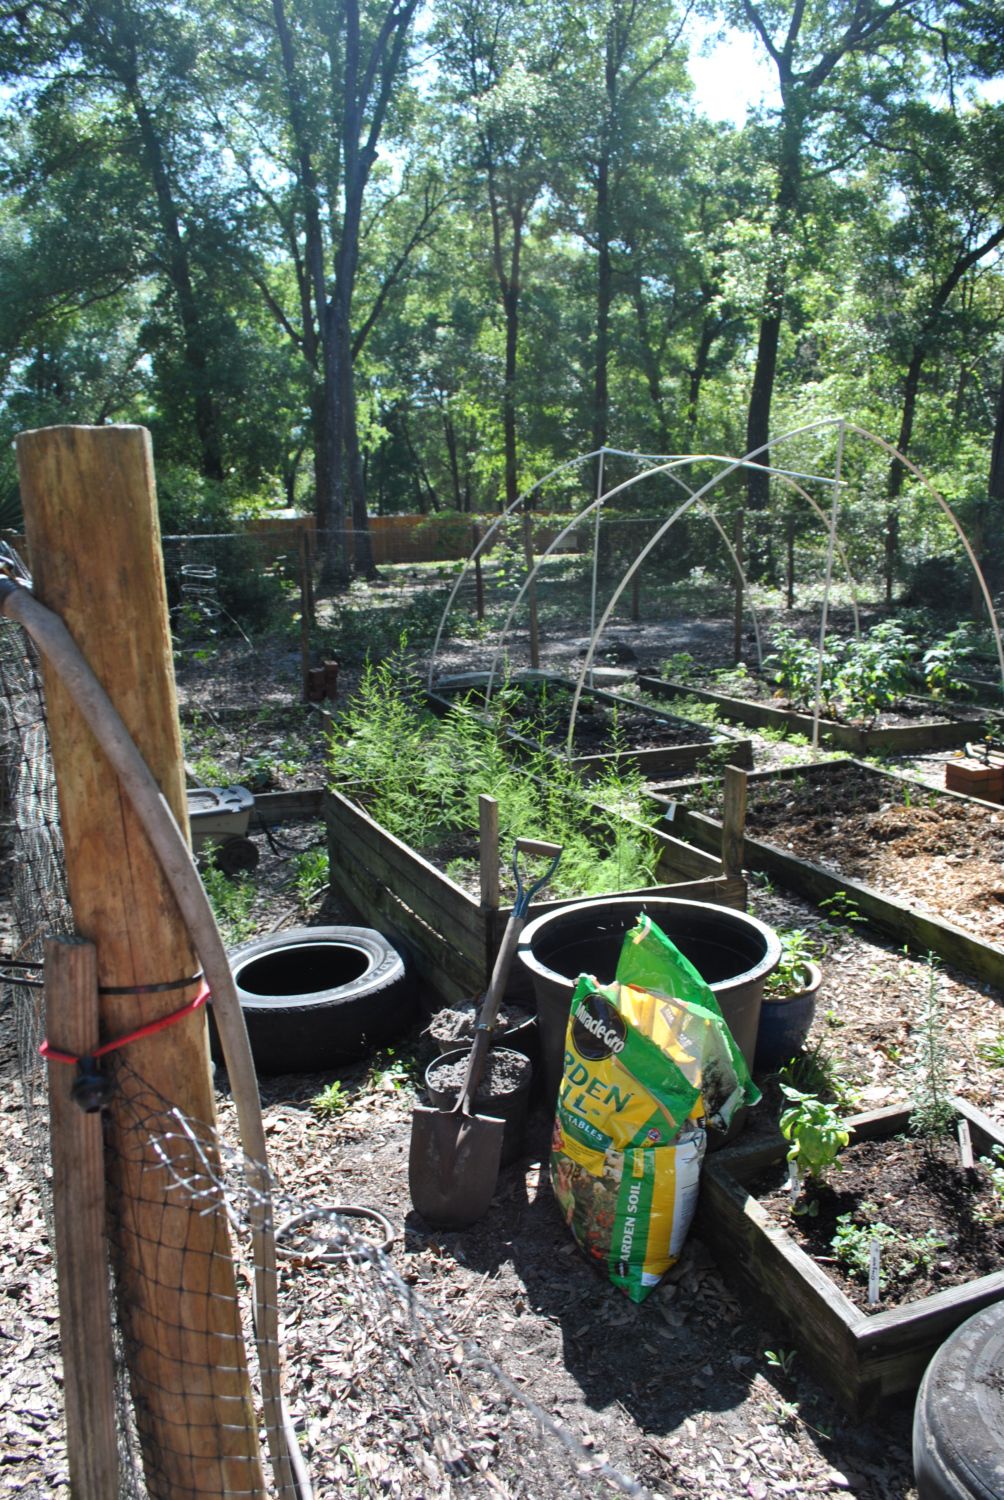
Our farm began with job losses/changes and trying to figure out how to feed our family and save money. We cut bills where we could, began couponing, got rid of cable tv and began our modest garden growing; tomatoes, zucchini, squash, corn, green beans, cucumbers, watermelon, lettuce, strawberries, blueberries, grapes, and oranges. Along with this I have learned canning of not only what I grow but farmers market finds and bartering with others for services and items needed.
I have learned that the sandy soil in Florida is not the best to grow things so I use the raised bed and square foot gardening methods. This allows me to grow the maximum amount in the smallest amount of space and I can control the quality of the soil. It is fenced in so the chickens will not eat it faster than it can grow. They love tilling it at the end of the season for me.
The garden venture was followed by my husband's desire to add chickens. I fought for a year and then gave in. We built the first coop now known as “the nursery”. I researched for months and drew out exactly what I thought we would need for our flock of 12. We would never want more than that I was certain. Boy how I laugh at those days! We purchased 12, week old chicks from a recommended seller by our local feed store. After a few months of raising them we learned 9 were roo's! So we began preparing for meat as we live too close to neighbors for roo's. We then purchased 25 more chicks from a well known hatchery and hoped for better results this time.
We use it for babies, sick, injured, and meat chickens when we raise them. The first photo was the day the nursery was completed. The second photo is after 4 years of use and changes to the coop took place to give them more shade and added protection during rainstorms. An "addition" of 64 sq ft “play pen” on the back of the now nursery from my daughter taking over the nursery to raise meaties for an AG business project at school and doing so well her repeat customers wish we would keep the nursery filled with Cornish crosses all the time now. So at the age of 15 she had found herself an income without having to leave the yard. she did this for a couple years and her customers still are very anxious for her to do another batch but she is now in college and has lost the desire. We stll bring cornish in for family consumption twice a year.
YES WE RAISE OUR EGG LAYERS AND MEATIES TOGETHER. Our daughter and I share the nursery so when she orders meaties I order a few egg layers and they are raised in the nursery together. The chicks have never had a picking issue or argument. Space is not an issue for any of them and they tend to sleep cuddled as shown in the next photos. When we mow our yard and two of our neighbor's we always use the bagger and fill their pen with fresh cuttings for scratching, sleeping, and eating several times a week.
After the first year and the expansion of our flock we built "Fort Clux". It began as "Le Poulet Chateau". This name change came as many modifications to the adult coop happened due to we were under racoon attack. We suffered the lose of 18 hens over a month's time. Coming out in the morning became a chore I hated. Never knew what mess I would be cleaning up.
Things we had learned and incorporated when building the larger coop were we wanted easy to clean. All the roosts are not attached. They are 10’ long 2” x 4”’s that run wall to wall and sit on 2” x 4” braces. They can be removed easily for cleaning. There is ramp (a simple plank board) for the bantams to get up to the roost at night.
I We added an automatic door. This was the absolute best investment and I wish I had done it from the beginning. Now we can travel or even go to supper with friends and not hurry home to lock up the girls. I made the door out of luan and used 2’ x 4” to make the runner for the door. I used shims for spacers behind the 2” x 4”’s to complete the runners.
The nests are made of Lowe's pails. I LOVE how I can power wash everything clean which helps keep odor down.
When we built this coop I put hardware cloth before the plywood sheets sides for the windows which was the best (cheapest) way to make secure windows. The outside window covers keep rain out and can be brought down and latched shut in case of hurricane, which being in FL we have to prepare everyone for. The girls get a breeze all night and I have no concern about any predator getting in their windows. We did add fencing in the rafters after all the attacks. I closed the entire underneath with hardware cloth so I do not have to go egg hunting under the coop.
I have a fridge set up in our carport. Customers (neighbors) come in and get their eggs on the honor system of leaving money in the drawer of the fridge and leave me empty cartons on top.
The most important area is the water and food area. We used several different areas before this and I have to say this is my favorite. It is an old cement parking pad. I can sweep up extra feed and put back in the feed bucket. I can powerwash the area which is wonderful after having muddy areas during rain season. Currently there is a tarp over the area to provide shade and protection from hawks and rain in the feed. Someday we will build a lean to. The 300 gal waterer is replenished from the gutter attached to the roof. During slow rain seasons I add a couple ounces of chlorine to the water to make certain nothing grows in it.
The feed barrel is an old trash can that is sitting in a water heater catch pan. Inside the trash can is a large plant pot upside down to help funnel the feed towards the sides so no old food sits in the middle. The entire feed station is sitting on two cement blocks. This feeder can hold 150 lbs of feed. It can be washed out and sterilized. This is one thing I also wish I had done from day one.
Here is a close up of the water cups attached to pvc, attached to the 300 gal tank (had been used for cooking oil prior) The blocks under the pvc is because a couple girls like to play queen of the roost and sit on top of the pvc. I also can pull the waterer off and attach a garden hose to water plants from it. 98% of the chicks use this for water. There are a few that prefer the other waterers. Although when those are empty, they do use this. I keep the others around just in case this fails.
Our flock consists of barred rock, white leghorn, compine, amercauna, brown leghorn, new Hampshire red rock, Easter eggers, silkie and many mutts. Currently 79 ages 1-3 years of age. Sometimes nursery of Cornish rock cross.
This photo was taken during cracked corn snack time. Easy way to check how everyone is doing and get them all to one meeting. As you can see everyone is very healthy (fat) and happy.
Hope you enjoyed learning a little about our mini-farm. It is an ever changing and evolving work in progress. Check back with us!