A few of my Brooders .....
# 1 .... The infamous "Nellabean Brooder" ......
Broody coop, or brooders (instructions below):

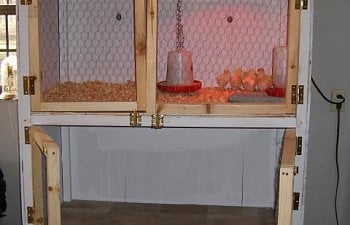
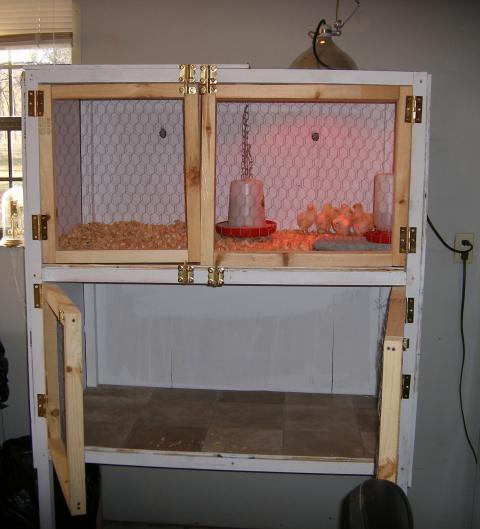
Nella's finished:
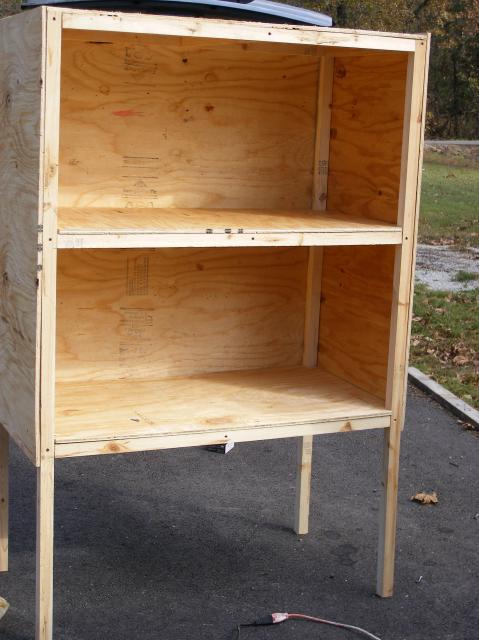
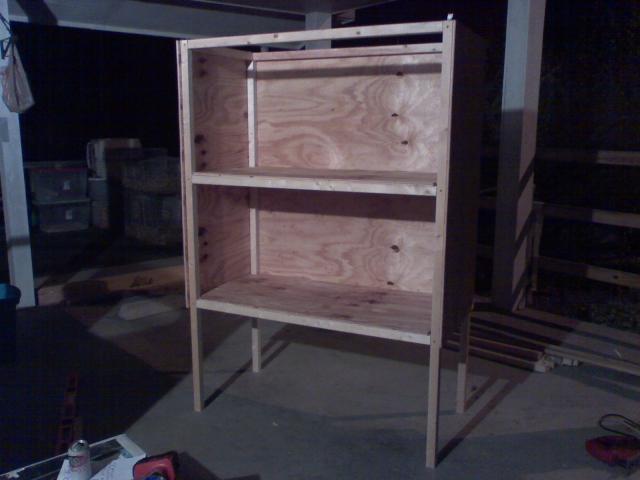
Mine finished. I put linoleum on the floors.....
# 1 .... The infamous "Nellabean Brooder" ......
Broody coop, or brooders (instructions below):
Nella's finished:
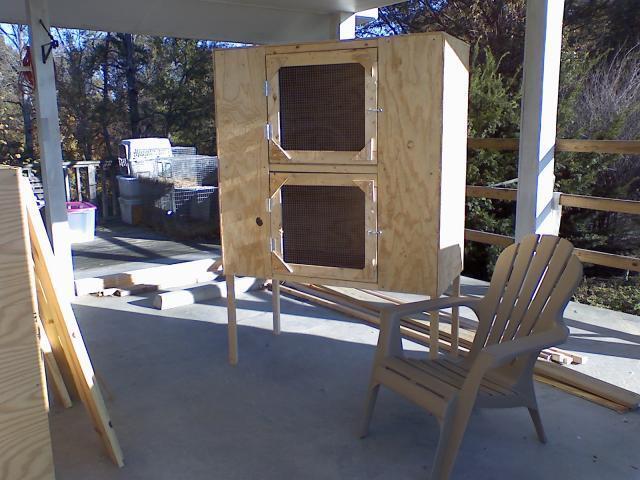
Mine finished. I put linoleum on the floors.....
Instructions we followed ..... thank you, Nella! .......
NellaBean wrote:
Okay kids.
First off, I used 8 foot long 2"x2"s. This requires 9 of them, which is exactly 1 bundle
It also requires 2 sheets of plywood. I use the thin stuff......1/4" I think? I let Home Depot cut it in half for me, which makes two 4x4 squares. If you want, you can also have them do additional cuts (might cost extra).
For this project you need 1 piece of 4'x4' plywood and 5 pieces of 2'x4' plywood.
To make one identical to mine, you need to cut the 2"x2" as follows:
4 pieces @ 69" long
6 pieces @ 45" long
9 pieces @ 21" long
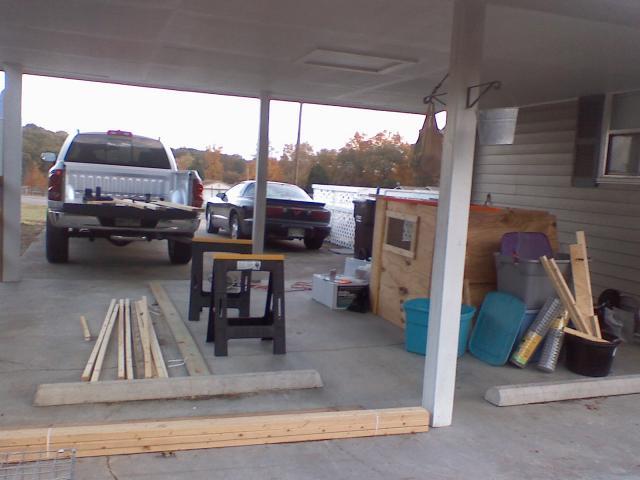
First, get your junk all out and ready to go. Look at your other projects in progress and sigh. Then move on.
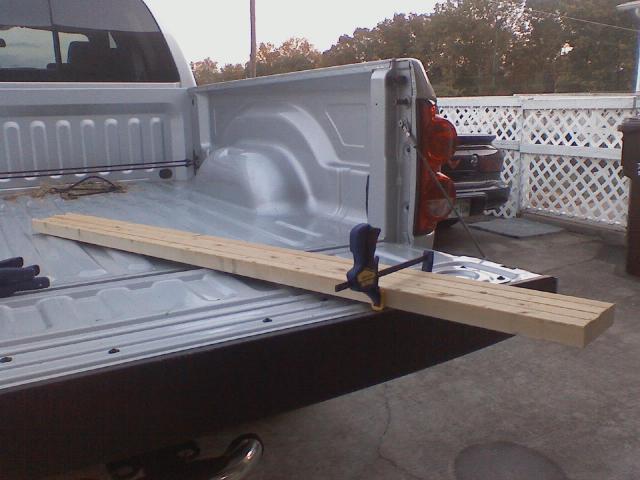
Cut all of your wood in advance. This makes everything so much quicker. I like to clamp the same length boards together so I know they are exactly the same size.....clamp together and then just make 1 long cut across them all intead of 4 individual cuts.
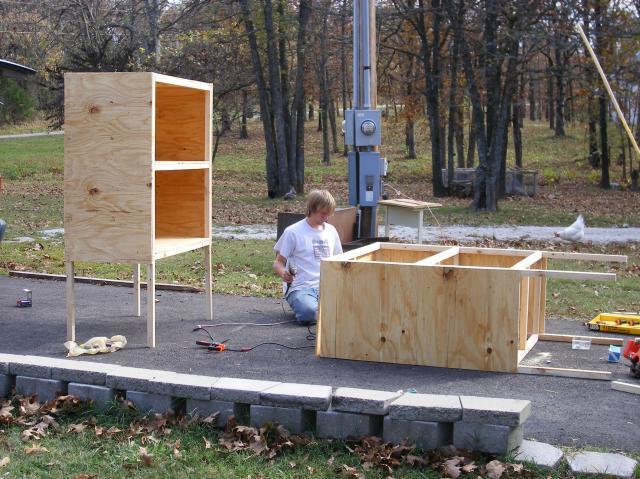
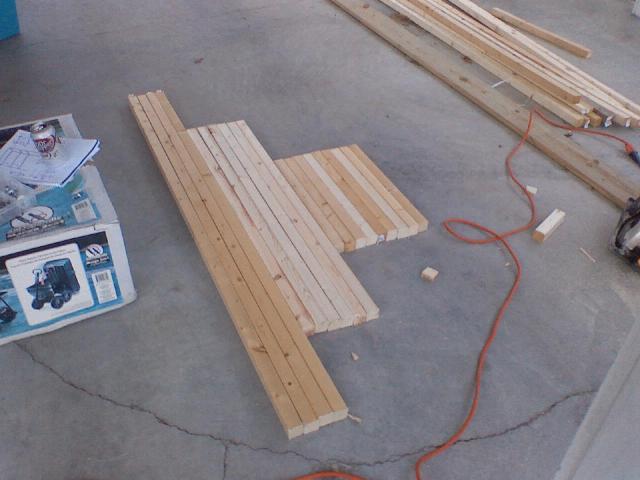
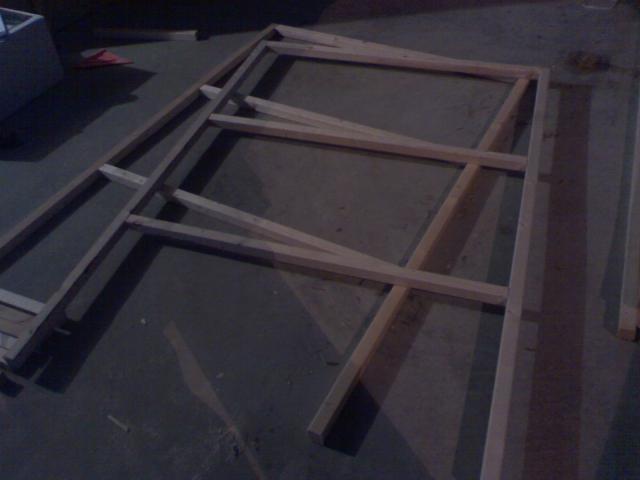
Oh look, all done cutting and ready to assemble.
First, lay out 2 of the 69" long pieces. These are the legs. Lay out 3 of the 45" long pieces, one at the top, one at 24" and one at 48".
Screw them all together. I use 2.5" exterior screws for all 2"x2" to 2"x2" joints.
Once you have one panel screwed together, lay the pieces for an identical panel directly on top and screw that panel together. This ensures each panel is identical so your levels will be pretty flat.
Now you have two. The front and the back.
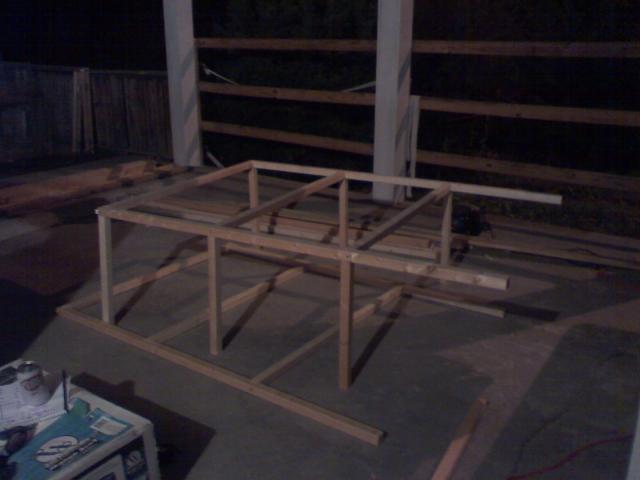
Then take 6 of the 21" pieces and screw them as shown below.
Then flip that over so the short little 21" 'legs' stick straight up. Lay the other panel on top of this. And then screw it down.
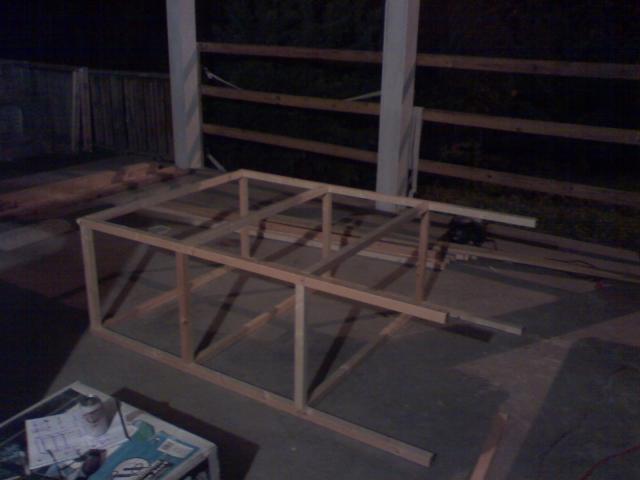
Your frame is now complete. Stand it up and admire. It will be wobbly....don't worry, once all the plywood is on it strengthens it.
While you're admiring, decide which side is prettier.......that will be the front of your brooder.
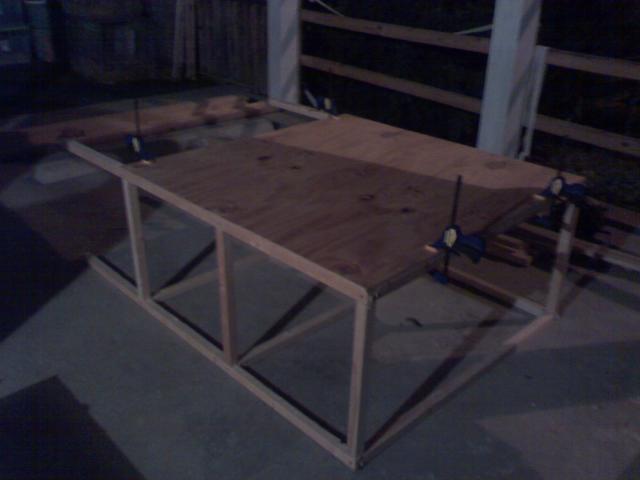
Then lay it back down...pretty front side DOWN. Take the 4'x4' piece of plywood and lay it on top. This will be the back of the brooder.
Clamps are helpful to hold it in place. Screw it down.
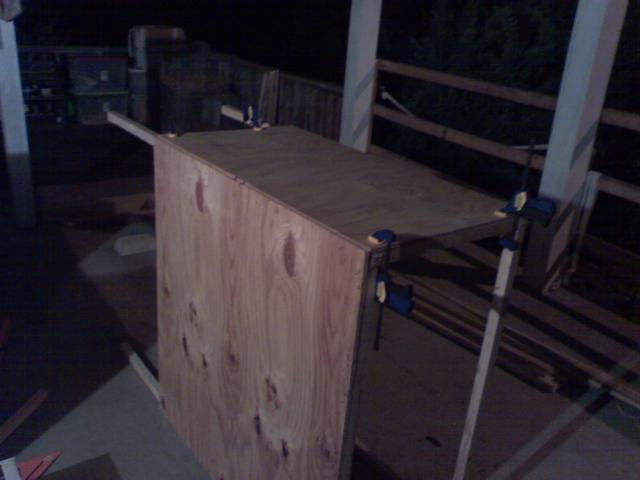
Then turn the unit onto its side. Place a 2'x4' piece of plywood on top, clamp into place. Then screw it down.
Then flip the unit to the opposite side. and do the same.
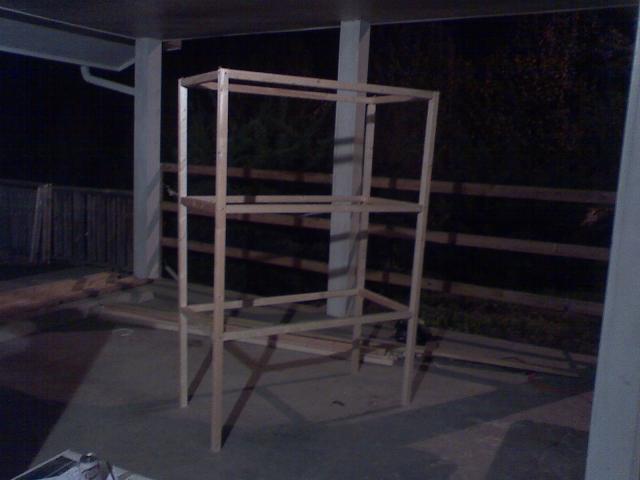
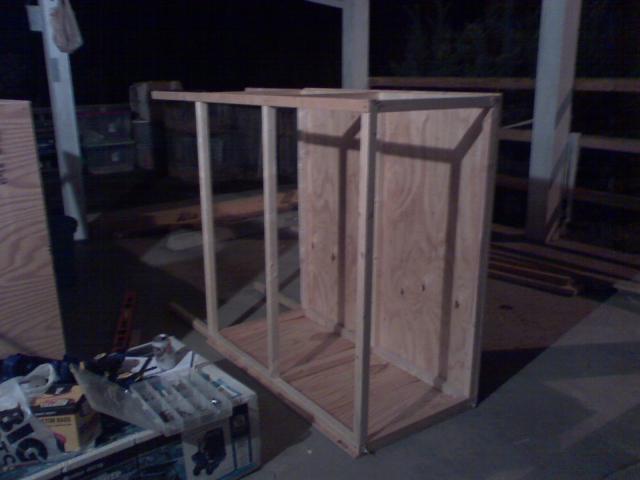
Go ahead and stand your unit up. Admire your hard work.
Now you just need to put the floors in. Take two of the remaining 3 pieces of 2'x4' plywood and cut a 1.5"x1.5" notch into each corner. This is to allow the plywood to fit around the 2"x2" LEG at each corner.
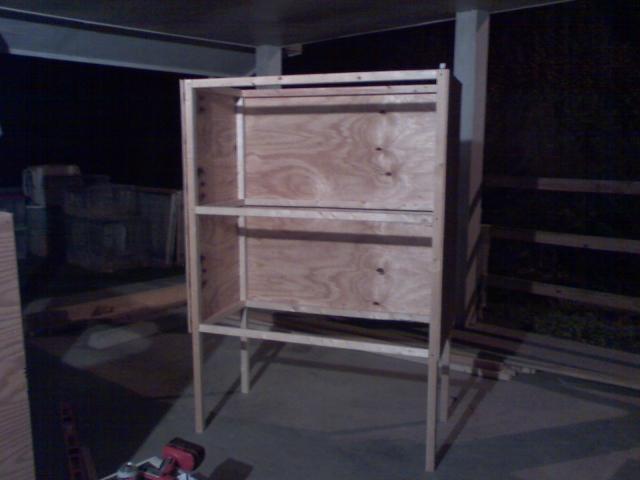
Once the shelves are notched, slide them in and screw them down.
Then take the remaining single piece of 2x4 plywood, put it on top, clamp into place and then screw down.
I ran out of plywood so don't have the top on yet.....therefore NO PICTURE.
The front is kind of personal preference......i plan on using 1'x4' pieces of plywood VERTICALLY on each end. This will leave a 2 foot "door in the middle of both levels. I will build a door for each, using 1"x4" boards and 1/2" hardware cloth, with a slidebolt for closure.
ETA: I had 3 extra 21" pieces here because i forgot to put the "crossbrace" in the middle of each level. This can be added at any time. I will add it tomorrow.
Also, I use 1.25" or 1 5/8" screws to screw the plywood down to the 2"x2"s.
# 2 Easy peasy........
Simple Disposable (nearly free) Brooder
Really, it doesn't get much easier than this!
Supplies avy cardboard boxes, duct tape, old sawhorses, 2x4, heatlamps, and chicks!
This brooder is 6 foot x 8 foot, and is 3 foot tall. You can make any size.
I got the heavy cardboard boxes from the lumber yard and the furniture store.
Simply rip the seam of a box, and overlap with the next box. Corners are the box corner. Duct tape, as needed.
Floor is a layer of flat pieces of cardboard.
I made a door (foreground) by overlapping at the end. The, "hinge," is just a bend in the cardboard.
I used an old set of sawhorses to hold up a 2 x 4, for the heatlamps placement. Plastic (electrical) thingy used to hold cord in place. I did hammer a long nail through the 2x4 into the sawhorses, so it wouldn't slip off.
The floor is a layer of cardboard, as well. Here it is covered in pine shavings.
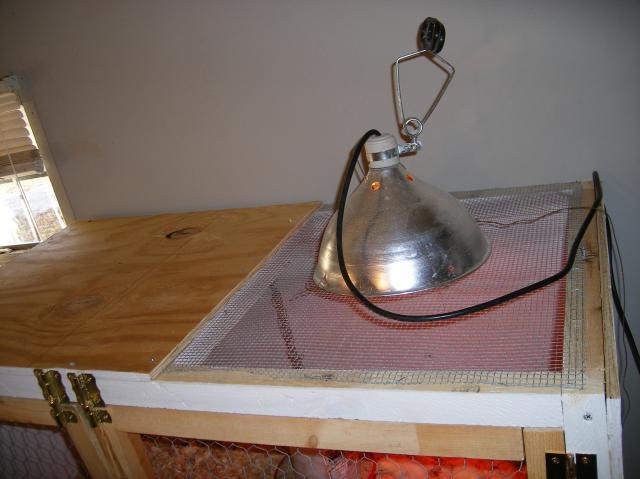
The heatlamps should have the protective brackets on, which is not shown in these photos.
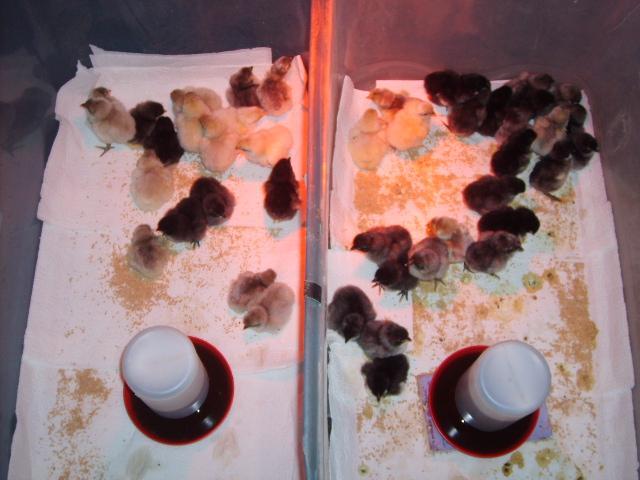
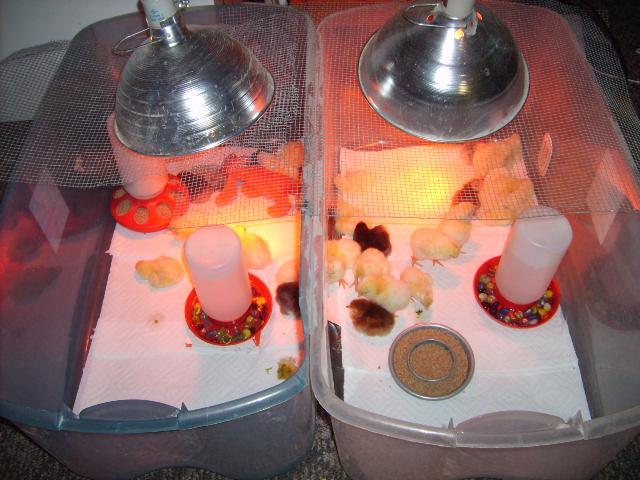
Other brooders.....
NellaBean wrote:
Okay kids.
First off, I used 8 foot long 2"x2"s. This requires 9 of them, which is exactly 1 bundle

It also requires 2 sheets of plywood. I use the thin stuff......1/4" I think? I let Home Depot cut it in half for me, which makes two 4x4 squares. If you want, you can also have them do additional cuts (might cost extra).
For this project you need 1 piece of 4'x4' plywood and 5 pieces of 2'x4' plywood.
To make one identical to mine, you need to cut the 2"x2" as follows:
4 pieces @ 69" long
6 pieces @ 45" long
9 pieces @ 21" long
First, get your junk all out and ready to go. Look at your other projects in progress and sigh. Then move on.
Cut all of your wood in advance. This makes everything so much quicker. I like to clamp the same length boards together so I know they are exactly the same size.....clamp together and then just make 1 long cut across them all intead of 4 individual cuts.
Oh look, all done cutting and ready to assemble.
First, lay out 2 of the 69" long pieces. These are the legs. Lay out 3 of the 45" long pieces, one at the top, one at 24" and one at 48".
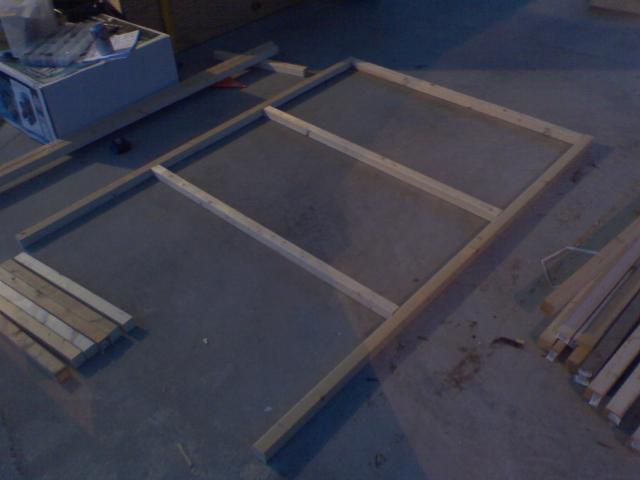
Screw them all together. I use 2.5" exterior screws for all 2"x2" to 2"x2" joints.
Once you have one panel screwed together, lay the pieces for an identical panel directly on top and screw that panel together. This ensures each panel is identical so your levels will be pretty flat.
Now you have two. The front and the back.
Then take 6 of the 21" pieces and screw them as shown below.
Then flip that over so the short little 21" 'legs' stick straight up. Lay the other panel on top of this. And then screw it down.
Your frame is now complete. Stand it up and admire. It will be wobbly....don't worry, once all the plywood is on it strengthens it.
While you're admiring, decide which side is prettier.......that will be the front of your brooder.
Then lay it back down...pretty front side DOWN. Take the 4'x4' piece of plywood and lay it on top. This will be the back of the brooder.
Clamps are helpful to hold it in place. Screw it down.
Then turn the unit onto its side. Place a 2'x4' piece of plywood on top, clamp into place. Then screw it down.
Then flip the unit to the opposite side. and do the same.
Go ahead and stand your unit up. Admire your hard work.
Now you just need to put the floors in. Take two of the remaining 3 pieces of 2'x4' plywood and cut a 1.5"x1.5" notch into each corner. This is to allow the plywood to fit around the 2"x2" LEG at each corner.
Once the shelves are notched, slide them in and screw them down.
Then take the remaining single piece of 2x4 plywood, put it on top, clamp into place and then screw down.
I ran out of plywood so don't have the top on yet.....therefore NO PICTURE.
The front is kind of personal preference......i plan on using 1'x4' pieces of plywood VERTICALLY on each end. This will leave a 2 foot "door in the middle of both levels. I will build a door for each, using 1"x4" boards and 1/2" hardware cloth, with a slidebolt for closure.
ETA: I had 3 extra 21" pieces here because i forgot to put the "crossbrace" in the middle of each level. This can be added at any time. I will add it tomorrow.
Also, I use 1.25" or 1 5/8" screws to screw the plywood down to the 2"x2"s.
# 2 Easy peasy........
Simple Disposable (nearly free) Brooder
Really, it doesn't get much easier than this!
Supplies
avy cardboard boxes, duct tape, old sawhorses, 2x4, heatlamps, and chicks!This brooder is 6 foot x 8 foot, and is 3 foot tall. You can make any size.
I got the heavy cardboard boxes from the lumber yard and the furniture store.
Simply rip the seam of a box, and overlap with the next box. Corners are the box corner. Duct tape, as needed.
Floor is a layer of flat pieces of cardboard.
I made a door (foreground) by overlapping at the end. The, "hinge," is just a bend in the cardboard.

I used an old set of sawhorses to hold up a 2 x 4, for the heatlamps placement. Plastic (electrical) thingy used to hold cord in place. I did hammer a long nail through the 2x4 into the sawhorses, so it wouldn't slip off.
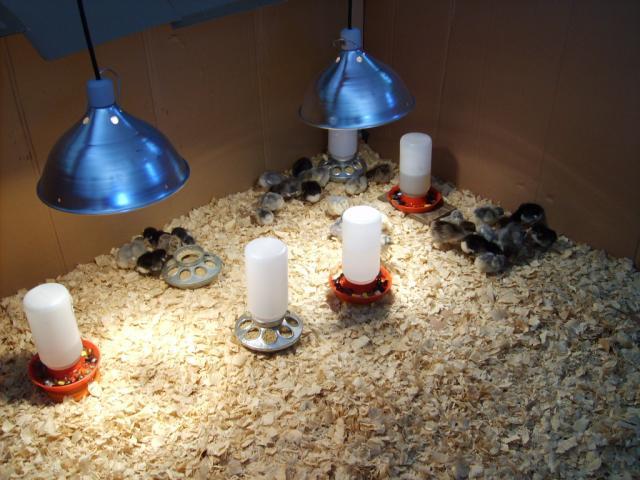
The floor is a layer of cardboard, as well. Here it is covered in pine shavings.

The heatlamps should have the protective brackets on, which is not shown in these photos.
Other brooders.....