After several weeks of conversation and a vicious bout of chicken math, I finally convinced the family that it was time to build a bigger better coop to accommodate the latest members of our clutch...26 chickies sitting in the brooder. This was followed up with hours upon hours of reviewing coop designs here on BYC. The following will act as my journal through this adventure.
Day One:
Because we are doing this on a budget and in our "within city limits" backyard, the design and build will need to balance cost vs neighbour appeal. With that in mind we searched on kijiji for recycled, yet good quality building materials. Having hit "pay dirt" we loaded the family into the truck and drove 1.5 hours to pick up a truckload of 4x4, 2x4 and 2x2 in a variety of lengths. There was so much wood that it filled the entire box of the truck....which is probably a good thing because on the way home , we stopped at a "Feather Auction". Our 3 year old tried to talk her dad into a pair of African geese, and I had my eye on a box of silkie chicks, but with no space to transport them home, we left the auction empty handed. The rest of the day was spent unloading the wood and finalizing the plans for the coop.
Day Two:
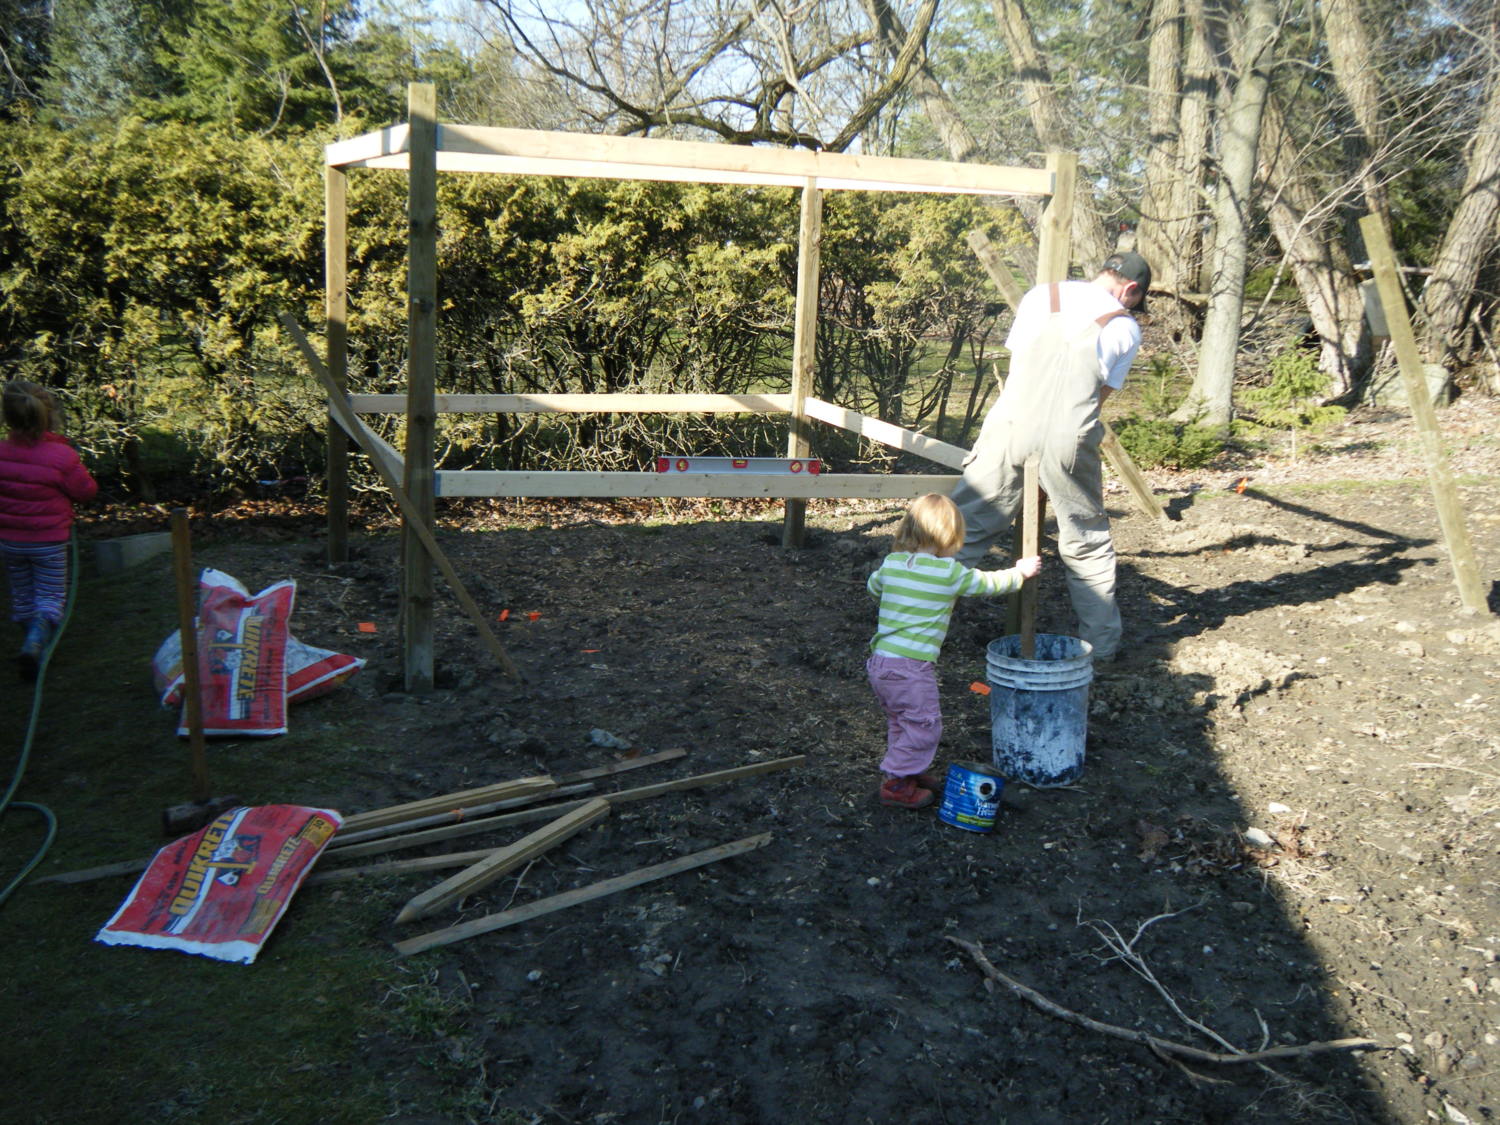
It started off with an inventory of the wood and another lively discussion about design. The bottom line still remains that we need to safely house 20 chickens (hopefully integrated into one group) with enough visual appeal that the neighbours won't complain. So far, I have managed to convince my building crew to erect a coop 8x8 with an attached run 8x16. The coop will be raised 2 feet off the ground. We are sinking the 4x4 posts into the ground 2 feet because the garden is not level and to offset the ground freeze/thaw cycle in SW Ontario. We measured and staked the post locations and I hope to have the holes dug, posts in and 2x4 frame done by the end of the day. It is 15oC today so we are going to make the most of it. We also made a trip to the hardware store to get hangers (probably not the technical term) for the 2x4s.

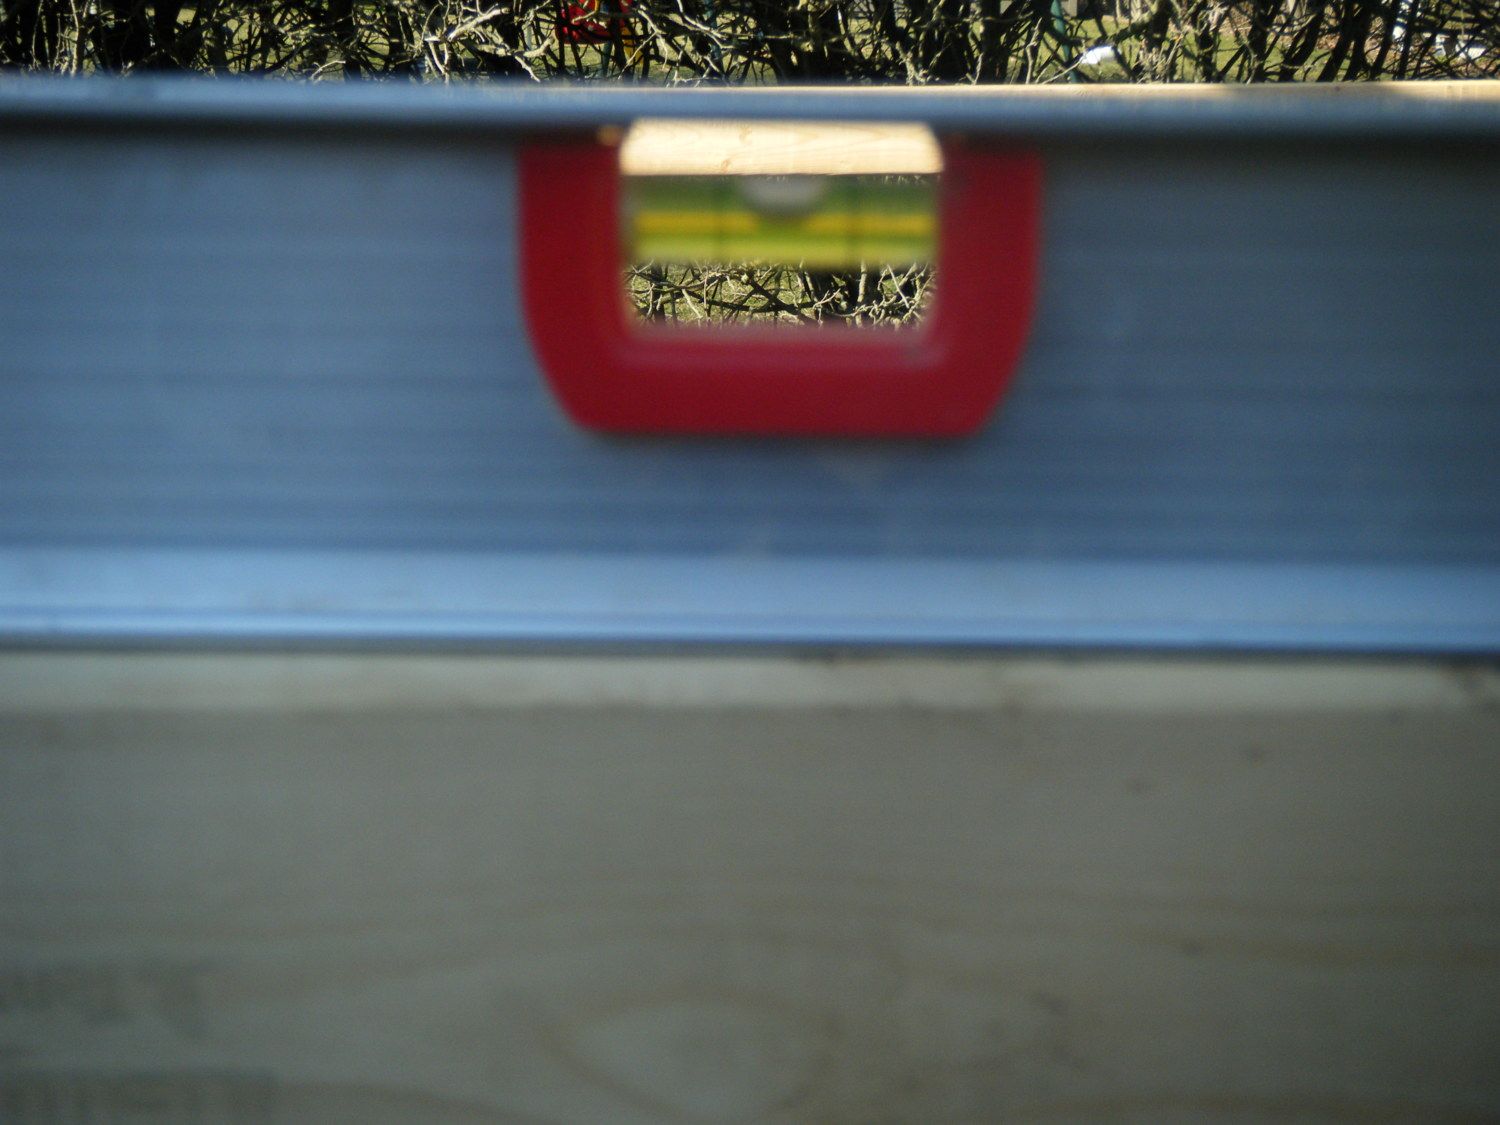
Great news! The boards are level! We can start mixing concrete.
Posts squared up with supports while concrete sets. We used fence brackets to string outside 2x4s.
Day Three:
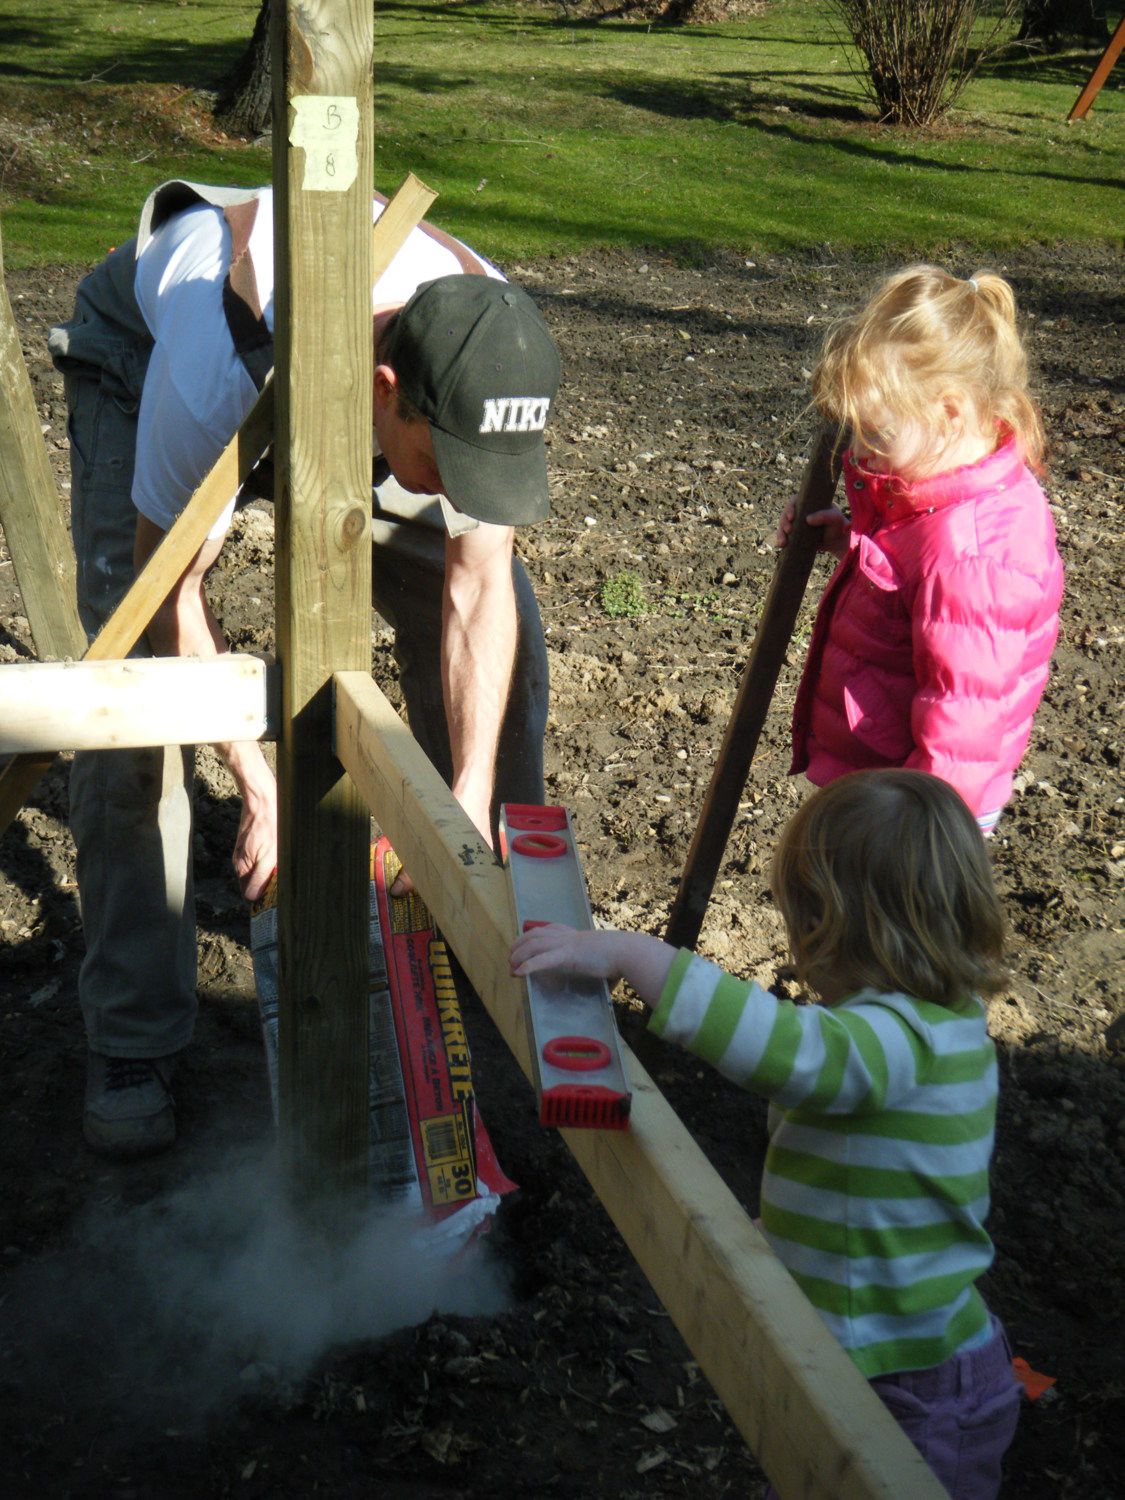
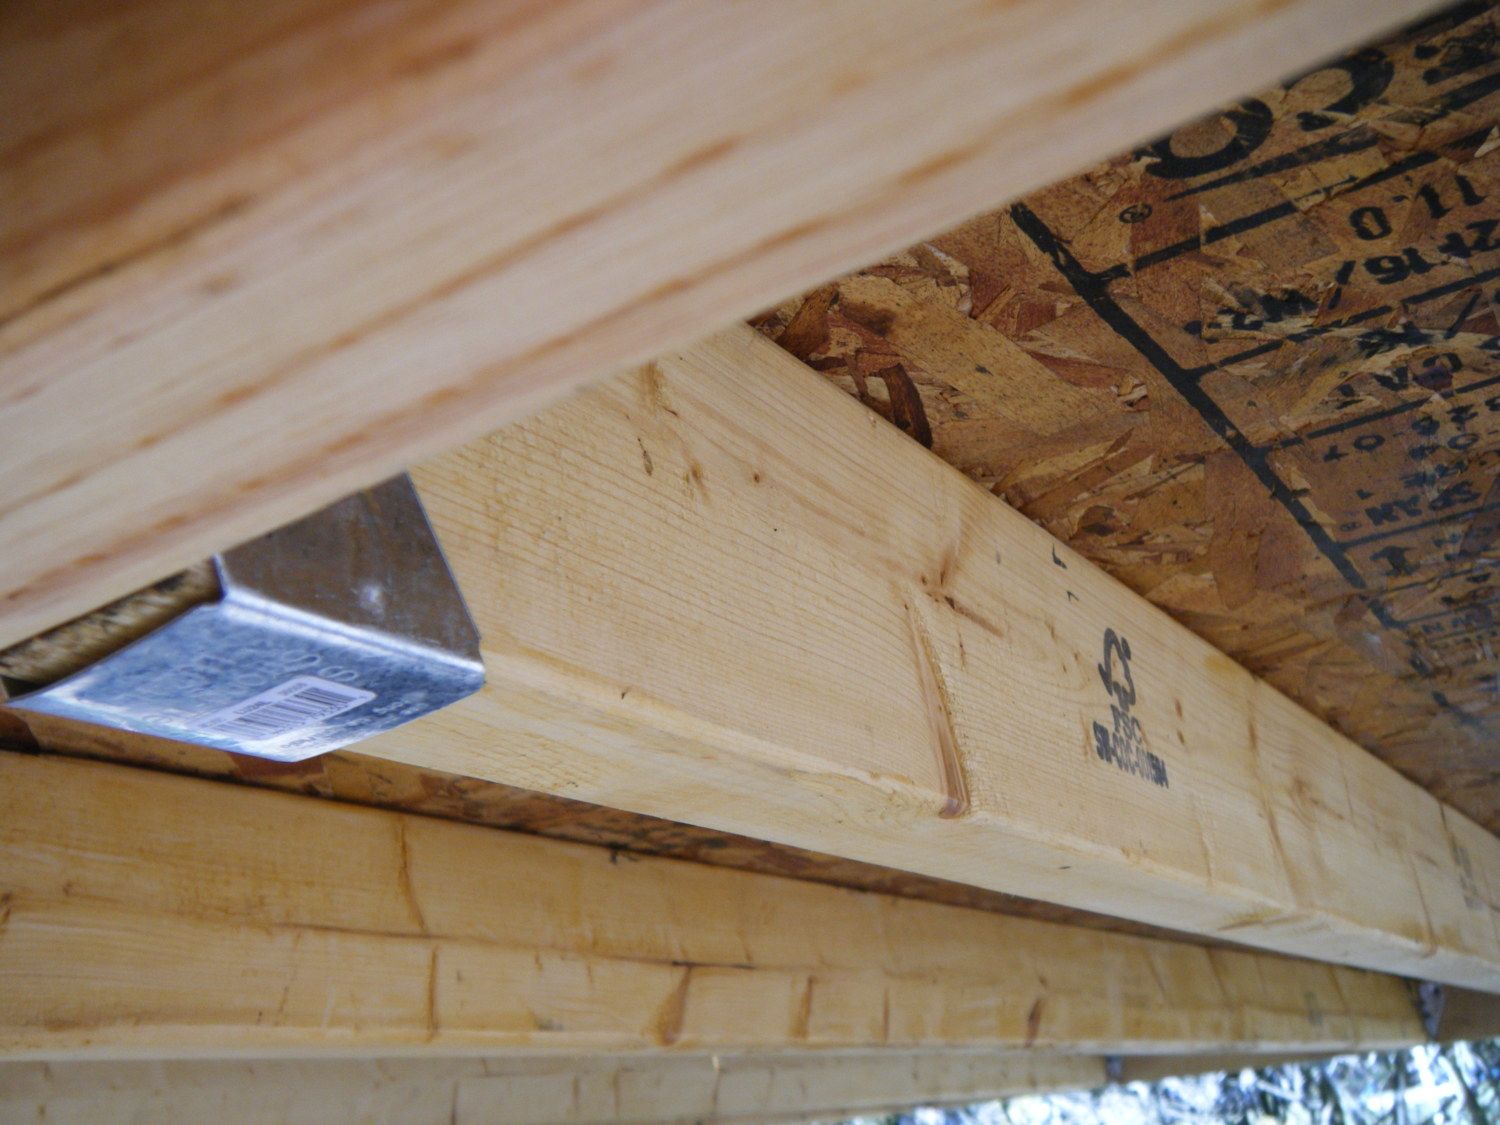
My crew had the day off work and it was unseasonably hot (23oC in the middle of March) so we started early and worked hard all day long. The day started with staining some of the salvaged wood so that the coop would last longer. The OSB sheets that went down for the flooring also got a coat of stain. When we laid the OSB down, we learned our first VALUABLE lesson....just because the posts were square in 2 directions does not mean you ahve built a square....you might also have built a perfect RHOMBUS. Instead of cutting the OSB to fit, my crew decided to dig up two of the posts previously set in 2 feet of concrete!!!! Once the structure was square (something we confirmed by measuring the distance from corner to corner along both diagonals, we put in the floor joists using joist hangers. Finally we screwed down the OSB floor and stopped for lunch.
Revived, we then turned our attention to the header. Constructed so that snow and rain will flow down the roof, it is 2 feet high and just tall enough to house a left-over window we found in the shop. We centered it (well almost centered it) on the south facing wall to provide a source of heat via sunshine in the winter. It is flanked by 2 smaller screened in windows (yet to be made) that will provide a nice cross-brred to help cool things off in the summer.
Next step was to run 2X10s along the frame, creating the pitch for the roof. Then we screwed 2 more sheets of OSB to form the roof. As you can see from the pictures, many hands make light work....but the smaller the helper, the slower the job. We stopped for supper and then my lead hand went back out to frame 2 of the outside walls.
Day One:
Because we are doing this on a budget and in our "within city limits" backyard, the design and build will need to balance cost vs neighbour appeal. With that in mind we searched on kijiji for recycled, yet good quality building materials. Having hit "pay dirt" we loaded the family into the truck and drove 1.5 hours to pick up a truckload of 4x4, 2x4 and 2x2 in a variety of lengths. There was so much wood that it filled the entire box of the truck....which is probably a good thing because on the way home , we stopped at a "Feather Auction". Our 3 year old tried to talk her dad into a pair of African geese, and I had my eye on a box of silkie chicks, but with no space to transport them home, we left the auction empty handed. The rest of the day was spent unloading the wood and finalizing the plans for the coop.
Day Two:
It started off with an inventory of the wood and another lively discussion about design. The bottom line still remains that we need to safely house 20 chickens (hopefully integrated into one group) with enough visual appeal that the neighbours won't complain. So far, I have managed to convince my building crew to erect a coop 8x8 with an attached run 8x16. The coop will be raised 2 feet off the ground. We are sinking the 4x4 posts into the ground 2 feet because the garden is not level and to offset the ground freeze/thaw cycle in SW Ontario. We measured and staked the post locations and I hope to have the holes dug, posts in and 2x4 frame done by the end of the day. It is 15oC today so we are going to make the most of it. We also made a trip to the hardware store to get hangers (probably not the technical term) for the 2x4s.
 Great news! The boards are level! We can start mixing concrete.
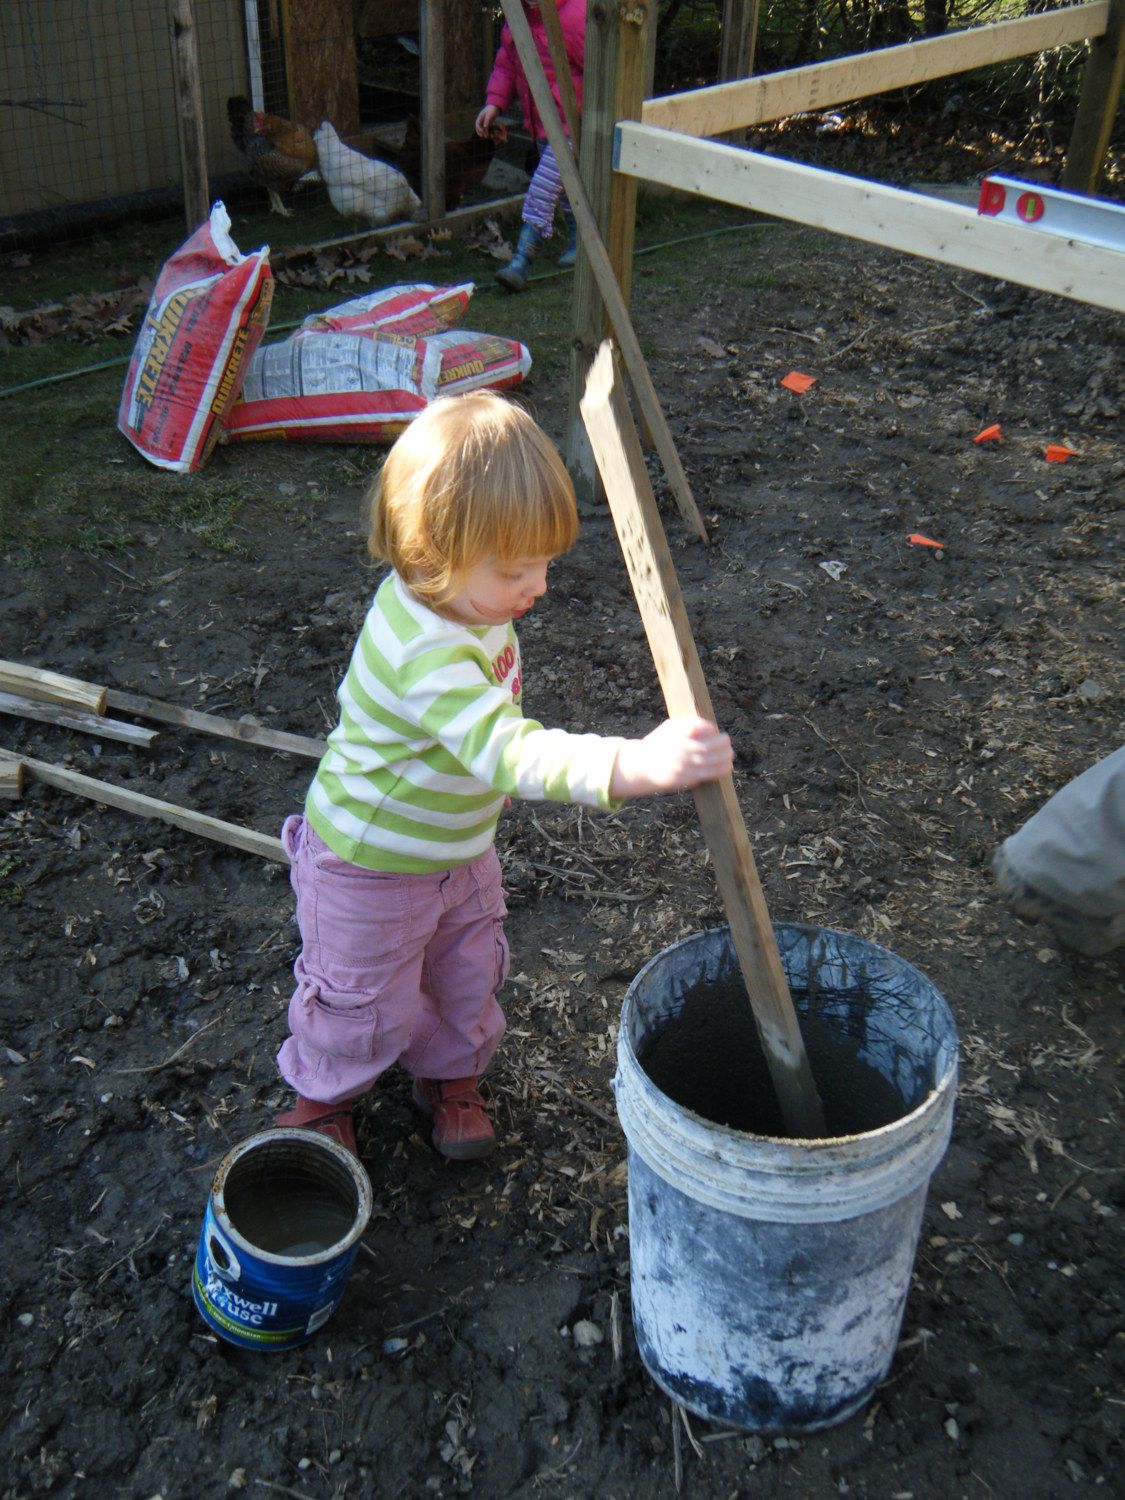
 Posts squared up with supports while concrete sets. We used fence brackets to string outside 2x4s.
Day Three:
My crew had the day off work and it was unseasonably hot (23oC in the middle of March) so we started early and worked hard all day long. The day started with staining some of the salvaged wood so that the coop would last longer. The OSB sheets that went down for the flooring also got a coat of stain. When we laid the OSB down, we learned our first VALUABLE lesson....just because the posts were square in 2 directions does not mean you ahve built a square....you might also have built a perfect RHOMBUS. Instead of cutting the OSB to fit, my crew decided to dig up two of the posts previously set in 2 feet of concrete!!!! Once the structure was square (something we confirmed by measuring the distance from corner to corner along both diagonals, we put in the floor joists using joist hangers. Finally we screwed down the OSB floor and stopped for lunch.

Revived, we then turned our attention to the header. Constructed so that snow and rain will flow down the roof, it is 2 feet high and just tall enough to house a left-over window we found in the shop. We centered it (well almost centered it) on the south facing wall to provide a source of heat via sunshine in the winter. It is flanked by 2 smaller screened in windows (yet to be made) that will provide a nice cross-brred to help cool things off in the summer.
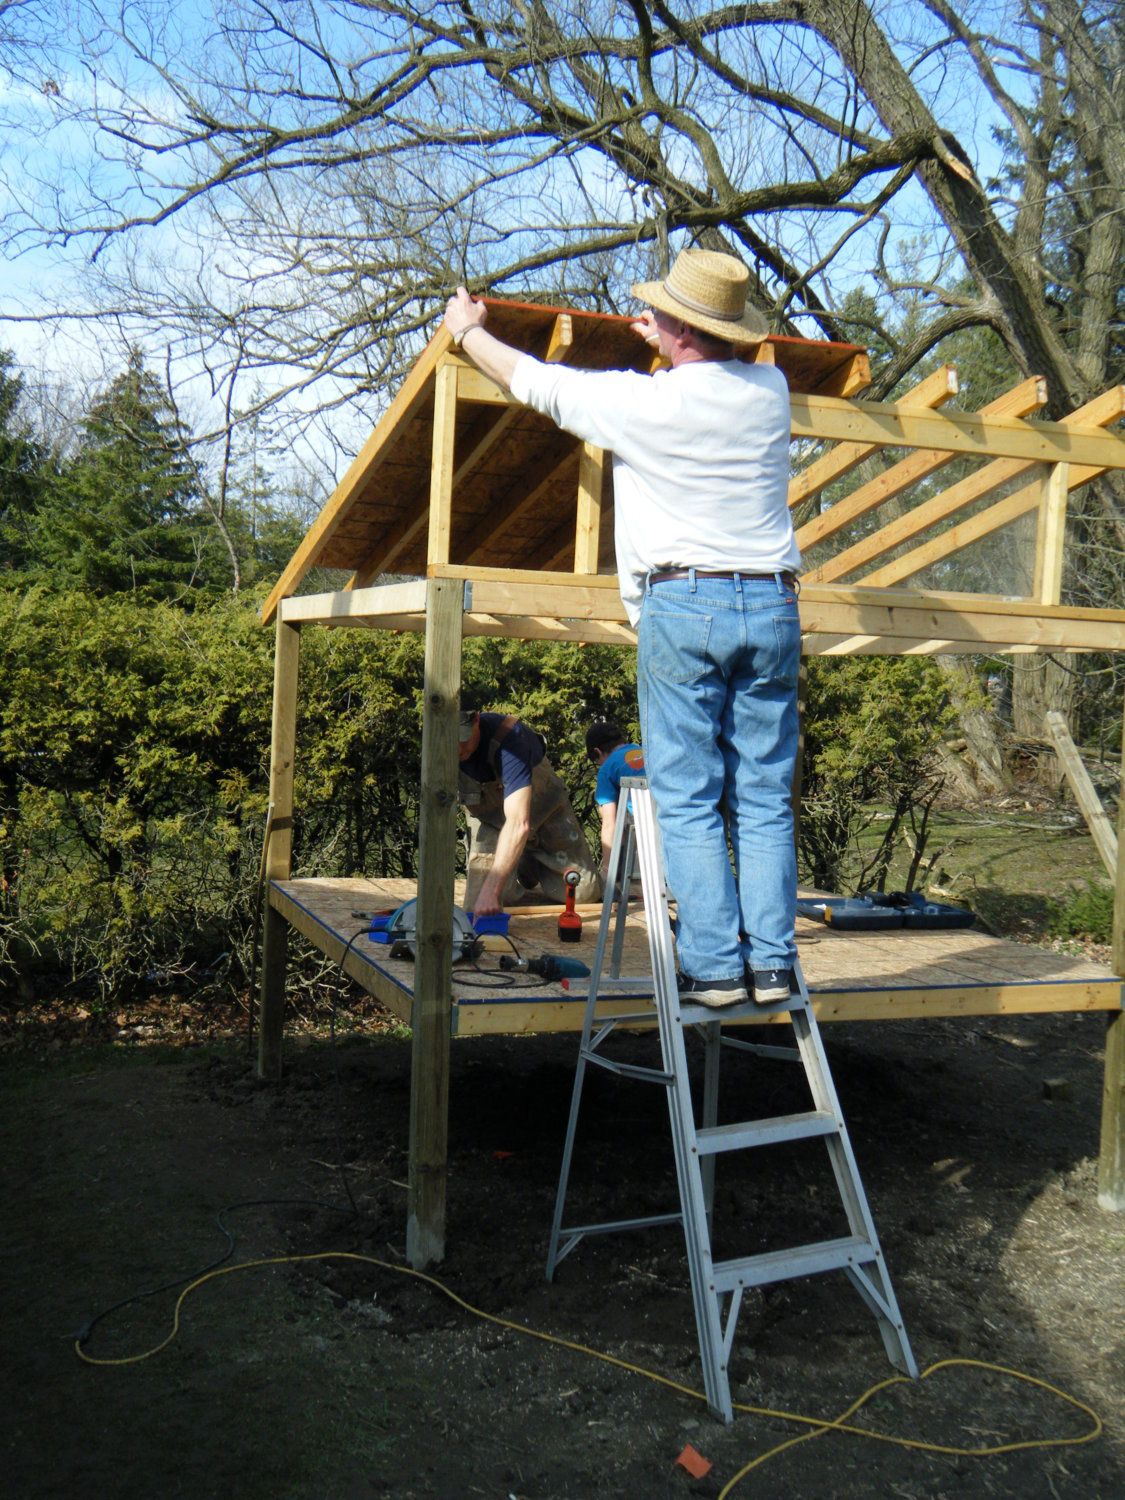
Next step was to run 2X10s along the frame, creating the pitch for the roof. Then we screwed 2 more sheets of OSB to form the roof. As you can see from the pictures, many hands make light work....but the smaller the helper, the slower the job. We stopped for supper and then my lead hand went back out to frame 2 of the outside walls.
