After a lot of discussion we decided to use pallets for the base of our coop. We have access to good food grade pallets and choose to go the cheap (free) direction. I have to tell you though, I am not sure my husband will be willing to go that direction next time. Pallets are not a true, uniform dimension and he had some trouble with that. He told me many times that it would have been faster to just frame them up, than it was trying to line up the pallets
I have done a lot of research over the last few weeks, since the chicks came to live with us and have tried to incorporate as many of the "good" ideas I have seen as possible.
This is our progress the first weekend of work last week. We had company and a football game yesterday, but plan on getting a whole day of work in on it today as soon as the sun is up. The chicks are getting a little big for the broader and need to get outside. Did you know chicks love grasshoppers!
We decided to re-use as many materials as we could, we have done pretty well, so far. Our design will end up being 4 x 10 ft in size by 4ft high. We only have 5 chickens right now, but my husband must already understand chicken math, because I was instructed to "build it bigger than you need"!
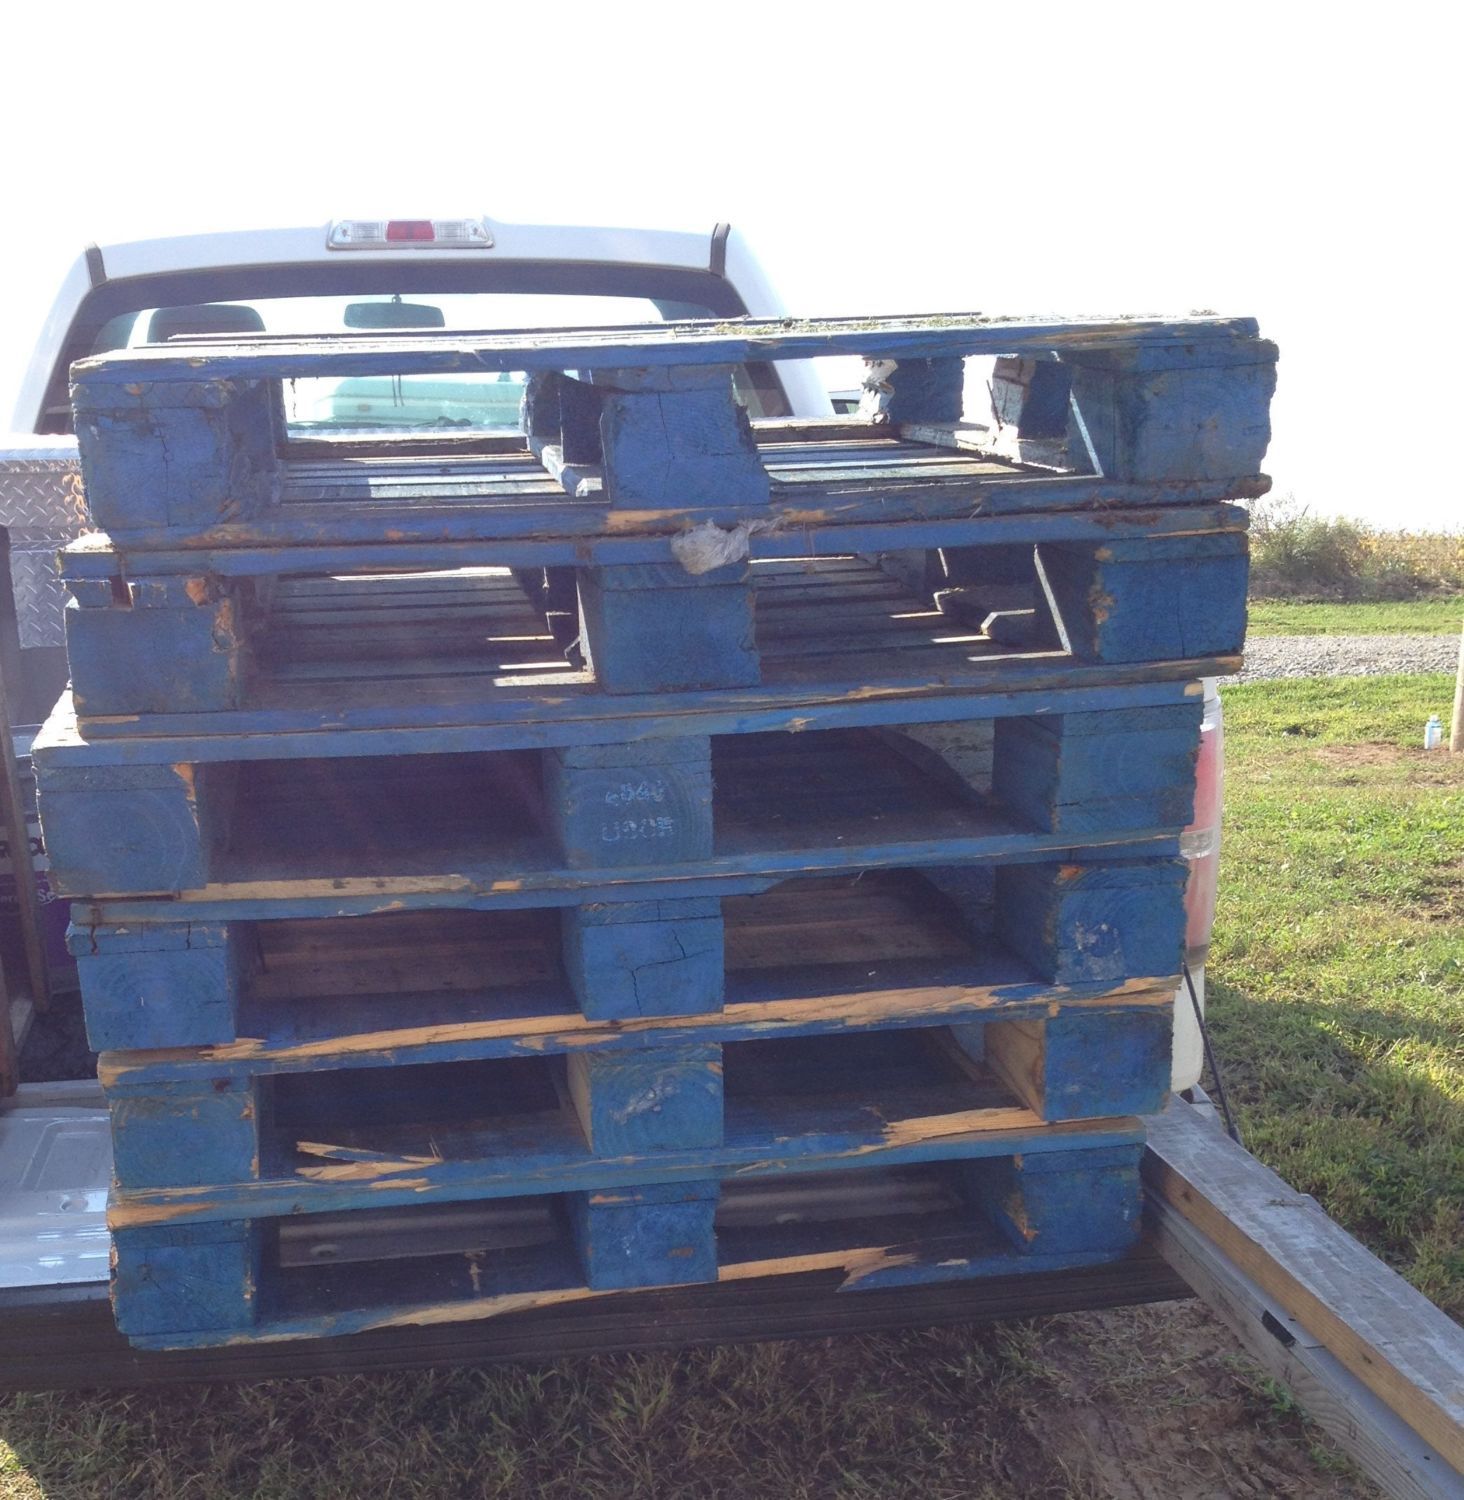
We started with a stack of pallets
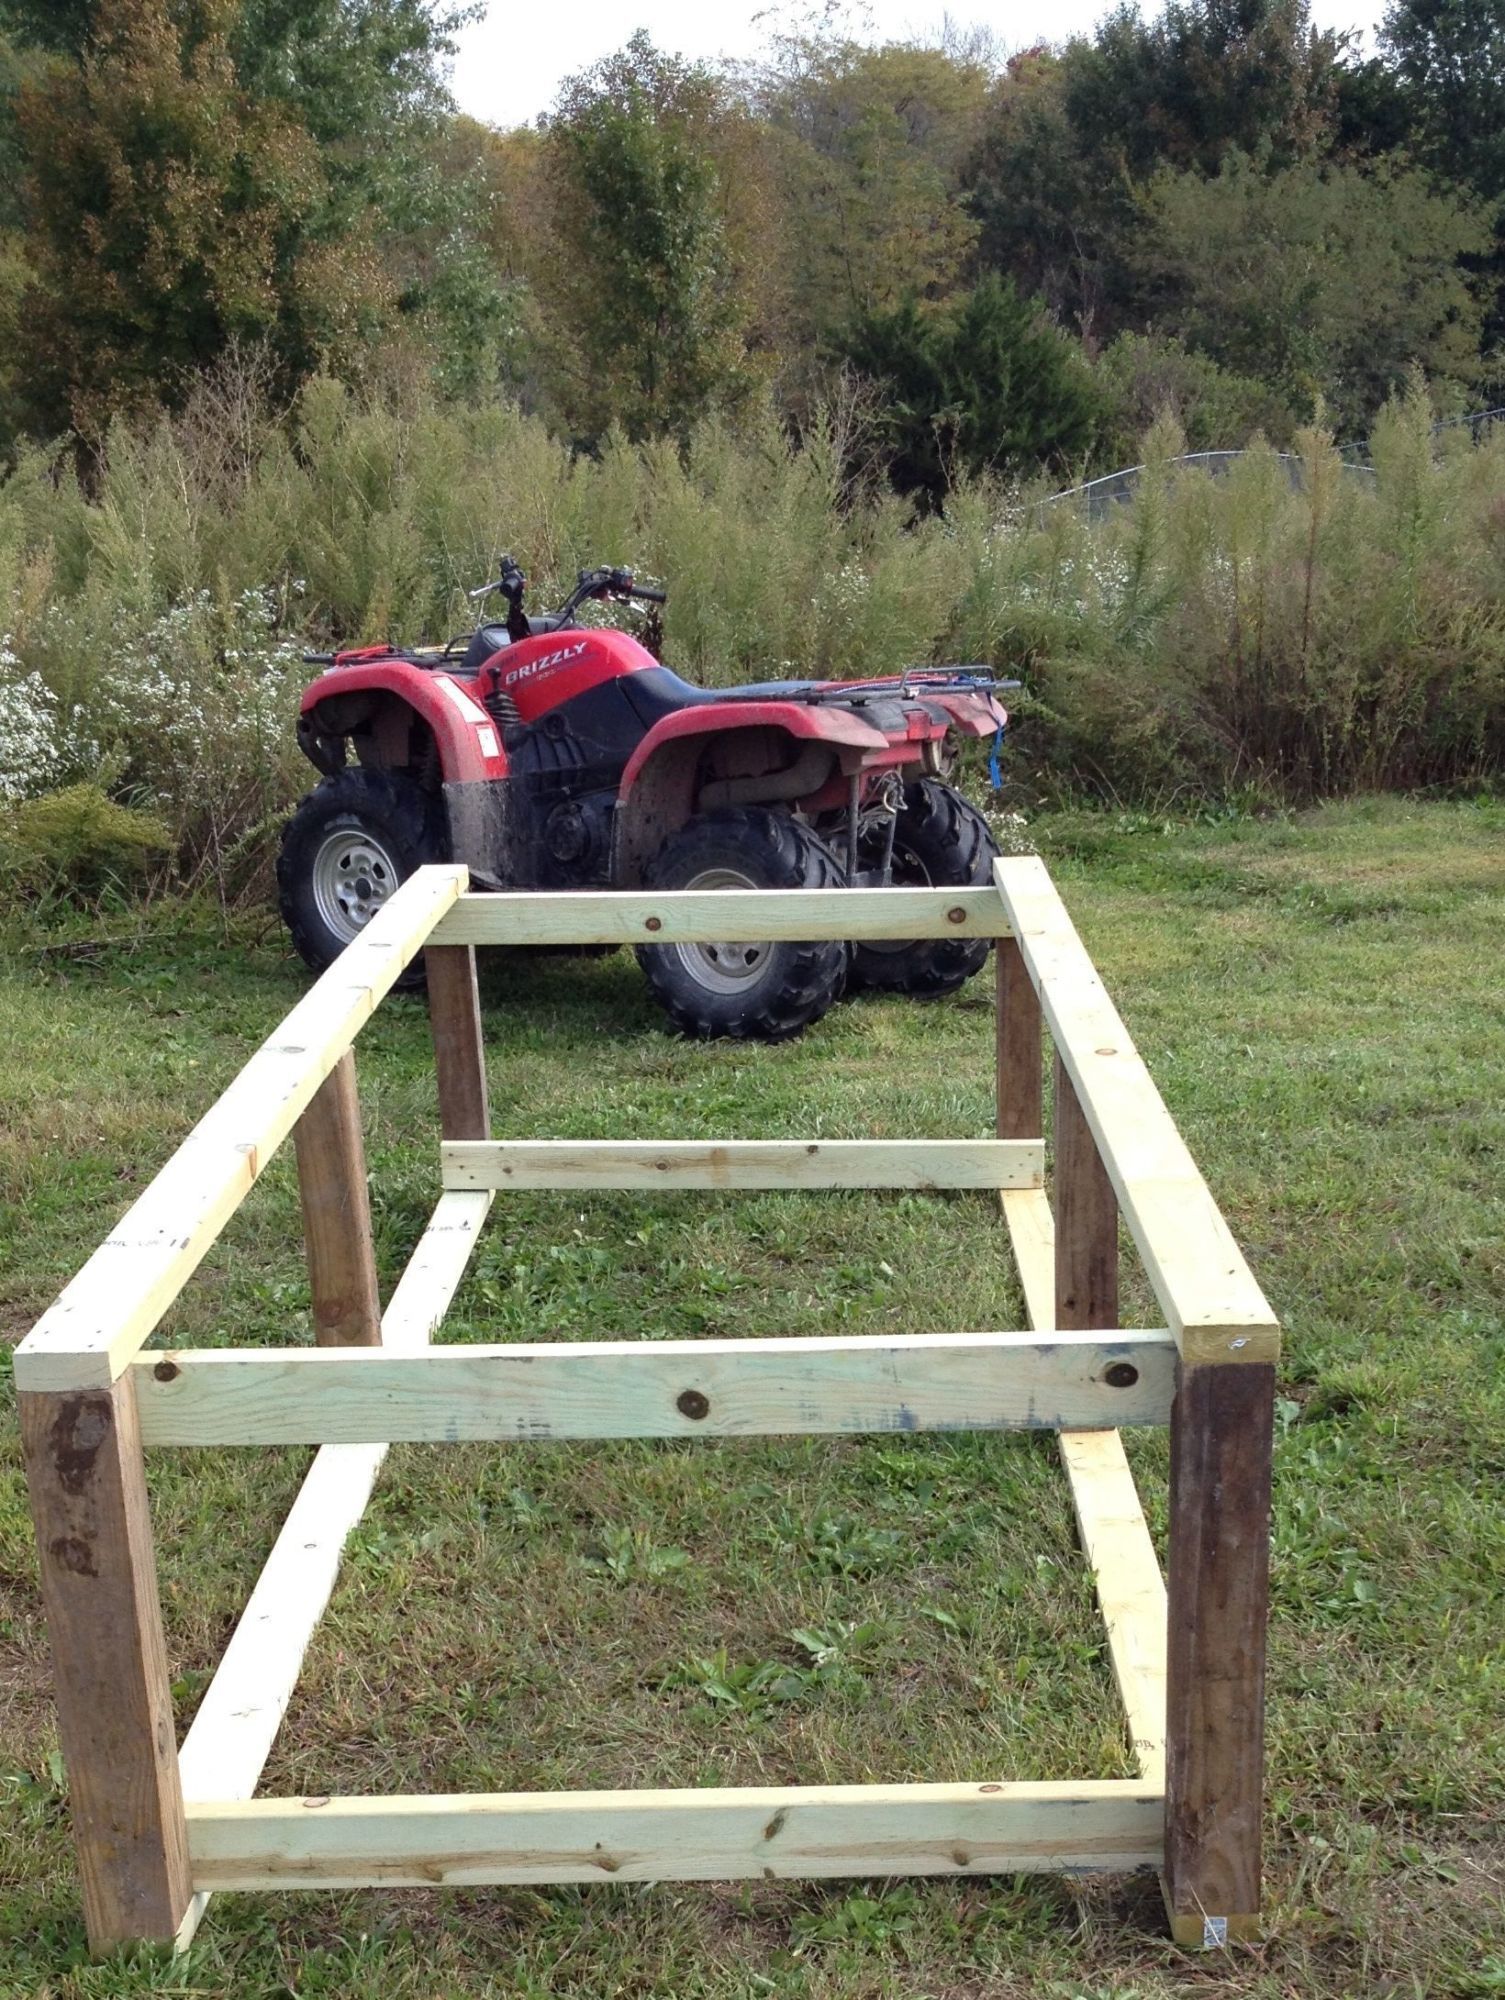
We did purchase some treated lumber to use for the base. It was built on flat "skids" so that the coop can be moved to new locations as needed. My daughter is the one that "Resuced" the chicks that were left behind, so she was required to do a great deal of the work.

The base ready for the pallet floor
3 pallets in place for the floor.

Starting to put the pallets in place for walls. Apparently my husband was not as amused as my daughter!

Front and back walls in place.

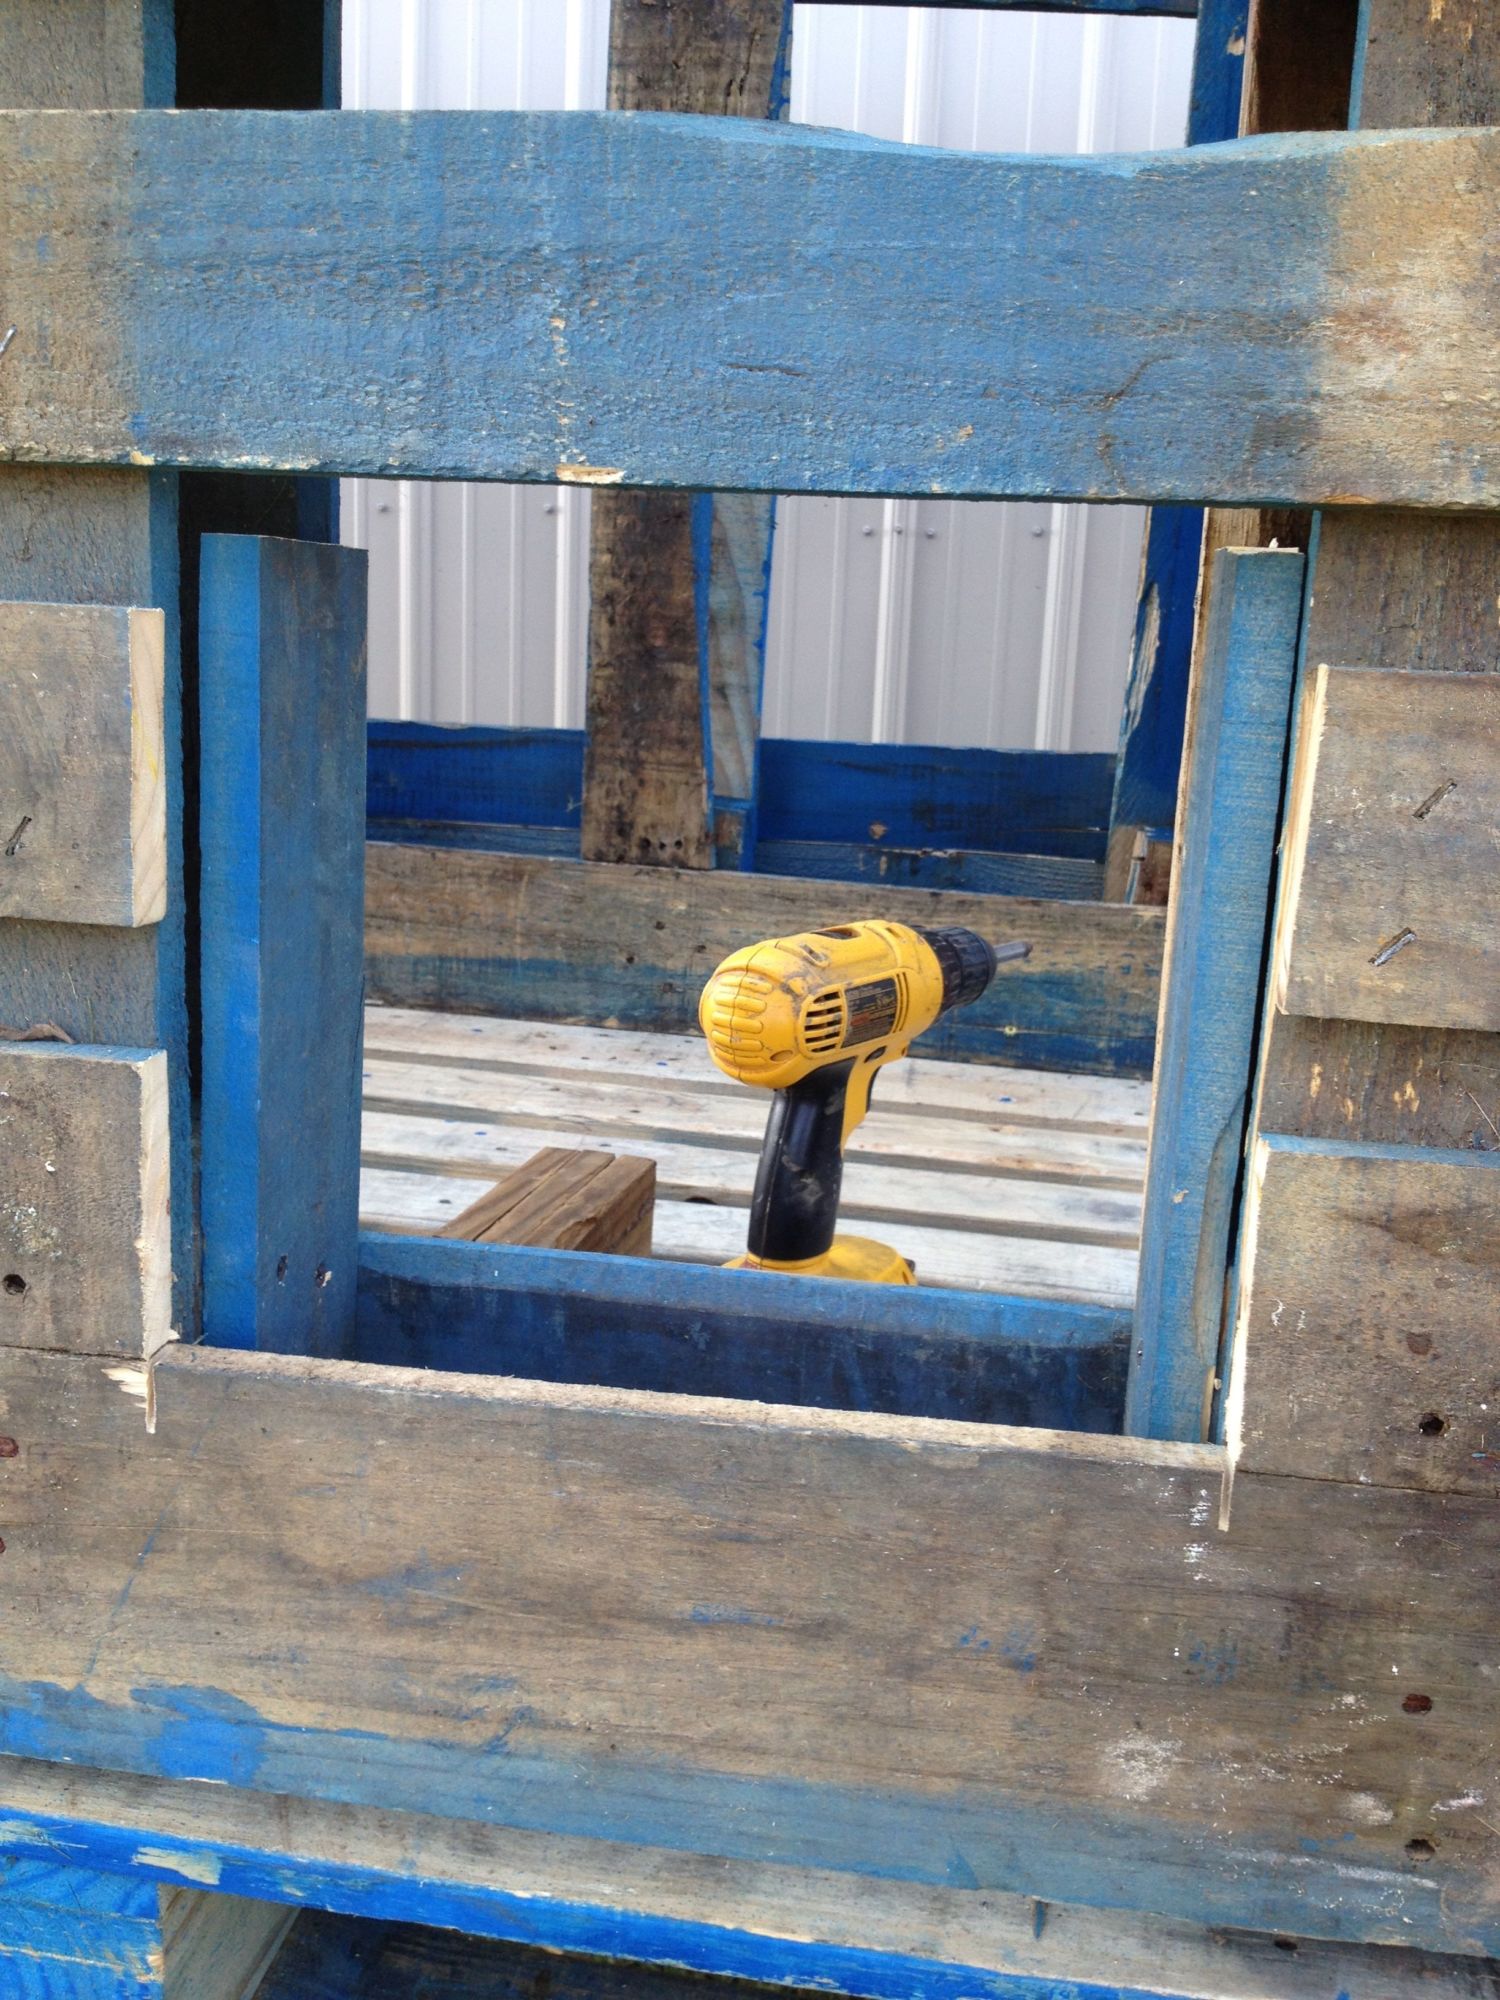
Cut and started to frame in the chicken door.
I found a pile of free cedar plywood on craigslist. (LOVE CRAIGSLIST) and some really cheap at the Restore. It worked well for lining the inside of the walls.

My husband was able to get several rolls of this blue plastic liner. We used it to cover the floor for cleaning ease. He used silicone to seal the seam.
You can see the nesting boxes down at the other end.

This we where we ended last weekend. Didn't get nearly as far as we wanted, but at least we got it started. Time to head out now and get started. Have a great day!

So if any of you have any questions or PLEASE suggestions please post! Thanks to all of you, you have helped a great deal so far!
I have done a lot of research over the last few weeks, since the chicks came to live with us and have tried to incorporate as many of the "good" ideas I have seen as possible.
This is our progress the first weekend of work last week. We had company and a football game yesterday, but plan on getting a whole day of work in on it today as soon as the sun is up. The chicks are getting a little big for the broader and need to get outside. Did you know chicks love grasshoppers!
We decided to re-use as many materials as we could, we have done pretty well, so far. Our design will end up being 4 x 10 ft in size by 4ft high. We only have 5 chickens right now, but my husband must already understand chicken math, because I was instructed to "build it bigger than you need"!
We started with a stack of pallets
We did purchase some treated lumber to use for the base. It was built on flat "skids" so that the coop can be moved to new locations as needed. My daughter is the one that "Resuced" the chicks that were left behind, so she was required to do a great deal of the work.
The base ready for the pallet floor
3 pallets in place for the floor.
Starting to put the pallets in place for walls. Apparently my husband was not as amused as my daughter!
Front and back walls in place.
Cut and started to frame in the chicken door.
I found a pile of free cedar plywood on craigslist. (LOVE CRAIGSLIST) and some really cheap at the Restore. It worked well for lining the inside of the walls.
My husband was able to get several rolls of this blue plastic liner. We used it to cover the floor for cleaning ease. He used silicone to seal the seam.
You can see the nesting boxes down at the other end.
This we where we ended last weekend. Didn't get nearly as far as we wanted, but at least we got it started. Time to head out now and get started. Have a great day!
So if any of you have any questions or PLEASE suggestions please post! Thanks to all of you, you have helped a great deal so far!
") I will be following along!
I will be following along!


