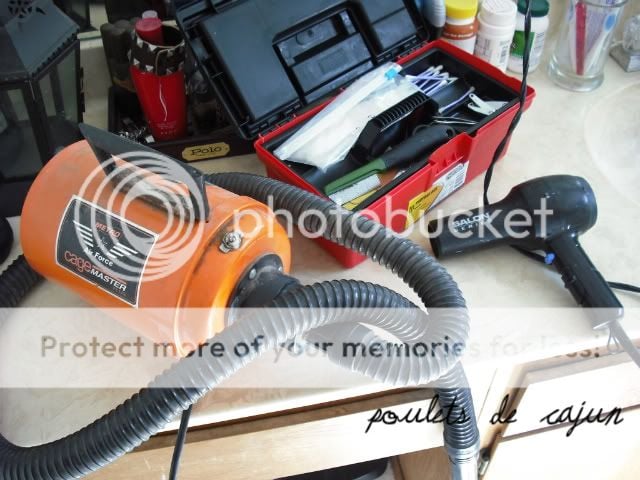
Step 1: Gather all the tools and equipment that you'll need to groom the bird from beginning to end. I use things like nail files, nail clippers, professional blower, hair dryer, flea combs, cotton swabs, large bath towels, and quick stop (or flour).
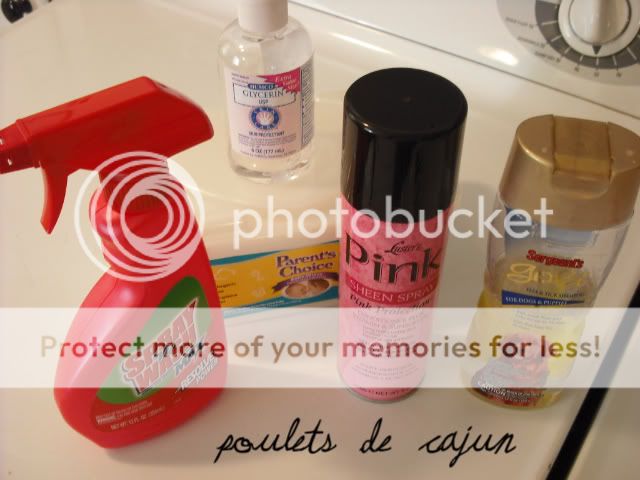
Step 2: Gather all the materials that you will use to clean the bird. I use glycerin in the final rinse water to provide extra fluffiness, puppy flea shampoo to exterminate any external parasites/insects, Spray-N-Wash or other stain remover for stained (white only) foot feathers, and oil sheen spray during final drying to add oil back to the feathers that was removed during washing.
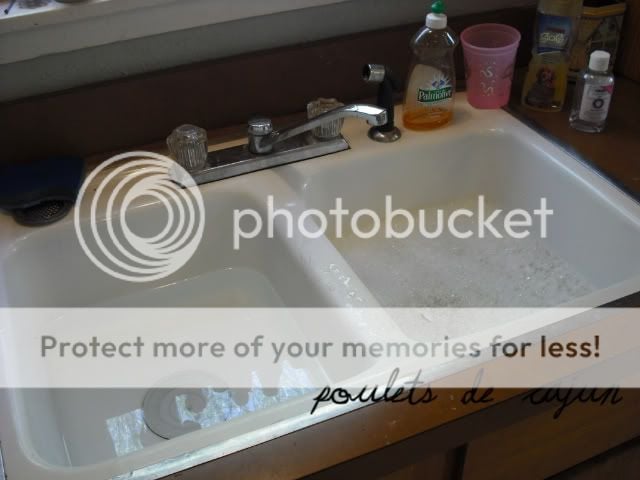
Step 3: For ease, I like to use the kitchen sink. I fill one side with warm water and add a few drops of dishwashing liquid to the water (to break through the natural oils), and I fill the other side with warm water and add a 4 second squirt of glycerine.
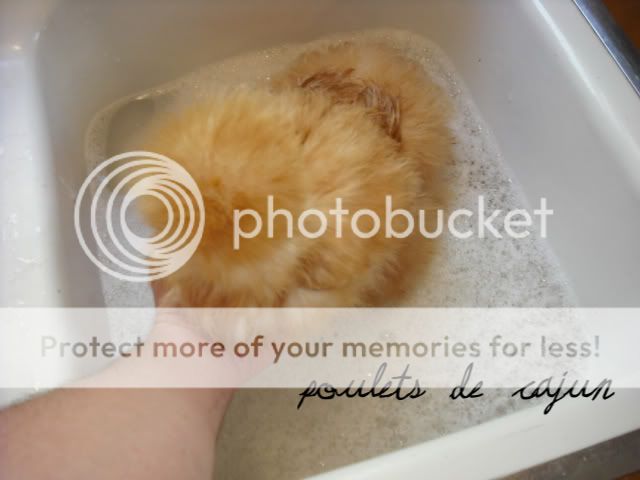
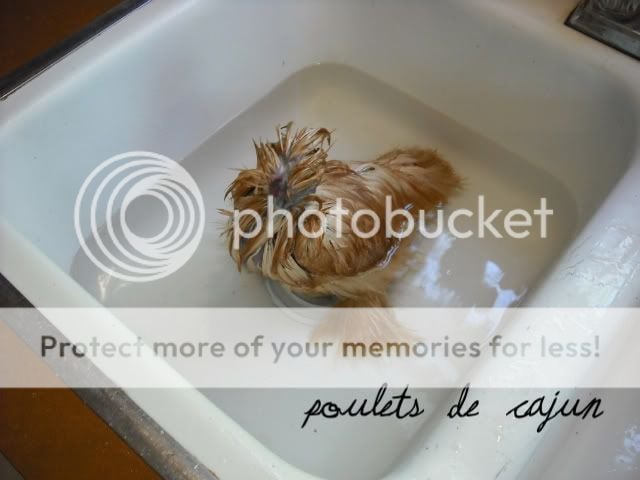
Step 4: Choose the bird you are going to wash and gently lower it into the water with a bit of soap. I highly suggest using two hands in this step, one under the bird, and one over the wings. For the pictures sake, I had a camera in the other hand.
Step 5: Use a plastic cup to pour water over the bird, ensuring that every part of the bird is covered and wet.
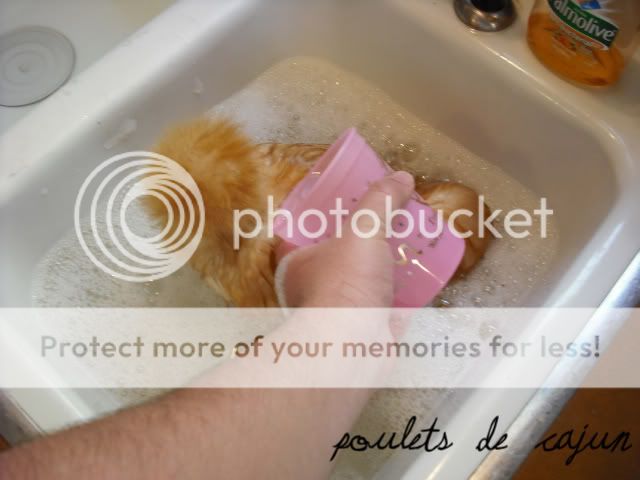
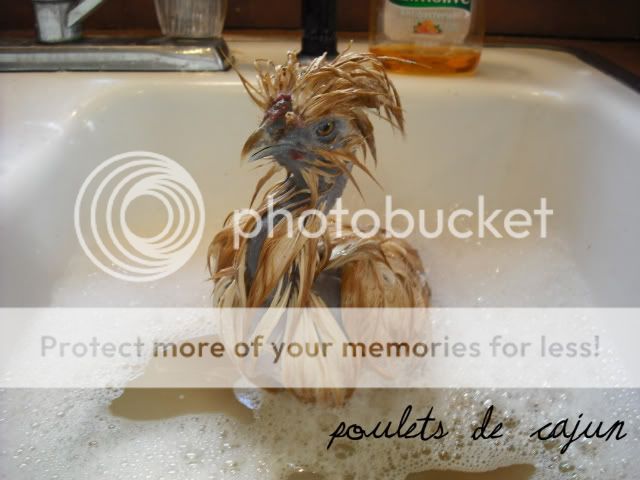
Step 6: Once the bird is wet, squirt some of the PUPPY formula flea shampoo on the birds back and begin to lather. This is a lot like washing your own hair. Dont use so much force that you break the feathers, but rub gently enough to remove the dirt. Make sure and get under the wings, around the vent, and of course the top knot, as these are the prime places for things like mites and lice. CAUTION! When cleaning the vent area, take care not to get the shampoo inside the vent as the chemicals in the shampoo can be hazardous to the birds health and fertility.
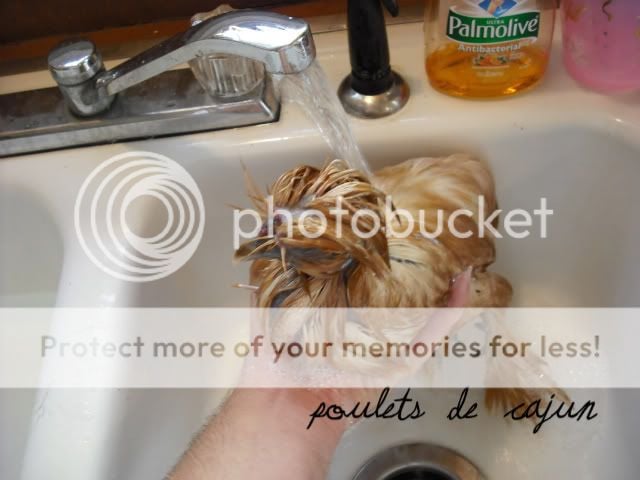
Step 7: Begin rinsing the bird under warm running water. I drain the sink at this time. Be sure to rinse the vent, the top knot, and under the wings, ensuring that all traces of the shampoo have been removed.
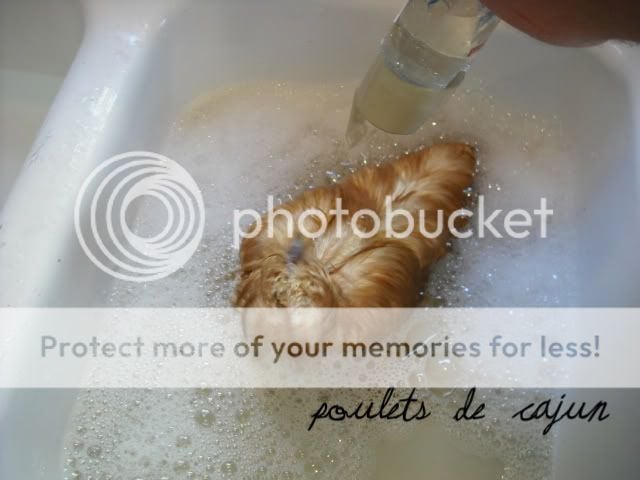
Step 8: Gently lower the bird into the other side of the sink, containing the final rinse solution. Use the plastic cup again to pour water over the birds back to ensure that the ENTIRE bird is rinsed very well.
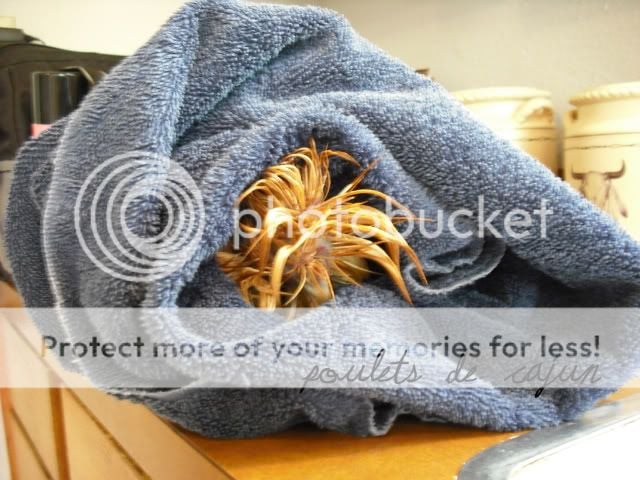
Step 9: Once the bird is rinsed remove it from the water and gently wrap it in a clean, dry bath towel. Do not wrap the bird so tight that it cannot move, but ensure that it can't fall out. We commonly call this the "Silkie Burrito."
Step 10: I generally start drying at the head. Do NOT remove the bird completely from the towel. Expose small portions at a time to prevent the bird from becoming chilled. I start the drying process using a professional blower to knock off most of the water.
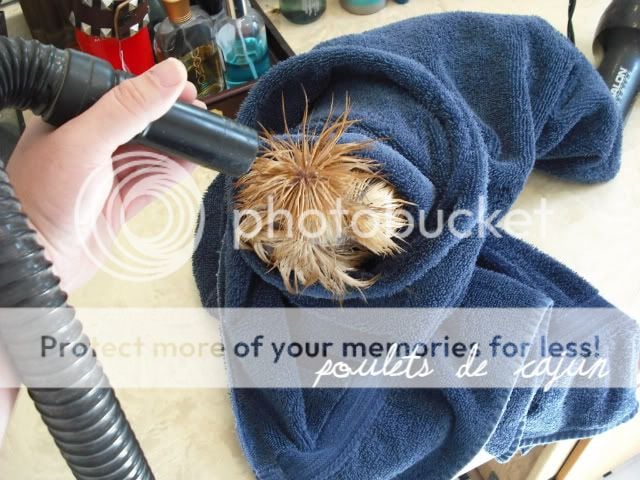
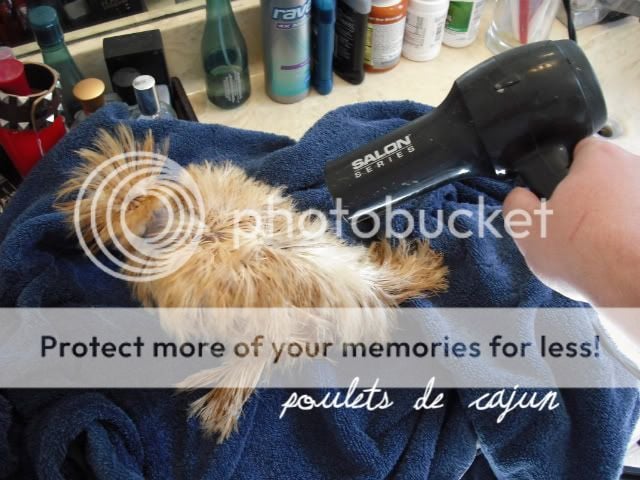
Step 11: Once the bird reaches this point, I switch to the hair dryer for final drying.
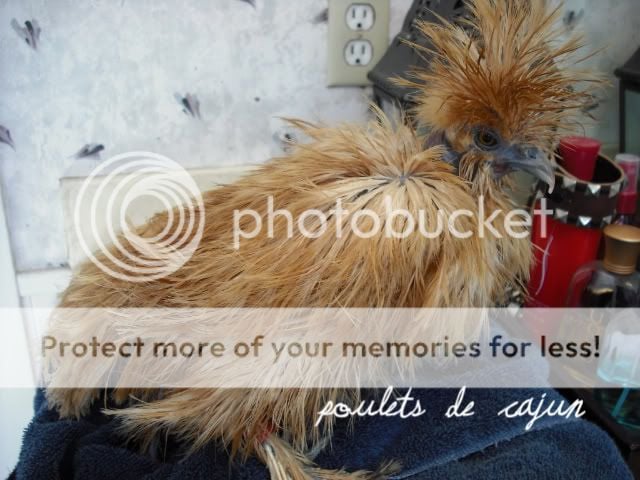
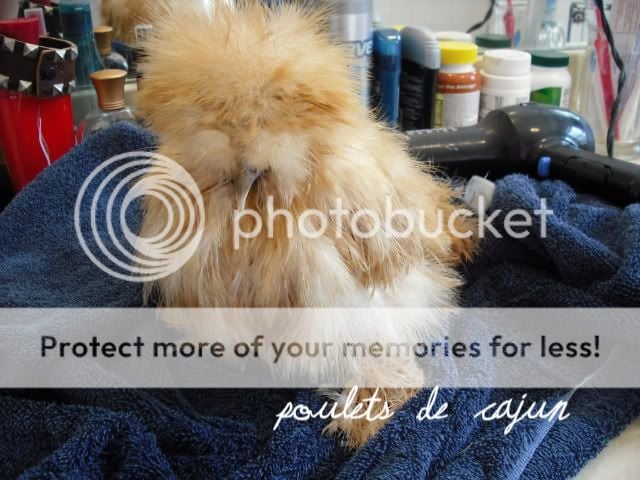
Step 12: Continue drying with the hair dryer until the bird is 95% dry. At this point I would spray it with a little oil sheen to add a little oil back to the feathers that was removed during shampooing. CAUTION CAUTION CAUTION! Be EXTREMELY carefule with the hair dryer. Use an alternating pattern of warm/cold air. DO NOT ever keep the hair dryer in one place, as you may burn the birds skin with the hot air.ALWAYS keep the hair dryer moving. *TIP!* Blow drying from tail to head will produce a little extra fluffiness.
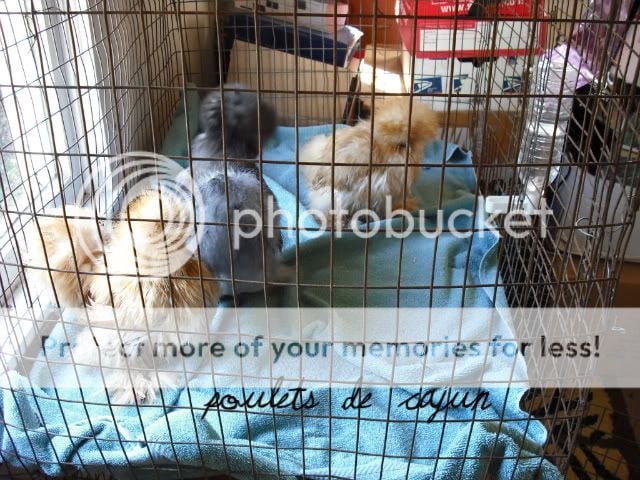
Step 13: Once the bird reaches this point, I place it in a holding cage INSIDE the house until it finished drying completely. I like to allow the bird to preen itself during the very last stages of drying as it provides a more natural looking finished bird.
This is only MY way of doing things, and it is a system that *I* have developed over time. There are of course many ways of cleaning a bird, but hopefully this will give you a good enough idea to start developing your own.
Step 2: Gather all the materials that you will use to clean the bird. I use glycerin in the final rinse water to provide extra fluffiness, puppy flea shampoo to exterminate any external parasites/insects, Spray-N-Wash or other stain remover for stained (white only) foot feathers, and oil sheen spray during final drying to add oil back to the feathers that was removed during washing.
Step 3: For ease, I like to use the kitchen sink. I fill one side with warm water and add a few drops of dishwashing liquid to the water (to break through the natural oils), and I fill the other side with warm water and add a 4 second squirt of glycerine.
Step 4: Choose the bird you are going to wash and gently lower it into the water with a bit of soap. I highly suggest using two hands in this step, one under the bird, and one over the wings. For the pictures sake, I had a camera in the other hand.
Step 5: Use a plastic cup to pour water over the bird, ensuring that every part of the bird is covered and wet.
Step 6: Once the bird is wet, squirt some of the PUPPY formula flea shampoo on the birds back and begin to lather. This is a lot like washing your own hair. Dont use so much force that you break the feathers, but rub gently enough to remove the dirt. Make sure and get under the wings, around the vent, and of course the top knot, as these are the prime places for things like mites and lice. CAUTION! When cleaning the vent area, take care not to get the shampoo inside the vent as the chemicals in the shampoo can be hazardous to the birds health and fertility.
Step 7: Begin rinsing the bird under warm running water. I drain the sink at this time. Be sure to rinse the vent, the top knot, and under the wings, ensuring that all traces of the shampoo have been removed.
Step 8: Gently lower the bird into the other side of the sink, containing the final rinse solution. Use the plastic cup again to pour water over the birds back to ensure that the ENTIRE bird is rinsed very well.
Step 9: Once the bird is rinsed remove it from the water and gently wrap it in a clean, dry bath towel. Do not wrap the bird so tight that it cannot move, but ensure that it can't fall out. We commonly call this the "Silkie Burrito."
Step 10: I generally start drying at the head. Do NOT remove the bird completely from the towel. Expose small portions at a time to prevent the bird from becoming chilled. I start the drying process using a professional blower to knock off most of the water.
Step 11: Once the bird reaches this point, I switch to the hair dryer for final drying.
Step 12: Continue drying with the hair dryer until the bird is 95% dry. At this point I would spray it with a little oil sheen to add a little oil back to the feathers that was removed during shampooing. CAUTION CAUTION CAUTION! Be EXTREMELY carefule with the hair dryer. Use an alternating pattern of warm/cold air. DO NOT ever keep the hair dryer in one place, as you may burn the birds skin with the hot air.ALWAYS keep the hair dryer moving. *TIP!* Blow drying from tail to head will produce a little extra fluffiness.
Step 13: Once the bird reaches this point, I place it in a holding cage INSIDE the house until it finished drying completely. I like to allow the bird to preen itself during the very last stages of drying as it provides a more natural looking finished bird.
This is only MY way of doing things, and it is a system that *I* have developed over time. There are of course many ways of cleaning a bird, but hopefully this will give you a good enough idea to start developing your own.
Last edited:


