Frostbite prevention

jgarruto

Chirping
8 Years
May 9, 2015
43
10
89
Columbus, Montana
All,

My concerns about our coop design were confirmed the night before last when my ladies contracted frostbite. We were at a point of no return on the construction this summer when I realized we had some major flaws. Now it's remediation time.

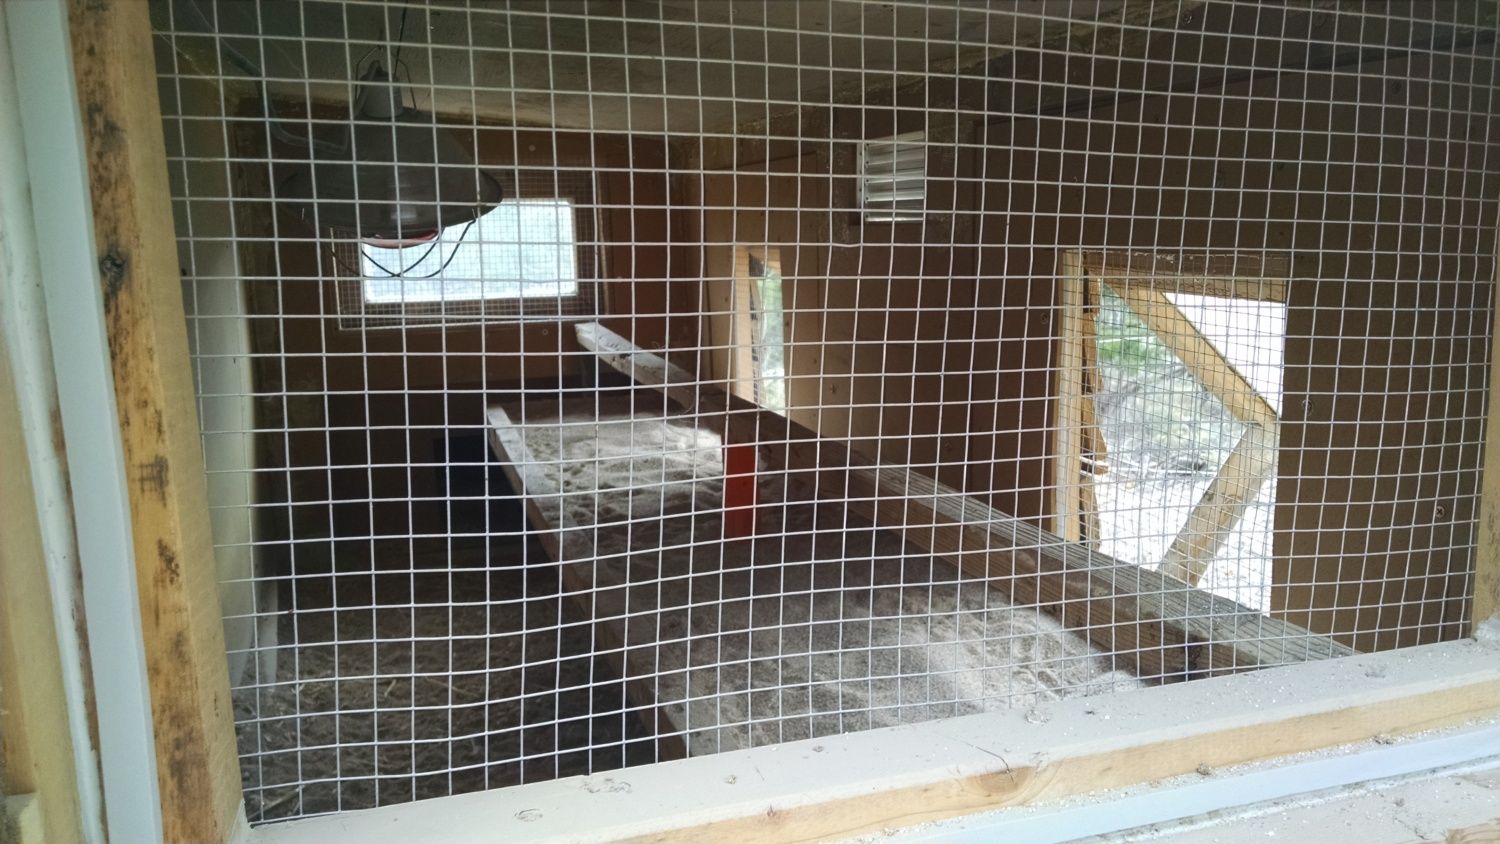
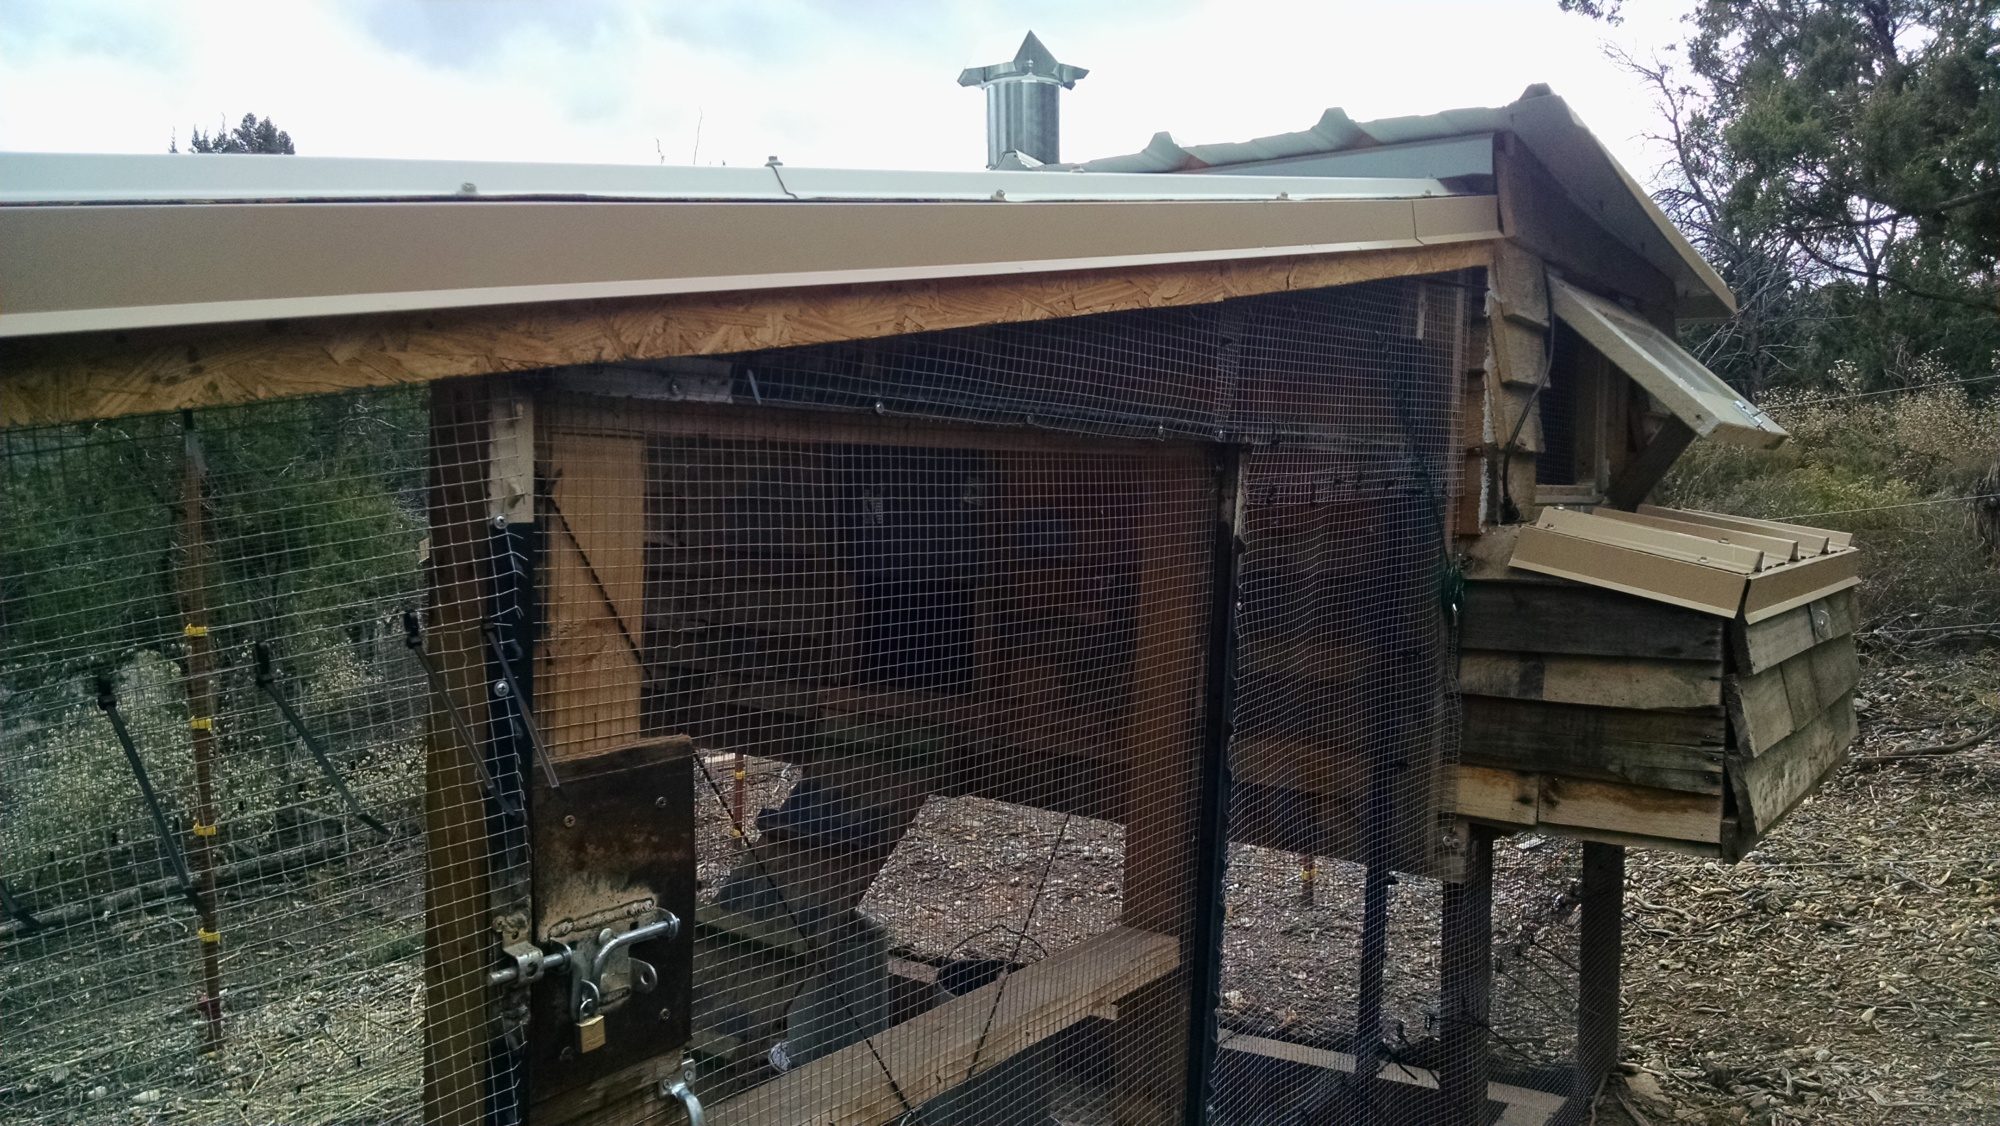
Our coop is 3.5 X 7.5 feet, but limited headspace. We installed a wall vent on the south side of the coop, but it's right next to the roost, as are all the windows. We can adjust or close the flanges as necessary. We added a roof vent yesterday, hoping that would solve our issues. I'm not sure it has, as the hens' combs look worse today. Do we need to add additional roof vents? It's not a large coop, but the ladies do sit at the lower end of the roof very close to the ceiling.

We have a poop board, which I have resolved to clean every day if possible. The coop and run both use sand and there is stall clean mixed in with the sand. I usually leave at least one window open during the day. We have 6 hens.

Attached are pics. Thanks for the help!

400

400
 
Last edited:
Can you move the roost to the taller side of the coop?

I had a similar coop set up and have to wonder if there is something else going on with yours.

How humid is it outside the coop? Is it just humid in general right now?

Can you out some foam insulation under the metal roofing and cover it with thin plywood to keep them from pecking the foam?
I know I never had frostbite with mine until I had them in the new coop with metal roof. Mine went 4 winters with no frostbite but one hen got it last winter shortly after moving them in the new coop that has a metal roof.
Now hearing you have already had frostbite makes me want to insulate my ceiling...... I think I will put it on the to do list.
 
Consider putting additional vents in these locations...

700


Use a vent covers similar to this style that will still allow air in but helps prevent pass through drafts, remove the internal flapper in the vent cover if it has one, as that will stop air flow...

http://www.lowes.com/pd_29680-85334-VTL0015_0__?productId=3203015
700


Insulation as suggested on the steel roof will also help as it will lessen condensation build up on the steel as the temps shift...
 
Last edited:
@21-hensincharge,

I could possibly move the roost, but it would be nearly imossible to clean the poop board then. My arms don't quite have a 3 1/2 foot reach! :) We already insulated the coop with foam board insulation. Including the roof. And caulked and foam sprayed every crevice to eliminate drafts. We may have done *too* good a job! We live outside Albuquerque, NM, at 6500 feet, in the high desert, so humidity is very low. I had my husband install 2 more 6" round roof vents today for a total of 3 vents. Fingers crossed...
 
Last edited:
@MeepBeep,

We do already have Styrofoam insulation between the roof and the interior press board walls/ceilings. It was only about 23 the last couple nights, and 50ish during the day. :(

My husband added 2 more roof vents today, for a total of 3- 6" round vents. We also have the wall vent, but I am thinking I should maybe close that up since it's in the middle of the roost. Can you explain to me what floor-level vents help do? I thought I had read today that any floor vents should be closed during winter?

Love the suggestions, and appreciate the help!
 
I know it would be difficult to clean the droppings board. How about a childs shovel or hoe with a short handle?

Just thinking keeping the height available to them at the max for vapors to rise higher.
I don't think your coop is crowded enough to cause moisture issues so the frostbite is a bit baffling to me. It was -16 when my hen got it.
How cold did it get there? Never mind you already answered it.

Still very odd. I would go with the added vents. I still leave windows open at that temp here.
 
Last edited:
We just installed the roof venting on the high side, so now I'm thinking that if I moved the roost, they would be in a draft from any air currents moving upward. Garrr. This is such an inexact science. We had a bear attack earlier this summer, and installed hotwire around the coop, but I am still nervous about open windows, of course, the girls sleep right up against the windows, so no go in winter. :(


This was my small coop (4x6) that I replaced. I never had issues with frostbite using this coop. Only once they moved to the 8x14 new coop.
This one is the one that was similar to yours. In the winter the back window got closed in as did the one on the right side but the one on the left side was left open all winter. It had a wood and shingle roof.

I don't think it would make a draft on the roost if you had the roost below the ones on the high side so long as the others are closed.
What breed/breeds of chickens do you keep? Some do better than others against the frostbite is why I ask. Take a Leghorn and a Wyandotte for example. Totally different body and comb types. The leghorn will be more likely to get frostbite than the Wyandotte.

OH and don't rub the frostbitten areas. It can cause it to bleed badly and the other chickens will be inclined to peck at it.
 
Last edited:
It looks like the space may be so low that your birds on the roost are positioned up near your very well insulated roof. The warm moist air rises and is perhaps trapped up near the roof to condense on the birds, despite your ample wall ventilation.

Surely your new roof vents will help. I would max those out (one square ft. of ventilation per bird is the minimum the BYC ventilation gurus recommend), plus add floor-level ones as someone else suggested, and for winter close up the big "windows" at the level of the roost, which dump cold air right onto your birds. Nice for summer, not so nice for winter.

Just speculating and looks like you already have gotten good advice. Sorry your birds were frostbitten. I have some with big combs and I move them to my cellar when it's really cold for an extended period, but that's not an option for most people.
 
You certainly don't need 1 sqft per bird of ventilation. That's practically taking the entire roof off. The key to venting is that there is draw like a wood stove needing chimney that draws the air up. So it's not surface area of vents rather how much air is flowing through, exchange rate of air in coop. High vents combined with no calking construction (cracks in corners, small cracks around doors, etc.) is usually enough but can be the bottle neck to proper air exchange rate. A 2" hole saw or drill many holes with larger wood drill works great for adding some air flow. With a hole say only a few holes just above bedding line along the low wall of roof. Cover holes with hardware cloth.

My coops dimensions are close to yours- 4x7. Other than cracks in construction my only vents are along the roof line. I covered the entire top in hard wire cloth before putting on metal roof. The roofing high hats act as the vents pulling air from low end and out high end of roof. In the 4ft distance the air mixes with the heated air of the coop to expel moisture and gas. The slow inward venting of cracks aids in moving the moisture and gases up along with replenish of fresh air. Simple and works like a charm. I added a window on far end from coop door but that is a screwed on 14x14 plexiglass to bring in light for them roosting at dusk.

Forgot to mention, my 4x7 coop with that venting is holding 14 mature birds. It's a far cry from 14 sqft of venting and works. I say you may need the added holes along bottom of coop as you've insulated preventing air flow naturally occurring. Hole saw vents along the top both sides, along top of highest slant and along lowest slant of roof. Then one or two hole saw or many small wood drill holes along bottom (above bedding) of lowest wall. With windows closed that is enough venting, few larger holes or many small ones along bottom of wall will not cause a draft only exchange of air. Any draft is along the roof as air comes from low end to exit high end and mixes with hot air and moisture at ceiling line.
 
Last edited:

New posts New threads Active threads

Back
Top Bottom