Hens From Aus
In the Brooder
- Apr 1, 2016
- 11
- 1
- 24
Gday,
Long time reader, first time user.
I've just bought my first house here down under, and i've started building my first ridgy didge chicken coop!
Its coming along well, and I have gained alot of knowledge and you-beaut ideas from all you fair dinkum people here on BYC.
I based the design off alot of other coops I have seen on here, and not being an astute tradie, I didnt want to make things too complicated.
Here's the Garden before hand:
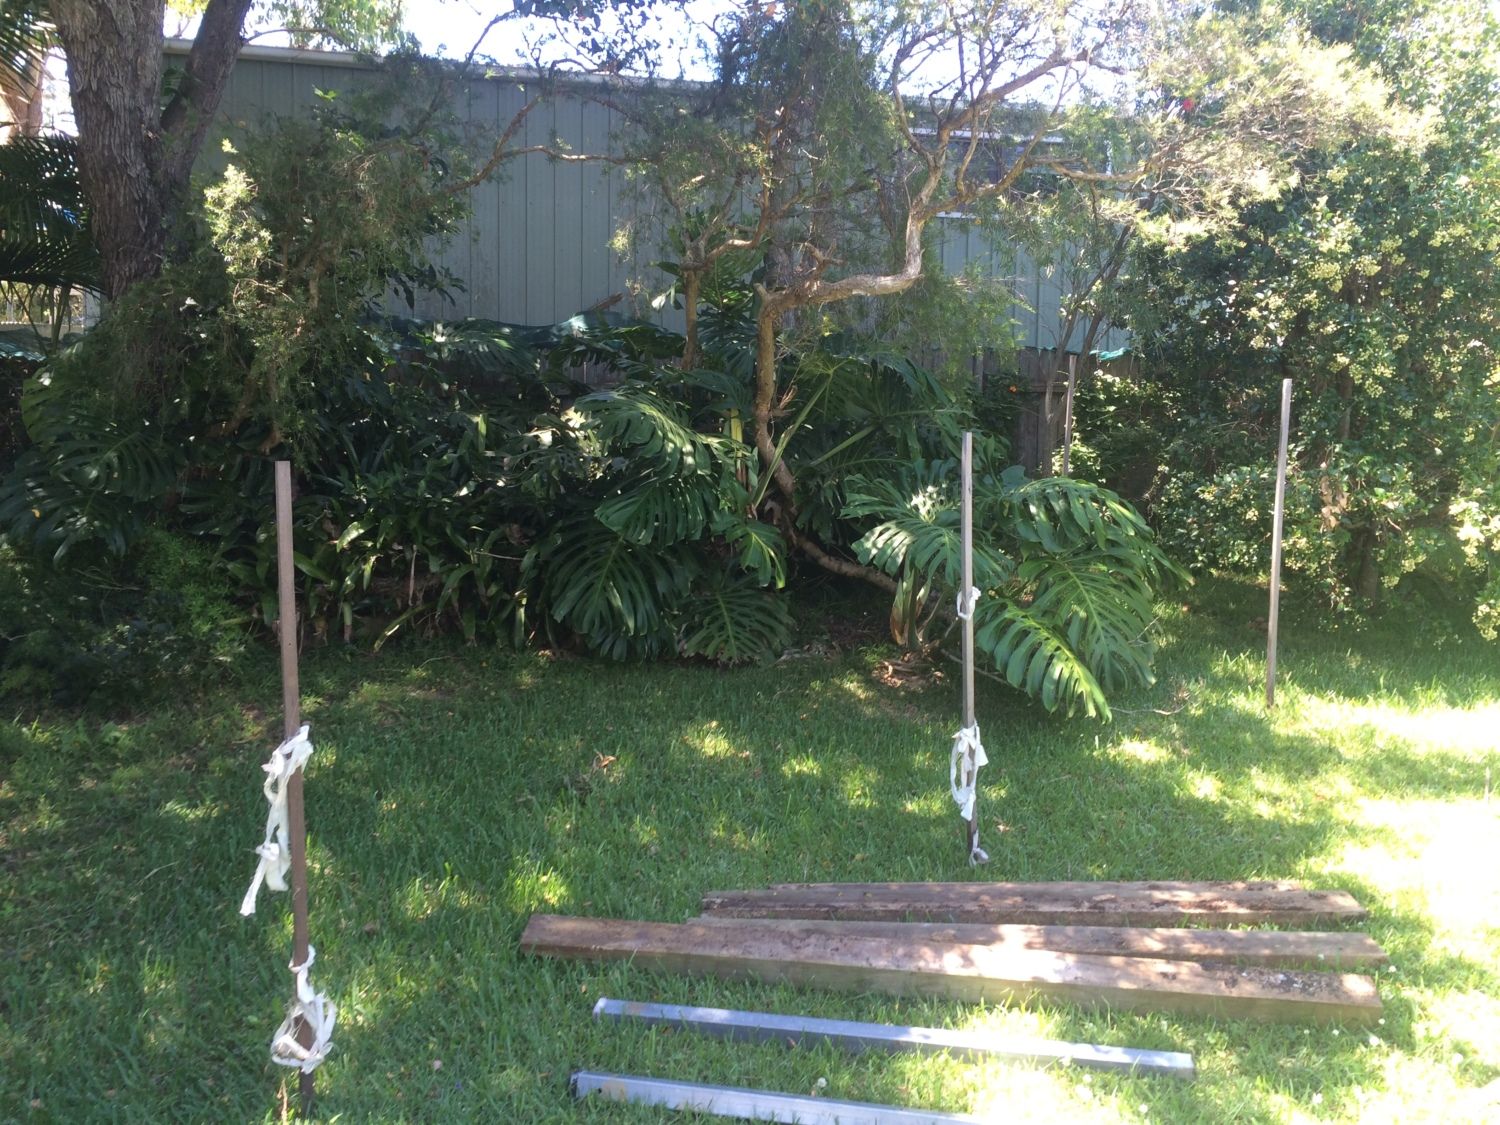
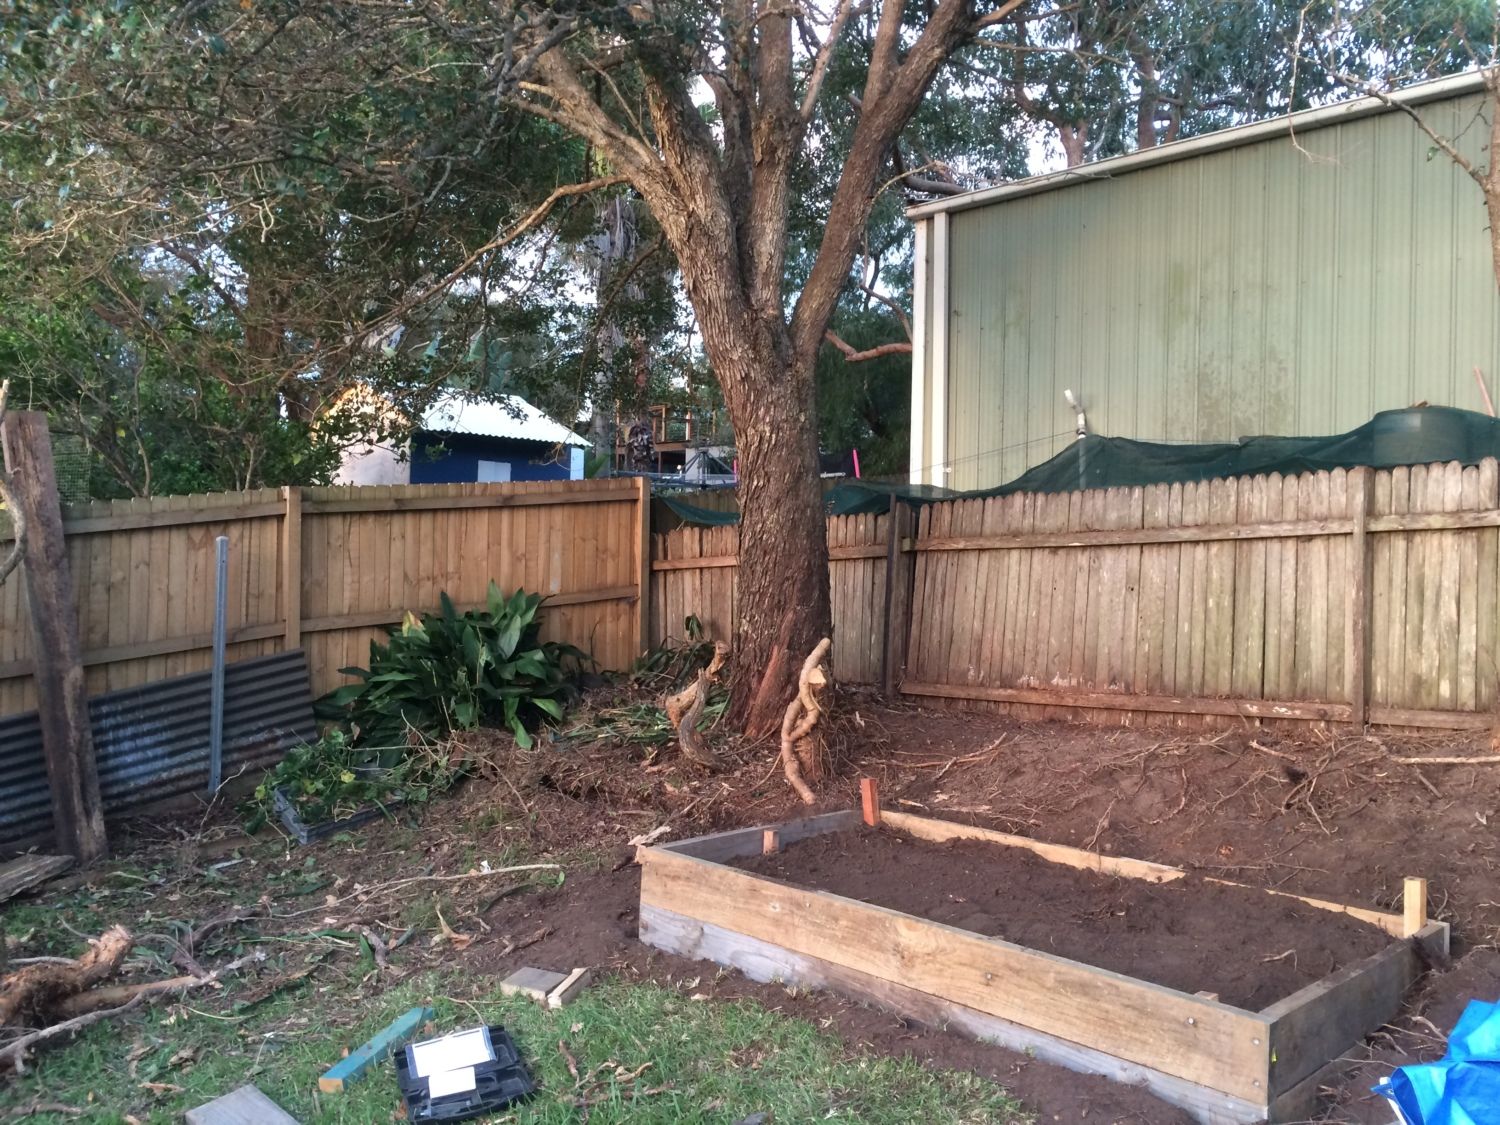
I had planned to build the coop elsewhere and let them scratch around in the bushes, but Im glad I pulled it all out, it was too dense. So after I removed the greens, I dug in some garden bed sleepers as my base to build the chicken coop on.
Don't worry, ill be replanting a hedge or climber to run along the fence line, which will give the girls some protection.
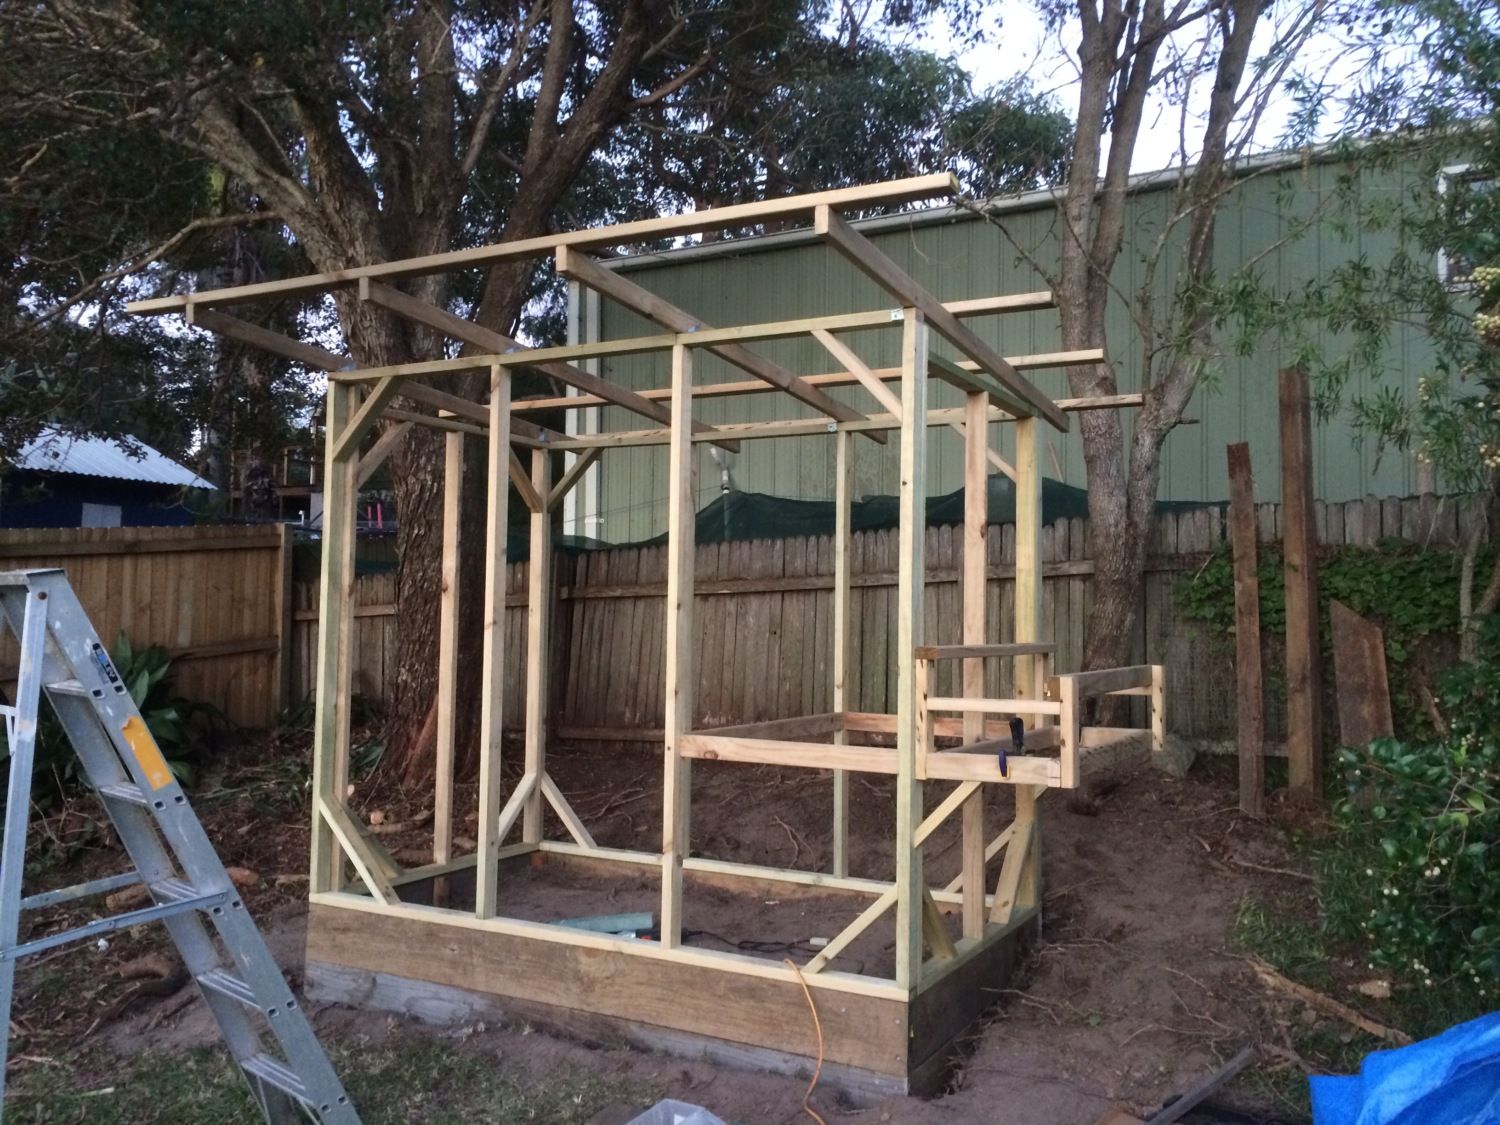
I started with a basic frame, and ran the sizing of the sleepers, measuring as I went. I had a general idea of what I was after, but no hard plans. I think it may be a little over engineered, but better to be safe then sorry!
Then yesterday I only got an 2 hours in, but I managed to build a Human door, and a door to clean the roost. First time making a door, and it turned out reasonably square - and they work!!
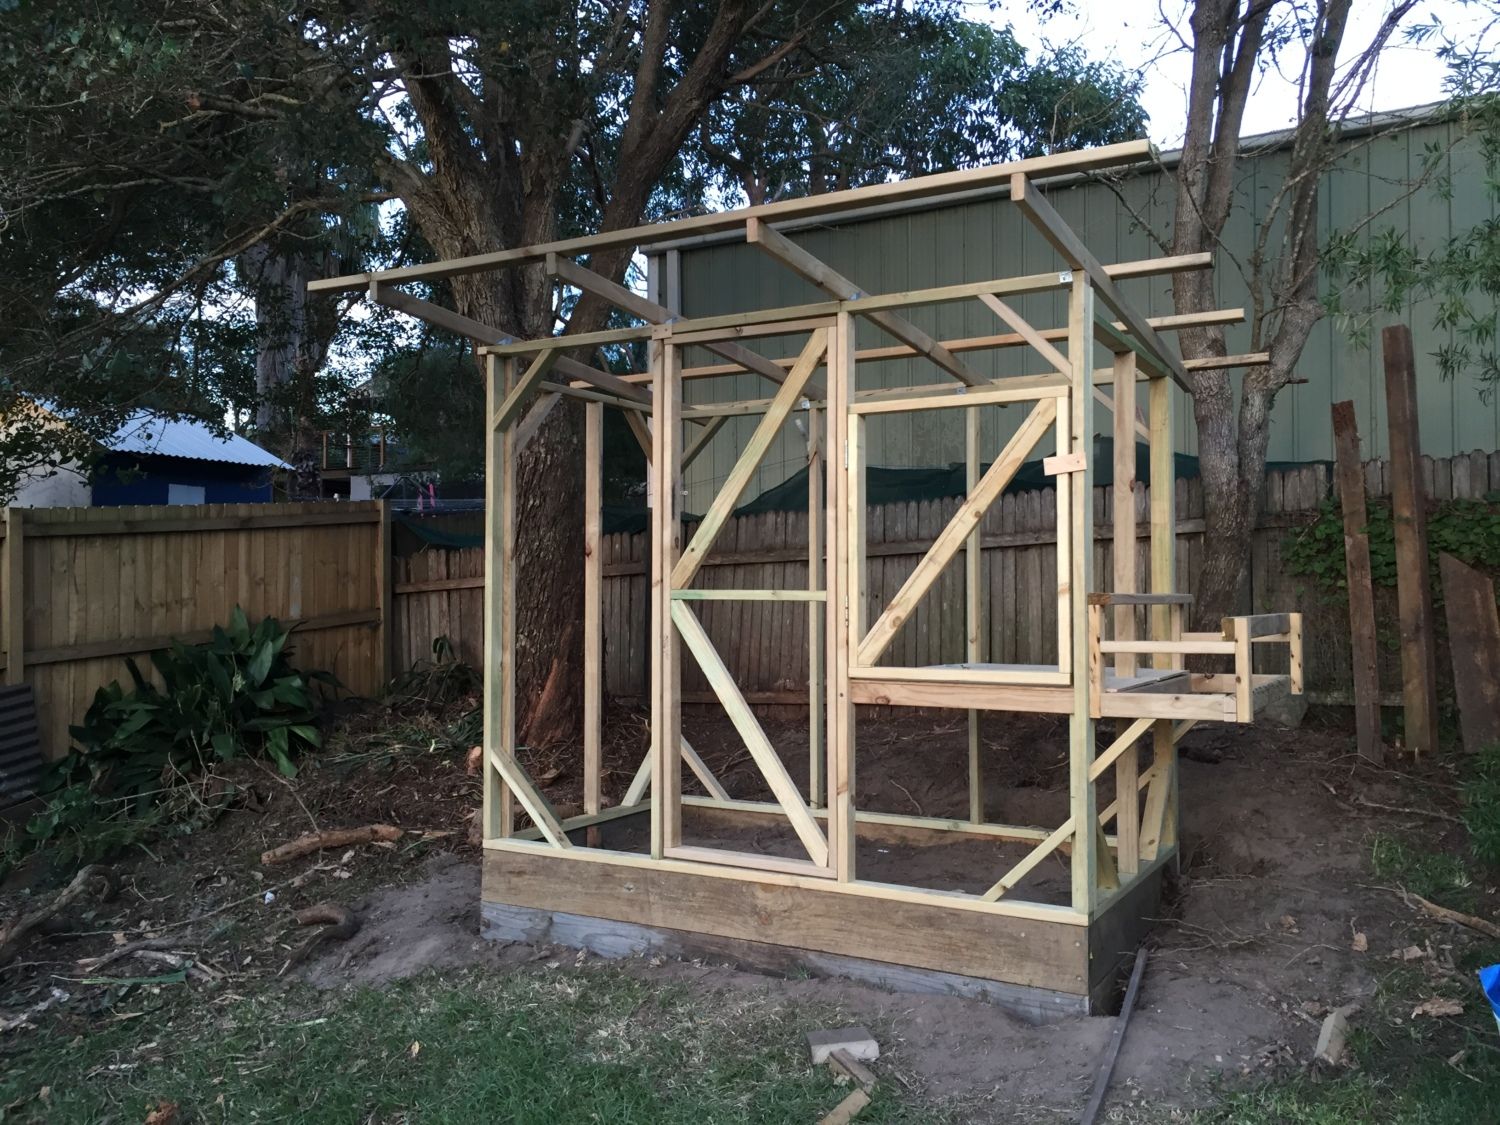
From here I plan to ply the roost, and then put on fence pailings for decorative purposes. A fence will run along side the coop, and will allow them to free range in an area about 40sqm (430sq).
Hoping to have 6 girls, and I imagine the coop will be of sufficient size to house them even without the yard area.
Im stuck on what to do for a roof. Should I use corrugated iron, or a clear style roof? Any thoughts on either?
Also, my partner wants 2 silkies in the mix, how would they get on with 4 isa browns?
Thanks again for everyones participation on this forum, its what makes such a difference!
Cheers,
Thomas
Long time reader, first time user.
I've just bought my first house here down under, and i've started building my first ridgy didge chicken coop!
Its coming along well, and I have gained alot of knowledge and you-beaut ideas from all you fair dinkum people here on BYC.
I based the design off alot of other coops I have seen on here, and not being an astute tradie, I didnt want to make things too complicated.
Here's the Garden before hand:
I had planned to build the coop elsewhere and let them scratch around in the bushes, but Im glad I pulled it all out, it was too dense. So after I removed the greens, I dug in some garden bed sleepers as my base to build the chicken coop on.
Don't worry, ill be replanting a hedge or climber to run along the fence line, which will give the girls some protection.
I started with a basic frame, and ran the sizing of the sleepers, measuring as I went. I had a general idea of what I was after, but no hard plans. I think it may be a little over engineered, but better to be safe then sorry!
Then yesterday I only got an 2 hours in, but I managed to build a Human door, and a door to clean the roost. First time making a door, and it turned out reasonably square - and they work!!
From here I plan to ply the roost, and then put on fence pailings for decorative purposes. A fence will run along side the coop, and will allow them to free range in an area about 40sqm (430sq).
Hoping to have 6 girls, and I imagine the coop will be of sufficient size to house them even without the yard area.
Im stuck on what to do for a roof. Should I use corrugated iron, or a clear style roof? Any thoughts on either?
Also, my partner wants 2 silkies in the mix, how would they get on with 4 isa browns?
Thanks again for everyones participation on this forum, its what makes such a difference!
Cheers,
Thomas


