I just moved into a house we bought and one of my first big projects was...new coop! This will be coop #4 overall in the past 5 years. This one was going to be different. Others were lightweight, had built in wheels, had built in runs, etc.
This one was to be a little hen house only and have an attached run. For the time being, they'll devour the grass in the run. When it's gone, I'll fill it with sand.
I built it to be place in one spot and stay there...FOREVER! So it's ****** heavy and built with specs that kind of rival home building.
I used Trictle's coop build as inspiration so measurements are similar. I did make mine smaller though, 36 x 36" Inside spacing.

Made all the walls separately then secured them to each other while on the base. The only metal hardware were some angle braces for the base piece. It was hard to get the framing nailer in some positions and for those pieces I figured better safe than sorry.
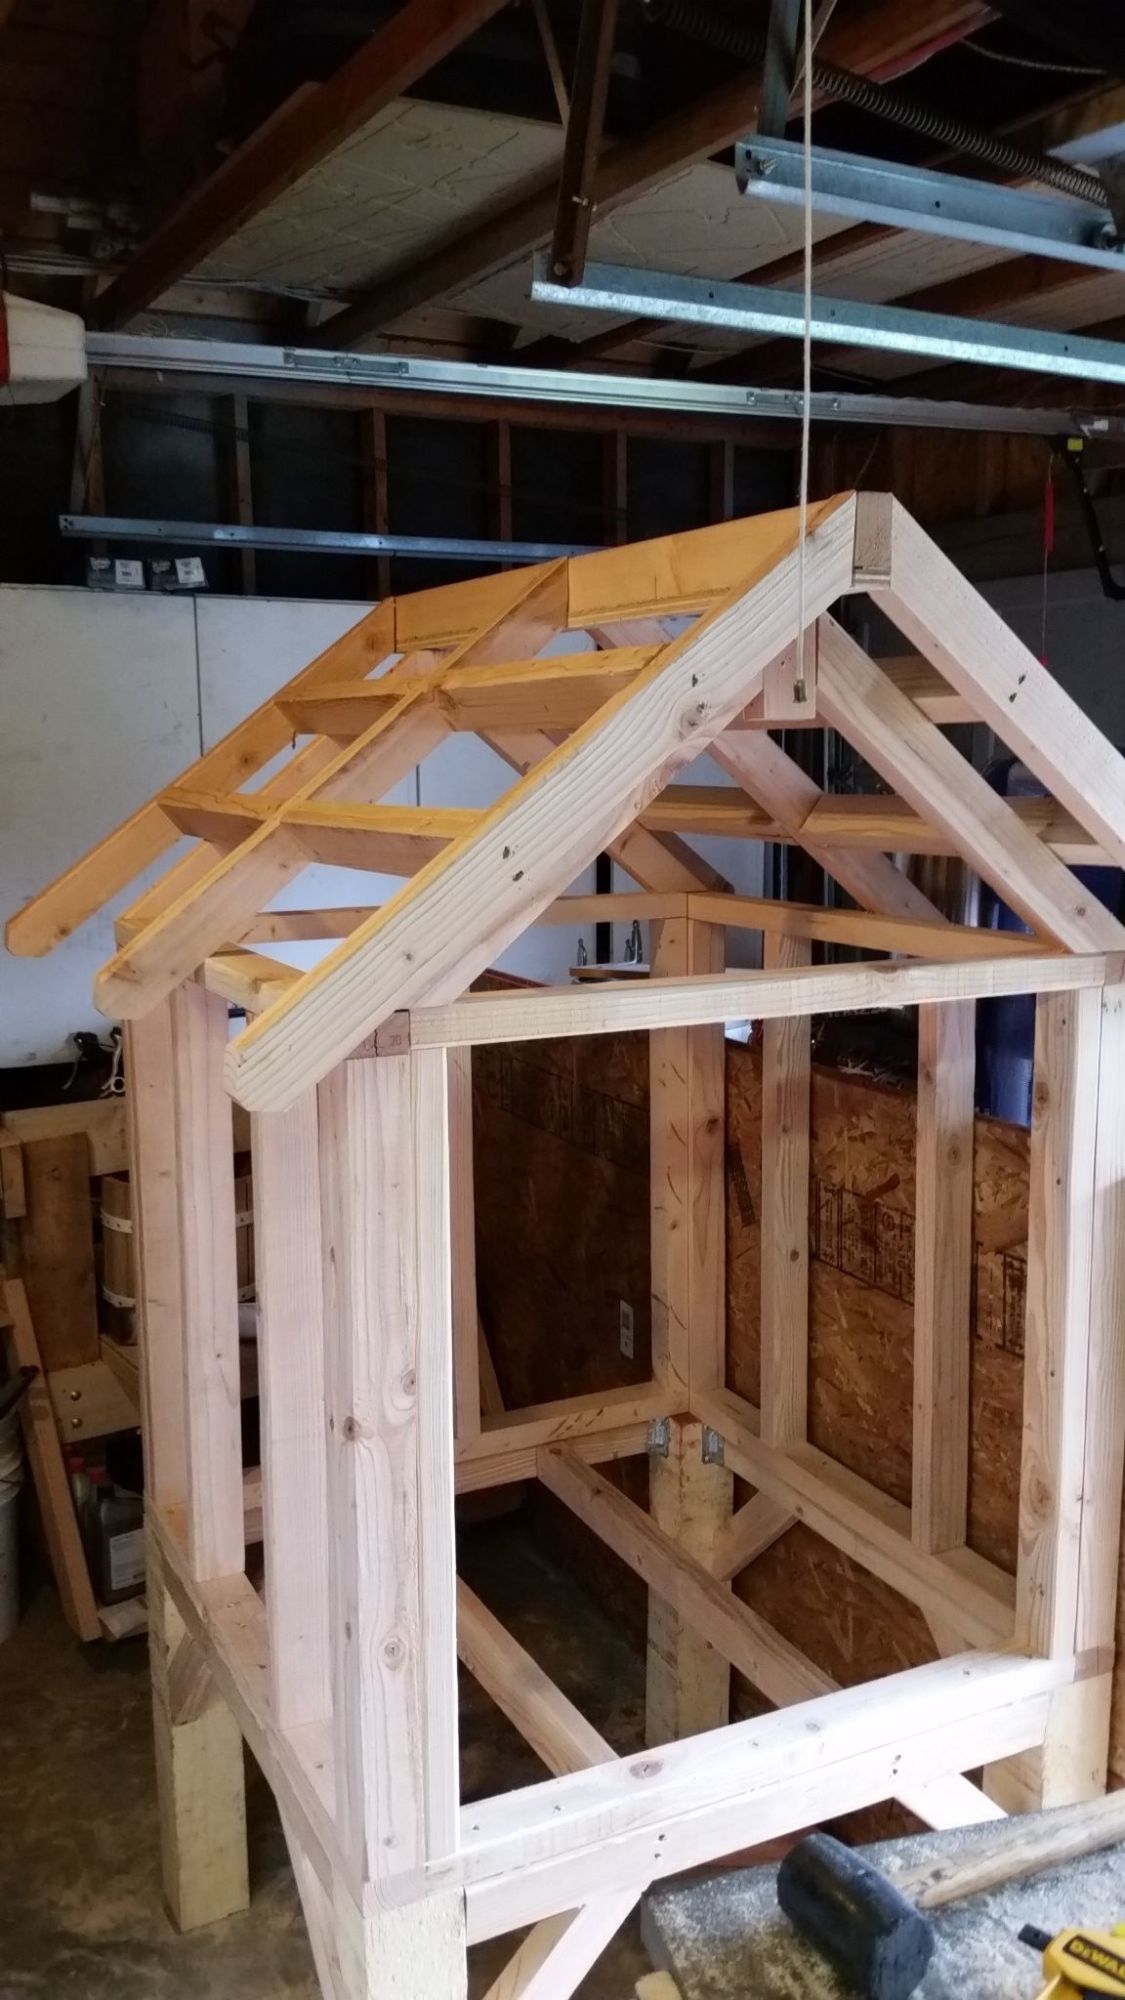
The roof was made on the floor then put on top. Although, technically since two walls had the roofing support, you could directly put gables like that.
Framed in the exit door. That'll be an automatic ADOR1 when it arrives Wednesday.

Peak up from the wall. The little space is purposeful for ventilation.

There it is all finished except for the automatic door.

And there's Otis, laying a very special brown egg!

Another peak at the exit door. I'll be making a "skybridge" of sorts to take them into the run.

The run next to them. Eventually I'll order a nice custom tarp for the top. It's 3/4" PVC in arches holding up wire and the tarp. I did this a few years ago for another coop and it worked well for rain and snow.

More pics coming!
This one was to be a little hen house only and have an attached run. For the time being, they'll devour the grass in the run. When it's gone, I'll fill it with sand.
I built it to be place in one spot and stay there...FOREVER! So it's ****** heavy and built with specs that kind of rival home building.
I used Trictle's coop build as inspiration so measurements are similar. I did make mine smaller though, 36 x 36" Inside spacing.
Made all the walls separately then secured them to each other while on the base. The only metal hardware were some angle braces for the base piece. It was hard to get the framing nailer in some positions and for those pieces I figured better safe than sorry.
The roof was made on the floor then put on top. Although, technically since two walls had the roofing support, you could directly put gables like that.
Framed in the exit door. That'll be an automatic ADOR1 when it arrives Wednesday.
Peak up from the wall. The little space is purposeful for ventilation.
There it is all finished except for the automatic door.
And there's Otis, laying a very special brown egg!
Another peak at the exit door. I'll be making a "skybridge" of sorts to take them into the run.
The run next to them. Eventually I'll order a nice custom tarp for the top. It's 3/4" PVC in arches holding up wire and the tarp. I did this a few years ago for another coop and it worked well for rain and snow.
More pics coming!


