- Thread starter
- #11
lisasea
Chirping
- Nov 14, 2016
- 22
- 66
- 64
Hey aart! We don't get any snow where we live up in Northern California near the ocean...we really only get heavy rain a month or two out of the year. I sat in the coop during a really heavy wind the other day, and the plastic didn't so much as budge. Because of the drastic angle, the rain seems to slide right off. I think we're lucking out a bit because it's in an area that's protected from wind and most rain. Will keep an eye on it though! Could send a long 2X6 from the carport to the gate down the middle if it sags any further. We used a lot of those water tight hex screws.
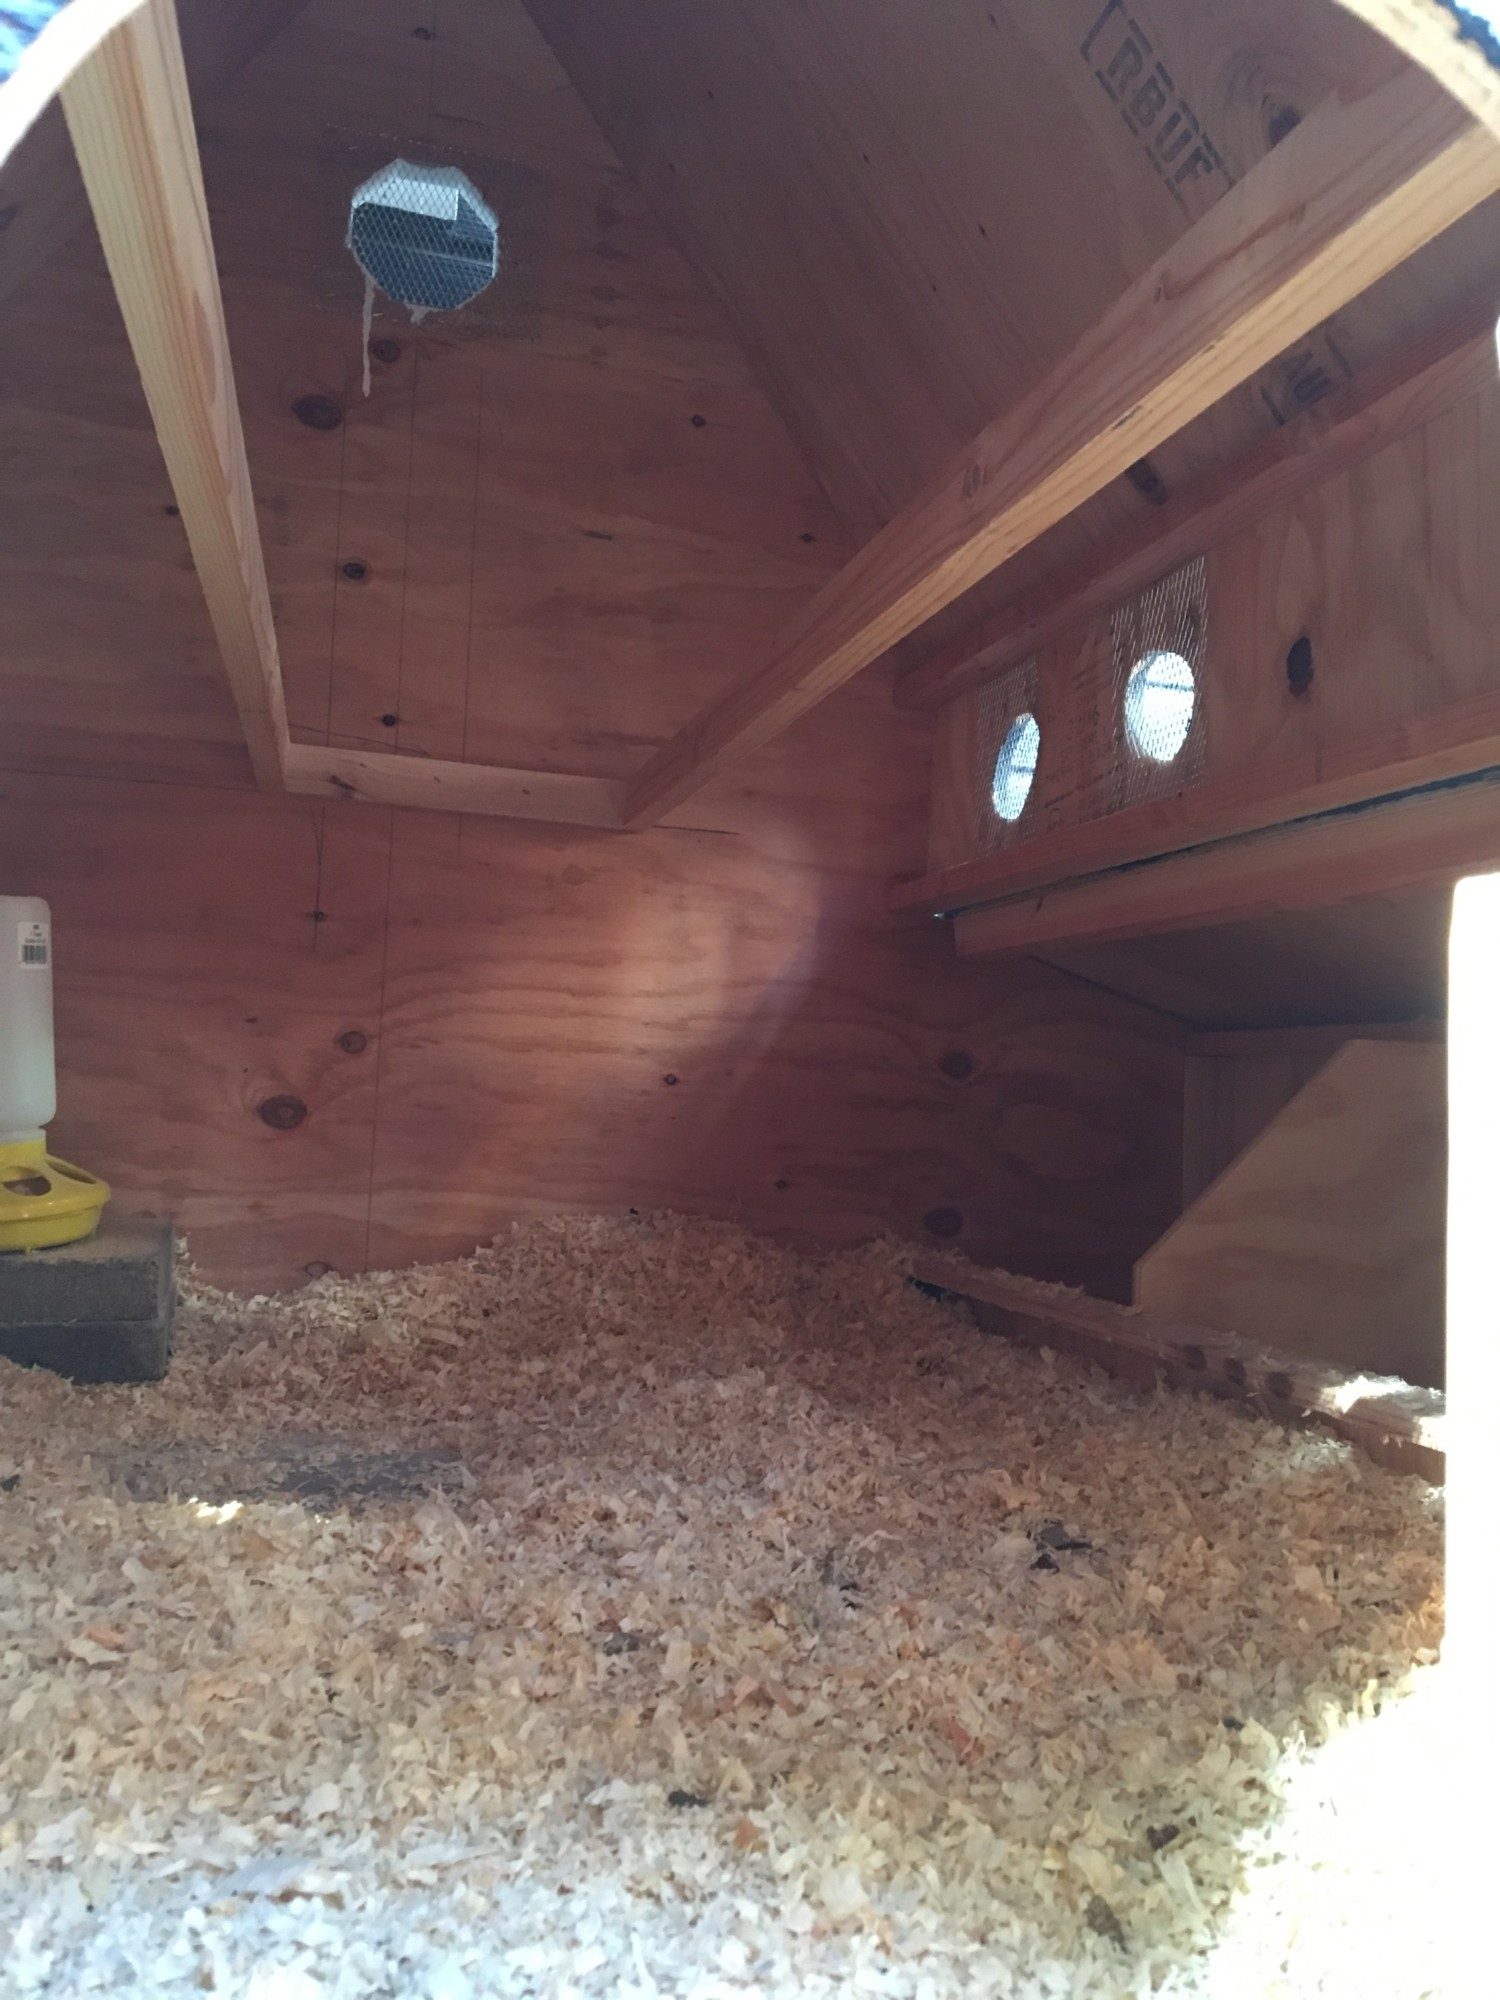
Here are a few more pics of the coop. Dave placed a large clean out door on the left side, I'd say it's at least 2ft wide. There are windows with hardwire mesh in the front, back, and on the side with the egg boxes (cute little egg shaped windows). We lined the bottom with some linoleum stick on tiles. We didn't actually stick them down; it's nice to be able to take them to a sink to clean them with hot water when you get a particularly cement-y poop. We're going to get their food and water out of there soon; they're just getting used to the new setup. I also have a heat lamp in there for now since they went from a 65 degree laundry room to night temps in the 40s...more for my own sanity than their warmth probably. The coop came with the platform it's sitting on, and Dave made it a little taller for us so the ladies can benefit from the sq footage below it. The whole footprint of the coop is 4'X4', and it stands about 5ft tall. Mostly plywood (now sealed by exterior paint), with redwood anywhere it touches the ground. I think the only modification I'll make is to stick a little removable piece of wood at both entrances so my shavings don't fall out every time I open them or the chickens run in and out. Like a threshold of some sort that I can take out when I clean out the coop.
We live in an area where building materials are really expensive, so Dave's modest price tag was well worth it! He's also just a super nice guy and was nice enough to drive three hours to deliver it to us in person. There's no way we could have made something so great on our own.


