MrGreenside
In the Brooder
- Apr 20, 2017
- 7
- 1
- 10
I just joined tonight, after lurking and using this site for advice for a long time, but thought I could share some pictures of our new coop. We just picked up 12 new chicks (have 5 hens right now), and needed a new place for them to be as the old coop was really only meant for 8 hens max. My wife and I got some inspiration from Pinterest, this site, and a few others, and put this together. I'm not a wood worker, I'm a computer nerd by trade during the day, but I've dabbled a little bit, and grew up with a dad who was a huge wood worker, so I guess I picked up a little along the way.
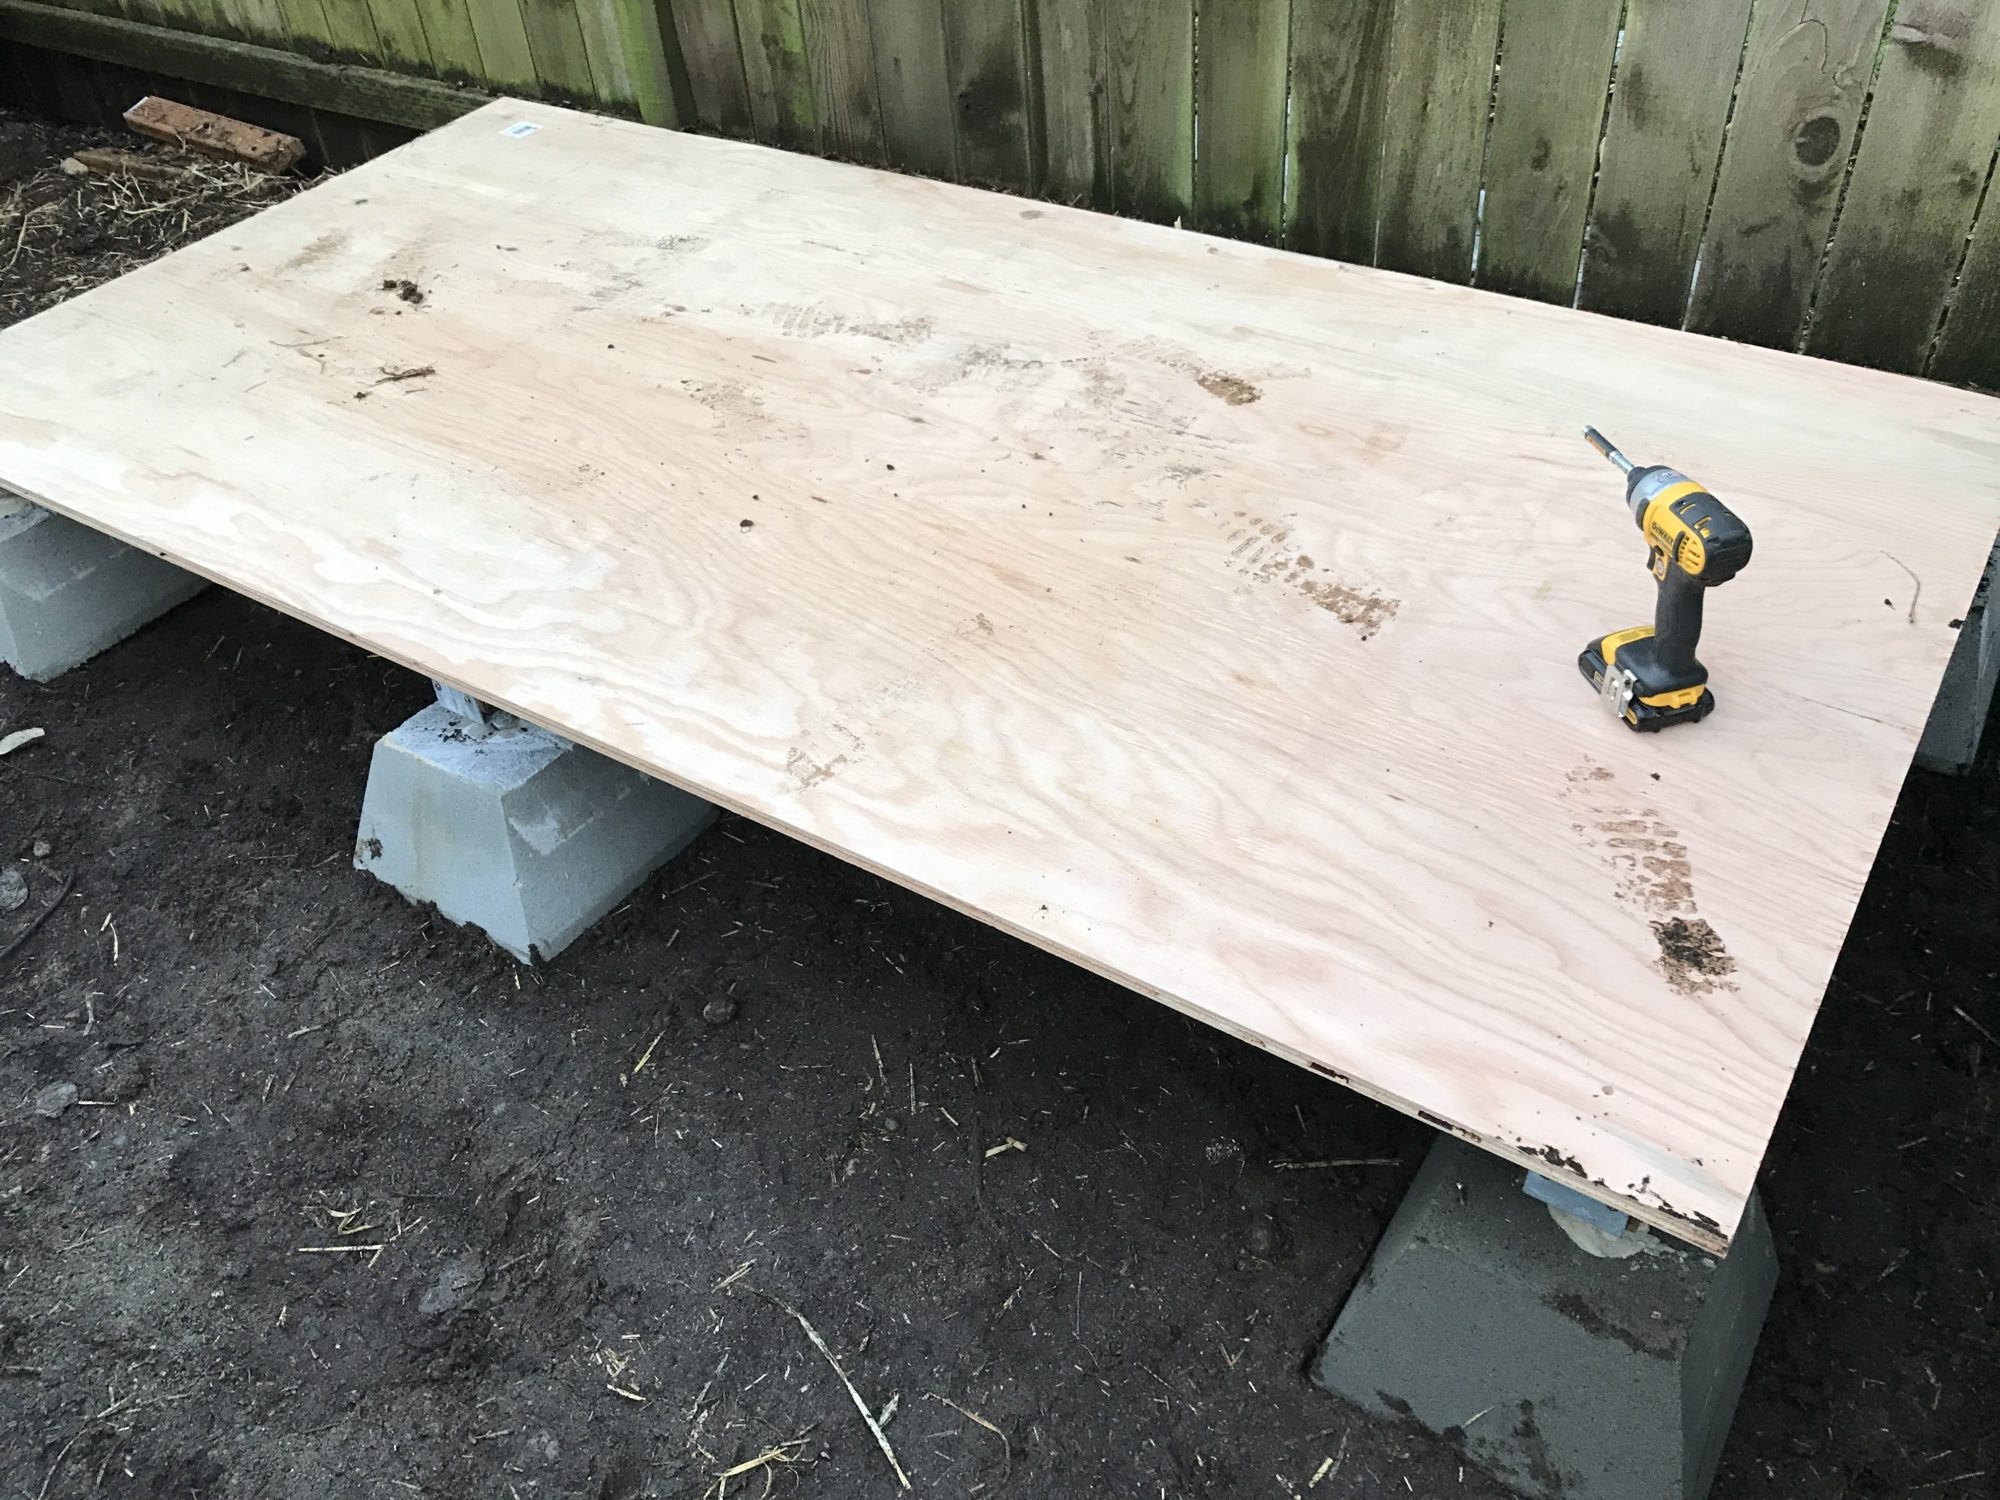
Leveled out and created a base.
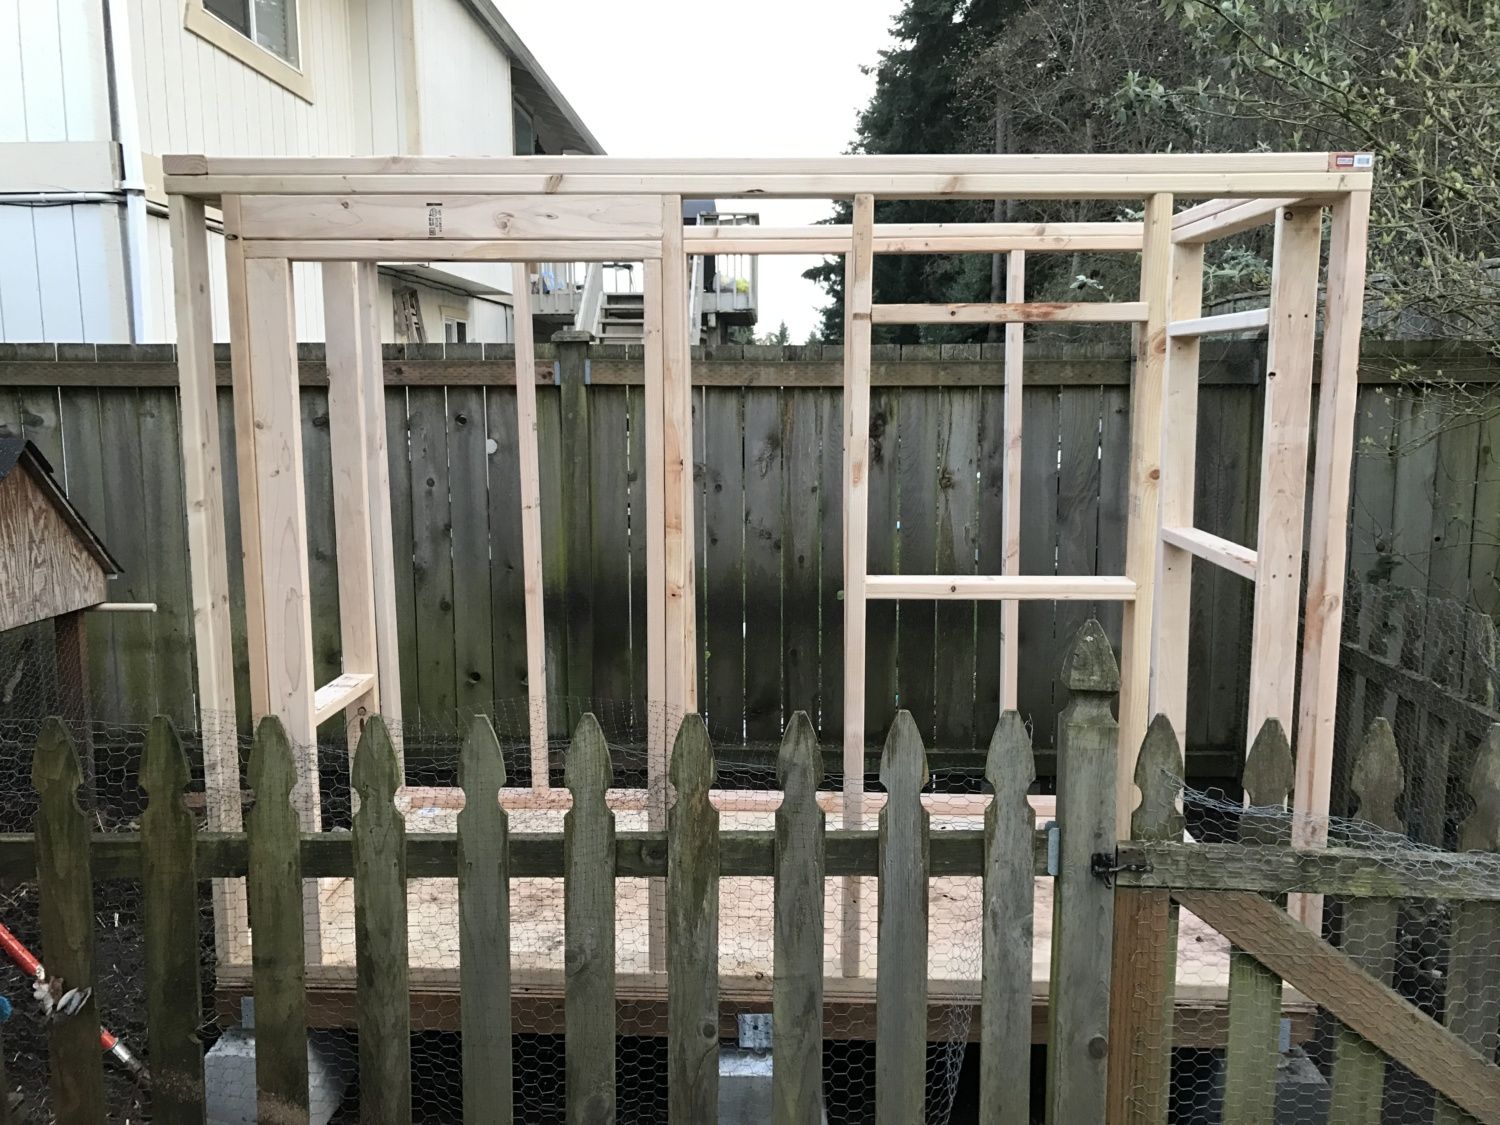
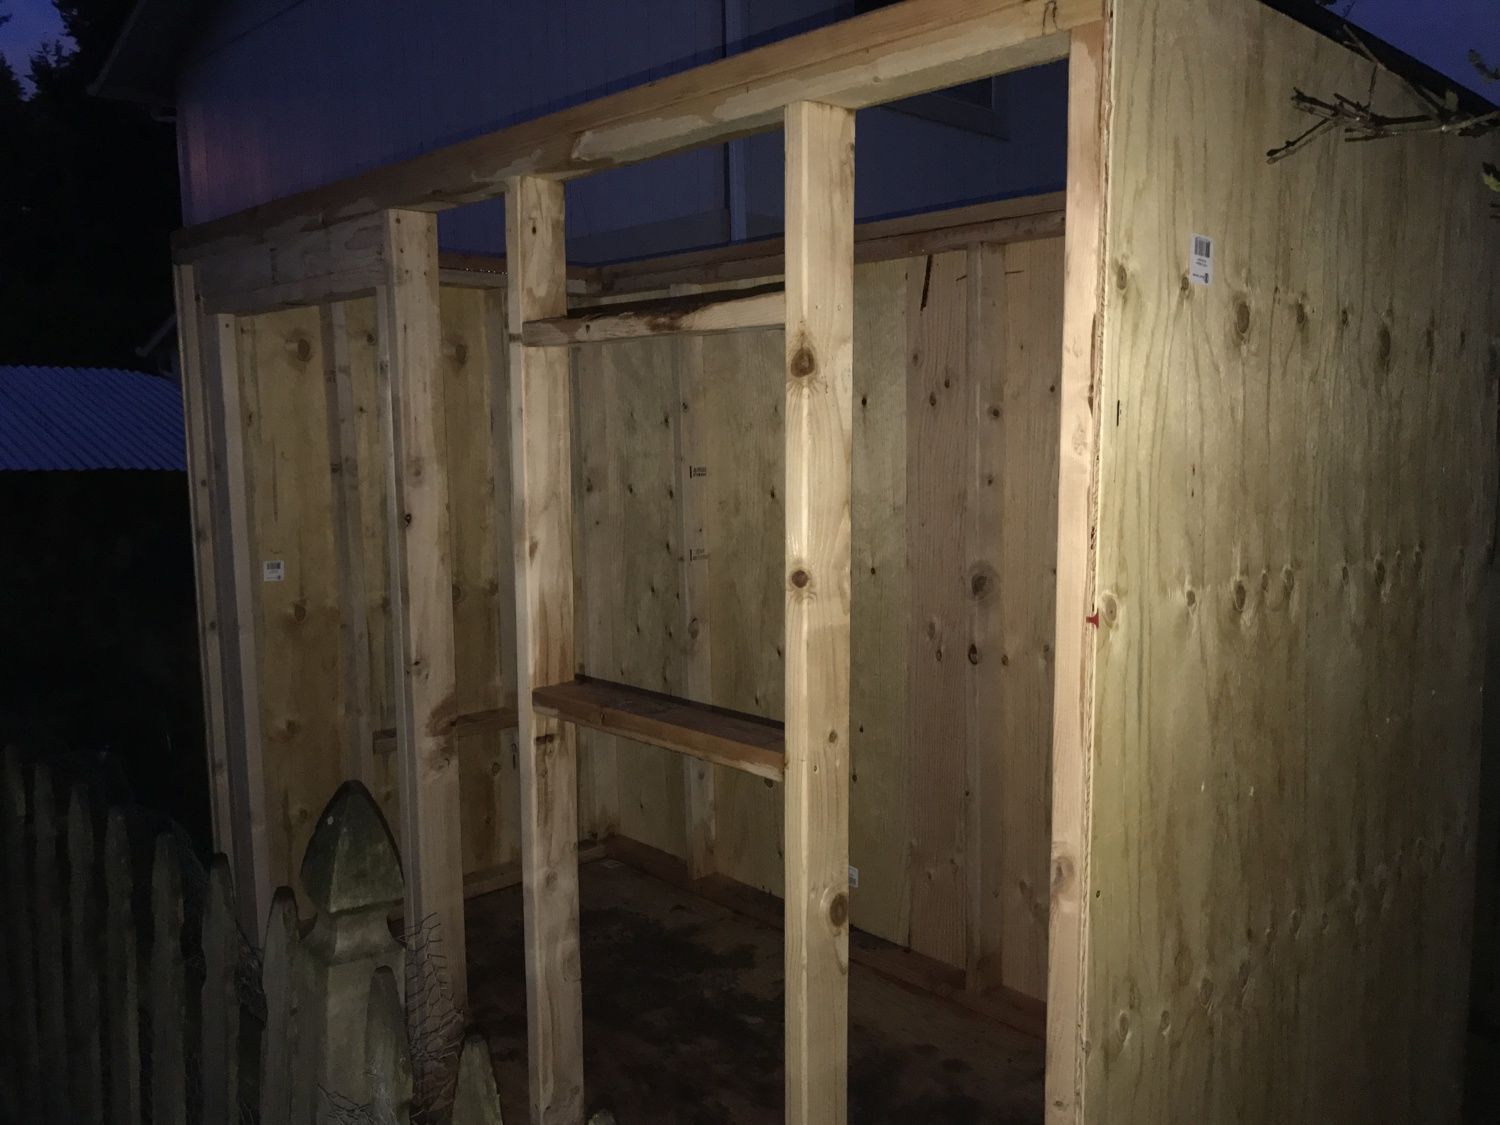
Framed up each of the walls. Loosely followed the Chicken Coops for dummies book for this, really just to find best practices and make sure it's sturdy, since it's a bigger coop. Adjusted the door size and window sizes since we made it a touch smaller than the book, and we got some reclaimed windows that I wanted to fit in.
Side shot, with a snippit of the old coop.
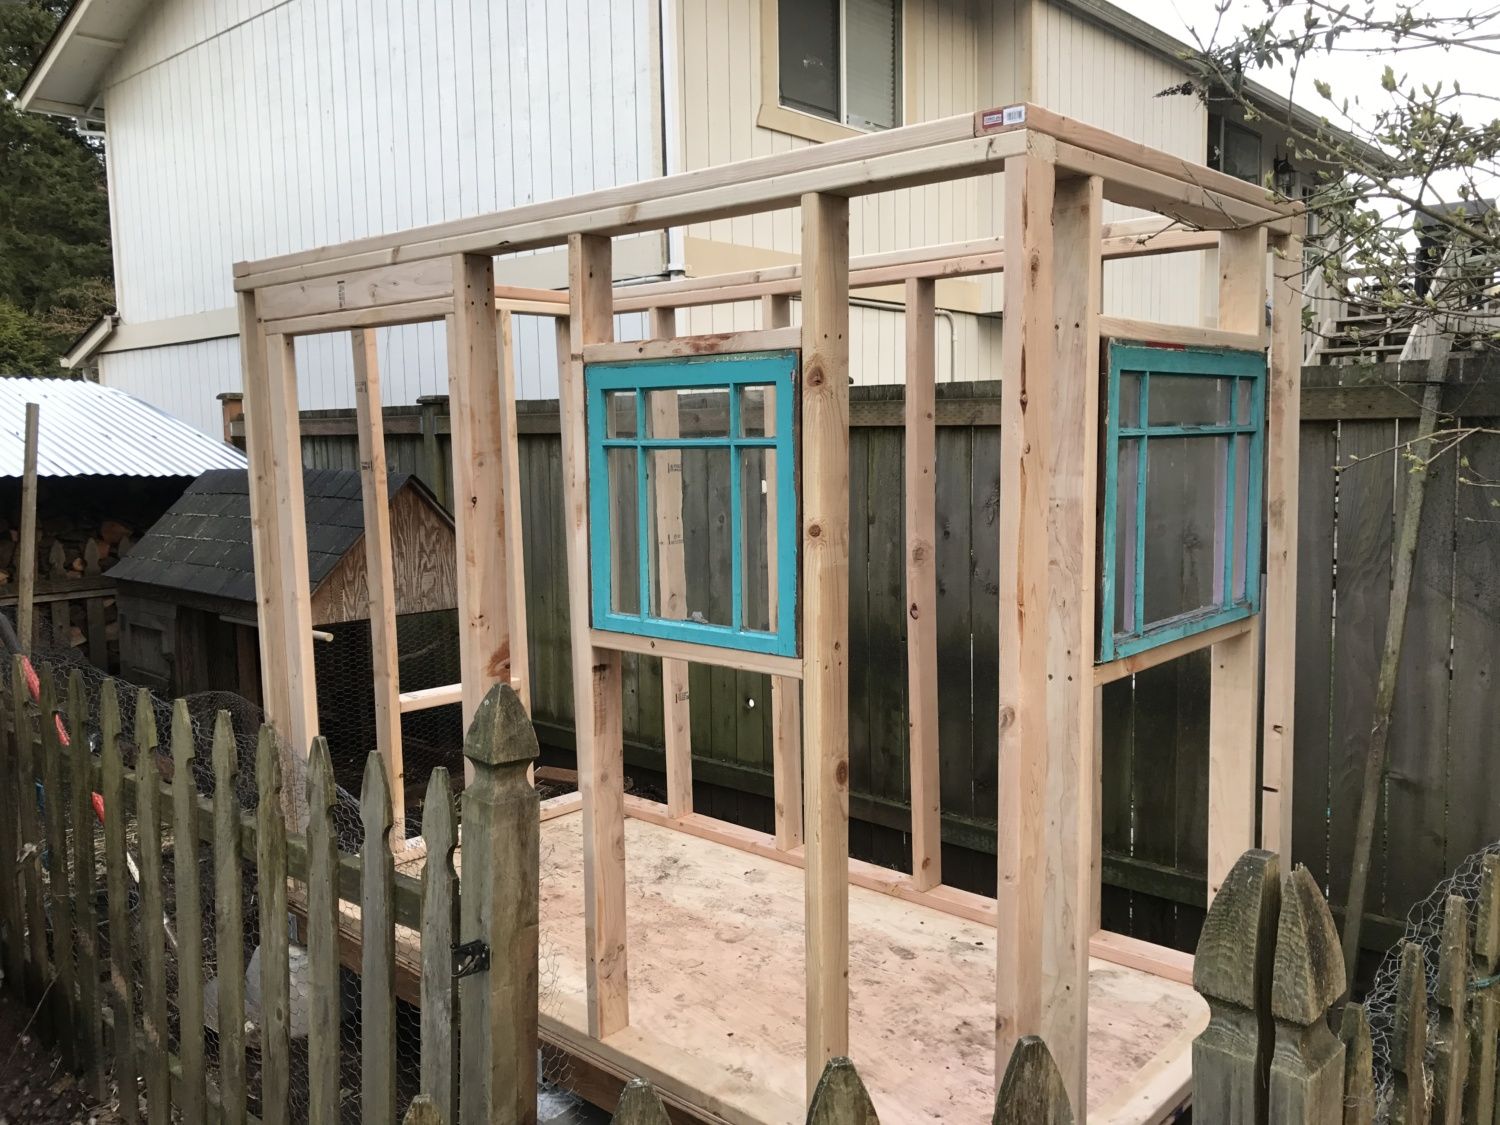
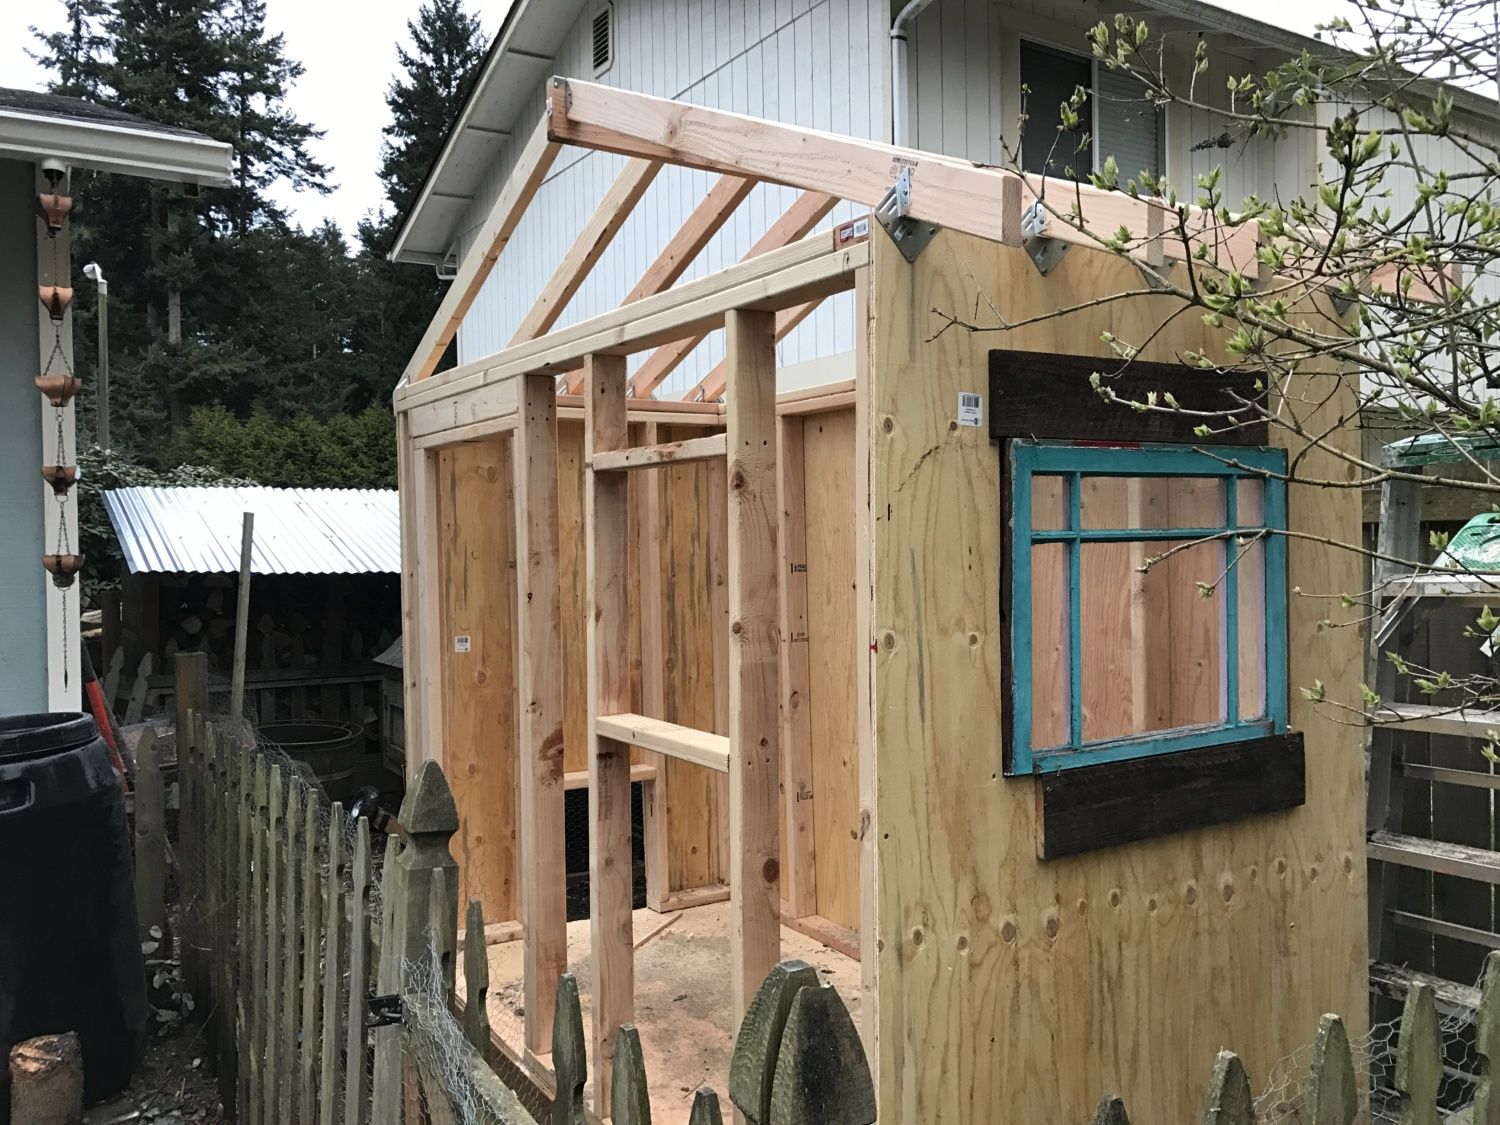
Test fit the windows in.
Added some walls plywood walls.
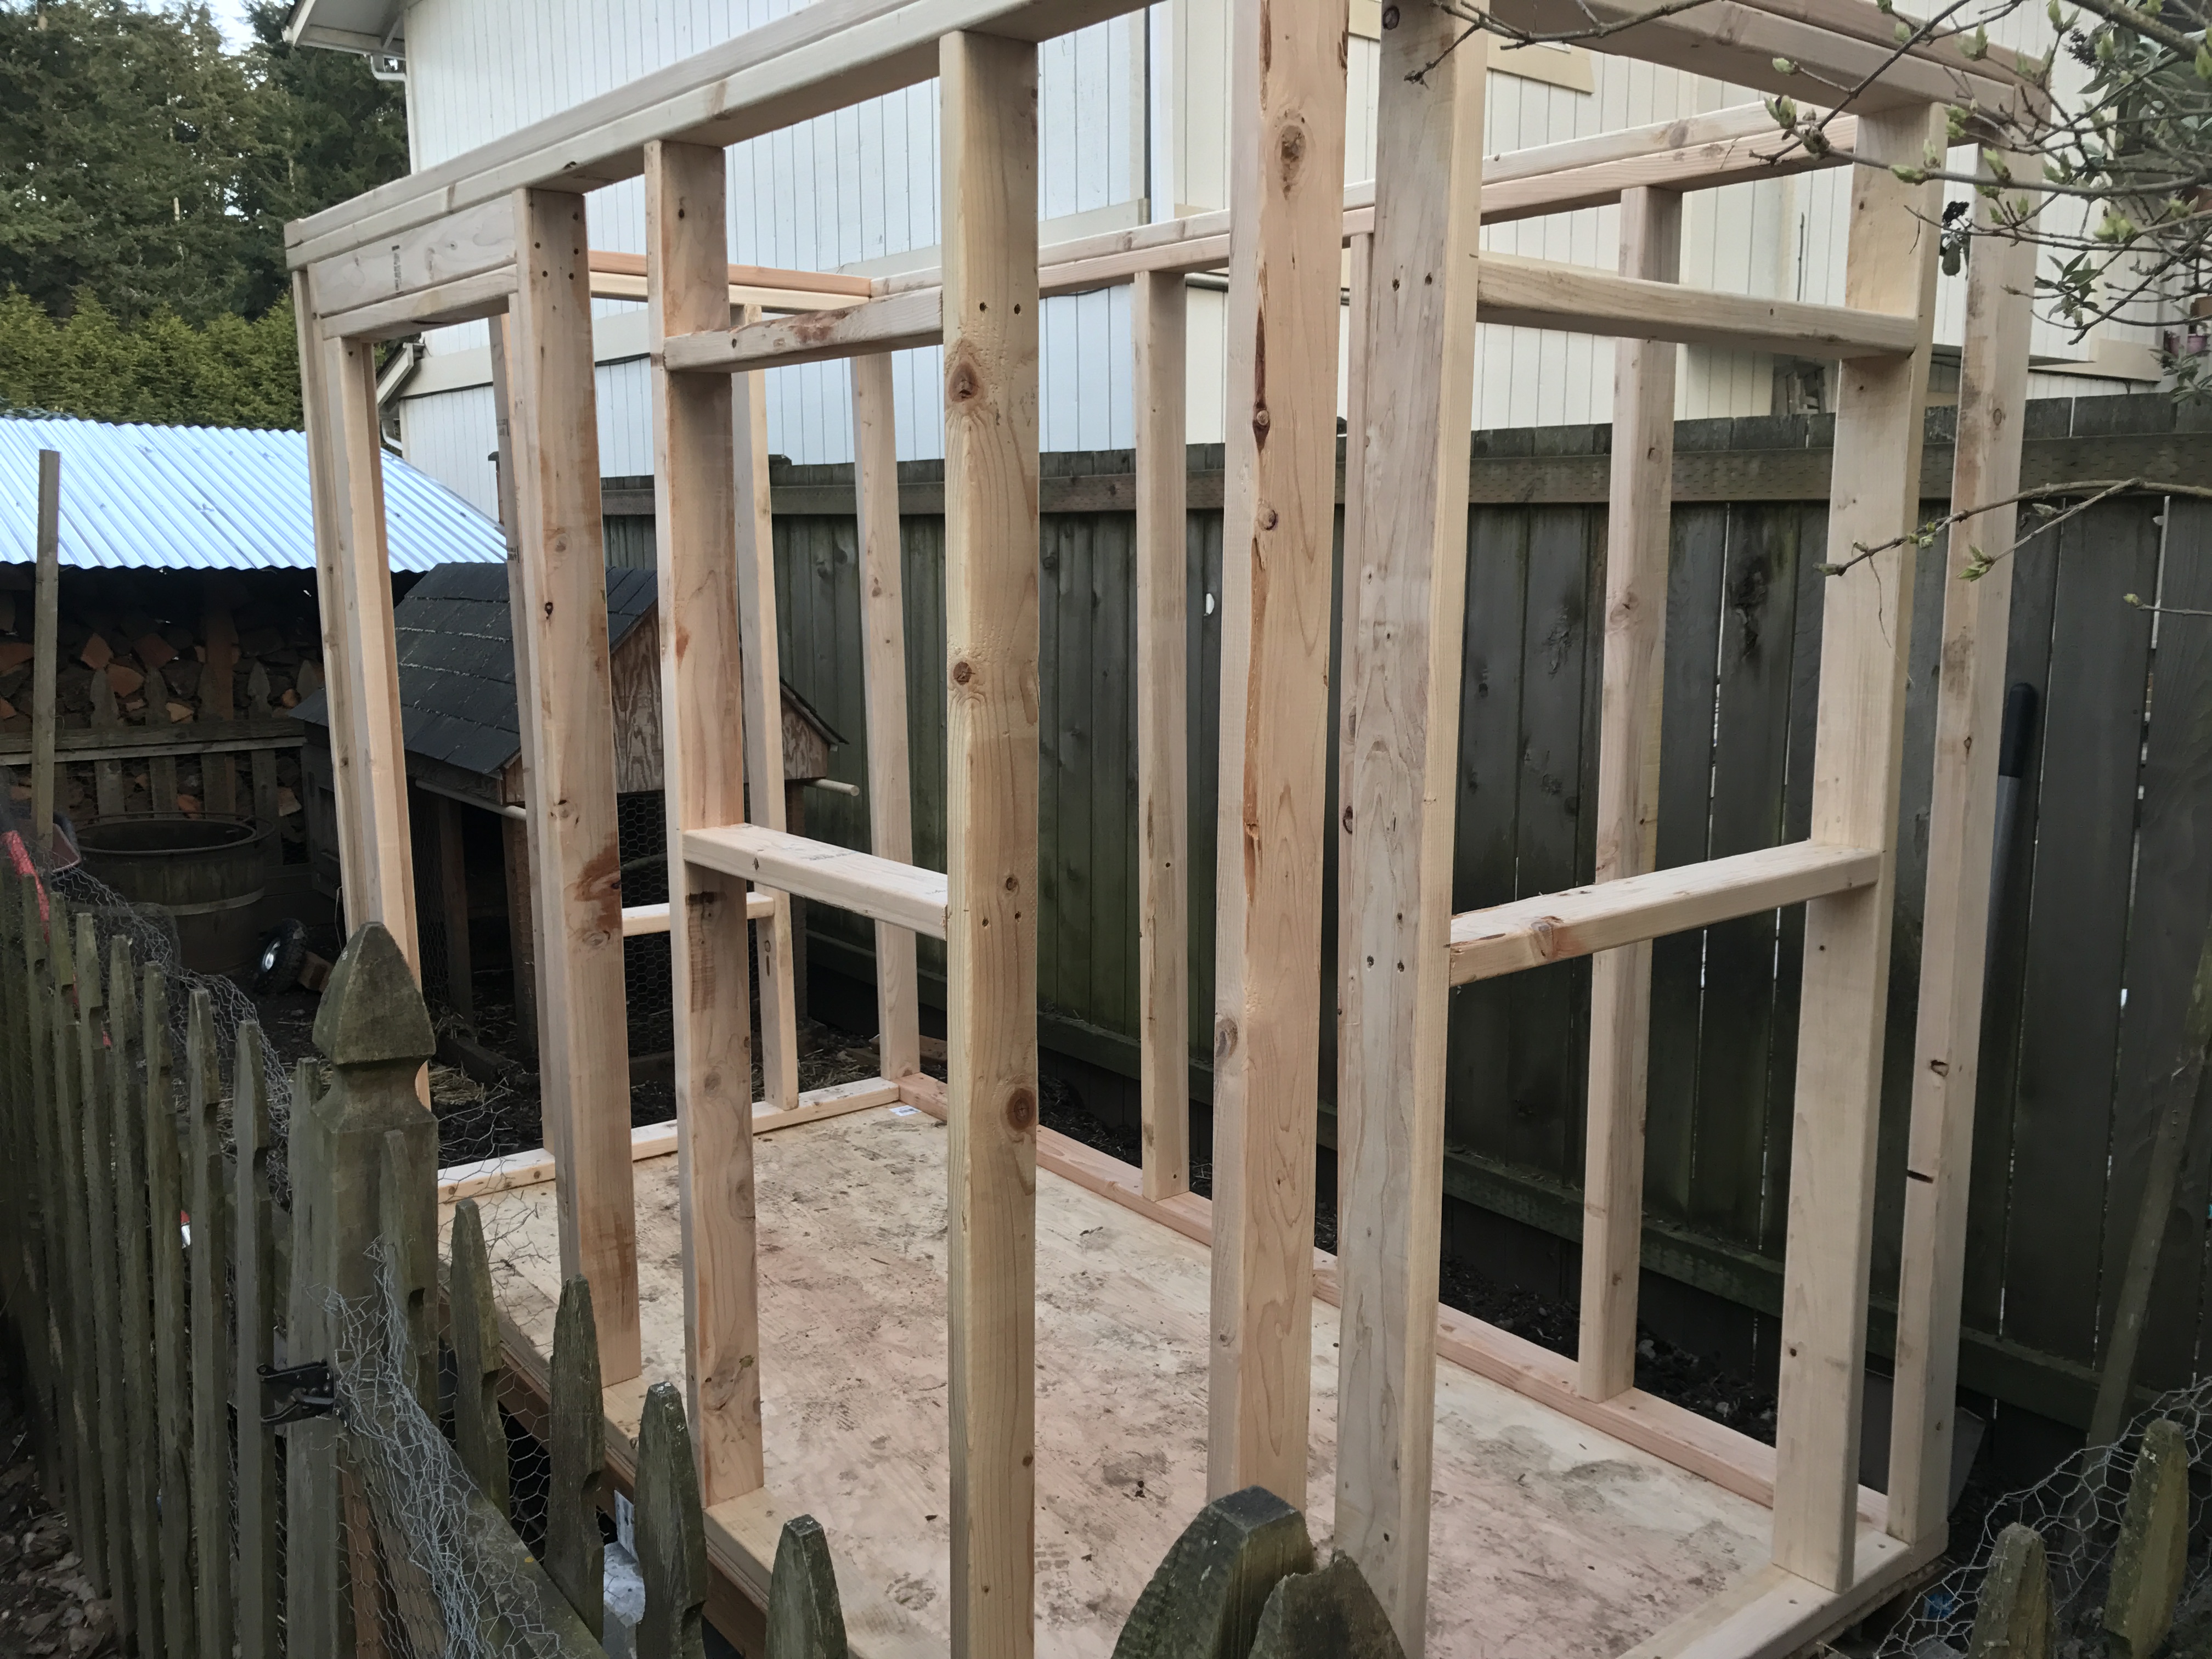
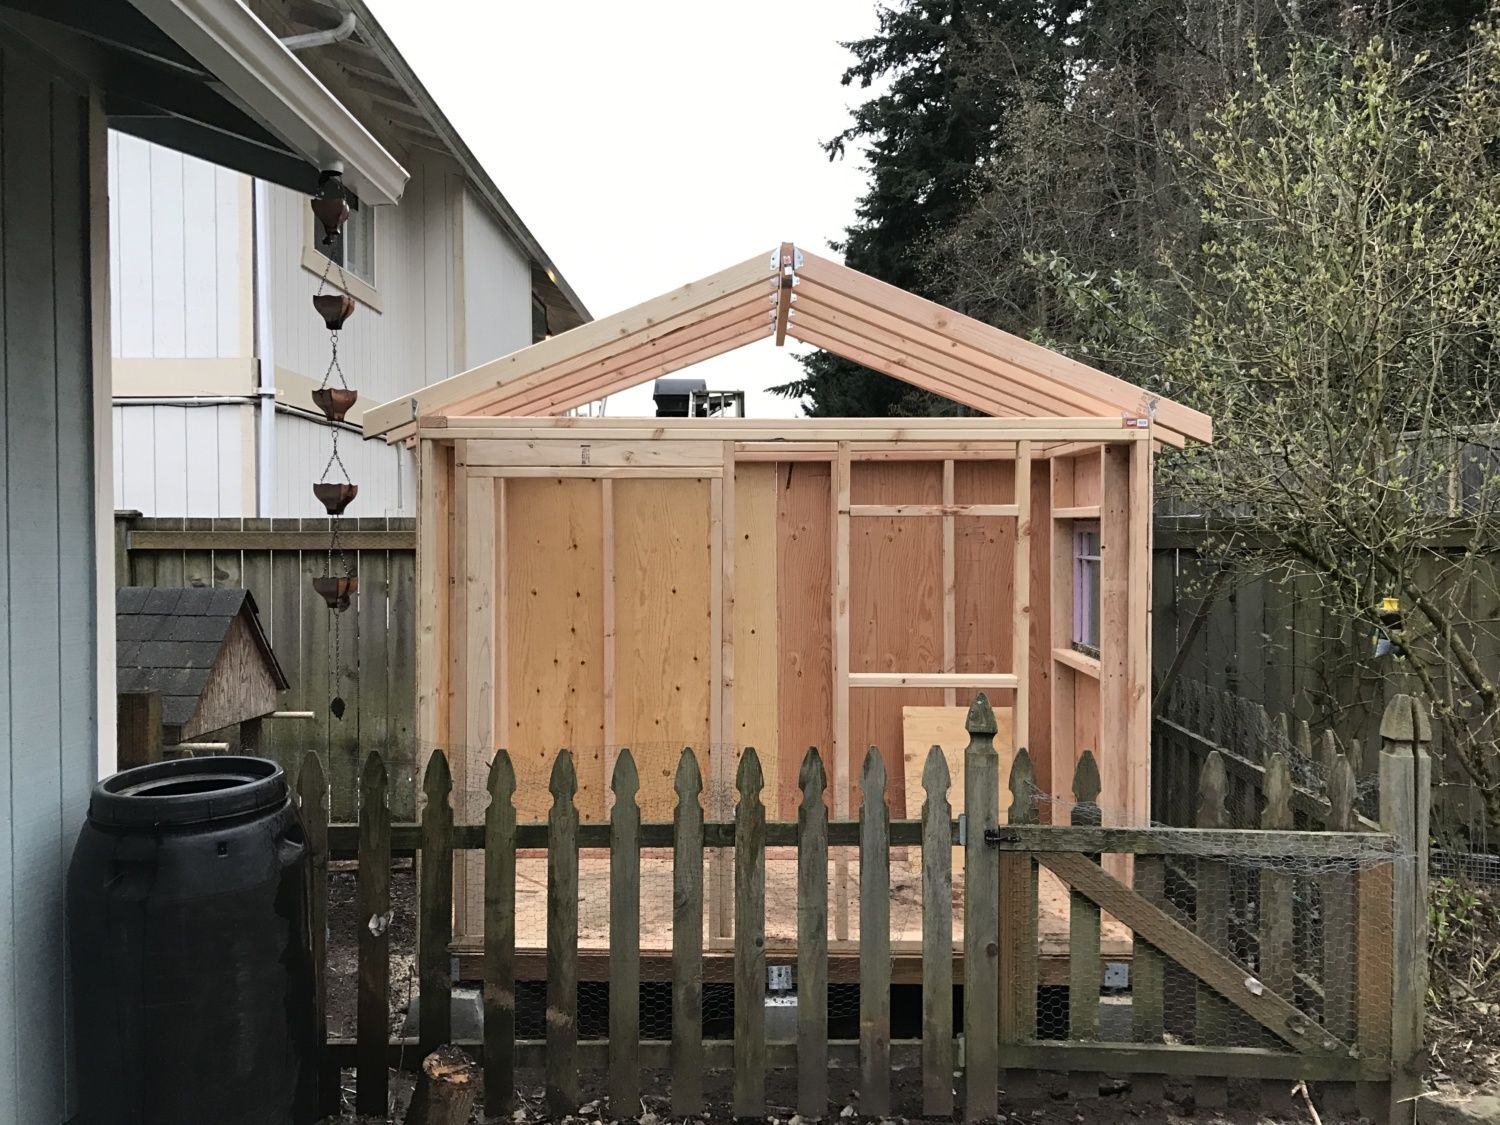
Started framing out the roof. Didn't want to put the front plywood on until I had the roof done since I knew it would make my life harder.
Front shot.
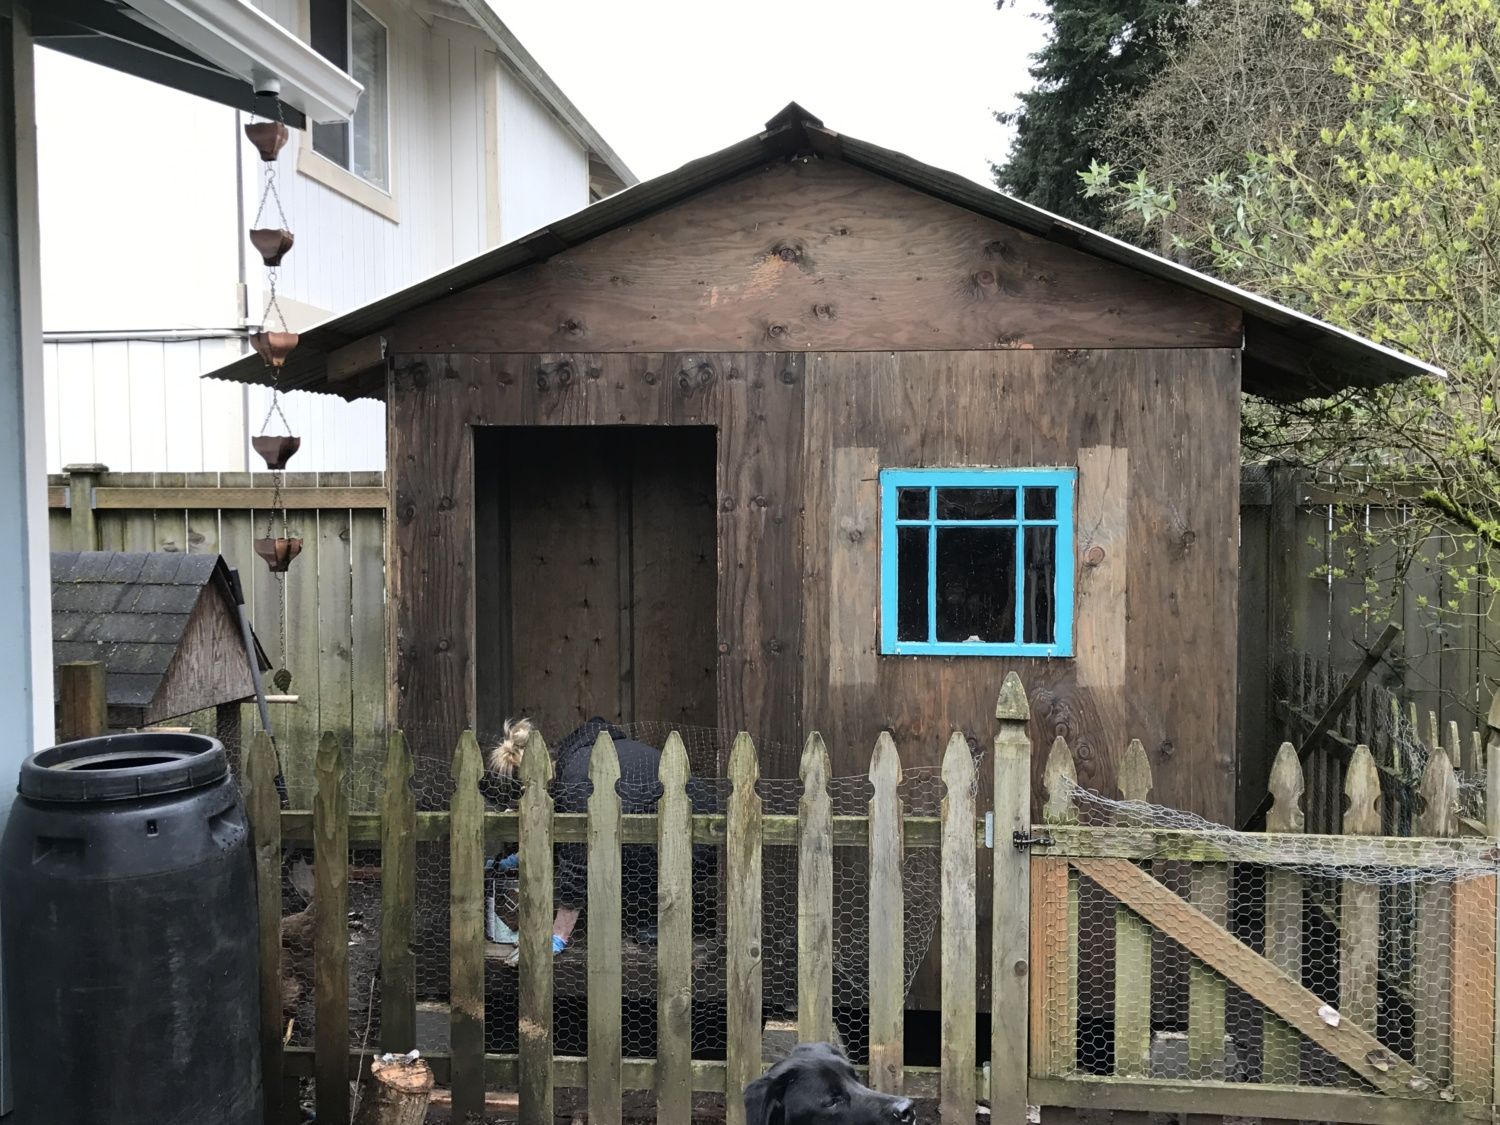
I missed the opportunity to take a lot of pictures in the process here...Got the rest of the plywood up, the roof up, some cross beams up to help keep the tin roof straight, cut out the window and door holes, and did a final test fit of the windows and then held them in with temp screws. It's dark because we used an aging "stain", essentially vinegar and fine steel wool that sat together for 2 days, to make it look older.
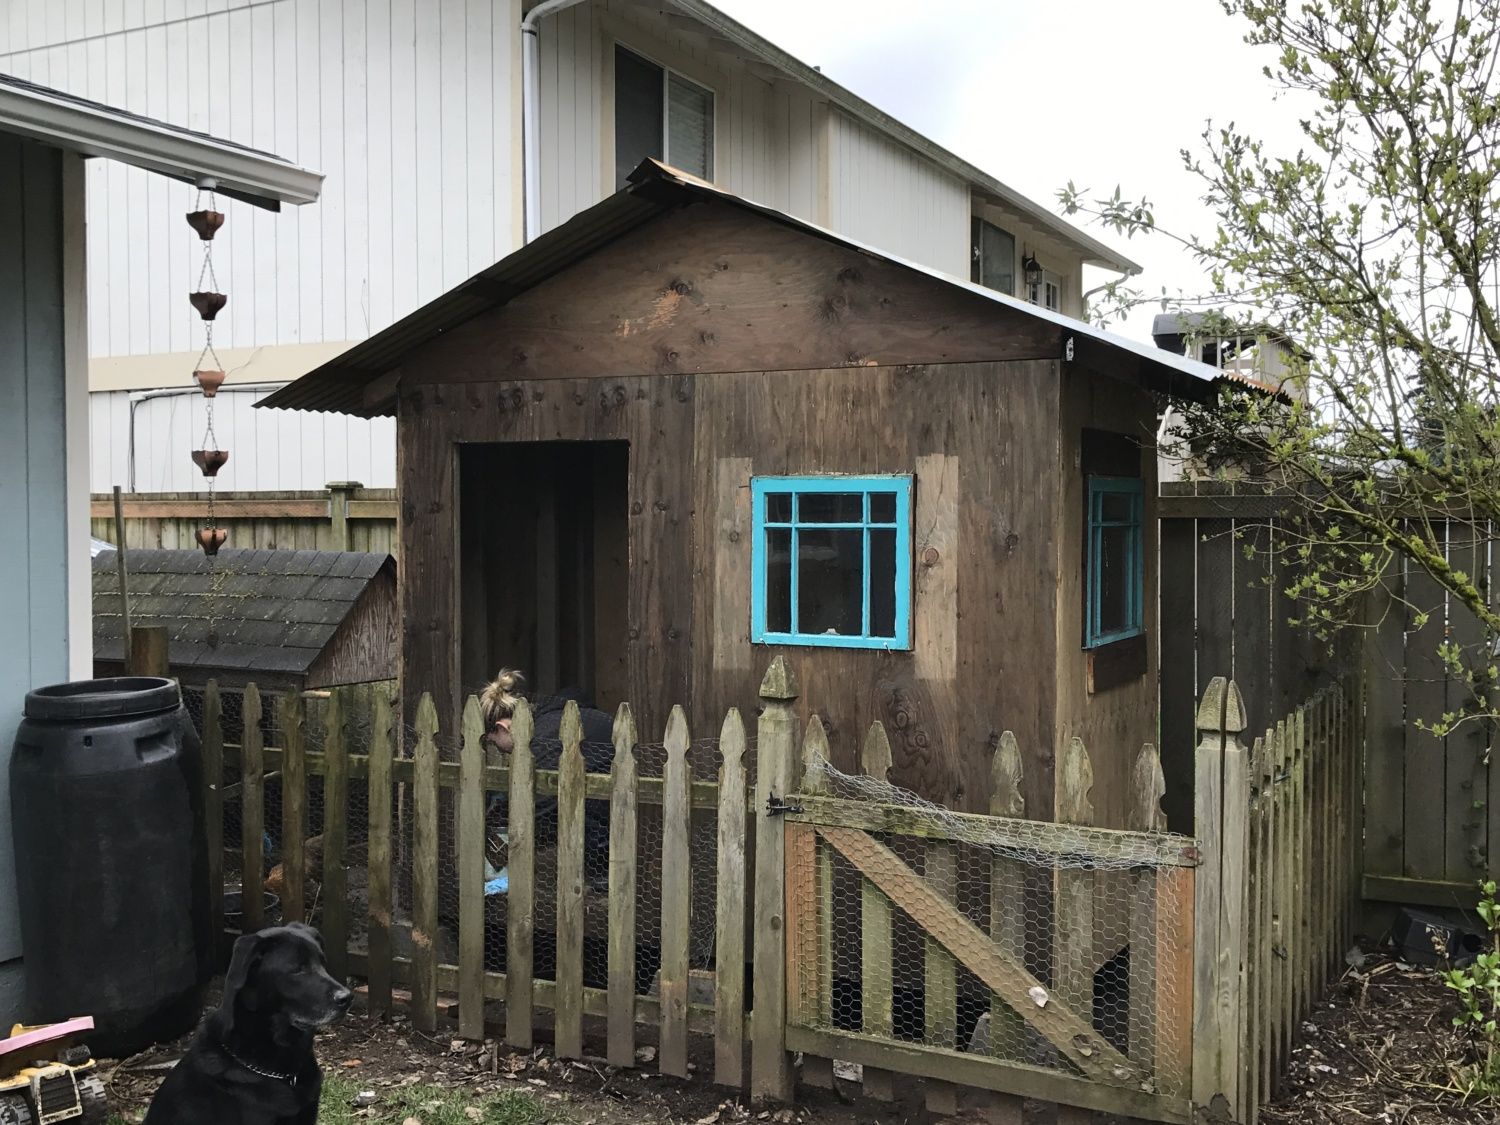
Side shot to see both windows test fit. Bonus picture of ratchet, our inherited dog who is a bit of a trouble maker, and a bird killer...unfortunately.
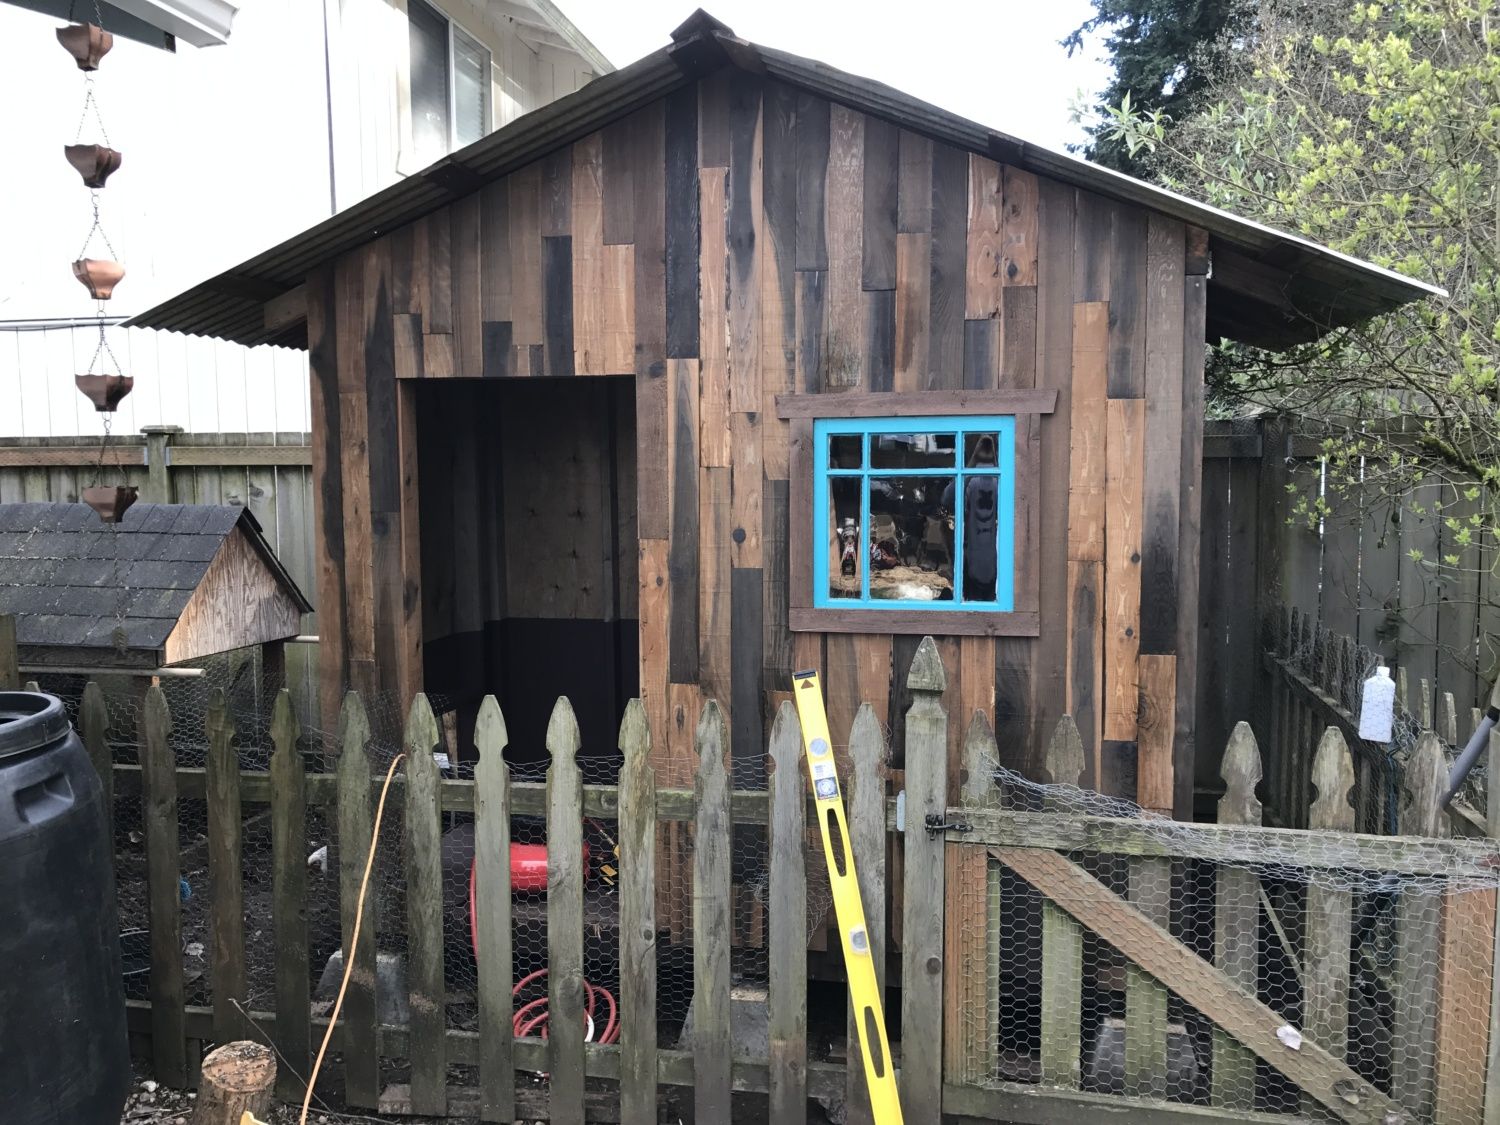
This is with the cedar boards added. My wife hand picked every cedar board, used the aging mix on each one, let them dry, and then stained them. I cut them in various lengths, started in the middle and then worked my way out. I also trimmed out the window and screwed it in permanently.
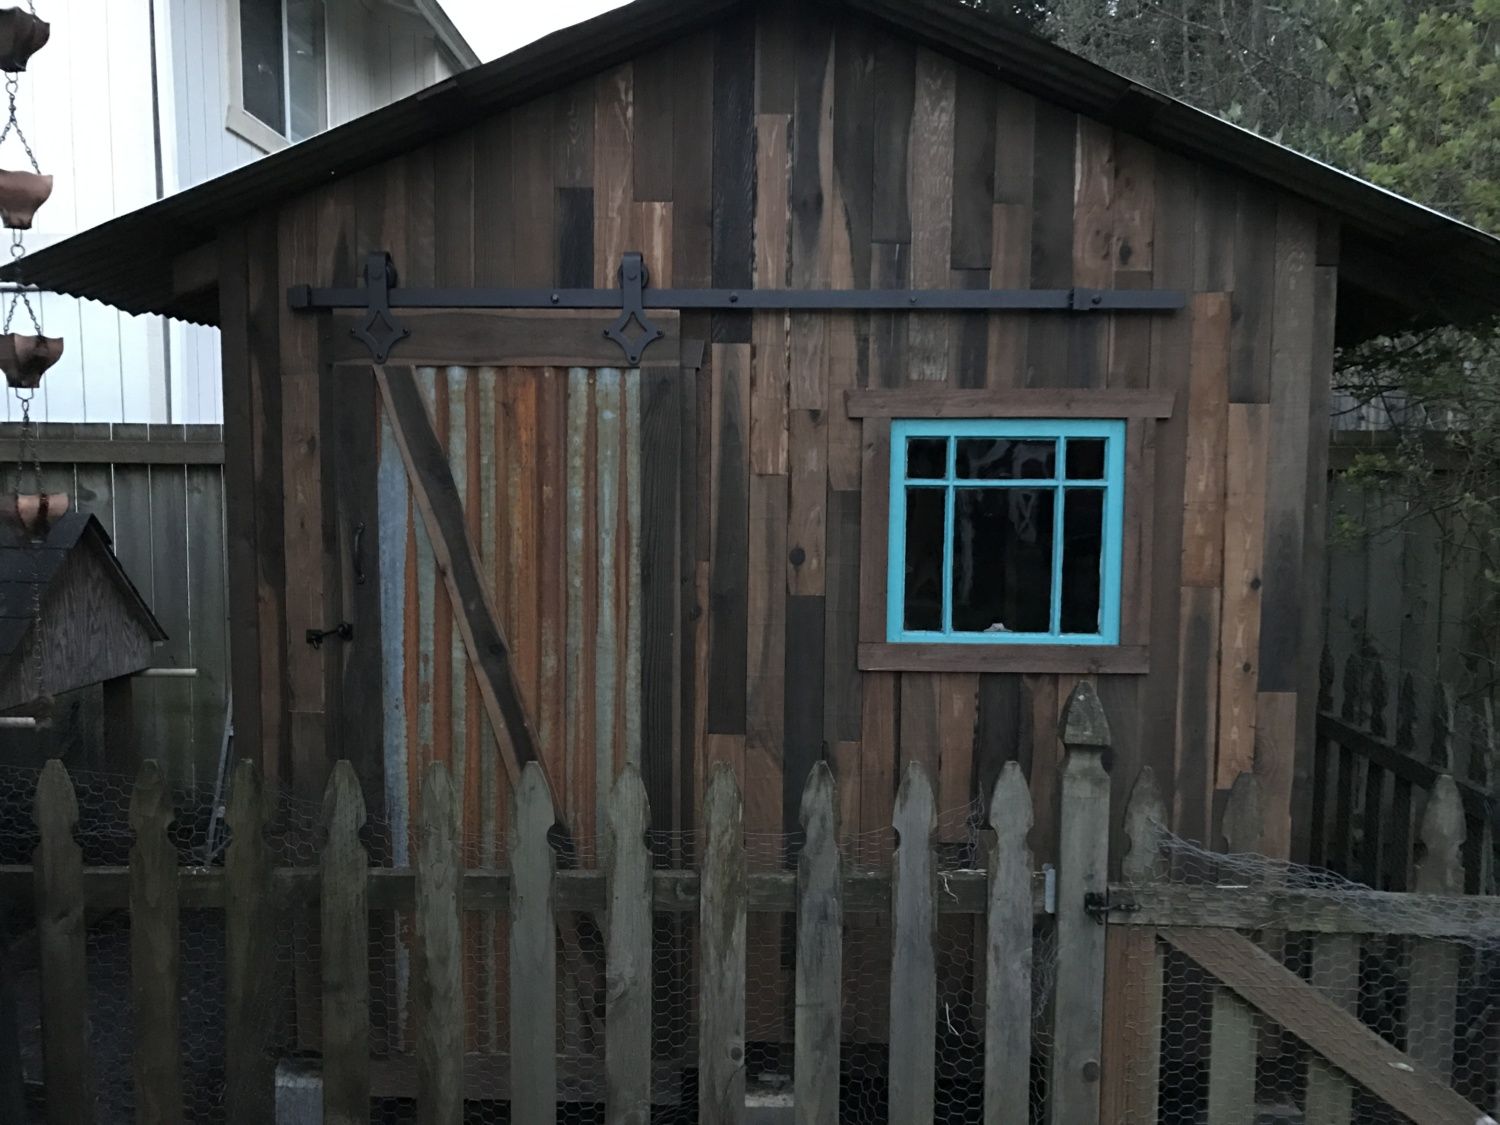
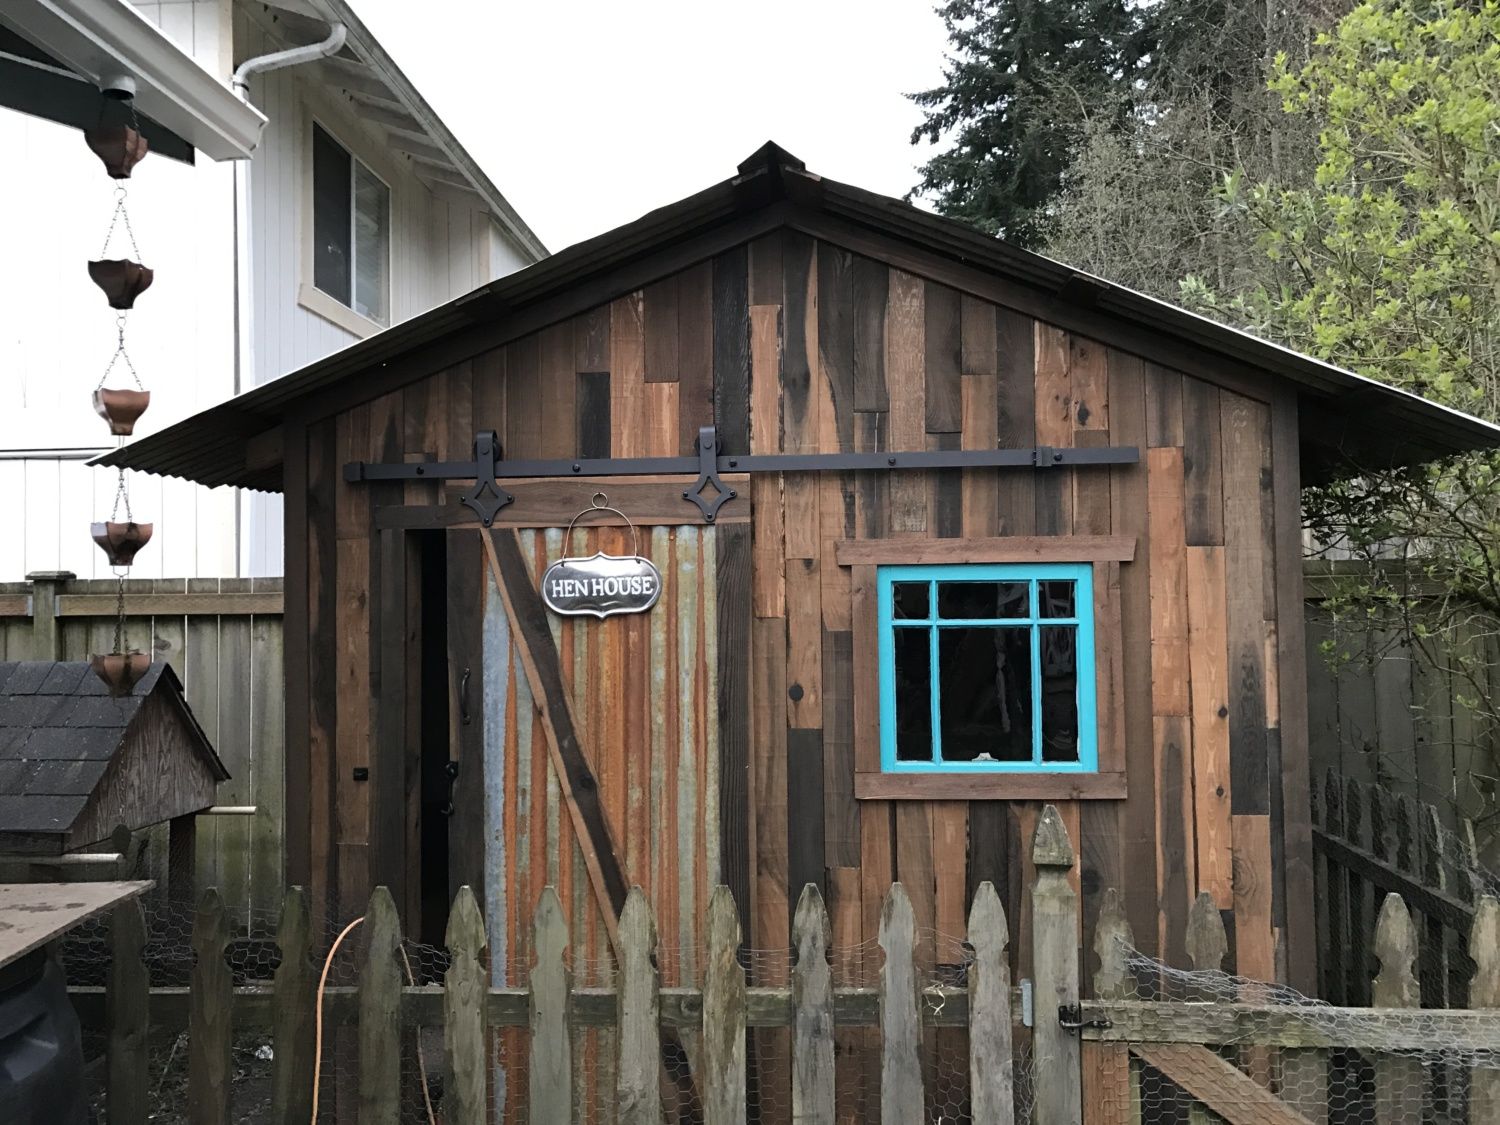
Finally I put up the hardware my wife picked out for the door, and we made the door and hung it up. The steel is the same that we have on the roof; we bought it new, used sandpaper to scuff it, and then used muriatic acid and hydrogen peroxide to quicken the rust process. Did the same thing for the roof, pictured below.
Picture of the inside with the door open.
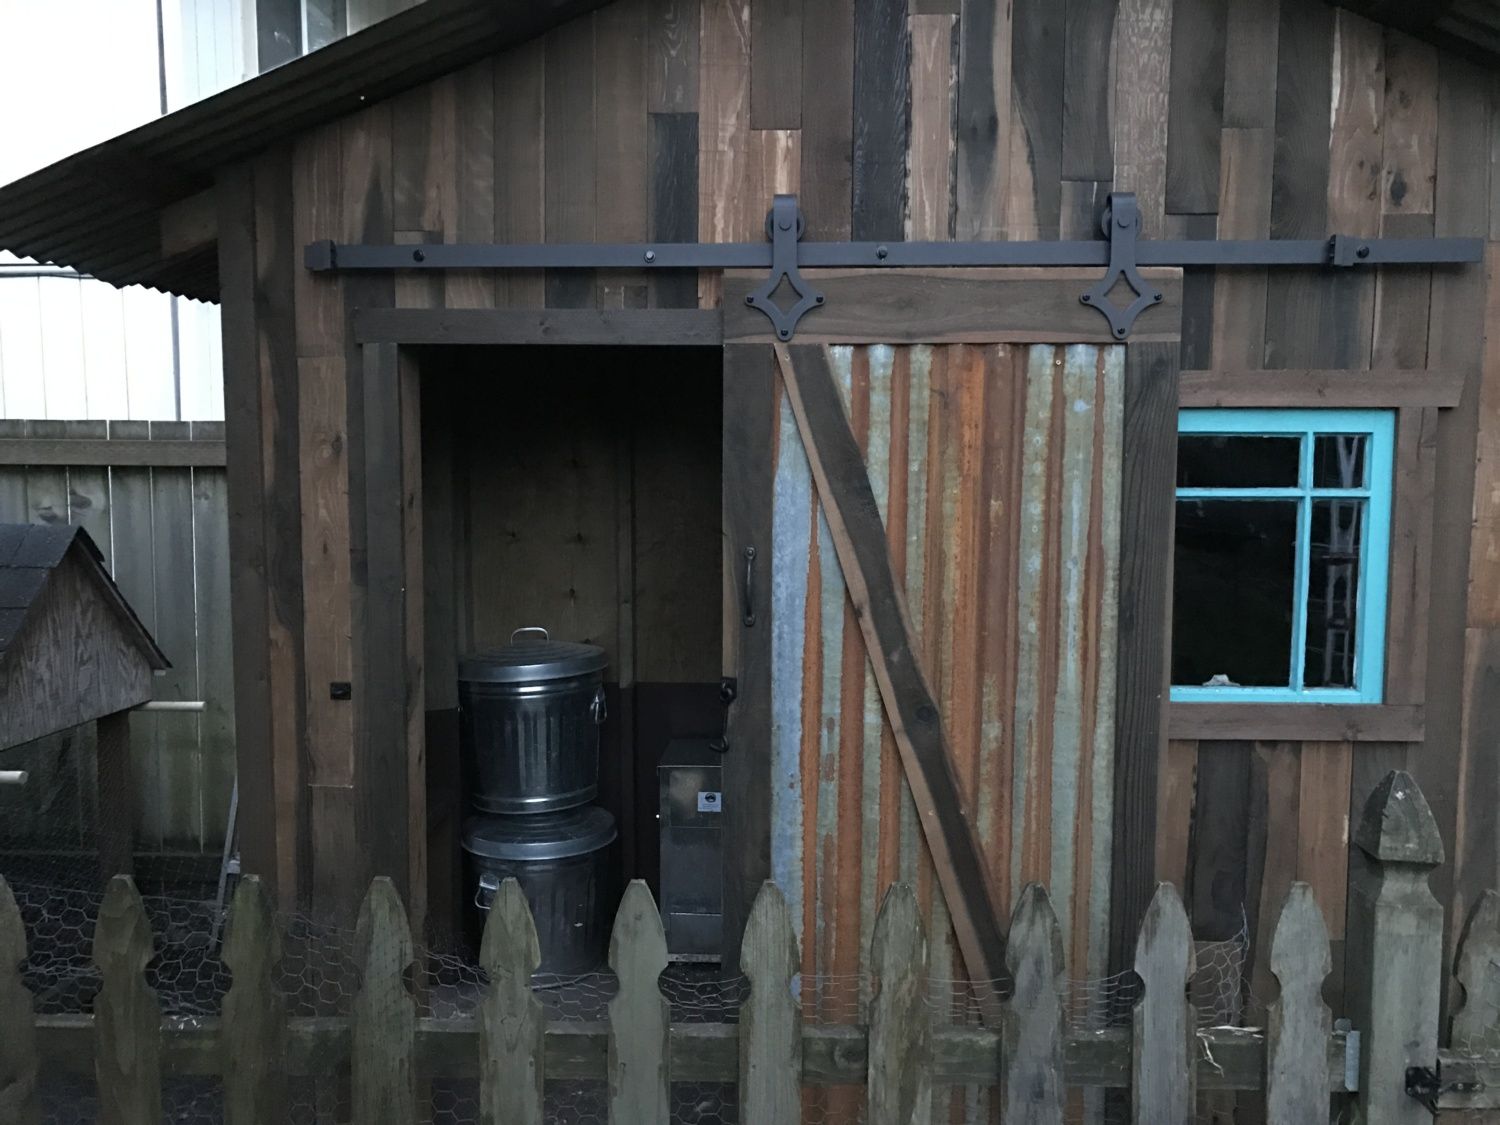
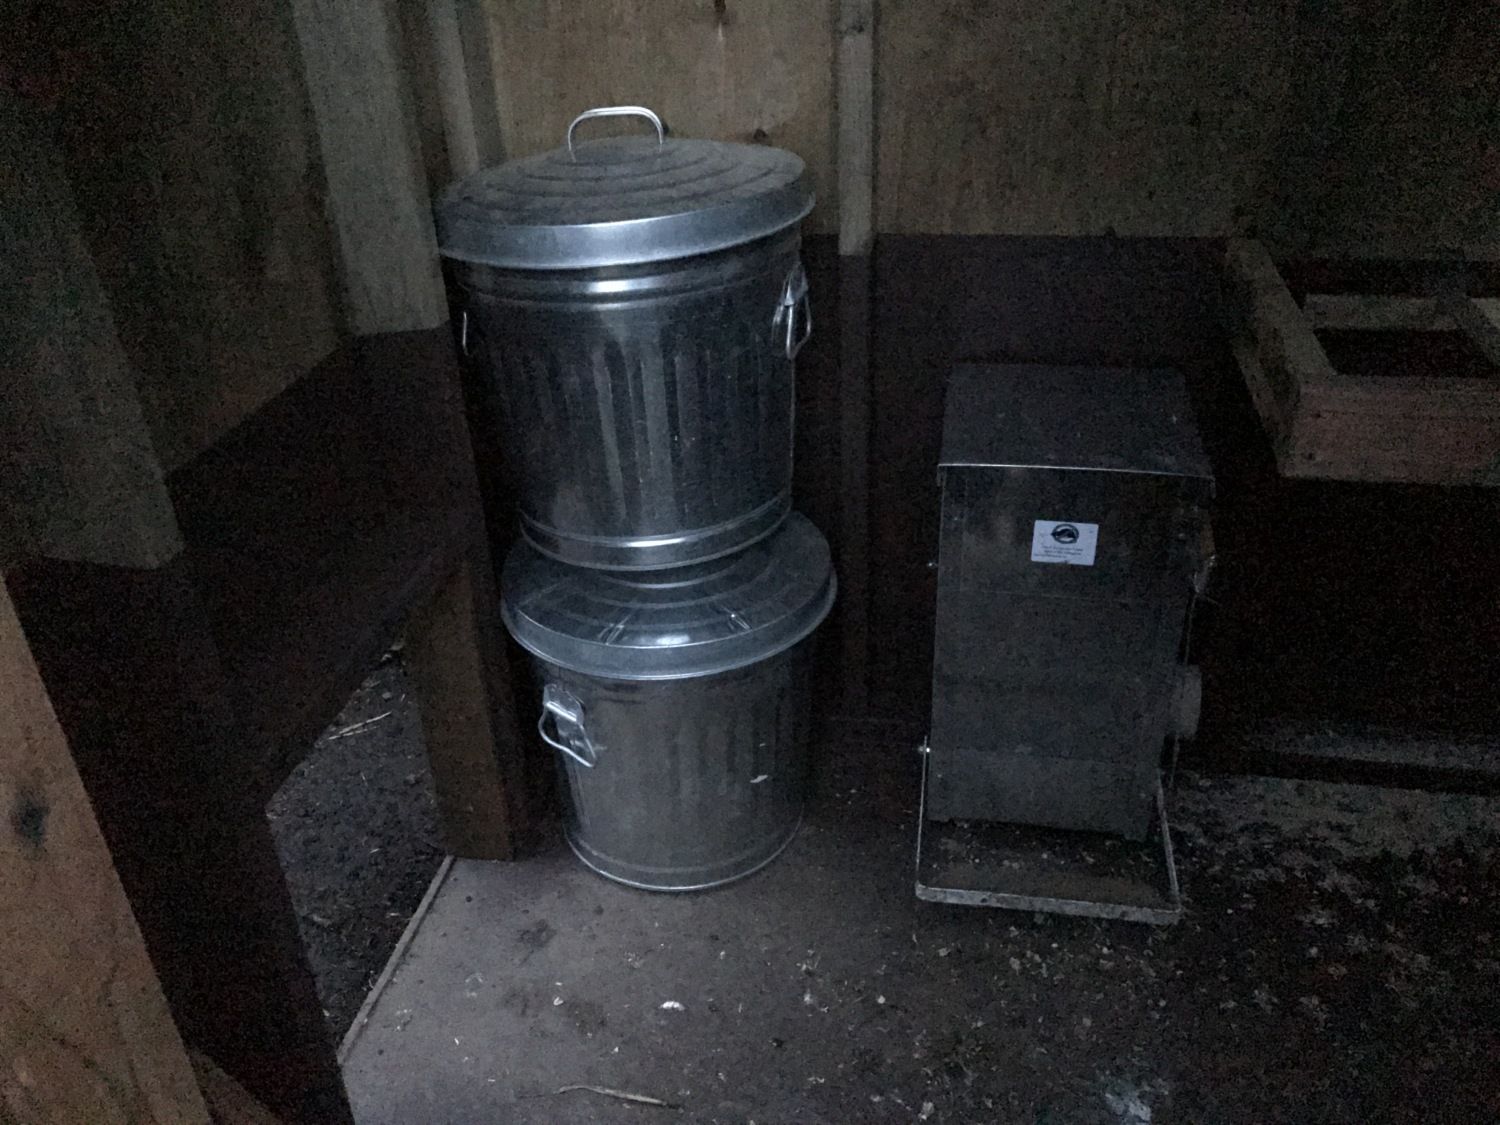
Couple garbage tins we use for the scratch and extra feed, as well as the rat proof chicken feeder we just bought to try and stave off the rats.
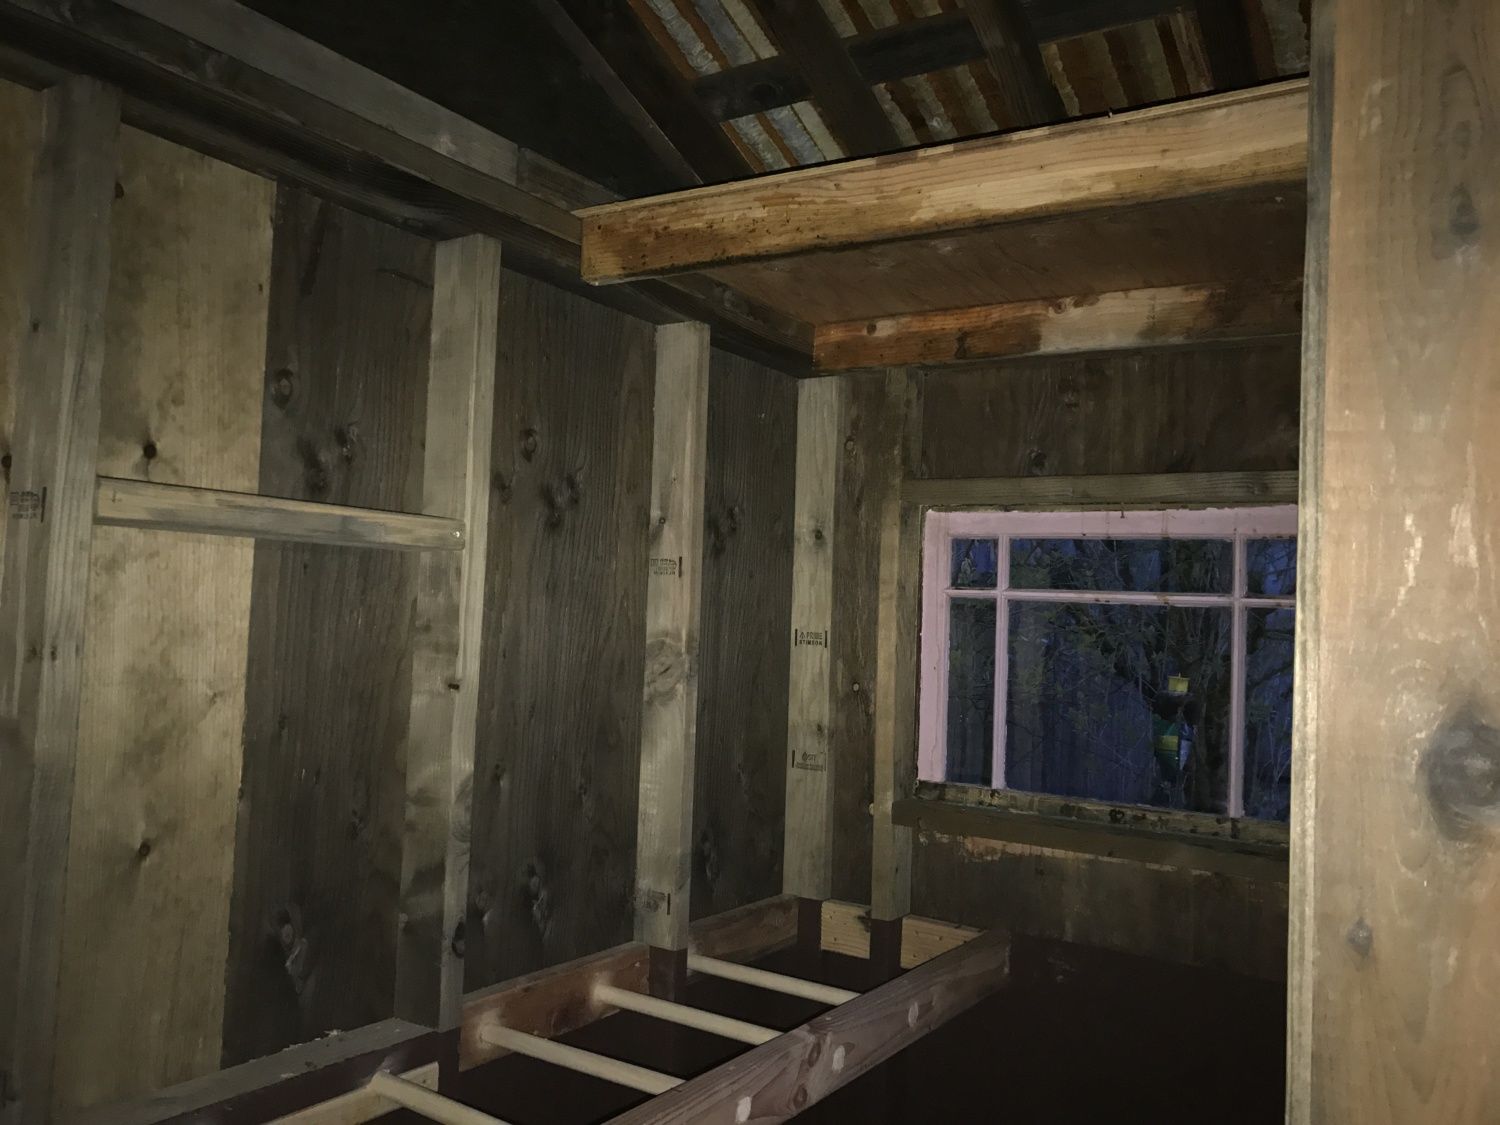
The roost. Very solid, I was actually surprised how well it turned out since I just went off the pictures and was worried my lack of bracing under the corner would make it rickety.
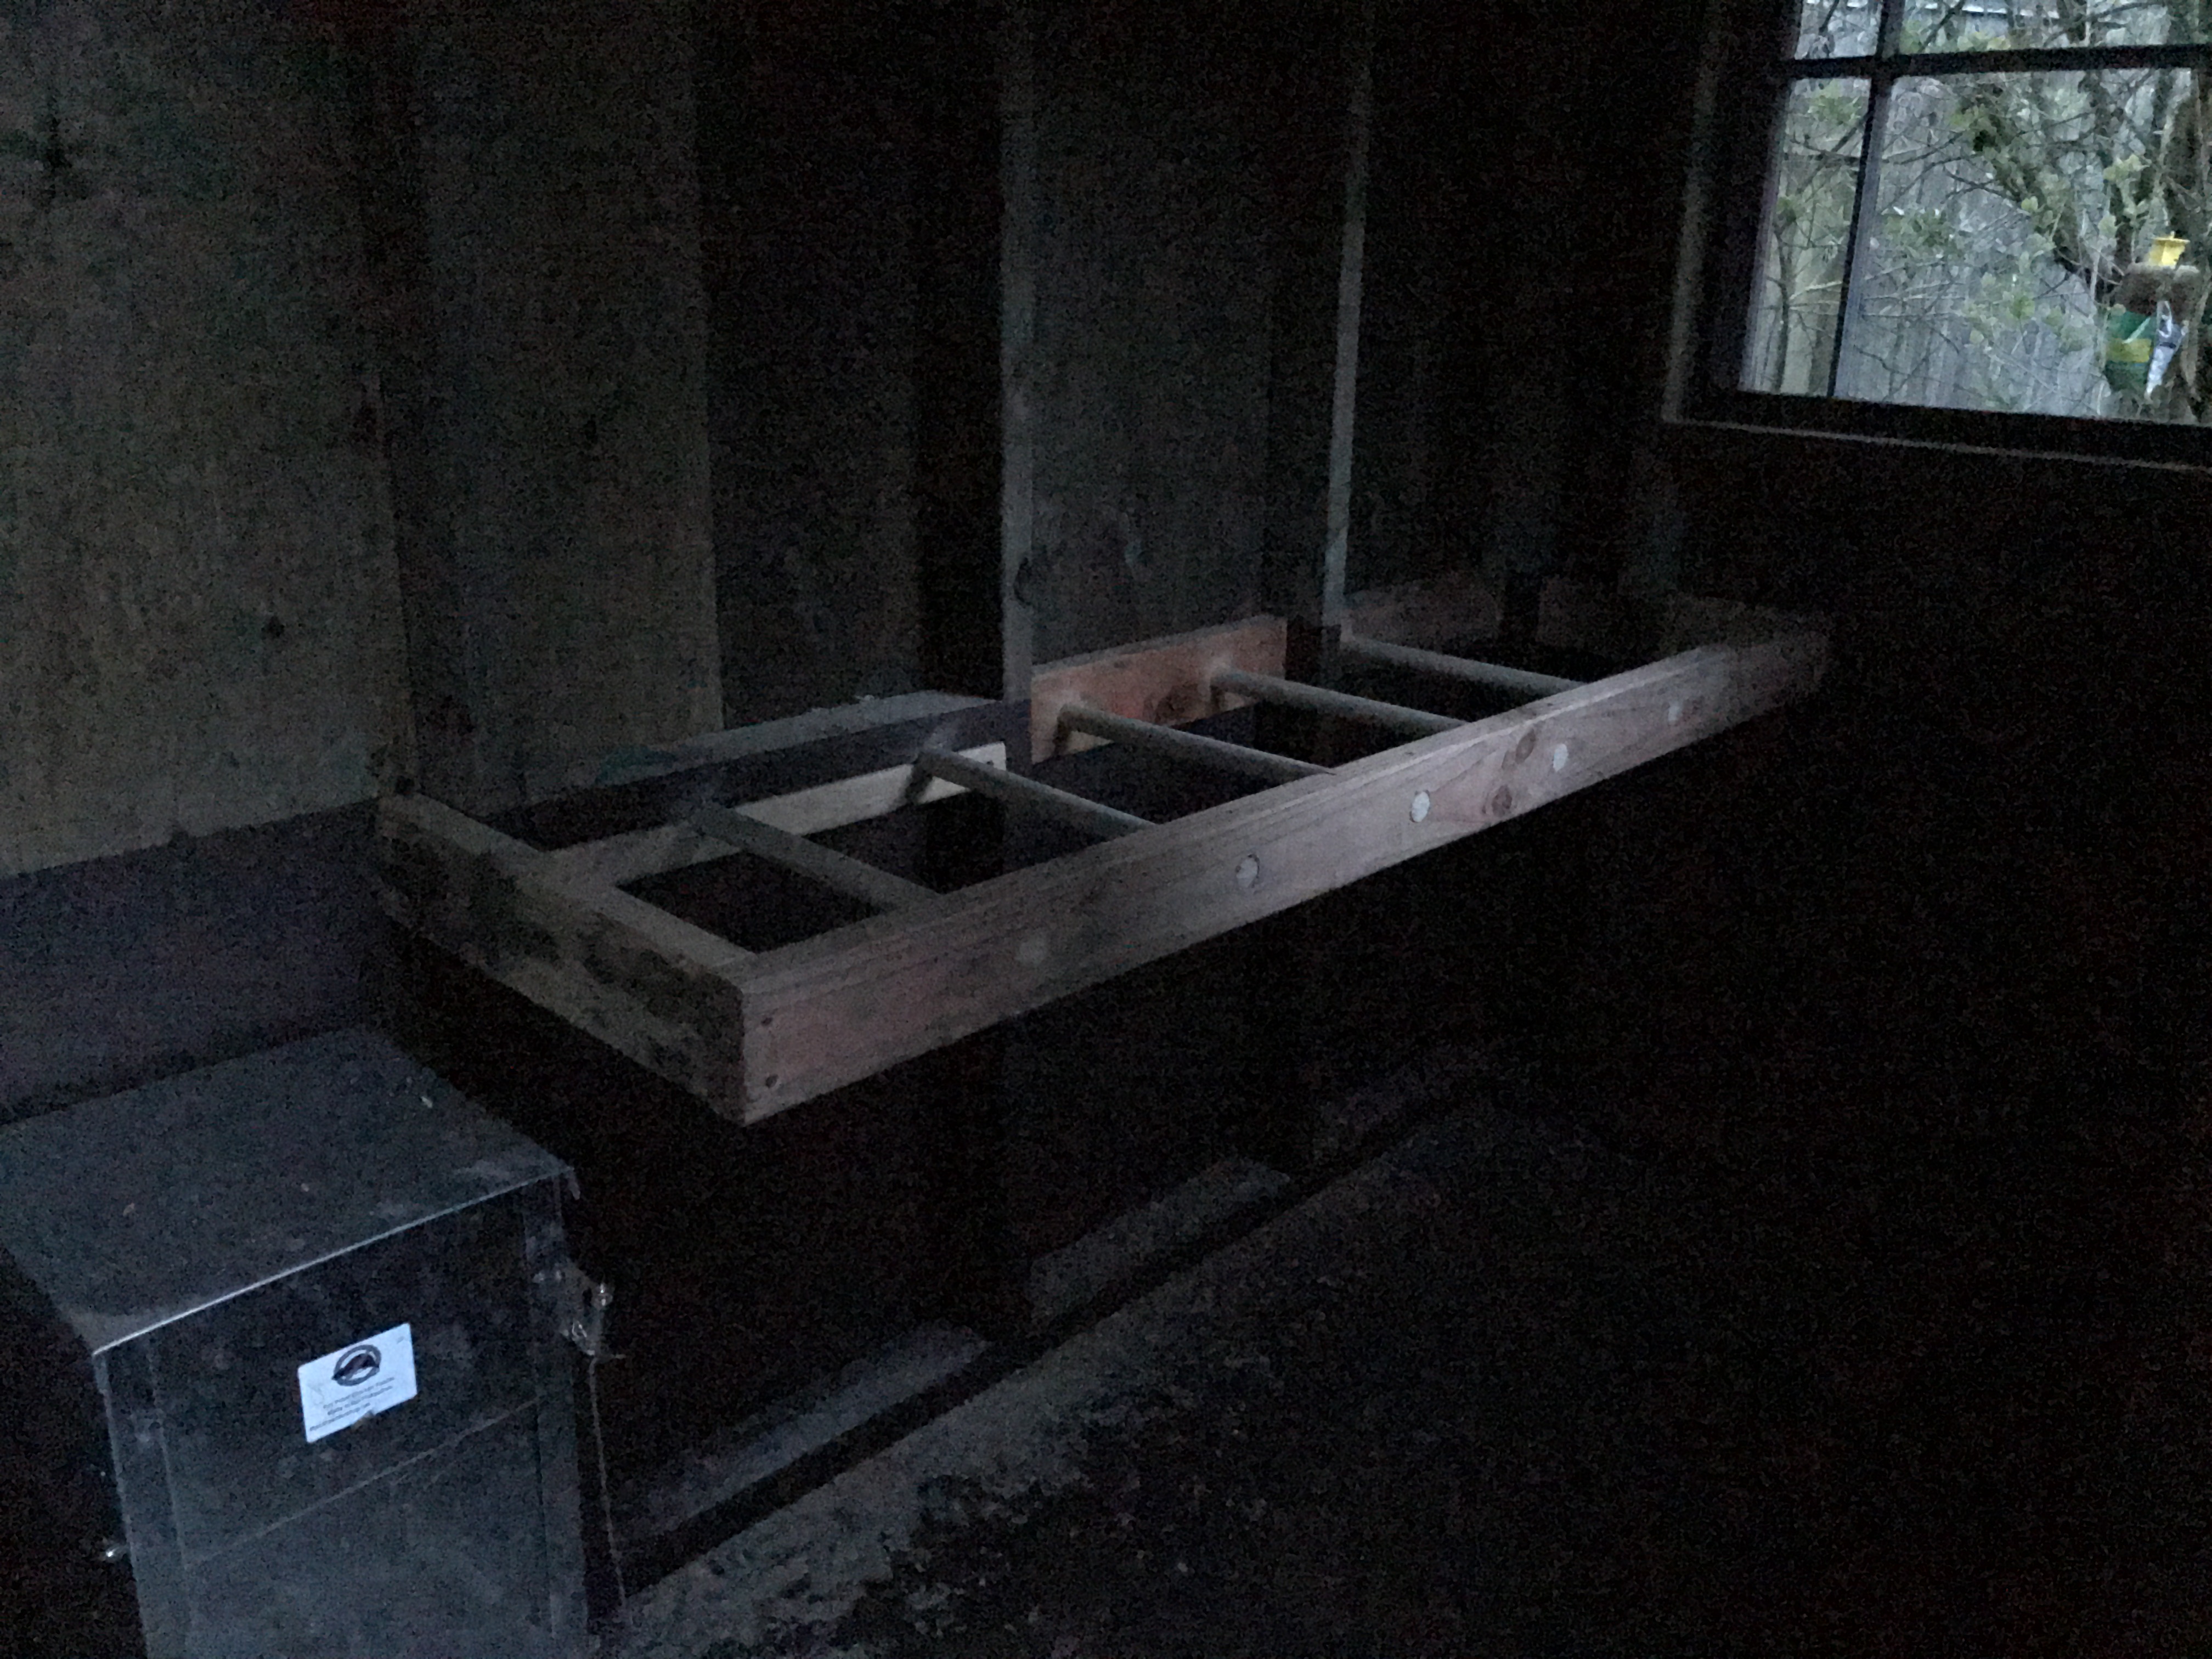
Overhead storage for extra feed. Missing nesting boxes still, which will come shortly.
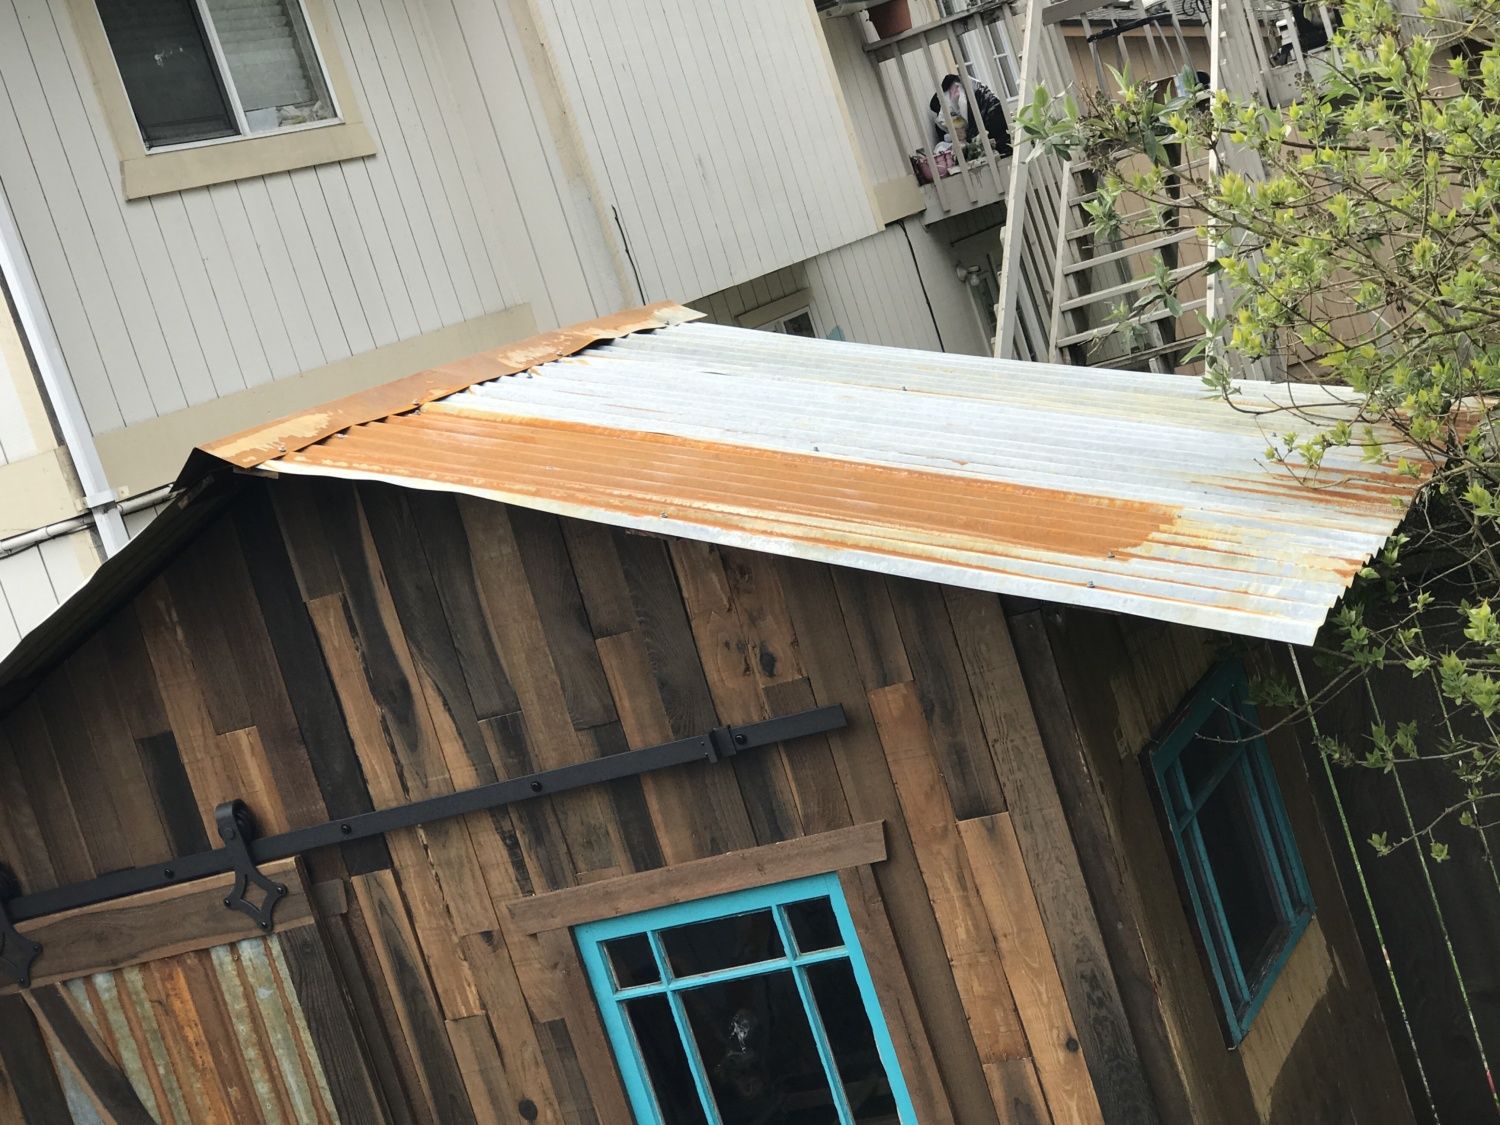
Top of the roof. Only thing we didn't like about the quick aging process of the roof is we can't control it, so part looks more rusty. Still okay though, has character")
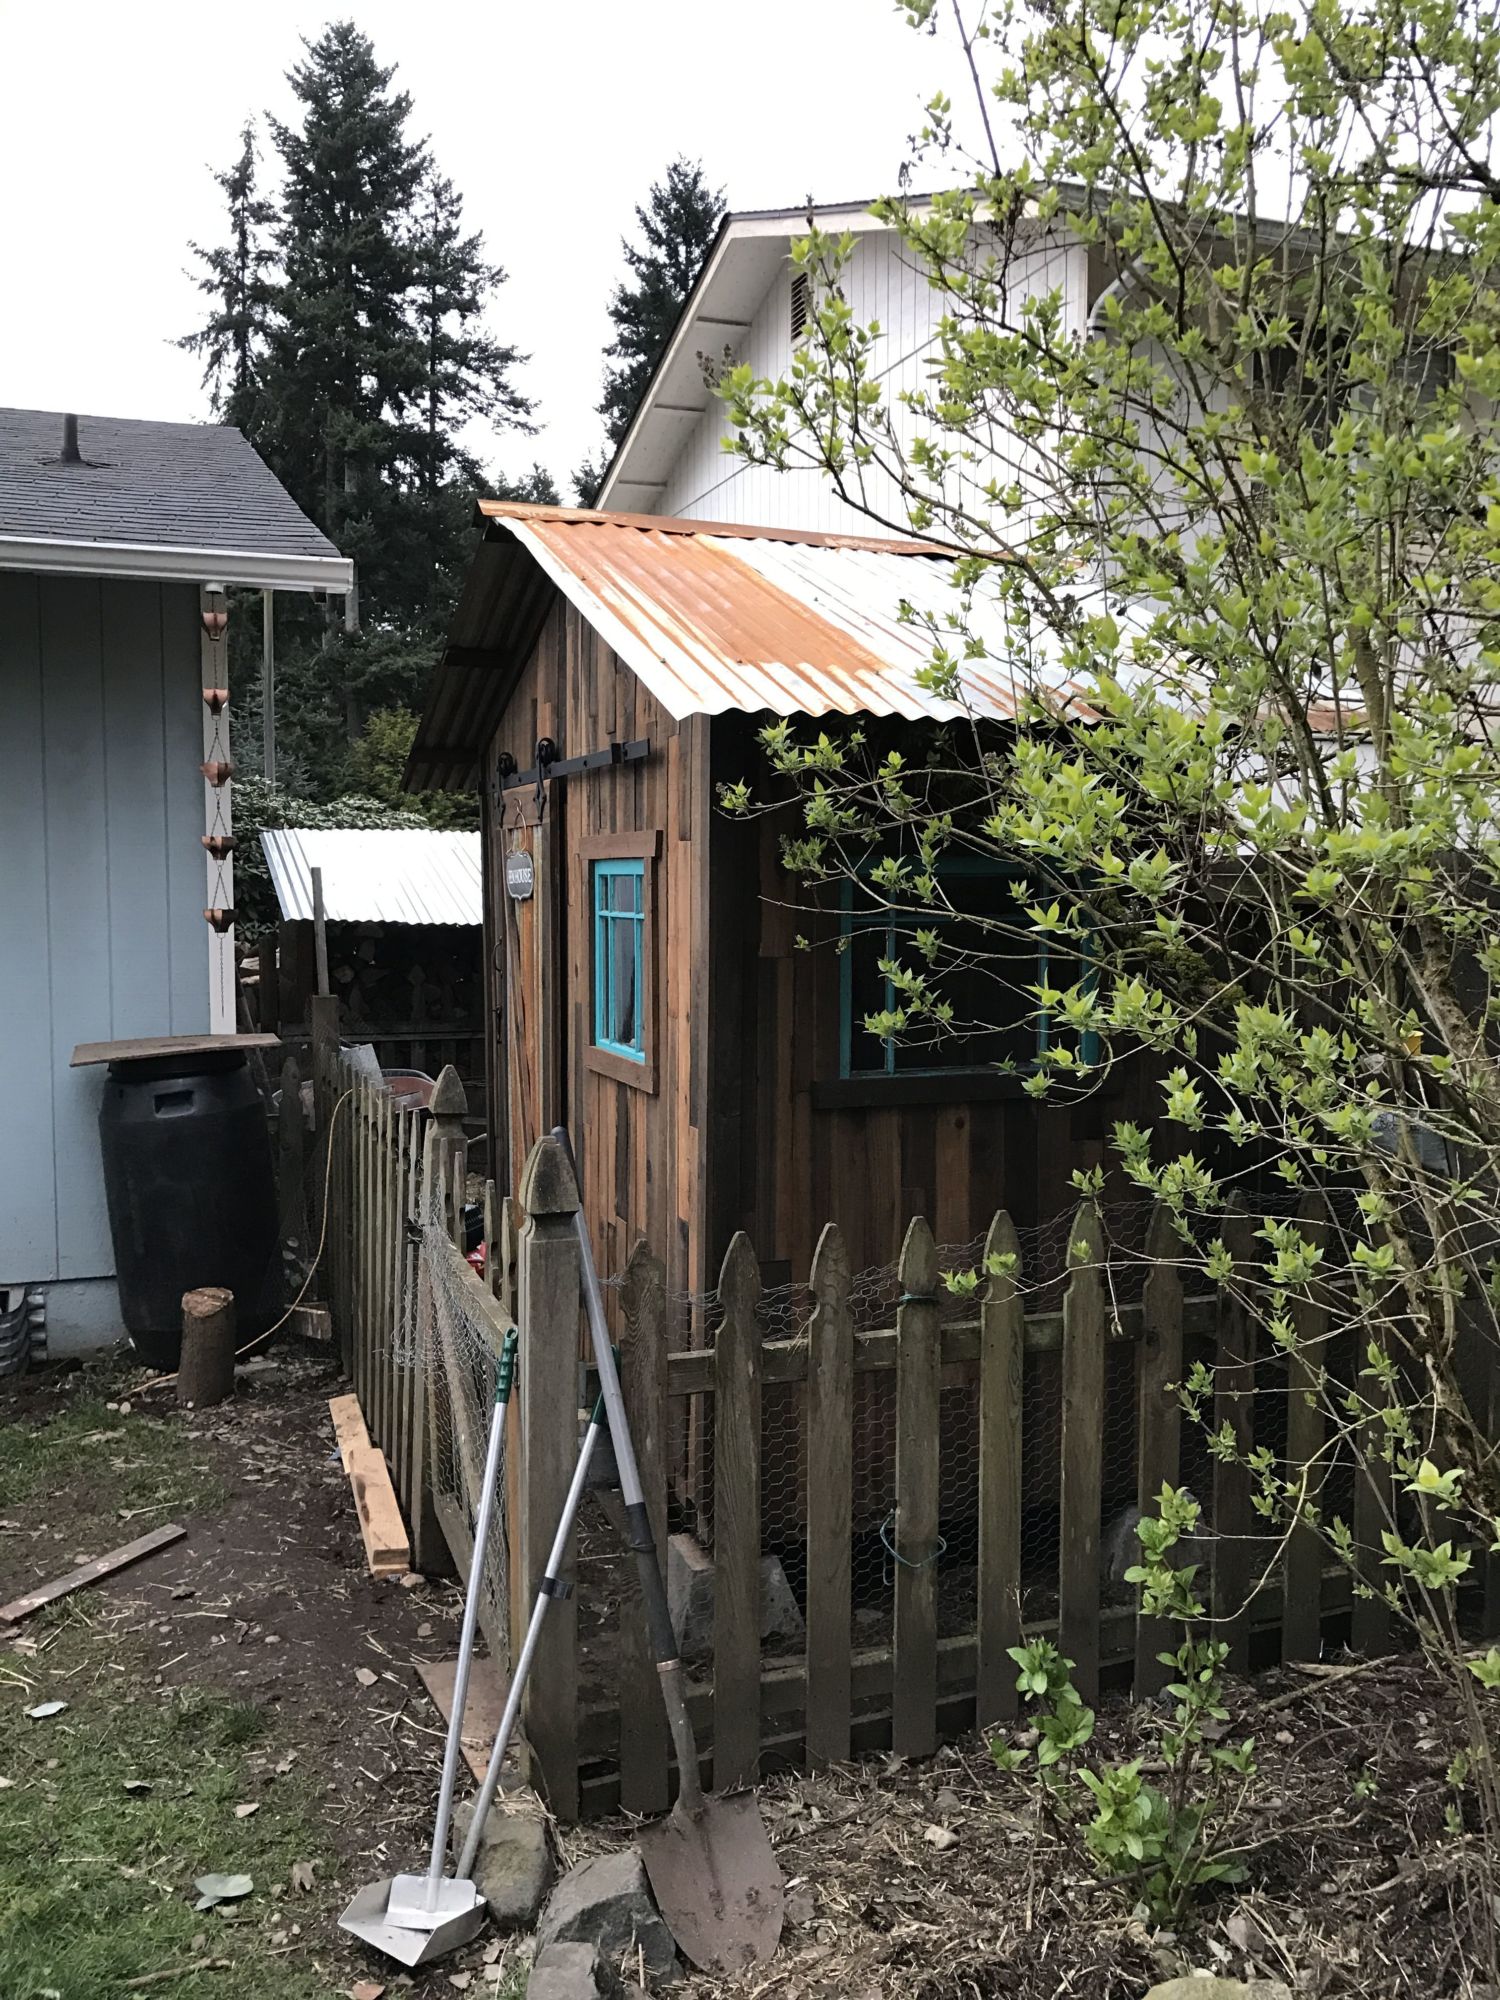
Another side picture. The fence will be going away soon, I'll be moving it out and replacing it after I finish the last couple details on the coop.
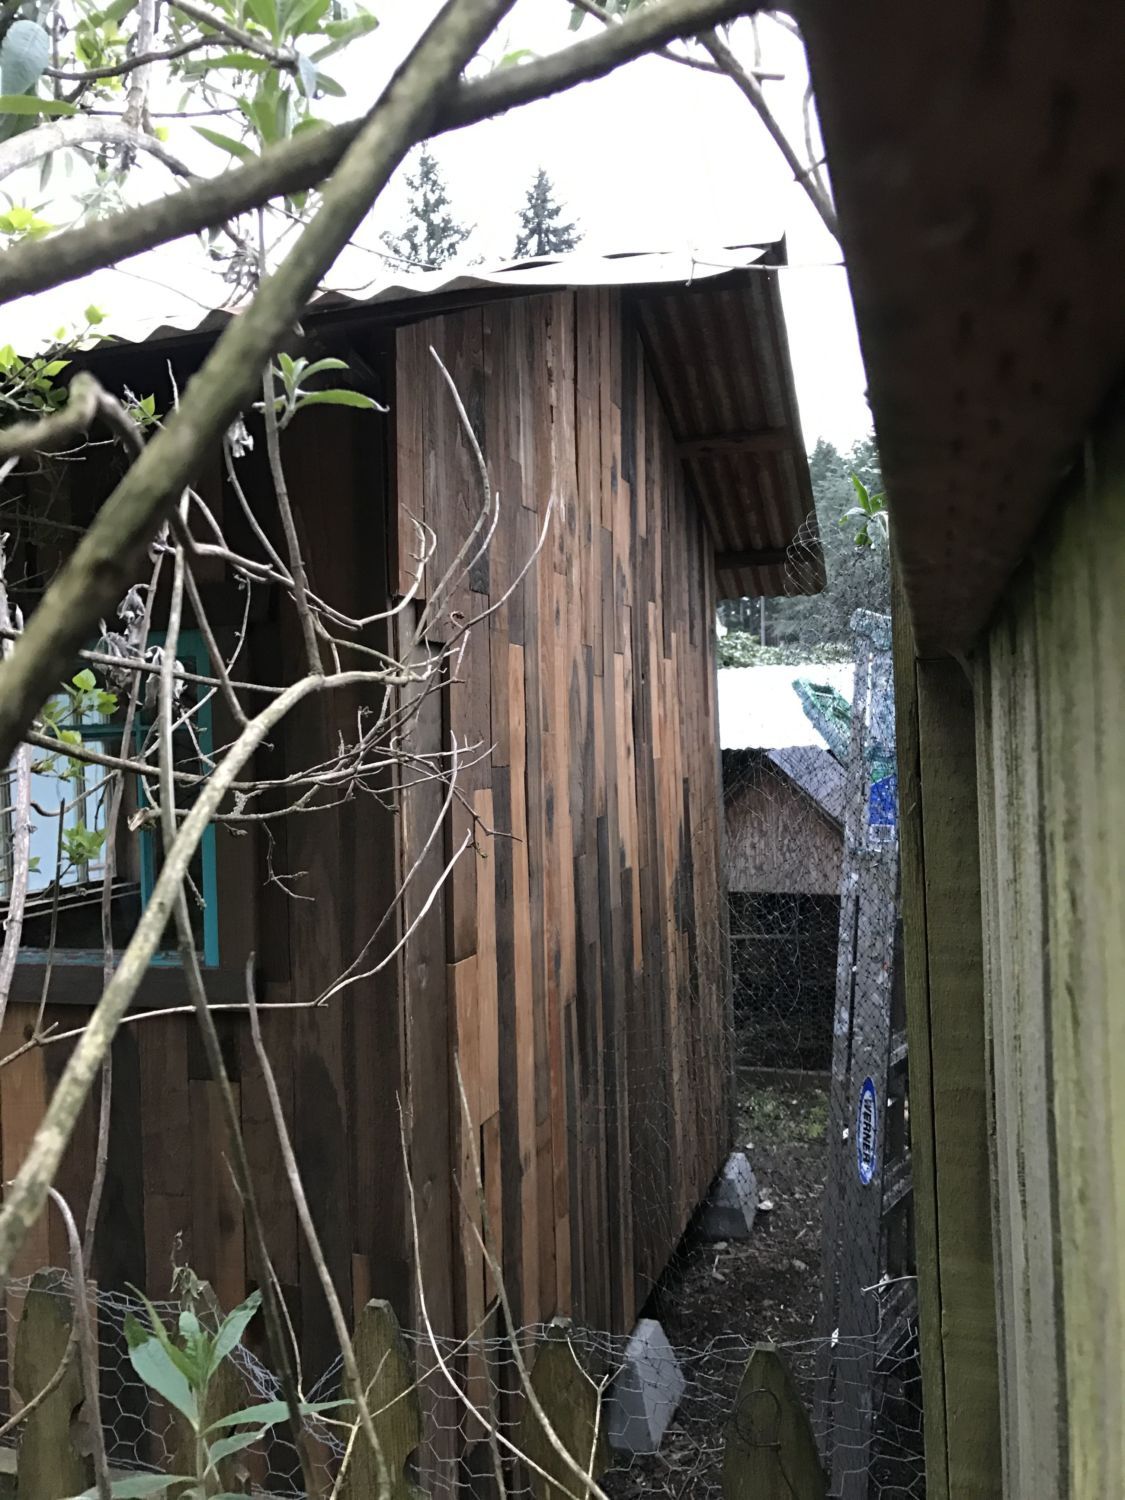
The back side, just enough room to walk through, spent way too much time making it look just as nice as the front when no one is going to see it...lol
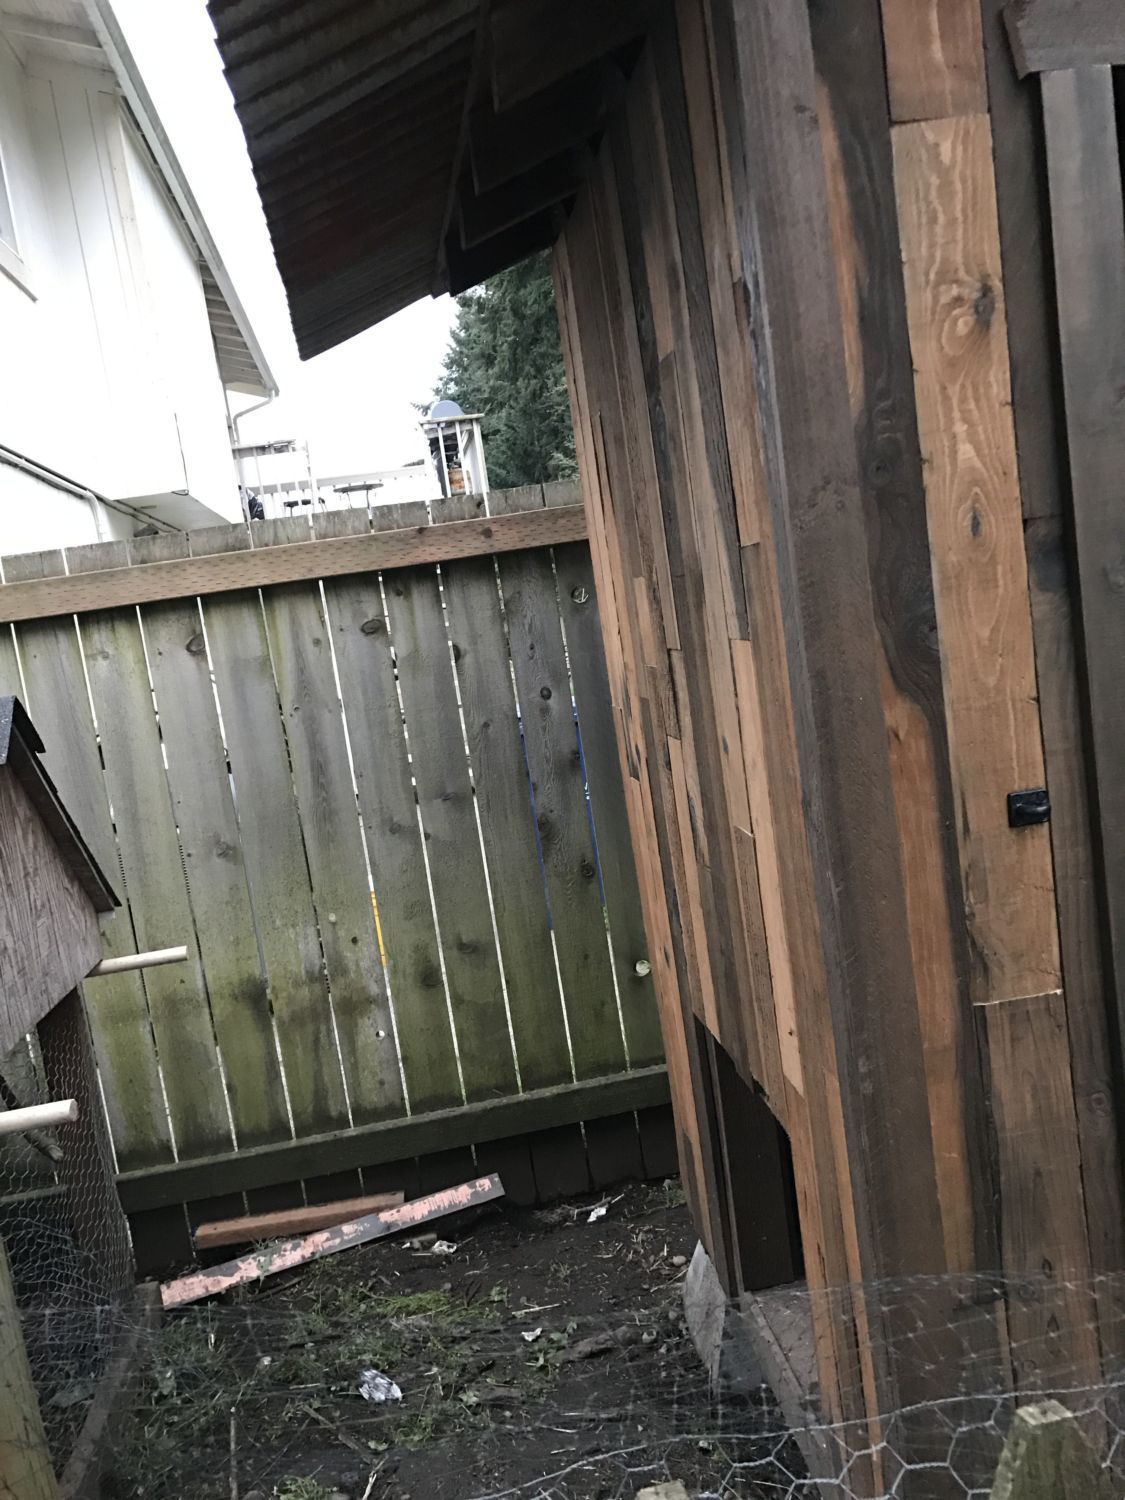
The chicken entrance. Not finished yet, still needs to get trimmed out and get a ramp added. We are lucky enough that predators aren't a problem, so we can leave the side open for now. If we do get raccoons or opossums in the future, we can change that. They are around here, they've just only made it in the yard once in the last 6 years we've been here, and that was 4 years ago now.
Hen House sign added, my wife is pretty happy with how it turned out, and while I've alluded already that there's still some work to be done, safe to say our new chicks will have a pretty swag new home to look forward too. I've already joked that if I ever get sent out to the dog house, don't be surprised if you find me in the chicken coop instead
Leveled out and created a base.
Framed up each of the walls. Loosely followed the Chicken Coops for dummies book for this, really just to find best practices and make sure it's sturdy, since it's a bigger coop. Adjusted the door size and window sizes since we made it a touch smaller than the book, and we got some reclaimed windows that I wanted to fit in.
Side shot, with a snippit of the old coop.
Test fit the windows in.
Added some walls plywood walls.
Started framing out the roof. Didn't want to put the front plywood on until I had the roof done since I knew it would make my life harder.
Front shot.
I missed the opportunity to take a lot of pictures in the process here...Got the rest of the plywood up, the roof up, some cross beams up to help keep the tin roof straight, cut out the window and door holes, and did a final test fit of the windows and then held them in with temp screws. It's dark because we used an aging "stain", essentially vinegar and fine steel wool that sat together for 2 days, to make it look older.
Side shot to see both windows test fit. Bonus picture of ratchet, our inherited dog who is a bit of a trouble maker, and a bird killer...unfortunately.
This is with the cedar boards added. My wife hand picked every cedar board, used the aging mix on each one, let them dry, and then stained them. I cut them in various lengths, started in the middle and then worked my way out. I also trimmed out the window and screwed it in permanently.
Finally I put up the hardware my wife picked out for the door, and we made the door and hung it up. The steel is the same that we have on the roof; we bought it new, used sandpaper to scuff it, and then used muriatic acid and hydrogen peroxide to quicken the rust process. Did the same thing for the roof, pictured below.
Picture of the inside with the door open.
Couple garbage tins we use for the scratch and extra feed, as well as the rat proof chicken feeder we just bought to try and stave off the rats.
The roost. Very solid, I was actually surprised how well it turned out since I just went off the pictures and was worried my lack of bracing under the corner would make it rickety.
Overhead storage for extra feed. Missing nesting boxes still, which will come shortly.
Top of the roof. Only thing we didn't like about the quick aging process of the roof is we can't control it, so part looks more rusty. Still okay though, has character
Another side picture. The fence will be going away soon, I'll be moving it out and replacing it after I finish the last couple details on the coop.
The back side, just enough room to walk through, spent way too much time making it look just as nice as the front when no one is going to see it...lol
The chicken entrance. Not finished yet, still needs to get trimmed out and get a ramp added. We are lucky enough that predators aren't a problem, so we can leave the side open for now. If we do get raccoons or opossums in the future, we can change that. They are around here, they've just only made it in the yard once in the last 6 years we've been here, and that was 4 years ago now.
Hen House sign added, my wife is pretty happy with how it turned out, and while I've alluded already that there's still some work to be done, safe to say our new chicks will have a pretty swag new home to look forward too. I've already joked that if I ever get sent out to the dog house, don't be surprised if you find me in the chicken coop instead


