This is officially my first thread!
We got out chickens in Feb, 1 day old. Since it has been warm enough for them to be outside we have had them in a temporary coop (once they are done with it, it will be our shed, which I found for free!) So we have been working on the coop.
First of all, I can't believe how much those things cost when you but them!!! Insane! So I started checking the free ads on our local selling website similar to craigslist, hoping that people would list free coops here and there. Well they did, but they went sooooo fast, and without a truck at hand, it was hard to get on those. So I decided we needed to build our own,
I wanted to do it as close to free as possible so I started trying to get ideas for pallet coops. Pallets are all over the place for free, and I have made stuff out of them before, including our headboard! Which I love, so I decided why not a chicken coop too!
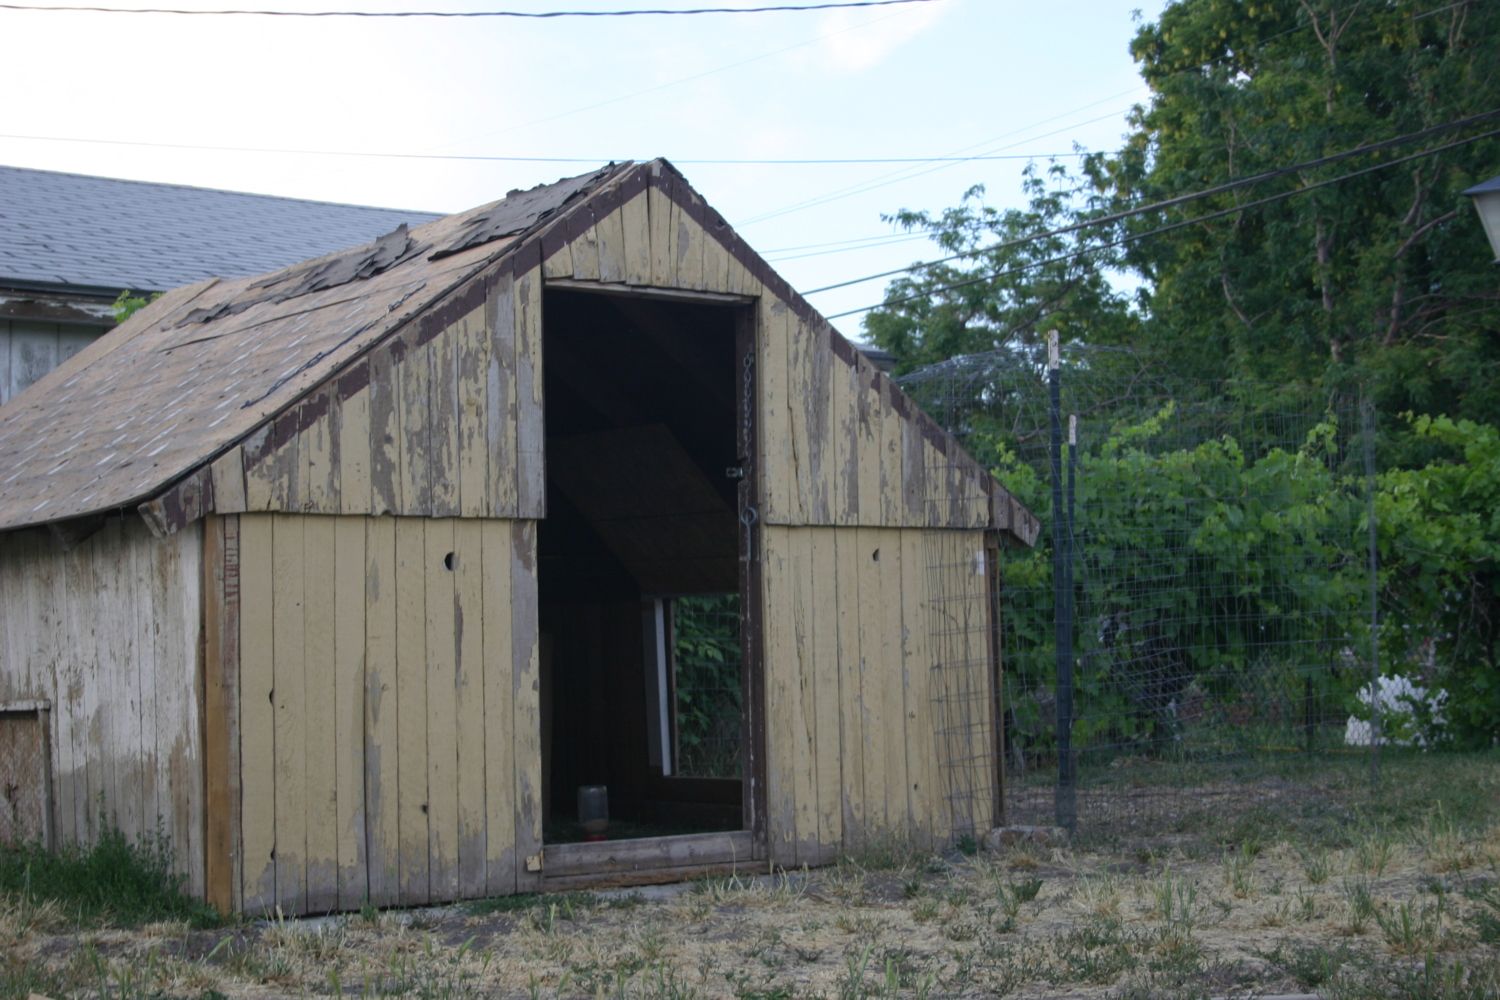
Here is a pic of their temporary coop. Once we are done with their coop, we are going to strip this baby down and repaint it to match the house and put new shingles on it to be a shed! Can't beat that when its free!!
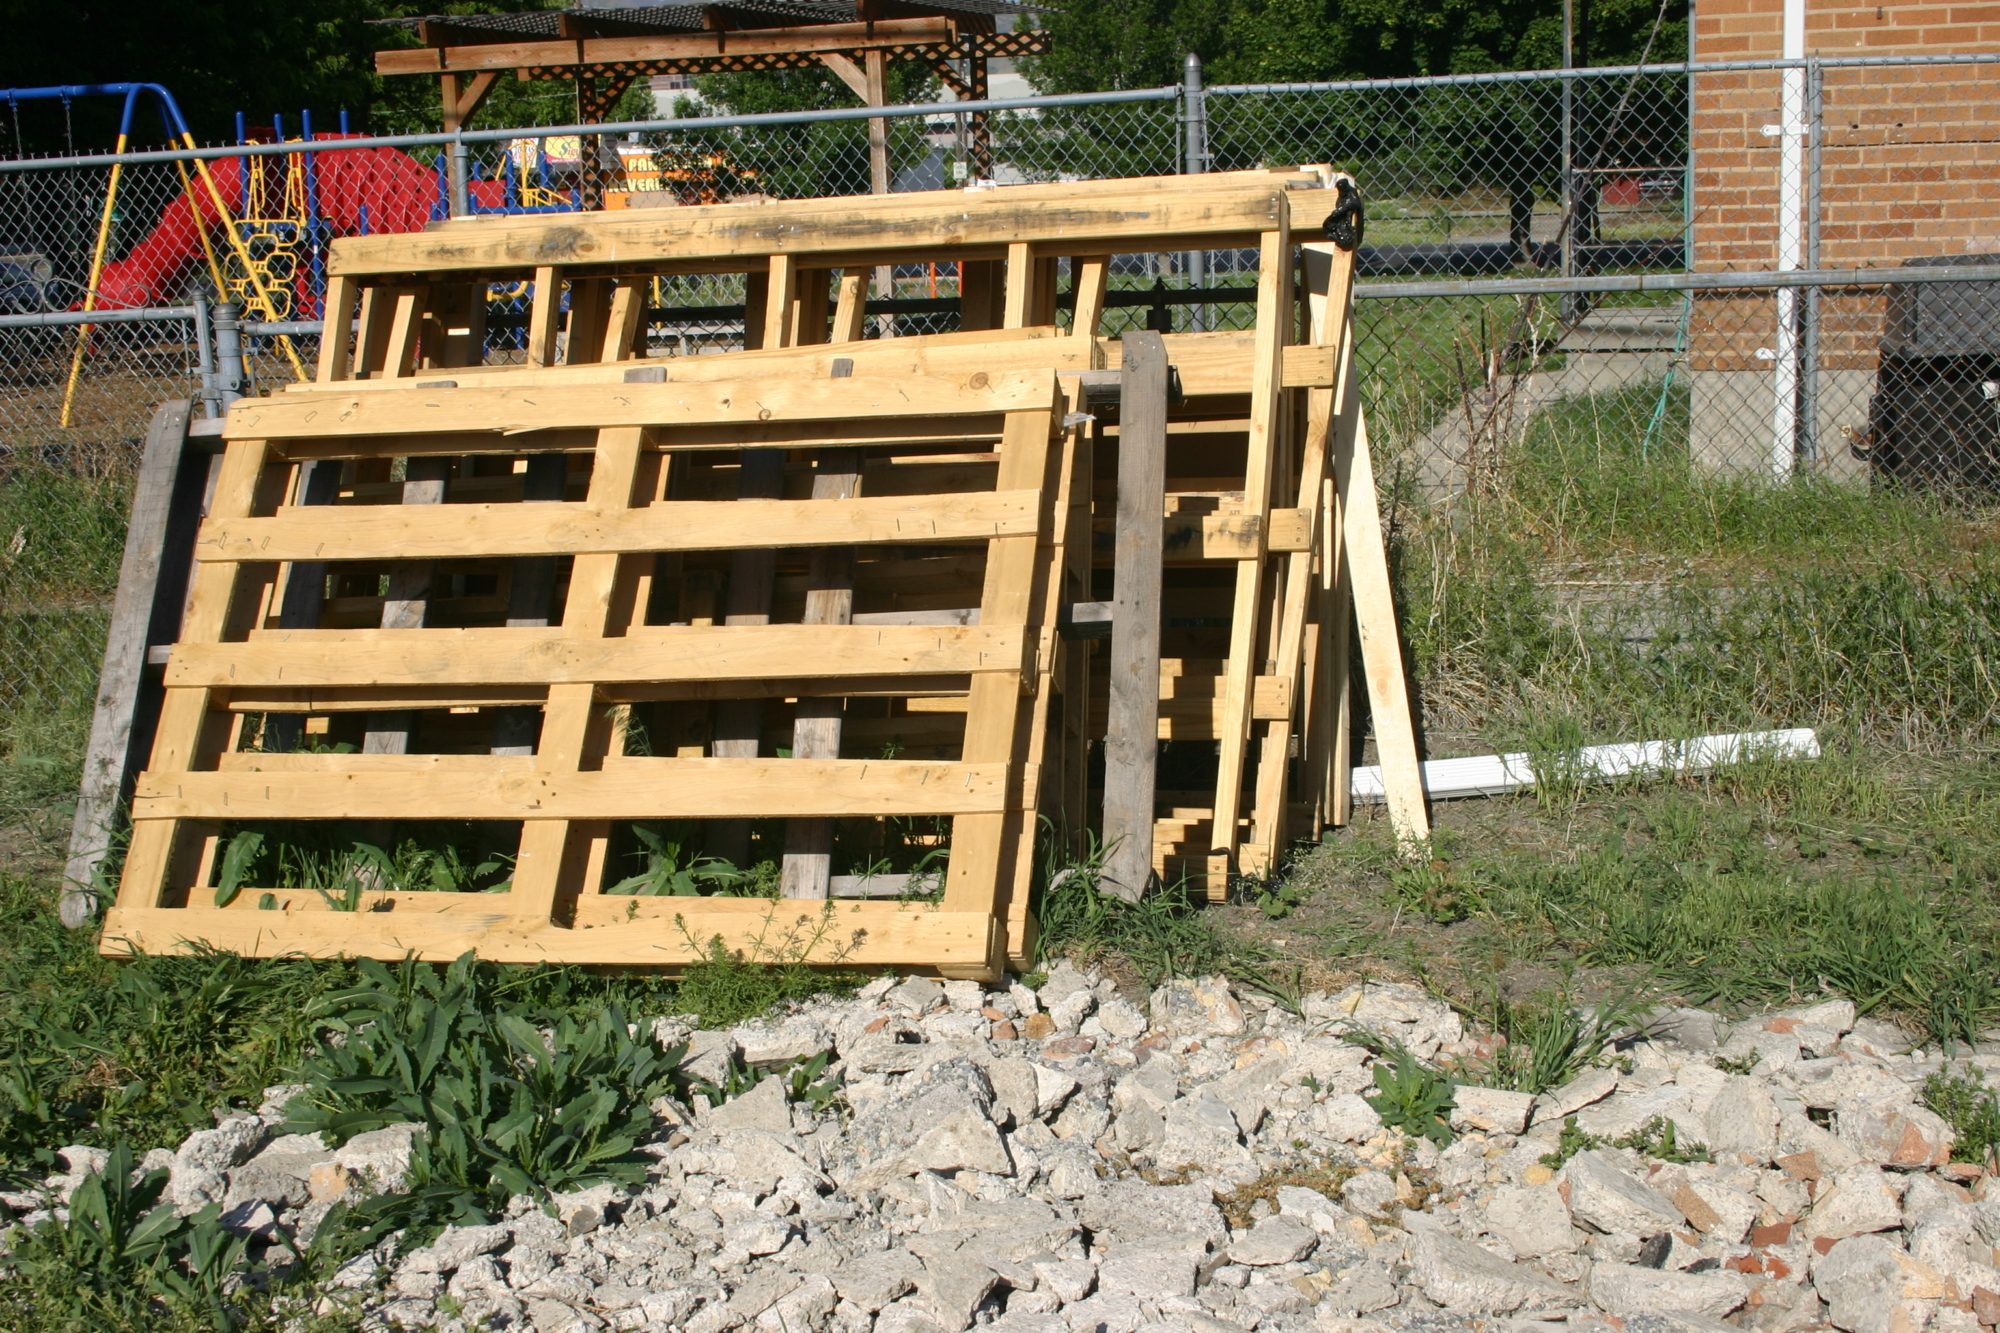
There is a car dealership near our house that is continually trying to get rid of large sized pallets. They were perfect for the framing of our coop:
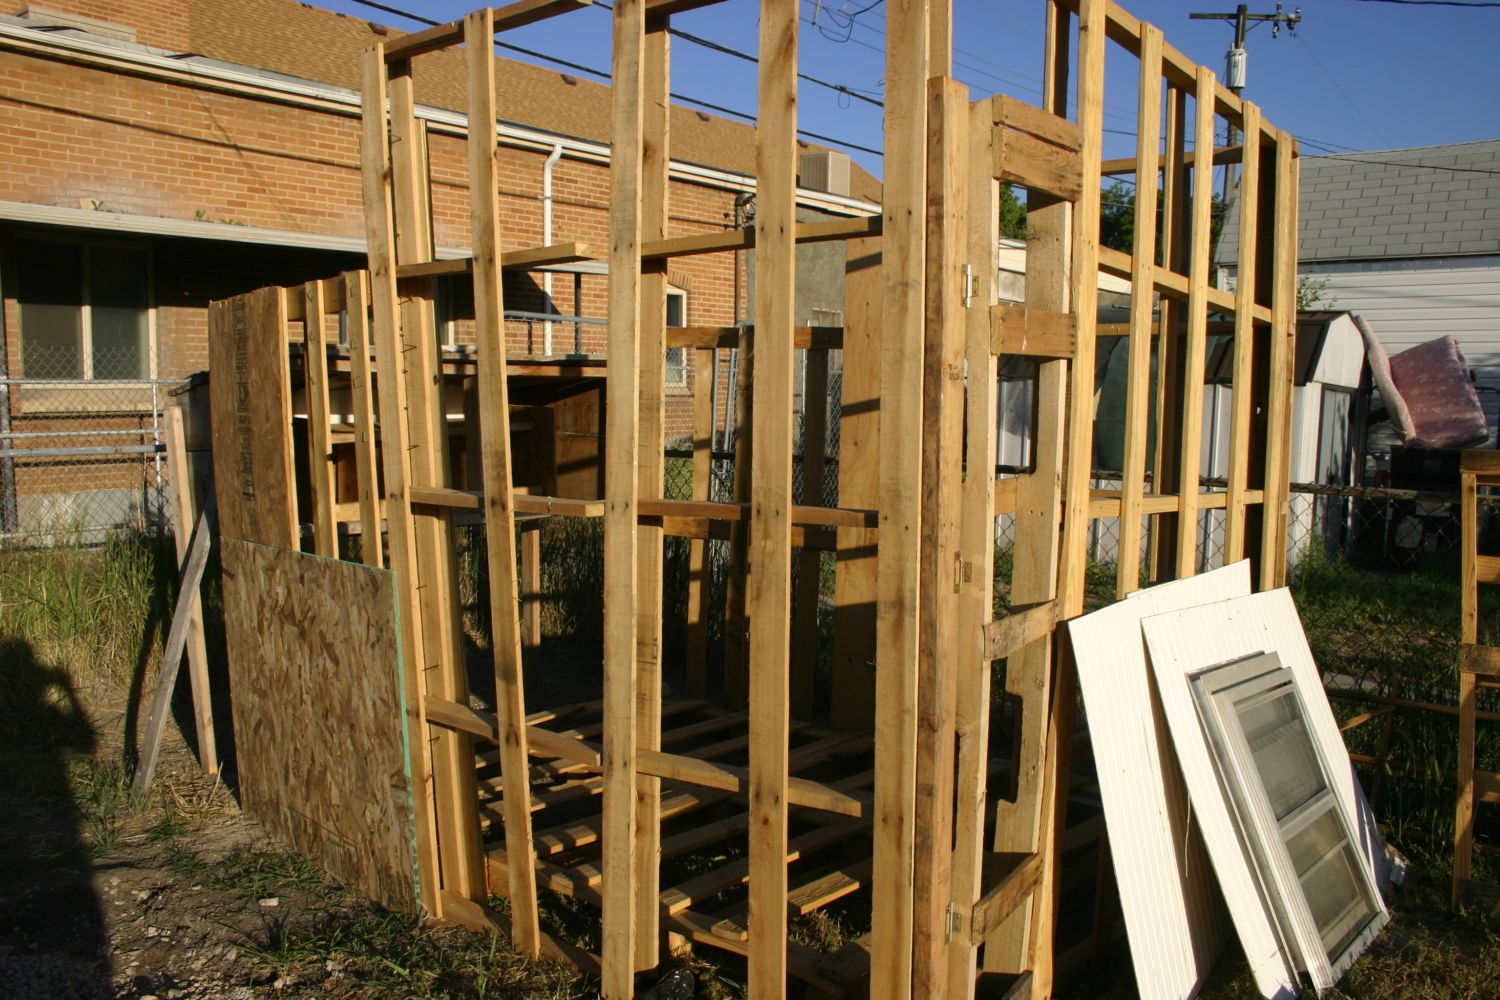
It doesn't look like much yet, but you better believe I have a vision!!
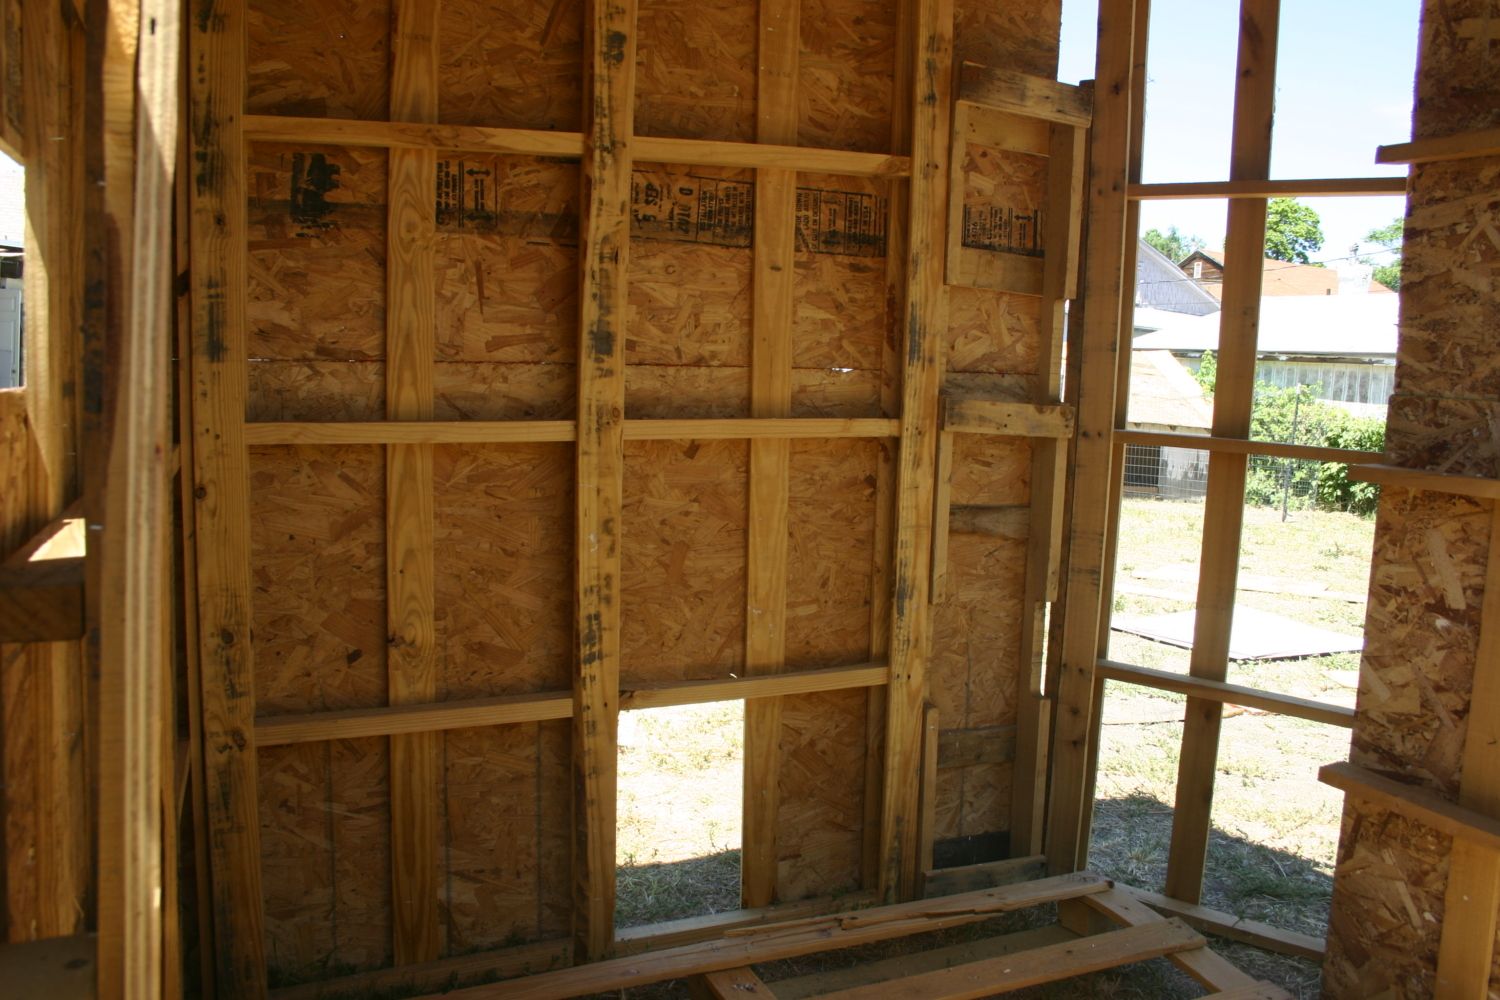
Here are a few pics of the progress so far!
I found perfect windows at the second hand store for $5bucks each, you can see them above.
We framed the whole thing out using 5 pallets. They were about twice the size of normal pallets so they are pretty tall turned on their side which makes the coop over 6 ft tall.
This is the front wall wee cut out a little door for them. We plan on putting a drop door on a pulley here. Outside their little door is where their run will be. The other larger open area is the frame of the people door so we can get in to clean the coop.
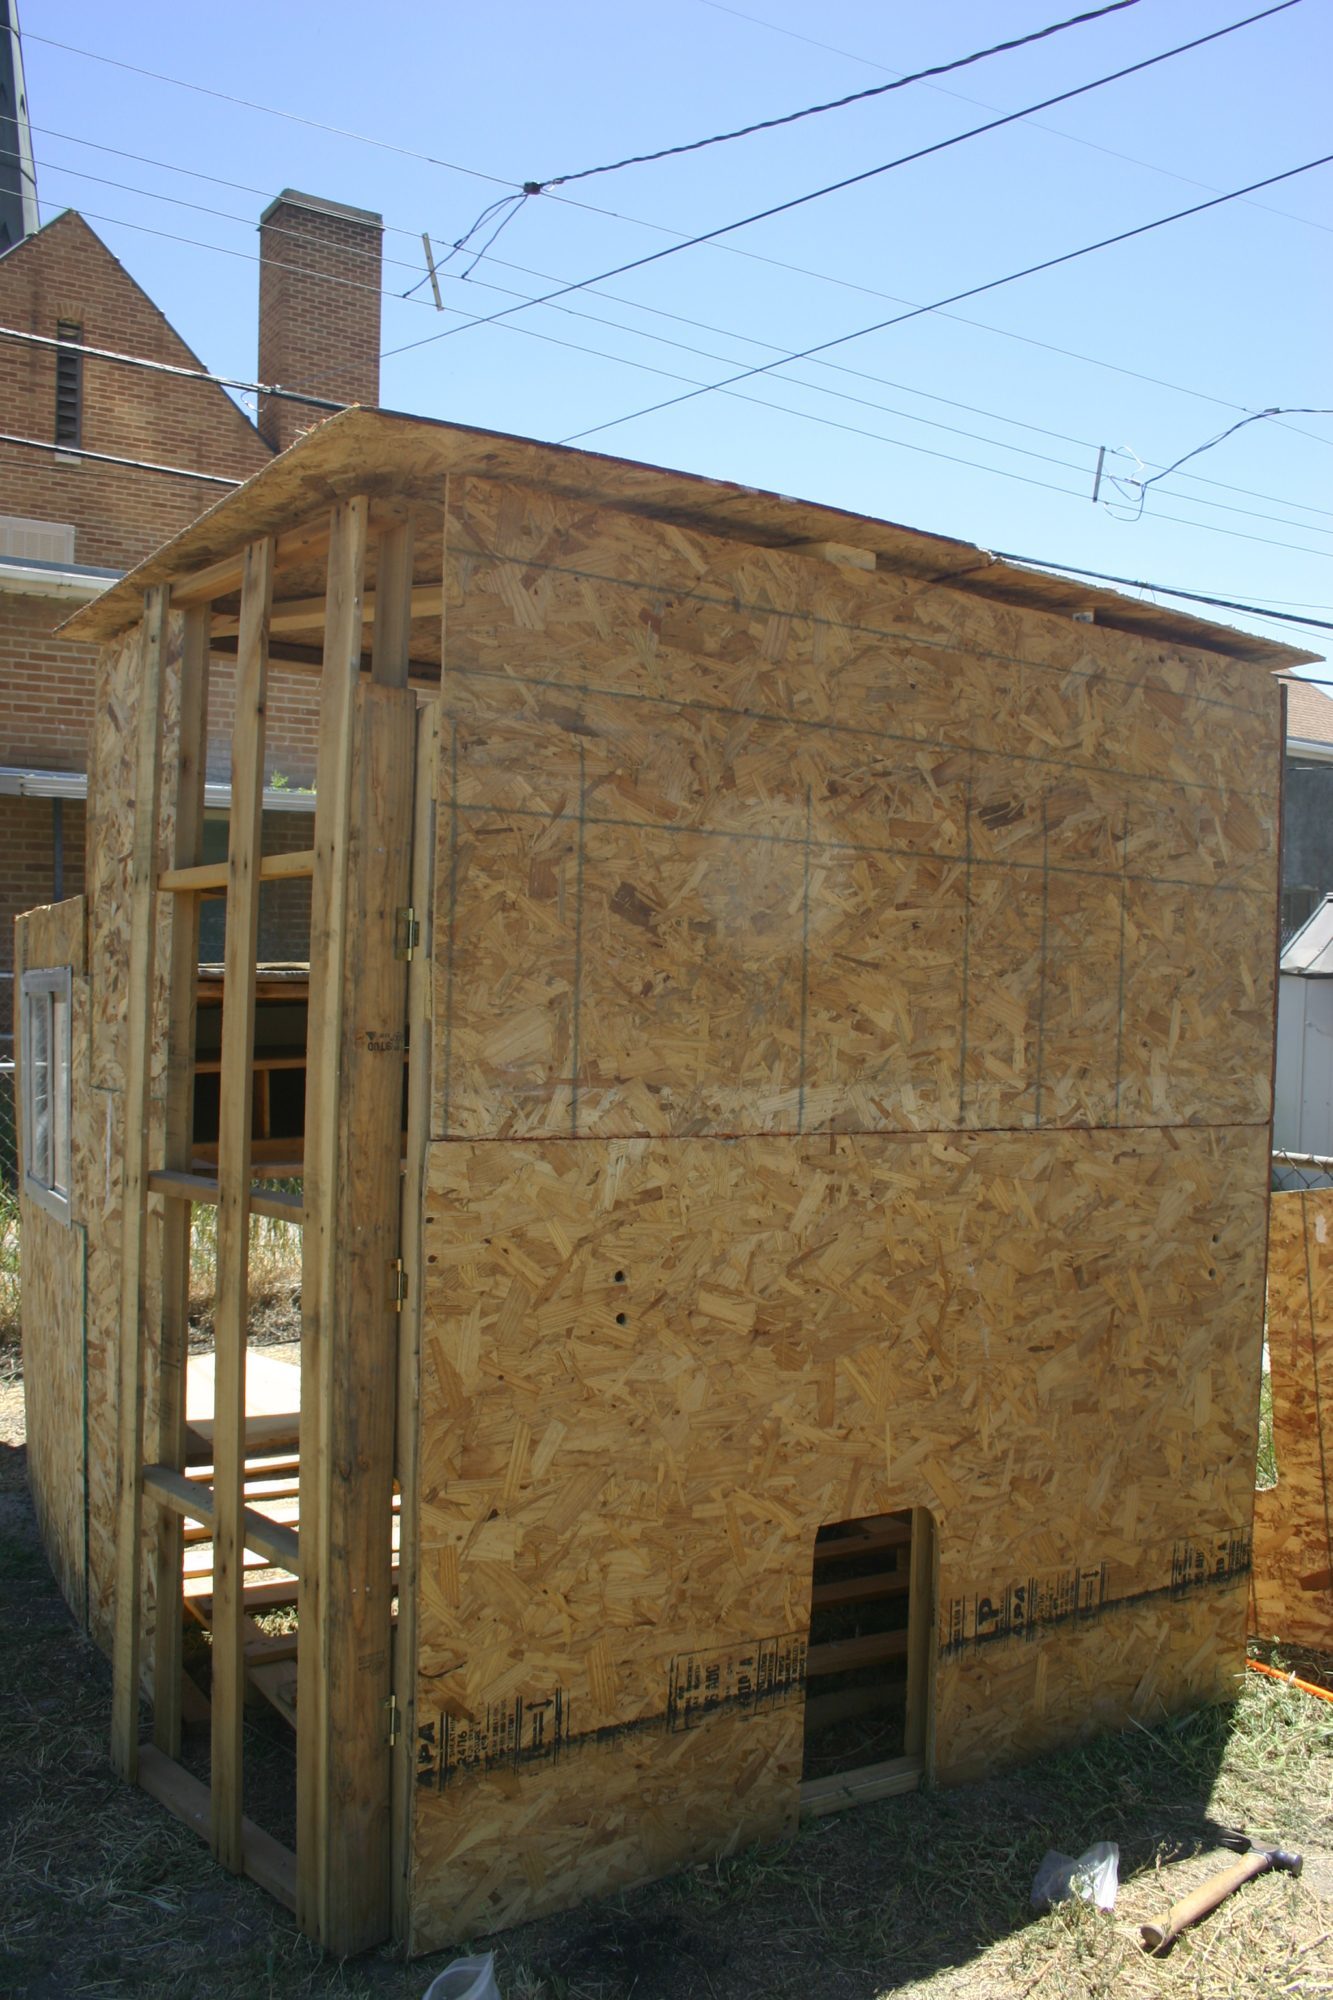
This is the outside of the front wall where their run will be.
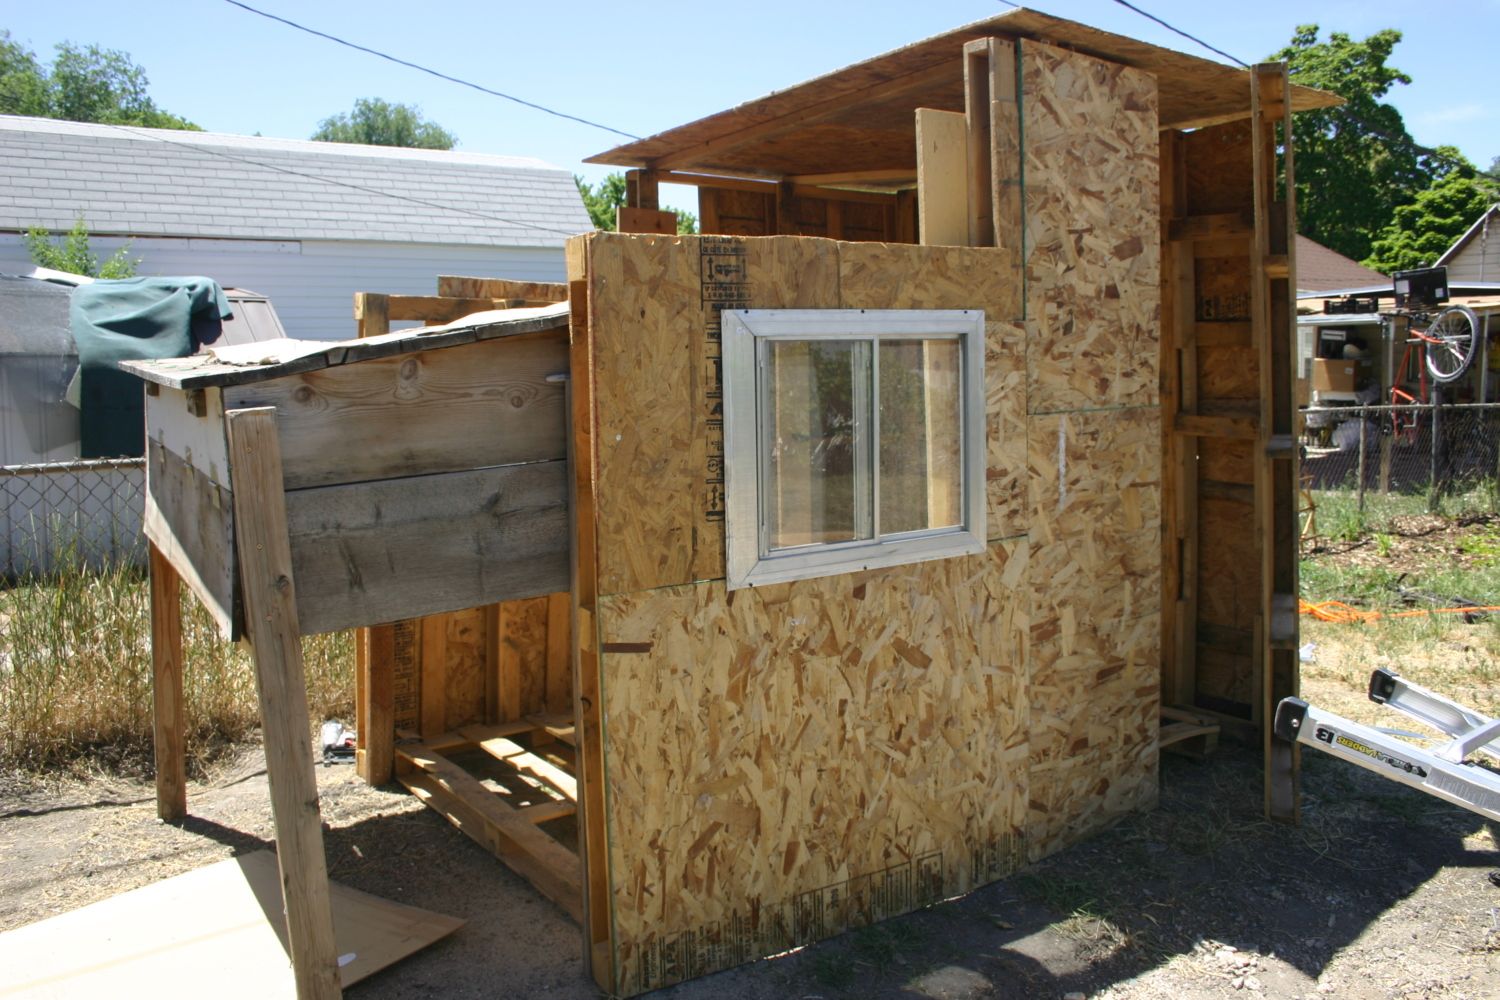
This is the back of the coop. The part sticking out is where the nesting boxes will be. This is actually an old rabbit hutch that my husbands uncle gave to us. Underneath that will be closed off at the end of the wall. Here we have the windows installed and the flat part of the roof. The rest of the roof will be slanted down towards the nesting boxes.
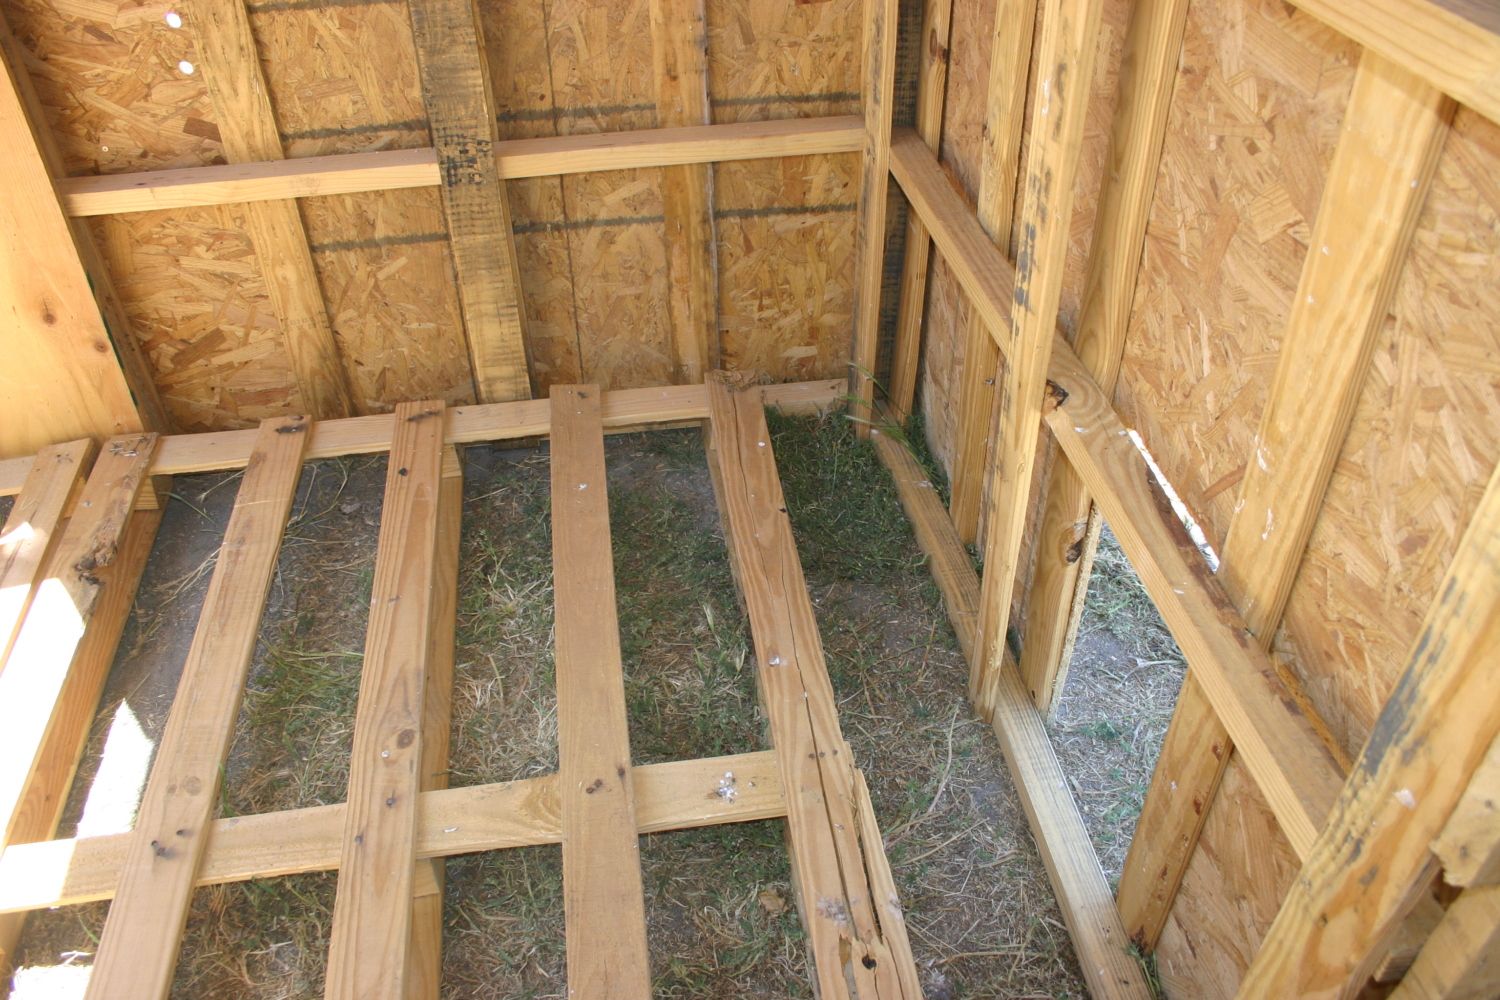
This is the floor framed out with pallets. We used 2 for the floor and will cover that with plywood then vinyl flooring for easy cleaning.
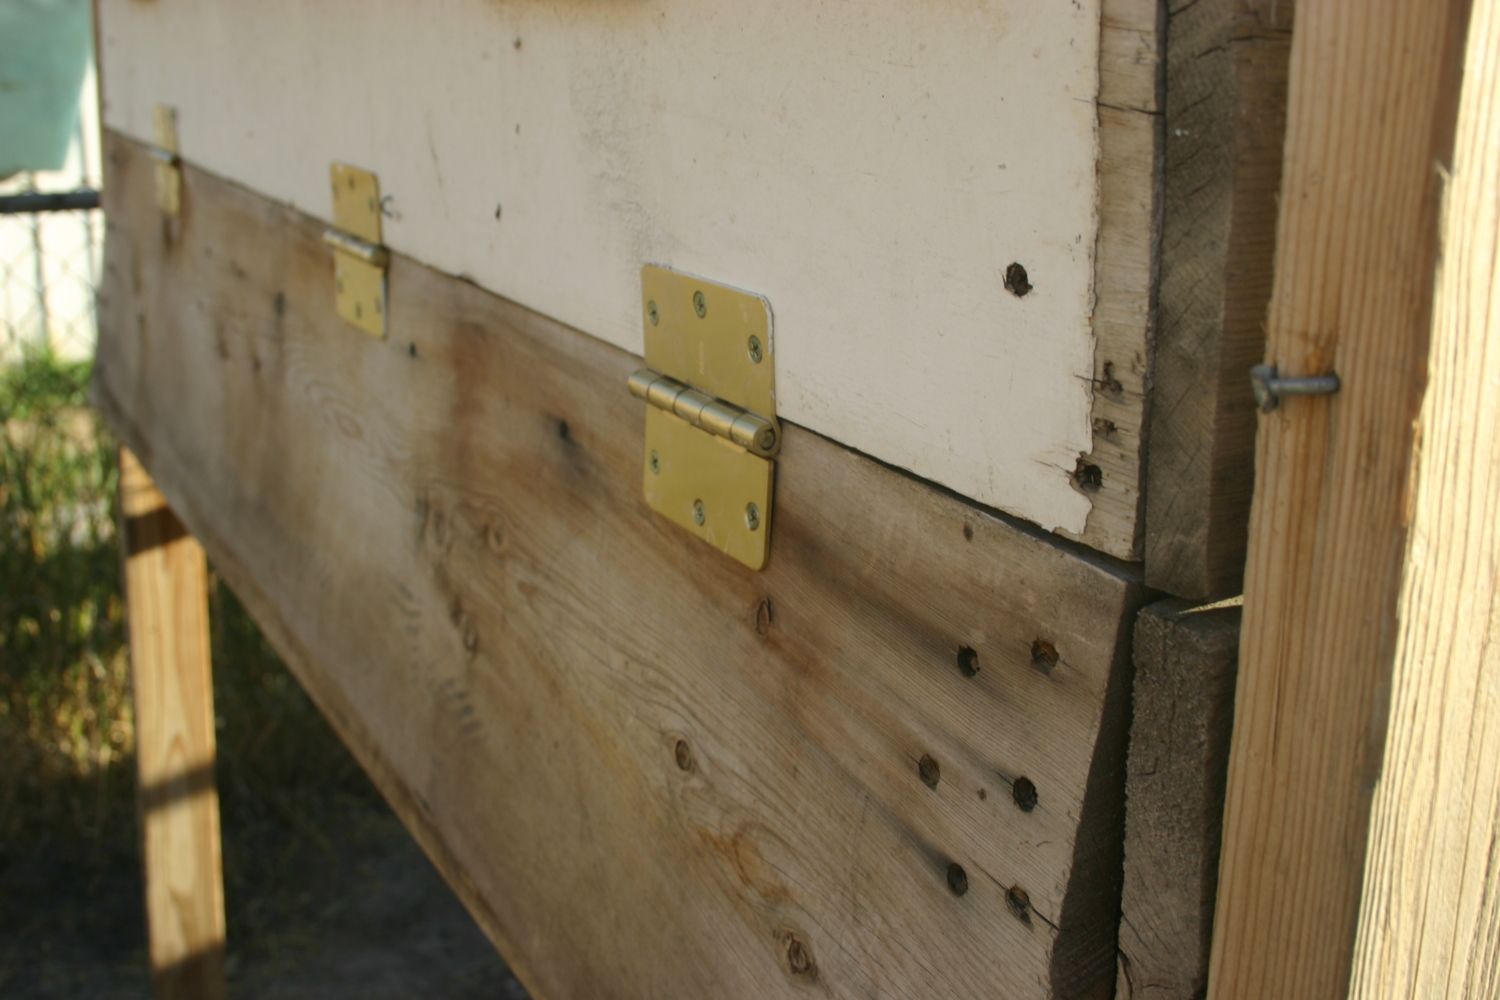
We hinged the back of the rabbit hutch where the nesting boxes will be, for easy egg access!!

Here is a couple of our little ladies checking out their new diggs
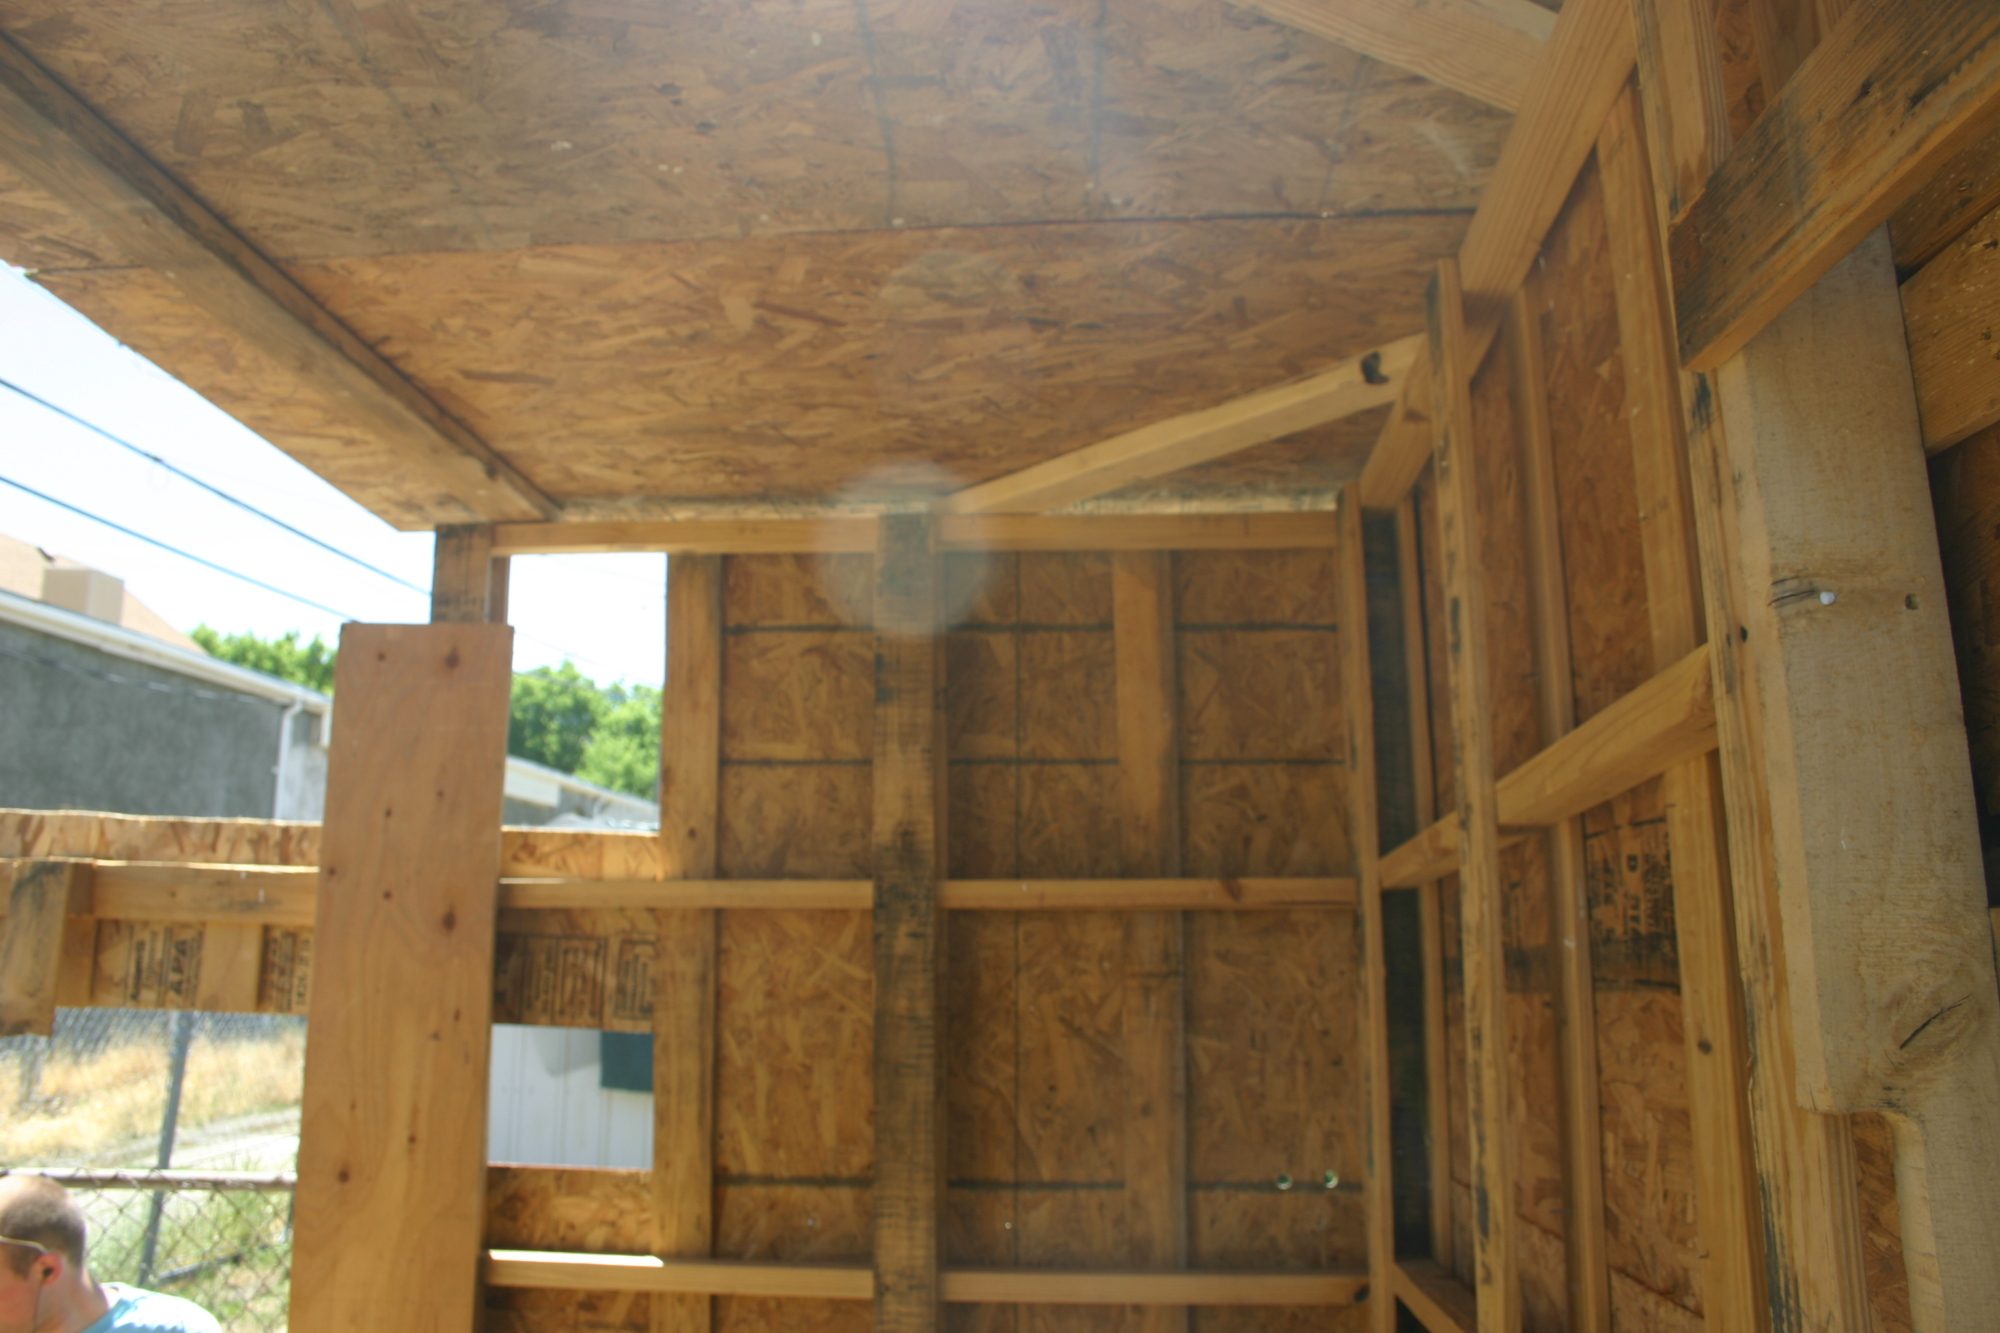
This is the flat part of the roof. My husb was smart, he build in cross beams to make the whole thing more sturdy. That made for a couple inches of ventilation up there between the walls and the roof.
Hopefully I can find some free shingles somewhere.
And that is where we left off!
The whole thing is about 7 ft x 6 ft and probably 6.5 feet tall.... maybe 7 ft?
We have 7 ladies, so that should be plenty of room for them!!
Any suggestions or input is very much welcomed!!
TOTAL COST SO FAR.......$15 !!!!
windows $10
yard sale plywood $5
the rest of the plywood was free from our bro in law leftover from previous projects!! Thank heavens for freeeee!!!!
I will also have some updates on my blog HERE
We got out chickens in Feb, 1 day old. Since it has been warm enough for them to be outside we have had them in a temporary coop (once they are done with it, it will be our shed, which I found for free!) So we have been working on the coop.
First of all, I can't believe how much those things cost when you but them!!! Insane! So I started checking the free ads on our local selling website similar to craigslist, hoping that people would list free coops here and there. Well they did, but they went sooooo fast, and without a truck at hand, it was hard to get on those. So I decided we needed to build our own,
I wanted to do it as close to free as possible so I started trying to get ideas for pallet coops. Pallets are all over the place for free, and I have made stuff out of them before, including our headboard! Which I love, so I decided why not a chicken coop too!
Here is a pic of their temporary coop. Once we are done with their coop, we are going to strip this baby down and repaint it to match the house and put new shingles on it to be a shed! Can't beat that when its free!!
There is a car dealership near our house that is continually trying to get rid of large sized pallets. They were perfect for the framing of our coop:
It doesn't look like much yet, but you better believe I have a vision!!
Here are a few pics of the progress so far!
I found perfect windows at the second hand store for $5bucks each, you can see them above.
We framed the whole thing out using 5 pallets. They were about twice the size of normal pallets so they are pretty tall turned on their side which makes the coop over 6 ft tall.
This is the front wall wee cut out a little door for them. We plan on putting a drop door on a pulley here. Outside their little door is where their run will be. The other larger open area is the frame of the people door so we can get in to clean the coop.
This is the outside of the front wall where their run will be.
This is the back of the coop. The part sticking out is where the nesting boxes will be. This is actually an old rabbit hutch that my husbands uncle gave to us. Underneath that will be closed off at the end of the wall. Here we have the windows installed and the flat part of the roof. The rest of the roof will be slanted down towards the nesting boxes.
This is the floor framed out with pallets. We used 2 for the floor and will cover that with plywood then vinyl flooring for easy cleaning.
We hinged the back of the rabbit hutch where the nesting boxes will be, for easy egg access!!
Here is a couple of our little ladies checking out their new diggs
This is the flat part of the roof. My husb was smart, he build in cross beams to make the whole thing more sturdy. That made for a couple inches of ventilation up there between the walls and the roof.
Hopefully I can find some free shingles somewhere.
And that is where we left off!
The whole thing is about 7 ft x 6 ft and probably 6.5 feet tall.... maybe 7 ft?
We have 7 ladies, so that should be plenty of room for them!!
Any suggestions or input is very much welcomed!!
TOTAL COST SO FAR.......$15 !!!!
windows $10
yard sale plywood $5
the rest of the plywood was free from our bro in law leftover from previous projects!! Thank heavens for freeeee!!!!
I will also have some updates on my blog HERE
Last edited:

")
