The Plan, after a few revisions.
Software is a bit dated but still gets the job done.

The pre-fab was done in the garage.
The COOP BUILD
Base section.
Lumber that is in contact with the ground, or chicken matter is pressure treated.


Top section.
The 2x2s are recycled lumber, with a few 2x3s and 2x4s.


and no, the garage couldn't be opened.
Skinned with plywood and minimal screws, to make it easier to disassemble.


The doors were then cut out.


The plywood was then removed, and the modules were moved to the now smaller garden.
Chicken House final assembly.
R remnant piece of linoleum was sandwiched between the top and bottom sections.


Asphalt shingles were used for the roofing.

Some primer.


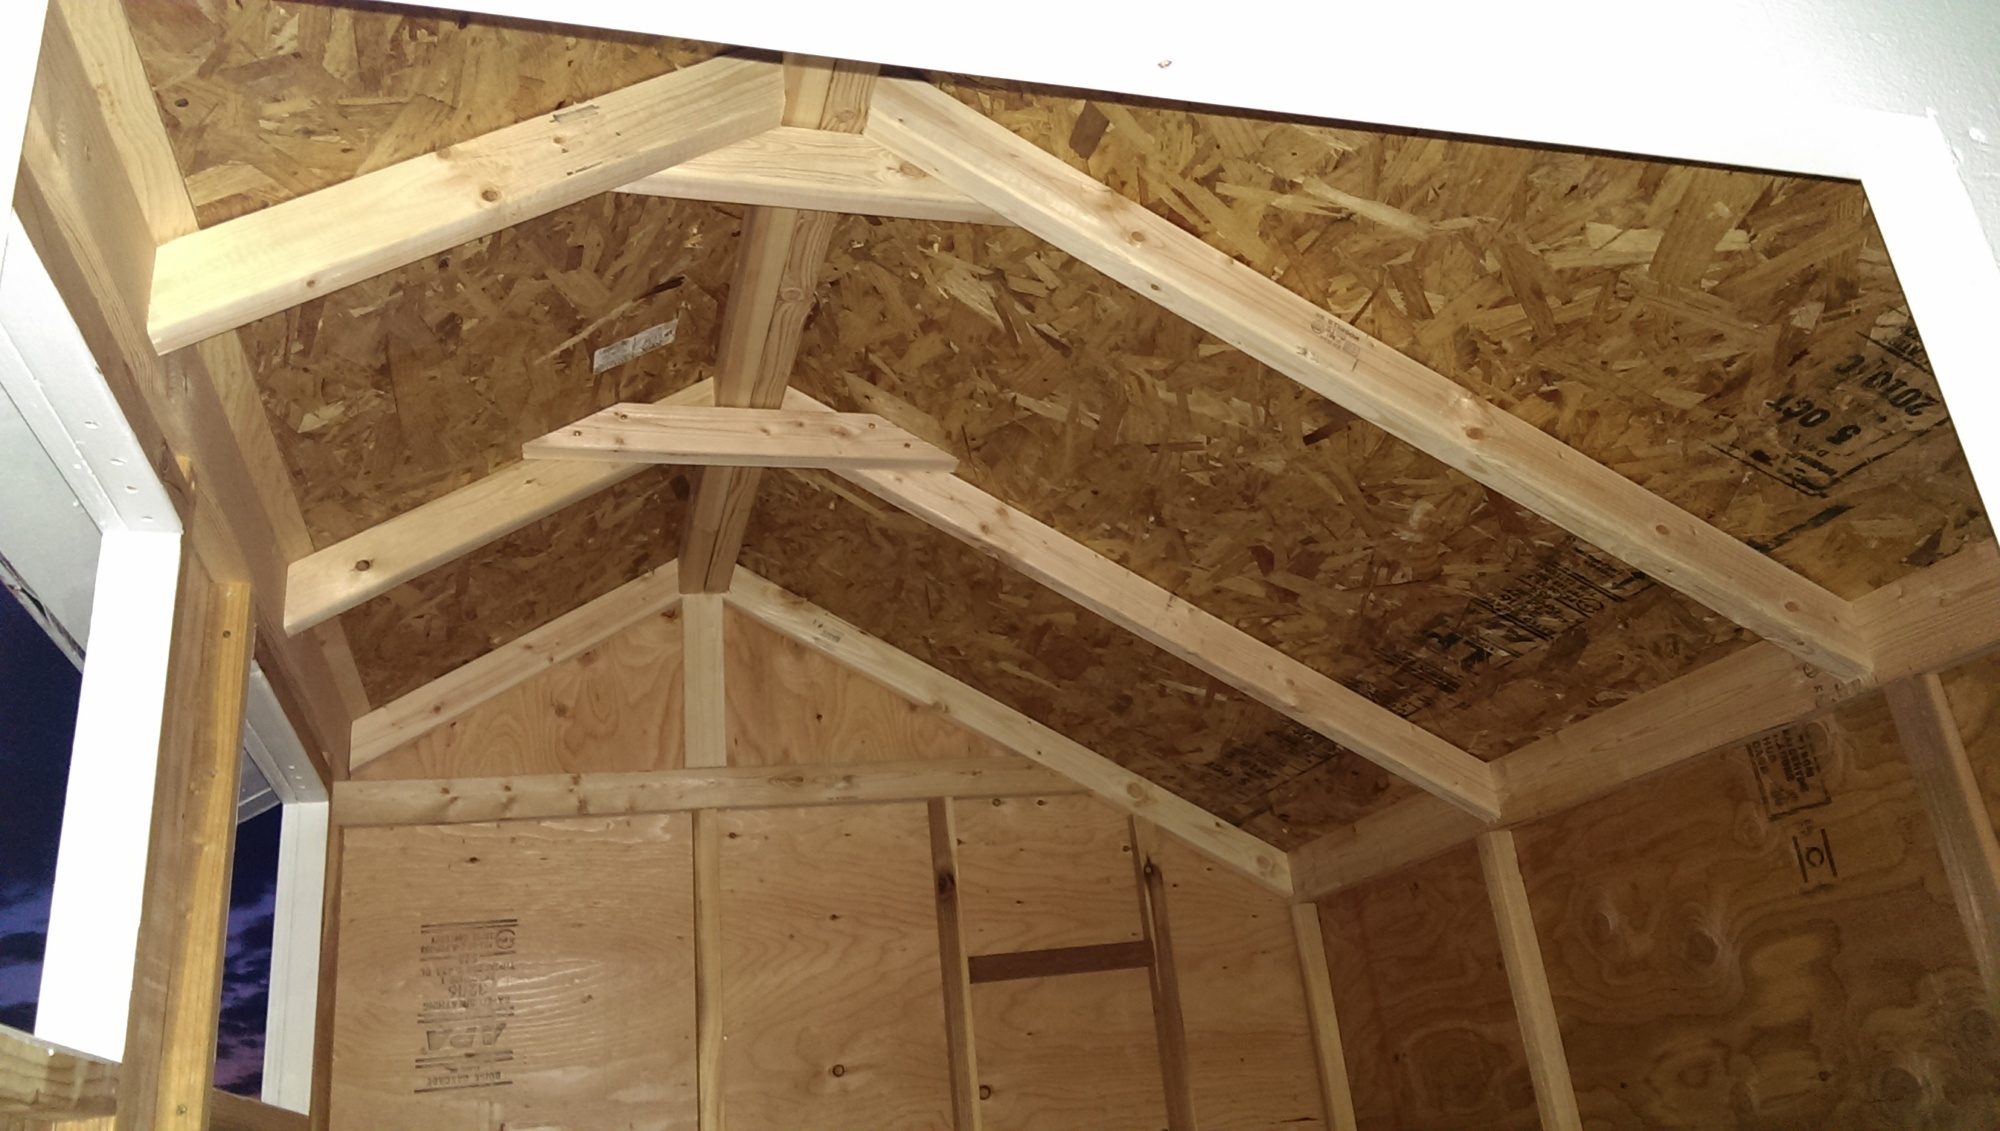
A view inside the coop.


Paint & Trim.


Winter!!!


The RUN BUILD.
Again, pre-fabed in the garage, to semi-manageable sections.


The run was then disassembled and moved to the, even smaller garden.
Chick Day!
Looks like they had a rough trip!


BR Roos that were added for warmth, marked as requested.
Thanks Ideal Poultry!

All survived the journey.

Meanwhile, an uninvited building inspector stopped by, to check out the coop.


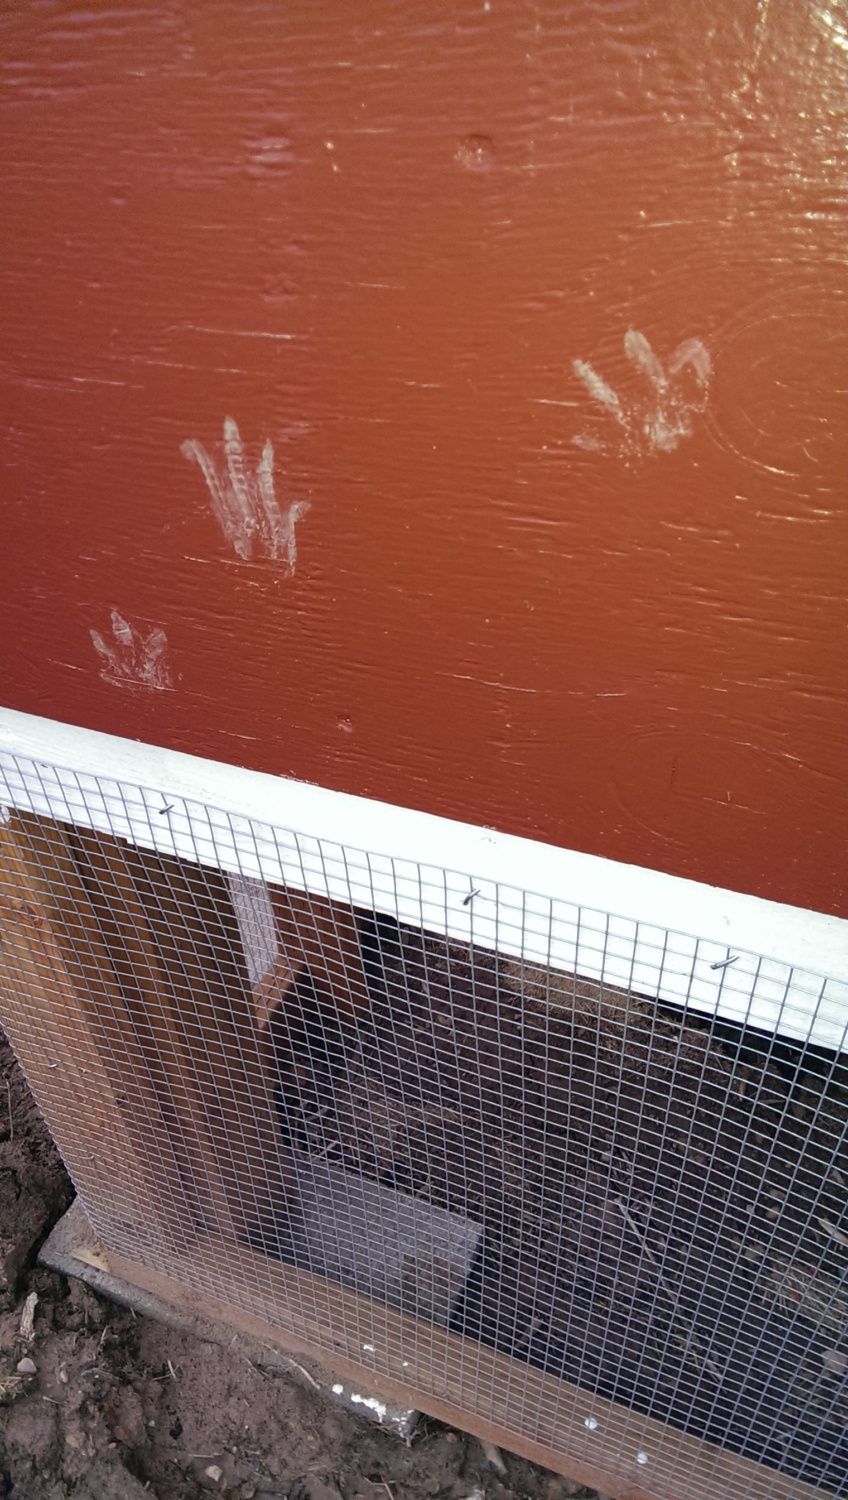
Was this guy back?


Asphalt shingles were added to the covered portion on the run, 1/2" hardware cloth on the uncovered roof area. and 1/2" hardware cloth was attached to the sides. All hardware cloth was attached using 1" poultry staples.


Added 12" buried skirt around coop and run.

Apparently the Asphalt shingle covered egg box door, is too heavy for some.

So I added egg doors.


and a lot of raccoon resistant hardware.


By the way, the feeders with the attached quart bottle encourage waste!

Apparently the chicks like to pick at the feed, flip it to the side, and pick more feed that just fell out of the bottle.
New feeder! And some scrap wood to keep the poop out of the feeder.


Anybody ever wonder how long the brooder will contain the chicks?
?
?
Or wonder, how high can a 4 week old chick fly?
?
?

Answer: At least 3 feet!
Added roosting bars, pop door cable, and and a bit of Insulation to keep the summer heat transferred from the shingles, out of the coop.


Added a wind break, and ramp.


So you've been wondering, what does this coop have to do with an Island?
Right?
Well here's the Island View!

Next, I will add plywood to cover the insulation on the ceiling,
and add chicks!
I hope you enjoyed my coop build!
Software is a bit dated but still gets the job done.
The pre-fab was done in the garage.
The COOP BUILD
Base section.
Lumber that is in contact with the ground, or chicken matter is pressure treated.
Top section.
The 2x2s are recycled lumber, with a few 2x3s and 2x4s.
and no, the garage couldn't be opened.
Skinned with plywood and minimal screws, to make it easier to disassemble.
The doors were then cut out.
The plywood was then removed, and the modules were moved to the now smaller garden.
Chicken House final assembly.
R remnant piece of linoleum was sandwiched between the top and bottom sections.
Asphalt shingles were used for the roofing.
Some primer.
A view inside the coop.
Paint & Trim.
Winter!!!
The RUN BUILD.
Again, pre-fabed in the garage, to semi-manageable sections.
The run was then disassembled and moved to the, even smaller garden.
Chick Day!
Looks like they had a rough trip!
BR Roos that were added for warmth, marked as requested.
Thanks Ideal Poultry!
All survived the journey.
Meanwhile, an uninvited building inspector stopped by, to check out the coop.
Was this guy back?
Asphalt shingles were added to the covered portion on the run, 1/2" hardware cloth on the uncovered roof area. and 1/2" hardware cloth was attached to the sides. All hardware cloth was attached using 1" poultry staples.
Added 12" buried skirt around coop and run.
Apparently the Asphalt shingle covered egg box door, is too heavy for some.
So I added egg doors.
and a lot of raccoon resistant hardware.
By the way, the feeders with the attached quart bottle encourage waste!
Apparently the chicks like to pick at the feed, flip it to the side, and pick more feed that just fell out of the bottle.
New feeder! And some scrap wood to keep the poop out of the feeder.
Anybody ever wonder how long the brooder will contain the chicks?
?
?
Or wonder, how high can a 4 week old chick fly?
?
?
Answer: At least 3 feet!
Added roosting bars, pop door cable, and and a bit of Insulation to keep the summer heat transferred from the shingles, out of the coop.
Added a wind break, and ramp.
So you've been wondering, what does this coop have to do with an Island?
Right?
Well here's the Island View!
Next, I will add plywood to cover the insulation on the ceiling,
and add chicks!
I hope you enjoyed my coop build!
Last edited:

