Our first Coop...Complete with Run and Planting box

SnowFlockNh

In the Brooder
5 Years
Apr 8, 2014
15
2
26
~~As was the case for many of you this adventure began with a store visit due to a sign reading...."We have Chicks!"

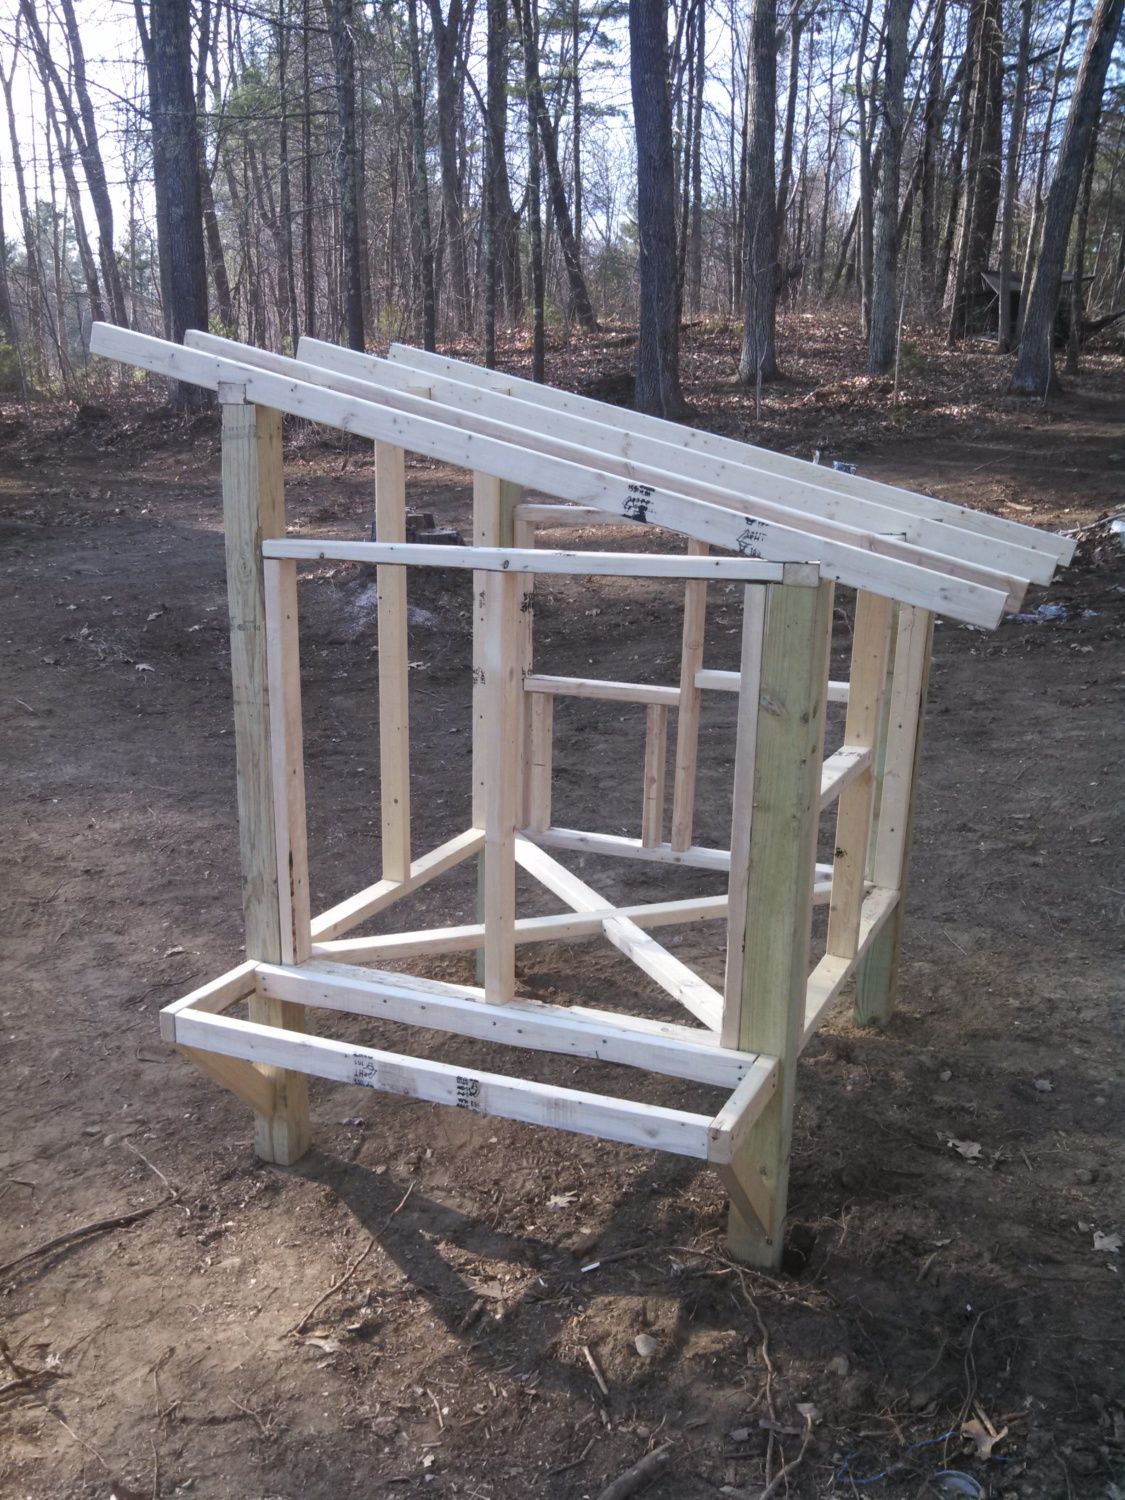
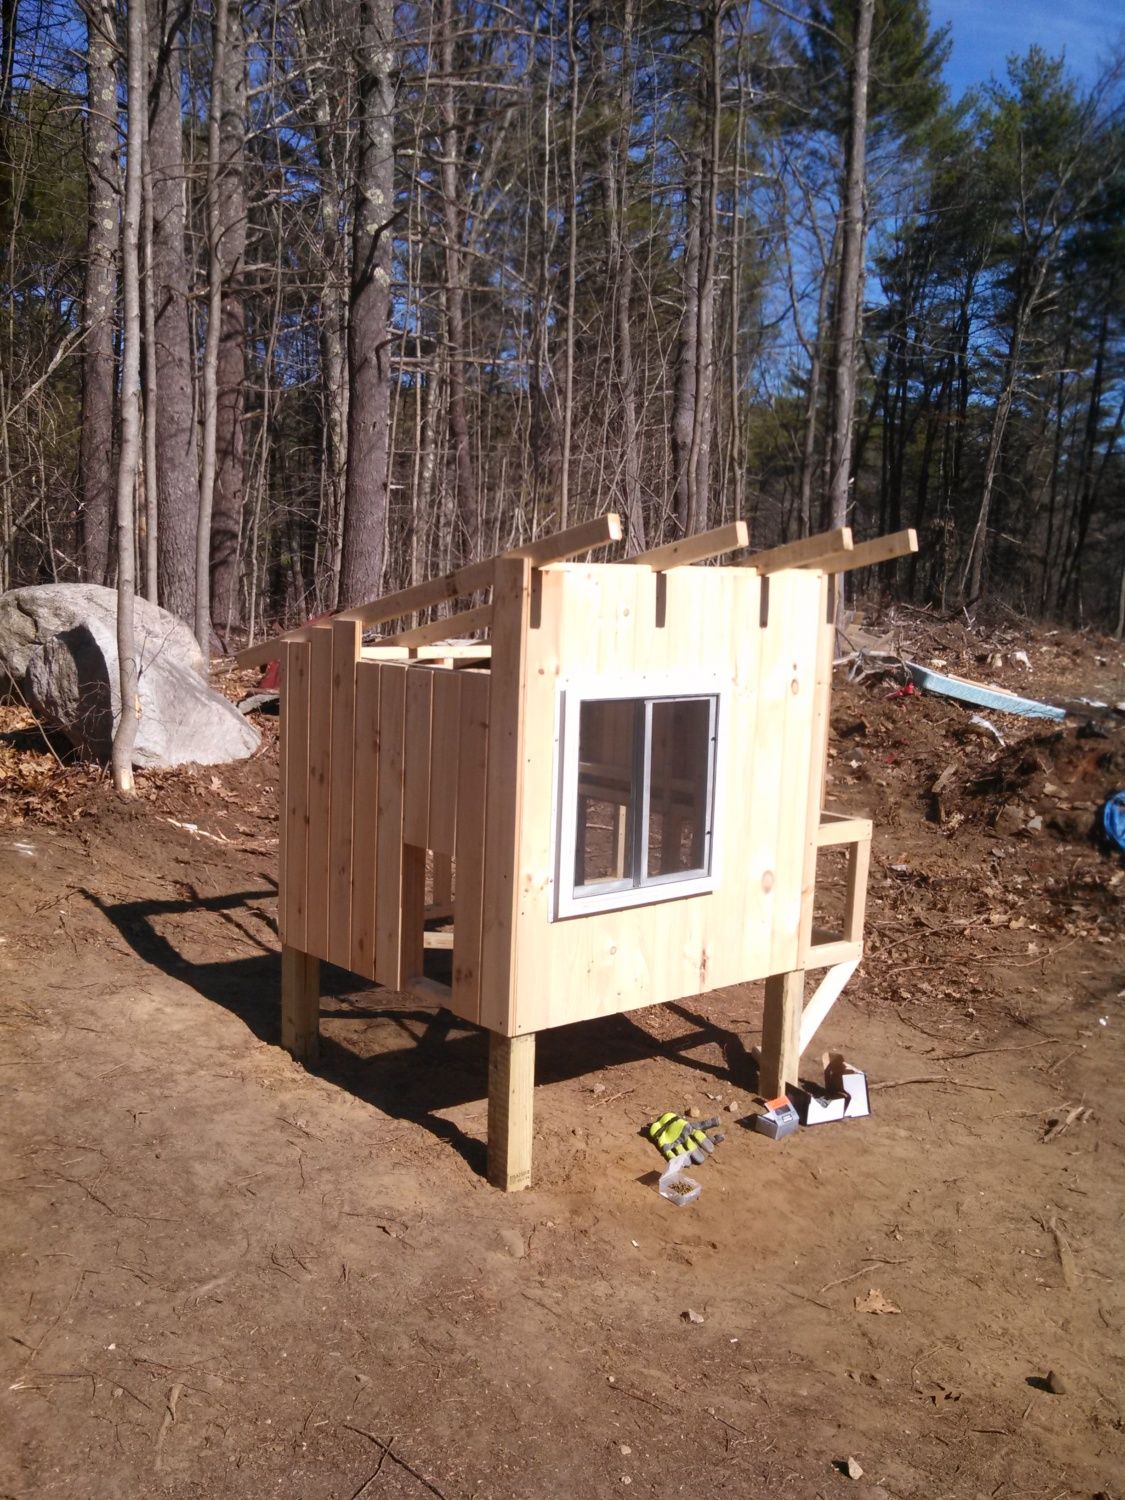
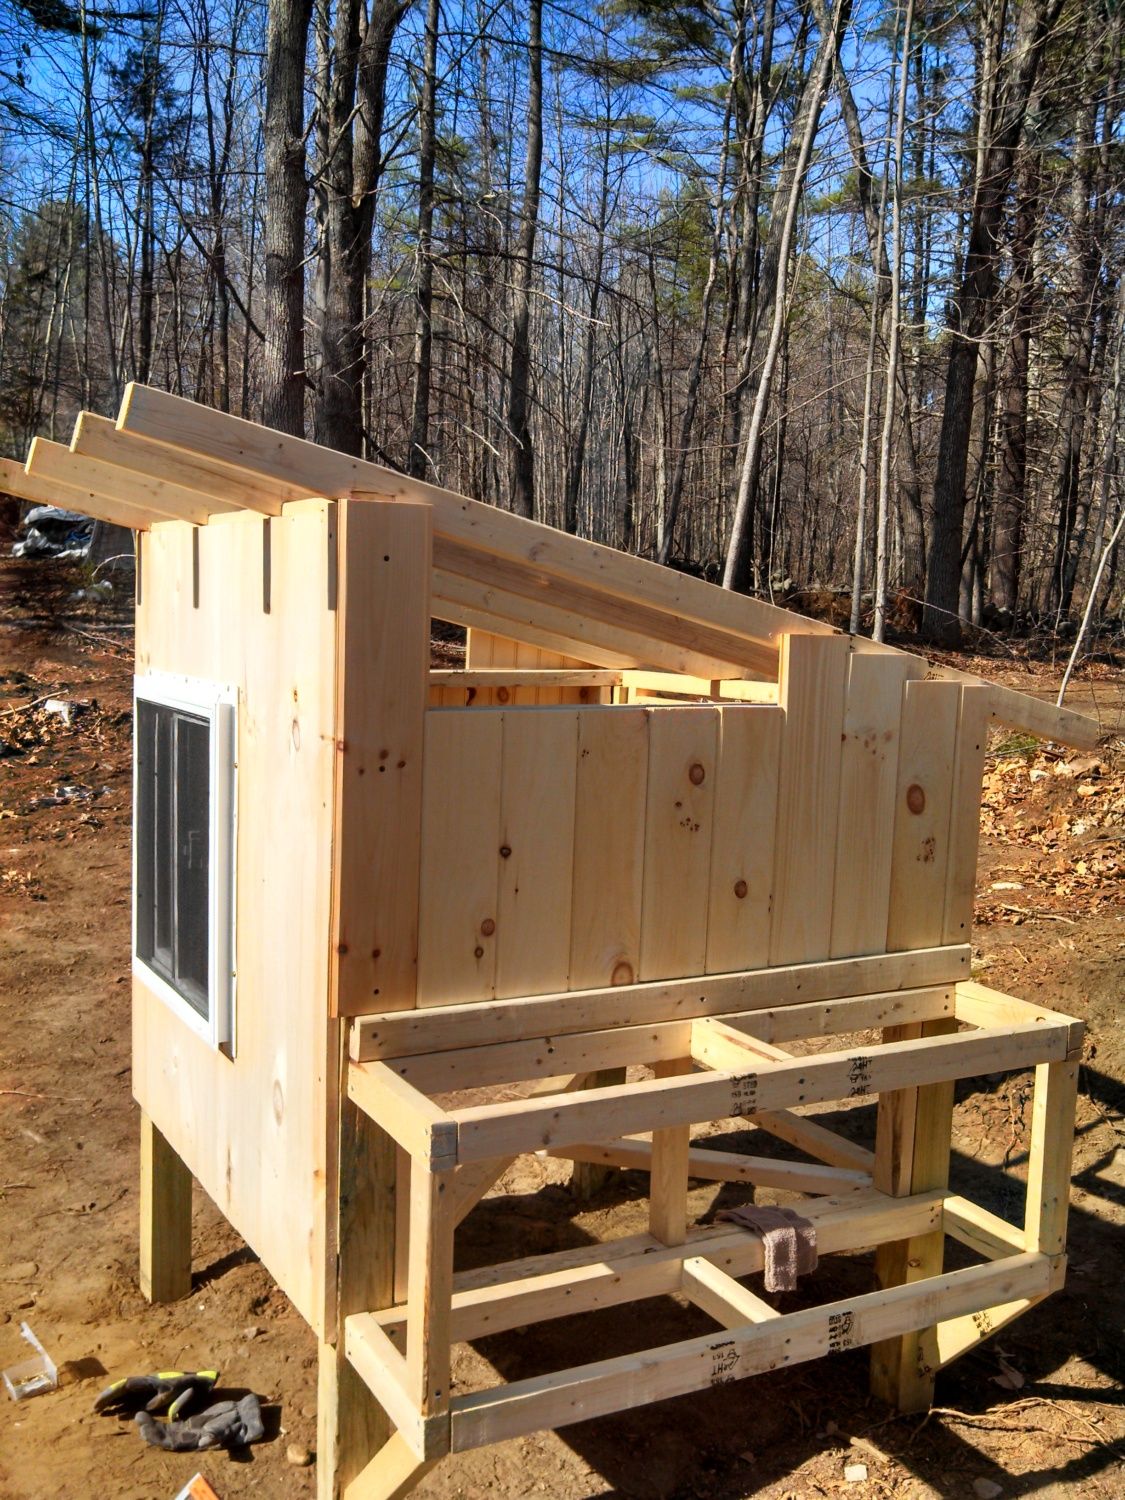
3 weeks later the coop is underway and not a minute too soon as the 3 little ladies brought home that first day are eager to get into their new digs!

Here are a few of the In Process photos to give you an idea of how we got started. A simple design that we stole bits and pieces from various post here at BYC.


More to come....Stay Tuned!
 
Last edited:
Construction continued at a furious pace due to school vacation and a couple of 70 degree days to start the week. The kids and mom got in the action with their paint brushes...as we were still building!

The ladies are VERY ready to get out into their new digs......


Finally we have it buttoned up and ready ....Lots of finish work and painting to go but she is weather ready and warming up!


Getting ready for the girls to move in..


Looking great, beautiful chicks
D.gif
 
Thank you!! This is Flappy doing what she does best...
I love Flappy she is the best - Snowflake1 - 8 yrs old.

And this is Nimrod....she is the loveyest and coo-coo - Snowflake - 7 yrs old.

and of course...Peep!

 
Very cute chicks and your coop is beautiful!

Do make sure you have your heat lamp hung at least two ways not including the clamp. I use metal wire to wire the shade and the cord to a secure wire or fixture of the coop, as the chickens fly through the air and will knock a clamp lamp right off.

Make sure also your lamp has a ceramic socket, and not a plastic one.

Thanks for showing pics of your lovely flock and coop! Enjoy your chickens!
 
Looks very nice!!

Would you mind posting approximate dimensions?
I'm about to build my first coop for my six ladies and your coop looks very similar to what I had in mind.
 
Thank you for the heads up on the lamp....I was worried about the clamp failing as well so I made a fixture to hold the clamp in place through the studs. and Yes the socket is Ceramic..again that is great feedback!

The dimensions are basically a 4' x 4' box with the storage/nesting box bump out added. I did this just to maximize yield from 96" lumber lengths so there was very little scrap.

Here is what I started with:

20 - 2 x 3 x 8' studs
4 - 4 x 4 x 8' posts.

I still have 3 2x3's left and I wasted a couple getting the notches right on the roof stringers..lol that should get you the basic frame. We raised up the coop appx 18" from the ground and for the roof slope I just went from a 4' x 4' front wall to a 4' x 3' back wall. The siding is tongue and groove pine board which I have to tell you was NOT my original choice but after using it...I wouldn't do it any other way. Very simple to put up and less money than my original plan to use particle board with T1-11 on top. The T&G was only $.65/foot..I Highly recommend it..and I think the ladies like the finish inside too..haha

Good luck on your Build!
 
Well we are hitting the home stretch! Of course not without some challenges. ..The older birds have zero manners and have been extremely aggressive towards the wee ones which caused me to do a little remodeling of the inside of the coop.
400


As you can see there is now a temporary wall dividing the ladies until the bigger gals figure out how to play nice. Here are some pics of the older ones..

400


I am hopeful that they are all ladies..close ups for those can tell the difference at this age..

400
[/IMG]
400


And here is the coop with planter box run attached!

400
[/IMG]
 
Last edited:

New posts New threads Active threads

Back
Top Bottom