- Aug 18, 2014
- 2
- 0
- 7
First post: A few years ago we bought our house and with it came a rundown pool. After getting multiple high-dollar quotes to fix it I'm not sure we'll ever be able to afford it. So that revelation got me thinking that if I don't have a pool why do I need a pool shed? At the same time I was feeling pressured to make my chickens a coop so that they could get out of their pallet enclosure. I decided that I would use the pool shed for the chicken coop and if in the future we are able to fix the pool then I can make a new pool shed.
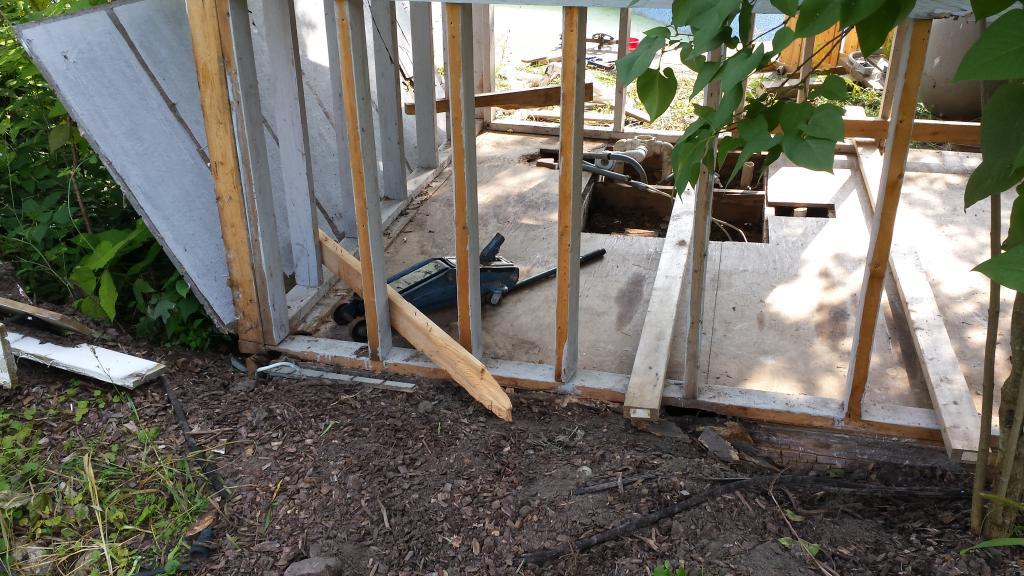
Unfortunately the pool shed was not in the location where I wanted my coop to be, so I started to develop a plan to move it. Not only was it not in the right spot but on inspection of the floor I could tell that I was going to need to replace it. Some sort of animal got underneath it and chewed holes in the boards. I figured that even with having to make a new floor it's still cheaper to reuse the rest of the shed than making an entirely new coop. On to the pictures, here are some pictures of the new floor I built. I made it out of 2x8 pressured treated lumber.
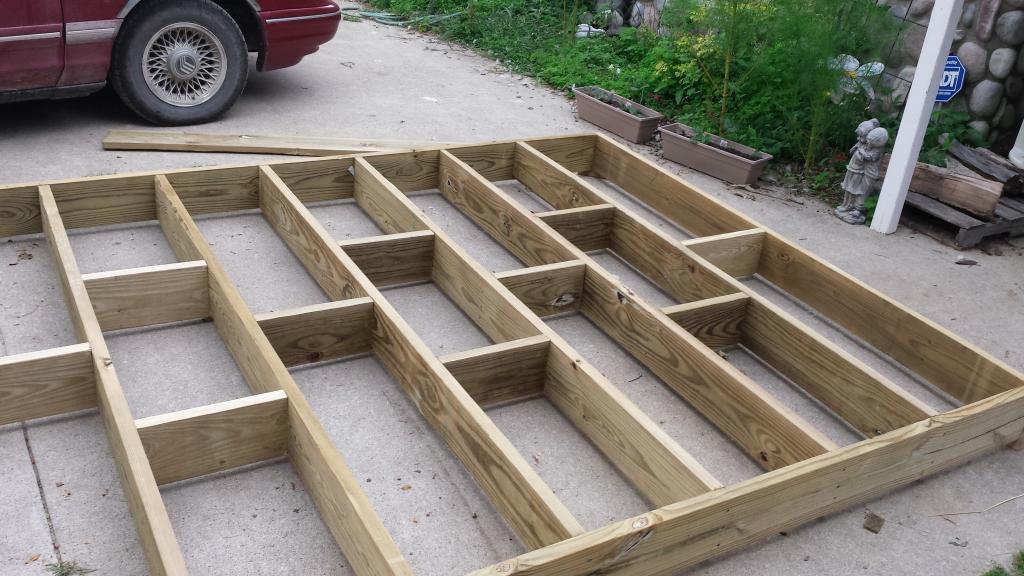

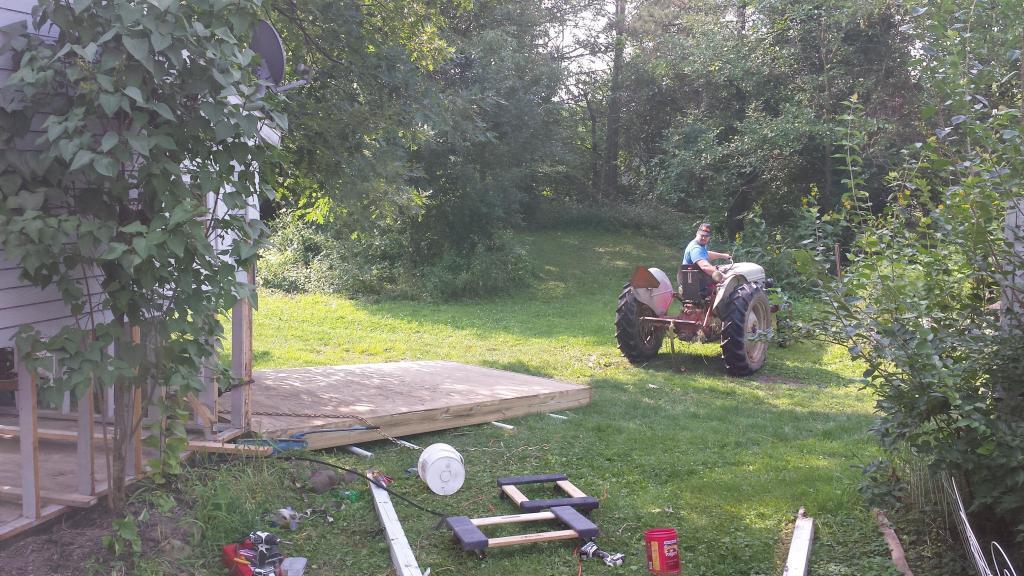
Since I needed to build the floor on a flat surface; the floor was not built by the pool shed. So the next step was to get my old tractor and move it to where the pool shed was.

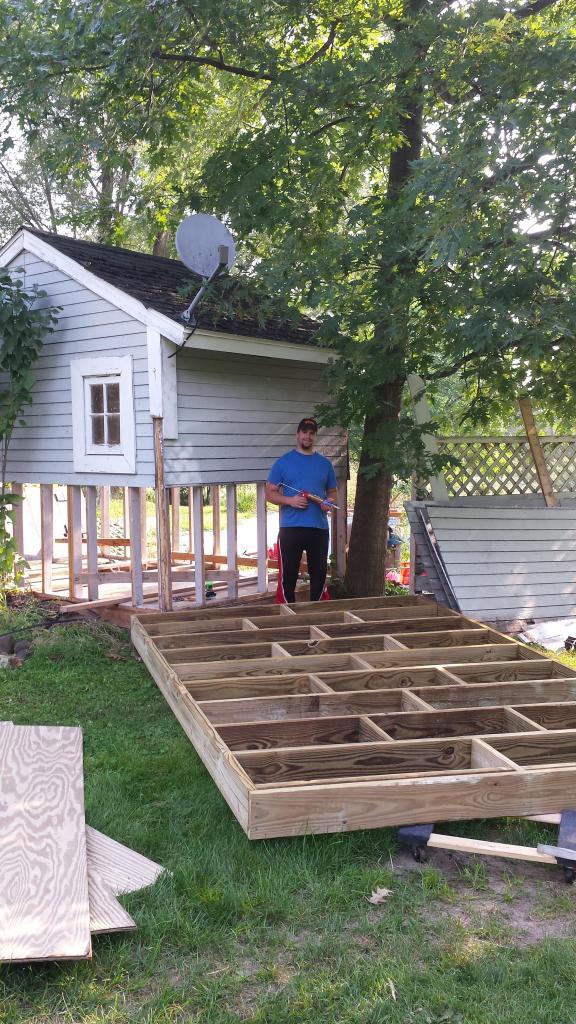
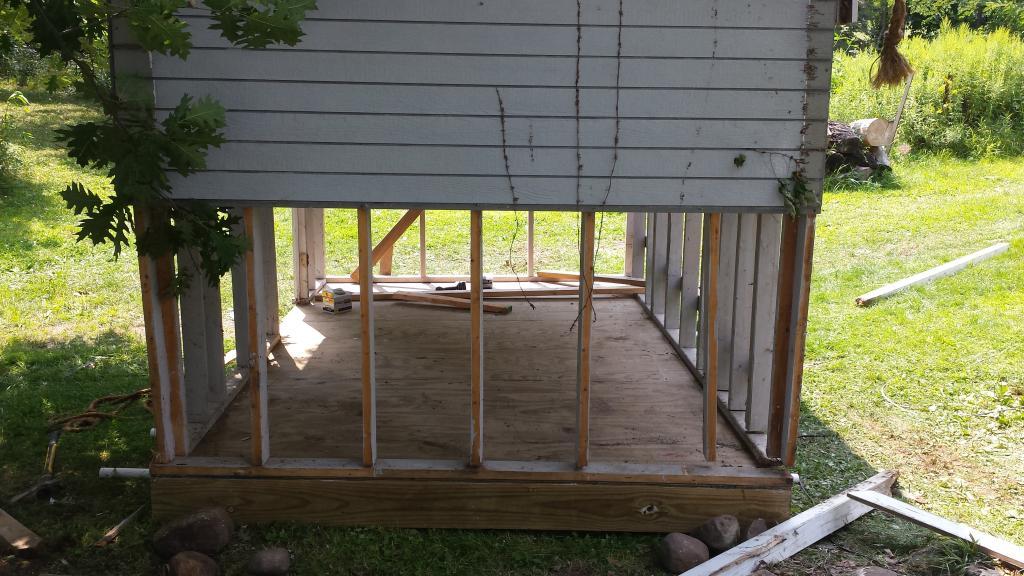
Unfortunately I didn't get any pictures of the shed before I removed the bottom siding. The bottom siding was removed so that I could get to the bottom of the wall frames and cut the old nails loose with a reciprocating saw. Here's a picture of the new floor next to the shed and getting ready to put plywood on the framing.
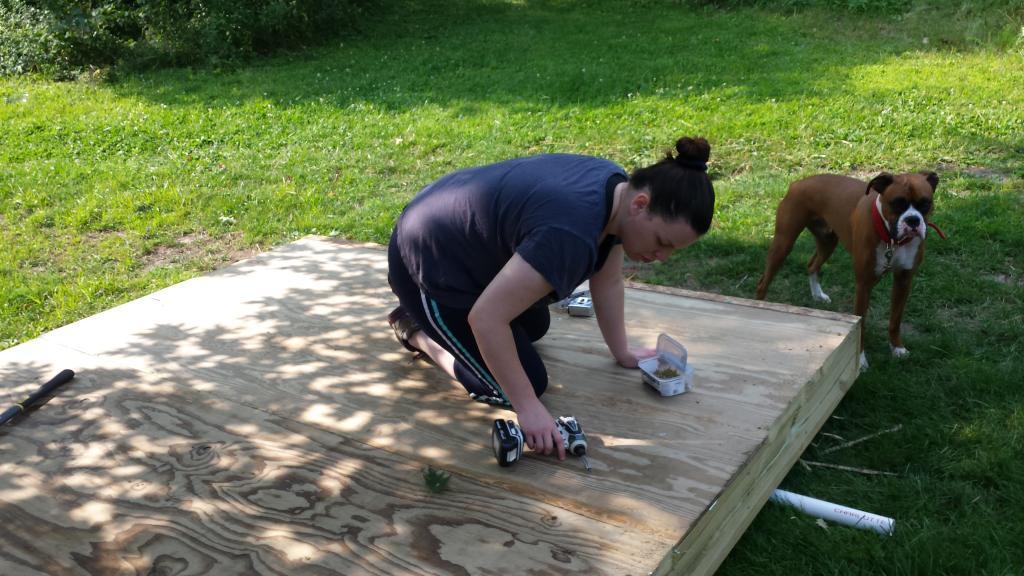
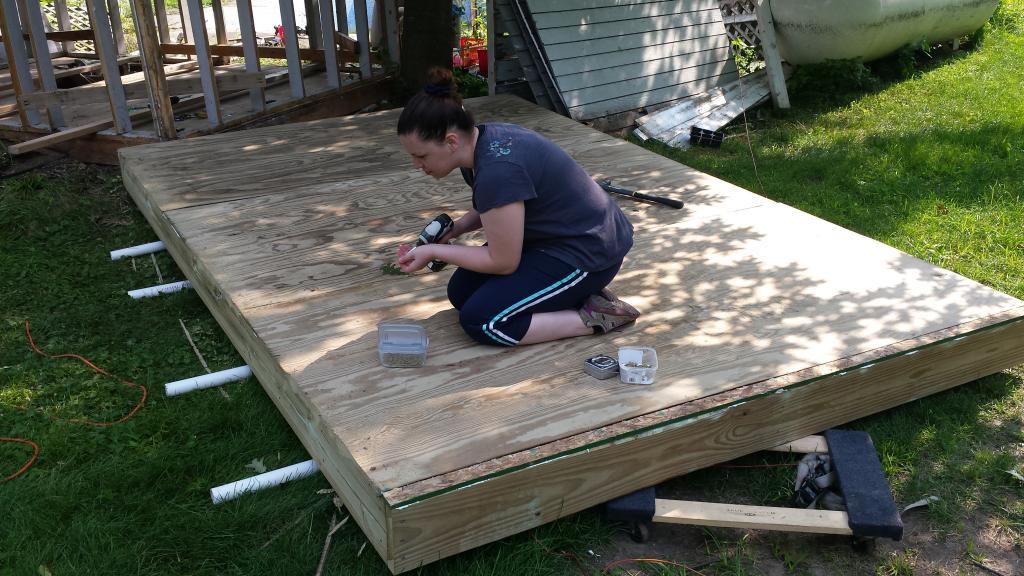
Next step was to put on the plywood. My wife helped out while Duncan the boxer supervised. Oh and the extra strip of wood you see is because the builder of this shed didn't make it exactly 12x8, it's 12 ft 3.5 inches x 8 ft! Nothing I can do about his mistake now, just have to replicate it.
Next step was to brace up the wall frames and prepare to pull it onto the new floor.

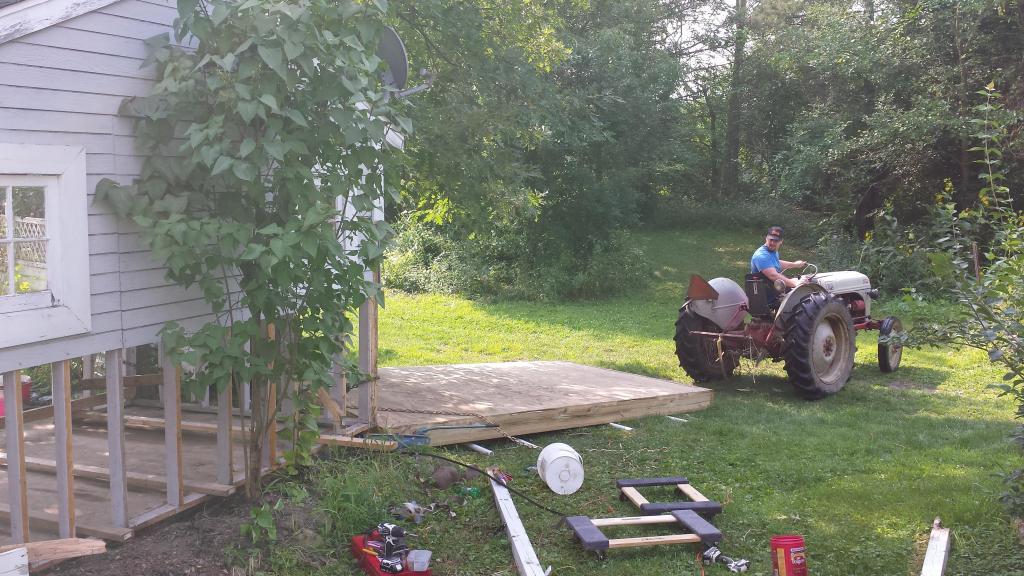
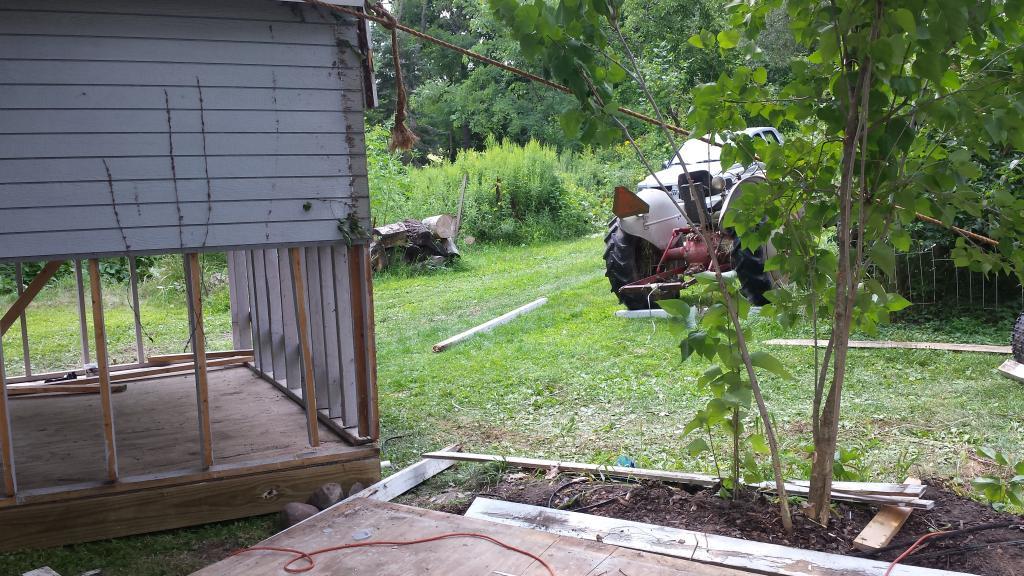
The tractor was used to pull the shed walls onto the new floor
And here are the walls on the new floor:

Quad was used to keep tension on the walls so they wouldn't collapse on themselves
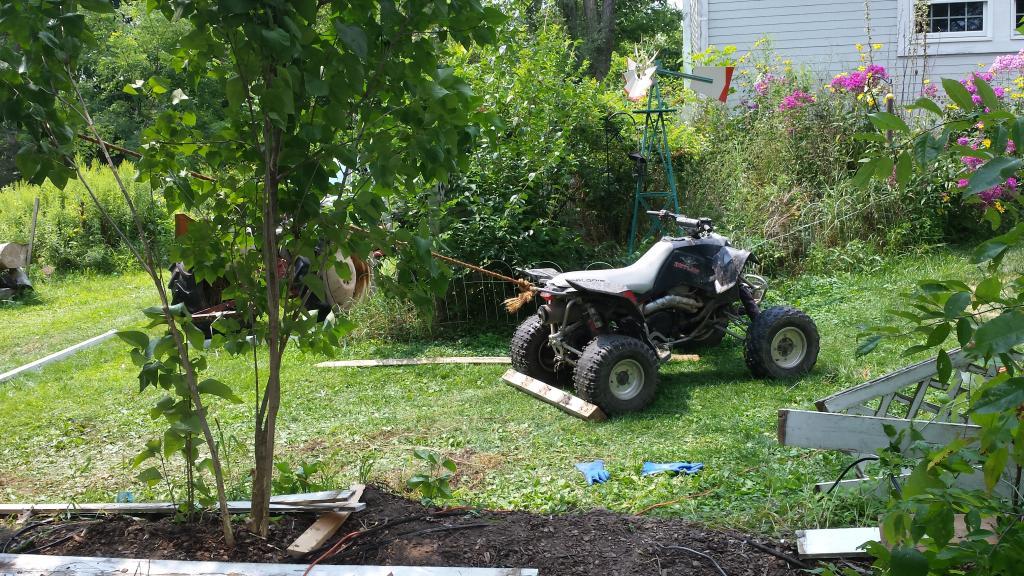
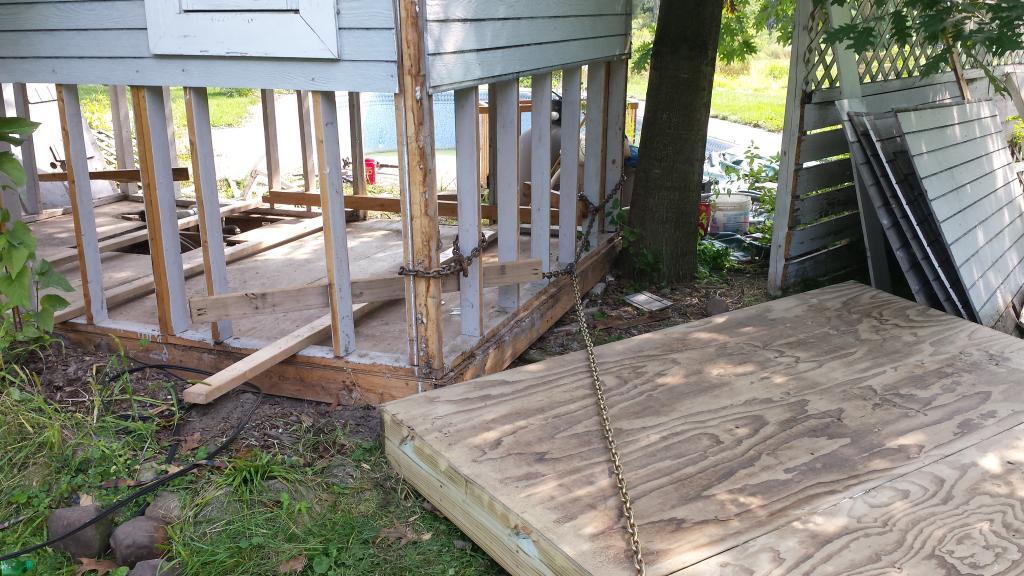
Next I secured the walls to the new floor and added some bracing. Then I put some chains on the floor in a 3 point fashion and had already put the floor on pvc rollers

Here's a picture of the coop after it had already been moved about 60 feet towards its final destination
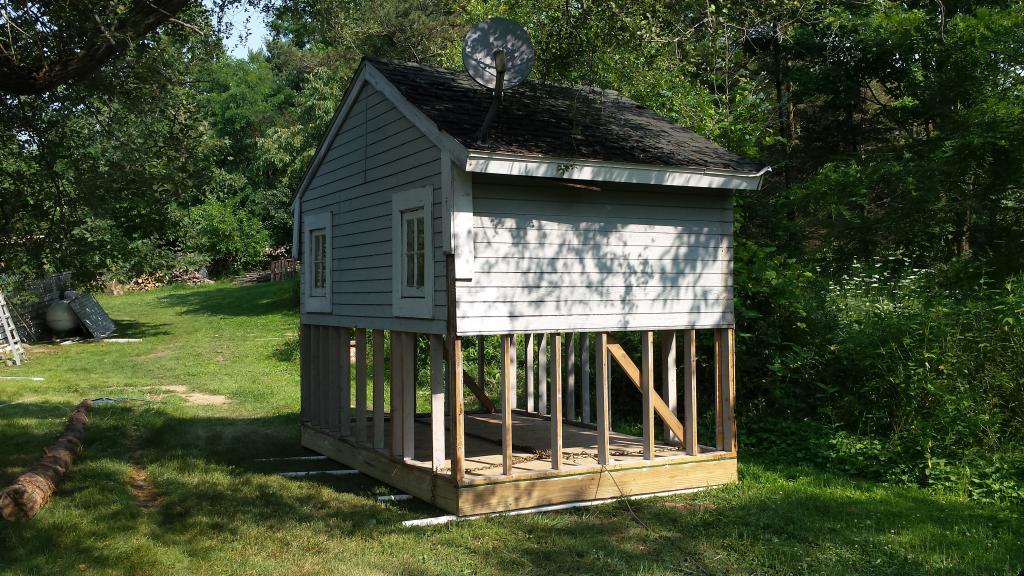
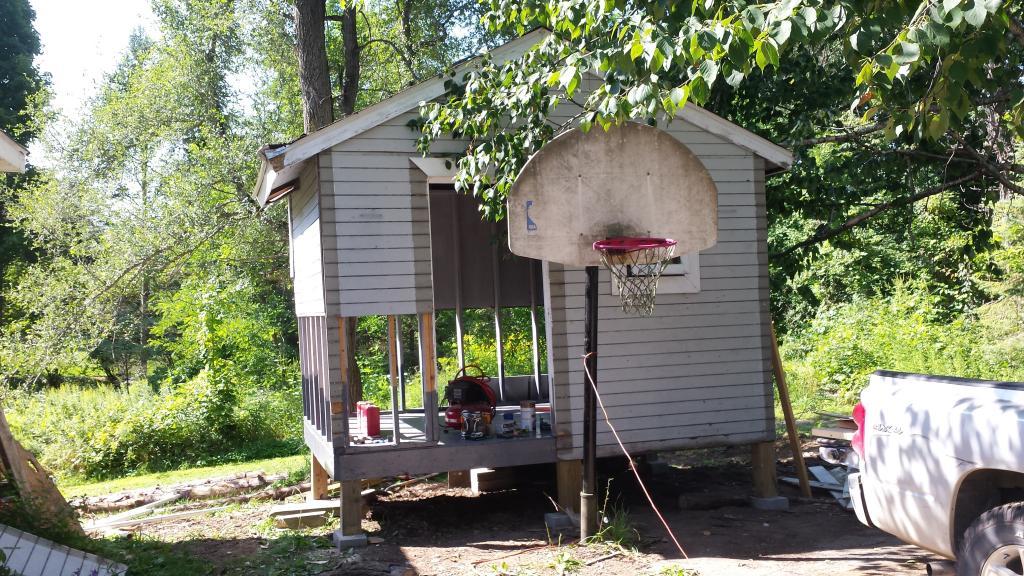
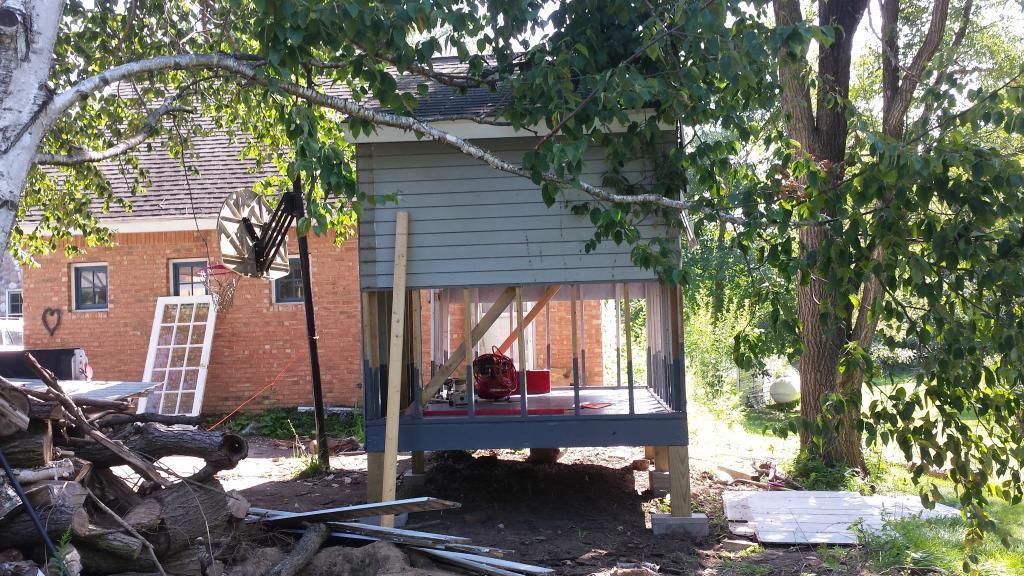
And here is the coop in its final destination (basketball hoop will probably be cut/moved):
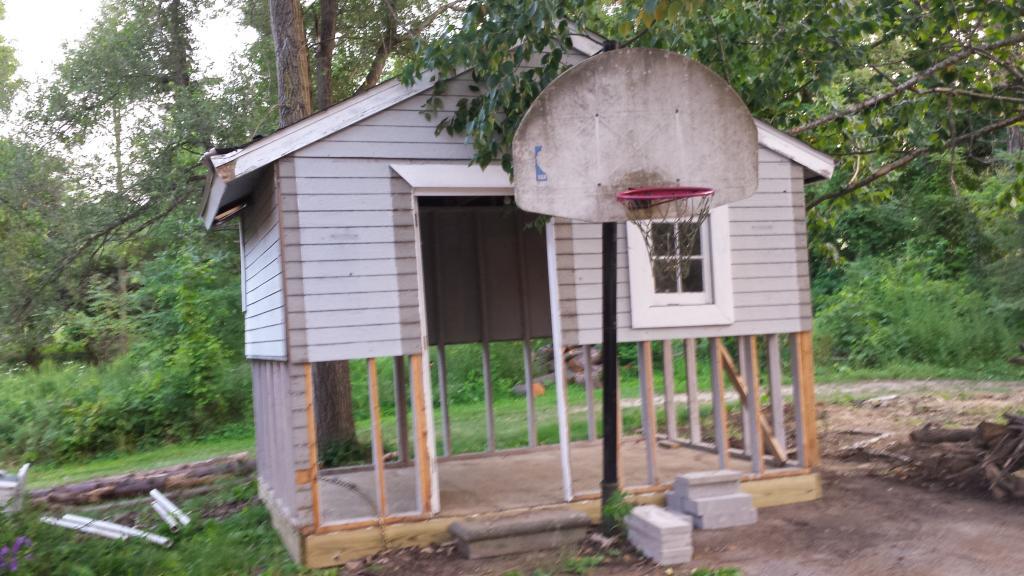
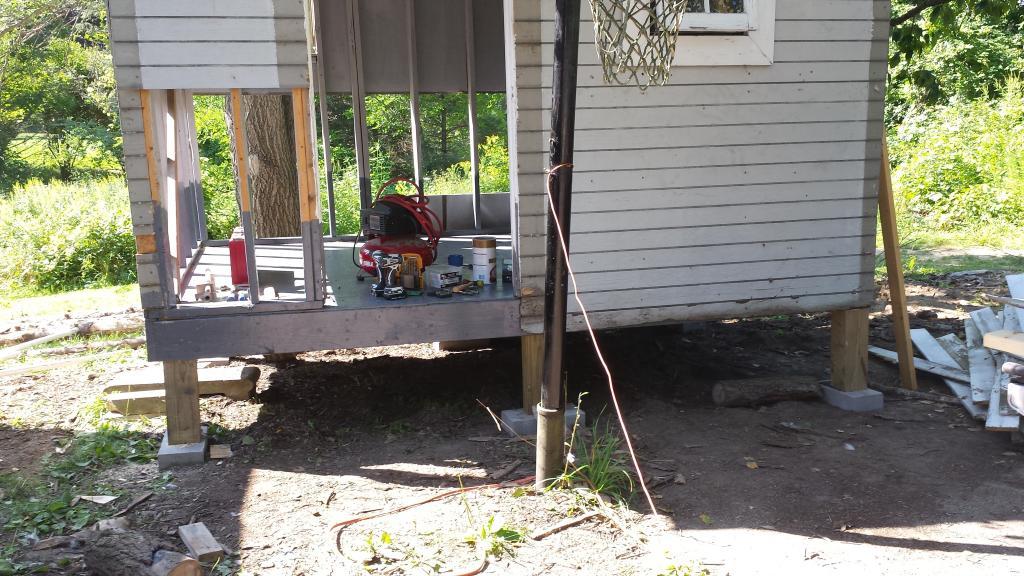
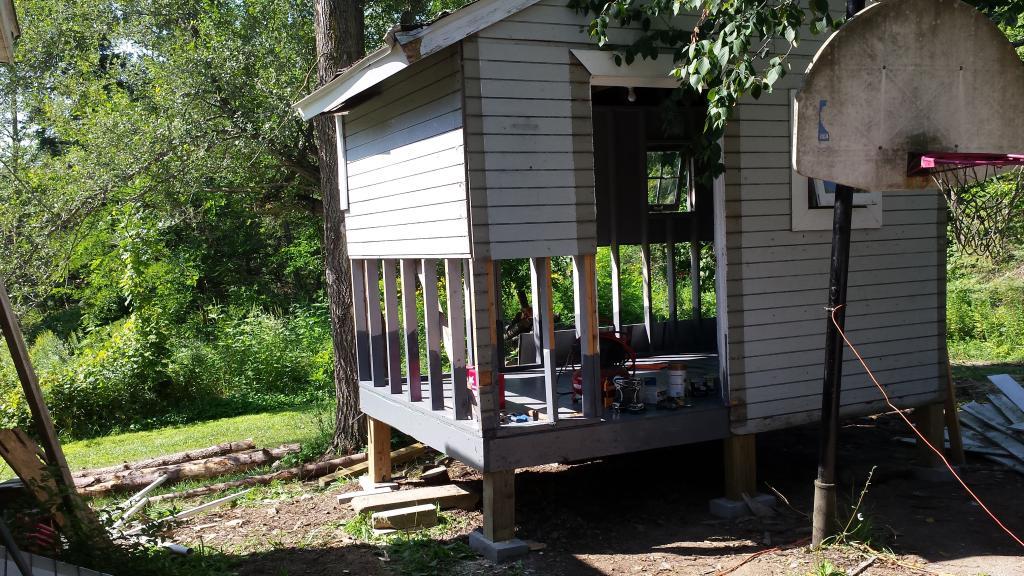
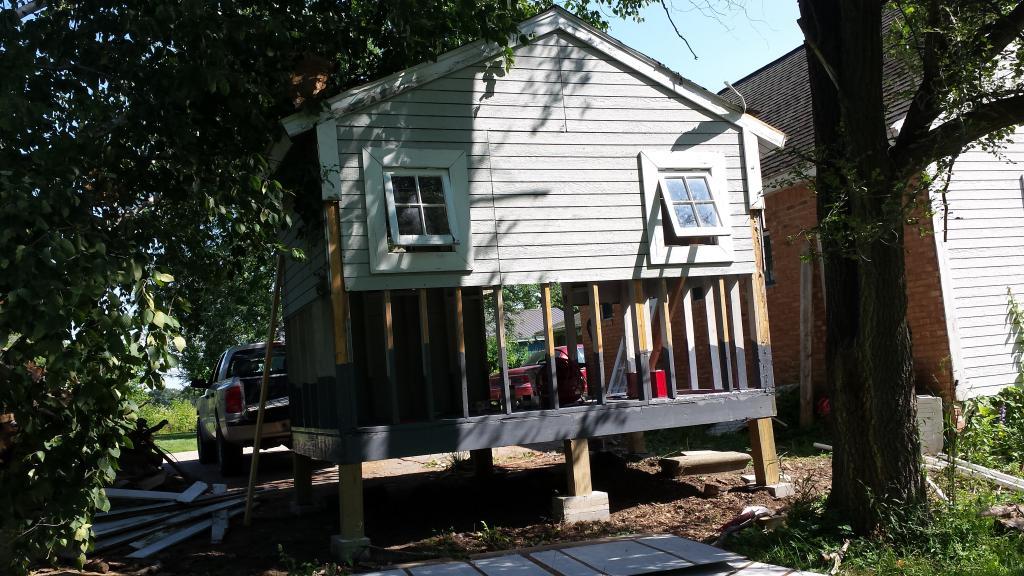
Next step was to paint the floor with an oil based paint. I also wanted to elevate the coop to help protect from predators, protect the floor from rotting, and so that the chickens could go underneath and dust bathe. I had some 6x6 cutoffs left over from when we built our pole barn so they were perfect for supporting the coop (all legs are straight, they look crooked in the one picture for some reason)
Next step was to put the siding back, shavings on the floor and move the chickens in. This coop currently houses 17 chickens with 4 of them being bantams (do they count as chickens? lol), 4 leghorns, and 9 amber links. All of them are young and not laying yet but the leghorns and bantams are the oldest and should start laying any day.

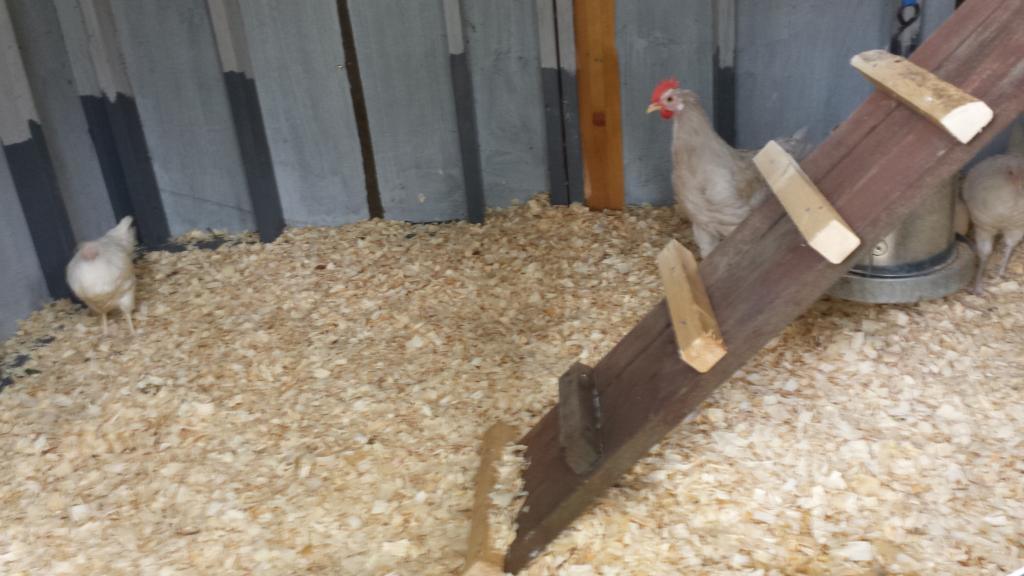
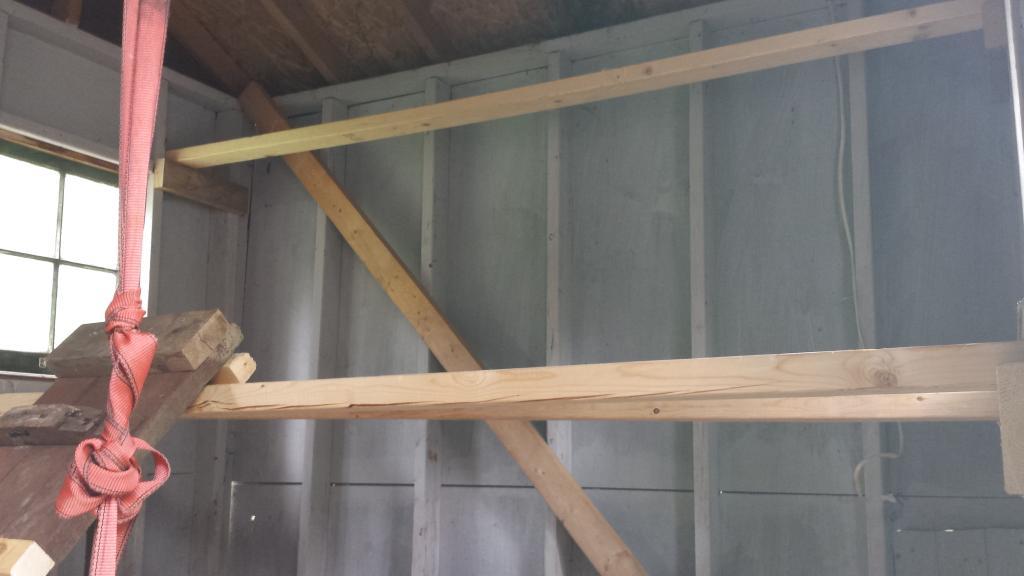
Pic of the roosts I made. I read that chickens love to look out the window so I made the roosts right next to them and one high up for the high flyers.
I still need to add some steps, put the trim pieces back on, add angle braces to the poles, and make some egg boxes. Oh and make their run. Would have loved to make this coop completely new but financially just couldn't so I have to deal with the old siding and roof. Will probably replace the roof next year as it's not in great shape. Let me know what you guys think and if you have any suggestions.
Unfortunately the pool shed was not in the location where I wanted my coop to be, so I started to develop a plan to move it. Not only was it not in the right spot but on inspection of the floor I could tell that I was going to need to replace it. Some sort of animal got underneath it and chewed holes in the boards. I figured that even with having to make a new floor it's still cheaper to reuse the rest of the shed than making an entirely new coop. On to the pictures, here are some pictures of the new floor I built. I made it out of 2x8 pressured treated lumber.
Since I needed to build the floor on a flat surface; the floor was not built by the pool shed. So the next step was to get my old tractor and move it to where the pool shed was.
Unfortunately I didn't get any pictures of the shed before I removed the bottom siding. The bottom siding was removed so that I could get to the bottom of the wall frames and cut the old nails loose with a reciprocating saw. Here's a picture of the new floor next to the shed and getting ready to put plywood on the framing.
Next step was to put on the plywood. My wife helped out while Duncan the boxer supervised. Oh and the extra strip of wood you see is because the builder of this shed didn't make it exactly 12x8, it's 12 ft 3.5 inches x 8 ft! Nothing I can do about his mistake now, just have to replicate it.
Next step was to brace up the wall frames and prepare to pull it onto the new floor.
The tractor was used to pull the shed walls onto the new floor
And here are the walls on the new floor:
Quad was used to keep tension on the walls so they wouldn't collapse on themselves
Next I secured the walls to the new floor and added some bracing. Then I put some chains on the floor in a 3 point fashion and had already put the floor on pvc rollers
Here's a picture of the coop after it had already been moved about 60 feet towards its final destination
And here is the coop in its final destination (basketball hoop will probably be cut/moved):
Next step was to paint the floor with an oil based paint. I also wanted to elevate the coop to help protect from predators, protect the floor from rotting, and so that the chickens could go underneath and dust bathe. I had some 6x6 cutoffs left over from when we built our pole barn so they were perfect for supporting the coop (all legs are straight, they look crooked in the one picture for some reason)
Next step was to put the siding back, shavings on the floor and move the chickens in. This coop currently houses 17 chickens with 4 of them being bantams (do they count as chickens? lol), 4 leghorns, and 9 amber links. All of them are young and not laying yet but the leghorns and bantams are the oldest and should start laying any day.
Pic of the roosts I made. I read that chickens love to look out the window so I made the roosts right next to them and one high up for the high flyers.
I still need to add some steps, put the trim pieces back on, add angle braces to the poles, and make some egg boxes. Oh and make their run. Would have loved to make this coop completely new but financially just couldn't so I have to deal with the old siding and roof. Will probably replace the roof next year as it's not in great shape. Let me know what you guys think and if you have any suggestions.


