I was pretty turned off of fermented feed because of going out multiple times a day to dish it up for the birds. I have two flocks and two coops, 2 to open 2 to close that's enough coop trips for me. Adding in changing water, filling the feeders ( every few days ) and collecting eggs I did not feel like increasing my work load so no FF for me....
Then I had a thought after seeing this thread https://www.backyardchickens.com/t/...te-5-gallon-25-feed-bucket-feeder-for-about-3 Maybe I could make a FF feeder and make my feed in it while the birds feed from them. Another down fall of FF for me was making it indoors ( ok well my husband didn't want it inside ) and this feeder is taking care of all the things we didn't like about FF.
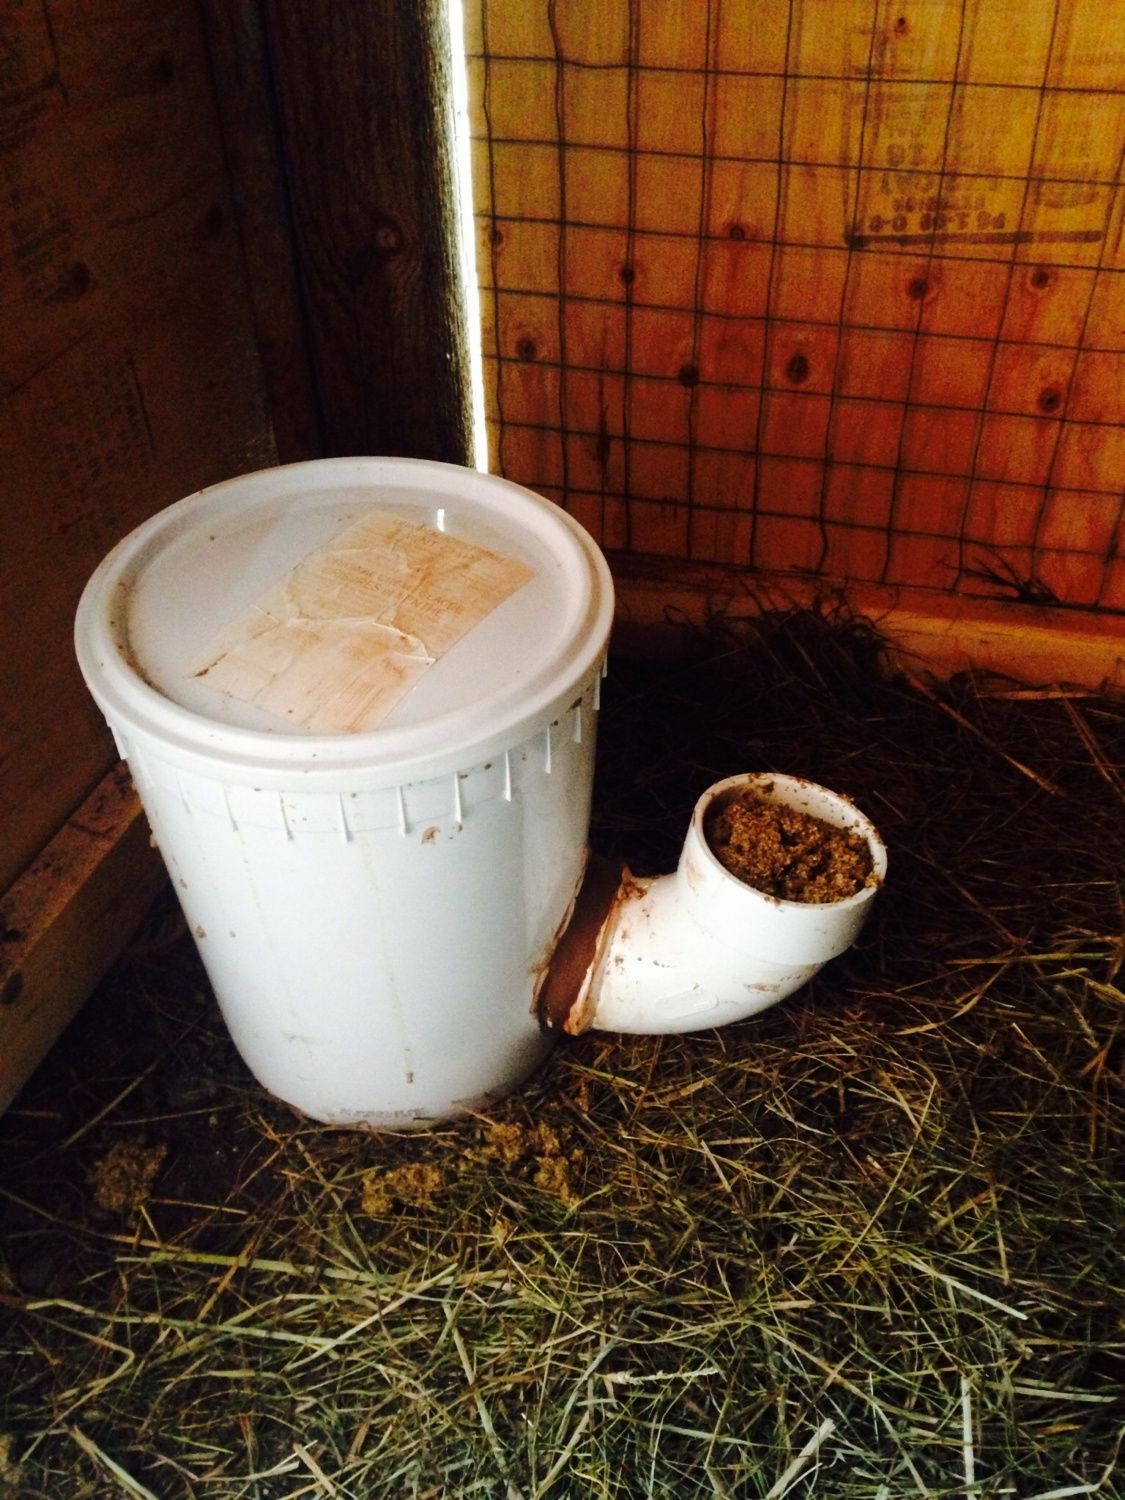
So for about a week and a half maybe two I have been using this
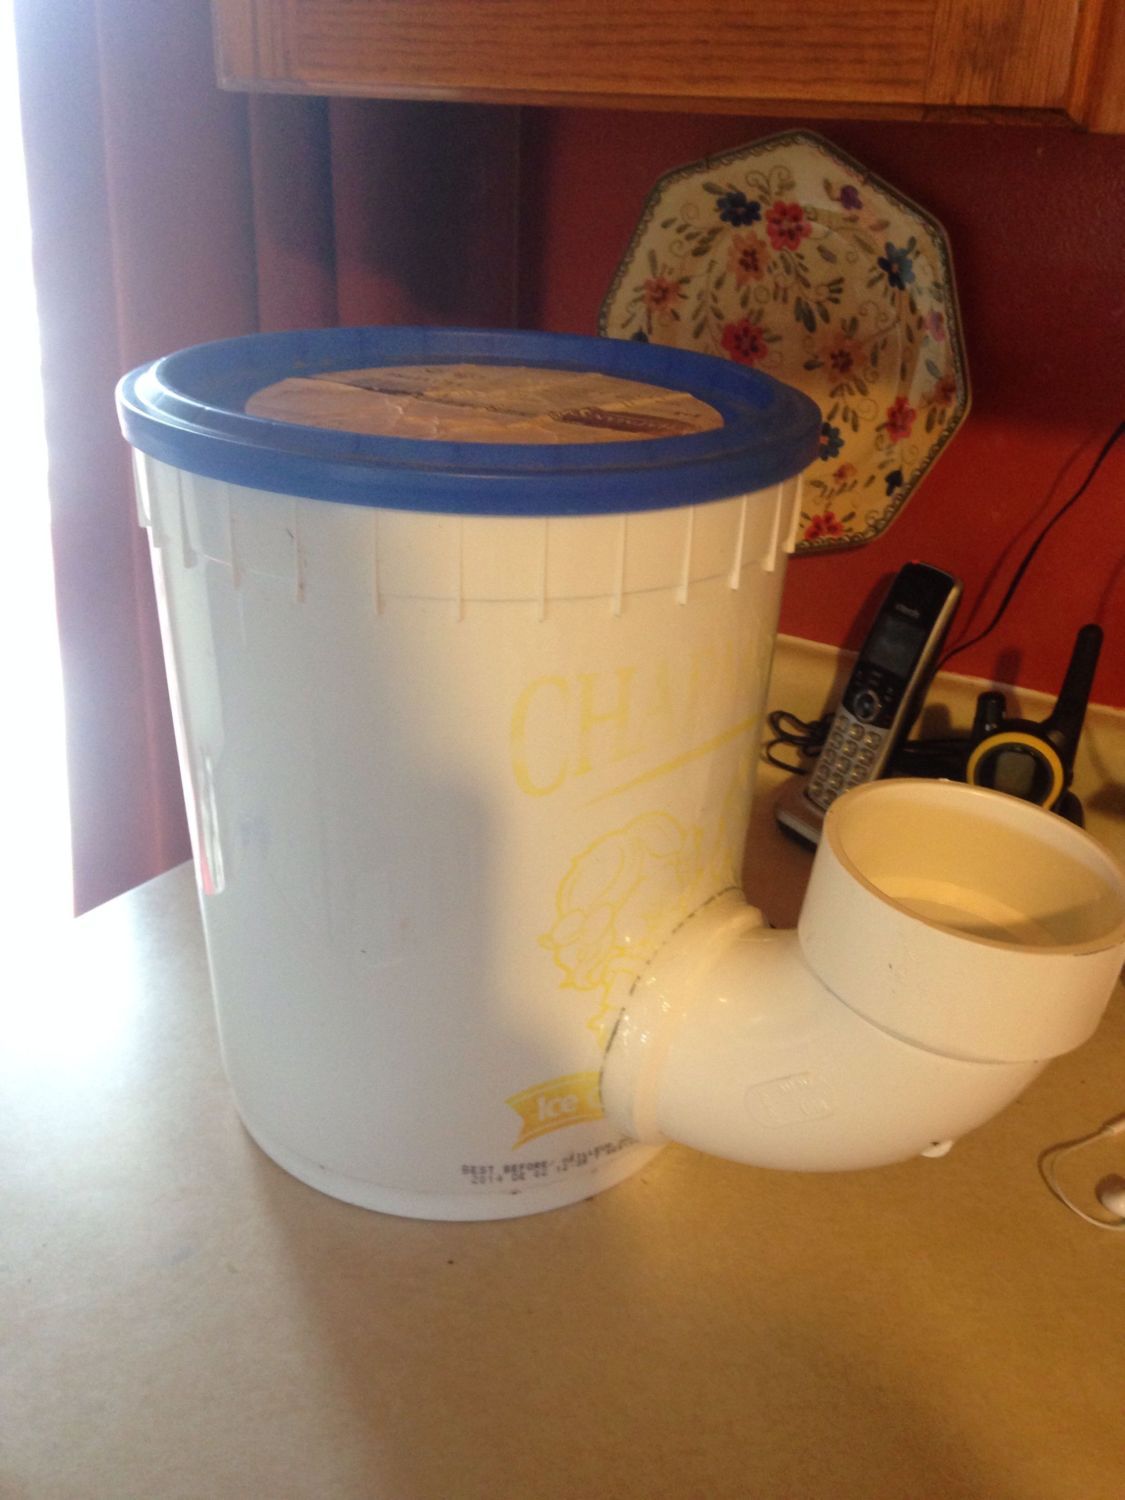
The PVC price cost $6.99 CDN. With my first feeder I used a household silicone, after 5 days the seal broke ( the wet feed proved to heavy in the pipe). my second feeder, which I made the day after the first, I used a marine silicone ( $20 or so ) the bond is holding well still.... I should have ruffed up the surfaces with sand paper... Well I will next time")
I've used 2 kinds of FF the first is just a warm water and feed mix, the other I tossed some "critical care" probiotic mix in. The latter mix matured much faster in the cool coop temps, say 3 days the first took around 6 to develop. Now when I go out in the morning I stir it and replace the lid, every 3 or so days I need to add a bit of water to keep it moving into the PVC ( I keep a small jug of water in each coop ). Once the FF really gets going you can't keep the lid sealed tight or the build up of gas pushes the food out before it can be eaten, and makes a mess. Holes in the lid would also help this, but as the feed level gets low the gas is helpful... I'll have to do a bit of a test run and see if holes are the way to go")
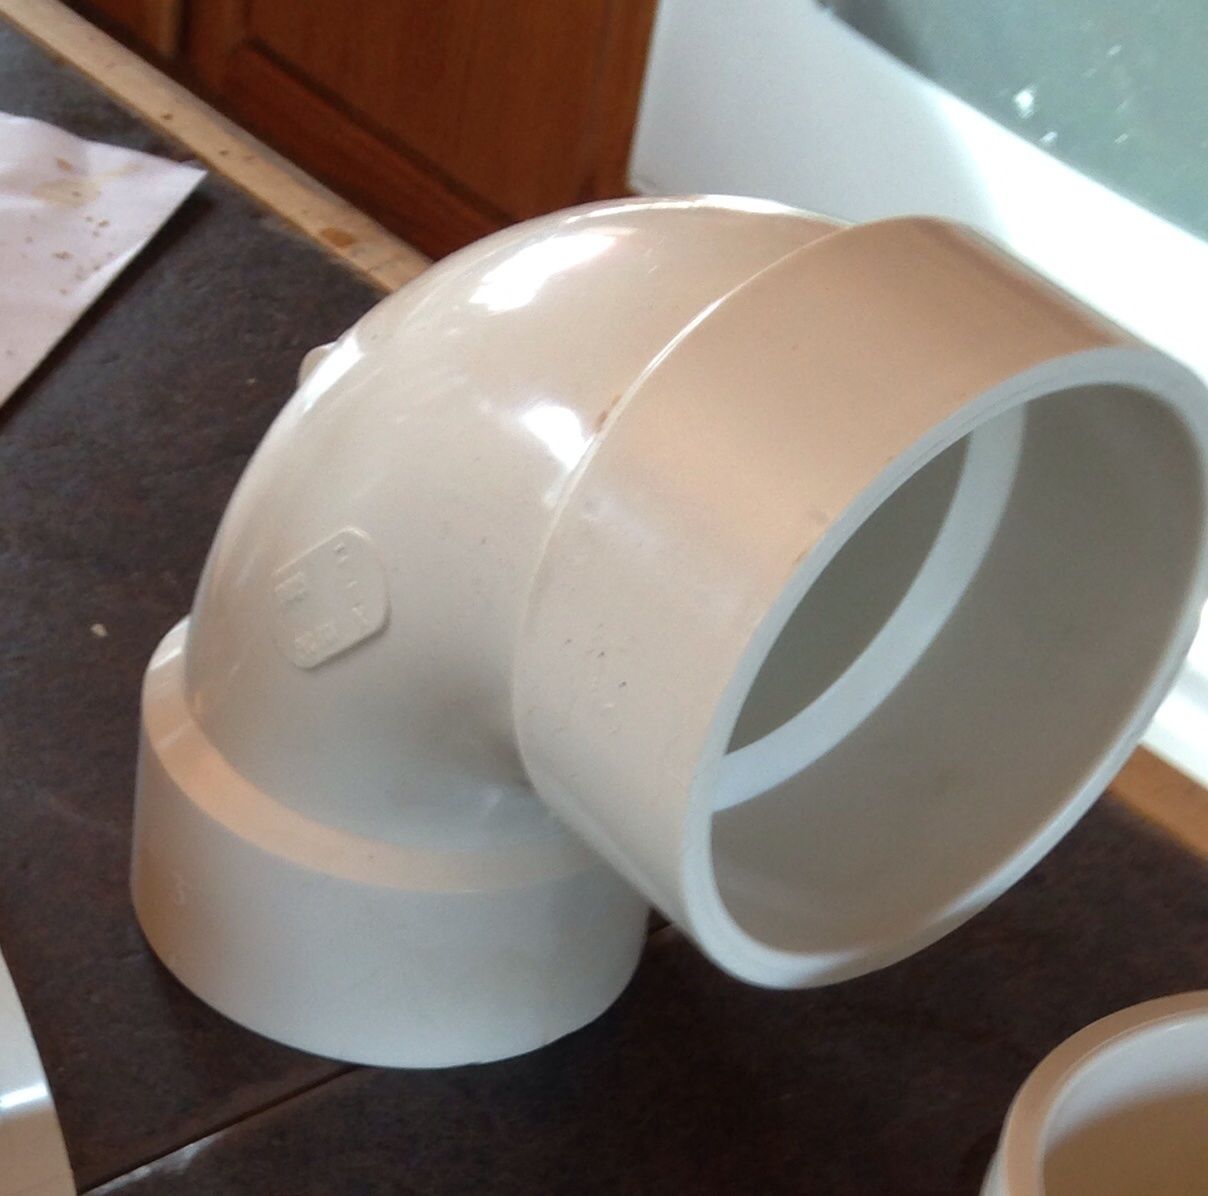
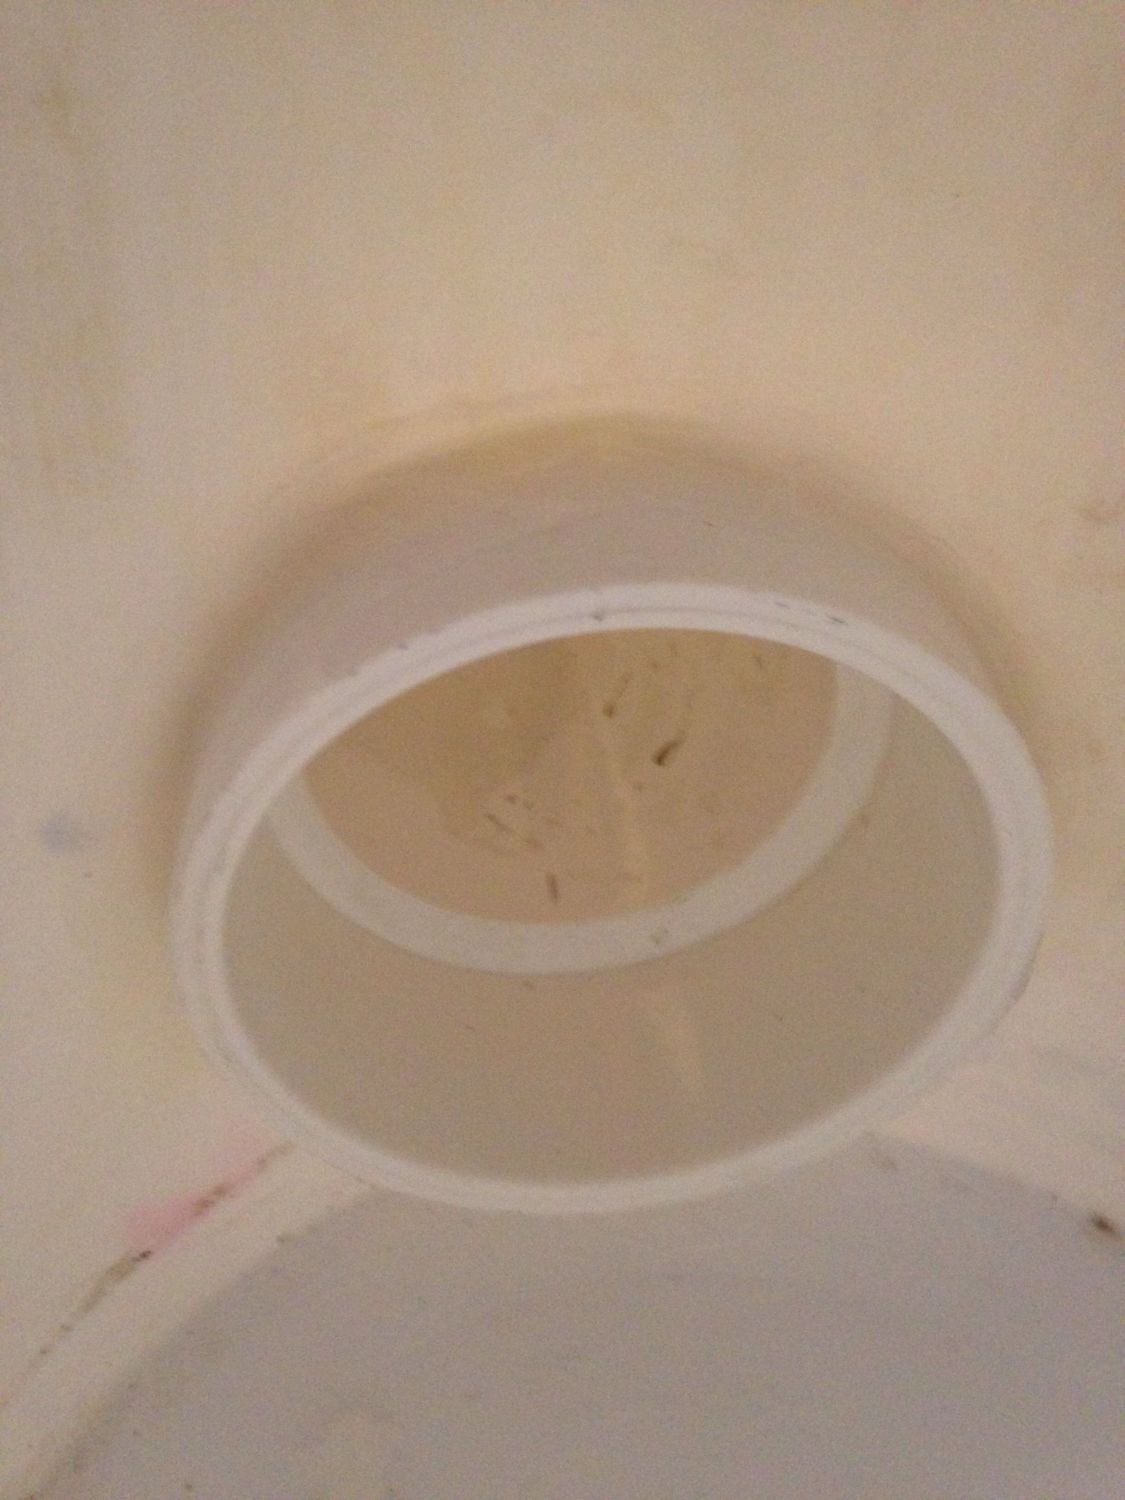
Trace and cut your hole exactly if not smaller than the size of the pipe ( I used 3" PVC) as low as you can on your bucket. Mine is about an inch from the bottom.
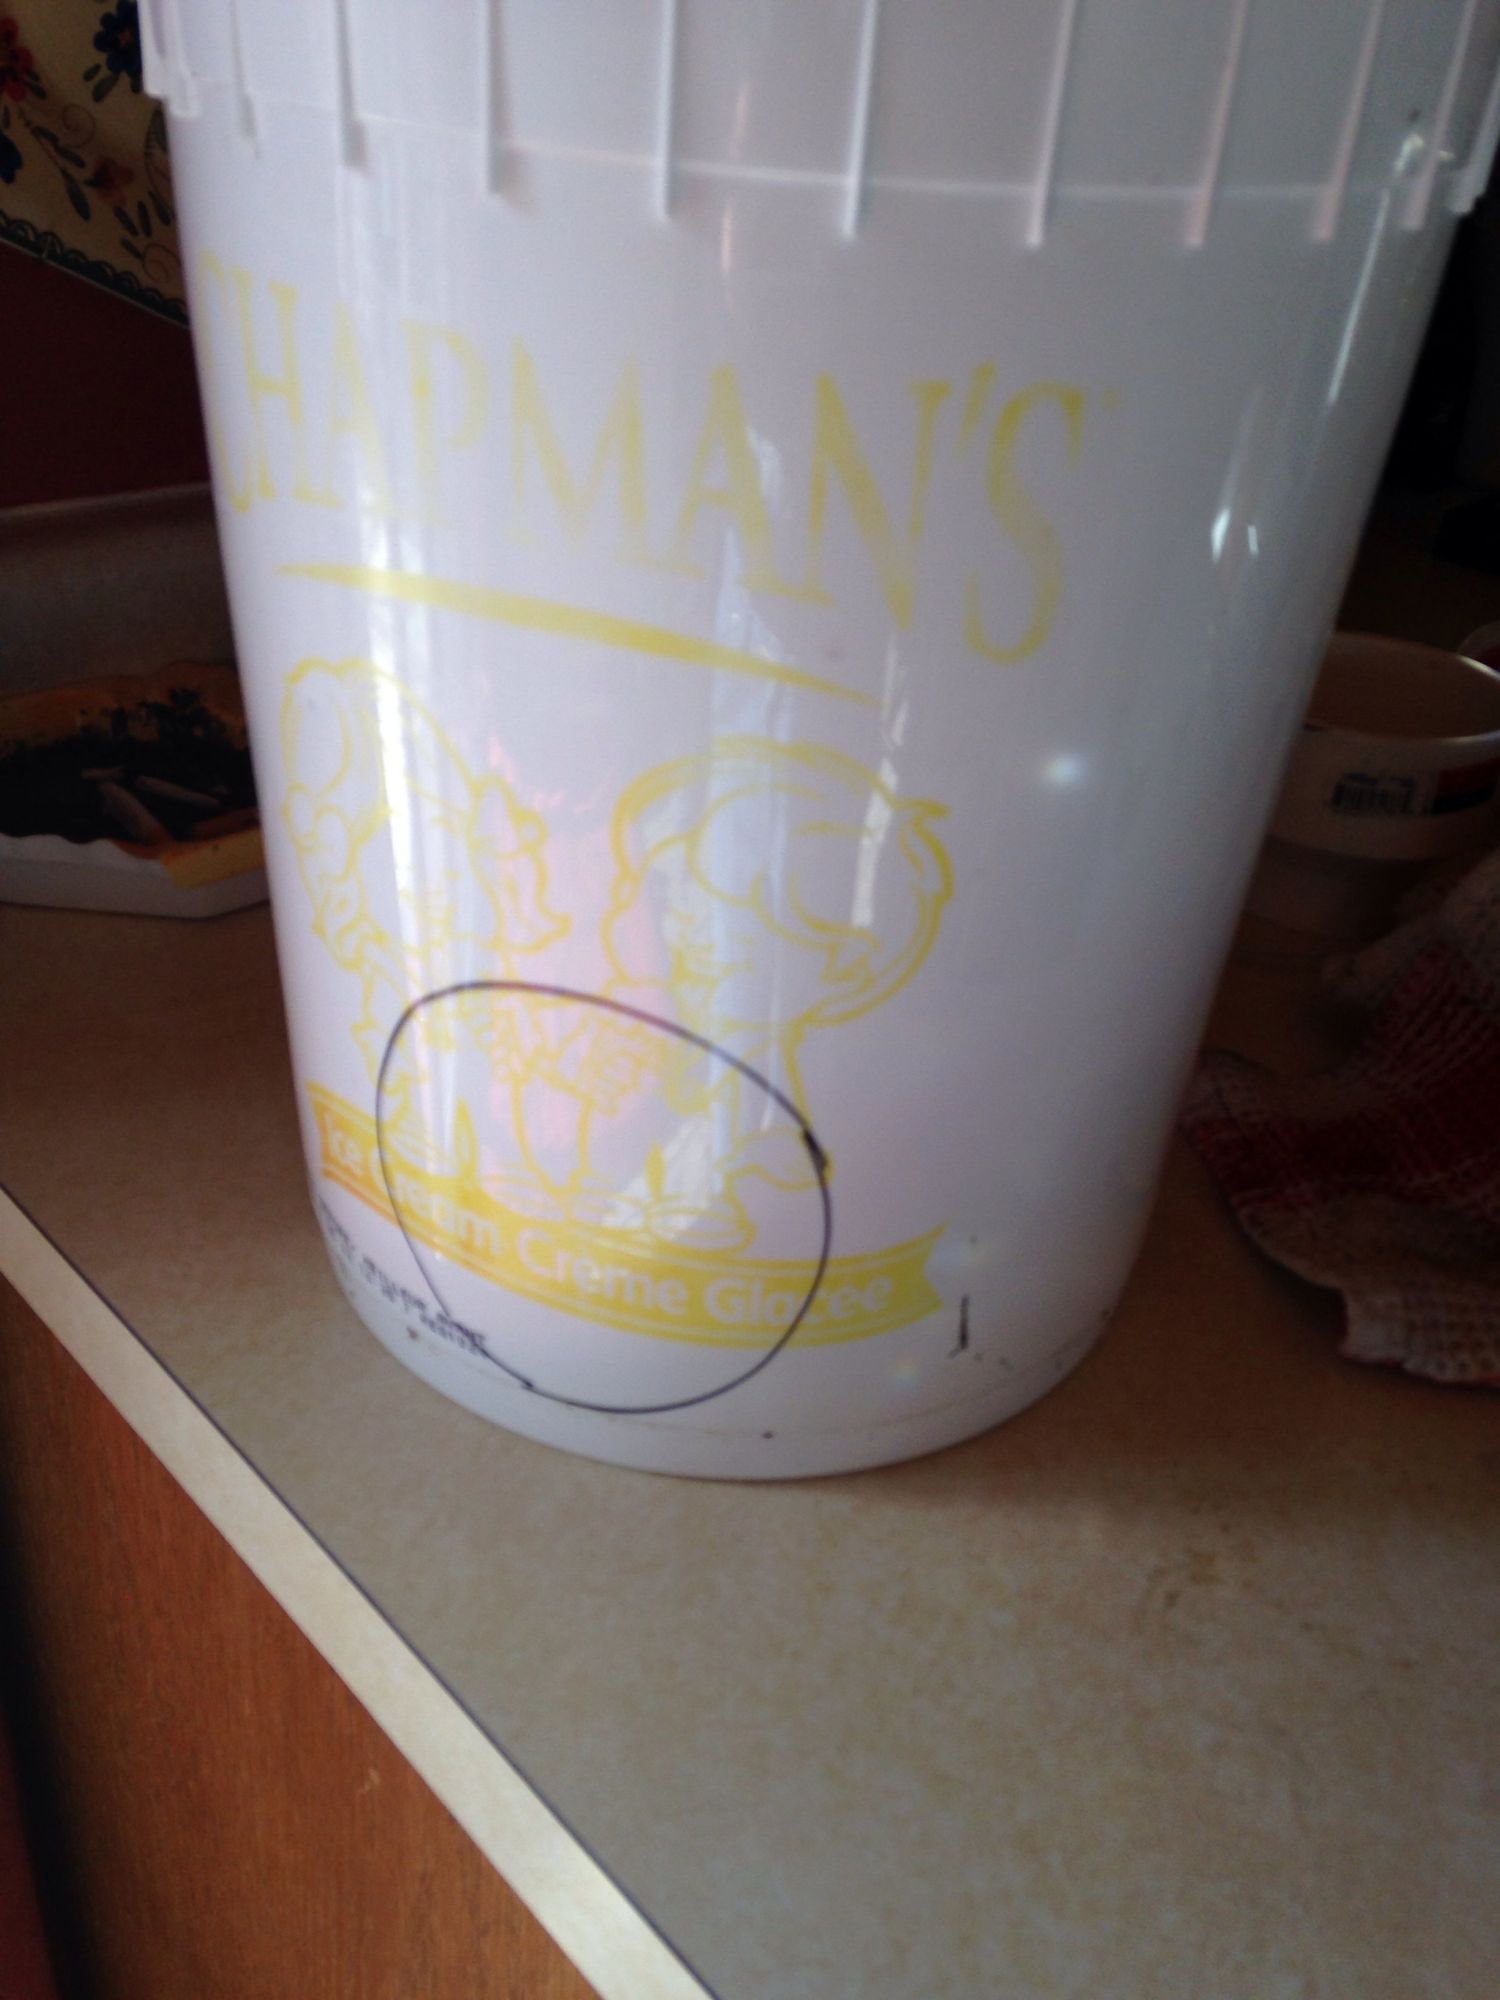
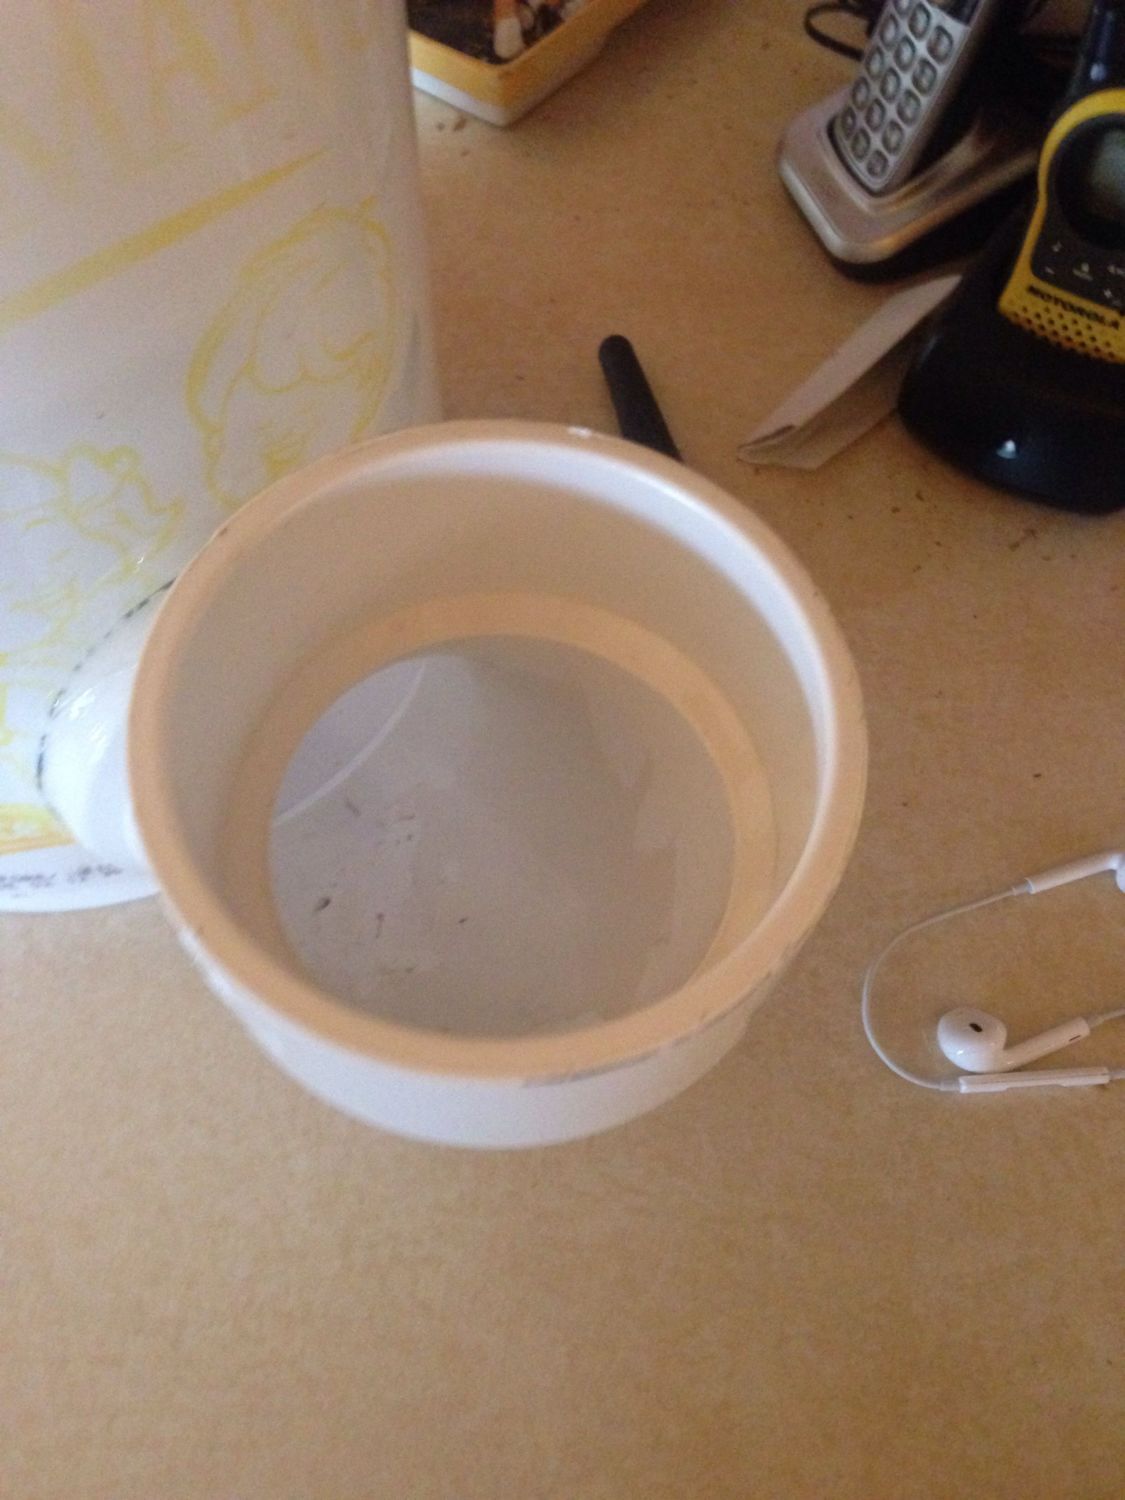
Force the pipe into the hole, a flexible plastic bucket like the five gallon ice cream bucket I used makes this a bit easier... Pull the pipe into place say a half inch to an inch remaining inside the bucket. Make sure it's nice and level before you silicone it.
Run the silicone around both the external and internal seams of the hole, let it cure, and proceed with making your FF.
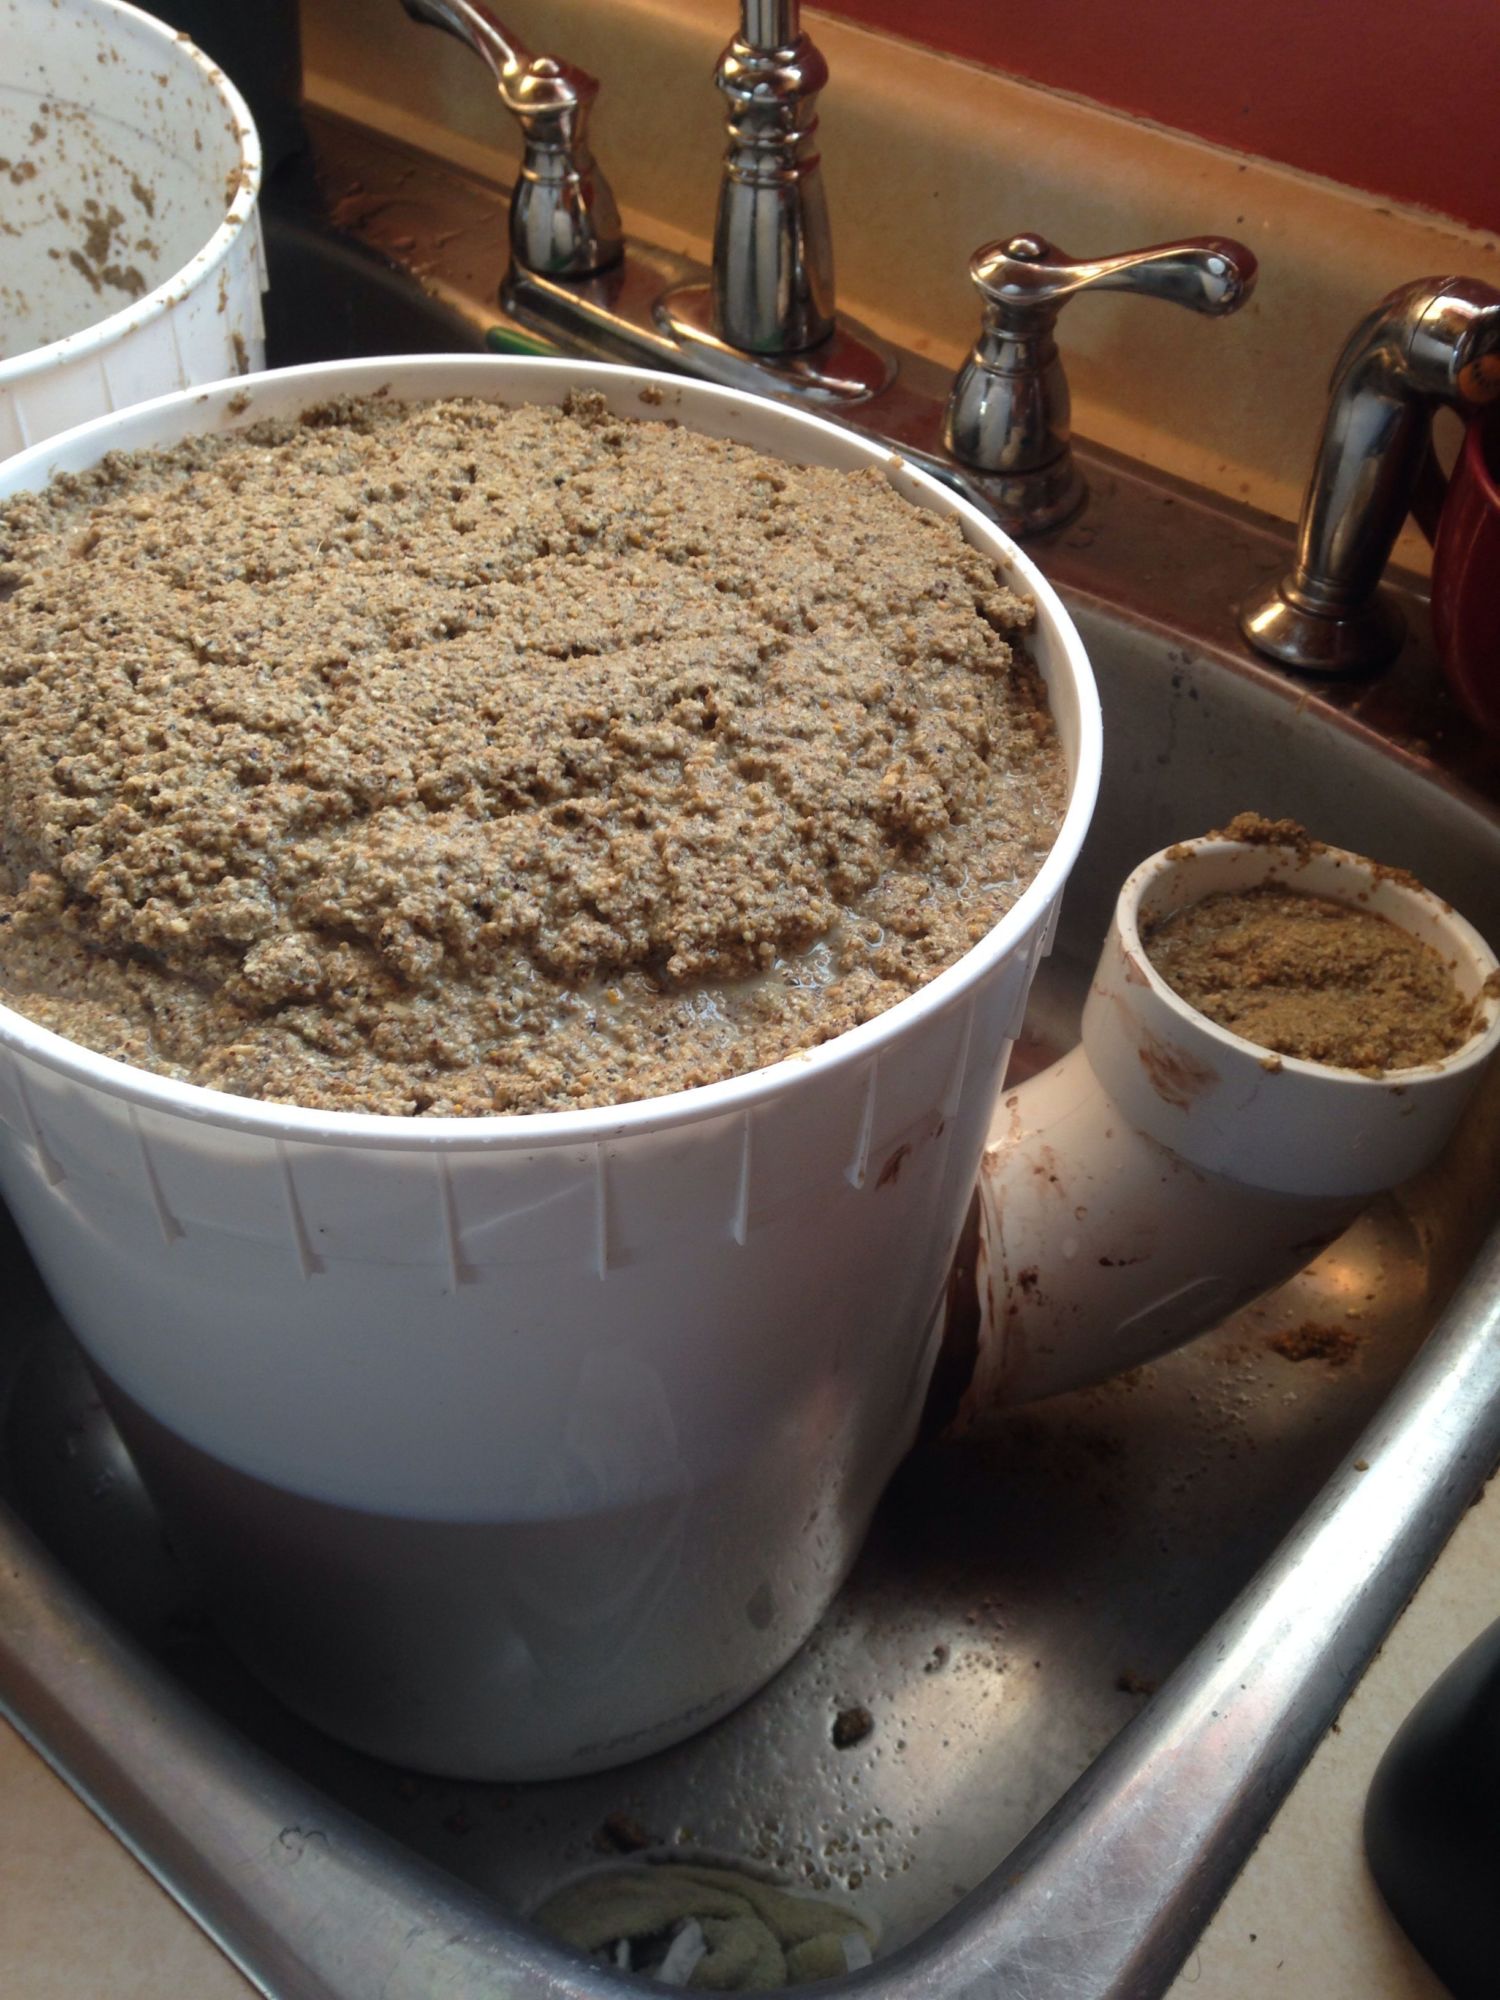
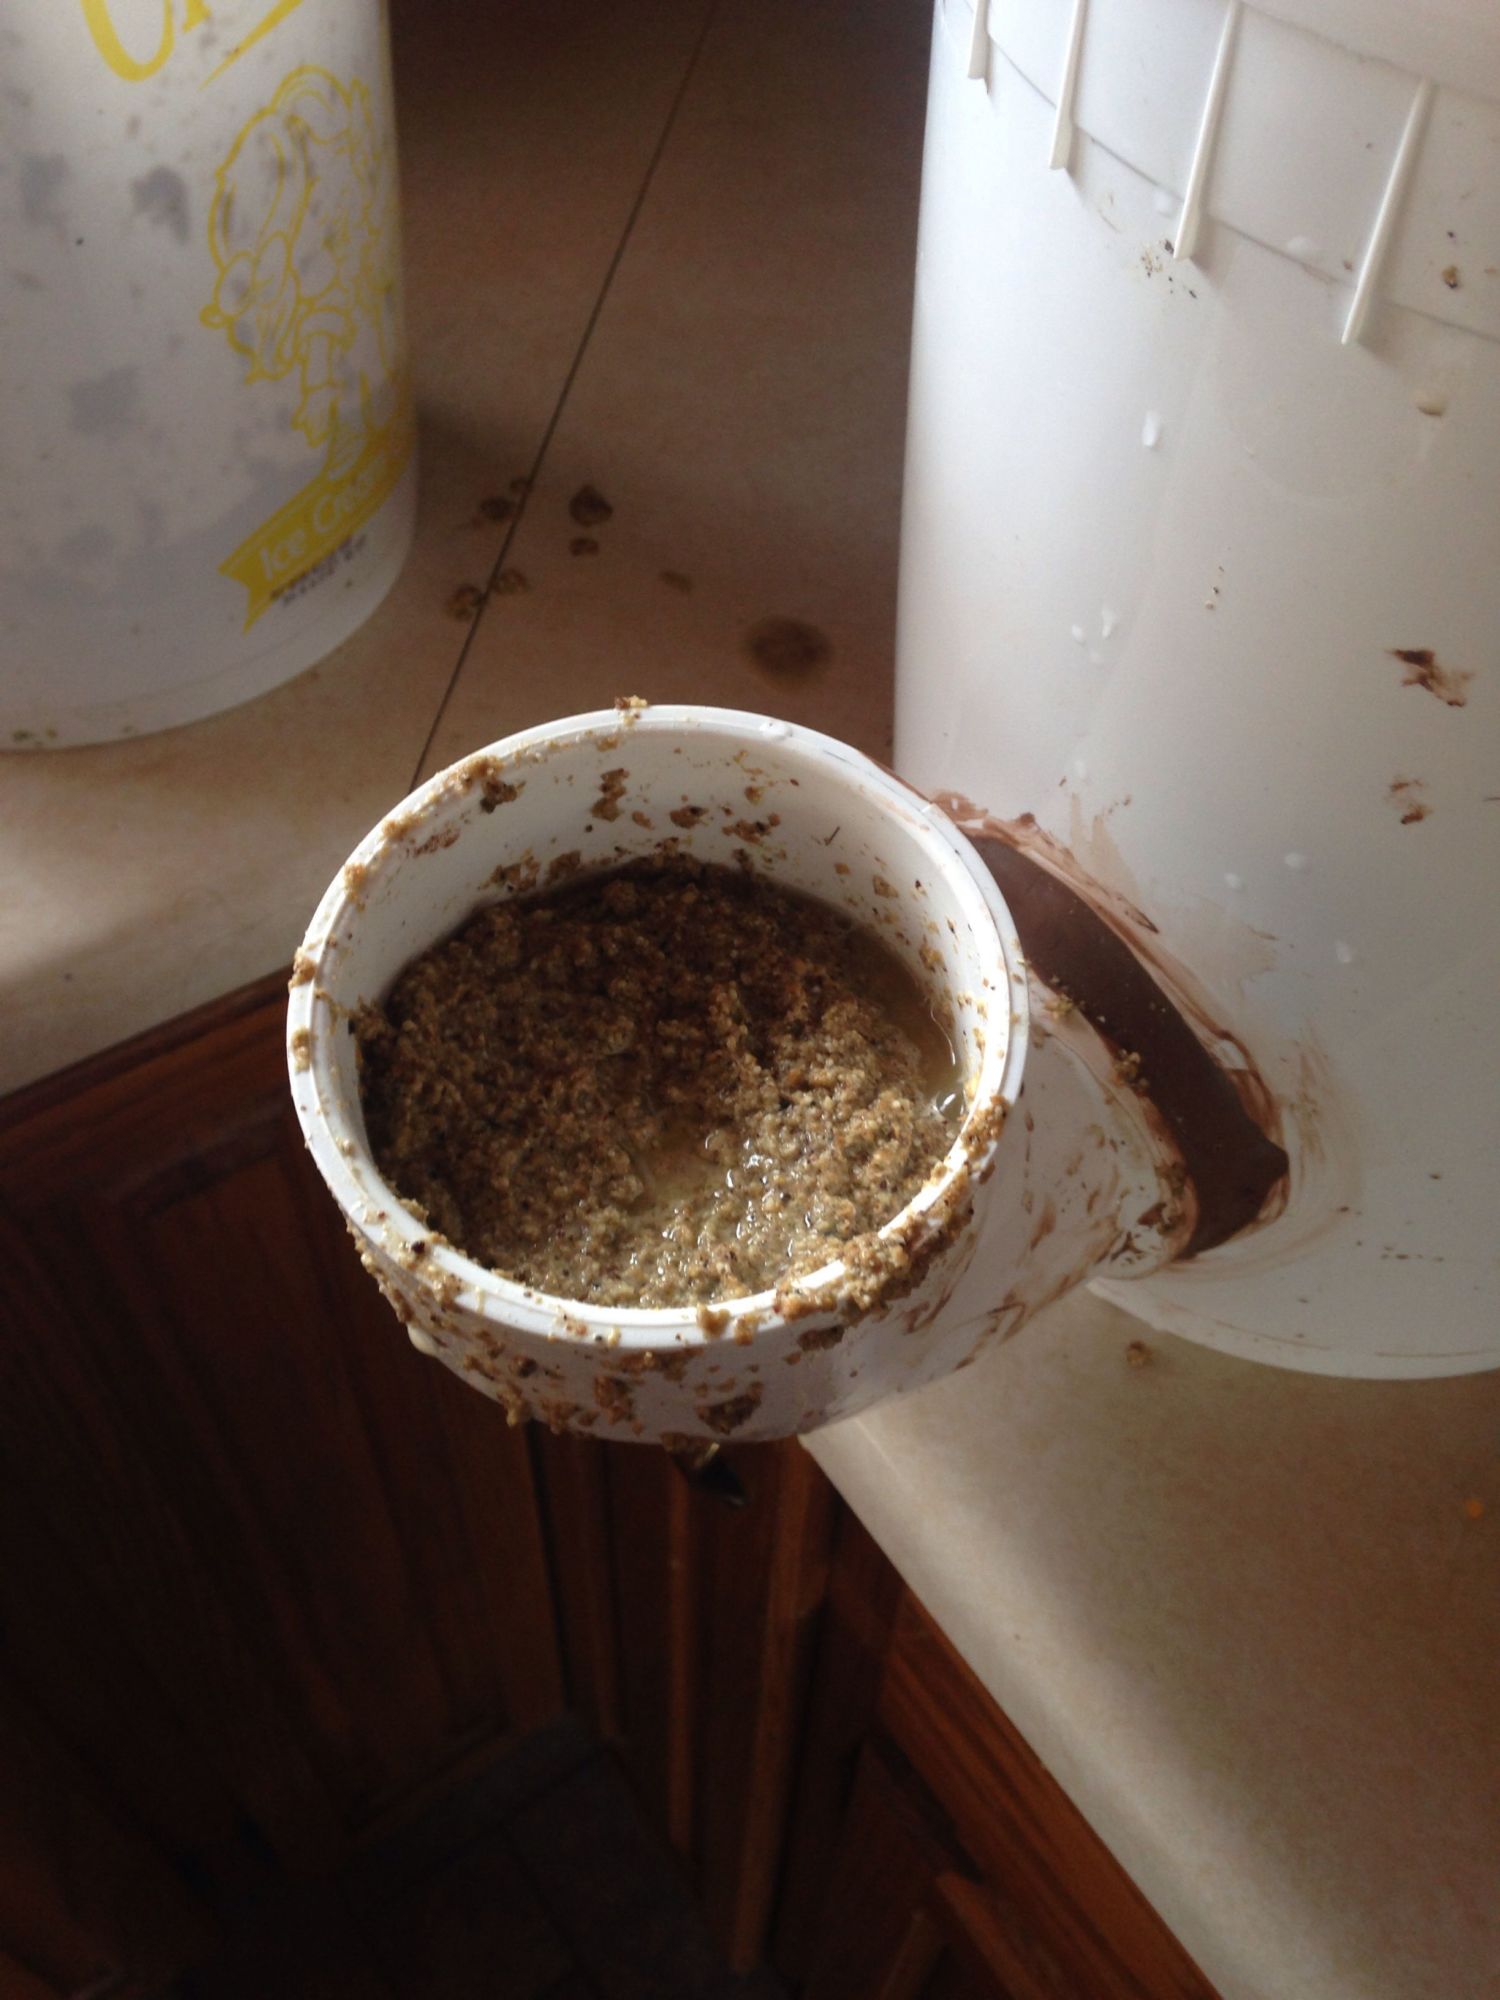
Now bring it out to you birds. This feeder works for both chickens and ducks, and its low enough for my bantam hen. It's not perfect, but for me it works. During the first few days while fermentation picks up I found that a little water sits atop the feed in the feeding pipe, I scoop it out and add it back into the main bucket when I stir the feed in the morning. And if your FF mix is a bit thin, get the lid on quick so it doesn't over flow!
Any thoughts on improvement would be appreciated.
Then I had a thought after seeing this thread https://www.backyardchickens.com/t/...te-5-gallon-25-feed-bucket-feeder-for-about-3 Maybe I could make a FF feeder and make my feed in it while the birds feed from them. Another down fall of FF for me was making it indoors ( ok well my husband didn't want it inside
) and this feeder is taking care of all the things we didn't like about FF.So for about a week and a half maybe two I have been using this
The PVC price cost $6.99 CDN. With my first feeder I used a household silicone, after 5 days the seal broke ( the wet feed proved to heavy in the pipe). my second feeder, which I made the day after the first, I used a marine silicone ( $20 or so ) the bond is holding well still.... I should have ruffed up the surfaces with sand paper... Well I will next time
I've used 2 kinds of FF the first is just a warm water and feed mix, the other I tossed some "critical care" probiotic mix in. The latter mix matured much faster in the cool coop temps, say 3 days the first took around 6 to develop. Now when I go out in the morning I stir it and replace the lid, every 3 or so days I need to add a bit of water to keep it moving into the PVC ( I keep a small jug of water in each coop ). Once the FF really gets going you can't keep the lid sealed tight or the build up of gas pushes the food out before it can be eaten, and makes a mess. Holes in the lid would also help this, but as the feed level gets low the gas is helpful... I'll have to do a bit of a test run and see if holes are the way to go
Trace and cut your hole exactly if not smaller than the size of the pipe ( I used 3" PVC) as low as you can on your bucket. Mine is about an inch from the bottom.
Force the pipe into the hole, a flexible plastic bucket like the five gallon ice cream bucket I used makes this a bit easier... Pull the pipe into place say a half inch to an inch remaining inside the bucket. Make sure it's nice and level before you silicone it.
Run the silicone around both the external and internal seams of the hole, let it cure, and proceed with making your FF.
Now bring it out to you birds. This feeder works for both chickens and ducks, and its low enough for my bantam hen. It's not perfect, but for me it works. During the first few days while fermentation picks up I found that a little water sits atop the feed in the feeding pipe, I scoop it out and add it back into the main bucket when I stir the feed in the morning. And if your FF mix is a bit thin, get the lid on quick so it doesn't over flow!
Any thoughts on improvement would be appreciated.
Last edited:


