Hello,
I'm a first time poster, yet have been reading various posts on this site for the better part of a year. I started a new flock of four in April 2014 - from chicks - and have really enjoyed the experience to date. I live in the city of Chicago (NW side). I have learned so much from many here, and want to give a little back.
I will start with my coop selection, which I agonized over for several months. My decision was to be based on the fact that I have a very large (for a Chicago property) grass-filled backyard that was ideal for a tractor design, and that the coop design would be aesthetically pleasing to me - and more importantly - my better half and neighbors. I seriously considered shelling out some big cash for the Eglu and other similar pre-fab designs. And then I can across a do-it-yourself tractor coop that had some genuine charm, the Catawba Coop (http://catawbacoops.com/). Against all of the good advice (read: warnings) that I read about the A-frame design and cold winters, I choose to build it anyways.
My greatest initial concern was all of the feedback I read on how this coop was a potential disaster during the winter, due to its small coop space and poor/drafty ventilation. Yet I thought that I could compensate for this inherent design flaw with a few changes to the base design. These were:
1. Extending the length of each of the three sides of the "A" triangle from approximately 4' to 5'. This resulted in more overall room in both the run and the coop. It also gave the run a 40 square footprint which was ideal for my four large-breed chickens. And while the folks at Catawba Coops warn against this type of a modification due to the "recalculation of nearly every angle" from the base plans, I did not find this to be much of a challenge (nor exactly true, given that I equally extended each side resulting in nothing more than a bigger triangle). To be sure, I am NOT a handy guy.
2. Filling the end gaps in the removable roof panels with wedges sized specifically to each gap (see pictures below). Again, a pain in theory but a piece of cake in practice. I used wood glue to attach each of them, as using screws split these small pieces even with pre-drilled holes.
3. Using a very thin window weather stripping on the egg doors and removable roof panel edges to seal all possible draft points.
4. Drilling three 1" holes above an egg door to provide ventilation. I only did this on one side, but plan on doing it on both sides after this winter to further increase ventilation (my wintertime humidity lingers between 55-70%, which I believe is a little high).
5. Adding a 2X4 to the top of the 2X2 perch bar, to give the chickens better coverage for their legs and feet in the winter. This approach has the additional benefit of preventing your chickens from sleeping in the nest boxes, which mine never did.
6. Yes, extending this coop by one foot on each side made it a beast weight-wise. While my wife and I could still move it together with some effort, I knew that I would have to come up with a better solution to allow me to move it by myself. The solution was pretty simple: I cut a 2X4 to a little over 5' long, and drilled a hole at each end to accommodate a large screw-in bolt that held a hard rubber wheel that I purchased at Harbor-Freight. The whole rig cost me less than $25. By placing it under one end of the coop, I am able to move the coop around by myself easily (which I did every other day during the warm weather to keep my lawn nice and green).
After having a full summer, fall, and harsh Chicago winter (so far through February) I am really happy with my choice in coops. It cost me about $300 in materials, and I went with premium options for everything (cedar wood, hinges on all doors, etc.). It took me about two 12-hour periods to build it myself. Weekly coop cleanups are a snap with the removable roof panels. This coop is really big for four large sized hens, considering that they get free-range privileges on most days of the week. It could easily accommodate four more given the free-ranging option. My chickens are thriving in it, even with all of the snow and single digit degree days we've had so far.
Here's what else I did to "winterize" the coop:
Also, if you decide to build this coop yourself, here are some invaluable tips I read that are worth repeating:
I hope the above summary helps if you are considering this coop design. Here are some pictures of my coop:
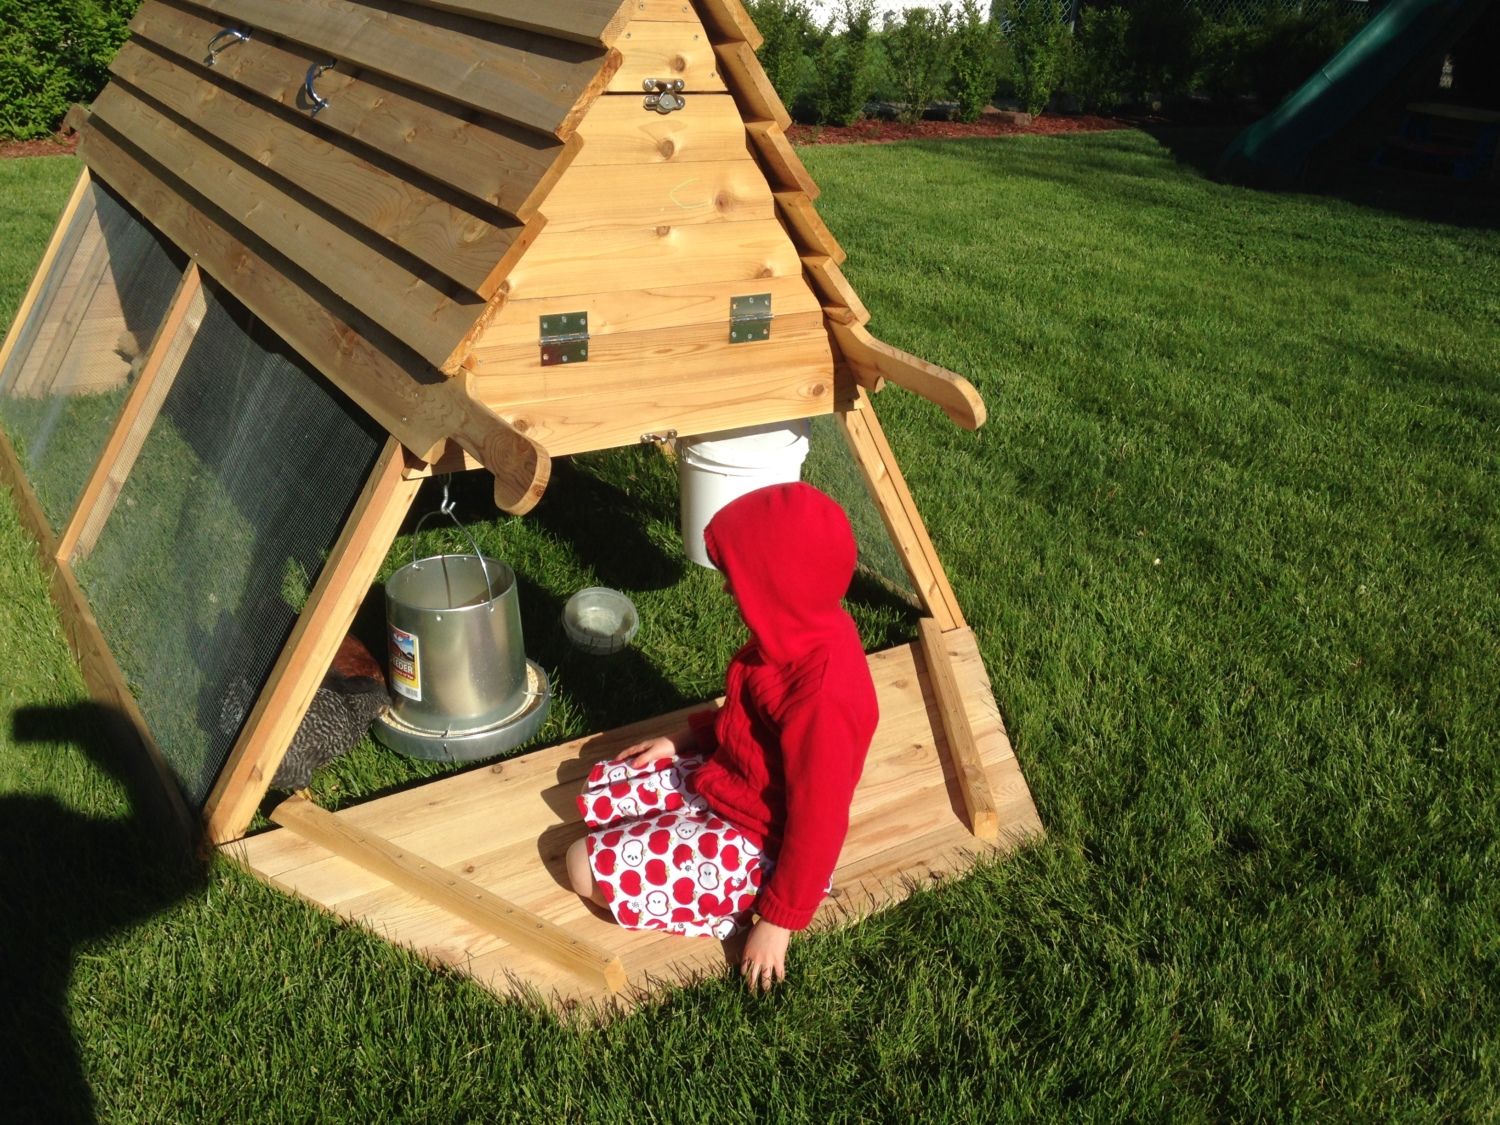
A good shot of the 5' sided A-frame

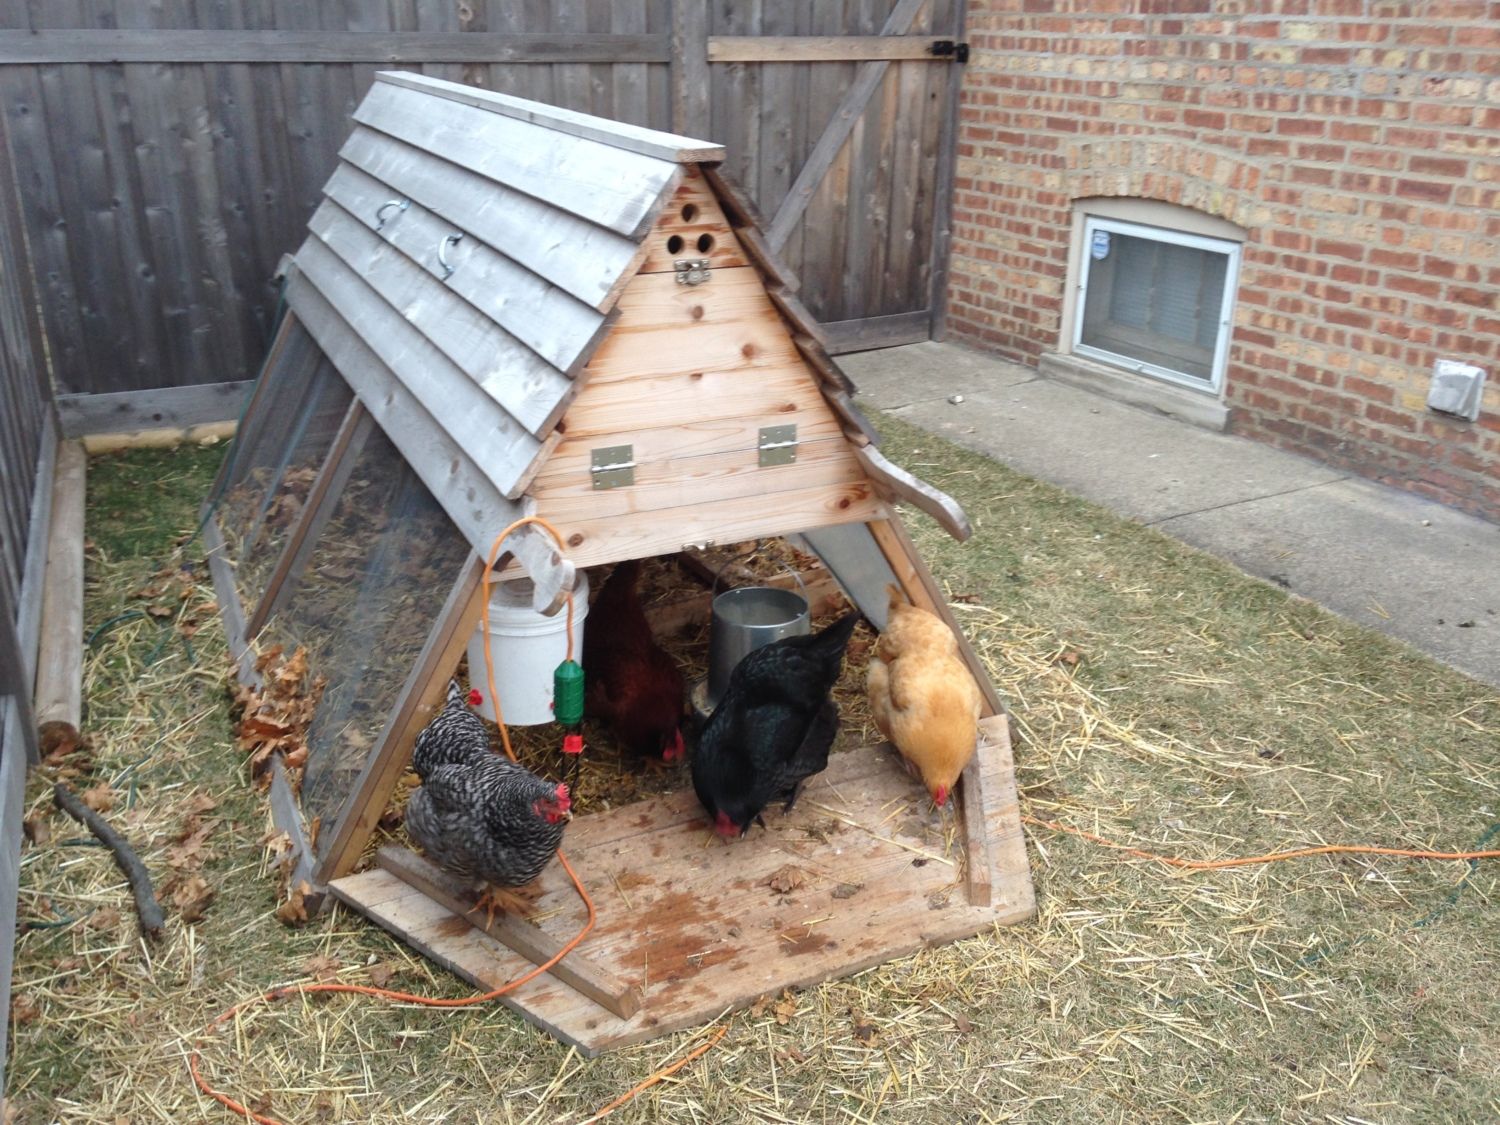
The finished coop

Hanging waterer and feeder are simple, cheap and clean
Note the vent holes above the egg door
The light fixture

Here is a good shot of those wood wedges under the roof panel

I'm a first time poster, yet have been reading various posts on this site for the better part of a year. I started a new flock of four in April 2014 - from chicks - and have really enjoyed the experience to date. I live in the city of Chicago (NW side). I have learned so much from many here, and want to give a little back.
I will start with my coop selection, which I agonized over for several months. My decision was to be based on the fact that I have a very large (for a Chicago property) grass-filled backyard that was ideal for a tractor design, and that the coop design would be aesthetically pleasing to me - and more importantly - my better half and neighbors. I seriously considered shelling out some big cash for the Eglu and other similar pre-fab designs. And then I can across a do-it-yourself tractor coop that had some genuine charm, the Catawba Coop (http://catawbacoops.com/). Against all of the good advice (read: warnings) that I read about the A-frame design and cold winters, I choose to build it anyways.
My greatest initial concern was all of the feedback I read on how this coop was a potential disaster during the winter, due to its small coop space and poor/drafty ventilation. Yet I thought that I could compensate for this inherent design flaw with a few changes to the base design. These were:
1. Extending the length of each of the three sides of the "A" triangle from approximately 4' to 5'. This resulted in more overall room in both the run and the coop. It also gave the run a 40 square footprint which was ideal for my four large-breed chickens. And while the folks at Catawba Coops warn against this type of a modification due to the "recalculation of nearly every angle" from the base plans, I did not find this to be much of a challenge (nor exactly true, given that I equally extended each side resulting in nothing more than a bigger triangle). To be sure, I am NOT a handy guy.
2. Filling the end gaps in the removable roof panels with wedges sized specifically to each gap (see pictures below). Again, a pain in theory but a piece of cake in practice. I used wood glue to attach each of them, as using screws split these small pieces even with pre-drilled holes.
3. Using a very thin window weather stripping on the egg doors and removable roof panel edges to seal all possible draft points.
4. Drilling three 1" holes above an egg door to provide ventilation. I only did this on one side, but plan on doing it on both sides after this winter to further increase ventilation (my wintertime humidity lingers between 55-70%, which I believe is a little high).
5. Adding a 2X4 to the top of the 2X2 perch bar, to give the chickens better coverage for their legs and feet in the winter. This approach has the additional benefit of preventing your chickens from sleeping in the nest boxes, which mine never did.
6. Yes, extending this coop by one foot on each side made it a beast weight-wise. While my wife and I could still move it together with some effort, I knew that I would have to come up with a better solution to allow me to move it by myself. The solution was pretty simple: I cut a 2X4 to a little over 5' long, and drilled a hole at each end to accommodate a large screw-in bolt that held a hard rubber wheel that I purchased at Harbor-Freight. The whole rig cost me less than $25. By placing it under one end of the coop, I am able to move the coop around by myself easily (which I did every other day during the warm weather to keep my lawn nice and green).
After having a full summer, fall, and harsh Chicago winter (so far through February) I am really happy with my choice in coops. It cost me about $300 in materials, and I went with premium options for everything (cedar wood, hinges on all doors, etc.). It took me about two 12-hour periods to build it myself. Weekly coop cleanups are a snap with the removable roof panels. This coop is really big for four large sized hens, considering that they get free-range privileges on most days of the week. It could easily accommodate four more given the free-ranging option. My chickens are thriving in it, even with all of the snow and single digit degree days we've had so far.
Here's what else I did to "winterize" the coop:
- My brother, an electrician, installed a thick glass covered light fixture onto one of the egg doors, with a 25W appliance bulb running on a timer from 5-8 a.m. and 4-7:00 p.m. I did this for one purpose only: more eggs during the winter. It has worked like a charm, and I average three eggs a day from my four hens.
- I put about six inches of straw in the run.
- Enclosed one side (the windward side) of the open part of the run during winter in heavy-duty, clear plastic sheeting
- Placed a shatter proof, fully submersible, 5 gallon fish tank heater into my hanging 2.5 gallon bucket (with horizontal nipples). This method has worked great so far.
- I ran a small bead of silicone caulk along each of the gaps between the wood boards that make up the egg doors. Ditto for the wood boards that make up the roof panels.
Also, if you decide to build this coop yourself, here are some invaluable tips I read that are worth repeating:
- Pre-drill holes for every screw
- Use hardware cloth instead of chicken wire
- Leave a gap of at least 1/2" above the run doors. It seems like a really big gap at first, but over several rainstorms it will narrow to the point where it almost disappears.
- Galvanized decking screws (hex head) work great...no stripped screw heads either.
- Put cheap, self-adhesive linoleum tiles over the entire coop floor for easy cleaning
- To prevent chickens from kicking their bedding out of the roost and down the ramp: move the roost bar over slightly, and build a small retaining wall with 1X2s around the ramp entrance
I hope the above summary helps if you are considering this coop design. Here are some pictures of my coop:
A good shot of the 5' sided A-frame
The finished coop
Hanging waterer and feeder are simple, cheap and clean
Note the vent holes above the egg door
The light fixture
Here is a good shot of those wood wedges under the roof panel
