Coop De Ville
After moving to the county and wanting to start raising some of our own eggs and meat I decided we needed a coop. During the design and construction, the "coop" ended up looking closer to a miniature barn. This project has ended up taking more time and money then originally intended but I am pleased with the results. There are still a few things that need to be finished up but I will post what has been done so far.
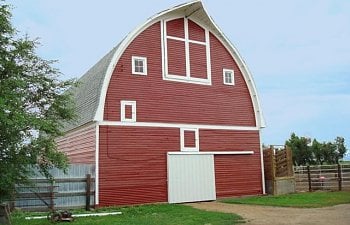
I have always loved the look of old barns, especially the ones with curved roofs. I scoured the interned finding all the pictures I could so I could model my coop after one of these barns.
On this one I like the roof lines.

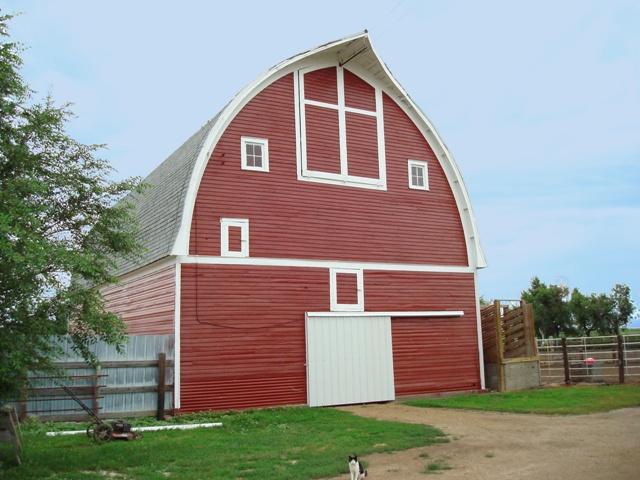
On this one I liked the two side wings.
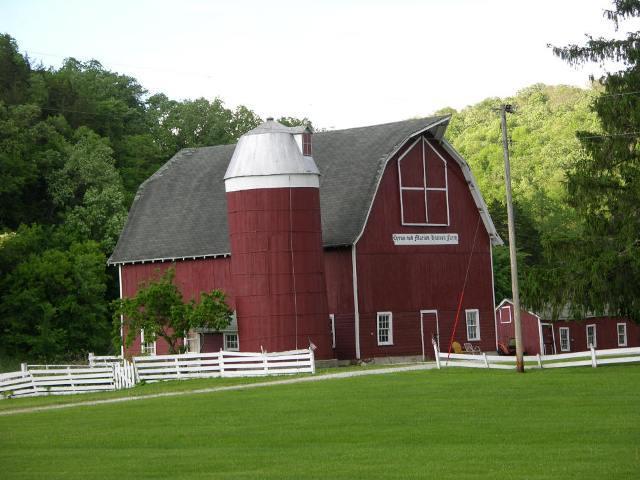
On this one I liked the silo beside it.
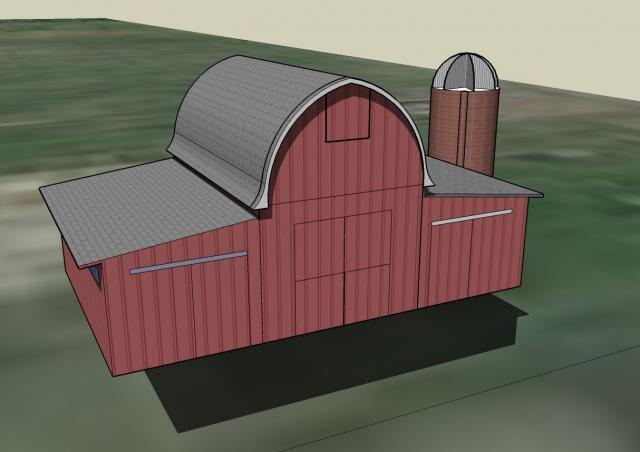
After looking at a lot of different barns I drew this one up using Google ScetchUp.
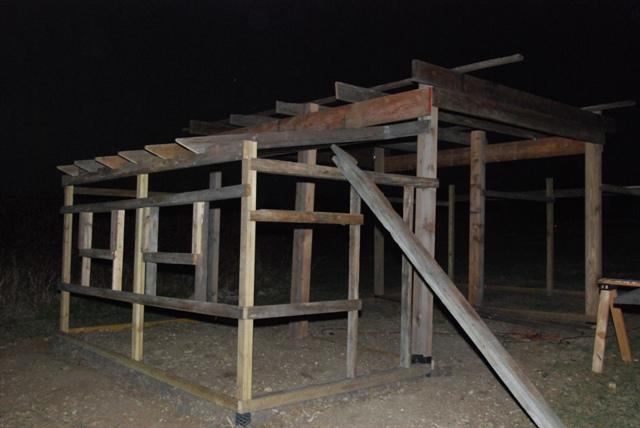
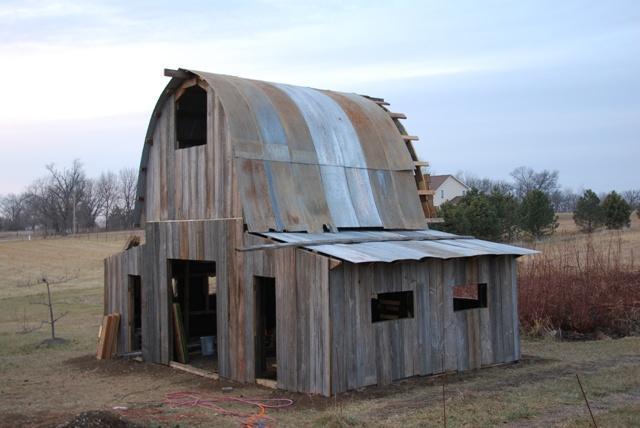
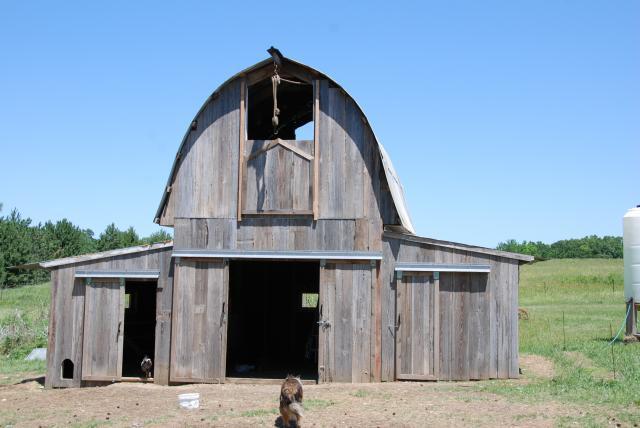
The coop was built as a pole barn and most of the material I used was either reclaimed or purchased from auctions. Building it this way took more time and sometimes dictated different dimensions but I like the results and think it was worth it. The overall dimensions ended up being 14’4” x 24’.

I dug 9 holes for posts 36" deep to get below our frost line.
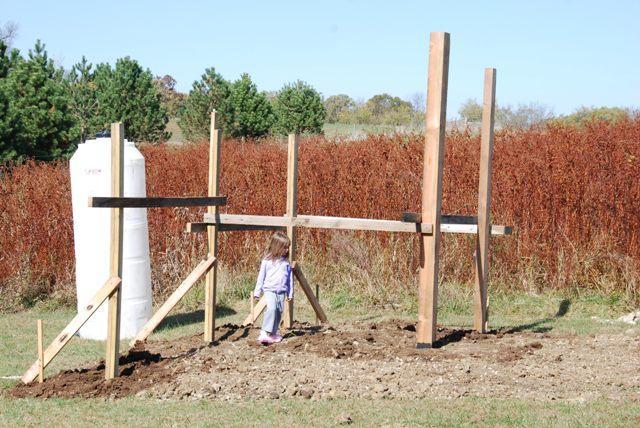
The ends of each post were painted with a tar like paint to extend their life against the elements.
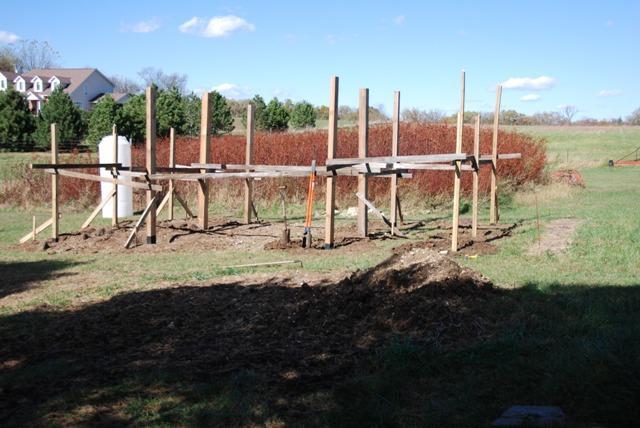
After all the posts were in place and everything was squared up I filled the bottoms of each hole with a couple bags of concrete. On top of that I packed in dirt to stiffen the entire structure up.
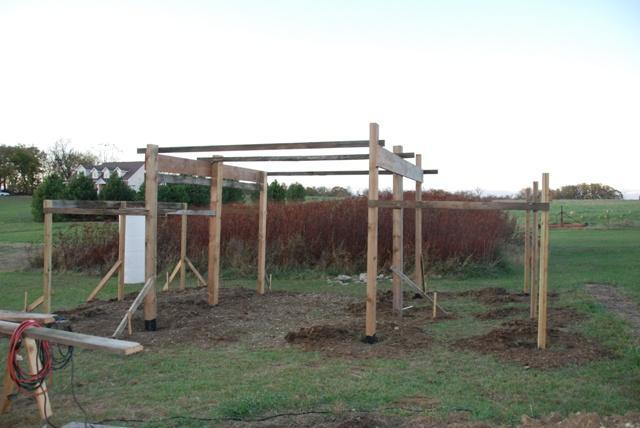

I buried 12” or chicken wire around the entire perimeter of the coop to help deter anything that might want to dig out, we will see how well this works.
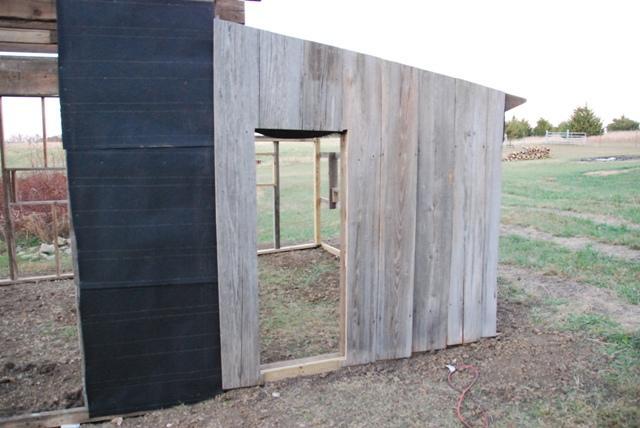
On the front and two side walls I will be hanging old bard wood vertically.
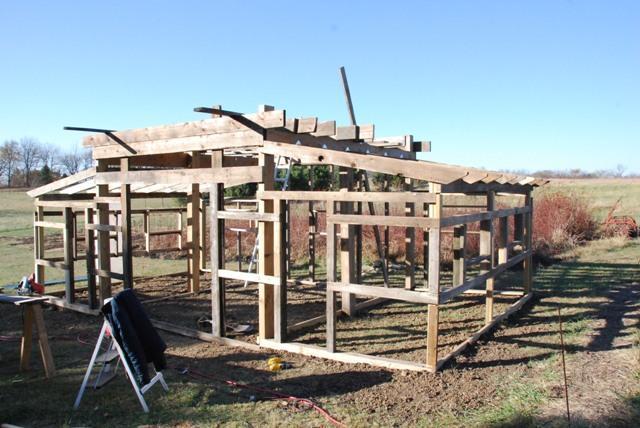
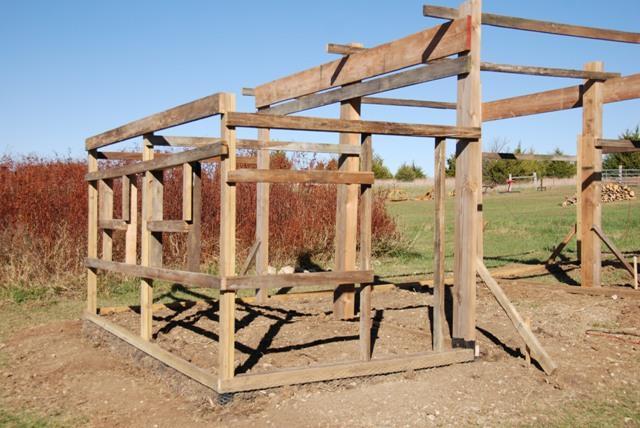
All the doors and windows are now framed in, ready for the siding.
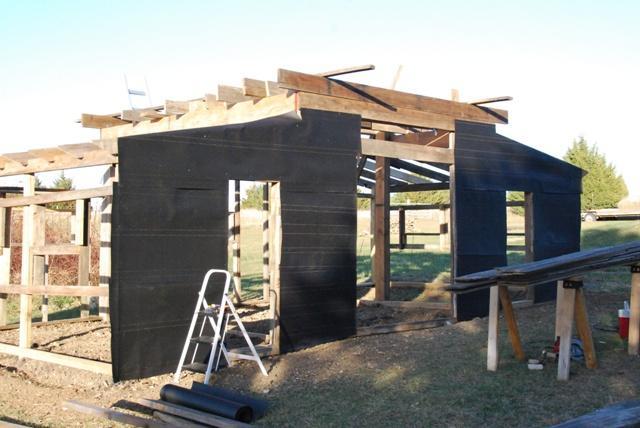
I put a layer of roofing paper on all the walls to make the coop a little more weather tight. Many of the boards I used have many old nail holes which give a lot of character but don’t stop the weather.
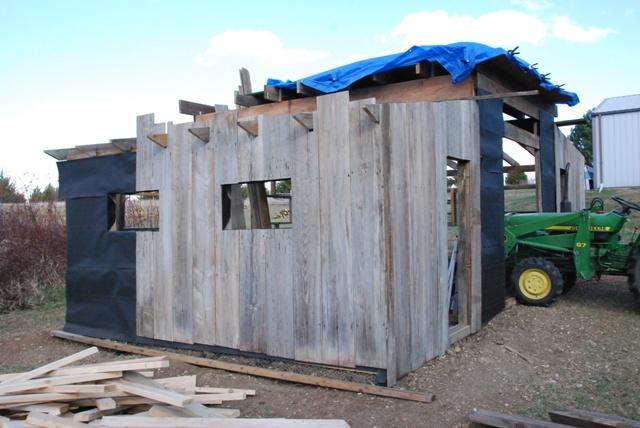
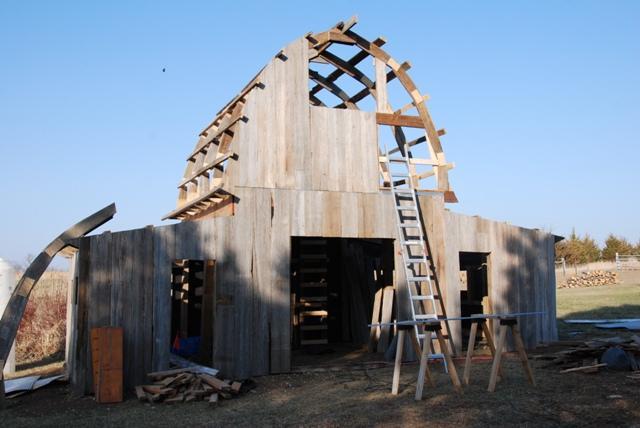
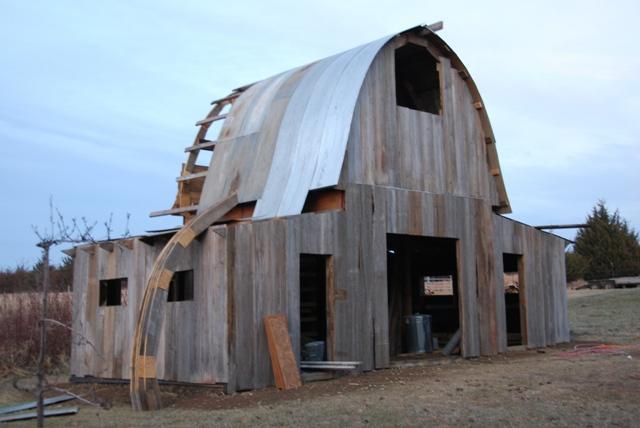
Finally the first pieces of siding, I can finally tell what this thing is going to look like. These boards are probably around 100 years old and had as a rock, everything needs to be pre-drilled because you can’t drive a nail through them.

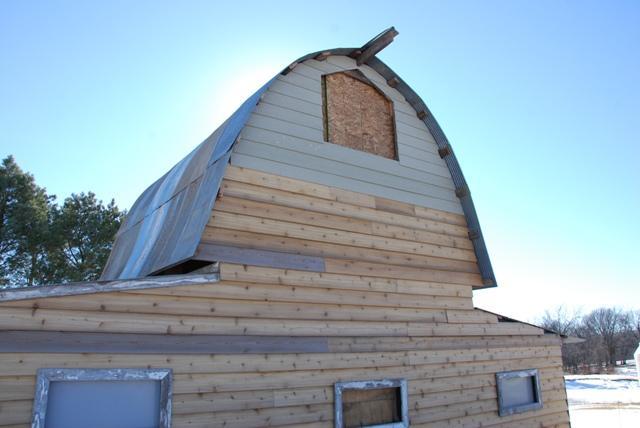
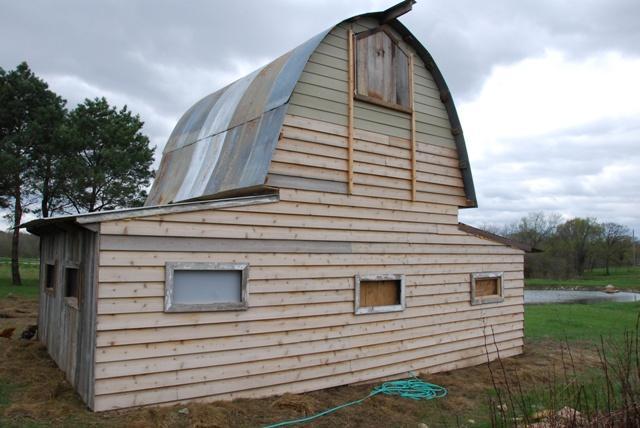
On the back of the coop I used cedar siding that I had gotten at an auction, I ended up running out of the siding near the top so I got some Hardy Board siding to finish up the top. I looks a little funny now, but when it is all painted red I don’t think it will be noticeable.
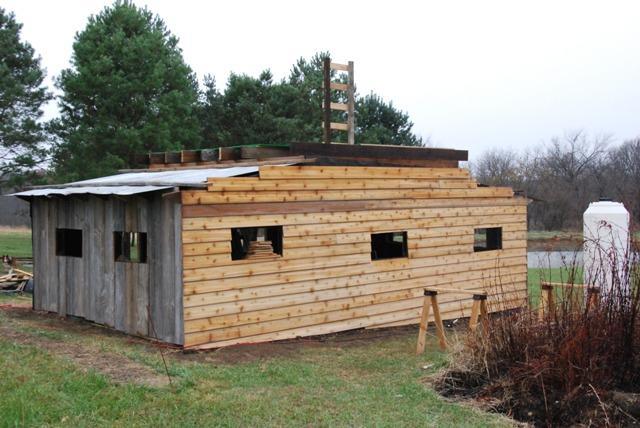
On the back it is more noticeable that the entire thing is build on a slight grade. If I were to do it over I would probably find a different location or spend more time flattening the site.

The decking on the second floor is some of the only material I purchased new. I have also set in place temporarily the corrugated metal roof that will eventually cover the entire thing.
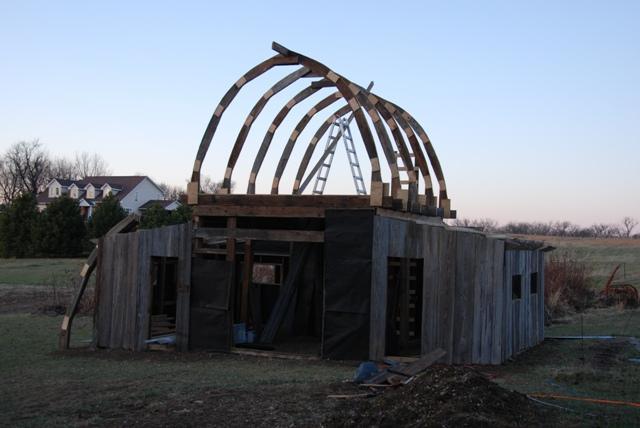
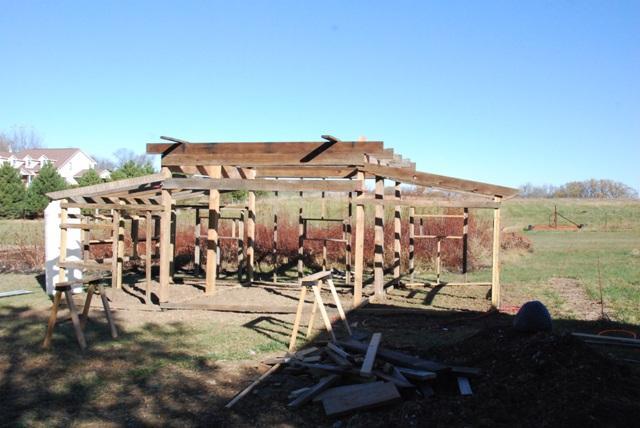
In old barns that had curved roofs they used bent laminations for the roof joist. I did not have the equipment or materials to do this so I came up with my own rafters.
I used SketchUp to get the curve I wanted, then enlarged and transferred those curves to a couple sheets of plywood. I cut out the curve in the plywood template and then cut all the 2x8 pieces to fit the templates. I then transferred the curve to the made up rafters and cut out the curve on all the pieces. At the corners I cut pieces of plywood to hold everything together.
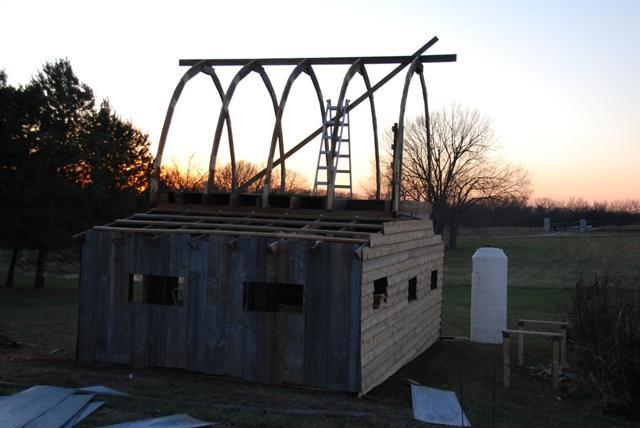
Getting all these rafters in place by myself was probably one of the more challenging things of this entire project.
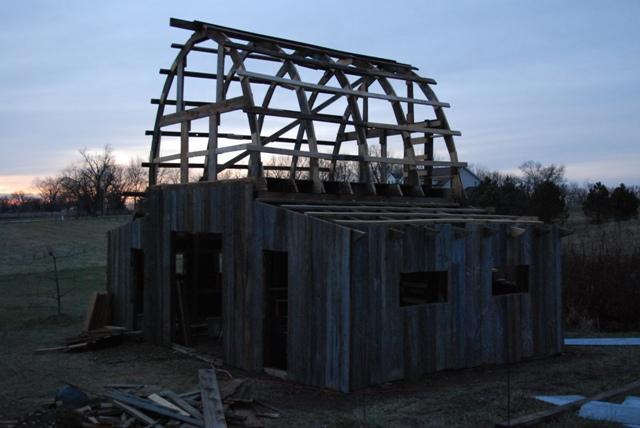
Once I got all of the horizontal pieces in place the curved roof was very solid. If you look close you can see where I used several shorter scrap pieces to tie the rafters together. It doesn’t look very pretty but it does the job.
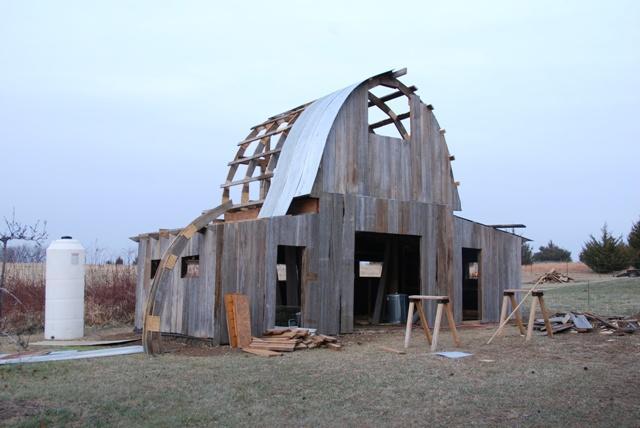
After putting on the three long pieces of tin I had, I realized why I had originally chosen the dimensions for the coop. You can see I had to use two pieces on the rest of the roof.
I ended up having to buy more tin to finish the roof.
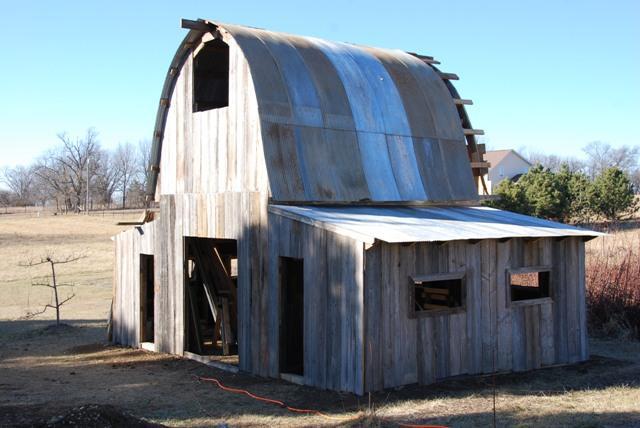
Trimmed all the tin square.
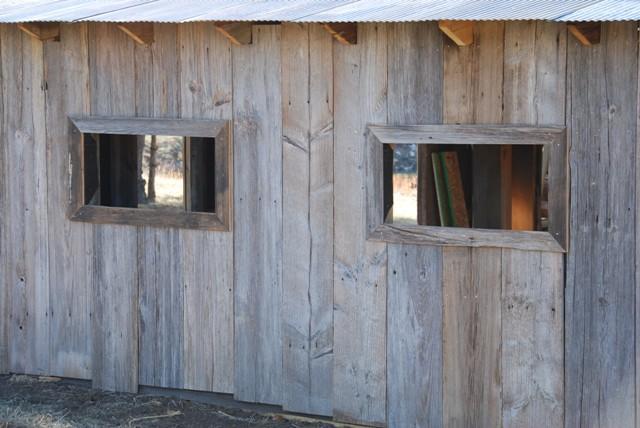
Framed out the windows.

I was able to recycle the sliding door track from a neighbor’s barn that is coming down. I did have to buy the trolley hardware for the two smaller doors.
You can see the upper section are the new siding.
Originally I had intended one side be for the chickens and the other for the ducks. It turns out that the ducks we have don’t like to be kept inside, that may change if we get some more in the future. We are planning on getting some turkeys in June and they will go in this side.
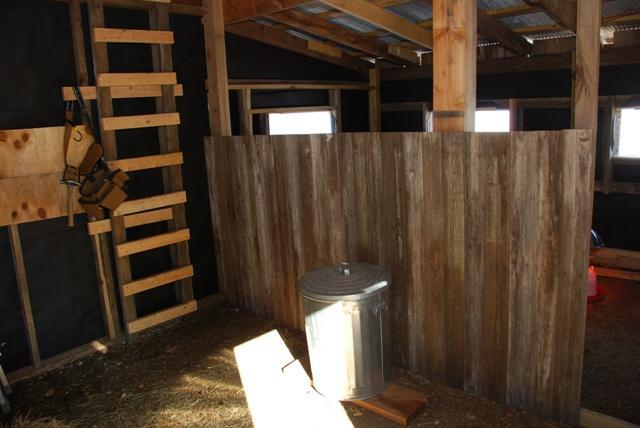
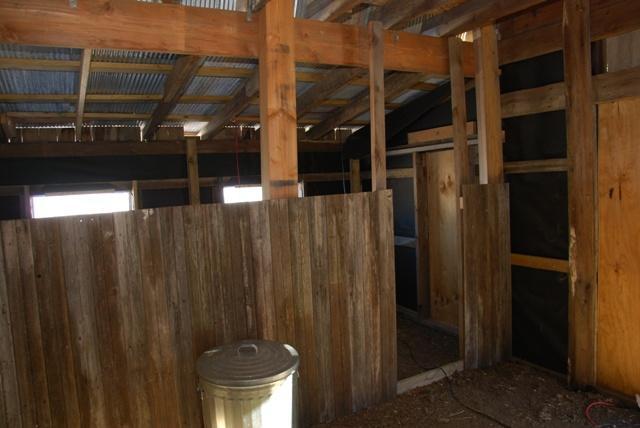
I build these lower walls with bead board that came from an auction. The upper half is covered with chicken wire.
Chicken wire in and door hung.
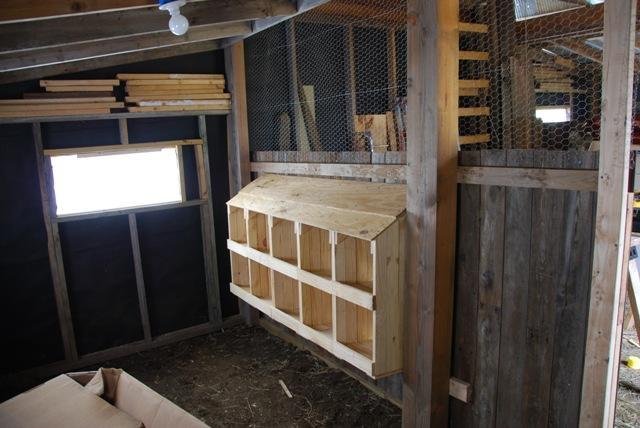
On the side for the chickens I build some nesting boxes. I did not want to have to go into the area with the chickens to get eggs so I originally planned on having doors open on each nest box. While looking around I heard about roll away nest boxes to eliminate broken eggs and ease of collection. I could not find any plans so I came up with these. I build these with a 5 degree slope, we will see if this works or not. I do plan on getting some nesting pads to keep the hens in there to do their job and get out.
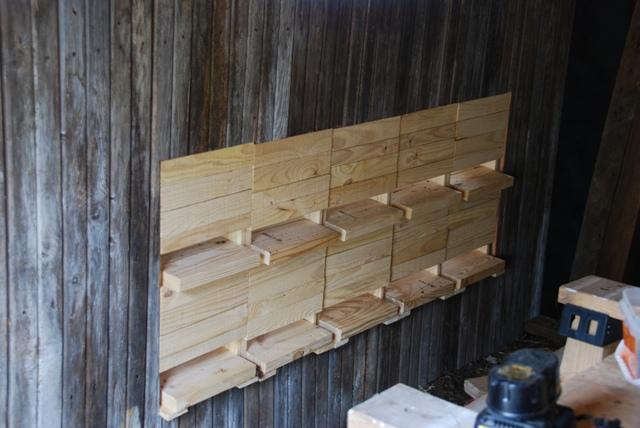
This is the back side of the nesting boxes, I will be attaching a lip to catch the eggs as they roll out.
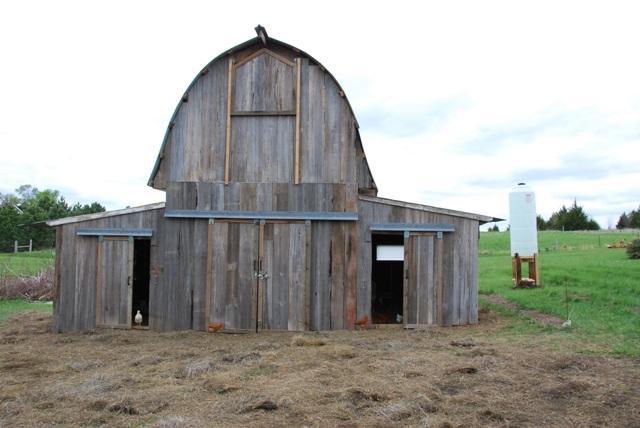
Here are some updated picture of things I have finished. I have the tracks installed for the haymow door. And you can seen in the background the new silo (water tower).

Finally, I have water in the coop, that means no more hauling water out every day. This is a 300 gallon tank I got ant an auction, with it up in the air like this I get plenty of water pressure for the waterers.
I have haymow doors on the front and back for ventalation.
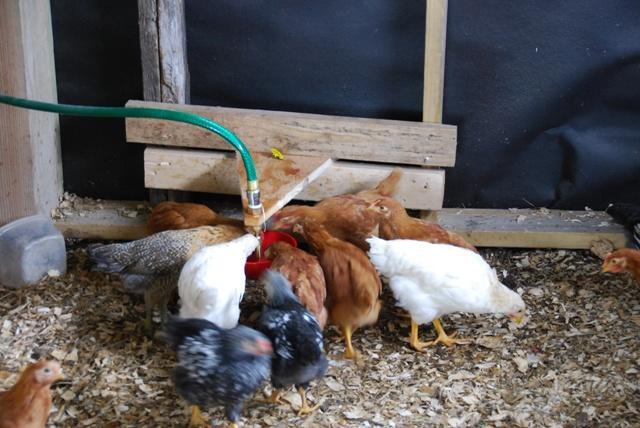
Here is a picture of the chickens enjoying the new fresh waterer.
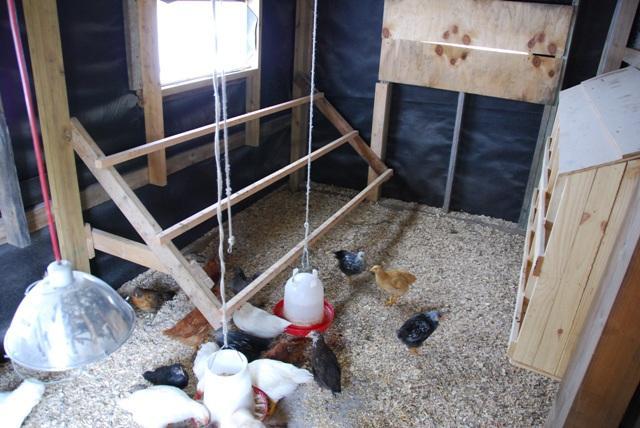
Since the last update I have added the roosts. I will be adding an automatic waterer to this side as well.
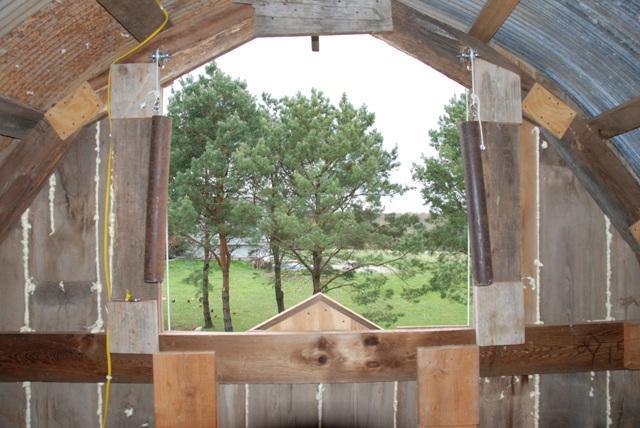
Here is a shot from the inside of the haymow doors. I made two counter-weights for each door and weigh 25.5 pounds each. This makes opening and closing easier.
Here is a shot with the door open.
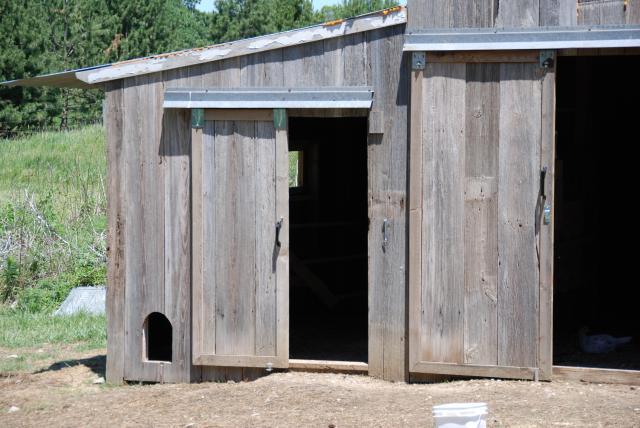
We now have a chicken size door
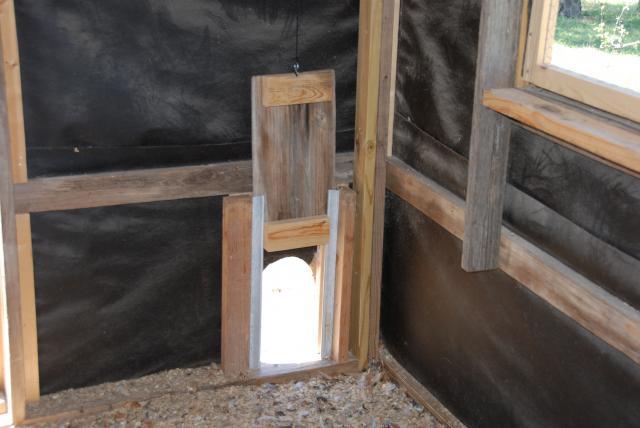
Here is a shot from the inside of the chicken door, you can see the string that is connected to the top of the door, you will see what powers it next.
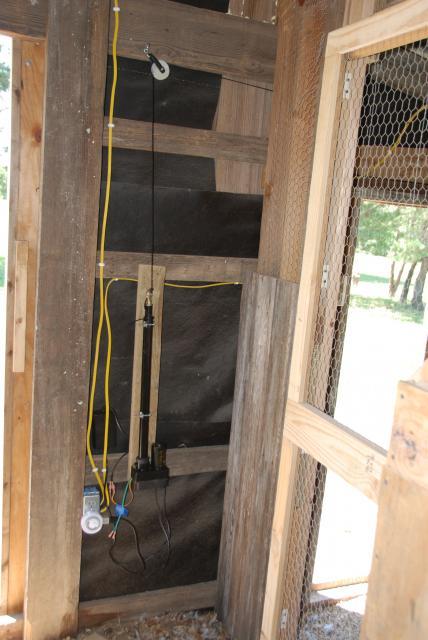
I used a satellite dish actuator arm to open and closed the doors, I still need to figure out how a DPDT relay works so I can get it to open and close automatically.
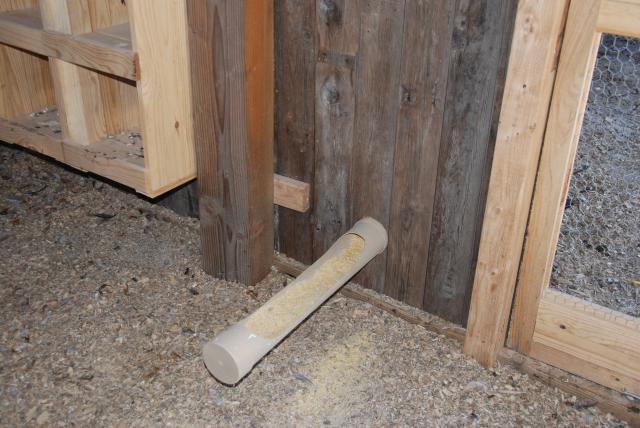
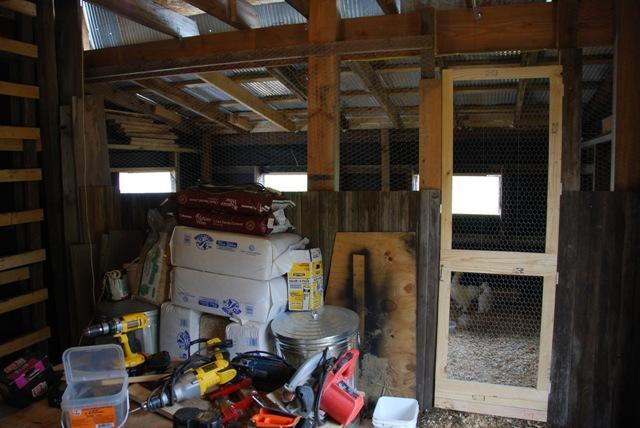
Here is the chicken side of the automatic feeder.
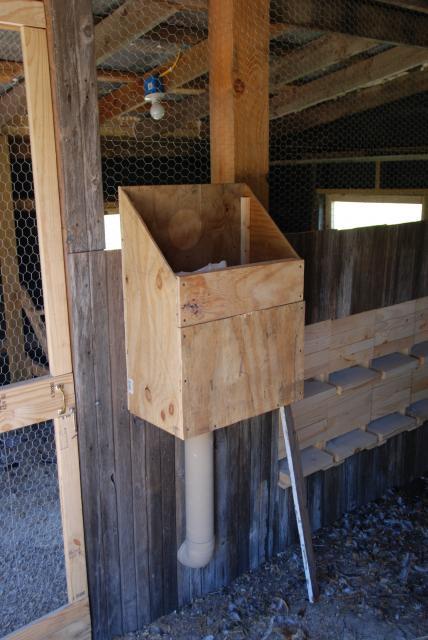
This is the barn side of the automatic feeder, it will probably hold 100 pounds of food. I still need to attach a door to the top.
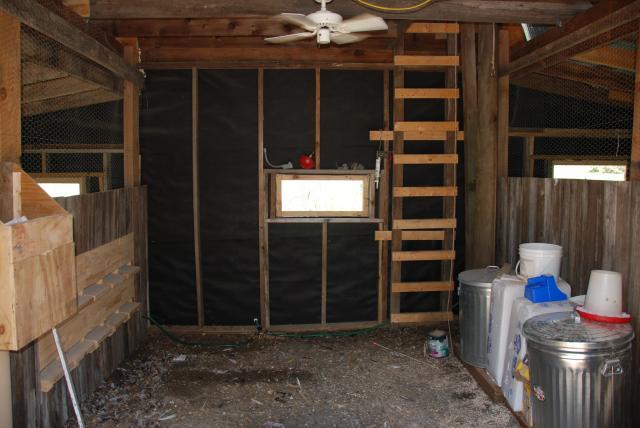
I have cleaned out the middle area, I also installed a ceiling fan I picked up at a garage sale.
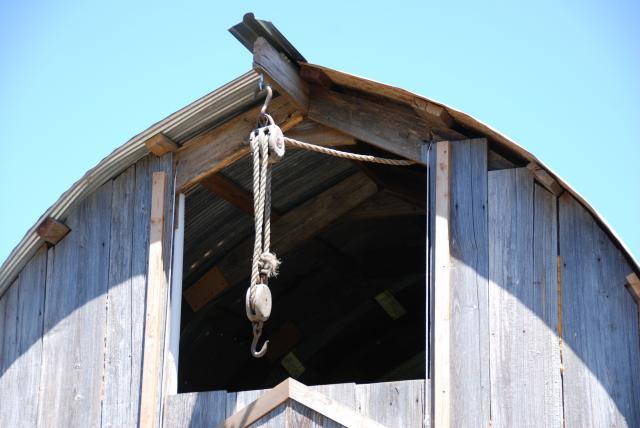
I picked up this block and tackle from an antique store, I think it adds character to the place.
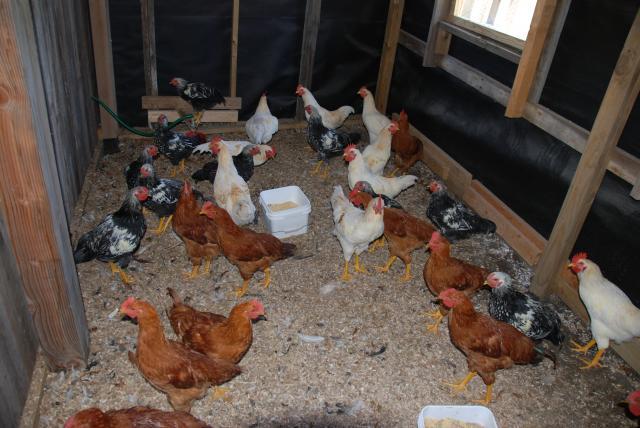
This is the bunch of boys who will be going to the butchers this week.