Garm's Chicken Coop
My scribbled "plan" for our coop
Written on binder paper, this is all I used to go buy wood and build the coop. Note that the chickens' door got moved to the left front.

The Run (pen) that goes with our coop
After a savage coyote attack and acquiring new bantam hens, I decided to reinforce the run and cover it with netting. I used treated wood dowel stakes. I dug a hole about 18" deep and packed the dirt around each stake; no concrete was used (although I bought some in case I needed it). The green wire fencing (except for one section at the end), is poly coated green 2" x 2", which you see right through when looking from the house - that helps preserve the illusion of a larger yard.
The stakes around the perimeter stand about 6 1/2' tall. There are two taller (over 8') stakes in the center of the run. I draped "BirdBlock" plastic netting over the whole thing (came in a 28' x 28' sheet), stapled it and wired it to the perimeter of the run, giving sort of a "tent" effect. The netting is so "invisible" I couldn't even get a decent picture of it (see closeup below). Neat!
My scribbled "plan" for our coop
Written on binder paper, this is all I used to go buy wood and build the coop. Note that the chickens' door got moved to the left front.
I built our coop (BELOW) in two days with some new wood and some old that was laying around. It has a hinged, latched door, roosts and nesting boxes. It is 3 1/2' x 8', and I made it that way so a 4'x 8' sheet of plywood would cover the roof with a little overhang. It has a raised floor, so droppings fall through to be raked out from underneath. 
Framing the Floor The floor is set on 12" piers, and framed with 2x6 and 2x4s, then covered with wire. There is just enough room to rake out the ground beneath. 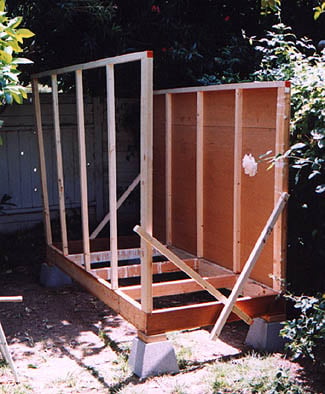
Framing the Walls The walls are 2 x 4 corner pieces, with 2 x 2 studs. I figured the paneling would stiffen up the walls, and it worked fine. 
Framing the Roof The roof is all 2 x 2's, cross-braces offset so I could get a big nail into each end. 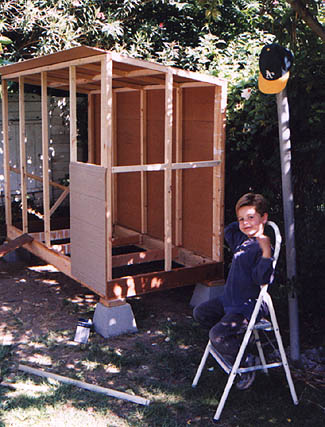
Finished Frame All framed up and ready for paneling and wire. I included a couple of braces in the far end, so I can cut a door for access to the nest boxes I will put in (our chickens are only 8 weeks old). My assistant supervises from his "perch". 
Paneling Up goes the paneling, I got the kind that overlaps and is already painted with primer. Note the door for the chickens to come in/go out (fitted with a little sliding panel later) and the wire floor. Tread lightly in there! 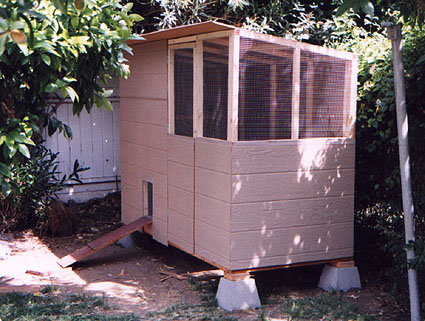
The Finished Coop Done! I made a door out of 2 x 2's with metal corner pieces, added a gate latch for us to go in/out. It still needs trim, paint, and something waterproof for roofing...spanish tile, anyone? | ||
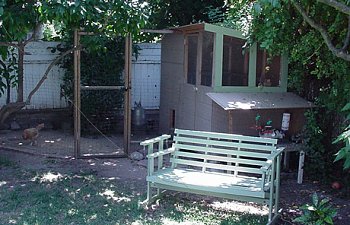
2 Years Later We decided to take it down off the piers - the wire floor was difficult for us to walk on, and uncomfortable for the hens. A dirt floor is easy to rake out and they "hang out" inside the coop more often. | ||
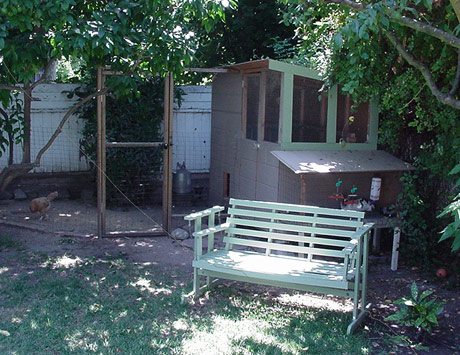
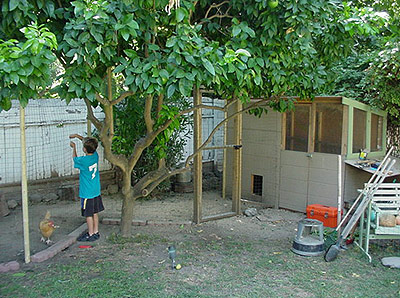
2 Years Later OK, so I guess it's never done! Two years later, and we've added a fence/gate, trim/paint, a bunny hutch, and a swinging bench to relax in while we hang out near the chickens! (See Goldie waiting for some attention?) 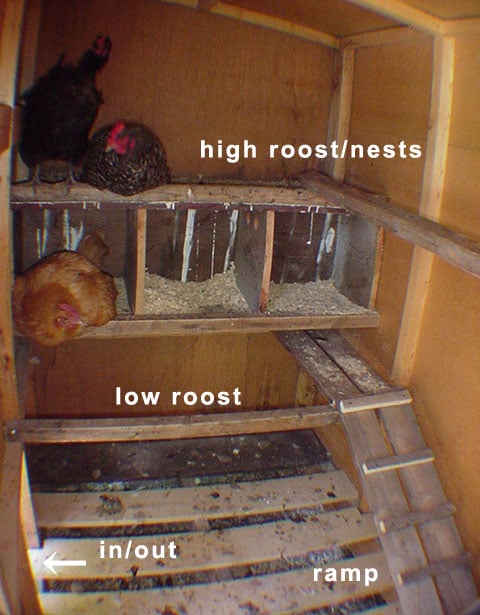
Interior, facing left 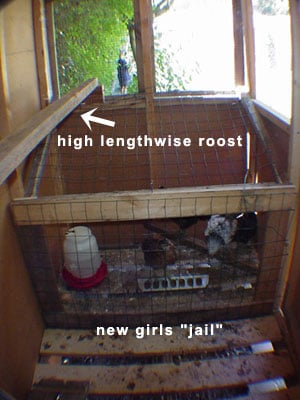
Interior, facing right |
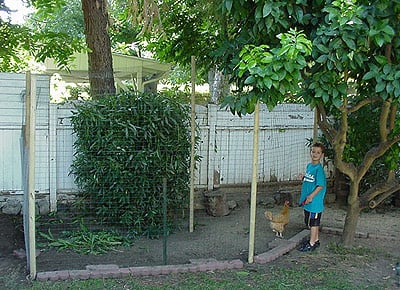
The Run (pen) that goes with our coop
After a savage coyote attack and acquiring new bantam hens, I decided to reinforce the run and cover it with netting. I used treated wood dowel stakes. I dug a hole about 18" deep and packed the dirt around each stake; no concrete was used (although I bought some in case I needed it). The green wire fencing (except for one section at the end), is poly coated green 2" x 2", which you see right through when looking from the house - that helps preserve the illusion of a larger yard.
The stakes around the perimeter stand about 6 1/2' tall. There are two taller (over 8') stakes in the center of the run. I draped "BirdBlock" plastic netting over the whole thing (came in a 28' x 28' sheet), stapled it and wired it to the perimeter of the run, giving sort of a "tent" effect. The netting is so "invisible" I couldn't even get a decent picture of it (see closeup below). Neat!
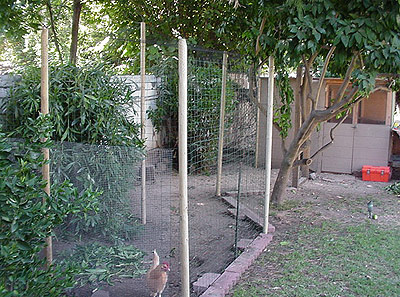
Note how the run "zig zags" around our grapefruit tree!
The netting used over the top. 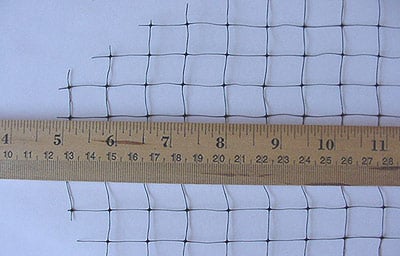
The bag the netting came in - purchased at Home Depot. 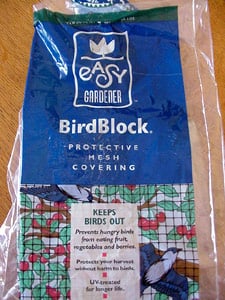
|