My somewhat urban flock.
I am very new to raising chickens. I have been reading through the Backyardchicken Forums for a few months to get a grasp on how to raise a backyard flock. I originally stumbled upon this site while reading up on ways to live a more sustainable and organic lifestyle. The more I read the more got hooked on chickens!
I decided to go with a hybrid between a Chicken Tractor and small coop deisgn to begin. My plan is to have a small coop that I will be able to move around my back yard. I knew I will probably expand after I gain a bit of experience. A few months before beginning construction I cut down a few large cedar trees and used a friends portable saw mill to turn the trees into lumber. I wish I could find the pictures but I think I deleted them! It was a great experience! I did this to build a patio table and chairs but as you can see I have found a better use for my lumber. Since I live in a subdivision with quarter acre lots I decided to go with 2 hens and a chicken tractor. I plan on allowing the hens to free range as much as possible but I also like the idea of being able to move their coop around the yard.
[FONT=impact,chicago]Chicken Tractor Construction Pictures.[/FONT]
Here is the base. It is two sets of 1"x4" cedar screwed together to make a 2"x4" frame on which the coop will rest. It is approximately 36" x 54" which gives me a little over 13 square feet inside the frame. 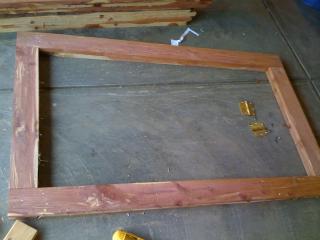
| ||
Here is the very beginning of the coop sitting on the frame. The coop is 22" x 30" which gives me 4.5 square feet of coop space. I originally thought of placing the coop and run together. But as you will see later I decided to make them both seperate from one another. This will allow me to move the run around the yard and leave the rather heavy coop stationary. 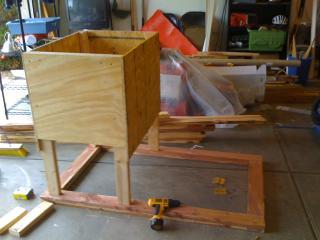
| ||
Here you can see the inside of the coop, so far it is only a 5 sided box without any windows, doors, or roof. The floor is hinged on the right side, you can see the screws, which I hope will help in cleaning. I am using OSB for 3 of the sides and 1" plywood for the front. This is what I had laying around the garage. The OSB and plywood will allow me to use the cedar as siding and limit their exposure to the cedar but still allow me to use it. 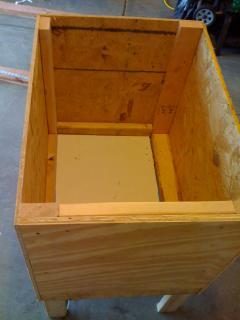
| ||
These two pictures show the first completed side with the cedar siding installed. I used my radial arm saw to rip some 1"x3" boards with a beveled siding look. I am trying to incorporate enough access for cleaning, egg gathering, etc as possible. I also plan on building a lot of ventilation into the plans as well. Here is where I plan to mount the nesting boxes. 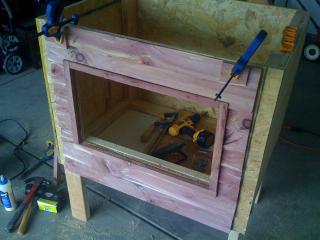
Side View. 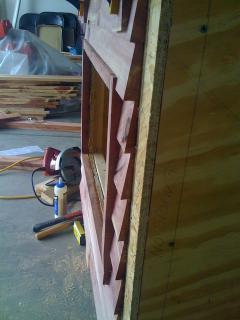
| ||
I decided to take a break from the coop contruction and work on the run a little bit. My chicks will arrive in the next couple of days so I would like to have the run finished so I can put them outside when they are ready. 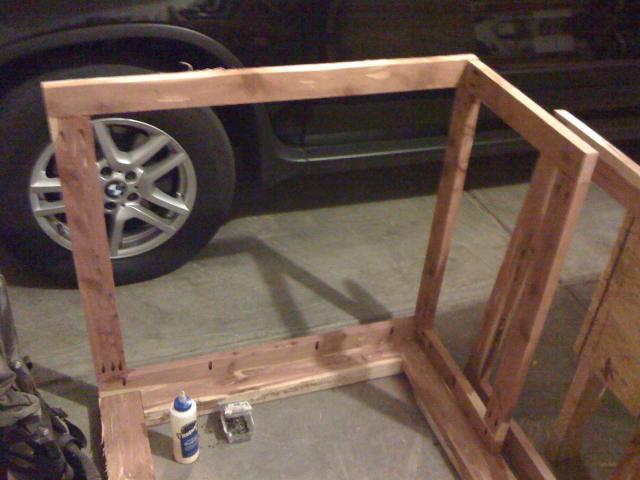
| ||
Here the run is a bit more complete. I plan on building a roof, I just don't know what it will look like yet. 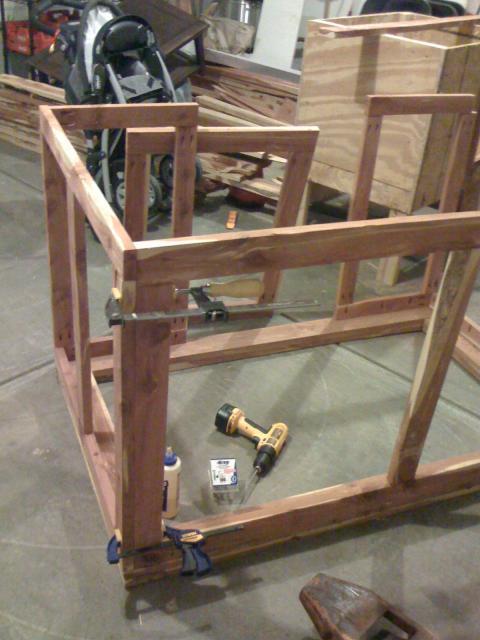
| ||
Here is a shot of the almost complete run. I left a small window on the left side. This is where the coop door will open and allow the chickens to access the run. Next on the list of things to build is the door so when it is not placed next to the coop I can close that opening. 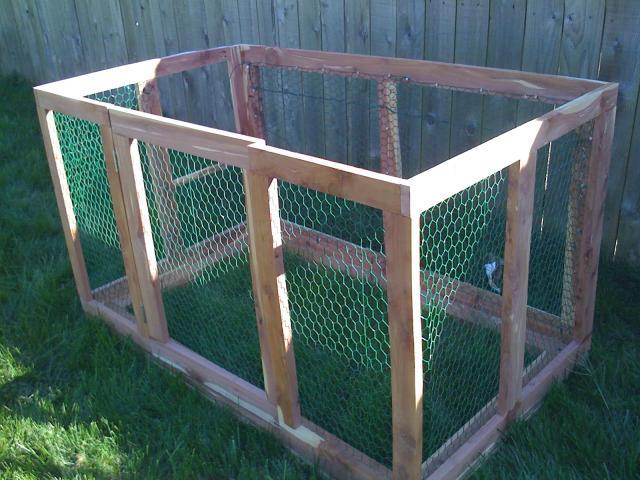
| ||
More coop construction pictures. The first one is just before I started the sloped roof. The second one is after I installed 1" square boards all along the sloped roof to allow me to install shingles. 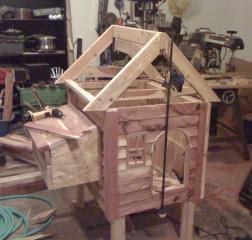
| ||
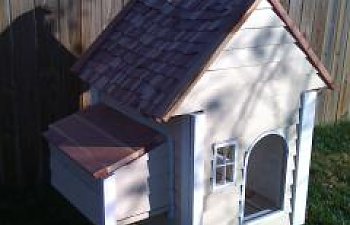
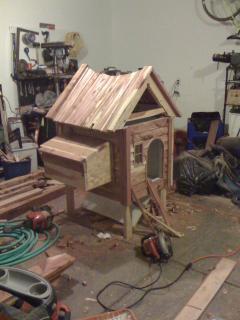
Here the shingles are almost finished. I cut all of these shingles out of cedar. They range in size but are around 3" long and 1.5" - 2" wide. I nailed them down and also applied a bit of construction adhesive to the underside. 
| ||
Here is the coop in my backyard. I still have to put the doors on. 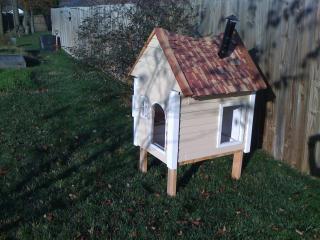
| ||
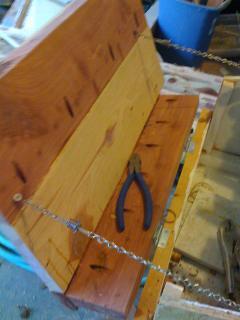
In this picture you can see the egg box portion of the coop. I have installed a hinge on the roof to allow easy access to the eggs. In the second picture, which was taken during construction, you can see the roof opened and the chain keeping it from opening too far. 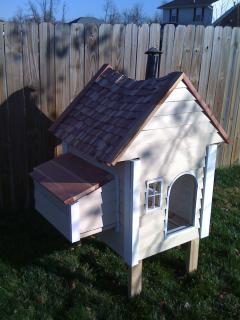
| ||