Early this spring, my DW said several of her friends had gotten into raising backyard chickens, and she wanted to get some. Then, about three months ago we went to IFA (Intermountain Farmers Association) to get bird food. They had chicks. Within a week, we had chicks.

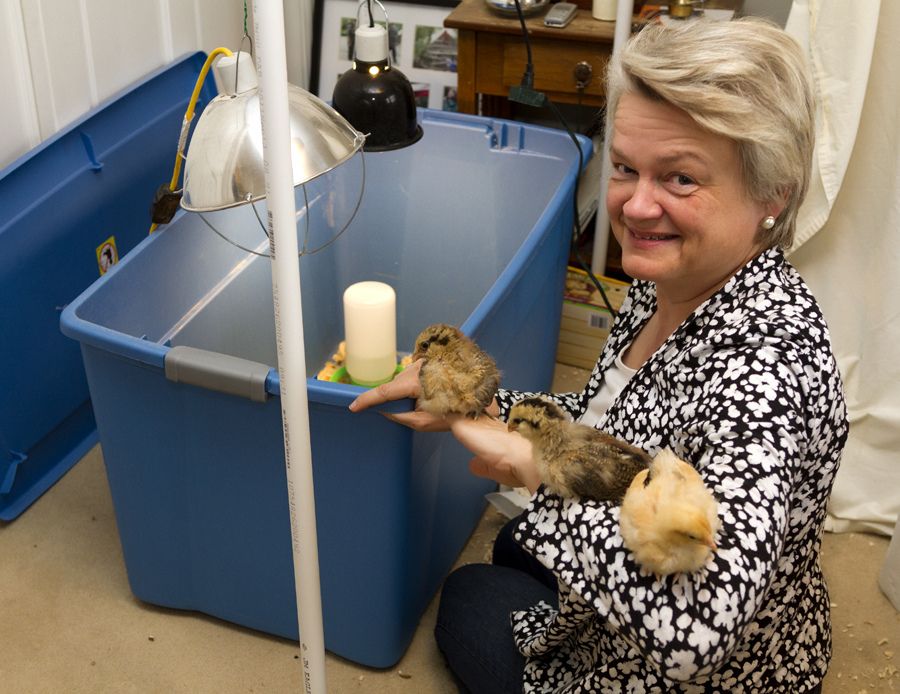
I bought a tub at Home Depot and fixed a brooder in a spare bedroom (shown here with my DW). And I began researching chicken coops.
Now, I grew up on a farm next to my grandparents. As I remember it, my grandmother's coop was the old style -- big, dark, dingy, dusty, and full of decaying straw, chcken poop and ill-tempered hens. I didn't have particularly fond memories. And I wasn't particularly excited about this little adventure.
We started by looked at the little prefab coops at IFA, but I could tell they were not well built. And they never could hold the number of hens claimed. I looked at some of the great coops available on the internet from Amish and Pennsylvania Dutch country, but the shipping was prohibitive. I thought (very briefly) about building one myself, but my lack of skills, tools and time convinced me otherwise. I searched the internet. We bought a couple of books. I read a ton on this site. Eventually, we decided to buy a basic 4x8 coop from TuffShed and make a few changes to fit out needs. How hard could it be?
I began by leveling about 25 feet of flower bed (removing the yards of the top soil I placed there a couple years ago, using a small skidsteer for the first time -- a story in itself). Given our suburban lot, that was about the only place for it. Space is at a premium, and we had to meet zoning and setback requirements. I built a foundation with 6x6x8 pressure treated timbers tied together and anchored with three-foot lengths of rebar. Our soil is heavy clay and doesn't drain well, so I decided to dig down a couple of feet and fill the space with gravel. I also decided to put sand in the run.
I found a local company that would deliver the sand and gravel. I said I needed three-quarters of a yard of each. They guy on the phone said they liked to be generous, so I might get closer to a full yard of each. Apparently, he logged a full yard, and the guy loading the truck decided to be generous and sent a yard and a half of each. I came home to find the driveway full.
Lots more trips with the wheelbarrow. I had planned on a weekend to get the site ready. A month of evenings and weekends later, we were ready.
We live in Salt Lake City, Utah. We have had a terribly dry March this year. Until the day they came to deliver the coop, that is. That morning, we woke up to several inches of snow!
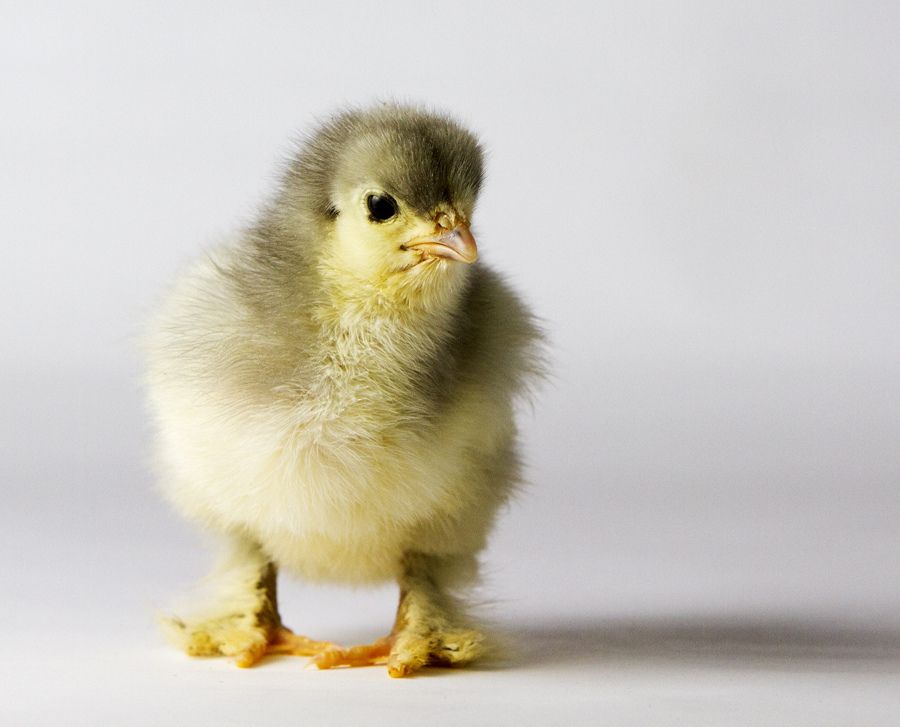
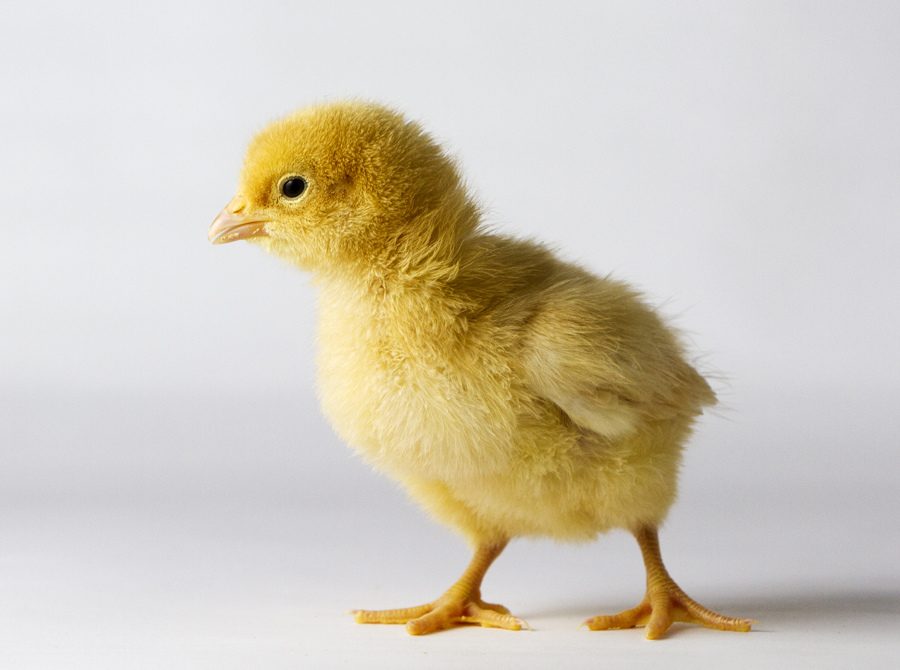
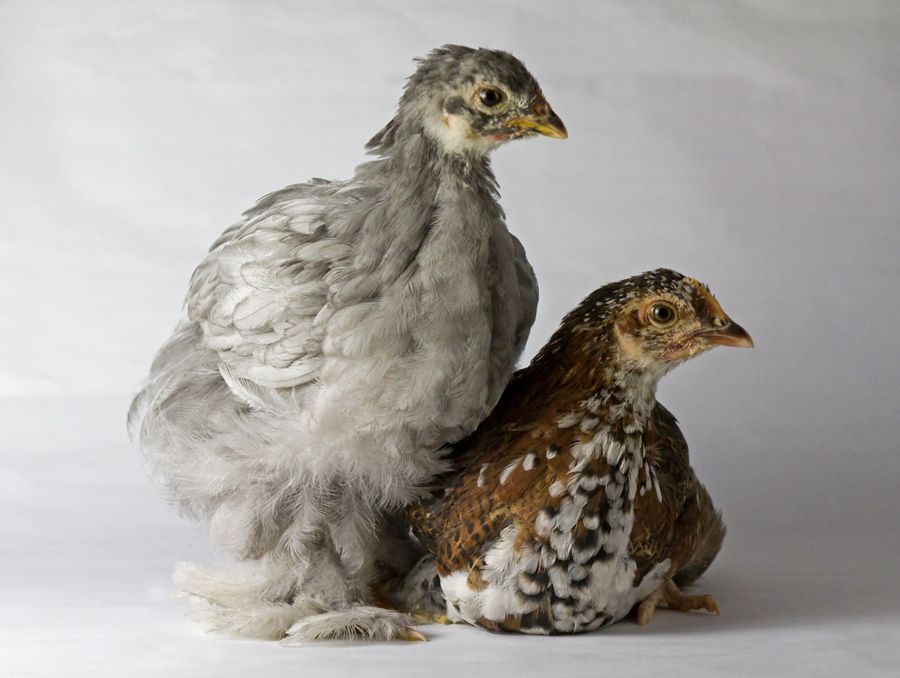
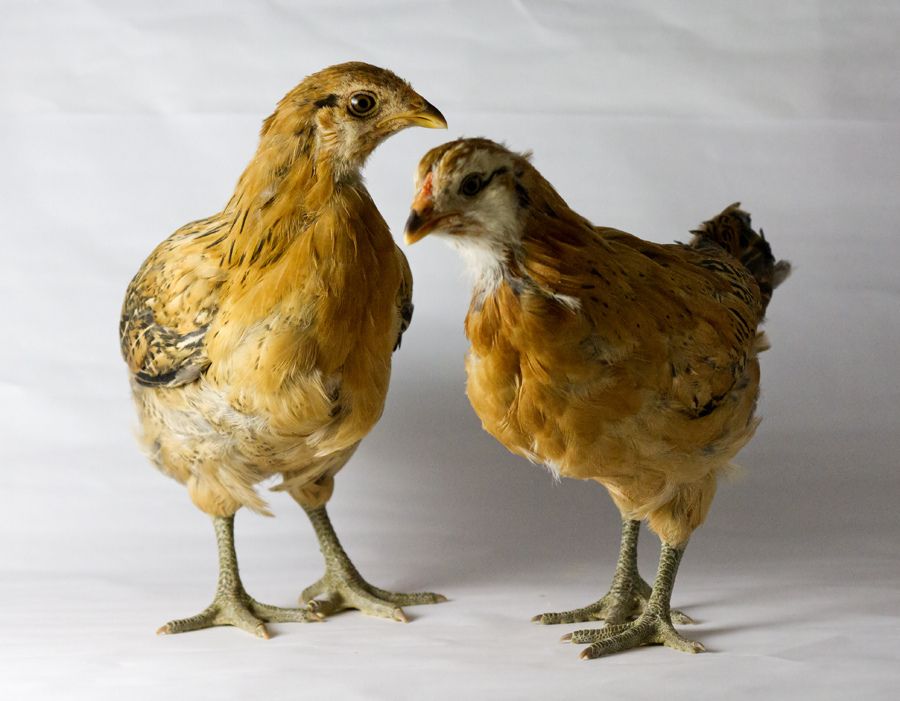
and the chicks continued to grow!
To make a very long story a bit shorter, I had TuffShed place the coop on 30 inch legs. I had them add two windows (installed backwards to allow us to open them from the outside; yes they leaked until i caulked them and drilled new drainholes on the outside; wish I saw that thread on this site earlier). I also had them add a continuous vent along the ridgeline.
I added a 4x8 run to the end, giving the chicks a total run area of 4x16. I had TuffShed extended the roof over the run, and enclosed it in 1 inch hardward cloth (galvenized after welded, and dipped in vinyl). I bought a role 72" tall by 50 feet. Man, that stuff is hard to find, and not cheap. Eventually, I bought it on the internet and had it shipped to me. And I went on a tool-buying spree.
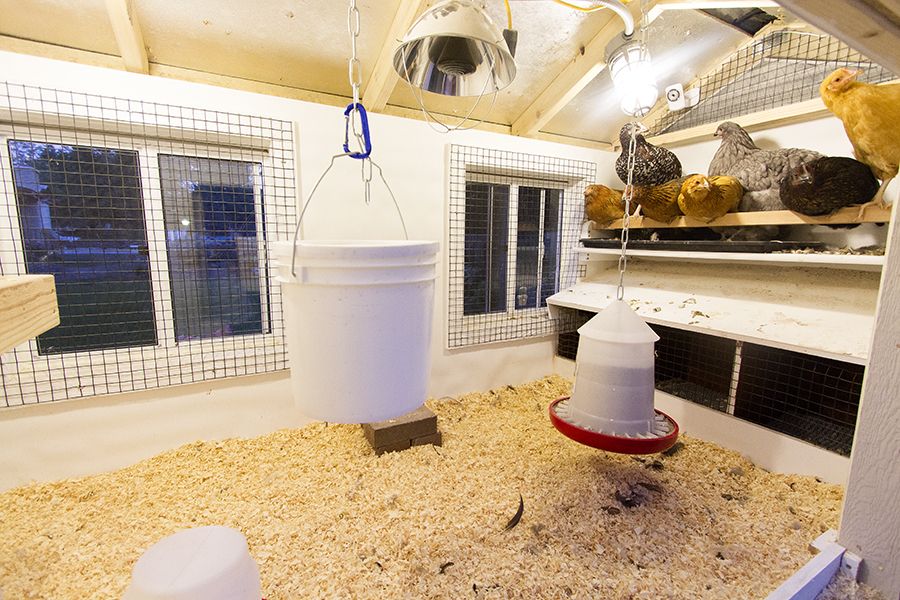
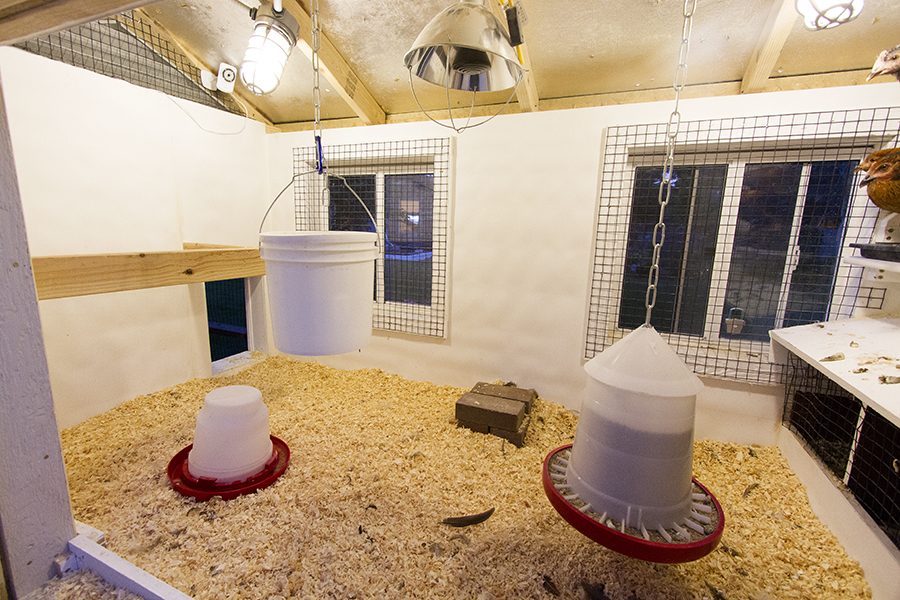
I trenched from the nearest outlet to bring power to the coop. I insulated the interior and lined it with plywood. I covered the floor with FRP (fiberglass reinforced plastic) and the walls with plastic (the kind intended for showers and backsplashes) from Home Depot (at least three trips a day every Saturday, and a couple more during the week), and caulked all the corners. I added lights on a timer (a really cool timer switch from GE that I have set to turn on a dusk and off at 9:30 p.m.; it seems to help get the chicks to come into the coop at night), a heat lamp for next winter (with a ceramic element, plugged in to a thermocube, and well secured to the roof). We hung a waterer and a feeder, and put hardware cloth over the windows. I tried using an electric staple gun, but it didn't have enough power. In the end, I hammered in staples the old fashioned way (and about couldn't move the next day).
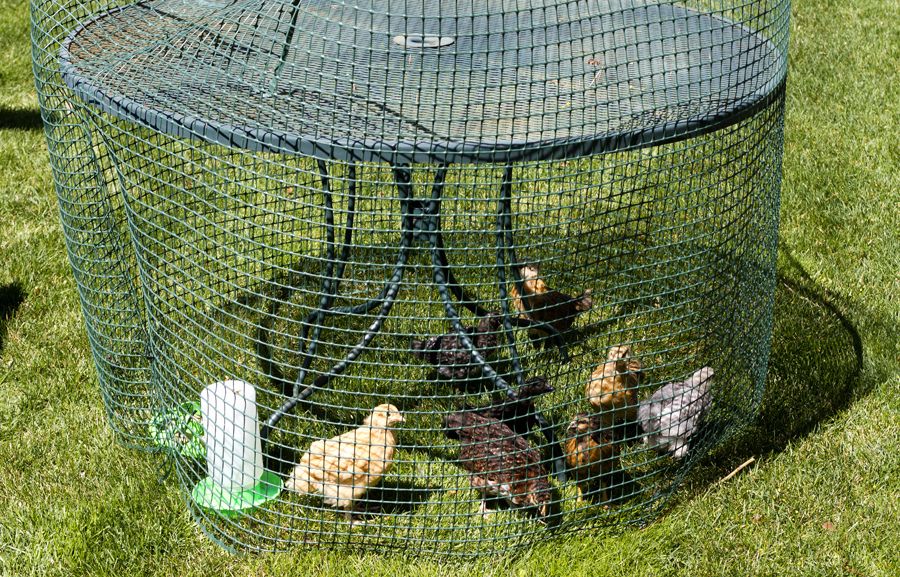
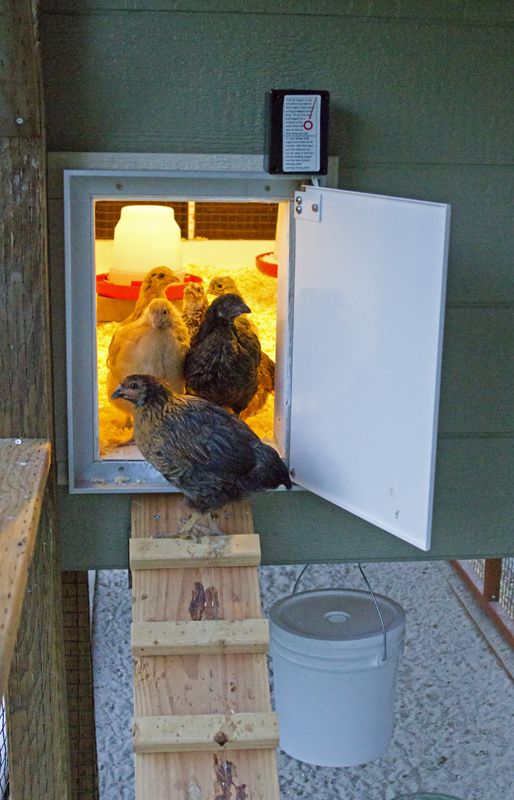
I installed a Pullet-Shut automatic door. Another month of evenings and weekends flew by. The chicks continued to grow . . . . Eventually, my DW created a temporary tractor to let them get some fresh air.
Finally, we introduced the chicks to the coop. We kept them inside for a week, and then opened the pop door. They came out immediately. Only took three days to get them going back in at night by themselves.
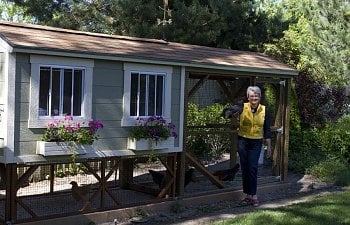
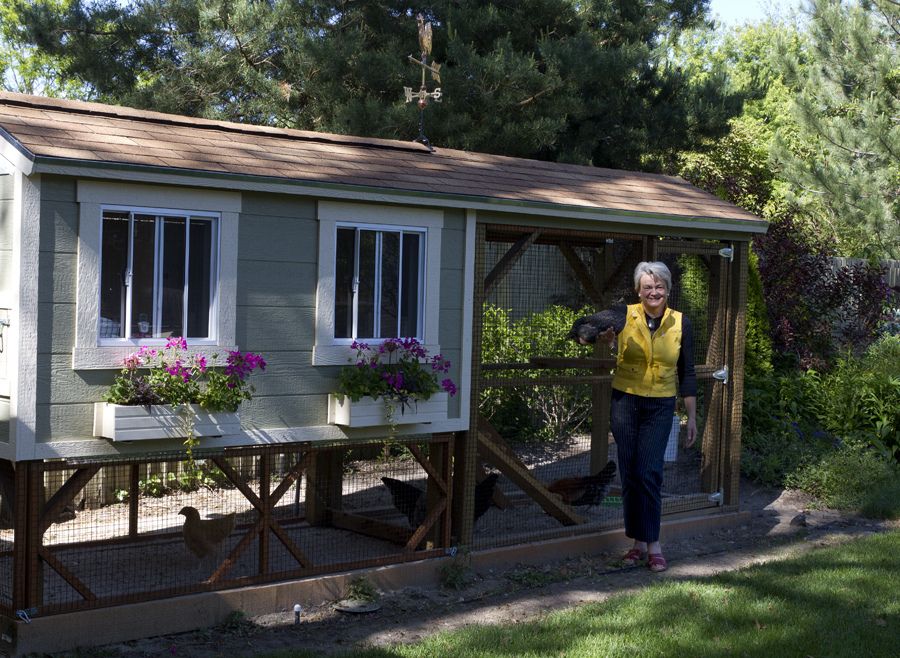
And here we are:
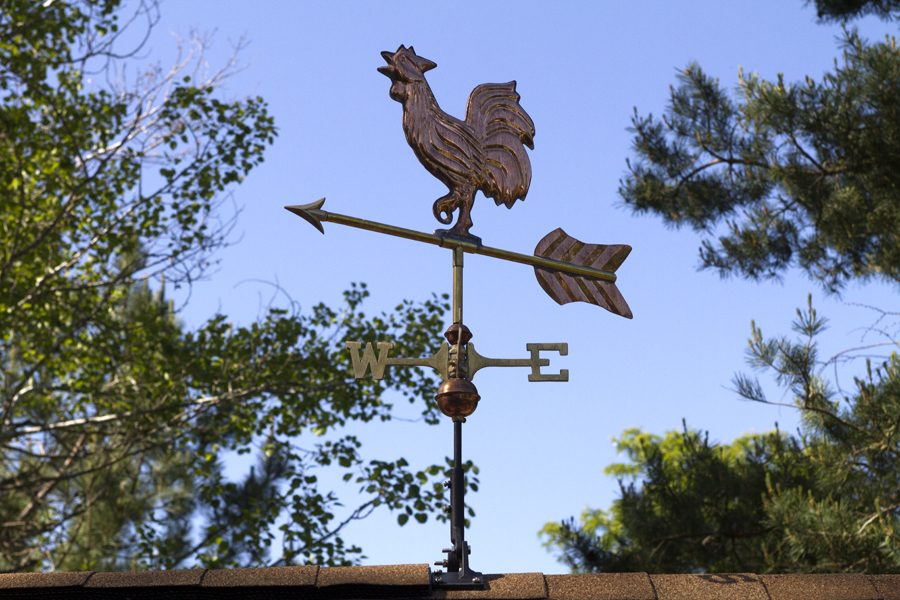
I built a hinged frame for the hardware cloth under the coop, so I can open it for cleaning. I added flower boxes for the DW, and a rooster weather vane to the roof. Hopefully, that's the closest a rooster will come to this coop!
We have outside access to the three nesting boxes (which we lined with the same plastic and painted brown). I have the nesting boxes blocked for now, to avoid having the chicks roost in them.
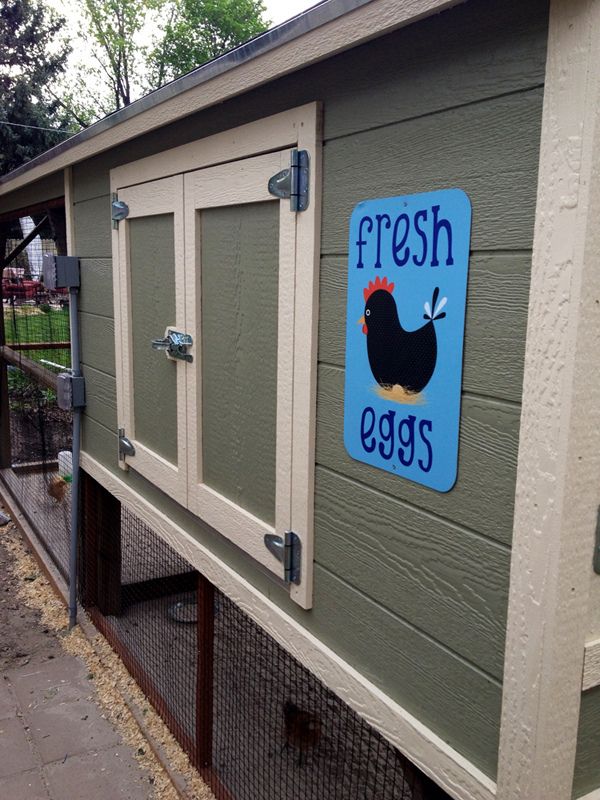
The back opens wide to allow easy access and cleaning.
I added three Wifi network video cameras (two inside the coop and one in the run)!
Our Pullet-Shut door:
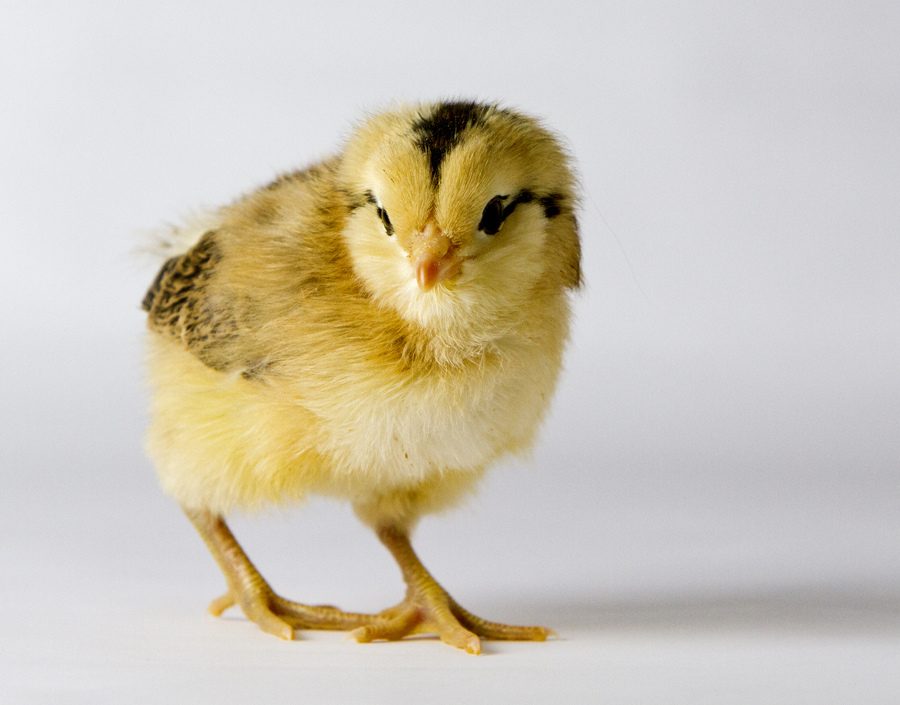
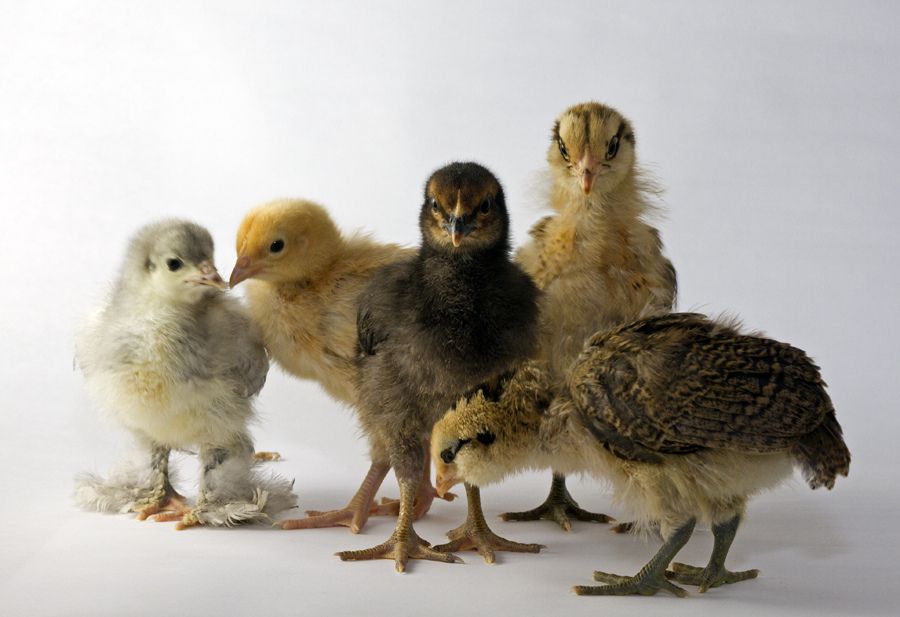
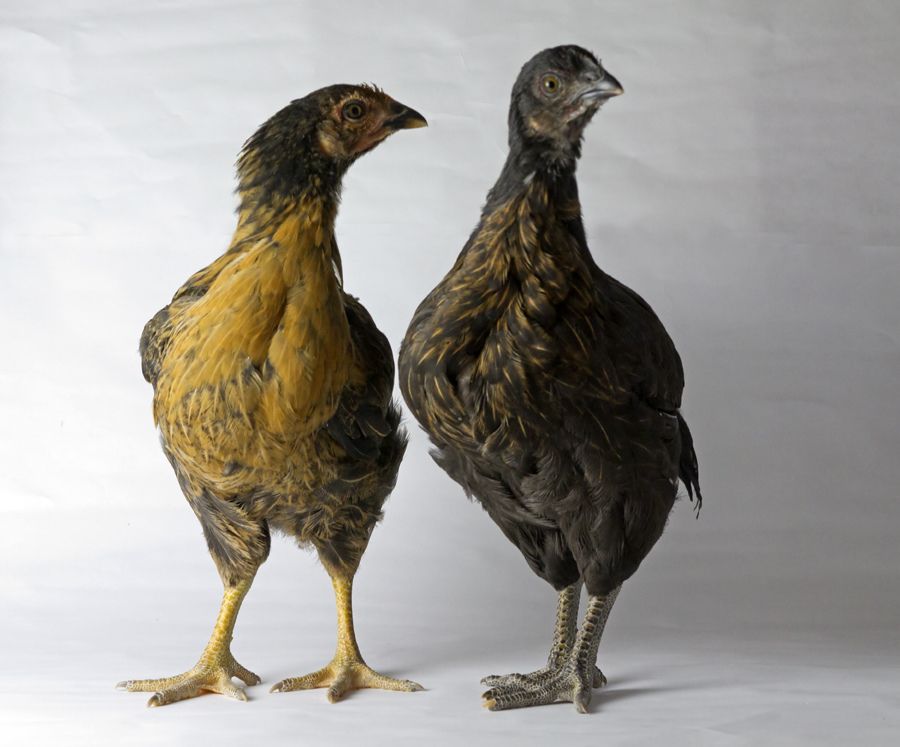
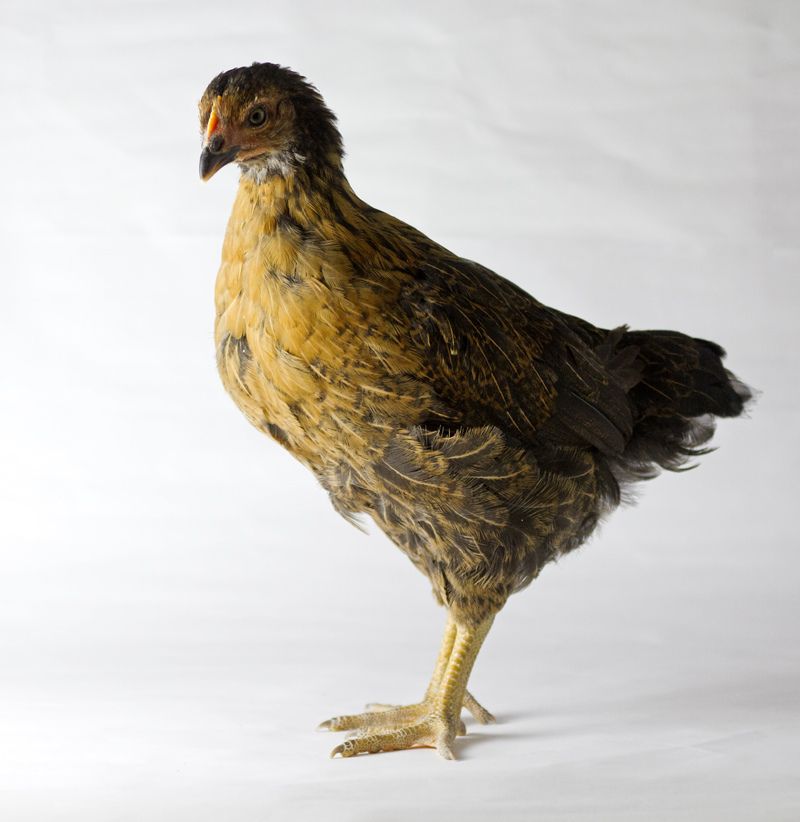
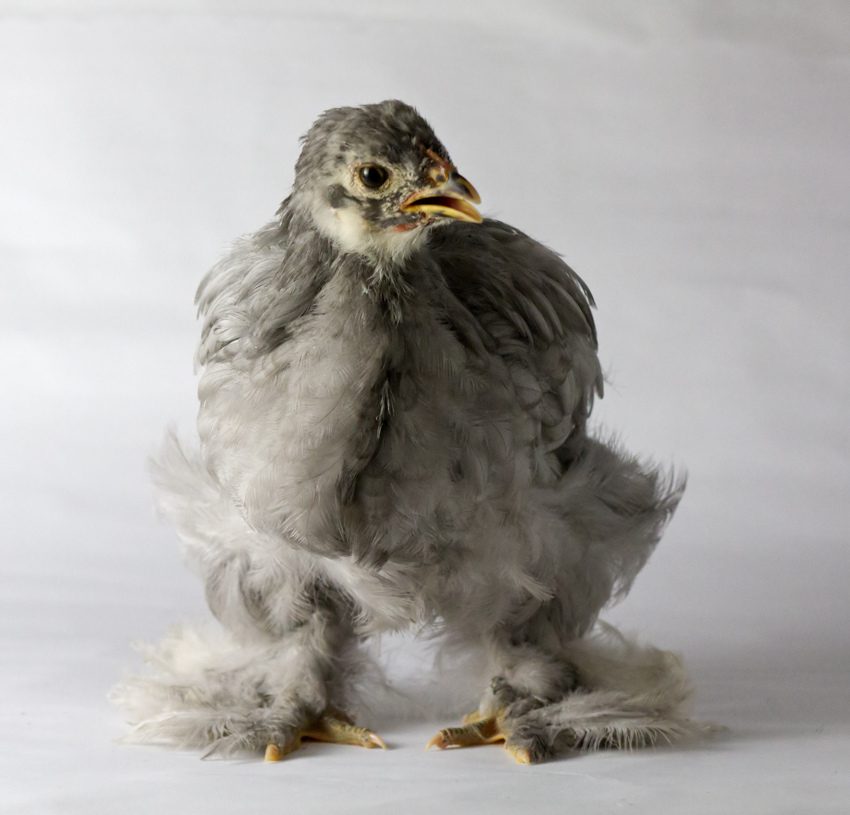
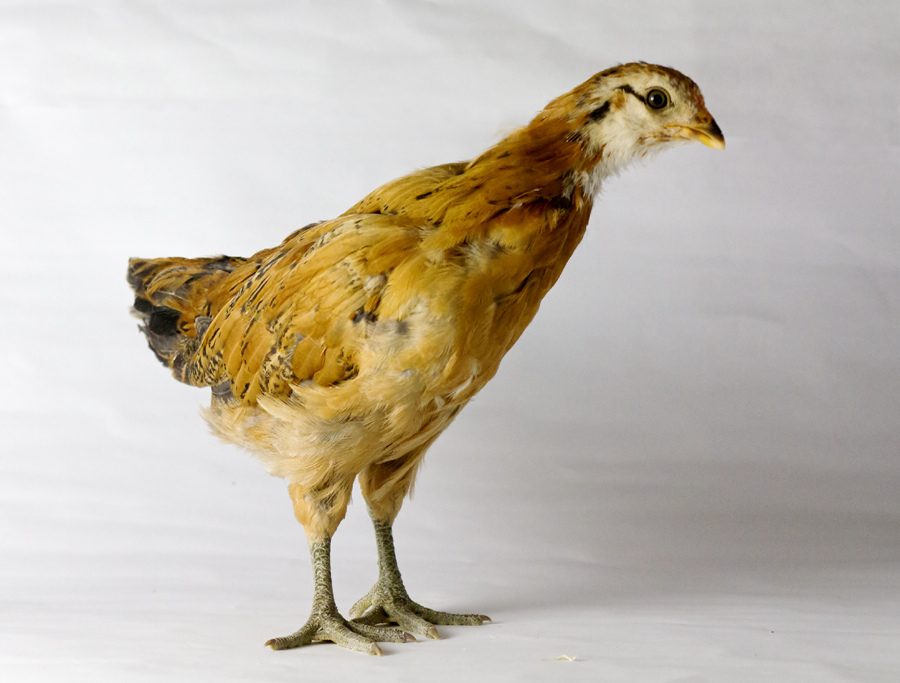
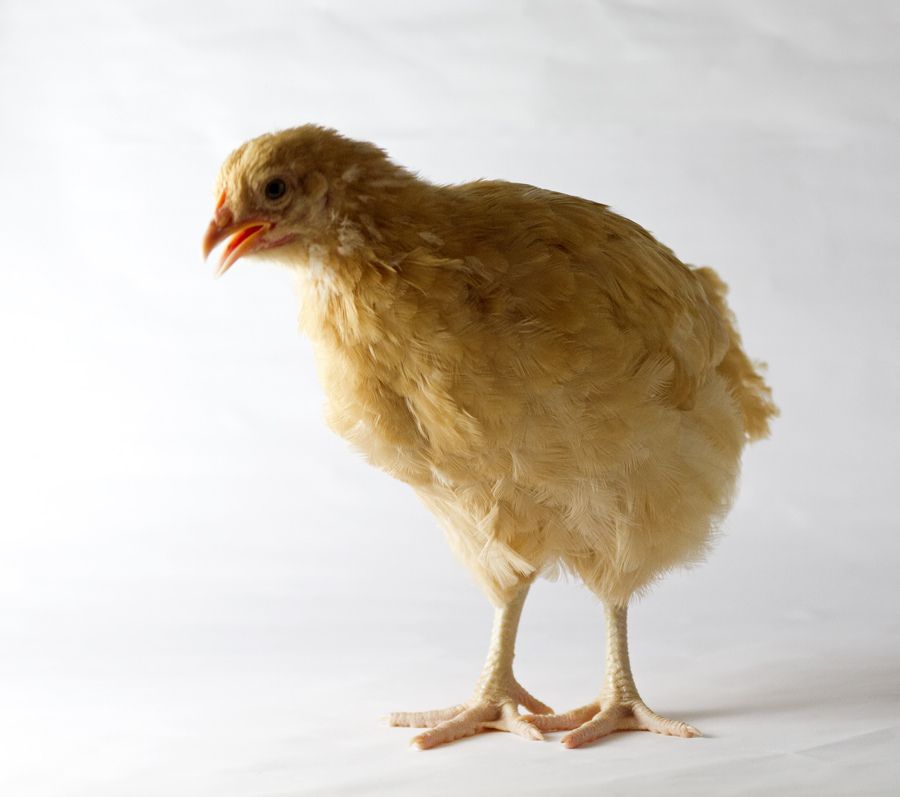
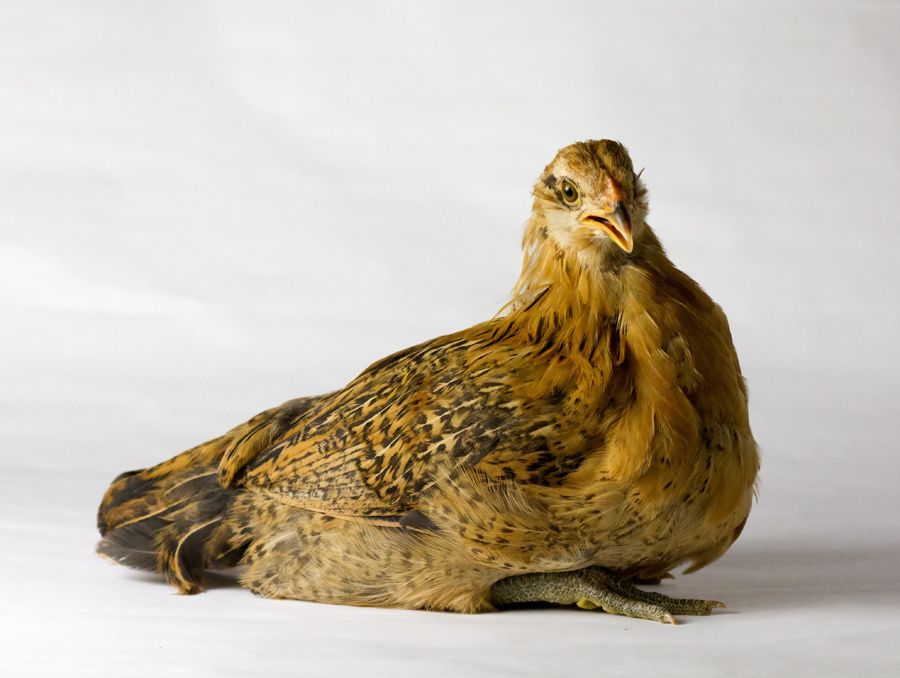
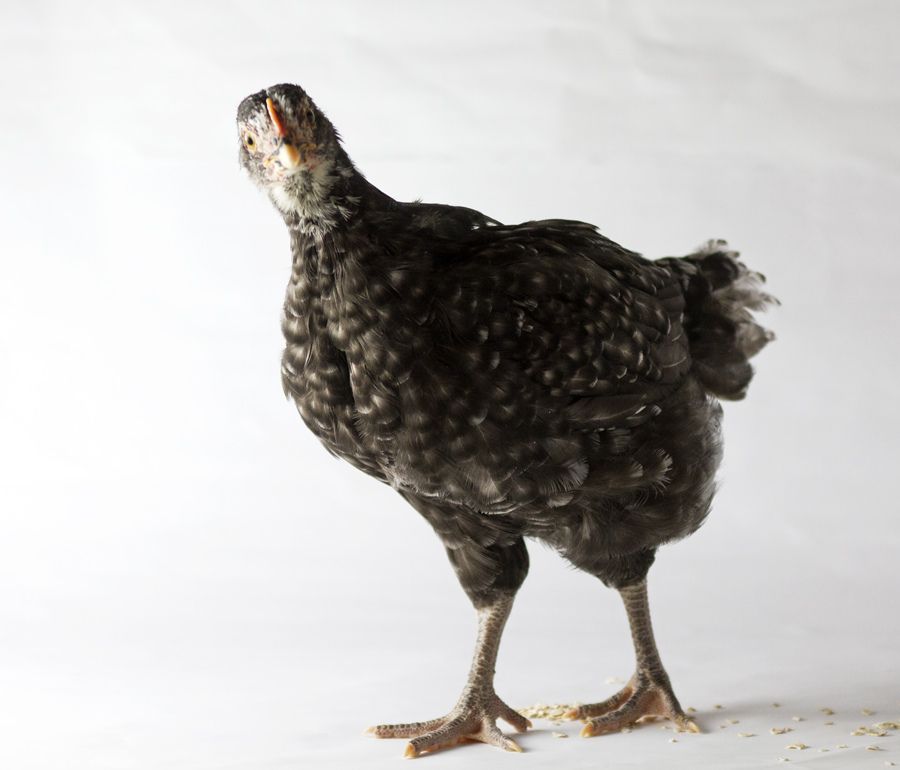
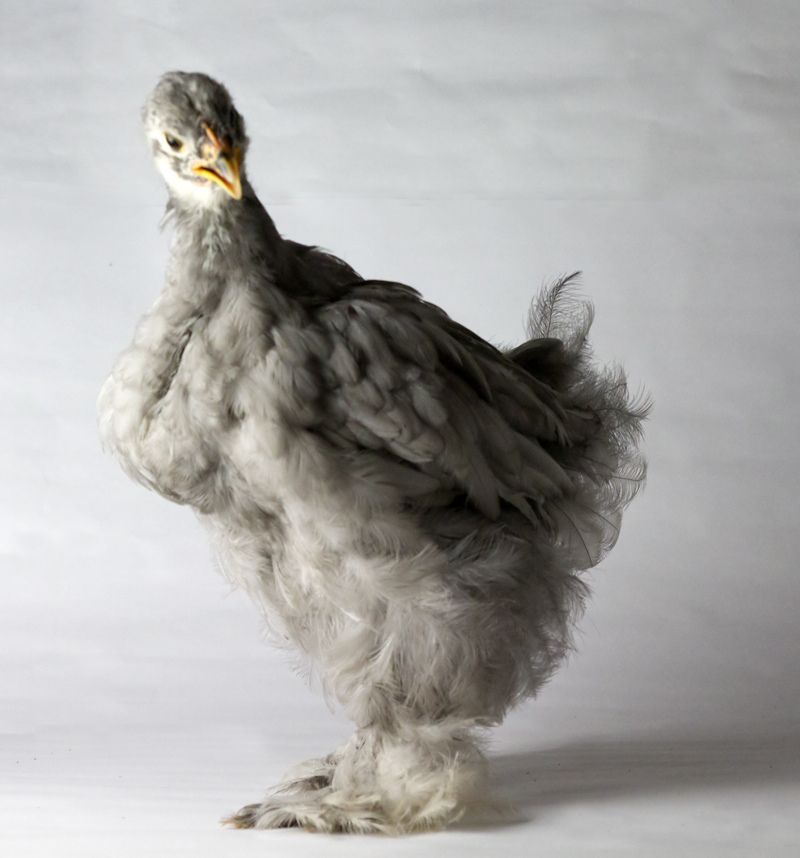
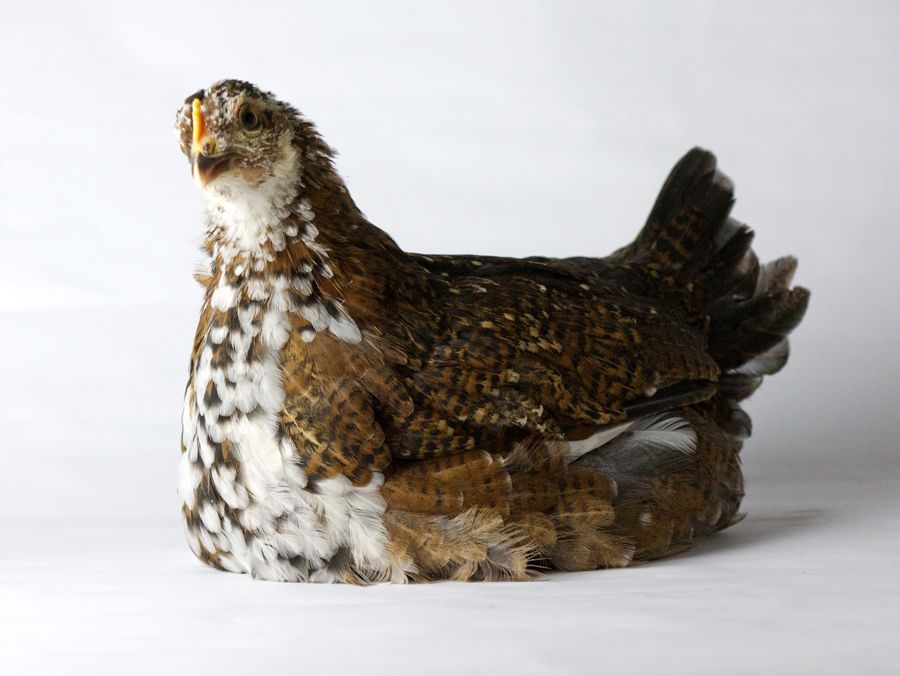
And here's the growing little flock at about eight weeks (two araucanas, two black sex links, a buff orpington, a speckled sussex, a blue cochin, and a silver cuckoo marans):
Thanks for looking. And thanks for all the great advice, photos, sharing and help on this site! I have to admit, the chicks are more interesting and fun than I ever imagined. And my DW loves them. And I love her.
KJF

I bought a tub at Home Depot and fixed a brooder in a spare bedroom (shown here with my DW). And I began researching chicken coops.
Now, I grew up on a farm next to my grandparents. As I remember it, my grandmother's coop was the old style -- big, dark, dingy, dusty, and full of decaying straw, chcken poop and ill-tempered hens. I didn't have particularly fond memories. And I wasn't particularly excited about this little adventure.
We started by looked at the little prefab coops at IFA, but I could tell they were not well built. And they never could hold the number of hens claimed. I looked at some of the great coops available on the internet from Amish and Pennsylvania Dutch country, but the shipping was prohibitive. I thought (very briefly) about building one myself, but my lack of skills, tools and time convinced me otherwise. I searched the internet. We bought a couple of books. I read a ton on this site. Eventually, we decided to buy a basic 4x8 coop from TuffShed and make a few changes to fit out needs. How hard could it be?
I began by leveling about 25 feet of flower bed (removing the yards of the top soil I placed there a couple years ago, using a small skidsteer for the first time -- a story in itself). Given our suburban lot, that was about the only place for it. Space is at a premium, and we had to meet zoning and setback requirements. I built a foundation with 6x6x8 pressure treated timbers tied together and anchored with three-foot lengths of rebar. Our soil is heavy clay and doesn't drain well, so I decided to dig down a couple of feet and fill the space with gravel. I also decided to put sand in the run.
I found a local company that would deliver the sand and gravel. I said I needed three-quarters of a yard of each. They guy on the phone said they liked to be generous, so I might get closer to a full yard of each. Apparently, he logged a full yard, and the guy loading the truck decided to be generous and sent a yard and a half of each. I came home to find the driveway full.

We live in Salt Lake City, Utah. We have had a terribly dry March this year. Until the day they came to deliver the coop, that is. That morning, we woke up to several inches of snow!

and the chicks continued to grow!

To make a very long story a bit shorter, I had TuffShed place the coop on 30 inch legs. I had them add two windows (installed backwards to allow us to open them from the outside; yes they leaked until i caulked them and drilled new drainholes on the outside; wish I saw that thread on this site earlier). I also had them add a continuous vent along the ridgeline.
I added a 4x8 run to the end, giving the chicks a total run area of 4x16. I had TuffShed extended the roof over the run, and enclosed it in 1 inch hardward cloth (galvenized after welded, and dipped in vinyl). I bought a role 72" tall by 50 feet. Man, that stuff is hard to find, and not cheap. Eventually, I bought it on the internet and had it shipped to me. And I went on a tool-buying spree.
I trenched from the nearest outlet to bring power to the coop. I insulated the interior and lined it with plywood. I covered the floor with FRP (fiberglass reinforced plastic) and the walls with plastic (the kind intended for showers and backsplashes) from Home Depot (at least three trips a day every Saturday, and a couple more during the week), and caulked all the corners. I added lights on a timer (a really cool timer switch from GE that I have set to turn on a dusk and off at 9:30 p.m.; it seems to help get the chicks to come into the coop at night), a heat lamp for next winter (with a ceramic element, plugged in to a thermocube, and well secured to the roof). We hung a waterer and a feeder, and put hardware cloth over the windows. I tried using an electric staple gun, but it didn't have enough power. In the end, I hammered in staples the old fashioned way (and about couldn't move the next day).
I installed a Pullet-Shut automatic door. Another month of evenings and weekends flew by. The chicks continued to grow . . . . Eventually, my DW created a temporary tractor to let them get some fresh air.
Finally, we introduced the chicks to the coop. We kept them inside for a week, and then opened the pop door. They came out immediately. Only took three days to get them going back in at night by themselves.
And here we are:
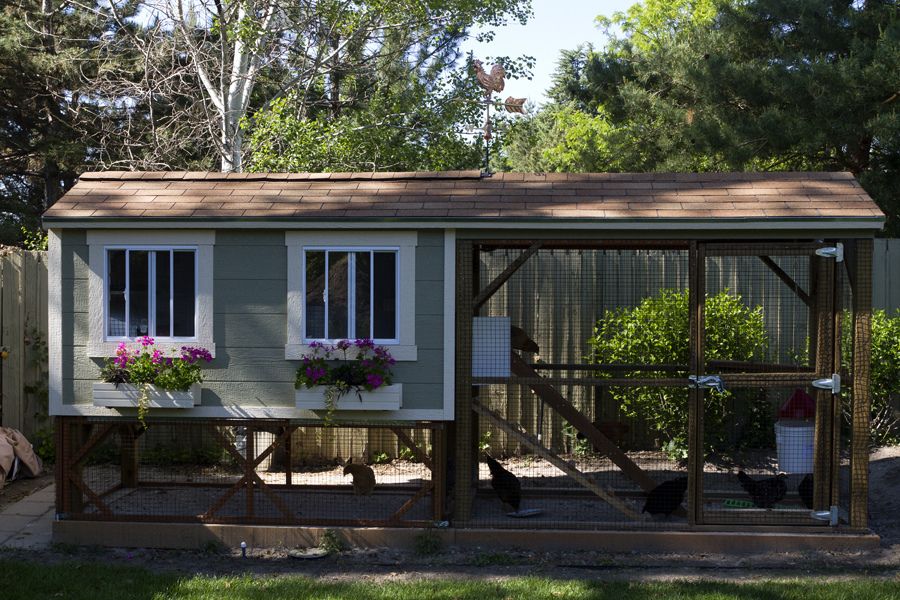
I built a hinged frame for the hardware cloth under the coop, so I can open it for cleaning. I added flower boxes for the DW, and a rooster weather vane to the roof. Hopefully, that's the closest a rooster will come to this coop!
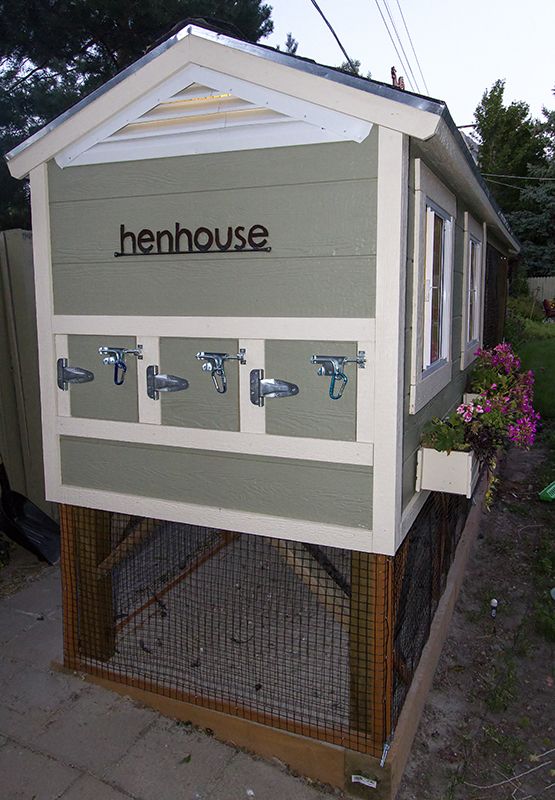
We have outside access to the three nesting boxes (which we lined with the same plastic and painted brown). I have the nesting boxes blocked for now, to avoid having the chicks roost in them.
The back opens wide to allow easy access and cleaning.
I added three Wifi network video cameras (two inside the coop and one in the run)!
Our Pullet-Shut door:
And here's the growing little flock at about eight weeks (two araucanas, two black sex links, a buff orpington, a speckled sussex, a blue cochin, and a silver cuckoo marans):

Thanks for looking. And thanks for all the great advice, photos, sharing and help on this site! I have to admit, the chicks are more interesting and fun than I ever imagined. And my DW loves them. And I love her.
KJF