The Coop de Ville
I live in Kent, WA with my 5 dogs, 2 cats, and my son and his cat on 4.5 acres. I started thinking about adding chickens after seeing a television show about a commercial egg farm and the conditions the chickens live in. I was sure I could raise happy, healthy chickens to produce the eggs we needed. Then I saw a sign at the local feed store announcing their upcoming "Chicks Gone Wild" event where baby chicks arrive once a week for about 2 months. After mentioning this to my good friend and hearing how she loved the chickens she had in the past, I decided to look into it. I checked out every book on chickens and coops at the local library, and spent hours on the web looking for information before I could decide if chickens were for me. The feed store started getting different breeds of chicks in every week, and every week I would go look at them and leave empty handed, undecided about adding chickens to our family. As the last arrival of chicks was approaching, my son offered to help build the coop if I wanted to get chickens, and that settled it! It was now or never.
The 4 or 5 I had planned on getting turned into a dozen when I got to the store! Two each of Americana, Black Sex Link, Leghorn, Brahma, Silver Campine, and Egyptian Fayoumi. They were so tiny it seemed like there was no hurry to start the coop. Yeah, that was the first mistake. Note to anyone else with baby chicks living in a box in your bathroom....start building now! Or if you need Plan B as we did, wardrobe boxes from UHaul can be taped together to make bigger cardboard housing if you need it until the coop is done.
Here they are at 2 days old:
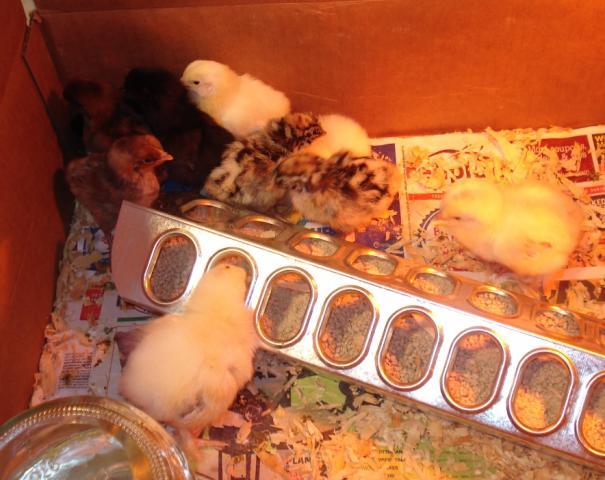
And here they are 2 weeks later:

Again, I spent hours on this site looking at all the beautiful coops to get ideas for housing my babies. They needed a good, sturdy dog-proof coop and pen and I wanted to build it as inexpensively as possible. We needed to get building, so I finally decided that the simple plan found at BuildEazy would be a good place to start. I also started searching Craig's list for used materials, but was unable to find anything that would work. So we were going to have to buy most of the lumber. The BuildEazy plan is for a 6'x6' coop, and my son pointed out that it would be easier to make it 8'x8' to eliminate a lot of cutting and material waste. Good idea, that was the first change. Then we decided a sloped roof would be quicker and easier to construct. Another good idea, that was the second change. Then we didn't want to build it on skids, another change. Okay, so let's face it. We really didn't use those plans much at all!

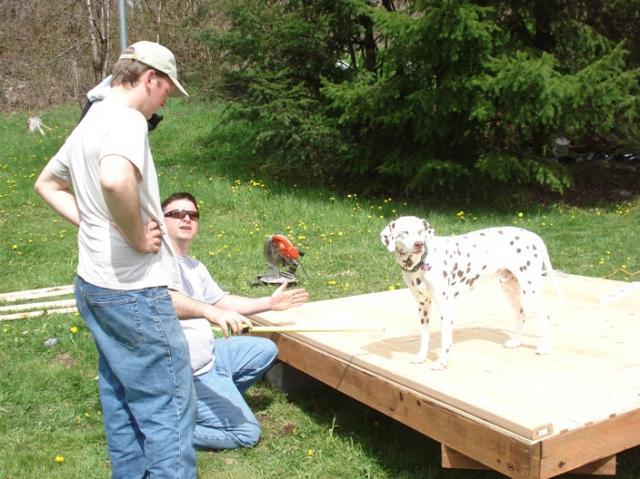
We built the floor frame out of treated 2x4's (16" on center) with 3/4" plywood for the floor.
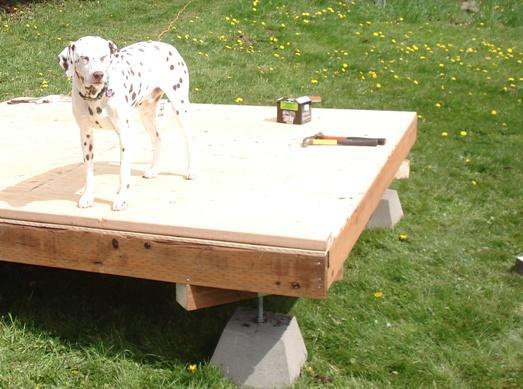
Concrete blocks were used to raise it off the ground and level it. As always, the dogs like to help with any project.....
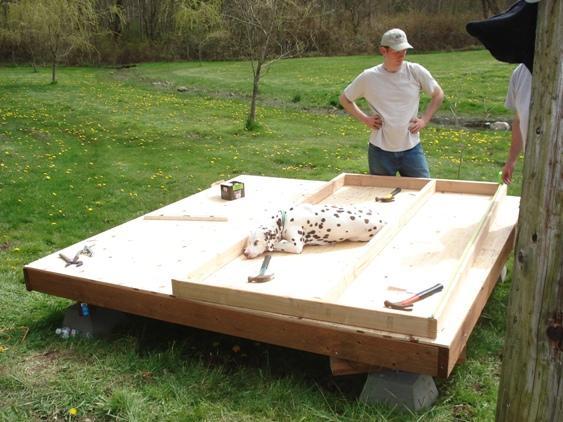
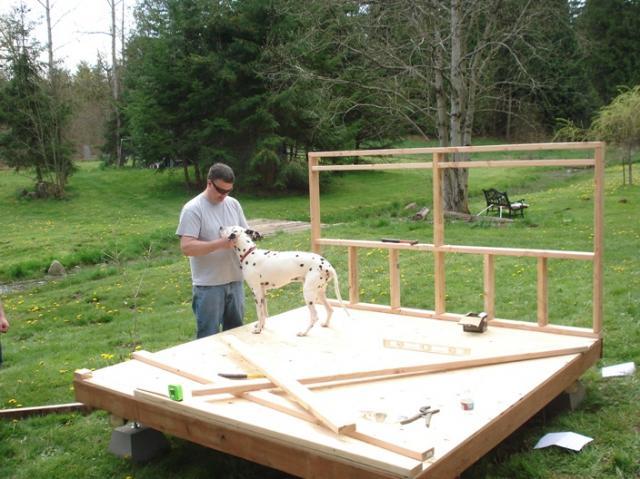
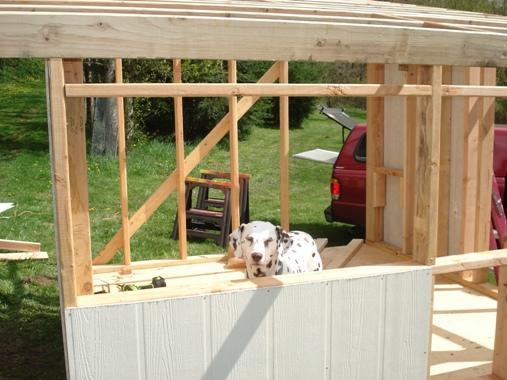
But Chip doesn't have the best work ethic, laying down on the job before the first wall is built. Anyway, the walls were built of 2x4's, not treated. We decided to make the front wall 6' tall and the back wall 4' tall. This should give the roof enough pitch for any snow we might get to slide off.
Jacob also wanted some petting after working so hard!
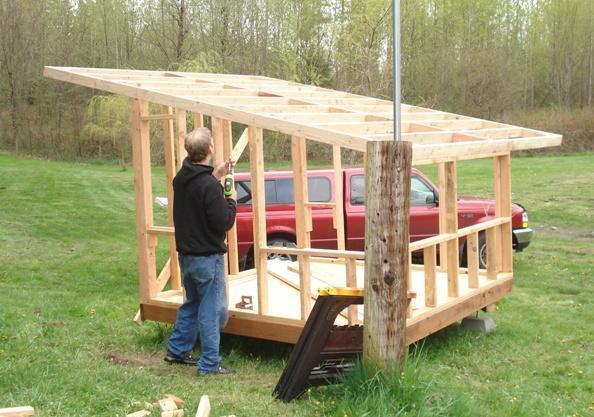
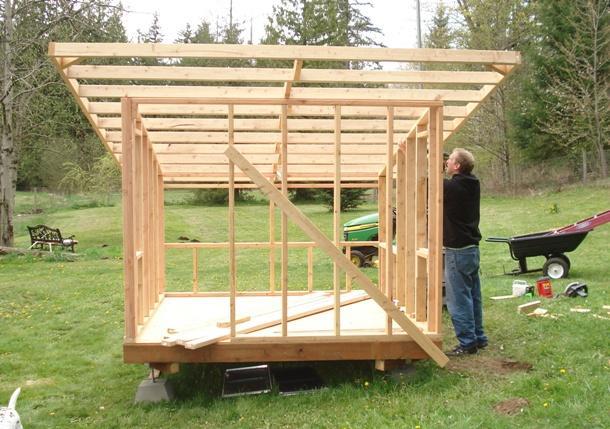
The roof frame was built on the ground then hoisted up into position. The roof has an overhang on the front and back.
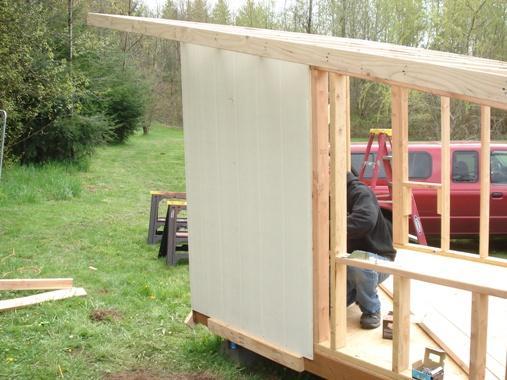
The next step was to add the siding. I wanted the coop to match the look of the house, which has T1-11 siding. I purchased HardiPanel from Home Depot because it won't rot or warp, and was already pre-primed. Sounded great, but installing it is an exercise in frustration. Because it is a cement board, it is extremely hard to nail through. I think we bent as least as many nails as we got in straight. There are areas of the panels that you just can't get a nail through. But we got it done!
We used Tuftex clear corrugated plastic panels from Lowe's over plywood for the roofing. This may be changed in the future if it doesn't hold up well.

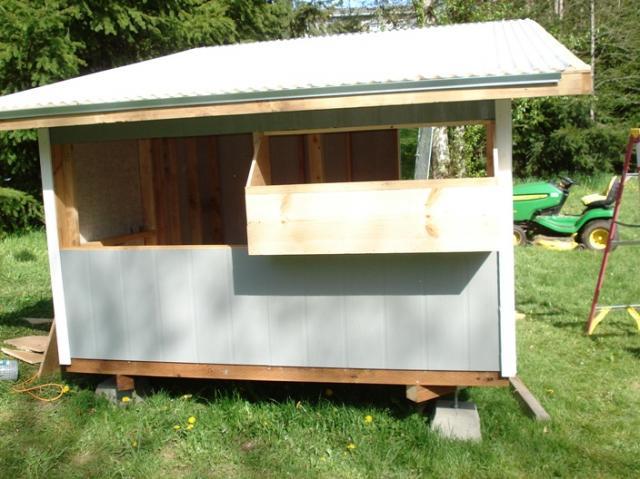
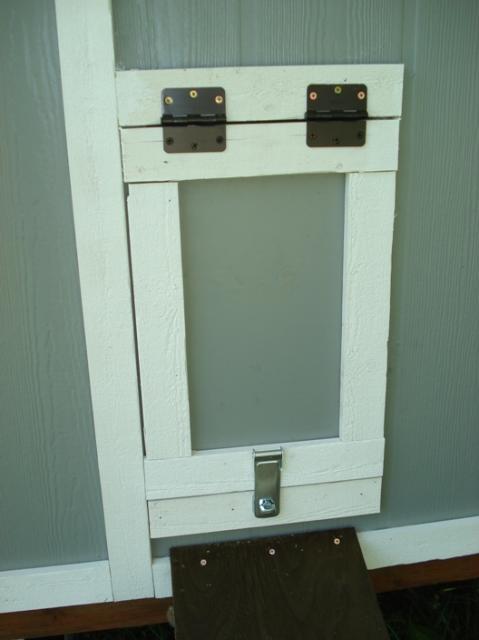
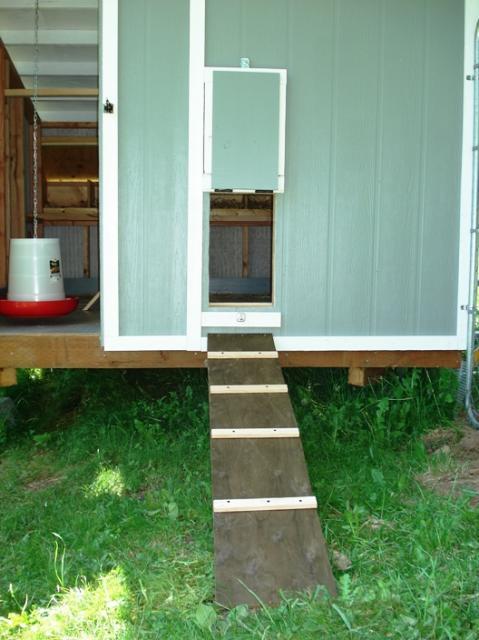
Since the wall where the nesting boxes will be added is 8' long, we decided to make 2 seperate nesting boxes.
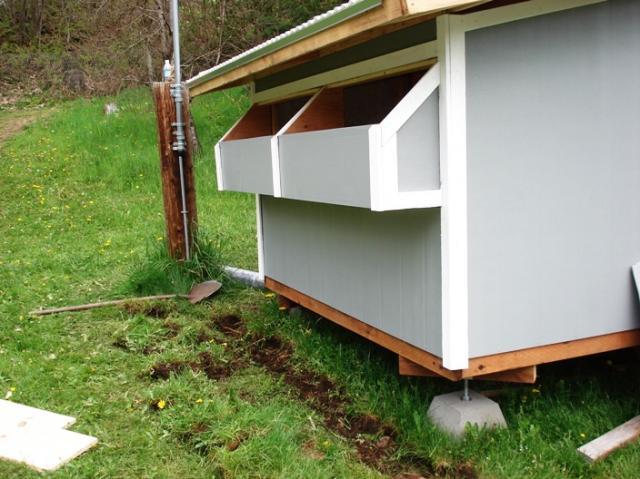
Trim was added to make the 2 boxes look like one large box.
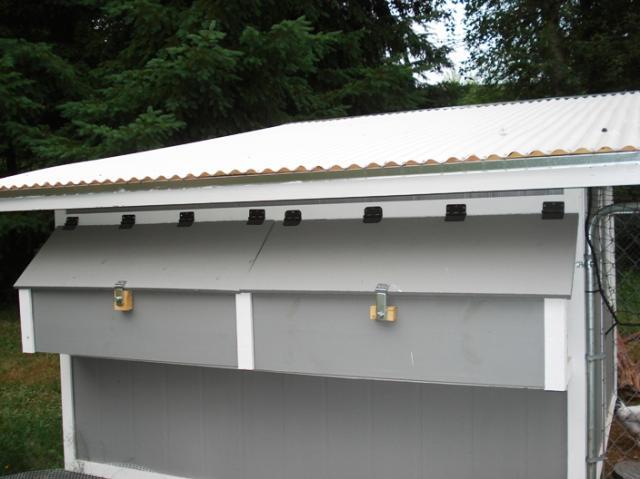
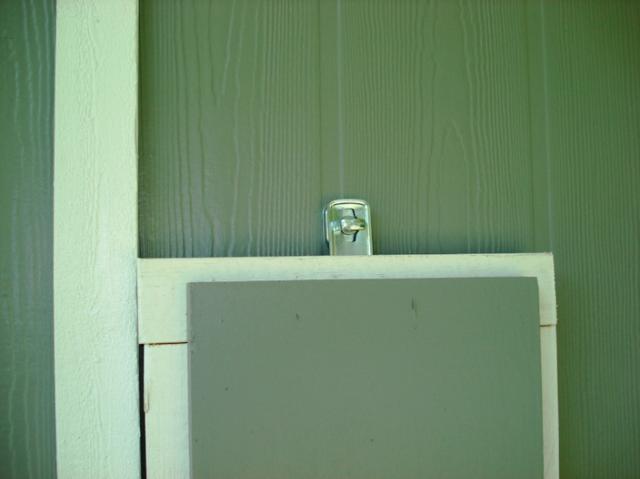
The boxes have individual, locked doors.
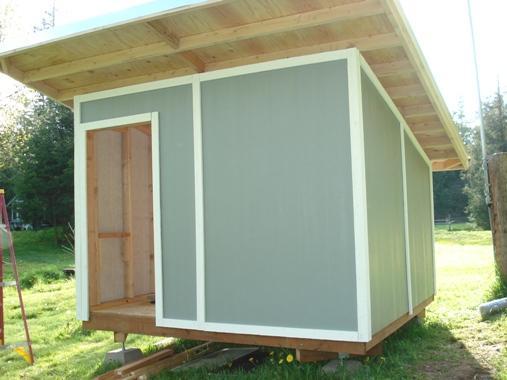
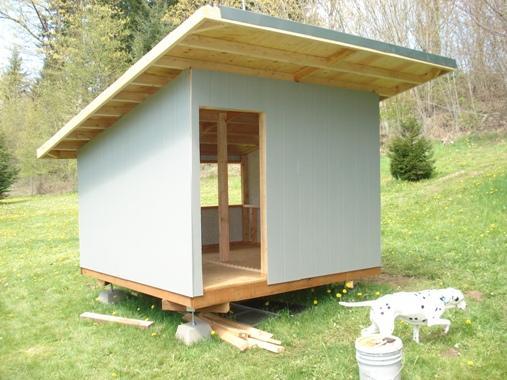
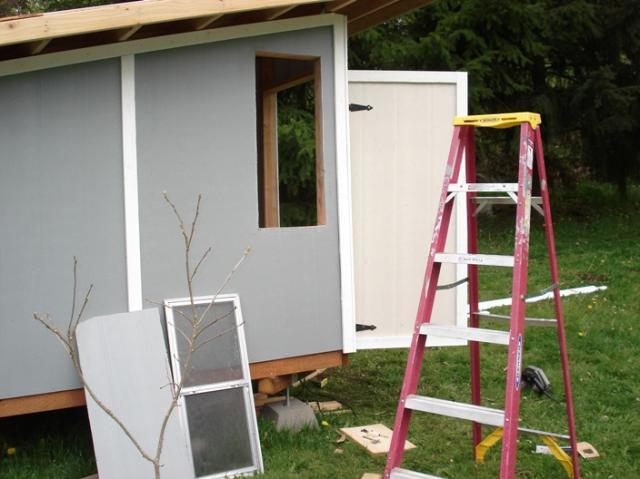
The people door was cut on on the front wall and then the siding was painted with our extra Sherwin Williams Duration house paint. I highly recommend that paint. After 2 coats, it feels like a vinyl coating. Pre-primed, rough cut trim was added and painted.
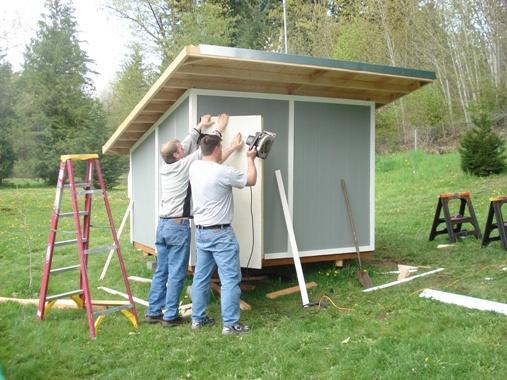
The door was built by making a frame out of 2x3 lumber and covered with the HardiPanel siding.
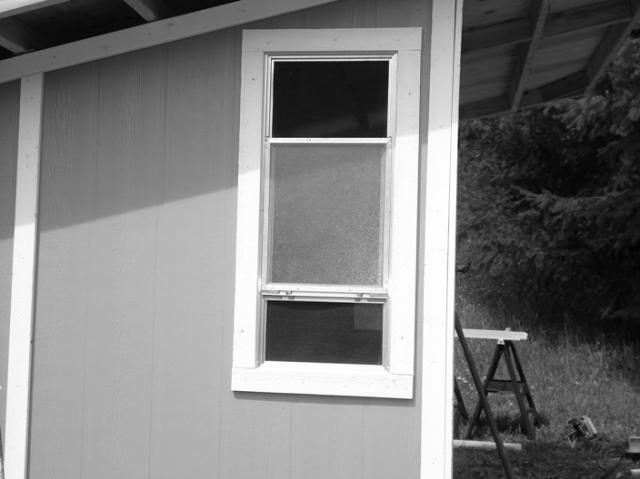
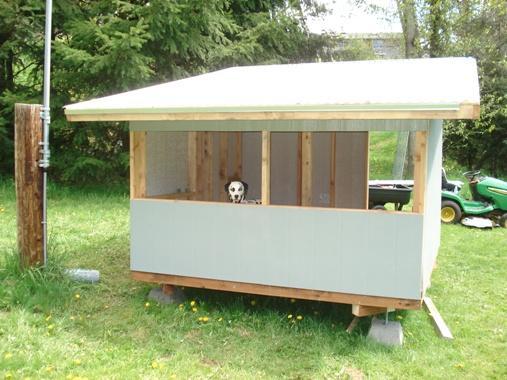
Both window panels slide up and down and can be removed. So we can open the top, the bottom or remove the panels and have the whole window open in hot weather.
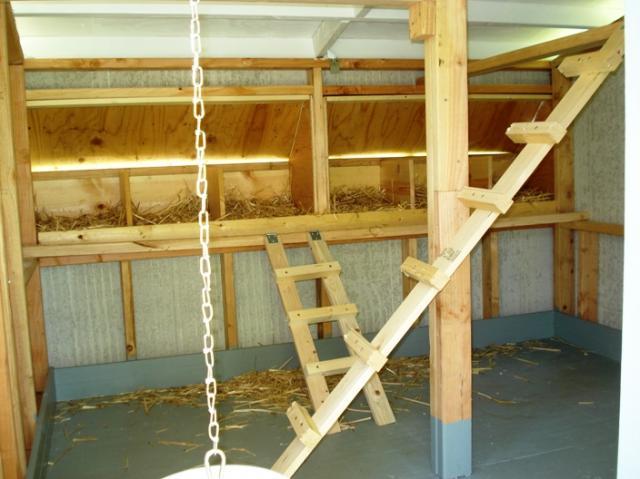
A roost and ladder was added in front of the nesting boxes. Two additional roosts and a ladder were added higher than the nesting boxes.
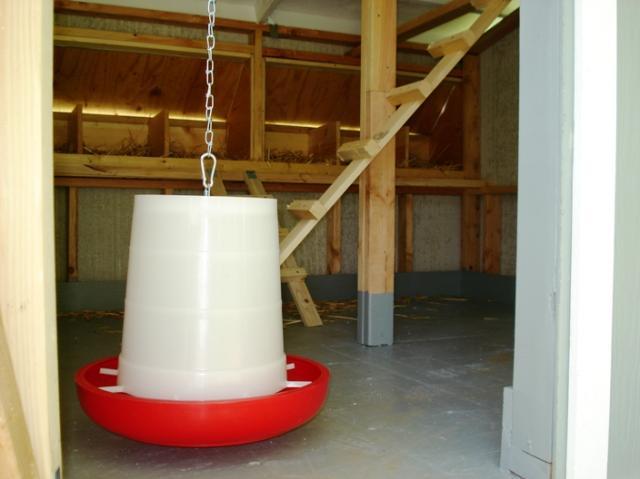
I added 6" baseboard and painted the floor with several coats of the exterior house paint. Hopefuly it will stand up to the chickens!
I added about 4" of wood shavings for the floor.
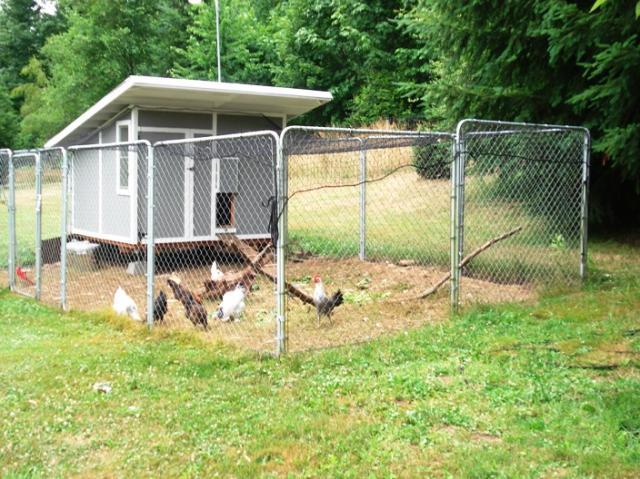
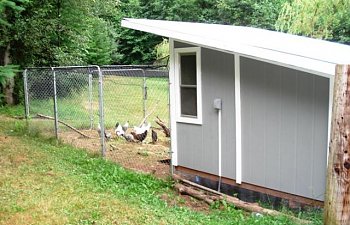
In an effort to save money, which is a pretty funny concept at this point, we used some leftover chain link panels for the pen. I still have the 24" wire mesh to put around the bottom of the pen for extra security, but haven't gotten that done yet.
The pen is covered with netting from Seattle Marine to keep the chicks safe from the hawks and eagles. The netting is attached around the top of the coop and the top of the pen.
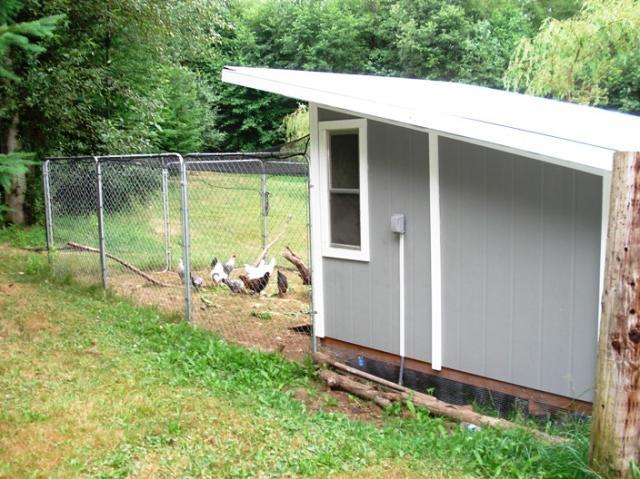
The coop has been wired for electricity since we already had wiring underground right near the coop. There is a switch on the outside of the coop which shuts of the electricy to the coop. Inside, there is an outlet on the side wall which can be used to provide heat in the winter, and a light with switch inside the front door.
What I love about our coop:
1. That the coop is raised off the ground - great shade for the chickens and the perfect place for them to hide. When the dogs were first getting used to the chickens and would bark at them, the chickens would casually walk under the coop like it was no big deal. This proved completely uninteresting to the dogs, who quickly decided they were no fun and have stopped barking at them (almost always!).
2. The windows that slide from the top and bottom or can be removed. Great way to provide plenty of ventilation on hot days.
What I would do differently:
1. The Hardipanel was very hard to work with. Although I love that the coop now matches the look of our house, I would have used a different material if I had know what a pain the Hardipanel was.
2. We are still not sure about the roof. It may have to be replaced with shingles if it doesn't stand up to the weather.
Thanks for looking! I hope you enjoy your chicken family as much as we are enjoying ours!