10/16/2010
We wanted to have our Main Coop finished before the babies showed but life has it's own agenda and it does not always work out the way we plan. So the first batch of babies arrived on 10-07-2010 and they needed a
place to live temporarily until we can get the Main Coop in full working order.


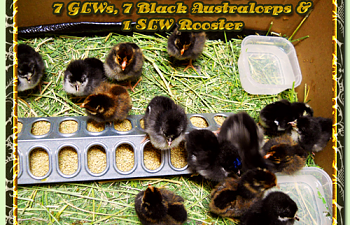
They started out in a cardboard box that I picked up from Walmart on re-stock night. It was just the right size to house 15 chicks with their water and feed. These are not the waterers that I wanted to have for them but both local feed stores were out of the smaller 1 gallon waterers so we are using the smaller snapware bowls.

Their bedding is out of Alfalfa Grass Hay with a 45 gallon trash bag underneath to catch any water, etc so that it does not ruin the box for continued use. We kept them in our guest bathroom for the first couple of days. We never use that bathroom other than for our hydroponics garden. It is nice and warm in there all of the time and the door has a lock to keep out VERY curious little boys that do not know they play too rough yet.

The first day I used paper towels over the top of the hay but they kept ripping it up to get to the hay so I removed it after the first day.

glw-ba-slw-chicks-10082010sm-001.png
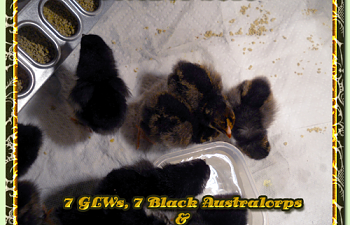
glw-ba-slw-chicks-10082010sm-002.png
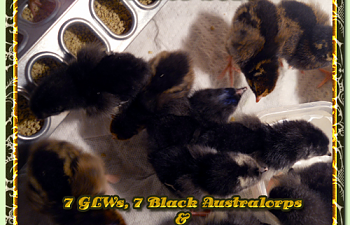
glw-ba-slw-chicks-10082010sm-004.png
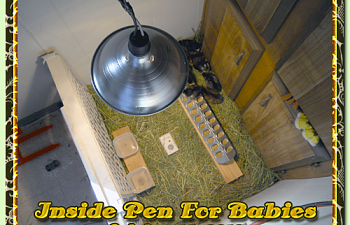
glw-ba-slw-chicks-10082010sm-005.png
They are under a 250 watt heat lamp that we put together hanging from the ceiling that is adjustable to raise or lower depending on the temperature readings in the box. The box has a remote themometer that we placed in the box under the lamp so that we could get a constant accurate read of the temperature the chicks were under with the lamp. The first couple of days it ranged from 100 to 95 F and then we dropped it down to btwn 95 and 90. A week later and they are at 88 F to 90 F comfortably.
10/15/2010
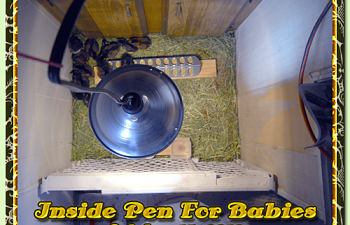
I moved the chicks to our master bathroom and used an old child safety gate to section off an area just for them. Although I figured the guest bathroom would be perfect, it proved to be more of a hassle because we have a hydroponics garden in there already. With the chicks in there too we just were not able to move around as much as we needed. Here are a few pictures of how it is set up:
10-15-2010-inside-pen-001.png
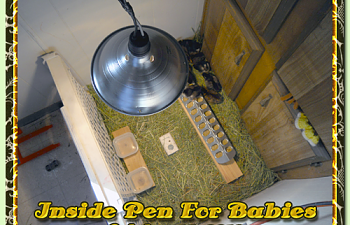
The inside pen/temp brooder has two water bowls, a temperature guage, feeder, hay for bedding and then an over head 250 W heat lamp that is connected to the ceiling to provide easy adjustment.
10-15-2010-inside-pen-002.png
There is a used child safety gate that locks the babies into this 3X2/5 ft area.
10-15-2010-outside-pen-002.png
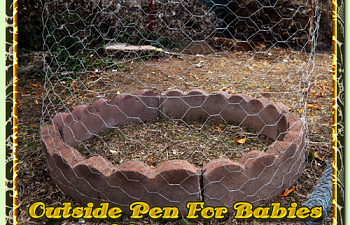
I know there are a lot of ppl out there that recommend keeping your chicks inside until they are a few weeks old but I am on the other side of the fence on that concept. SO, I built this little play area for the chicks out of some landscaping brick rounds we had laying around.
10-15-2010-outside-pen-003.png
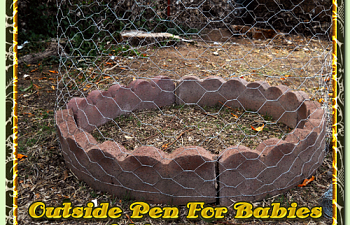
Initially just the rounds themselves were tall enough to keep the babies inside but they quickly decided that ground on the other side was way more appealing. I took some chicken wire and encased the bricks in that and they can still get through the holes in it but they are deterred for the most part for now.
10-15-2010-outside-pen-004.png
Side View - Ground Level
10-15-2010-outside-pen-005.png
Side View - Ground Level
10-16-2010-baby-chicks-001.png
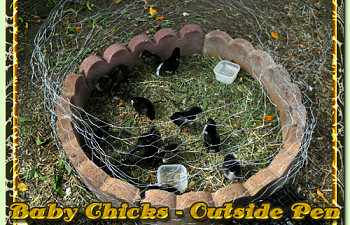
The Babies out in the sun, enjoying their dirt baths.
10-16-2010-baby-chicks-002.png
Here are a few close ups of them in their Outdoor retreat.
10-16-2010-baby-chicks-003.png
10-16-2010-baby-chicks-004.png
10/14/2010
I decide to lay down for a nap and while I am blyssfully sleeping away my
husband is fast at work on his sudden and new project.
10-16-2010-baby-chicks-inside-pen-roost-001.png
10-16-2010-baby-chicks-inside-pen-roost-002.png
10-16-2010-baby-chicks-inside-pen-roost-003.png
A NEW BABY ROOST!!!! !YAY! This man is a genius and very wonderful. ;)
10-16-2010-baby-chicks-inside-pen-roost-004.png
11/26/2010
11042010-chick-brooder-001sm.jpg
This is inside the Chick Brooder, it is 8X2 ft, there are 4 doors on the front with a wire mesh bottom to allow for easier cleaning. We have two 250w heat lamps and 2 150w Reptile heat lamps inside the brooder.
11042010-chick-brooder-002sm.jpg
We built it about 2.5 ft off of the floor so it did not cut down on floor space inside the chicken coop.
11042010-chick-brooder-003sm.jpg
11042010-chick-brooder-004sm.jpg
This is the wire mesh that goes the full length of the chick brooder that allows for easier clean up.
11042010-chick-brooder-005sm.jpg
11042010-chick-brooder-006sm.jpg
11042010-chick-brooder-008sm.jpg
11/26/2010
Here are some pictures of the finished brooder with the baby chicks lounging around inside.
11262010-finished-chick-brooder-006sm.jpg
Left Side Doors
11262010-finished-chick-brooder-003sm.jpg
Right Side Doors
11262010-finished-chick-brooder-002sm.jpg
Second Batch Of Baby Chicks in their new outside brooder. YAY! I have my bathroom back. We use the rabbit waterers which are a lot easier to keep the brooder clean and gives the chicks more floor room to roam.
11262010-finished-chick-brooder-004sm.jpg
We kept the regular waterers in the brooder for a few more days until the chicks got used to the rabbit waterers.
11262010-finished-chick-brooder-005sm.jpg
At first we only used half of the brooder to help keep the heat up but once they got bigger we opened up the entire brooder to them.
11262010-finished-chick-brooder-lights-001sm.jpg
These are some of the heat lamps we use in the brooder. Two 250w heat lamps and two 150w reptile lamps. Eventually we changed out the 250w lamps for regular light bulbs and put them on a timer to turn off at 6:30 p.m. and turn back on at 5:30 a.m. so that the babies get used to the same roosting schedule as the adults.
11-26-2010-outside-run-for-babies-001.png
We had this X-Large Dog Crate for our English Mastiffs when they were smaller and I got the brilliant idea to use it for the baby chicks so that they could be outside in the sunlight but still be safe from predators.
11-26-2010-chicken-coop-and-run-001.png
More Pictures To Come....