
Welcome to our coop page. We got so many ideas from this forum. Thanks to all who share so freely! We just finished this coop last weekend, Sept 5, 2010.

We’re located in a semi-rural area(just outside of suburbia), east of San Diego, and needed a coop that would provide safety for our chickens as well as good ventilation – we’re not so much worried about the cold, but it can get pretty hot here in the summers (100deg+). We don’t have many predators, but worry about stray dogs, coyotes, raccoon and possums. I started “planning” for chickens over a year ago and found backyardchickens.com shortly thereafter. It took me nearly 9 months to convince my husband that chickens would be a great idea and he finally gave in around Easter....so we started with 6 day old chicks in early April 2010....
 then added three more chicks and two guineas a month later.
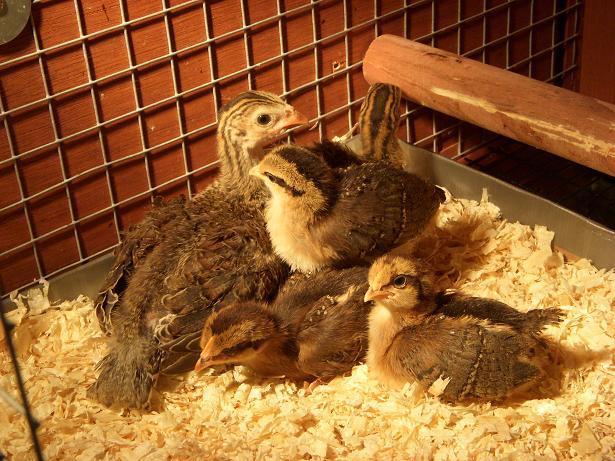
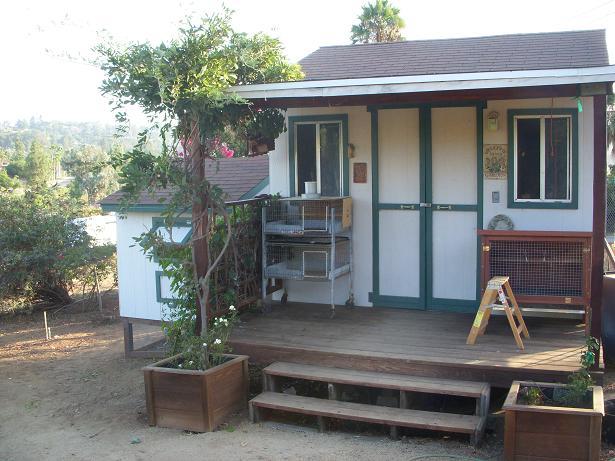
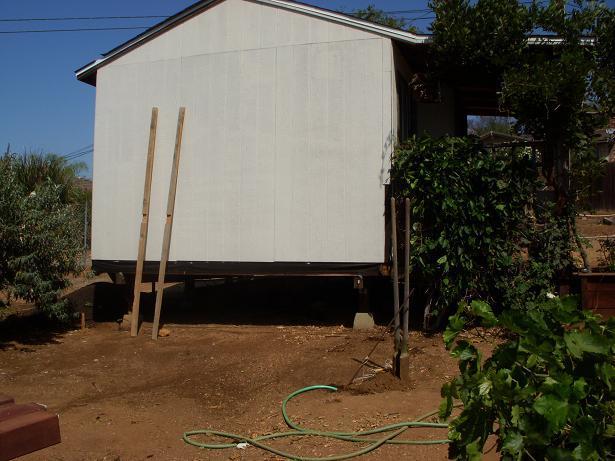
We started in Rubbermaid, moved to a brooder, expanded to two brooders, and purchased a small temporary coop while we were planning for the “big one”. Here is a photo of my garden shed with the brooders on the deck (the new coop is next to it on the left).
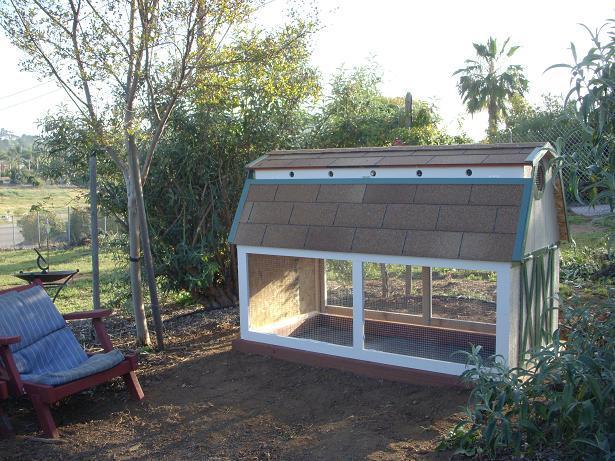
This is a coop we got off of Craig's list. I think it's awesome - It's like a little condo. The girls roost in the top are at night - there's a ramp for them to access the upper story that can be secured at night. Six large breed hens (2 each Buff Orpington, Barred Rock and Black sex-link) have lived here since they were about 8 weeks old. It is now rather small for them, even though they do range freely during the day.
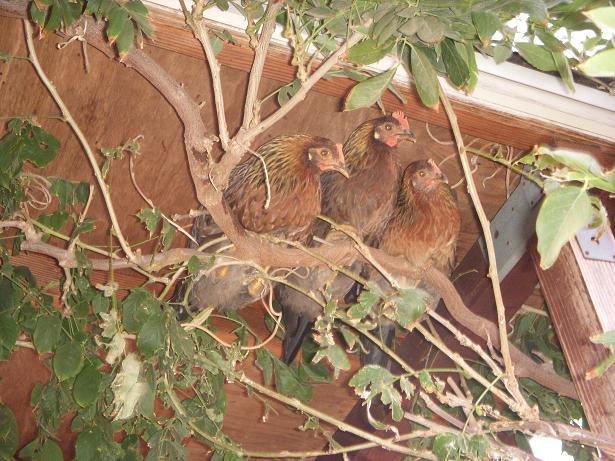
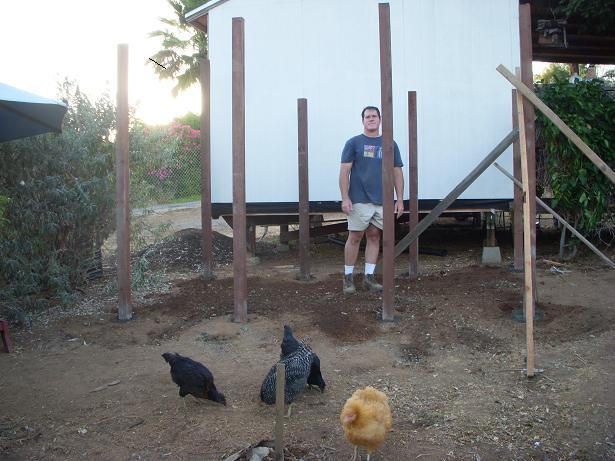
I have no drawings representing the final design as our coop is the culmination of nine months of planning (and probably 20 of my drawings) and a number of discussions we held over various coops we saw on BYC pages. As it turns out, my husband, who is a mechanical engineer, prefers to be given a “concept” and then to be left alone to make it reality. If I had just accepted that in the beginning, it would have saved a bit of frustration and a few arguments. Anyway – we have about an acre and the yard is completely fenced. Our dogs are kept in the upper yard area unless we are out with them. The ground is sloped so we chose not to build on a foundation, and built a 4ft x 6ft raised coop supported by 4x4 posts with a fully enclosed run. At the moment we let them all free range all day – the six big girls put themselves to bed at night in the little coop, where I lock them in at night. The three younger Ameracaunas and the two guineas, my rebel flock, roost in the wisteria vine on my shed. They broke out of their brooders about a month ago and I haven’t been able to get them to roost in a coop since.
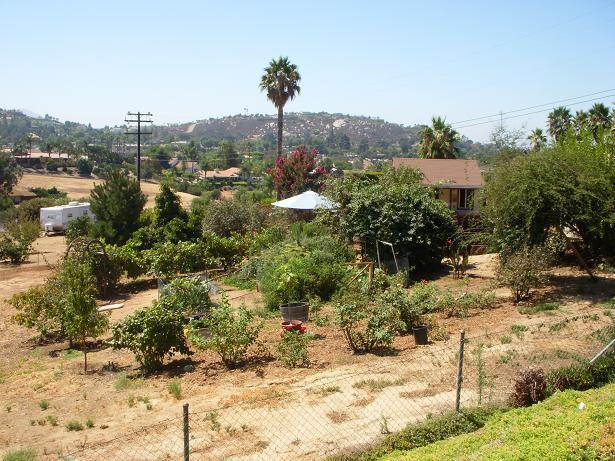
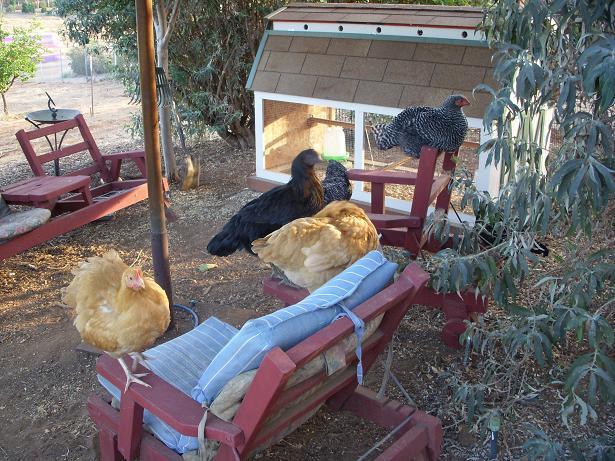
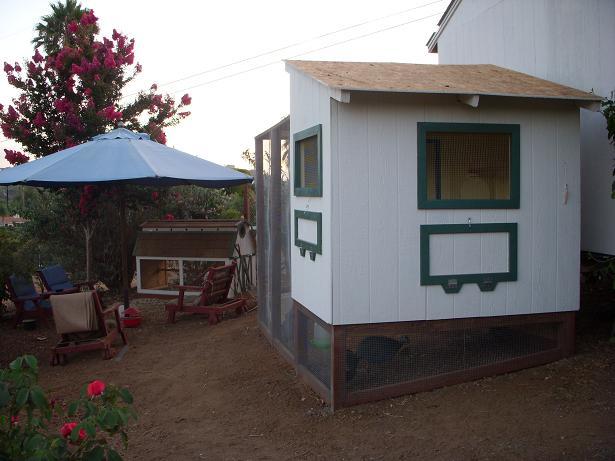
Here's "the Range":
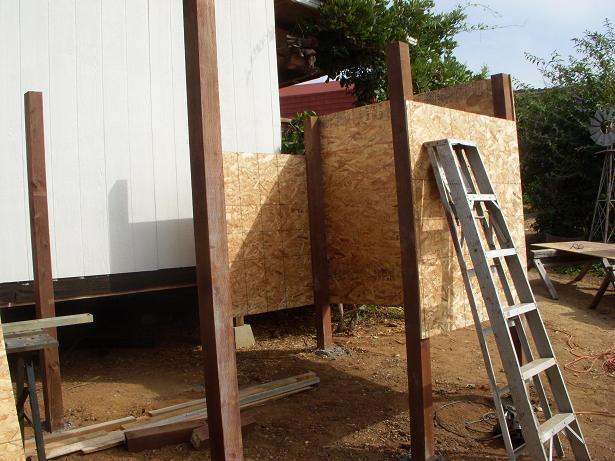
My big issue now is how to get the two flocks to live together peacefully in the big coop and for all of them to have secure roosts at night...but, back to the coop project. We started building on July 28, digging post holes and setting the vertical 4x4s (I dug the holes...).
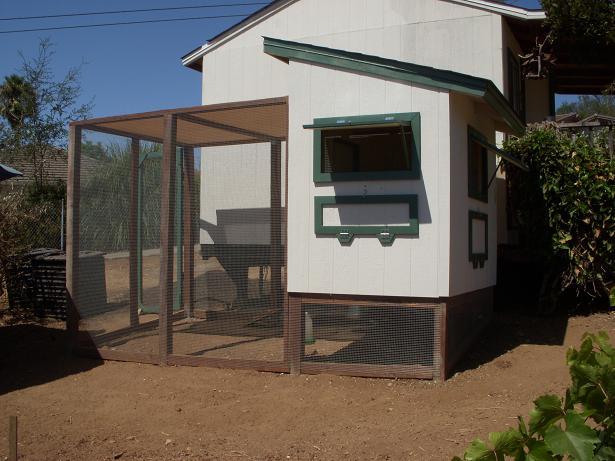
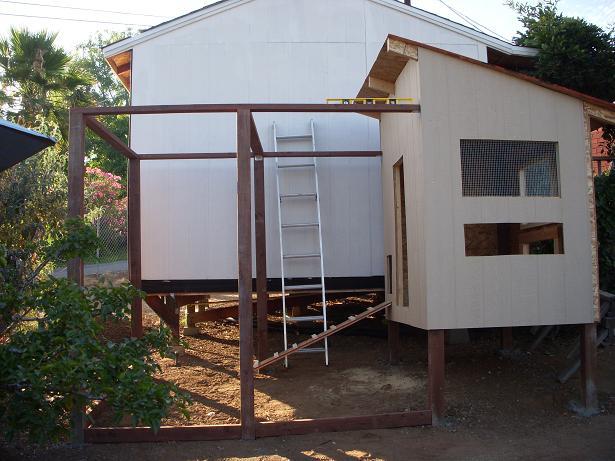
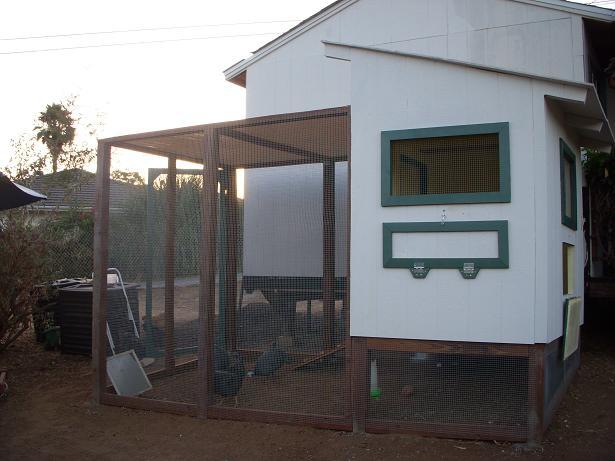
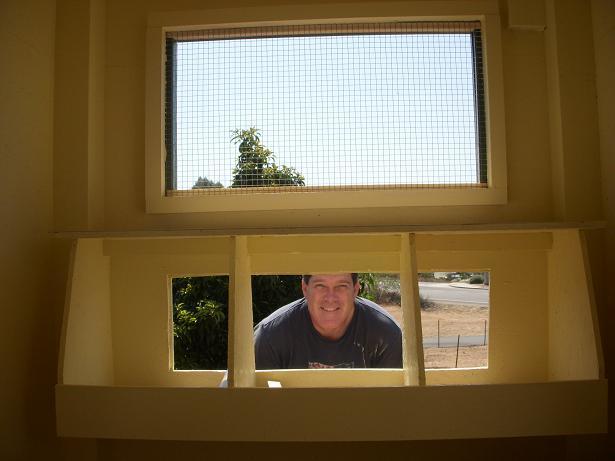
The coop is 6ft by 4 ft and the run (including the area under the coop) is 6ft x 12ft. We only have weekends to work on the coop and I travel a lot, so it has to be easy to feed/water and clean for my loving husband.... Because the coop is small, and we needed to get the job done quickly, we did not use traditional framing. That gave me a lot of freedom to determine placement of windows and doors. As it turned out, the placement is very similar to my initial drawings, but it was nice to be able to make adjustments once the primary walls were in place. The windows are hardware wire and have covers to secure at night.
After the 4x4s were secure, we added three exterior walls using OSB, then framed the floor using 2x4s.
Then we laid the floor and framed supports fro the roof. Okay it sounds like a team effort, but I am really just the chief laborer and sometime assistant. Here you can see he has replaced me with some clamps.
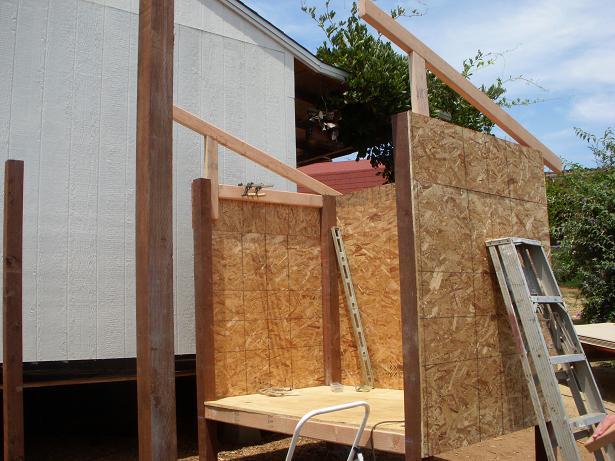
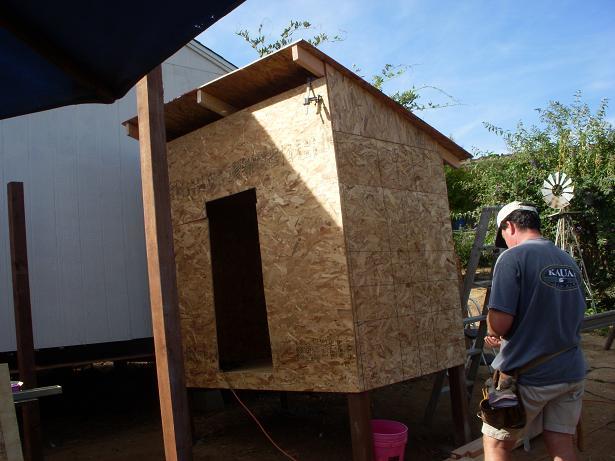
Added the fourth wall;
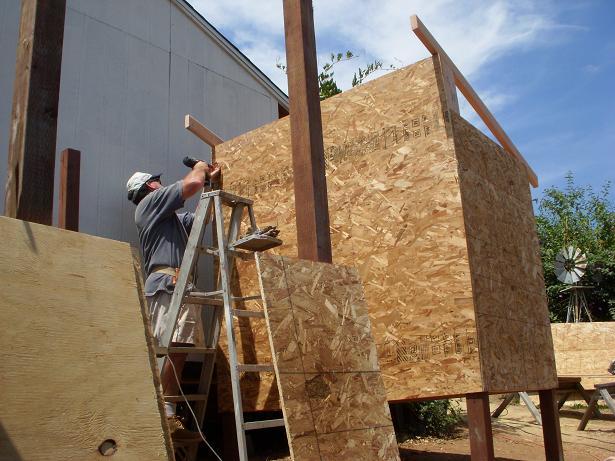
And cut the people door out for access to the inside.
We put on the roof;
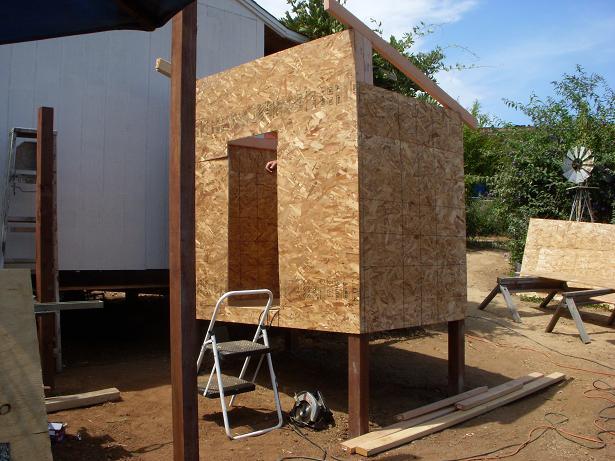
Then I got to "use" my plan and mark all the window and access cutouts. Using a small skill saw, the Builder cut out the doors and windows.
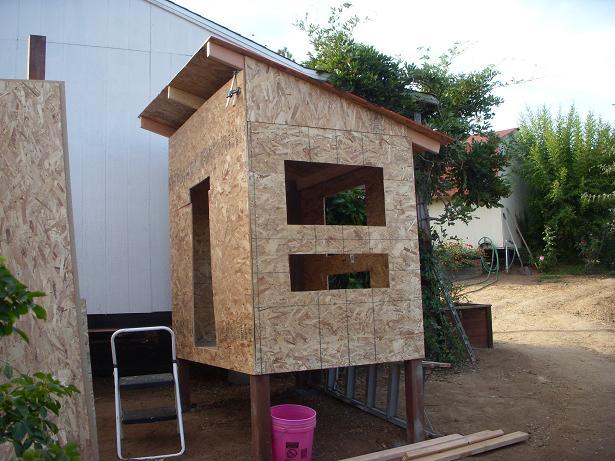
Now you can see why we built this way. This is the progress after Day 1 of construction:
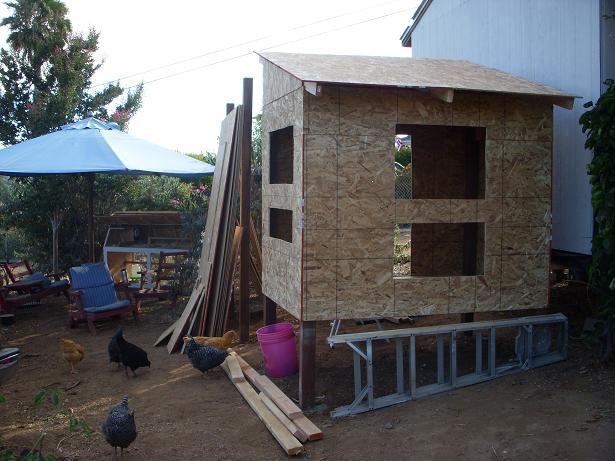
Day 2 was spent mainly on adding the siding and completing the frame for the run. I was in charge of wire for the project and got the windows completed. There is nothing as awesome as a rotosaw for cutting that 1/2" wire to ensure the edges are smooth!
We were leaving on vacation the next week and were hoping to be able to finish the coop in time to move the girls in so that our daughter wouldn't have so much work to care for all of them, but didn't get finished (Okay, we may have been a bit optimistic). Then, when we returned, a heat wave hit and we spent the next work weekend building in 100+ degree heat.
This is progress after day 4. I started painting the siding and the Builder worked on trimming in the doors and windows, inside framing for the nest boxes, and framing the run for wire placing.

Putting all that wire up was REALLY hard. I apparently stopped taking progress photos during this time as well - I think because I was trying to keep up with the painting. I used almost 2 gallons of enamel on the inside of the coop and spackled the heck out of every nook and cranny to keep bugs and spiders out. All the trim was painted before use so that made things a bit easier. We also used vinyl flooring on the floor and poop board over the nest boxes. I LOVE that vinyl flooring....You can see the guineas and chooks already love the new run. They inspected everything constantly during construction - oddly enough power tools and air compressors don't scare them at all...
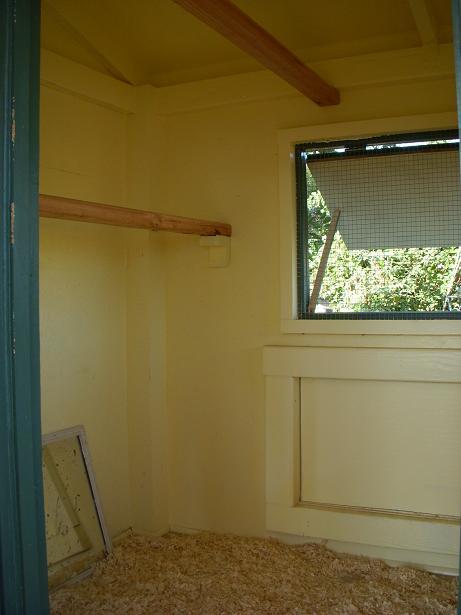
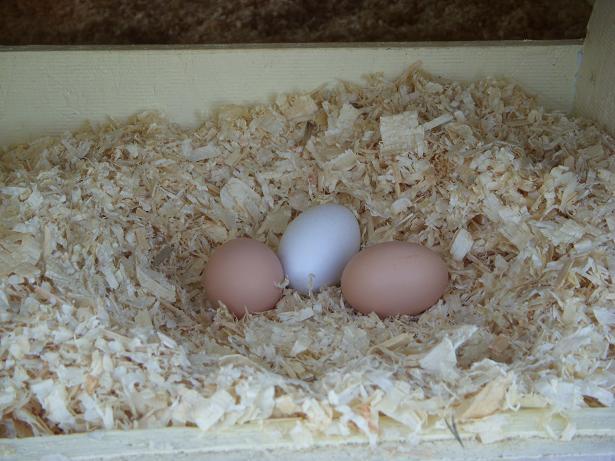
Here are some photos of the inside and nest boxes:
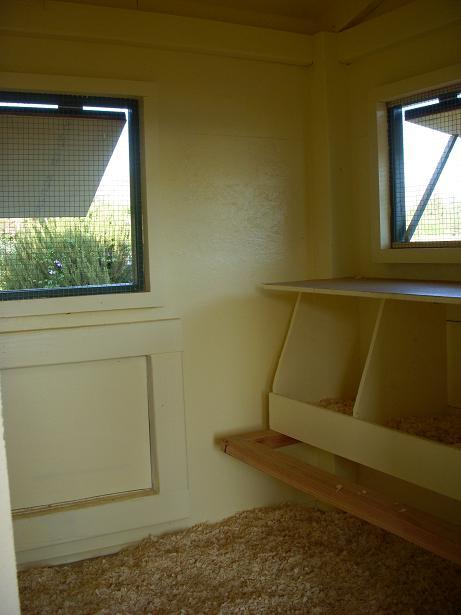
At this point, we still hadn't put the final touches on, but the nest boxes were ready, and the girls started making those happy chicken sounds that mean "I'm gonna lay an egg, backaw!!!!!" and it was Sunday night.......so I bought some fake wooden eggs and filled the boxes up with shavings. We came home from work on Monday to two beautiful brown eggs - laid in the new coop nest boxes! Unbelievable. I still can't get over how awesome it is to come home to find eggs every night. The white one is the "sample egg".
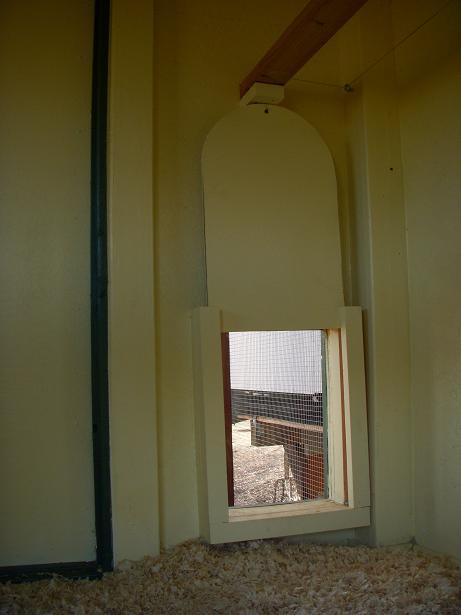
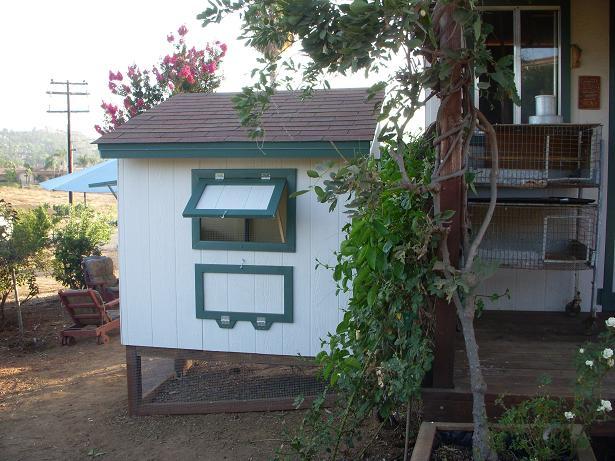
Here's a photo of the chicken door. We're thinkinig of adding some kind of catch/lock to ensure it can't be opened by critters.
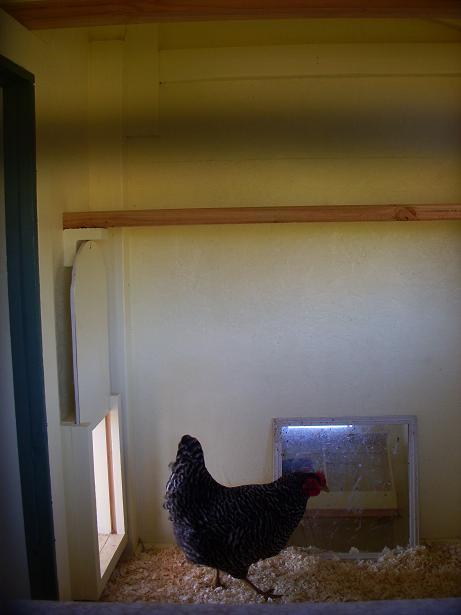
And here's yet another inspection...
And here are the final photos:
It's been too hot to keep all the girls and guineas cooped up to get them used to roosting here, but they do spend a lot of their time inside the run and they lay almost all of their eggs in the new coop. I find an occasional egg in the nest box of the original coop. We are up to four eggs a day - the big girls just turned 5 months old and I know at least four of them are laying. The coop ended up taking about 4 weekends and a couple extra days to build which I think is still pretty fast - and right now there isn't anything I would change. It was really nice to be able to design as we went - I was constantly checking the BYC for recommendations on spacing and materials. In the end, I think it makes sense to build whatever coop work best for you own situation. I couldn't be happier with ours.
As you can see, we are using a large hanging steel feeder that seems to be working out really well and will allow us to leave for a day or two. I am still not happy with the waterer. I have some of those water nipples and am going to experiment with those. So tired of hauling water and washing water dishes every couple days. I have been cleaning the little coop every couple days using a cat scoop and that keeps everything clean and not smelly. All the poo is composted with garden waste. You can see my composters in the photo above.
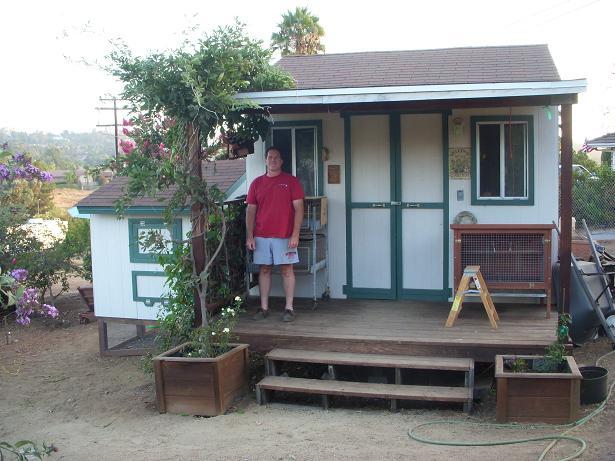
I really can't say enough about my husband. He built the shed you see in the photos for me so I could sit on my covered porch with a glass of wine and enjoy my gardens....So now I sit in what I call "the Happy Place":
and watch my chickens and guineas, with a glass of wine. It is one of the most peaceful and enjoyable activities I can think of and I am sure that it is saving me thousands of dollars in therapy costs! I hope you've enjoyed our story and hope you enjoy your fowl as much as we do.