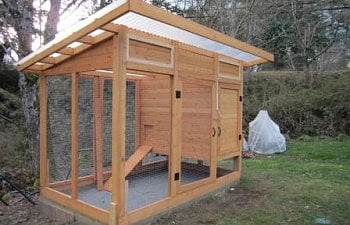
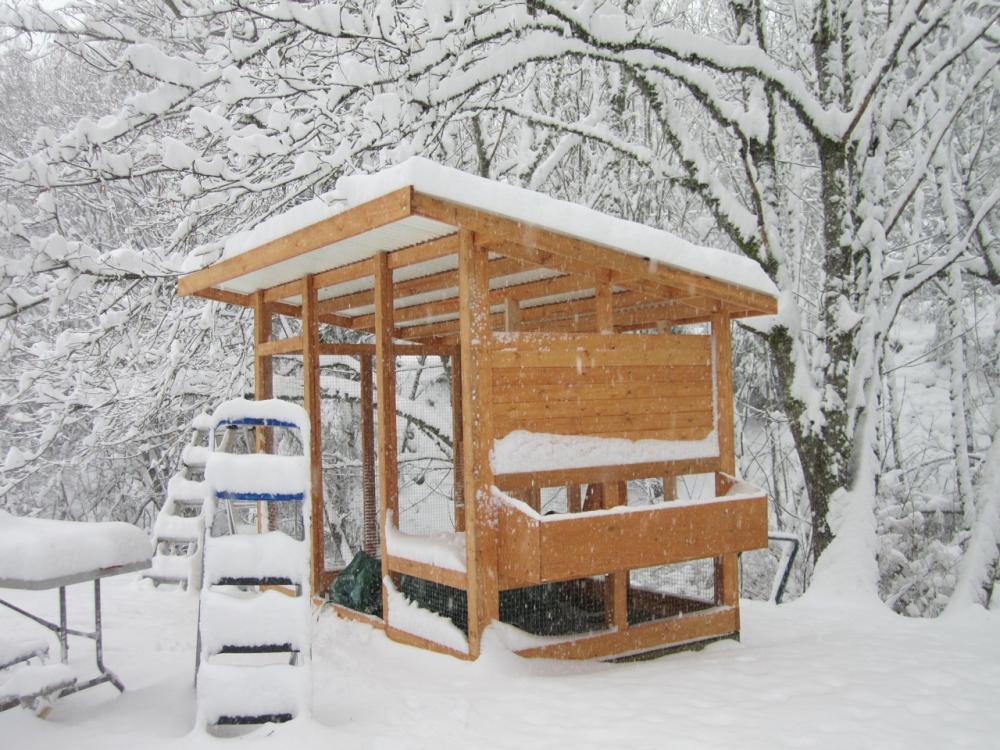
The Taj Mahal
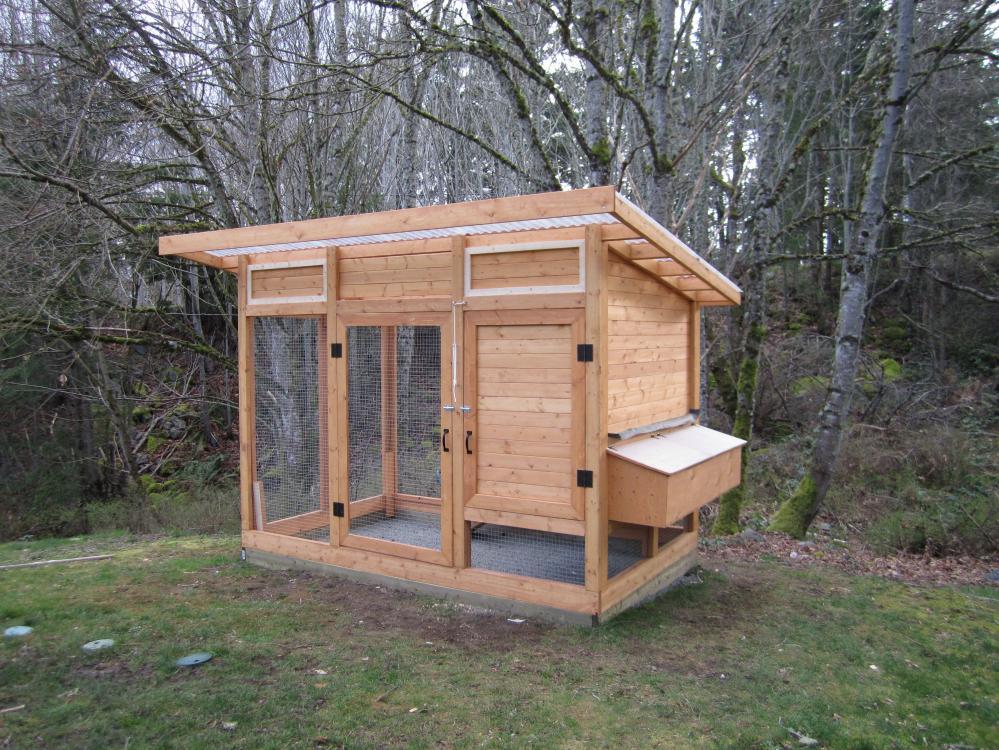
So the in-laws came to visit and I found out that they were giving my wife a chicken coop. I thought it was a good idea to make one instead of buy one. After a lot of searching I found this one done by baldessariclan and I really liked it. As you can see I used semi-transparent fibreglass roofing to allow light. We are on Vancouver Island and the temperature doesn't get that cold here. My neighbour as this coop and asked if I was moving into it. I told him I wasn't sure! haha He refers to this as the 'Taj Mahal' for chickens!February 17th, 2011

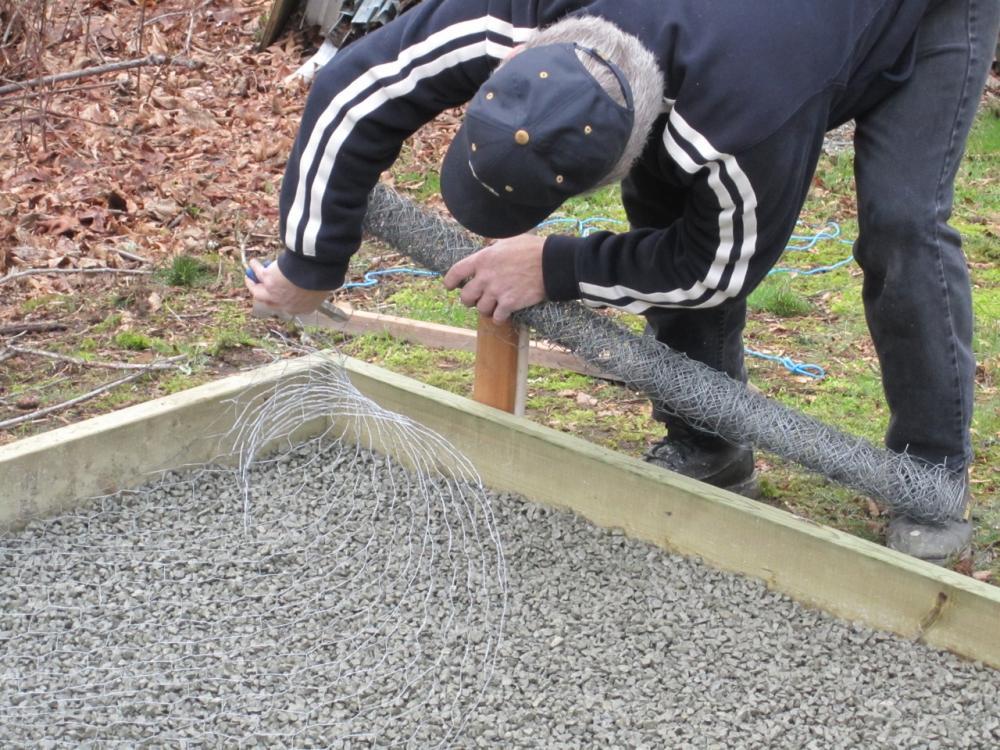
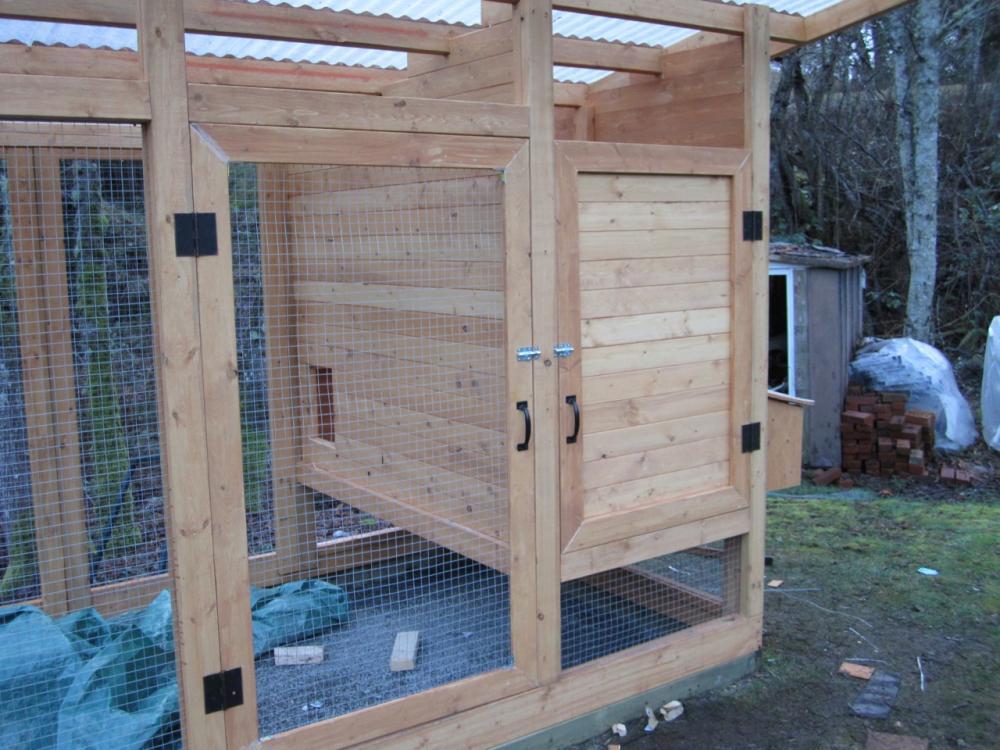
My father-in-law made this happen. He made sure everything was done right 'Mike Holmes' style. We levelled the base with treated 2x6's at the bottom and filled the bottom with gravel for drainage.

We put Chicken wire overtop of the gravel to keep the predators out, then added gardening cloth and a course sand for the main floor in the coop.
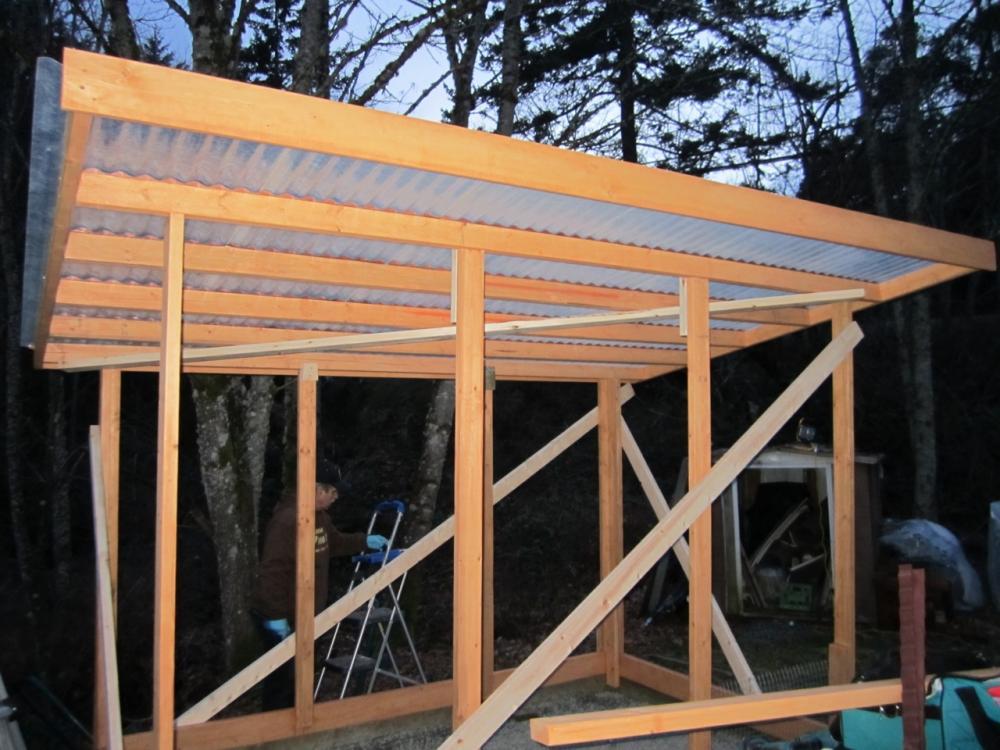
Here we are with squared framing and the start of our fibreglass roof.

The roof complete.
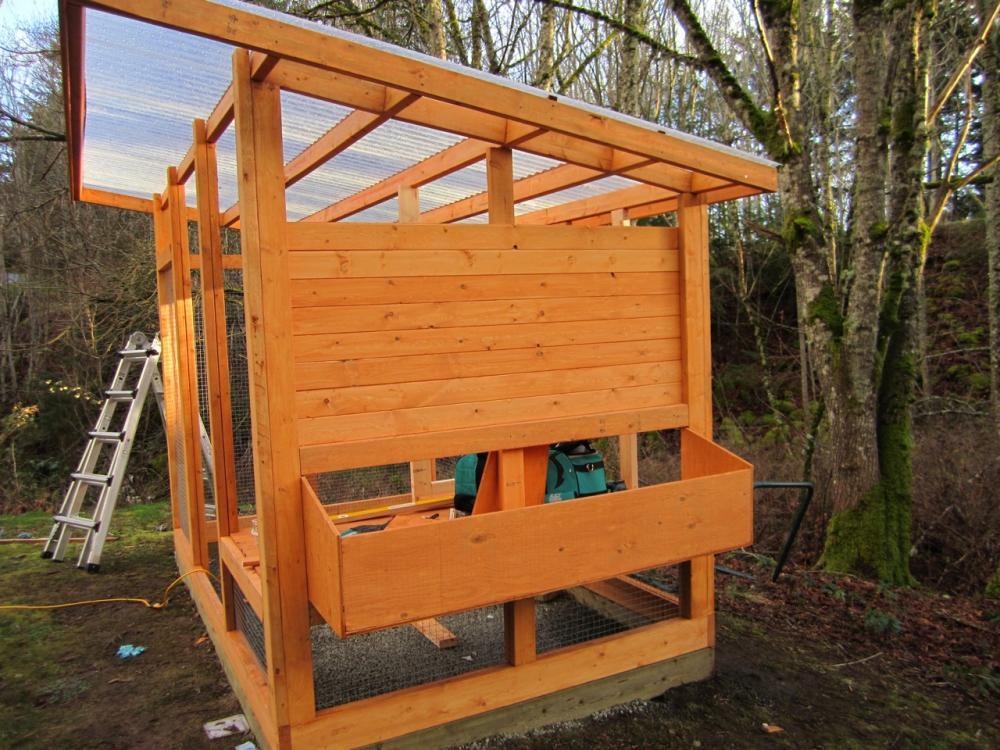
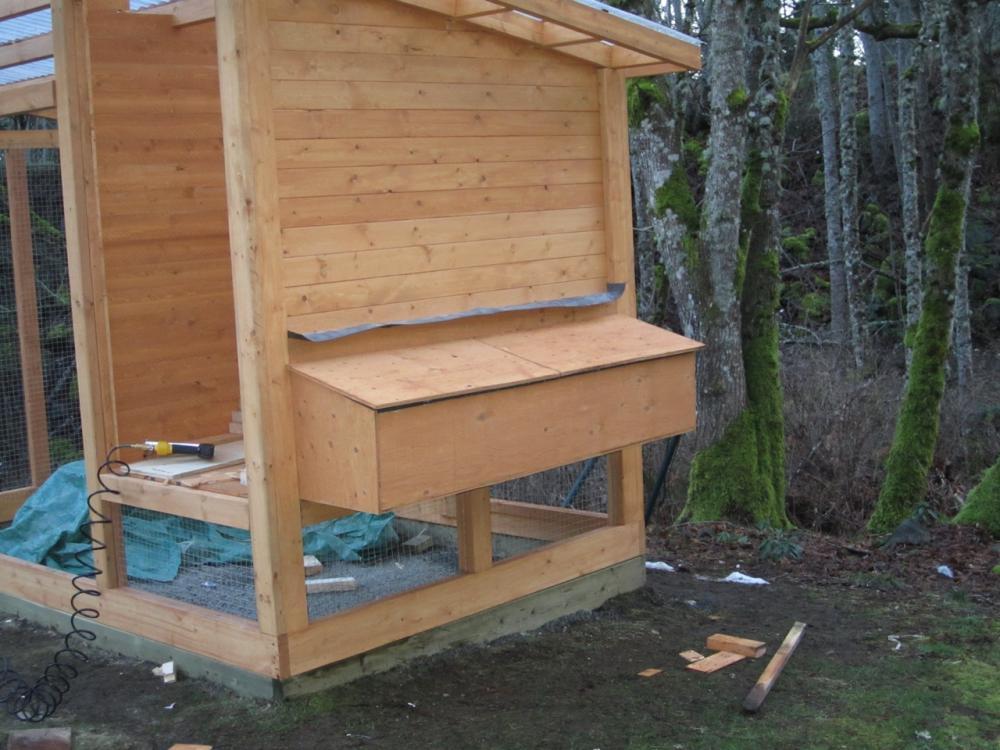
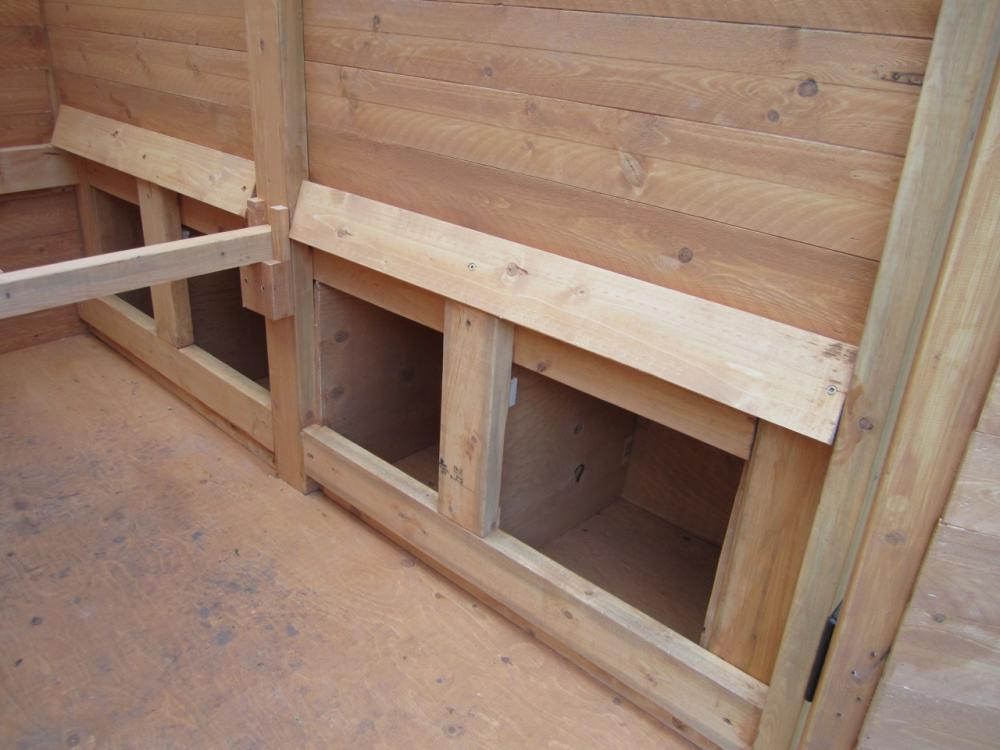
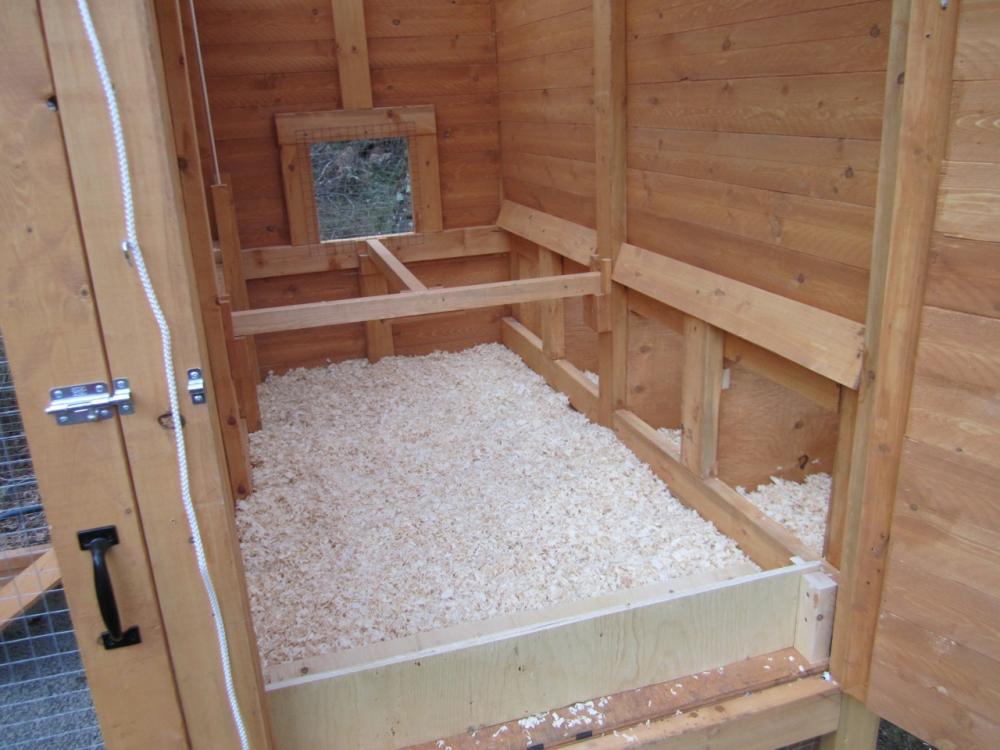
This is a view of the nesting boxes. I decided to put 4 all the way across. The enclosed portion of my coop is 3'X6' giving a little more room for 4 boxes.
February 23rd
In Victoria, British Columbia, it only snows maybe once a year, and the snow doesn't last for a day. Well, this is snowfall number 2 this winter and it was a doozy for around here (pretty everyday most other places). So the project stopped for a few days until the snow melted away.
Here's a picture of the nesting boxes with the lids. The walls are made with tongue and groove pine (pretty thin, can't remember the thickness).
March 2nd
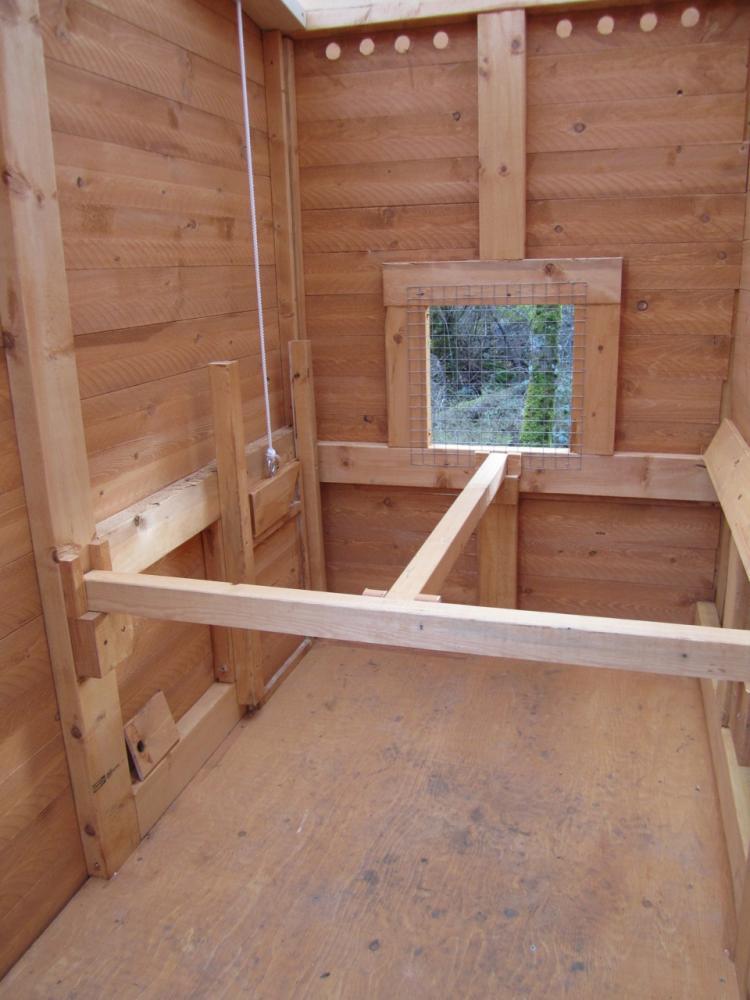
I made a window on the south side as well as some ventilation wholes on the top. As you can see the roofing allows a lot of light in.
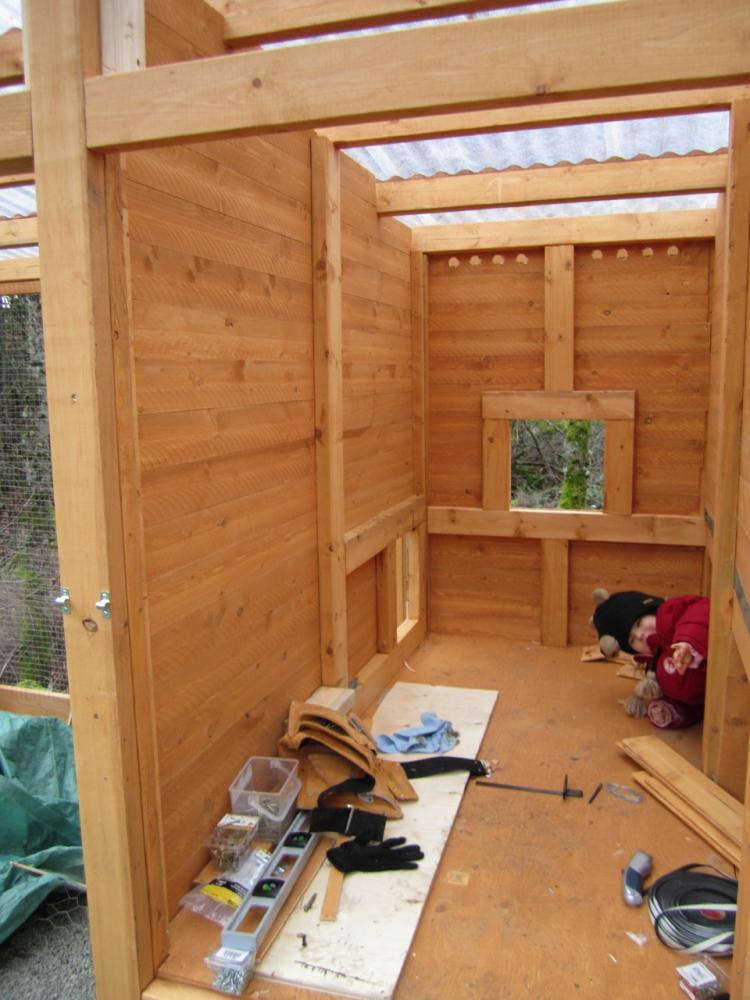
My quality assurance inspector checking out the build.
And the nesting boxes
The nesting boxes ready for some paint.
I put a T roosting bar up. Two actually and easily removable. I got 4 ISA browns and they were sleeping in the nesting boxes instead of on the roost so I made a few changes to them.
March 26th
And here is the finished product (with a few touches to go to make things perfect) ready for some chickens. My wife picked up our girls in the middle of the night so they were nice and docile when we moved them into their new home.
This is two of our girls with my son, my dog, and my neighbour, and some suds of course. They are pretty friendly ladies. My dog loves them and is not exactly sure how to play with them, but she has fun trying.

April 22nd
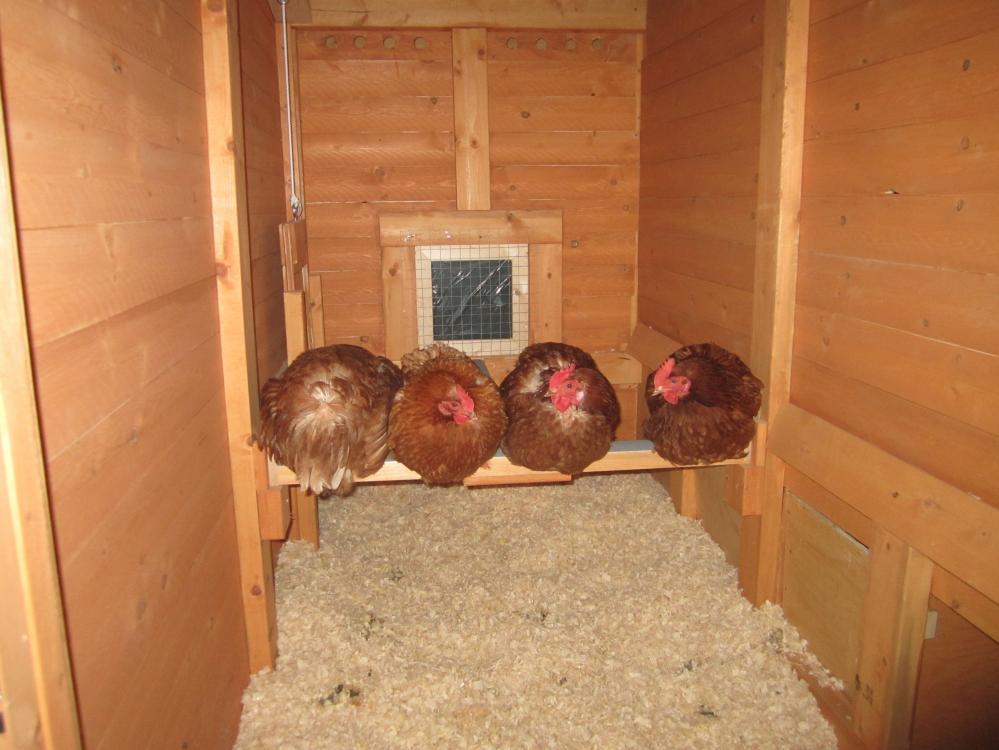
I snuck into the coop to snap a shot of them sleeping on their roosts. To keep them out of the boxes at night I block them all and then an hour past sunset I remove one of the nesting box covers so they can lay the eggs in the morning. I spent weeks trying to get them to take the hint and sleep on the roost but they preferred the boxes. As soon as I blocked them they took to the roosts right away. At the same time I rounded the edges and added grip tape to them, as well as tightened up the roosts themselves. they moved around a little and I don't think the ladies liked it. They seem good with it now.
I've had a lot of fun with this whole process; from the building of the chicken coop to learning about chickens and getting the freshest eggs possible. We plan to get at least another 4. Maybe some Americaunas and Brahmas to add some colour to the flock!
I'm currently working on an automatic watering system with poultry nipples. Everything's cut and ready to go except the silicone drying around the nipples. I also plan to install an eve trough at the back to feed the automatic waterer. I'll have to figure out first how healthy rain water is first! I made an automatic feeder for them too from pvc but they don't seem too interested in it yet. I'll post pictures when I get them finished.
I think I might change the position of the roosts to further back in the coop. I haven't had to do any heavy duty cleaning yet but it all seems pretty easy to clean. So far I am pretty happy with everything but this is only a couple of months old so we will see how all the different seasons affect my opinion.
One thing I would do in the future is use a lot more recycled materials. This project had to go up pretty fast so we didn't have time to look around for used materials and it ended up costing us more than we wished. The next coop I think will be as much recycled material as possible and not as rushed.
------------------------------------------------------------------------------------------------------------------------------------------------------------------------------------------------------------------
April 30th
Here is my auto watering system I made from looking at other people's designs from this forum. I used a wine bucket and PVC piping I had laying around. I bought some poultry nipples from ebay and installed them.
Note: I used a 3/8 drill bit and tested the screw-in nipples for leaks on a piece of pipe and it worked leak free. Then I drilled 5 holes on the pipe to be used and they all leaked! I went to the pet store and got some aquarium silicone and sealed all the nipples onto the pipe. Moral of story: go buy and use the 11/32 drill bit they suggest and it should work leak free!
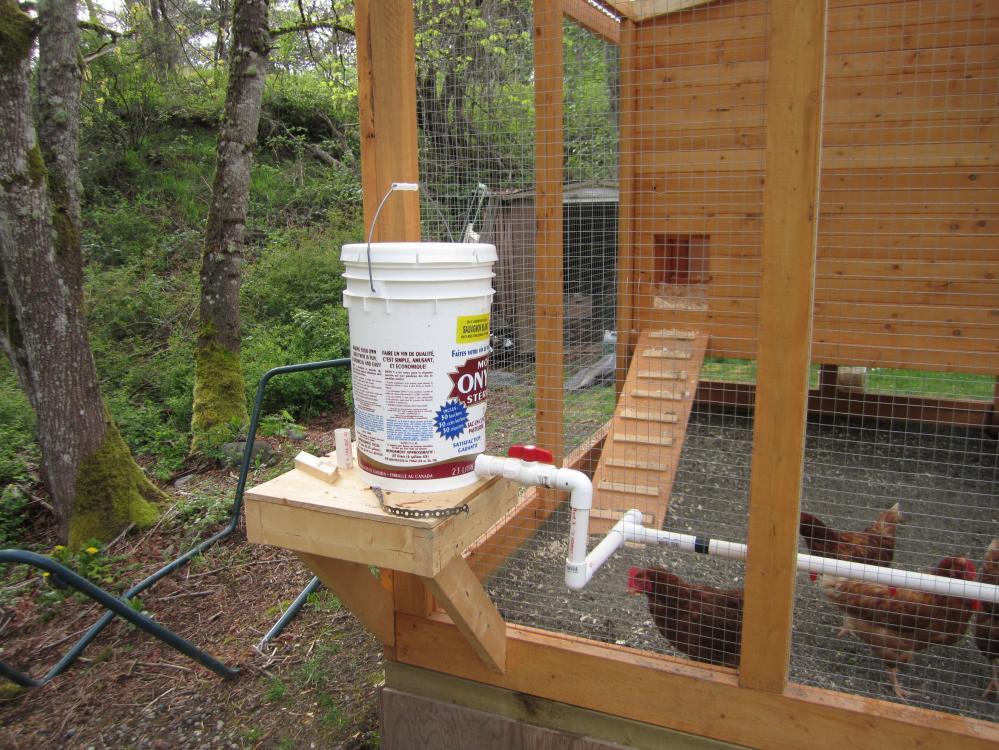
I wasn't sure how long it would take these chickens to get used to these nipples, but they did it right away. Now there is no need to change the bowl of water we had there 3 times a day. Just check the bucket to make sure there is water in there!