
When we first decided to start our chicken keeping journey, my husband and I each came up with short lists of requirements for our coop. They went as follows
His List
Cheap
(and I quote) "Doesn't make our house look like a dump"
My List
Looks nice from the outside
Looks nice from the inside
Large enough to house all our chickens (only 6-8)
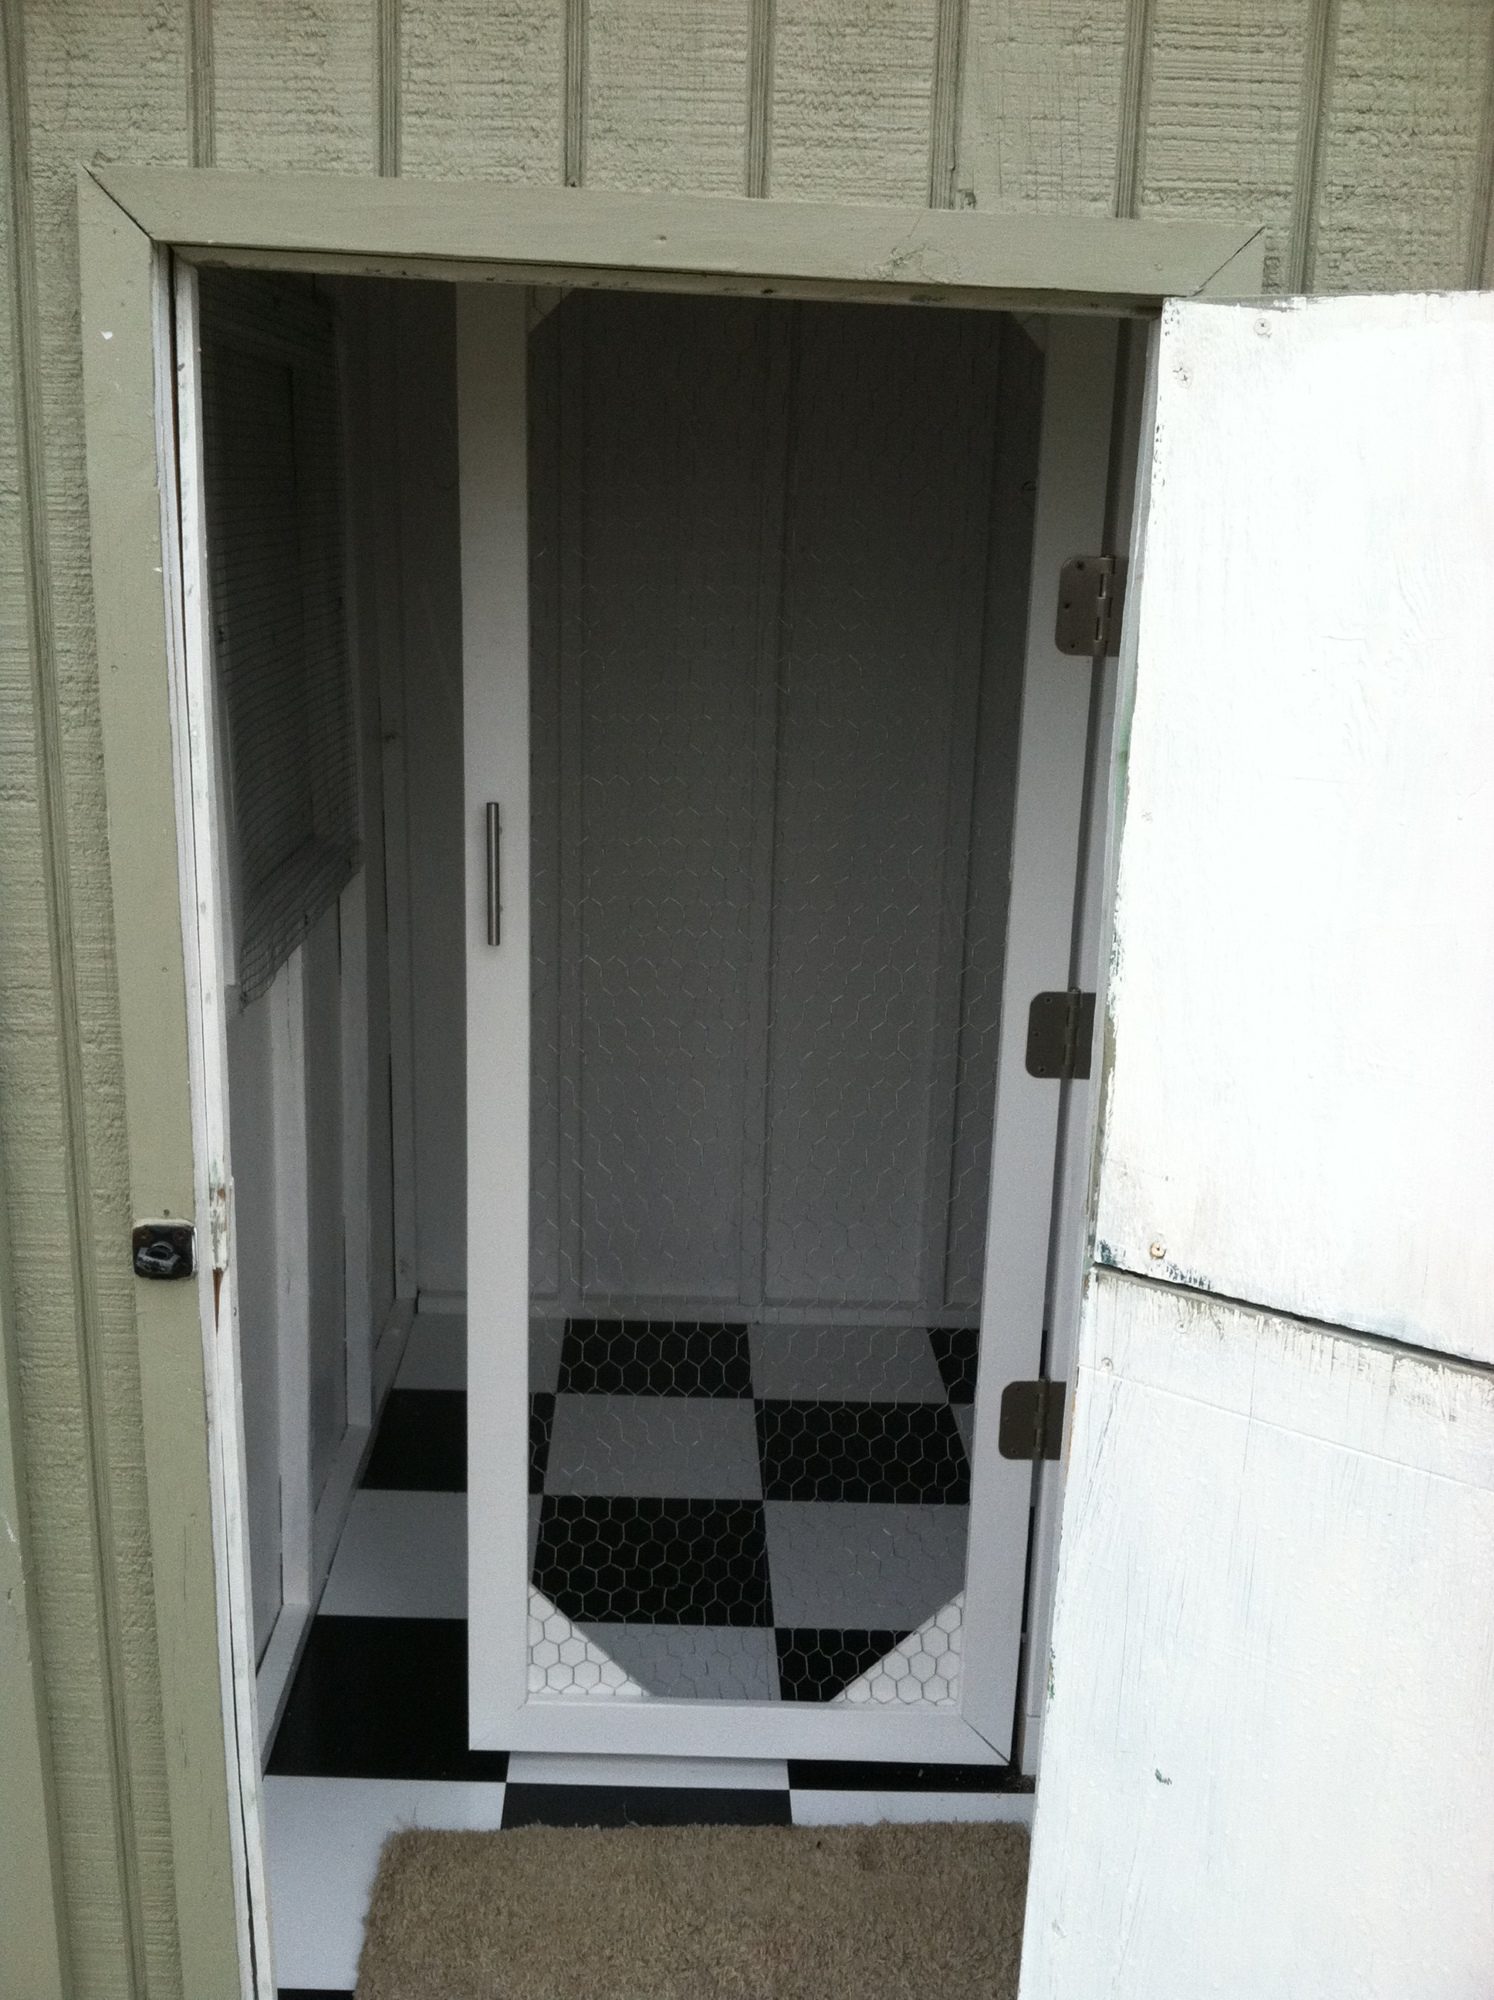
Have a human entryway so I don't have to step into chicken poop when I go into it
Be easy to clean
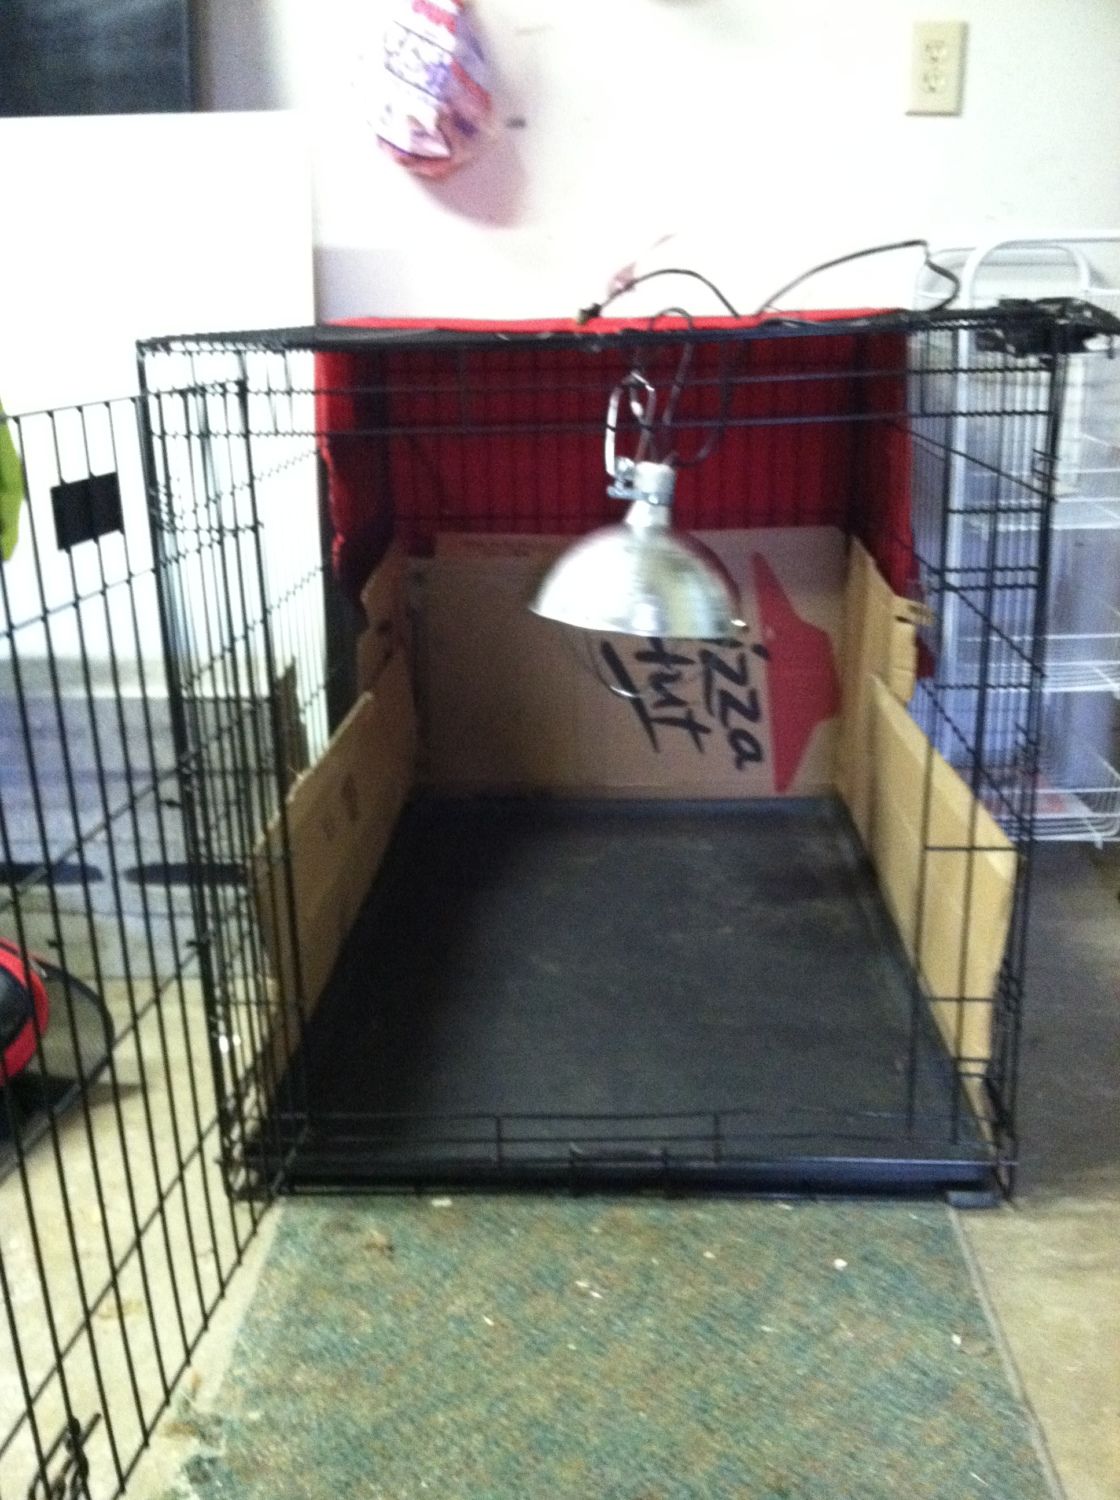
Our chicks were scheduled to come at the end of March, so I figured I would either start planning building plans for a shed, or start looking for one on craigslist. And I set up our brooder, which, while not proving to be a mistake, did not deter me from acquiring chicks before we were ready...
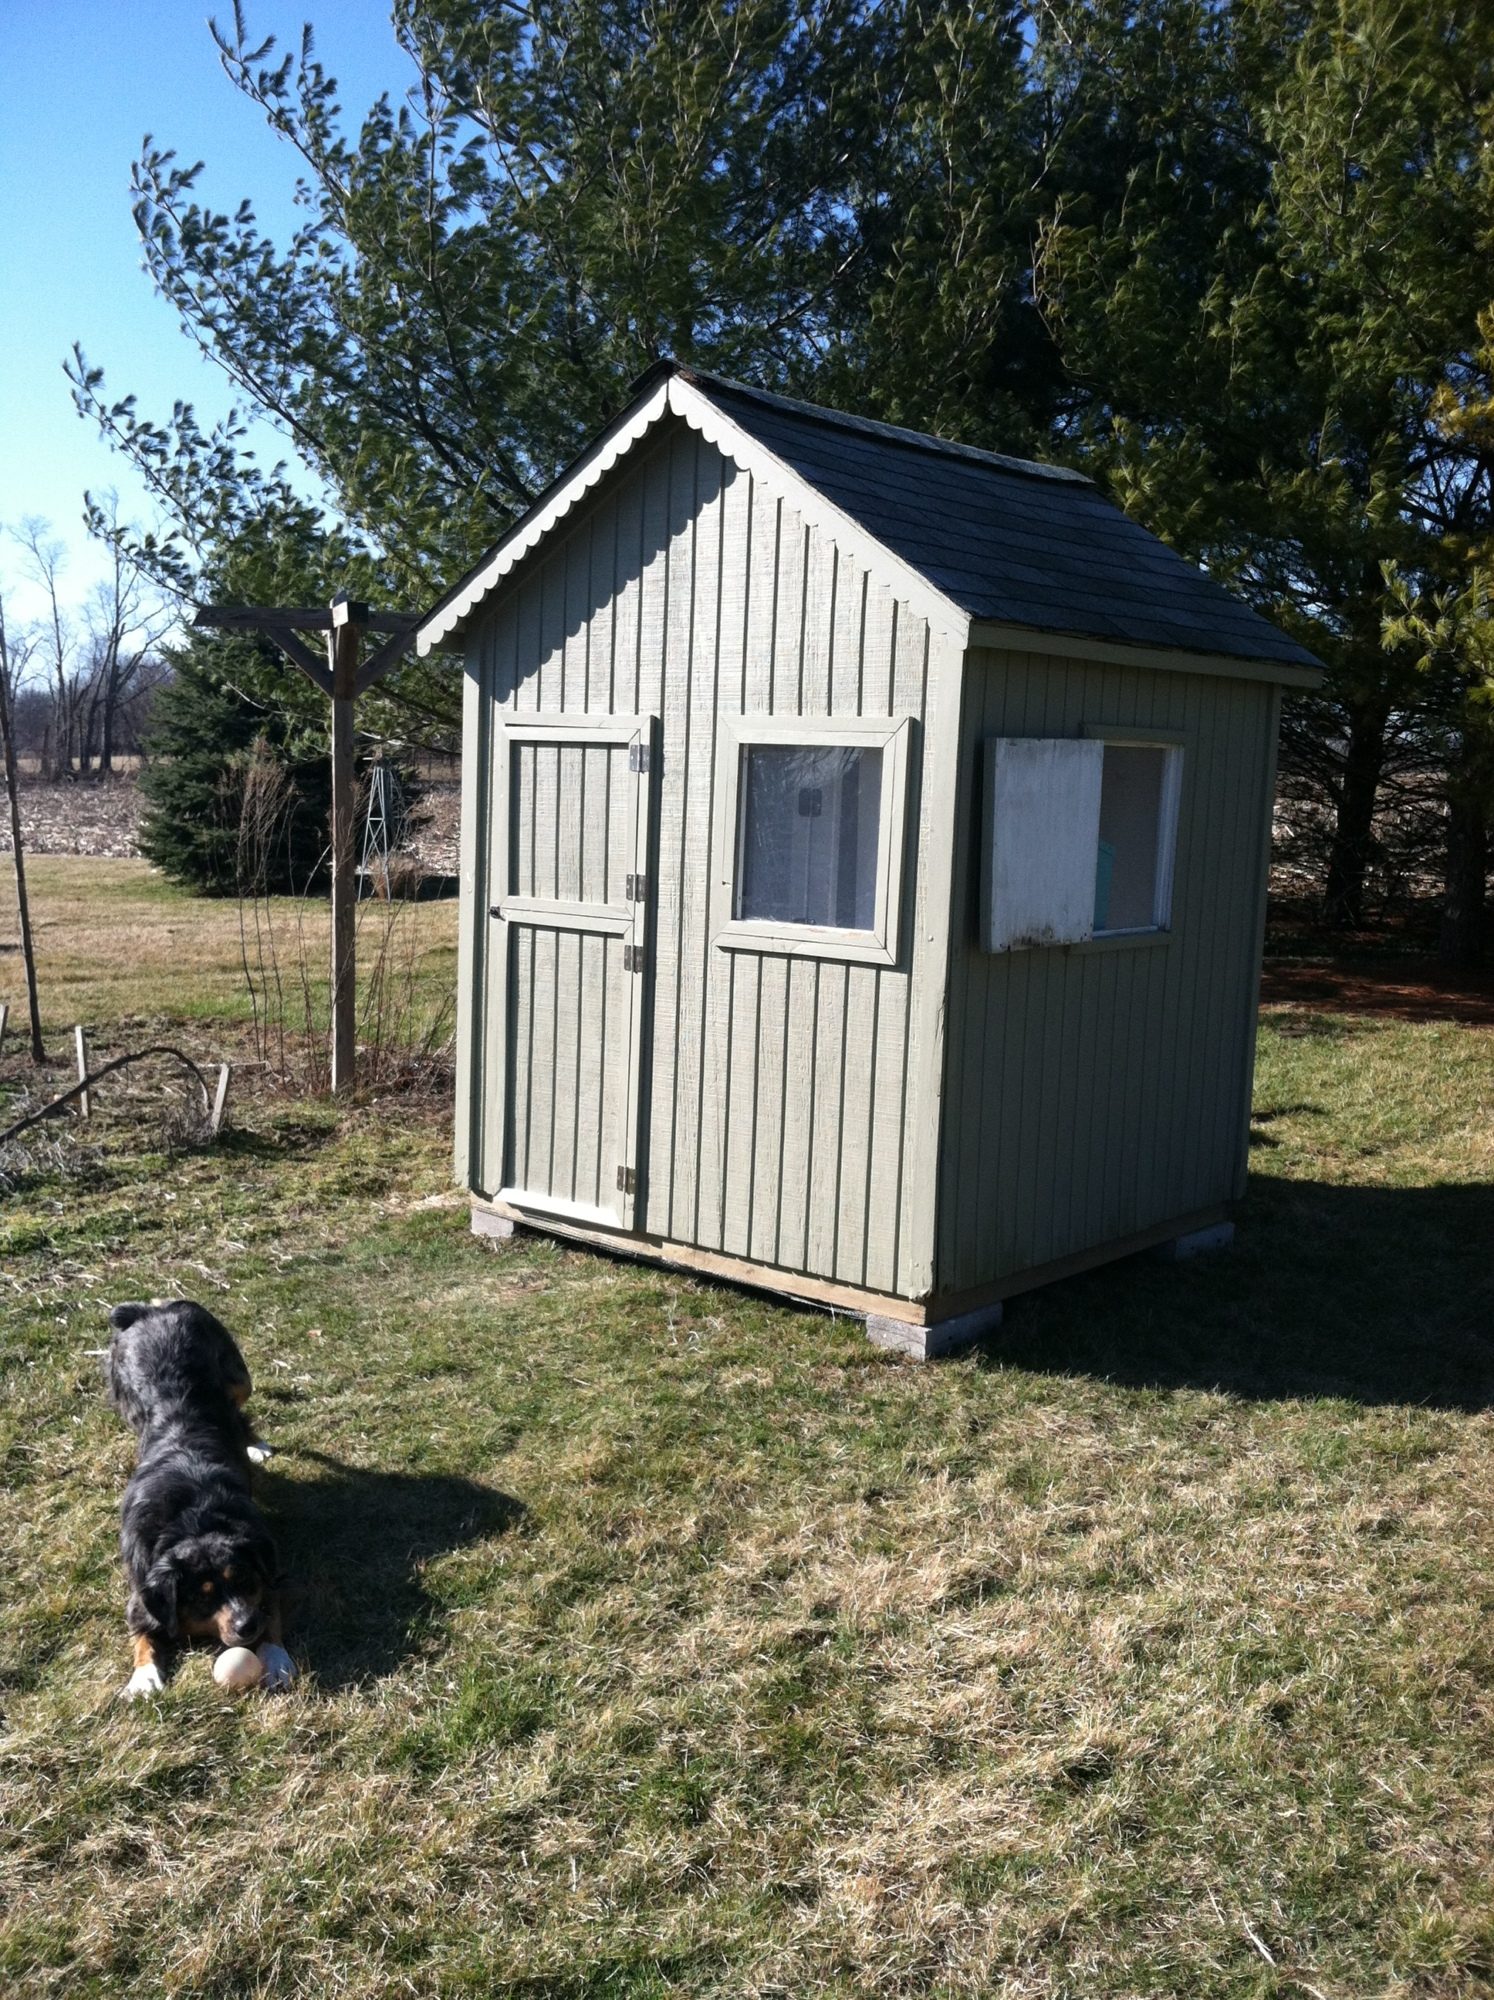
I found a shed on craigslist and started e-mailing the lady about it. The add stated it was a 6x8 shed that had been used as a poolhouse and was in very good condition. We went to look at it and decided to get it. the only issue was transport- it was 20 miles from our house and even though it was February, the ground wasn't frozen (due to 40-50 degree weather) and both our yards were mud. We needed to wait....
Waiting wasn't fun. Especially since I had started planning this in my mind and started wondering if they had sold it to someone else....
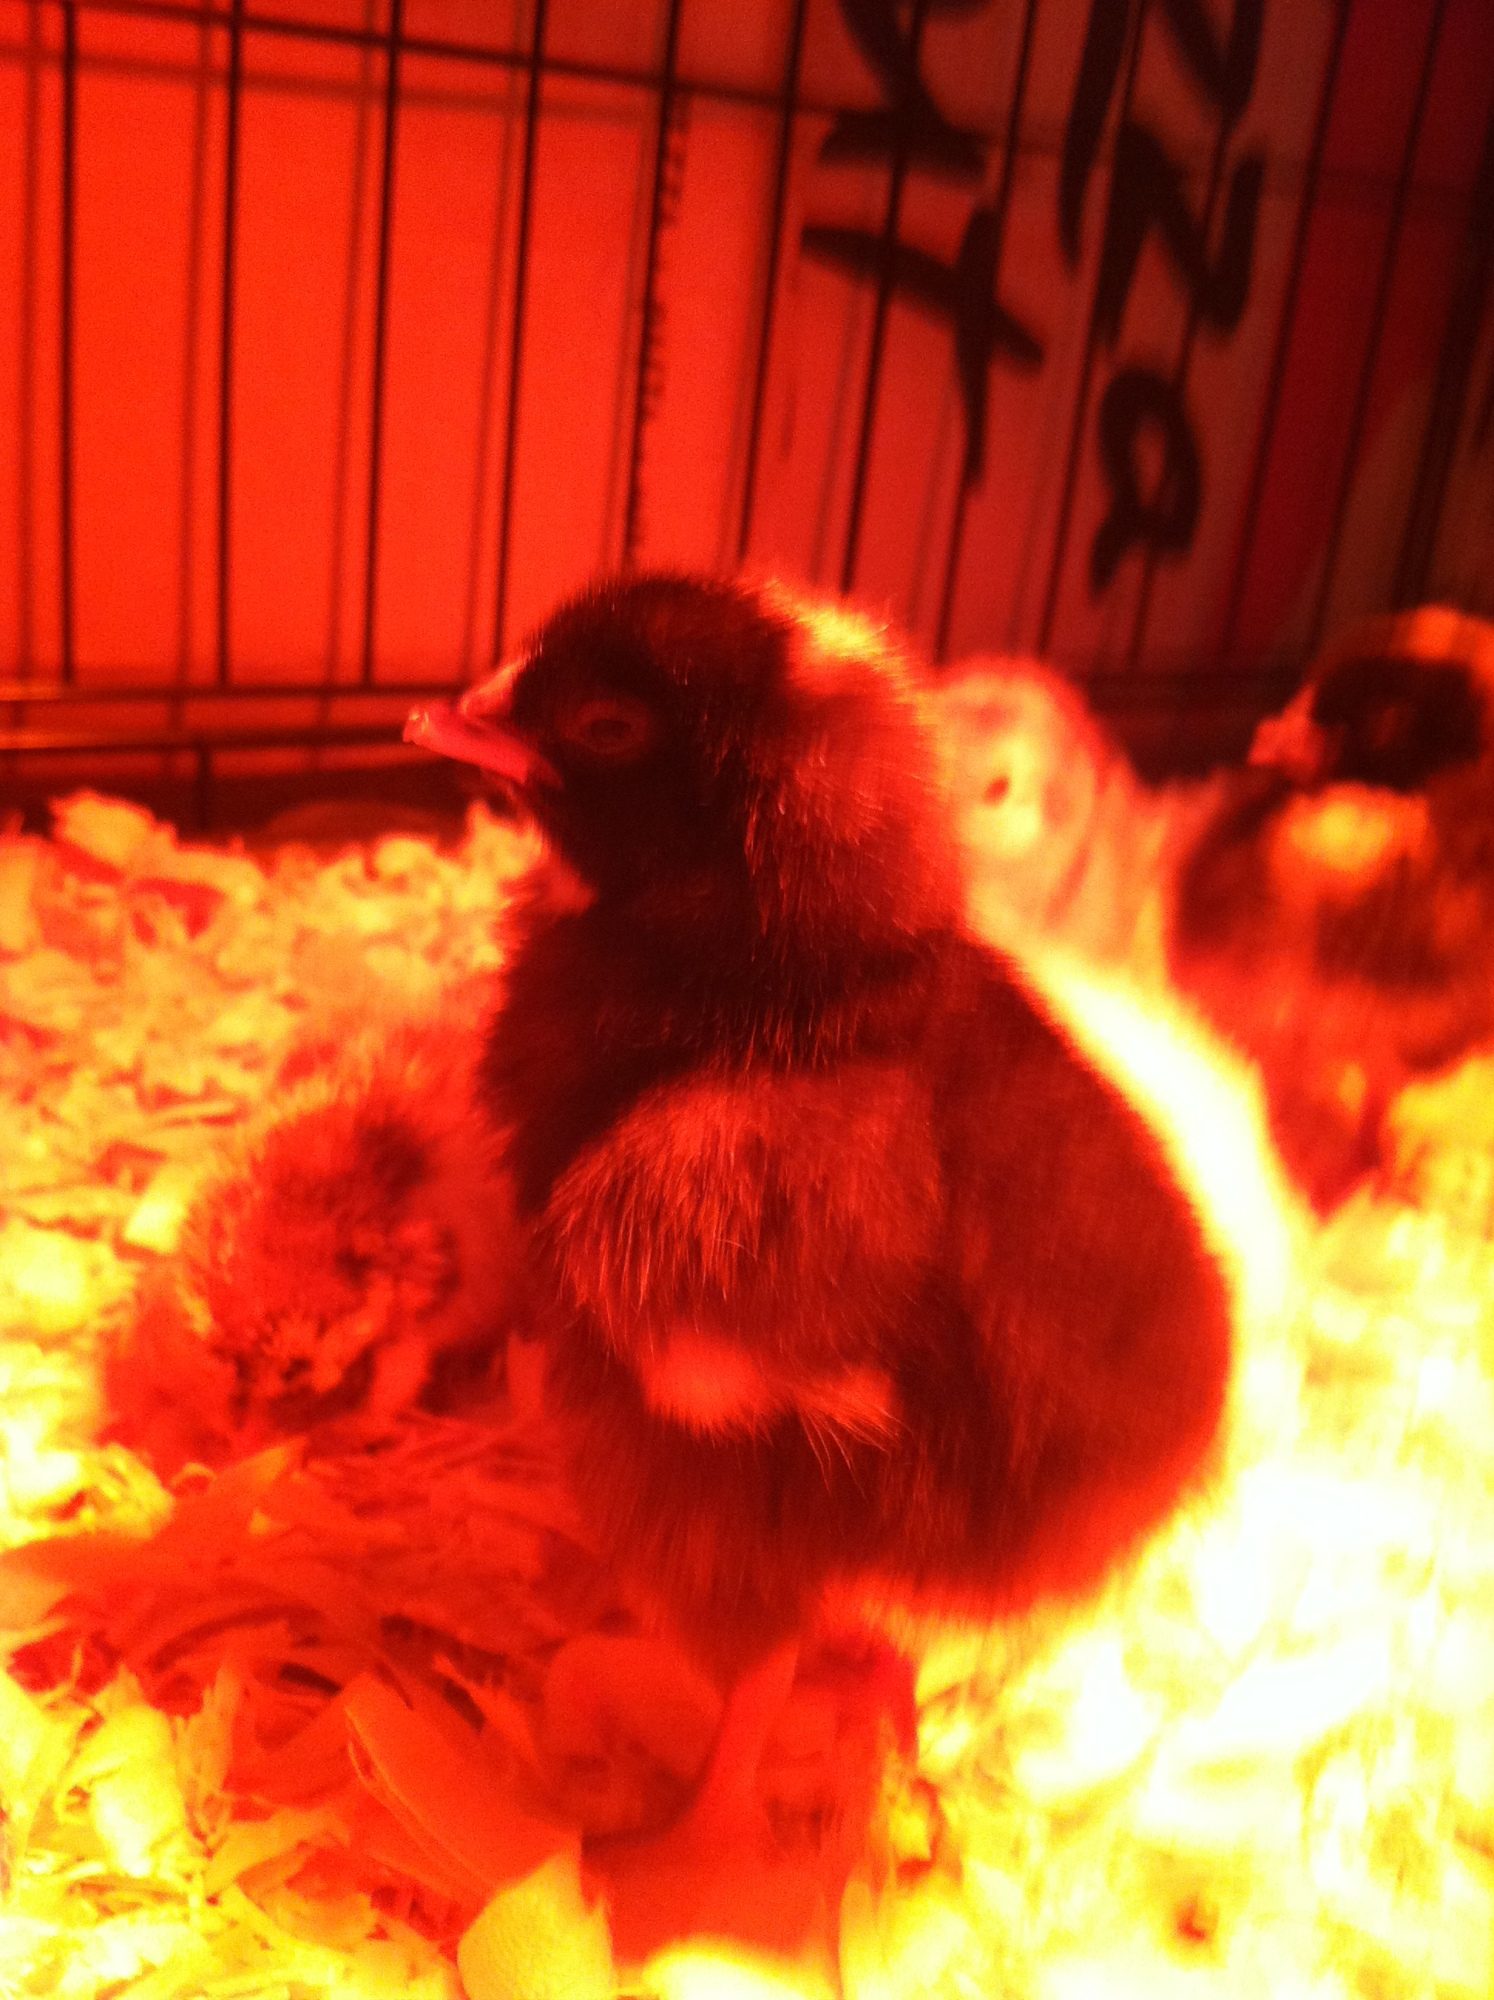
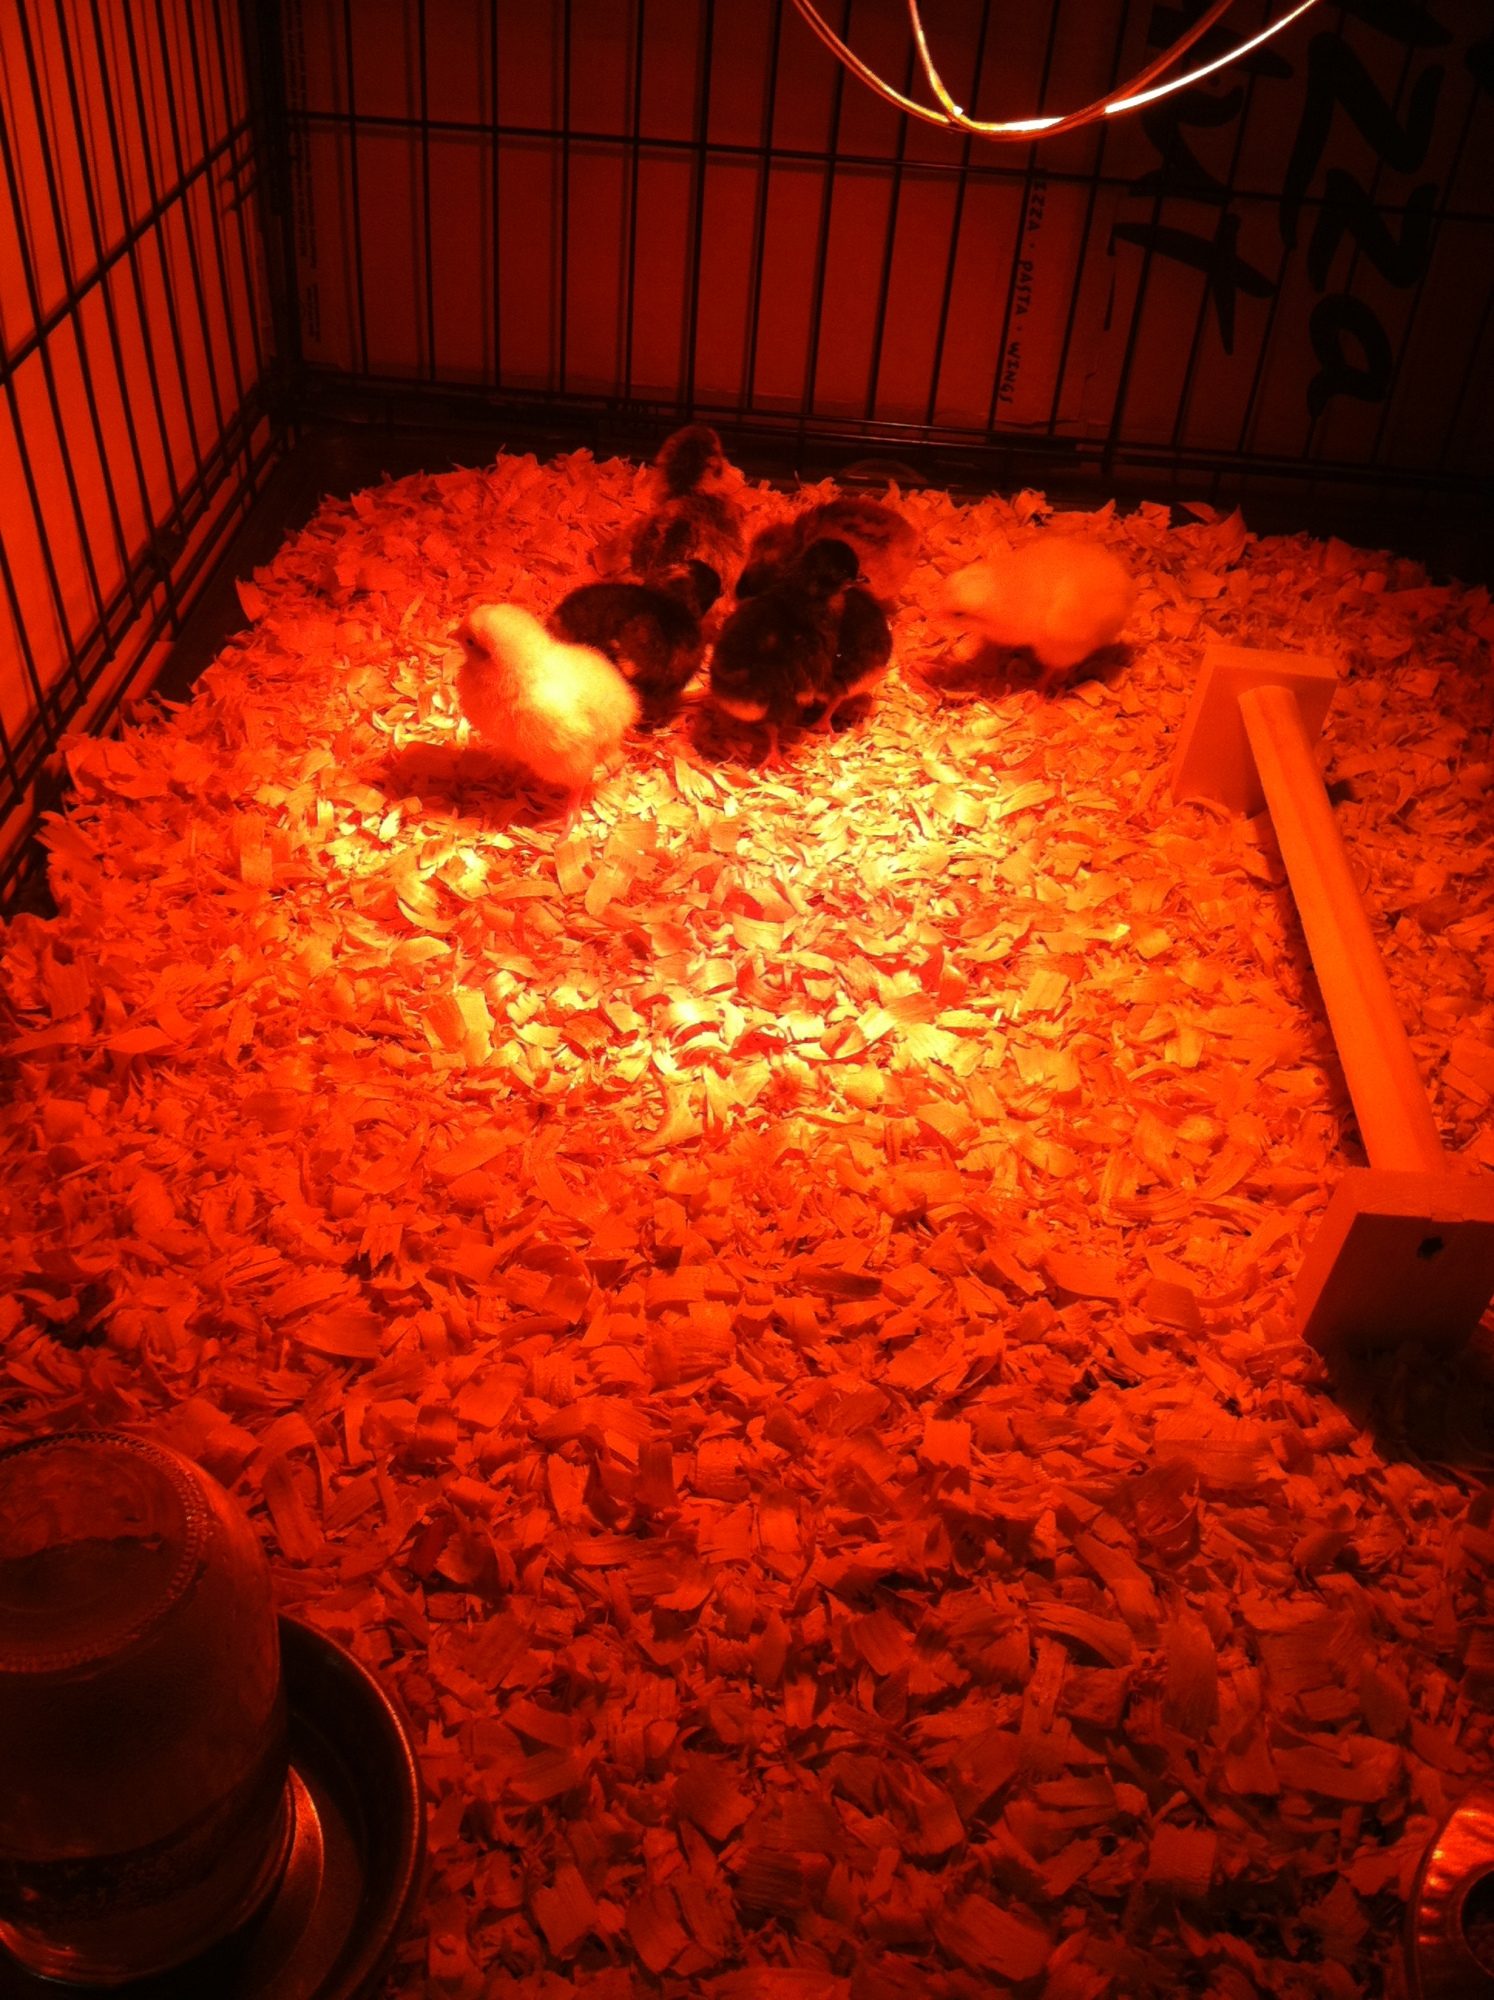
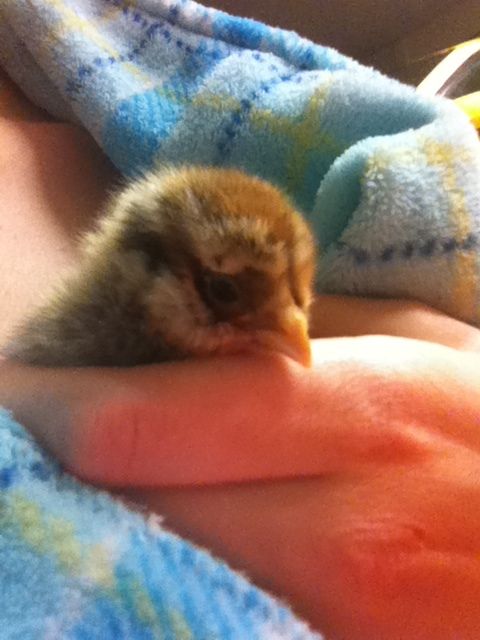
Then, all in the same week we got a tax refund (YAY!) and got a few straight days of under 35 degree weather! Oh... And I got our chicks. The last week in February. Because they were cheaper. And because they had all the breeds I really wanted. And because I went into a feedstore unprepared for the cuteness.
So my husband wasn't too happy with all the expenses at once, but in return for his cooperation (or lack of complaints) he is buying a hunting rifle. He is now limiting his complaints to random occasional sarcasm.
Anyway, back to the shed...
We asked a friend to help us move the shed. He hauls things professionally so we figured it would be a good idea. But he doesn't professionally haul sheds, so using a tractor, trailer, straps and his son, we moved that darn shed to our house.
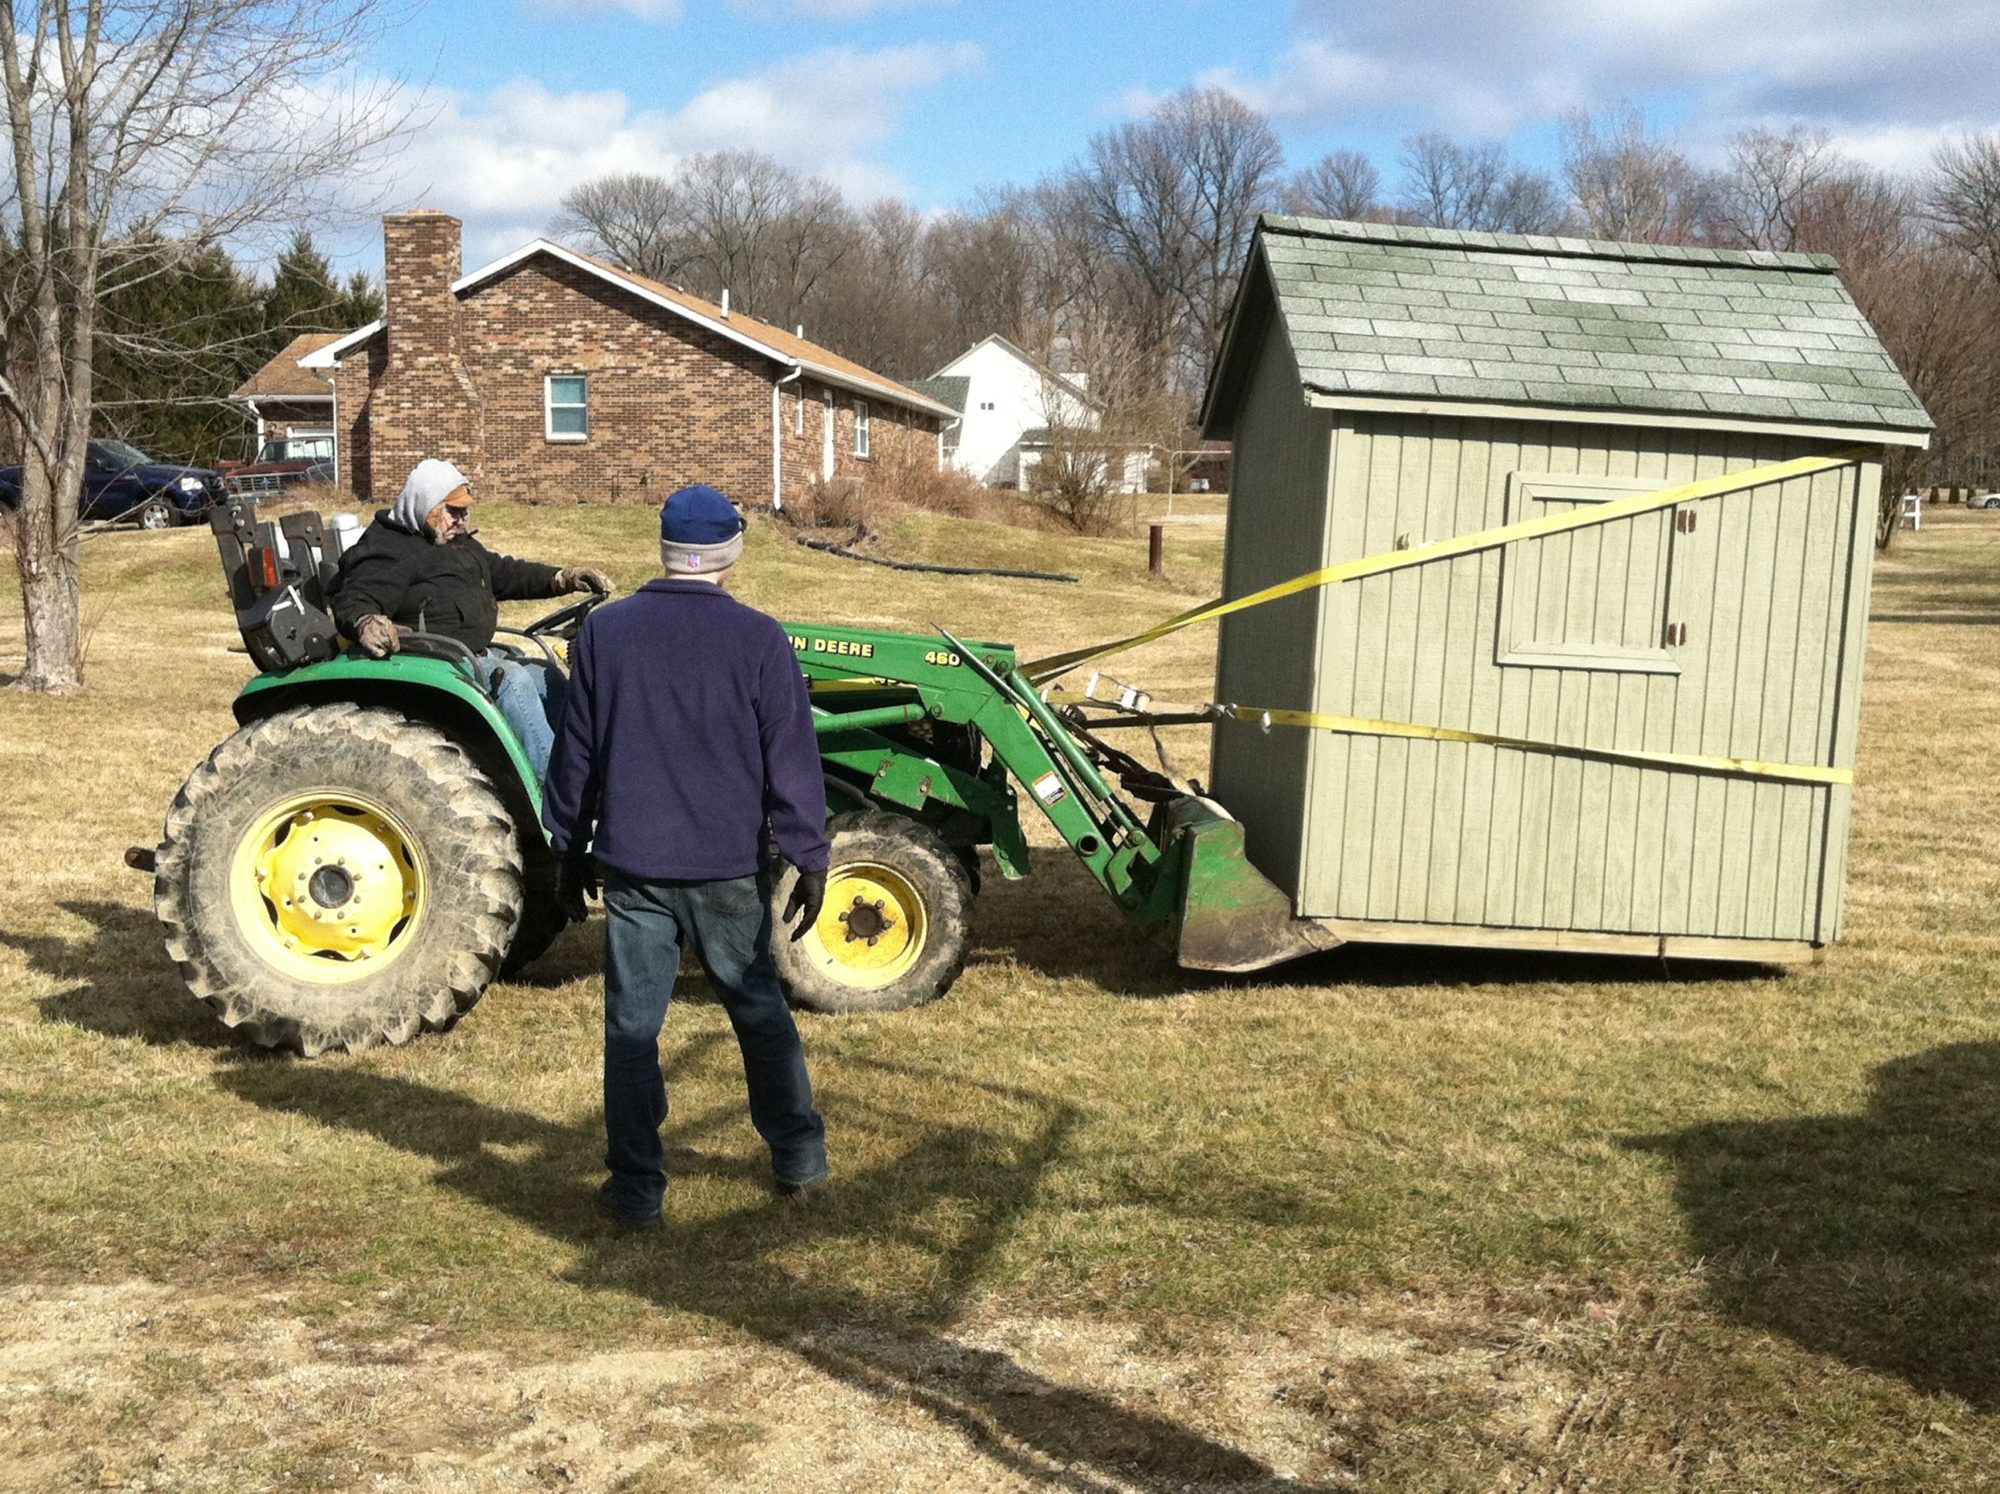
When we got it there we realized the roofing could have been done better, and that it was 6x8, but the 8 ft was tall, not long. So now we were dealing with a 6x6 instead of 6x8 shed with a roof that may or may not leak... (by the way it doesn't leak, it just looks like it will)
**Note to self, when going to buy something, like a shed, take a tape measure to see if it is as advertised.**
So we got to work...
We got a bunch of screws, a level, washers, a straight edge, 2x4s, underlayment, hardware (door handle for interior door and hinges), clear acrylic for the windows, a plastic/acrylic cutter and a bunch of scrap trim wood from The Home Depot. I also got hardware cloth and chicken wire from Orschlen's and white paint, vinyl stick tile floor and floor primer from Menard's.
Before putting the shed down on concrete pavers, we laid down hardware cloth on top of the pavers and under the shed boards and attached it with screws and washers. This was so nothing that can dig through wood would dig up into the coop to get the chickens.
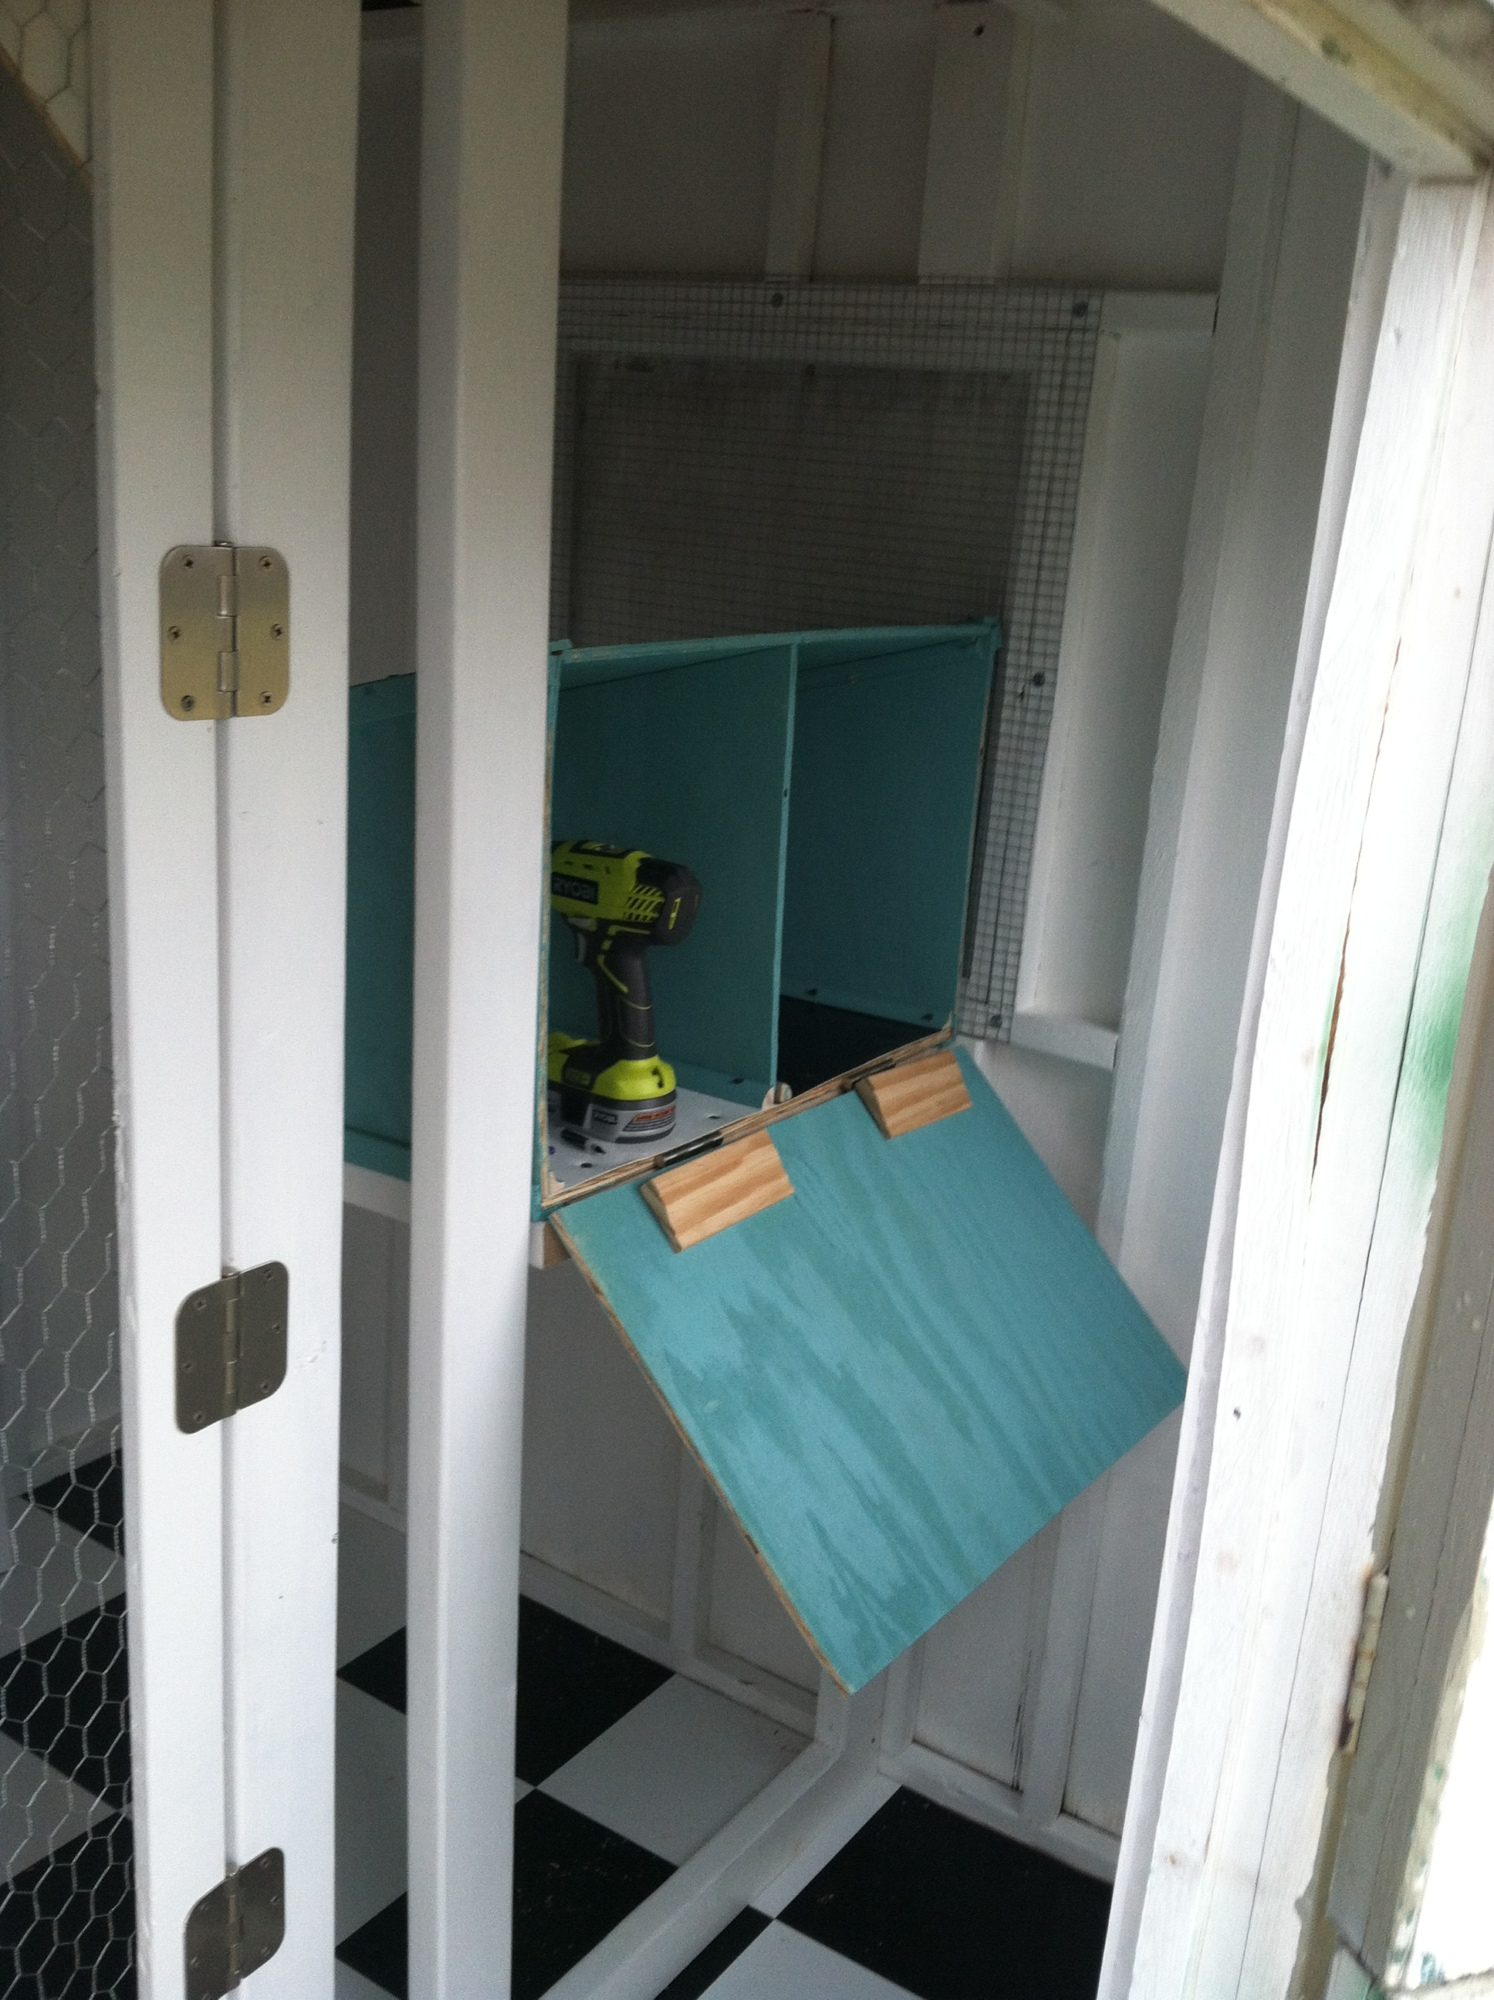
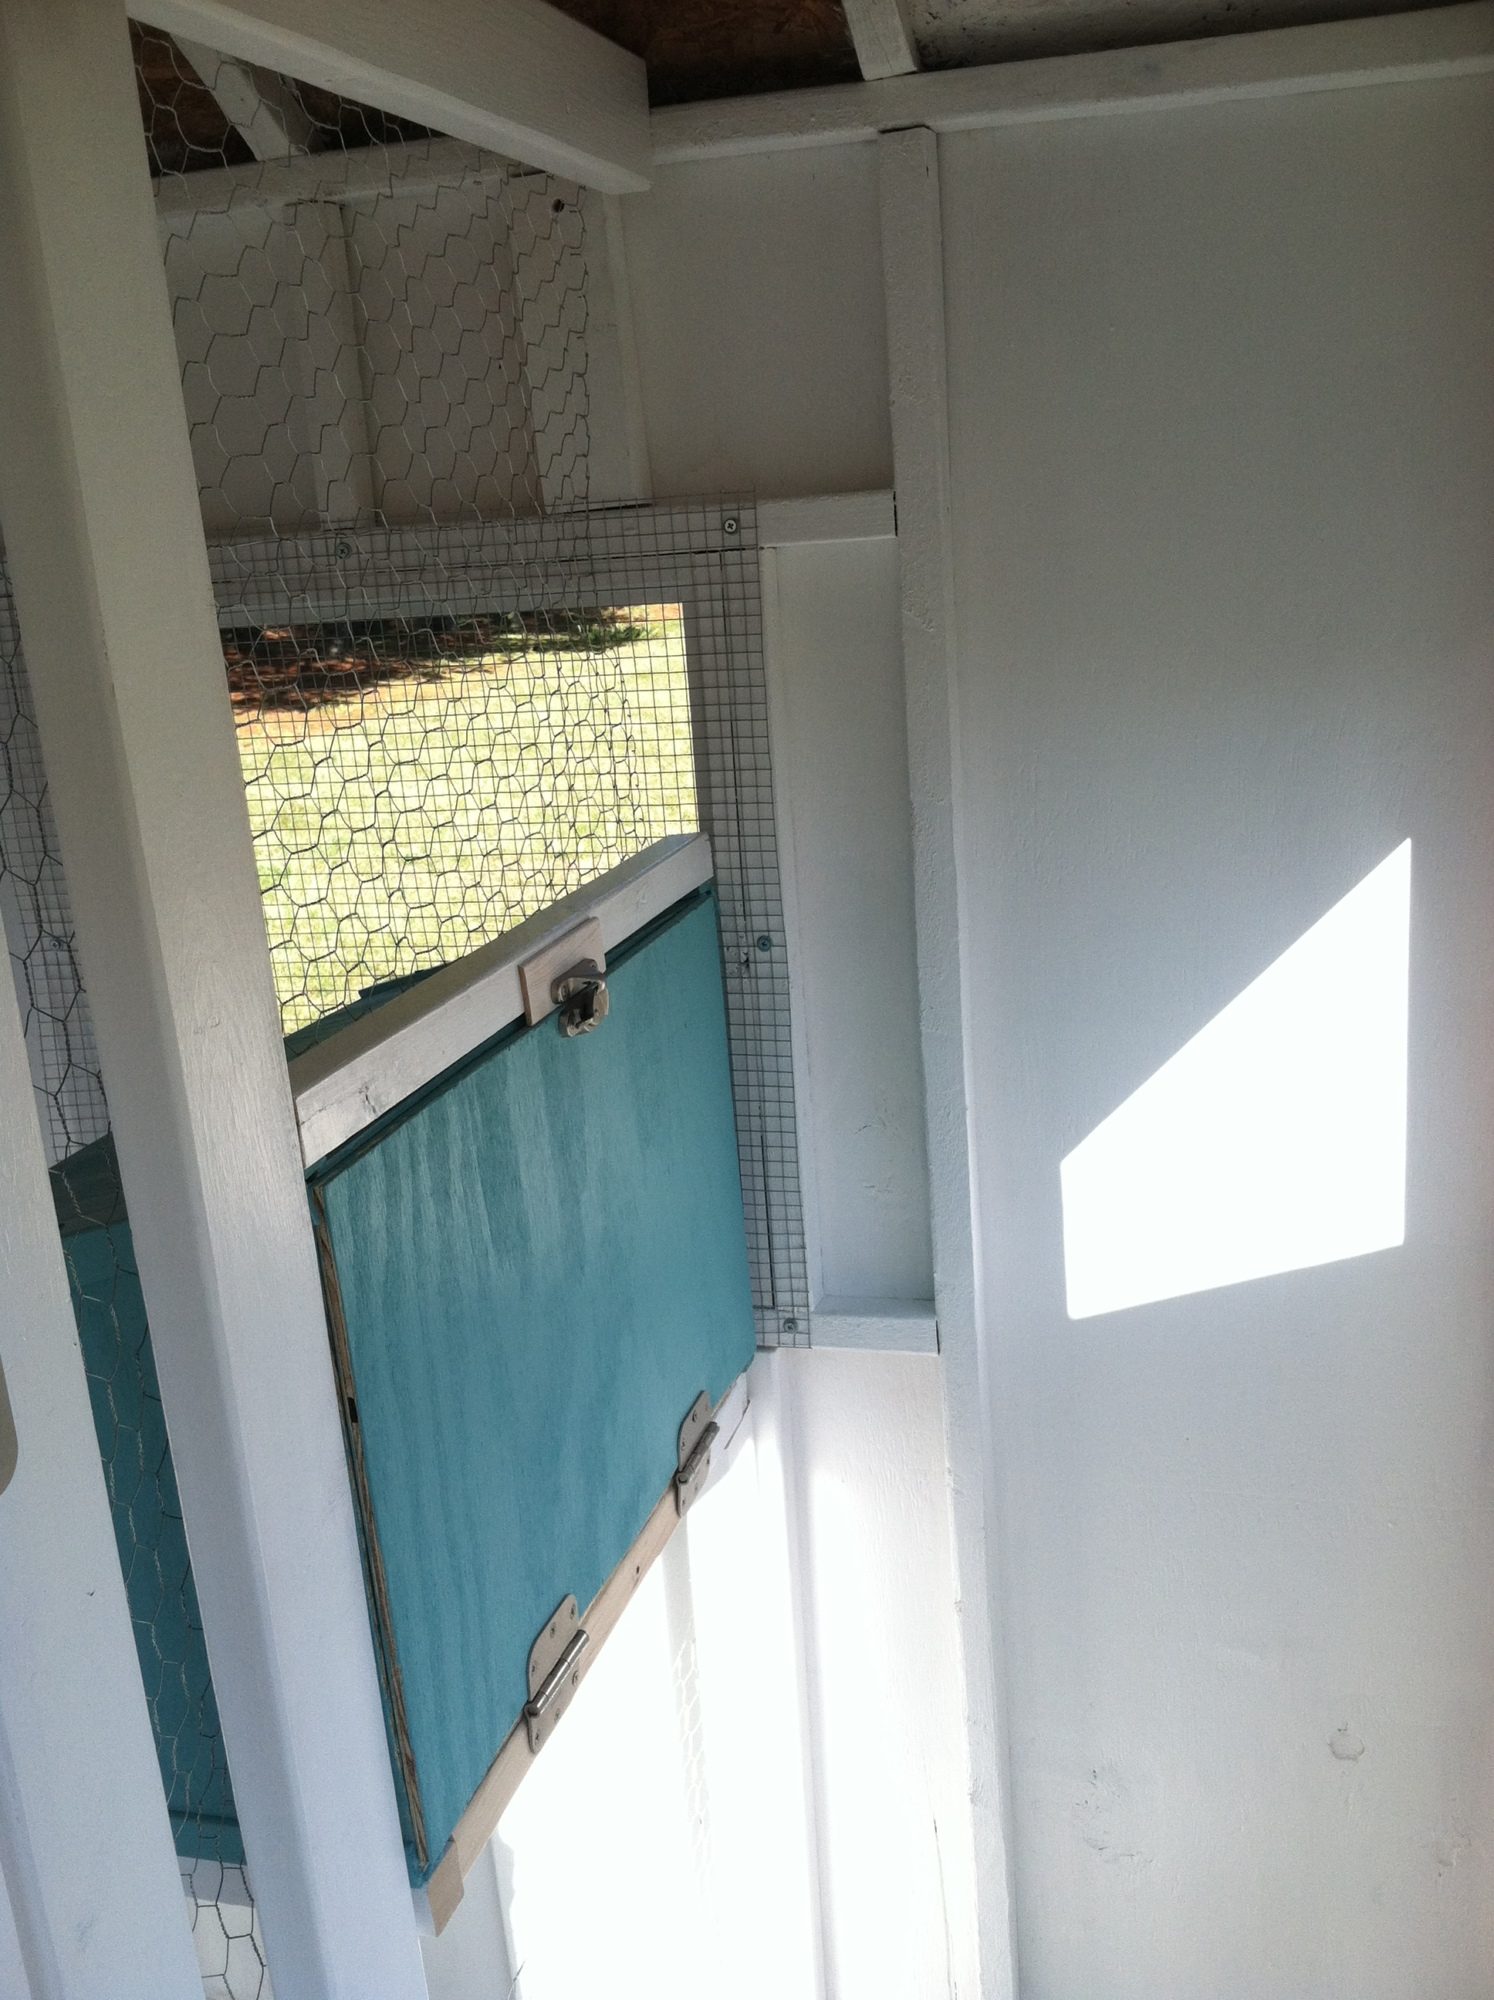
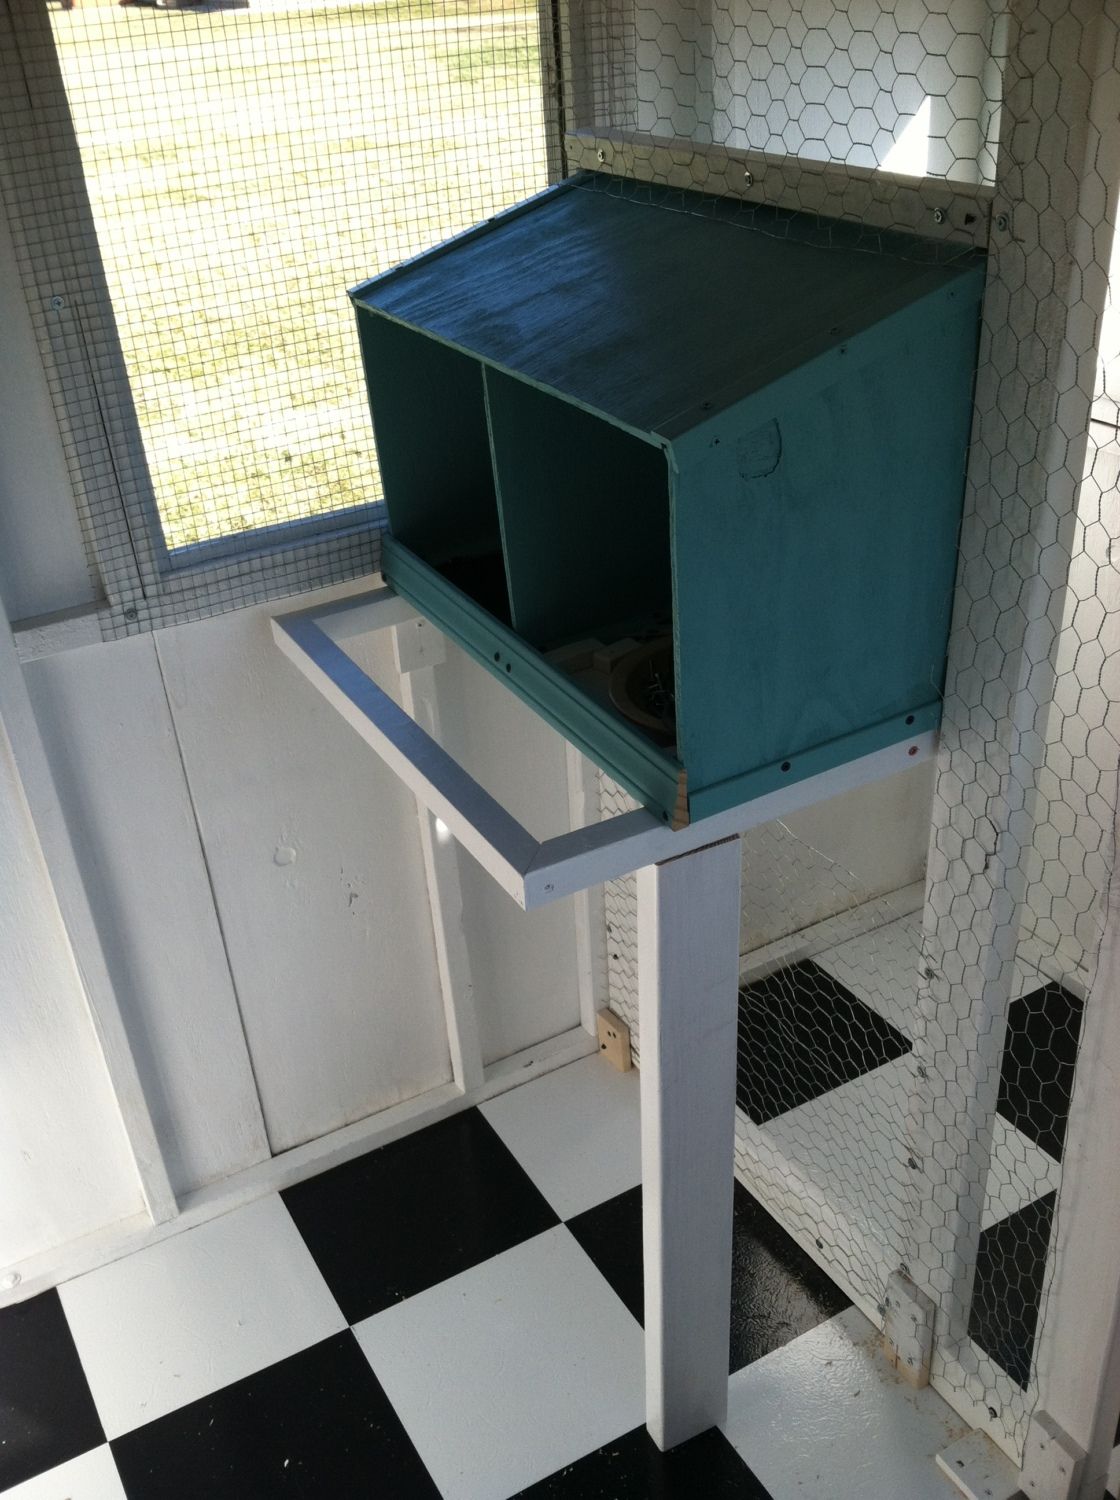
Next, I planned out the partition and made the nest boxes... I painted a ton of wood white and had some turquoise paint left from our old kitchen so painted the nest boxes that color... The partition in the nest box(es)is removable. The nest box is 25"wide, 12" deep, and 12" at the front sloping up to 15" at the back. The partition is in the middle.
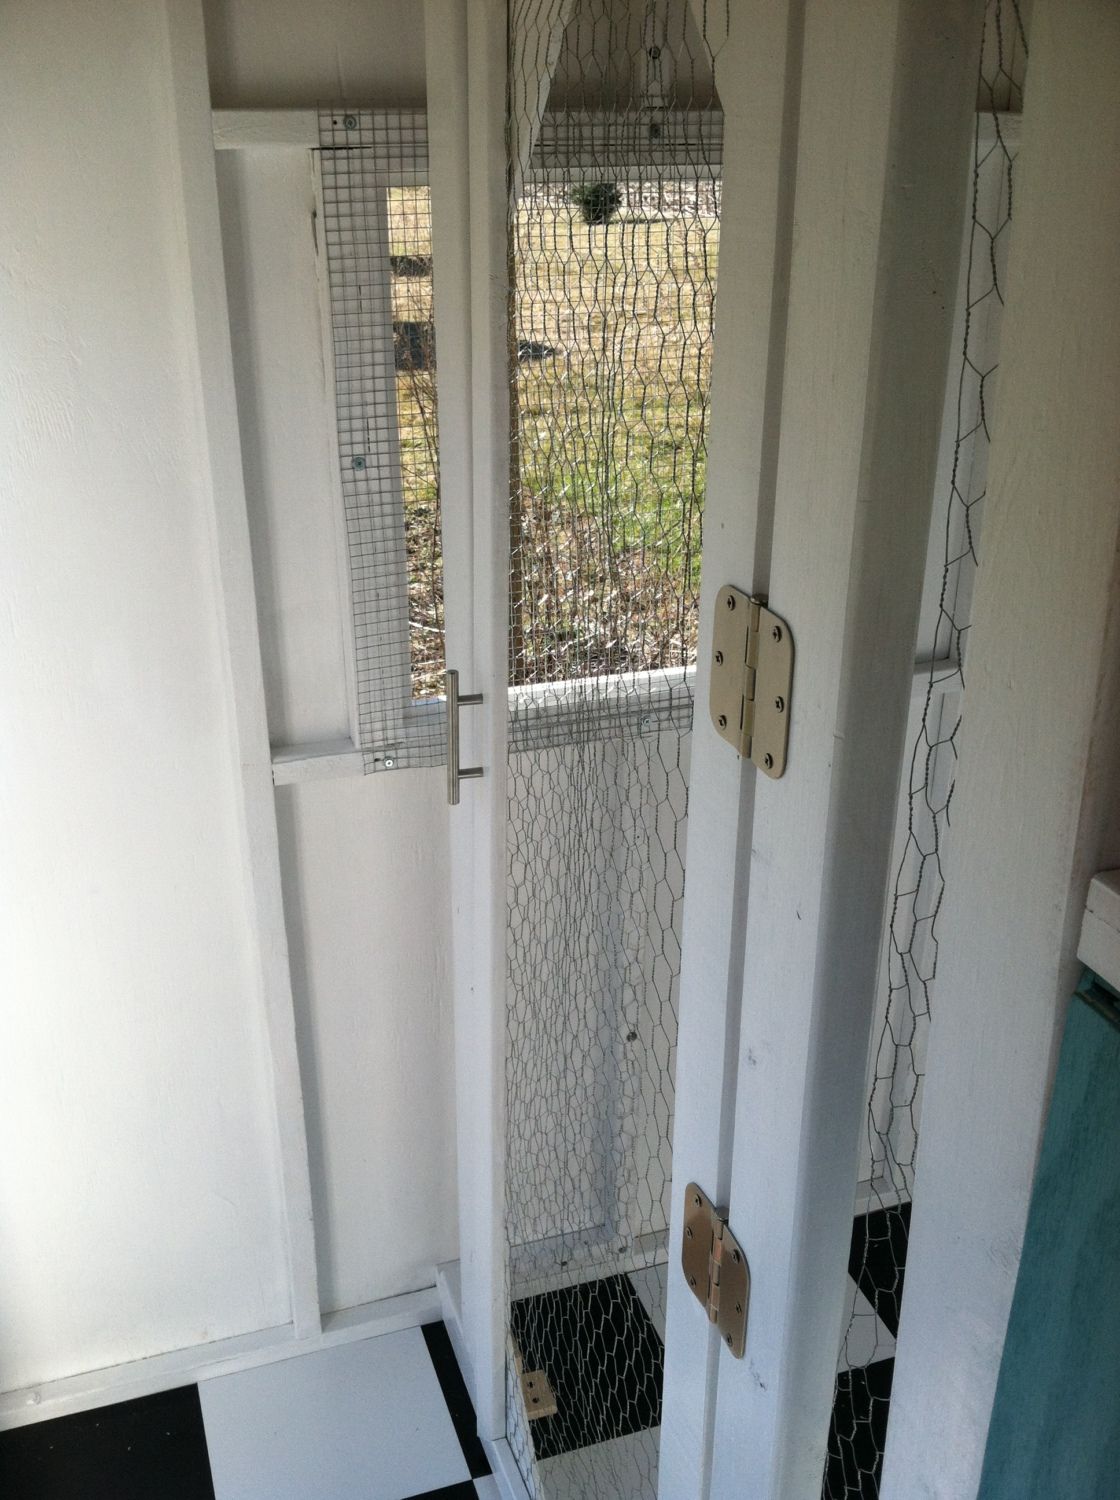
I also made the door about 2 feet wide and 5 1/2 feet tall, covered it with chicken wire (attached with washers and screws, and added plywood at the corners, a handle and hinges.
The partition itself is 6 ft wide and 6 ft tall. Chicken wire covers all the openings including going from the top of the partition to the ceiling of the shed.
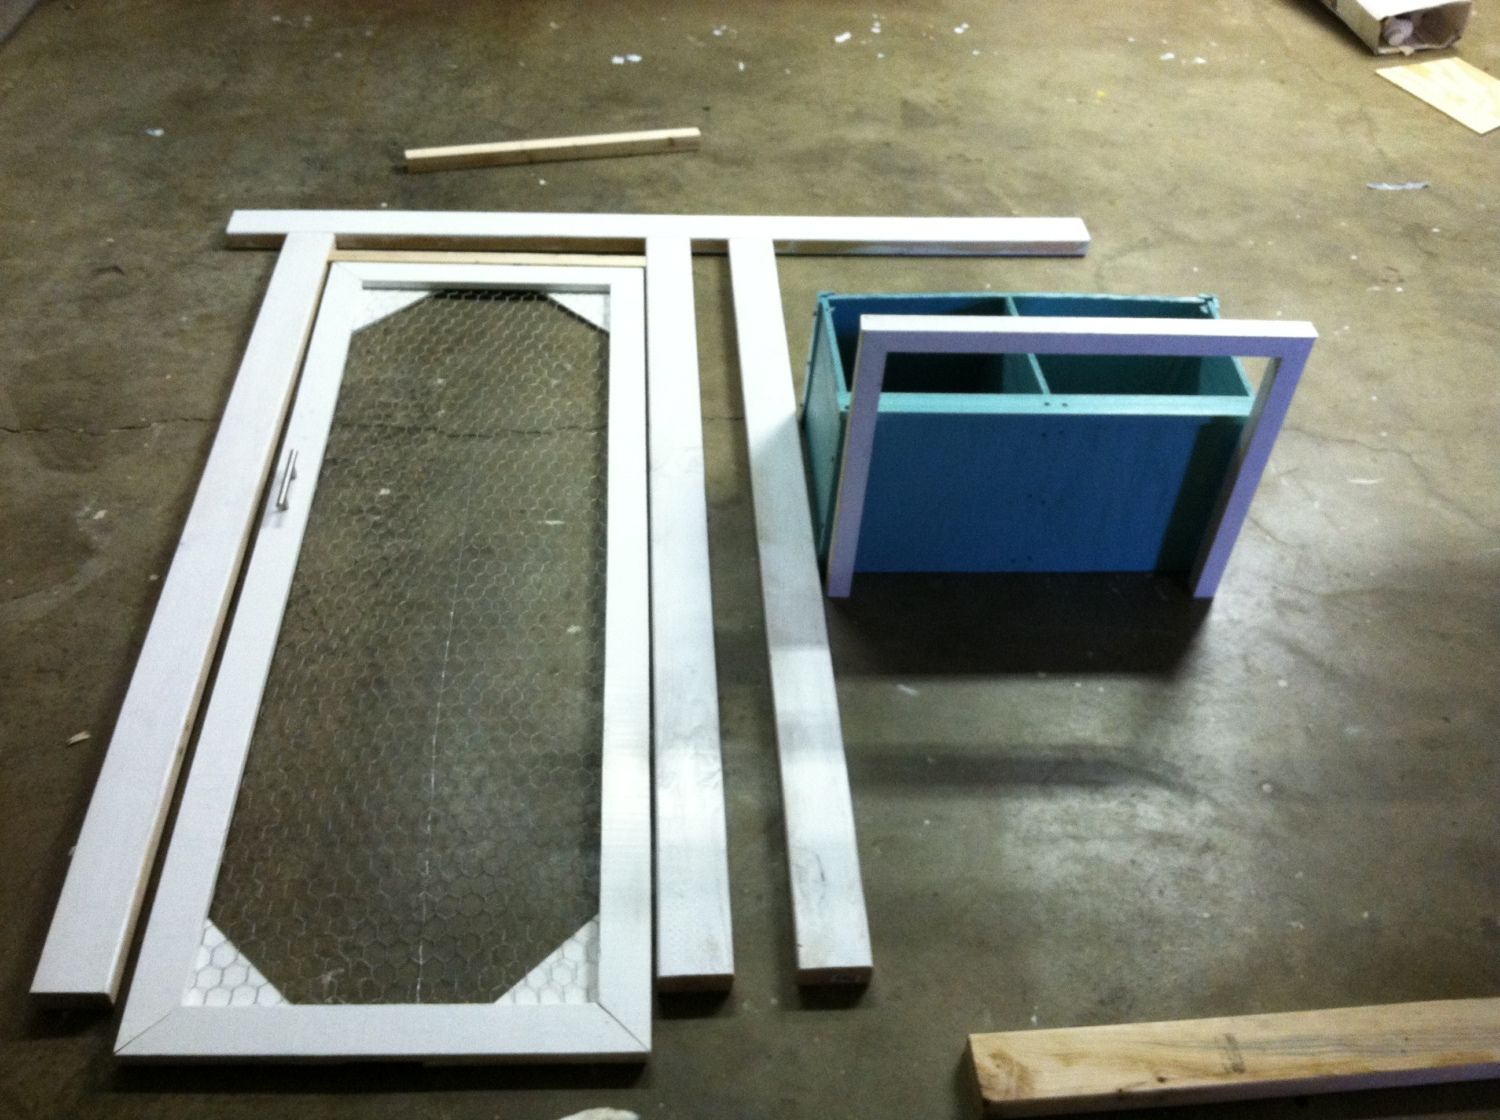
Partition laid out on the garage floor...
The distance from the edge of the nestbox to the partition door is 36". The distance from the other wall to the door is 8.25"
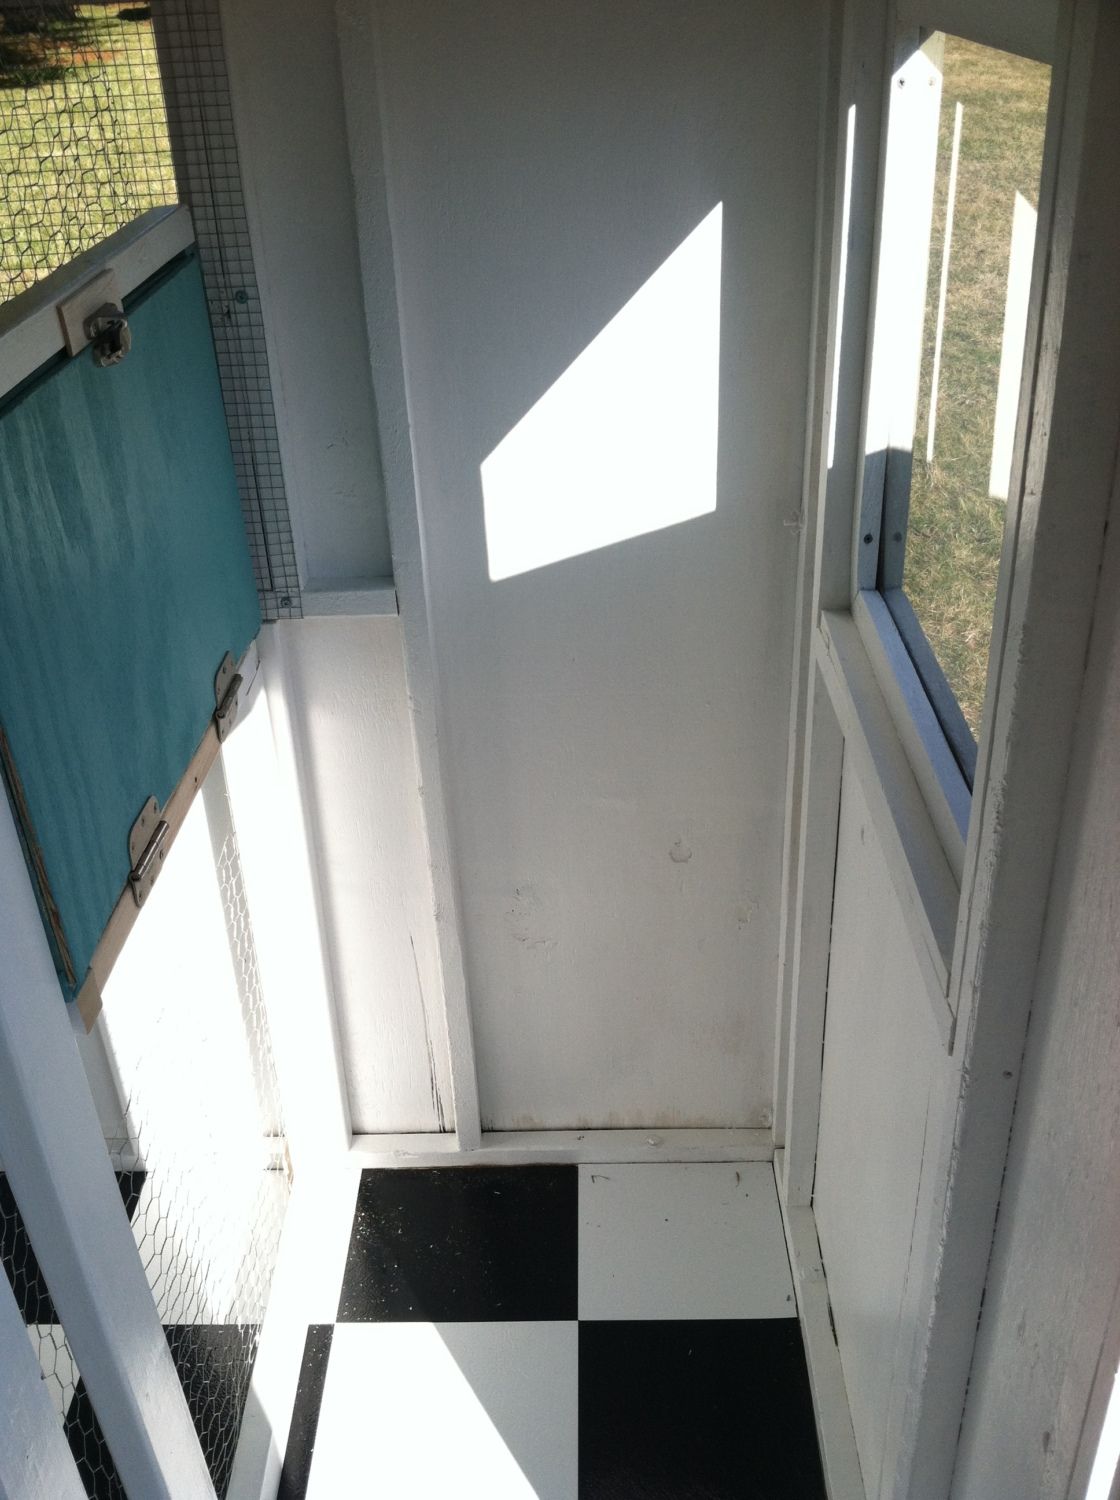
Next, having a day that was above freezing to install the subfloor, floor primer and vinyl tile.
I found the center of the room per the package instructions and marked it, then started laying tile there...
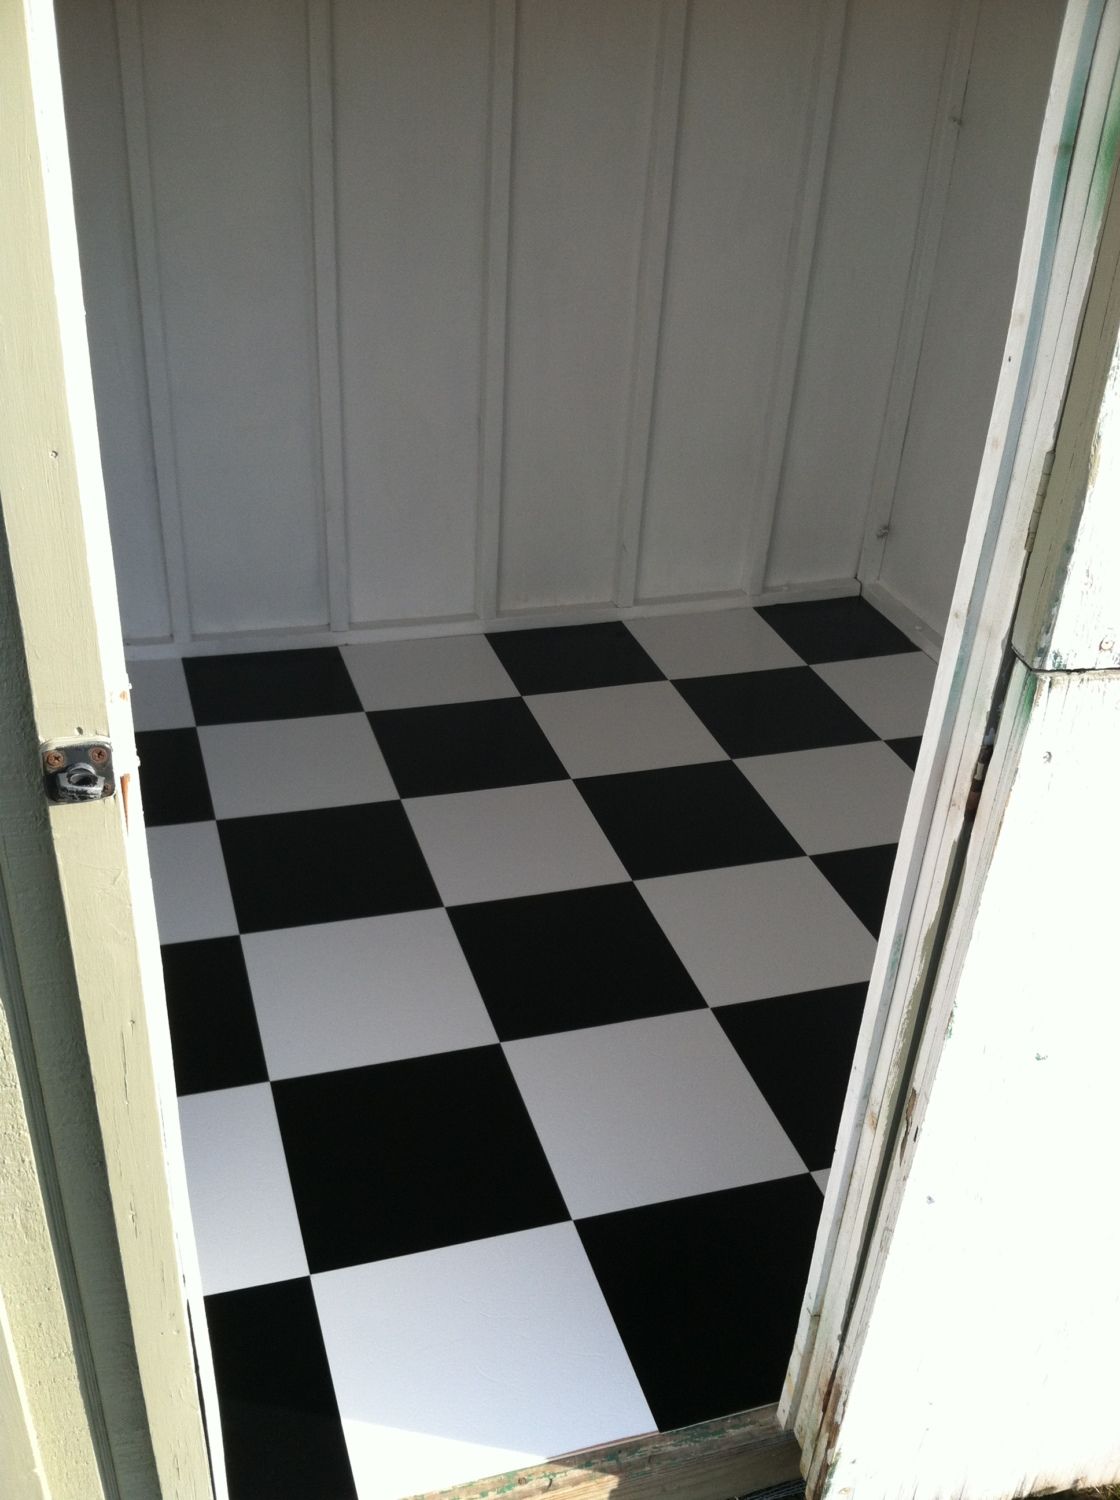
Finished product...
Installed part of the partition:
Our dog "helping:
After installing the acrilyc windows:
What we still need to do:
Add roosts, a pop door, and run.
Add a snow fence in addition to the run so the chickens can roam free(er) with out us worrying about them being hit by cars on the nearby highway.
Paint any bare wood.
Add trim where the floor meets the walls.
Install exterior and interior door locks.
Paint the exterior (not necessary for function...)
Install an outlet, a light switch, and a 24" ceiling fan above "foyer area".
Figure out how much we actually spent... Our goal was under $500, and its definitely been under that as of now. After we add the run it could be a different story...
My inspiration came from this:
http://www.thefancyfarmgirl.com/heres-the-coop/
and looking through many of the awesome coops on here!
If all goes according to plan, the exterior (at least color-wise) will look like this:

I did most of this myself- while a baby was napping in the house... The only things my husband did were help move the shed, cut some of the wood and install a few pieces of wood for the partition. So, if you have any questions, let me know!
Thanks for looking!
")
~Brandy