McTee's Chuck-Chuck House

This project started out after having some "farm-fresh" eggs given to us by some friends. After one bite of scrambled eggs, we (the whole family) quickly decided to get chickens. I wanted to get full grown hens who would produce eggs immediately, but was outvoted by mom and the kids who decided we needed to raise chicks to really get the whole process of having chickens. Mom was off to the local feed store the next day and came home with ten two day old chicks.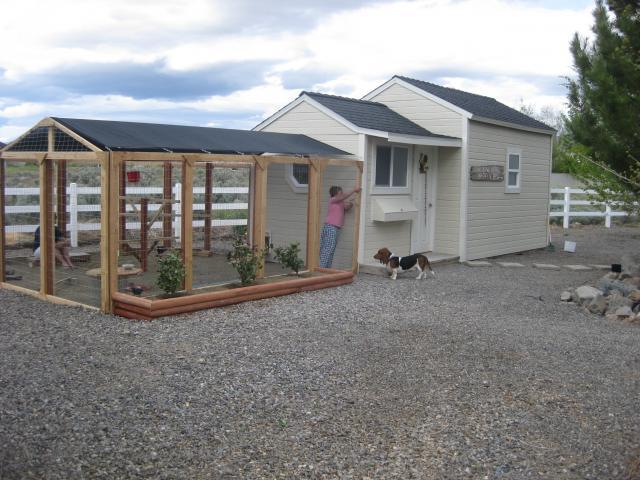
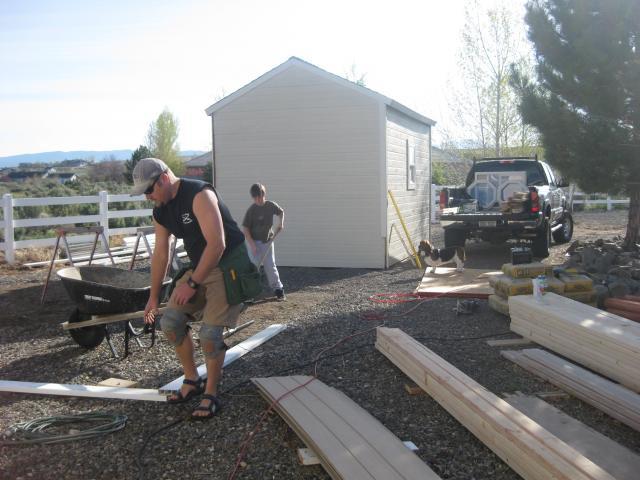
The pressure was on to get the coop started. We decided to add the coop to an extisting 10 x 14 garden shed that we had built a couple of years ago. I'm adding this step by step of our adventure into chickens as my sense of "giving back" to all the internet sites that I have scoured over and gotten some priceless information from for many many years. Backyardchickens.com is definately one of them. So here it goes, the McTee's venture into the chicken world.....
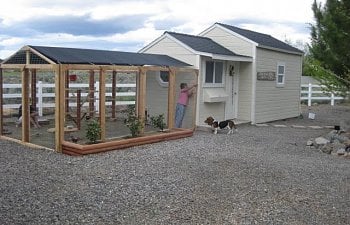
Some information on the coop/enclosure itself: our existing shed was 10 x 14, the coop is 8 x 8 with a 5 x 8 area for the ladies, and 3 x 8 as a entry door and workbench/shelving space for us. The outside enclosure is 16 x 16 with 2" x 4" welded wire for the sides and 70% shade screen/netting for the roof. We decided to go with the shade netting since I sell it at work (roofing supply yard). We are really happy with the coop and enclosure area and don't think we'd change anything yet other than I would have made the entire coop around 12 x 8 with the same 3 x 8 area for the people but enlarge the ladies area to 9 x 8. Oh well, it seems pretty good for now, and the ladies sure look happy even though they're only 4 weeks old. I guess that would make them girls, right??

Getting started with the layout. Celie is making sure it's o.k.
Ah, that's pure kid slave labor shoveling out gravel for the coop. Almost brings a tear to my eye....
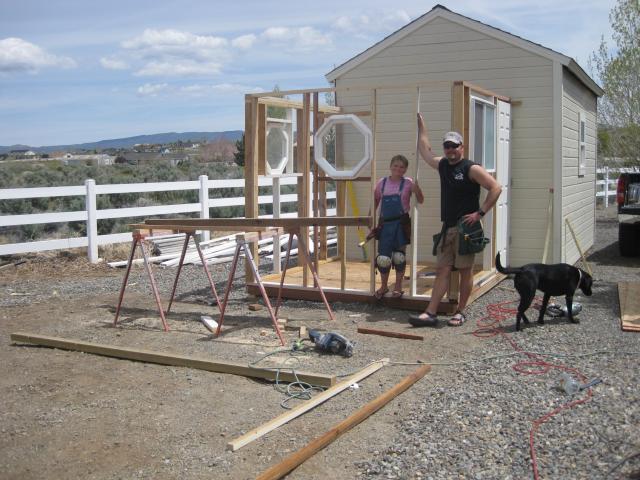
A couple of hours later, we've got some walls up! Got some free octagon windows from a friend, pretty fancy huh?
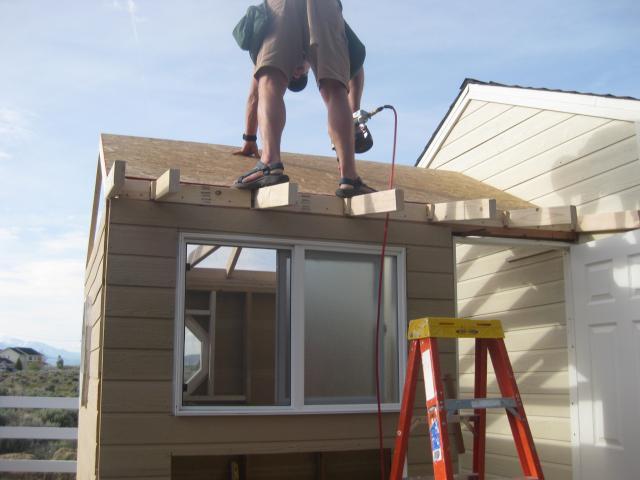
Starting to look like something. We made the trusses ourselves!
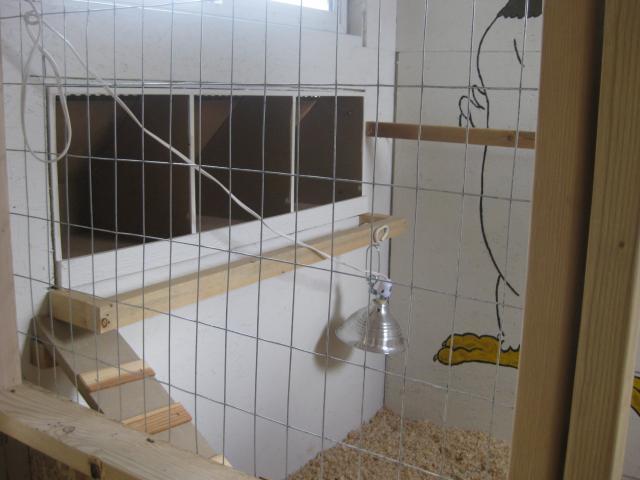
Picture break time. The hole under the window is for the laying boxes, so we can gather eggs from the outside.

This is the enclosure area. It's 16 x 16, and we used 4 x 6 landscape timbers as posts since they were on sale.
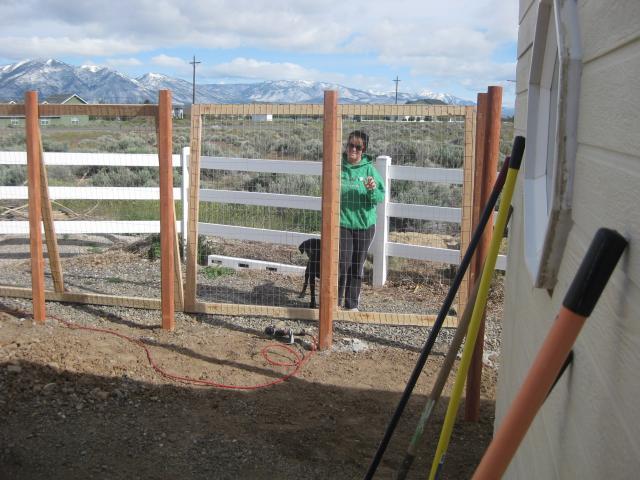
Mom and Celie holding up the pre-made fence panels. We made the panels in the garage using 2 x 4's with plywood gussets at the corners for strength. We then used a 1/4" crown pneumatic stapler to attatch the 2" x 4" welded wire to the panels. This really made for a very stable and secure enclosure that was really easy to attach to the posts. We also stapled chicken wire to the bottom of the panels so we could run wire on the outside of the enclosure that would be covered up with gravel to keep any digging critters from getting to our ladies!
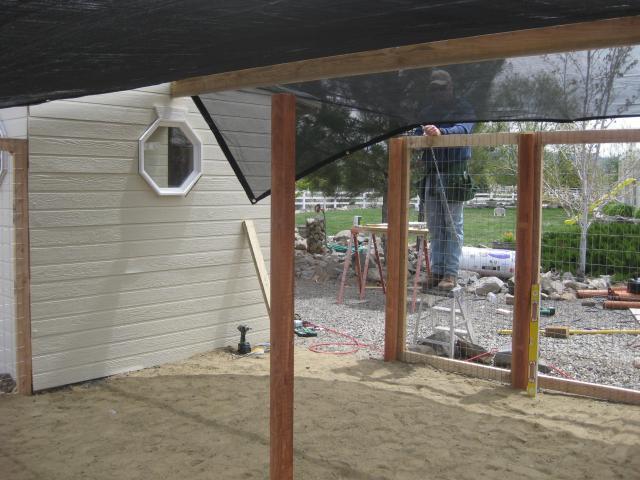
Shade tarp going on. We used this for dual purpose shade and flying predator control. The tarp is attached to the fence panels with light duty chain and is so tight the kids could use it as a trampoline if they wanted to.

Had to throw in a picture of the ladies. Wait, I mean girls! I think they want out of this small enclosure and into the real coop.
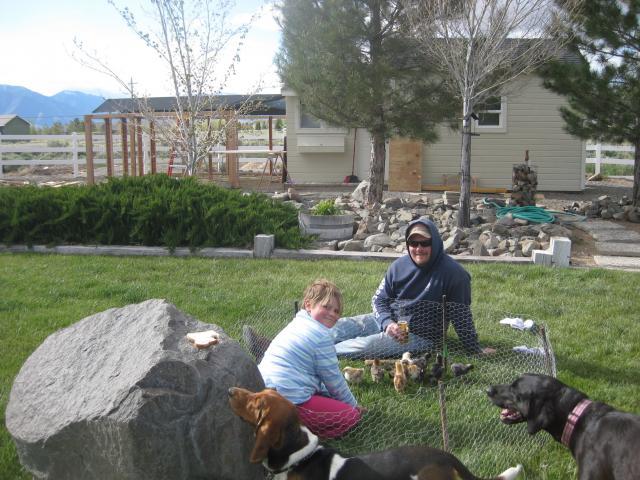
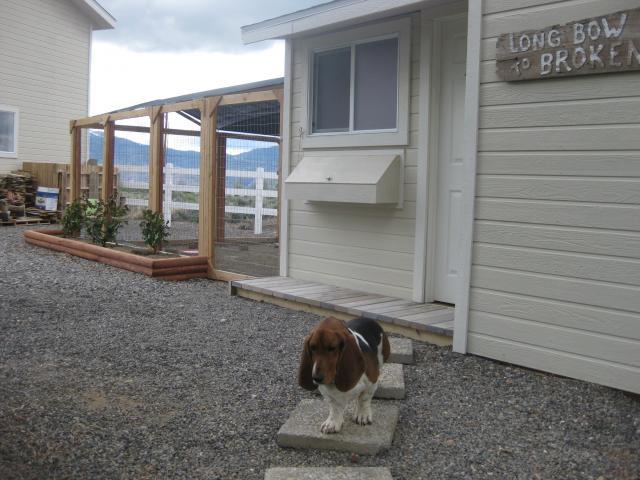
Gave the girls a play day outside. The dog's aren't too interested though. See Jackson the basset eyeing that piece of bread?
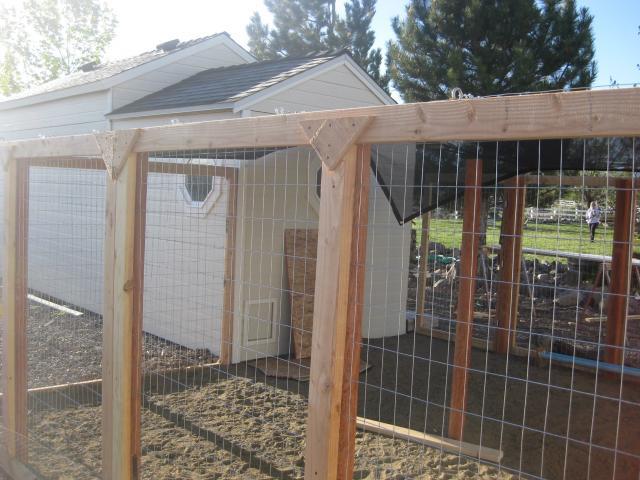
Close up of the fence panels.
EGGS. EGGS. EGGS. Well wishful thinking I guess... We added a small deck to the coop, mostly for looks since we had the material laying around.
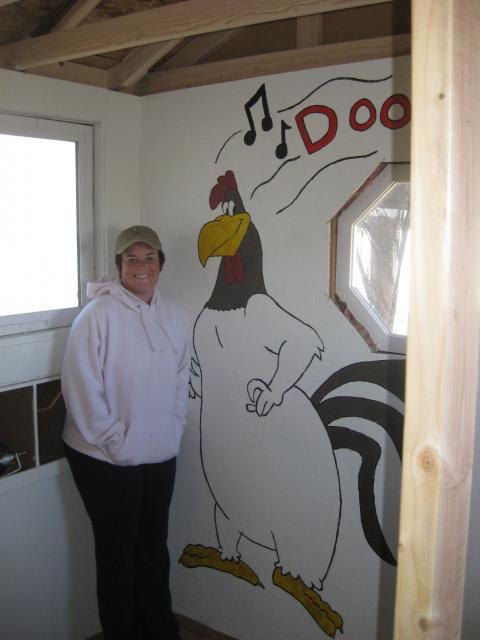
Who's that strange man with my wife??? Roz is quite the artist, so she wanted to give the ladies (I mean girls) something to look at.
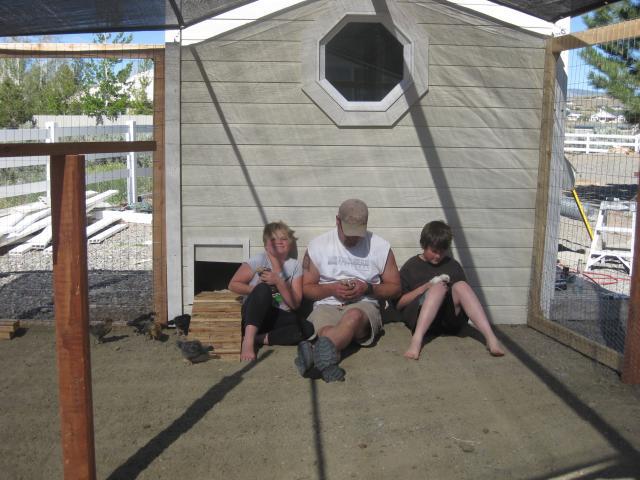
Taking a break with the girls. They really love their new space!
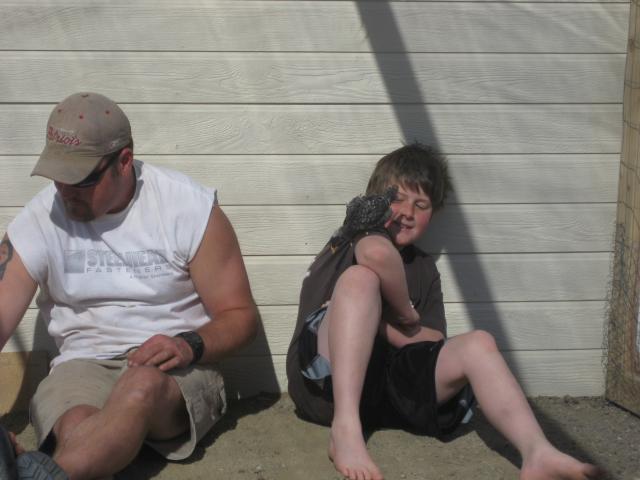
That's Matt trying to play Pirate with Ming-Ming. Maybe he will become the chicken whisperer...
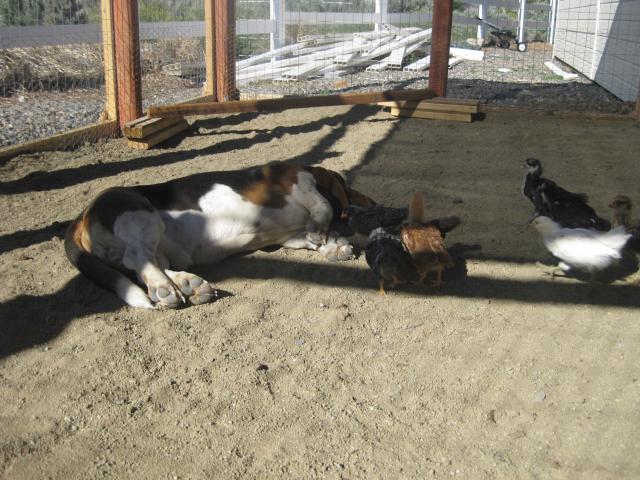
Brave girls sneaking up on Jackson while he's sleeping. One actually pecked his nose and woke him up!
Pretty much finished. We added a planter in front of the enclosure area to dress it up a little.
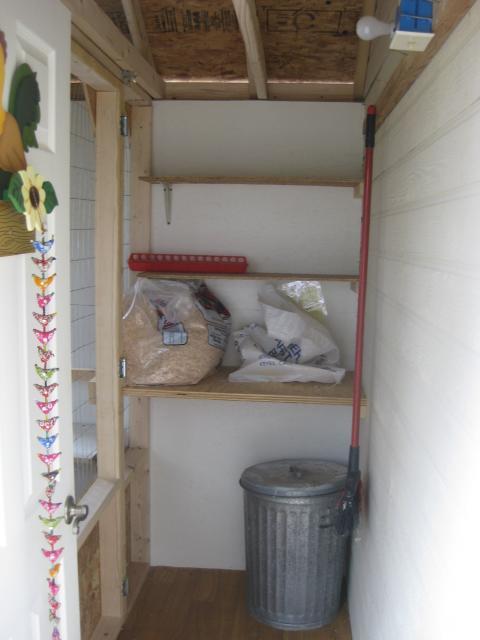
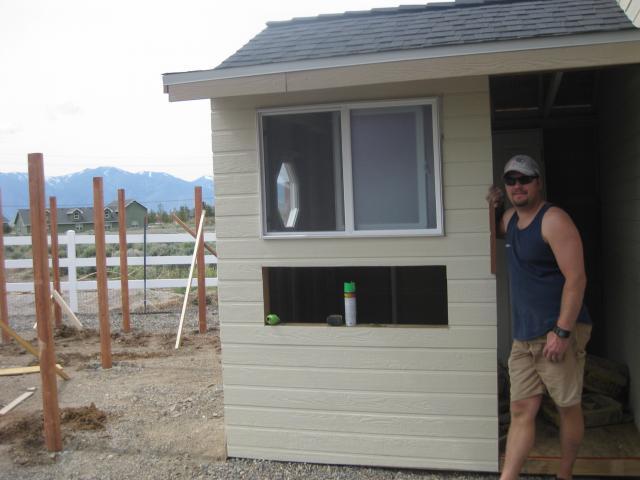
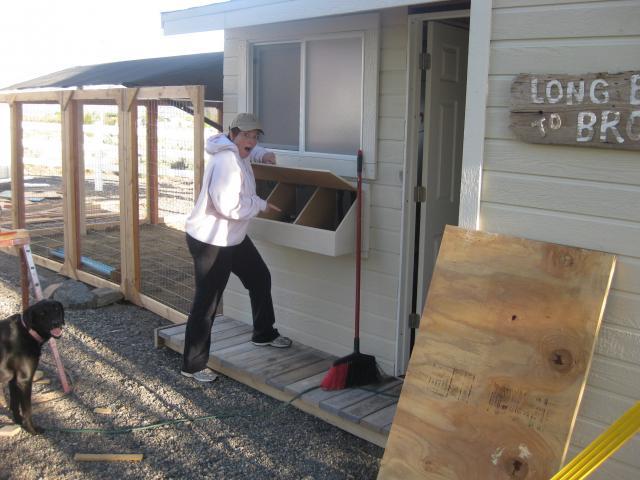
View from outside the front door of coop. We needed a small storage area for our stuff. The coop has a linoelum for the floor for easy clean up. We added power for a light and all the doors have self closing hinges so we shouldn't have any open doors.
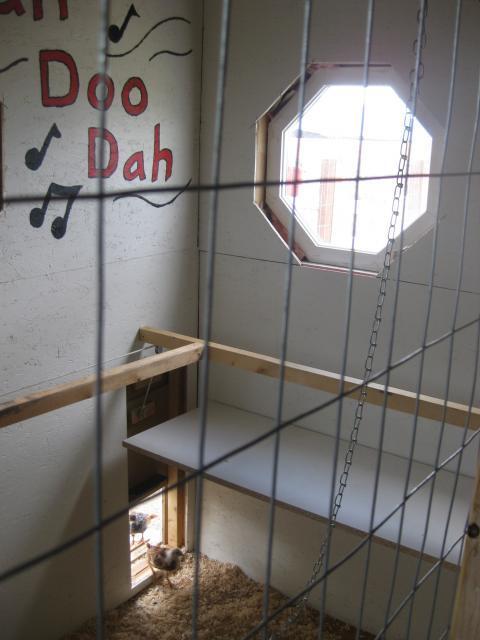
Inside looking at the laying box. We made three boxes for our ten ladies.
Put a poop board under the roosting bar for easier clean up.
One happy mama looking after her girls.
This project has been a great expreince for a guy who would rather have shot himself than to raise chickens. It has really brought our family closer togethor and is something that I personally really enjoyed building.
If you plan on doing a project like this and have scoured over this website gathering ideas consider this: Take an extra hour or two and post your pictures on this site. It sure gave us lots of great ideas, and hopefully you can get something out of it as well.