Welcome to my Chicken Coop page. I'll update the progress as I build. My inspiration comes from many hours of looking through the pages of chicken coops on this site, and I have all of you to thank for the various ideas. My coop will be an 8x8 coop, with 8' tall walls. My plan is to use half of the coop for the chickens and half for storage. I'll build an 8x12 run off of the coop. I plan on using a cedar shake siding, and having about 5 windows in the coop for light and ventilation. I had to wait a few months for all of the paperwork to go through with the City in order to build the coop, but I've got permits in hand, and am ready to go.
02/16/2012: Well this is the big weekend. Footers are poured, and I start building the coop tomorrow. I'll update the progress with some pictures of framing either tomorrow or Saturday.
02/17/2012: Framing is started, flooring joists are set and the posts are in place.

Tomorrow, I'll put plywood on the floor and spray foam insulate it, and then begin wall construction.
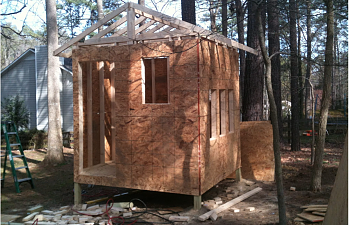
02/18/2012: Today my Father in law came over and we got plywood put down on the floor, all 4 walls framed and set in place, the roof framed, the plywood put on, and we even got the roof shingled before we lost daylight. Time for some beer.
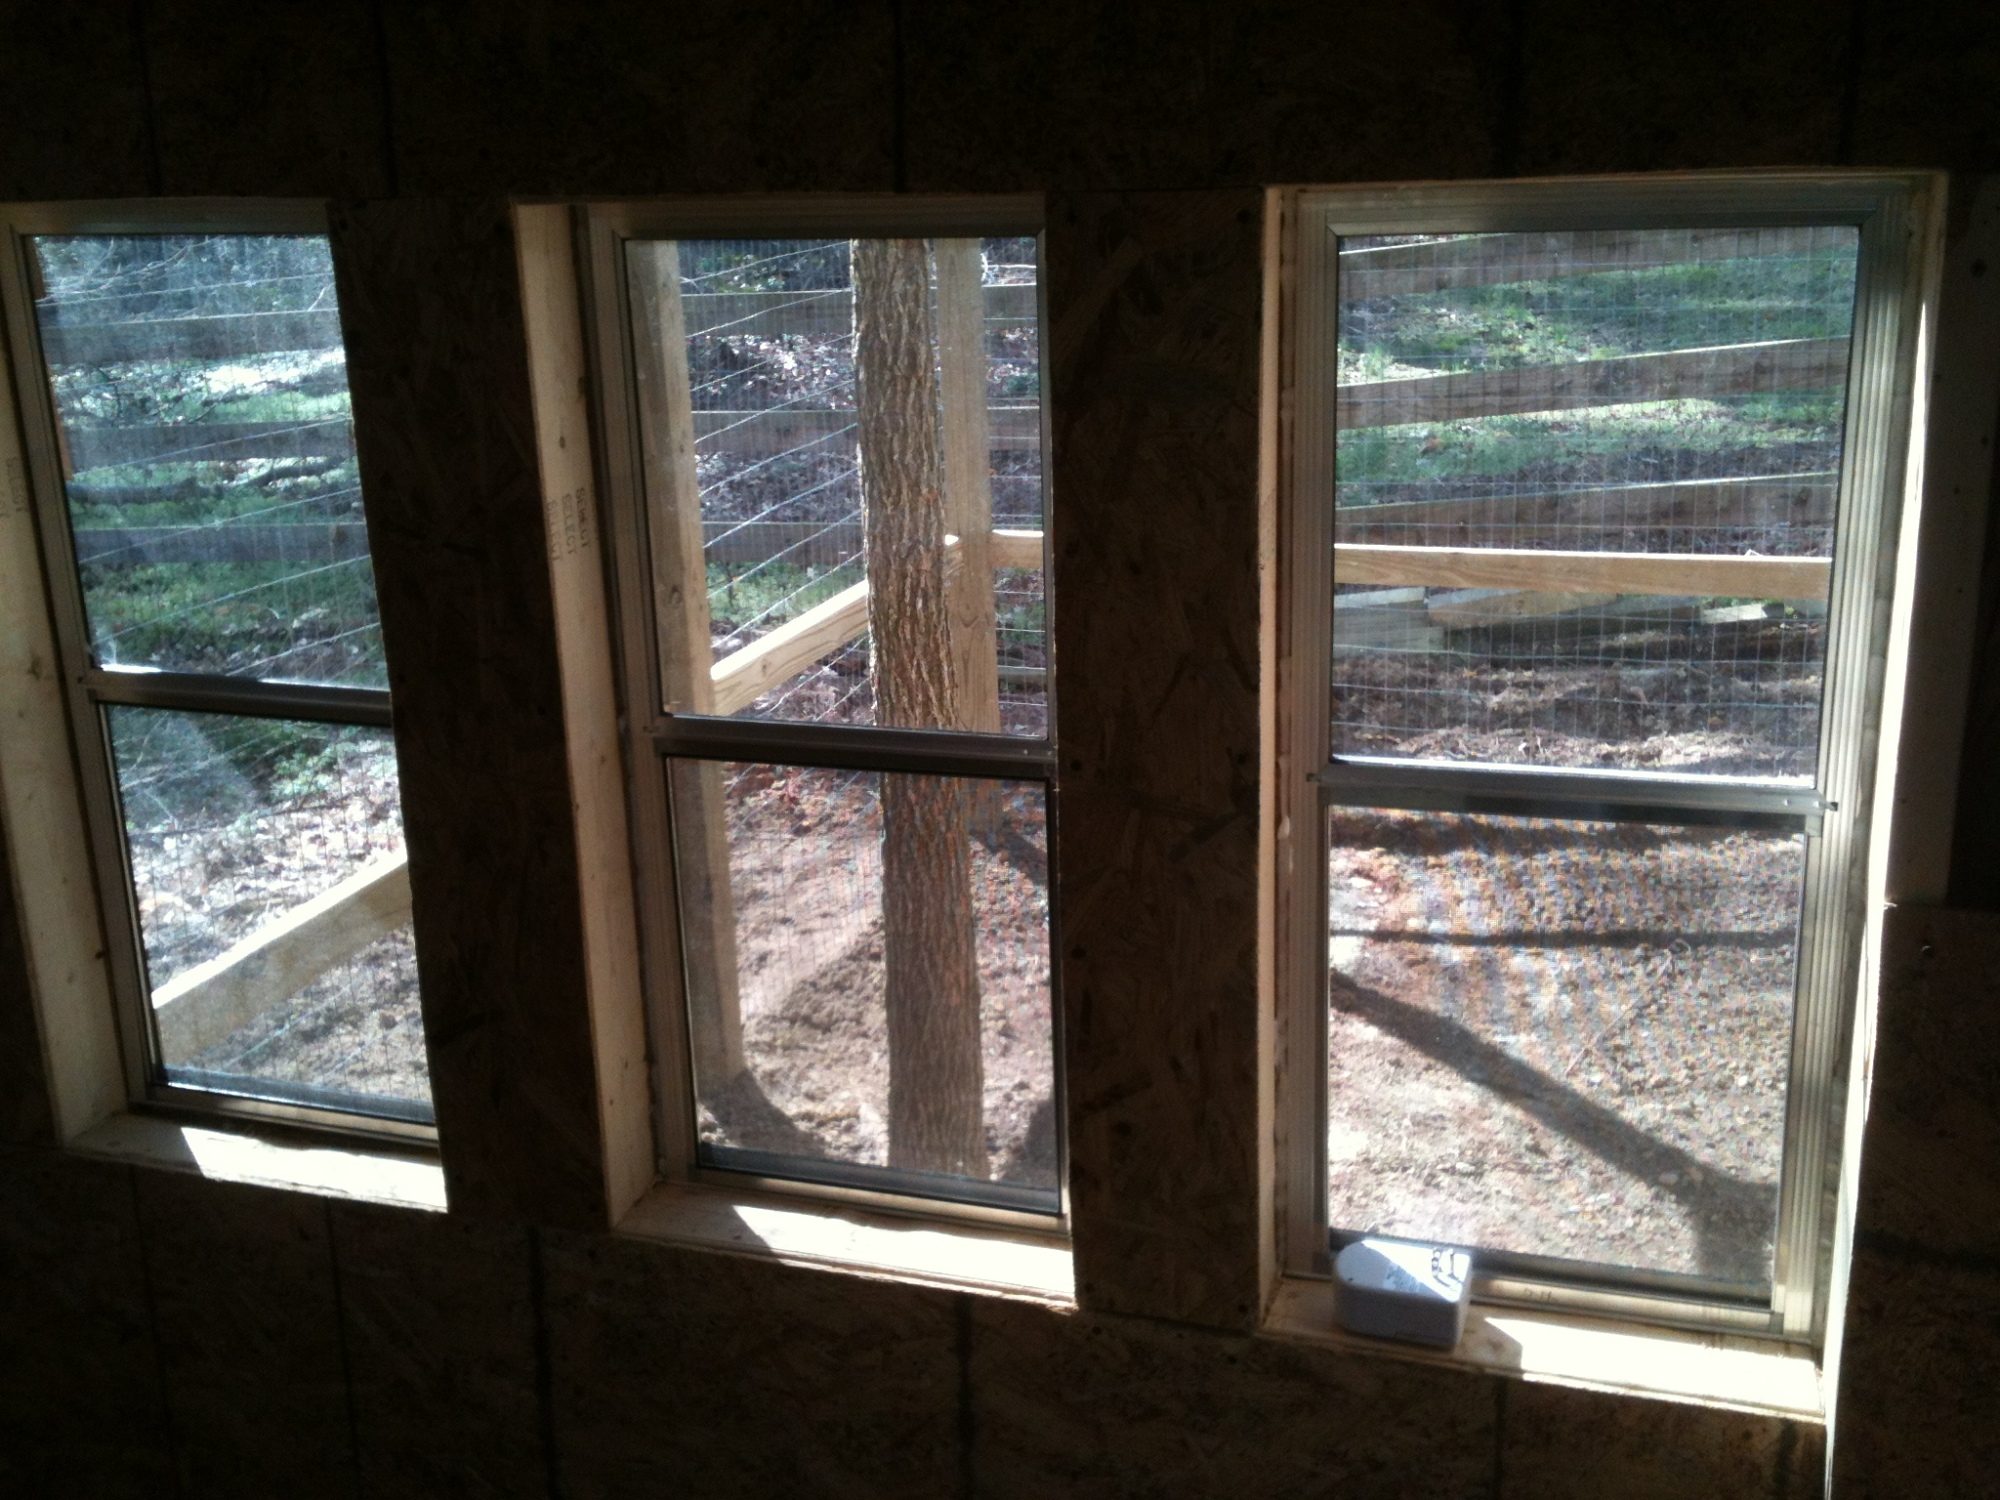
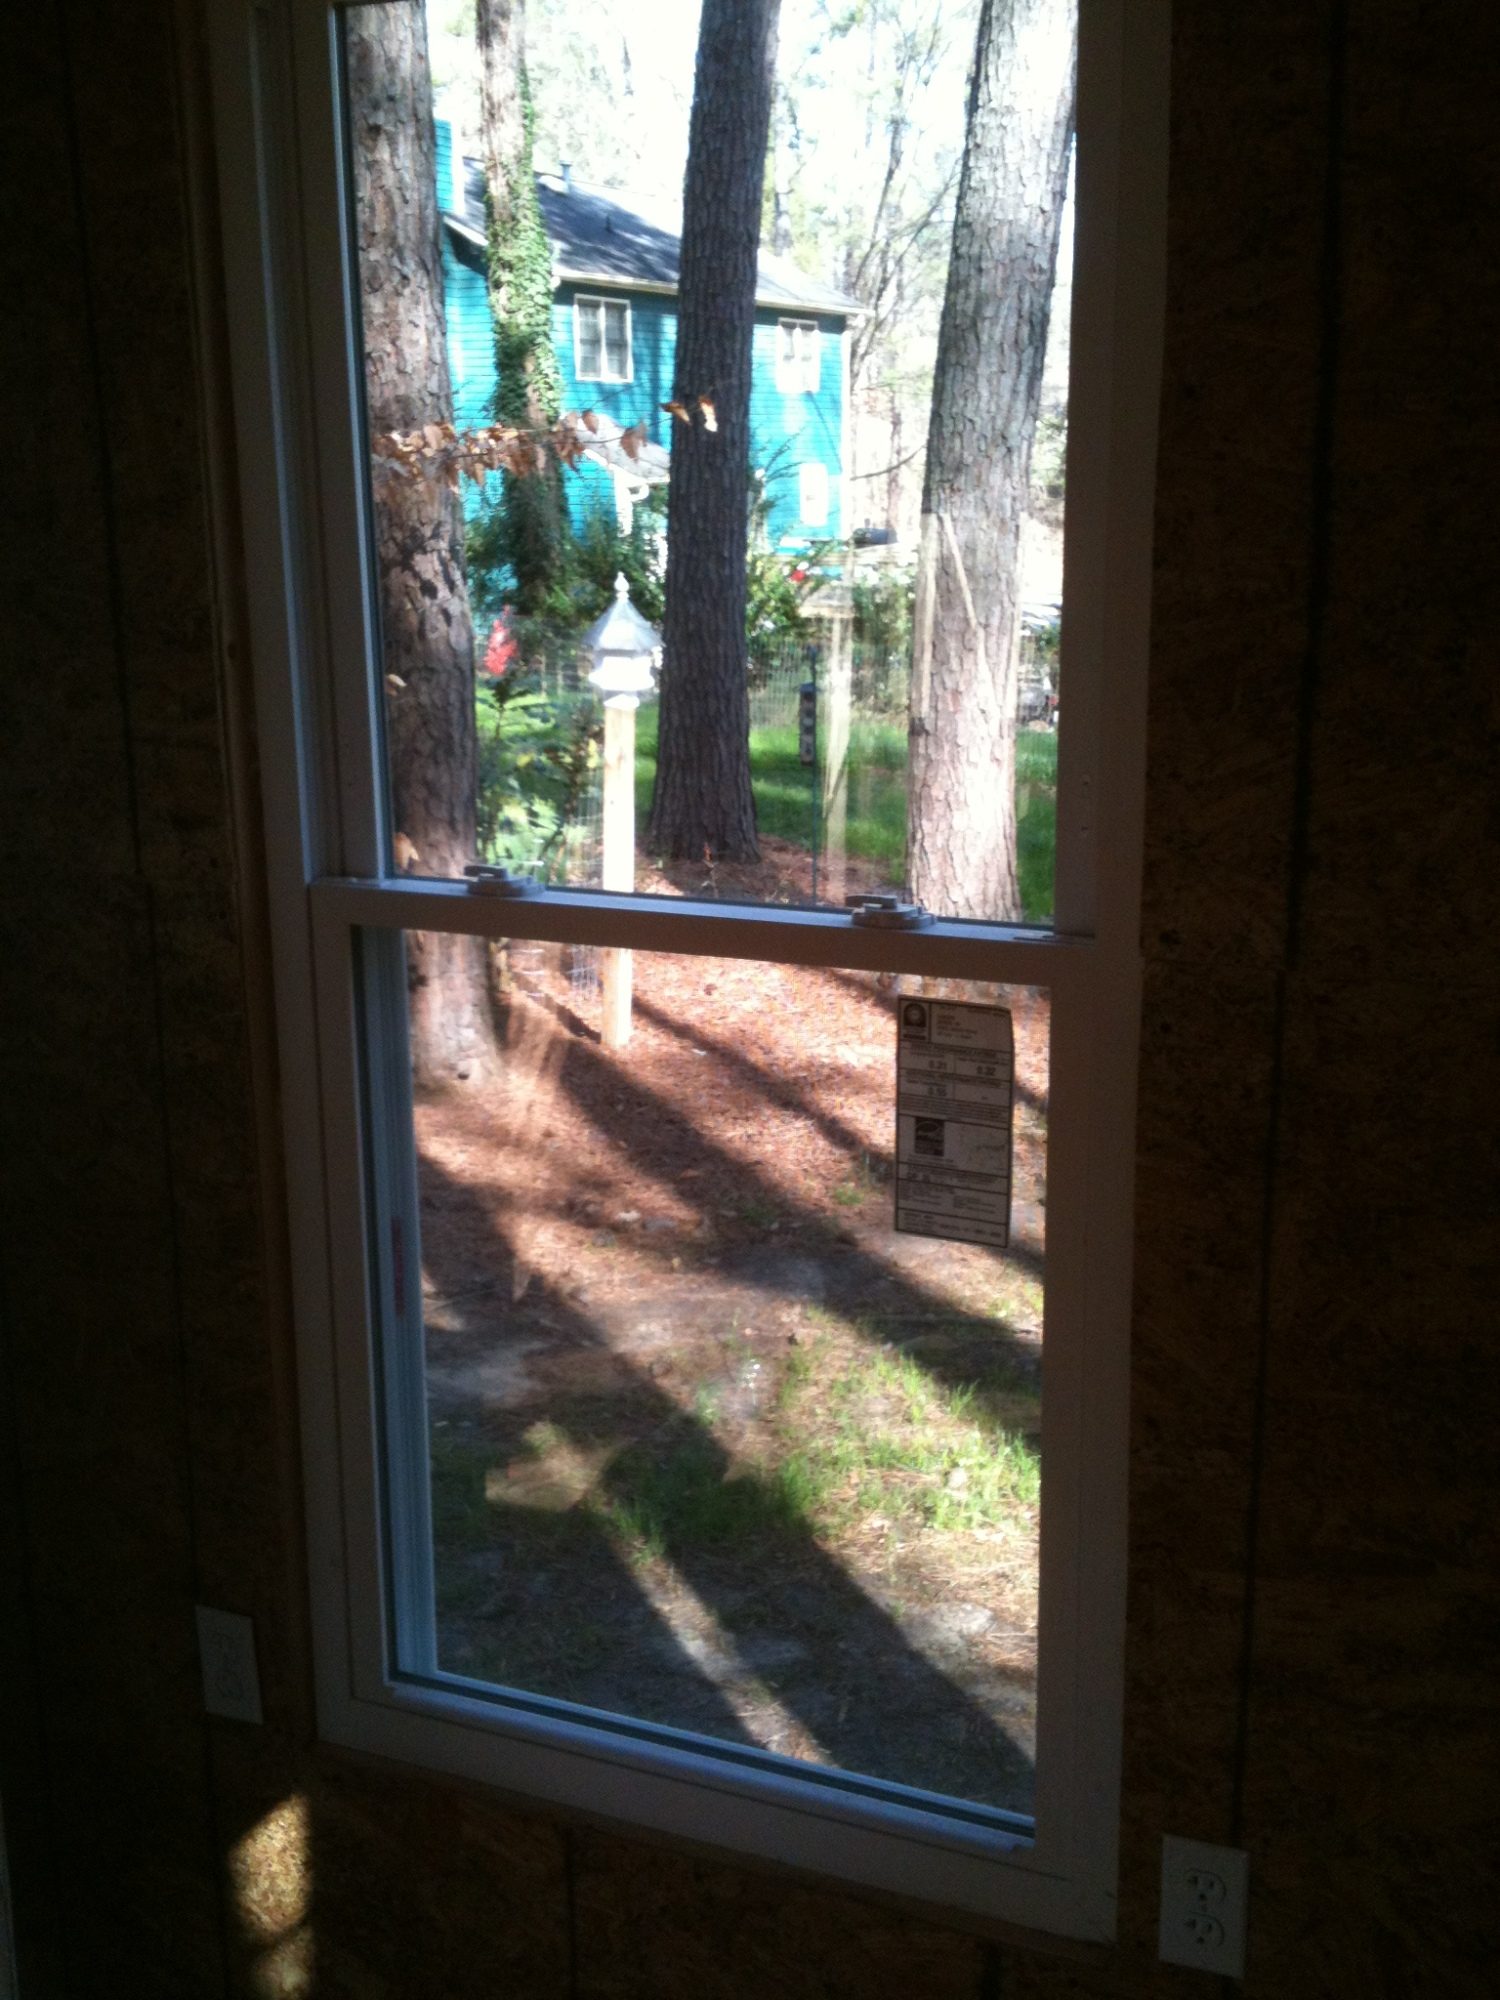
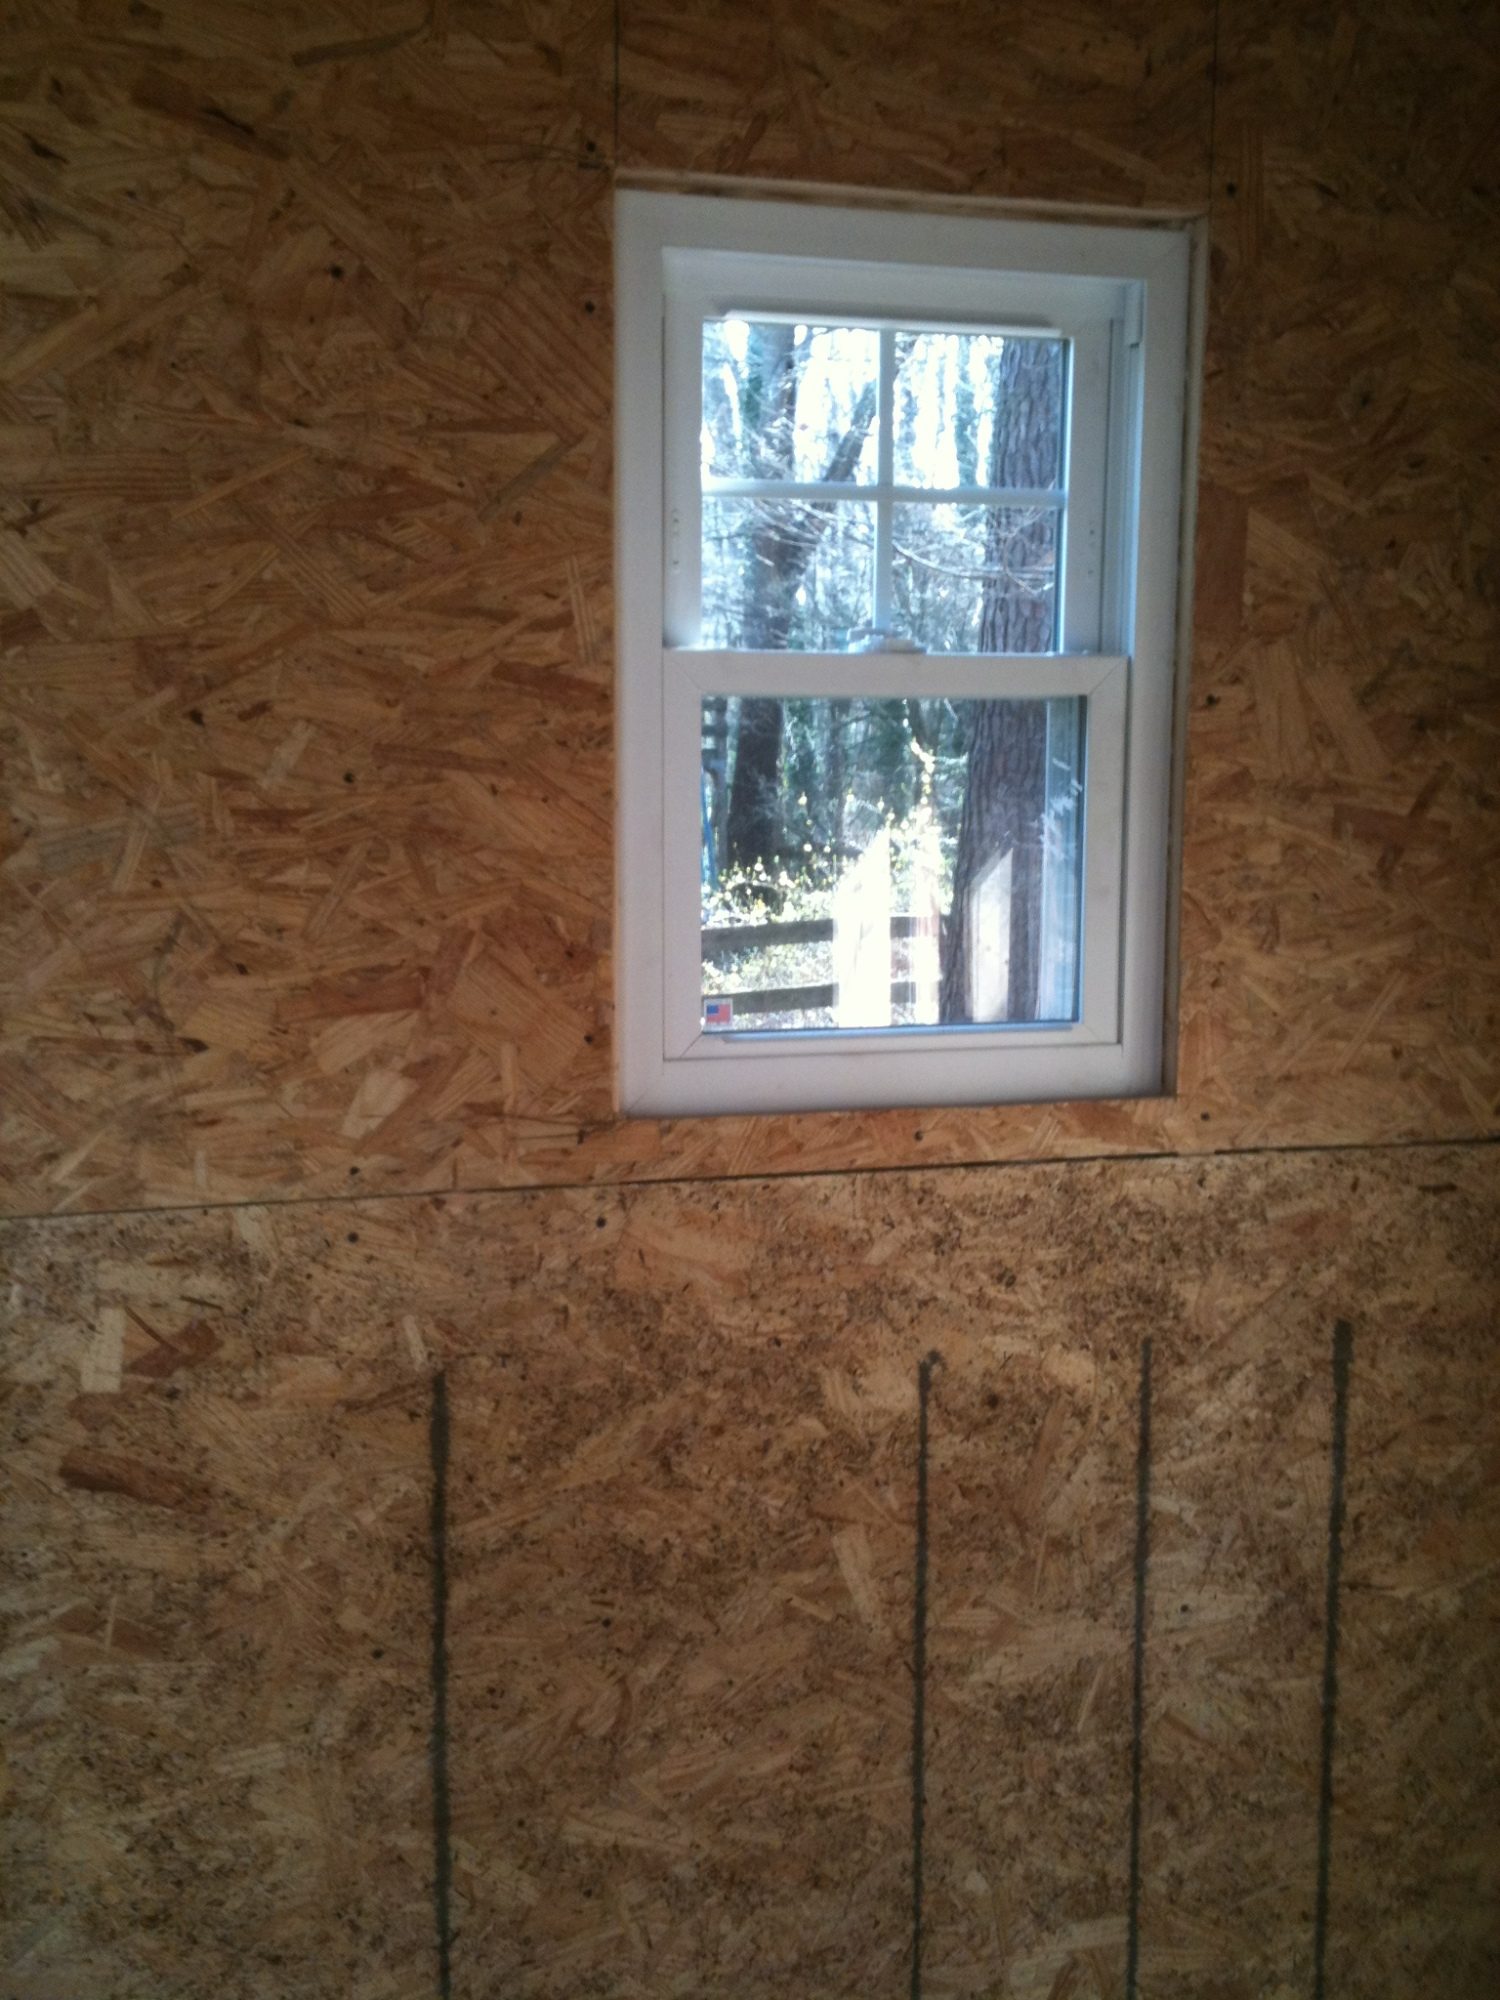
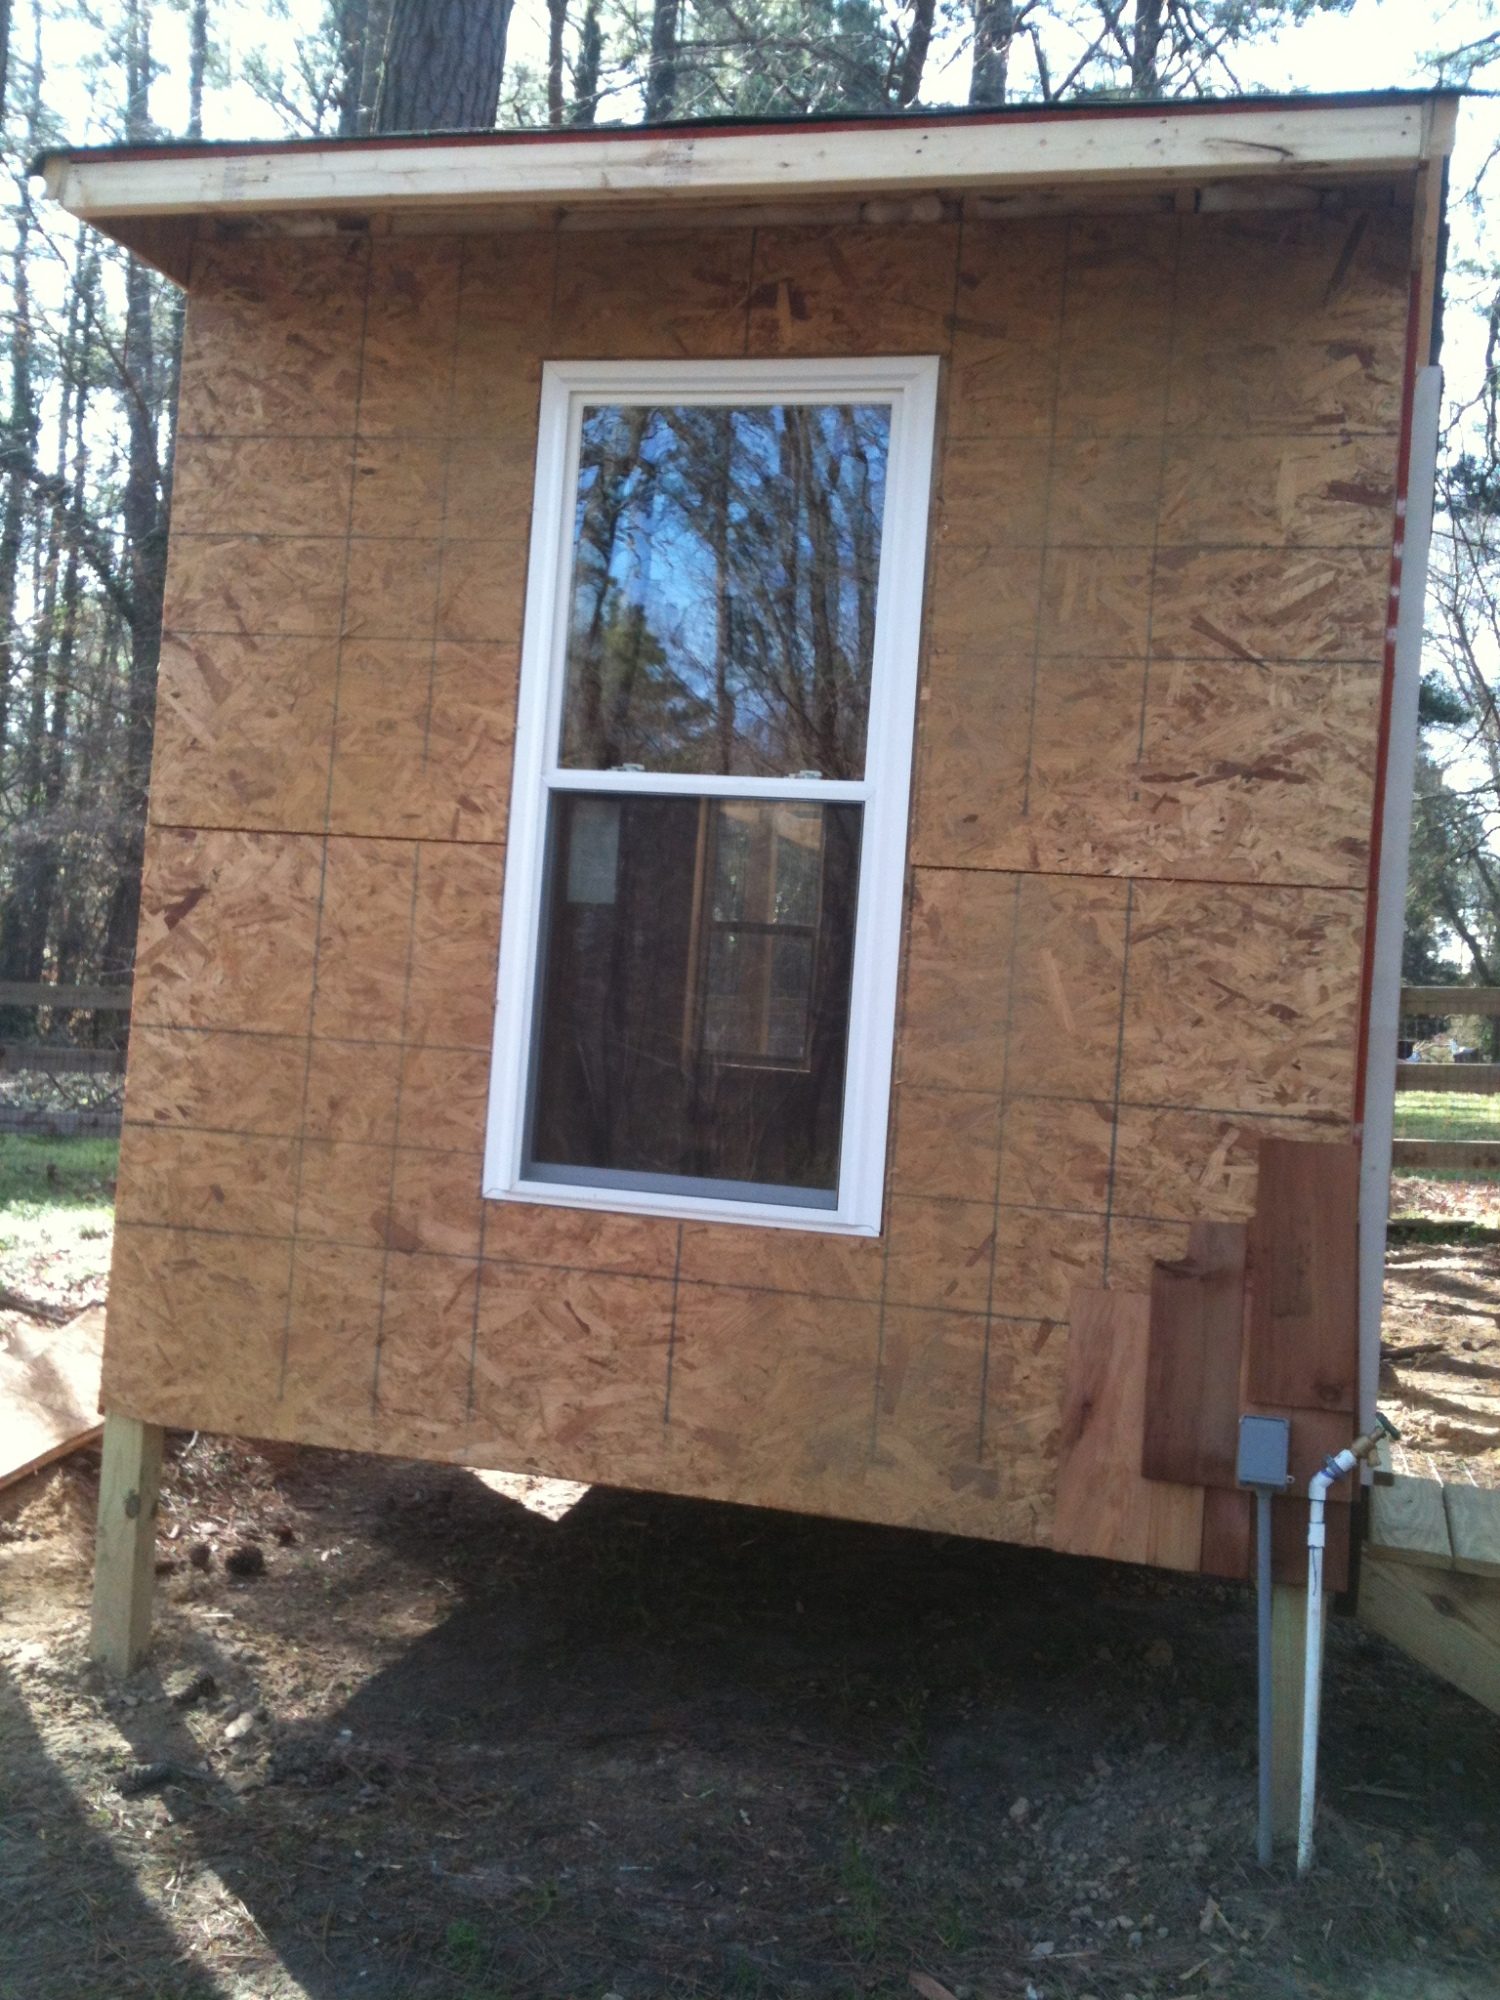
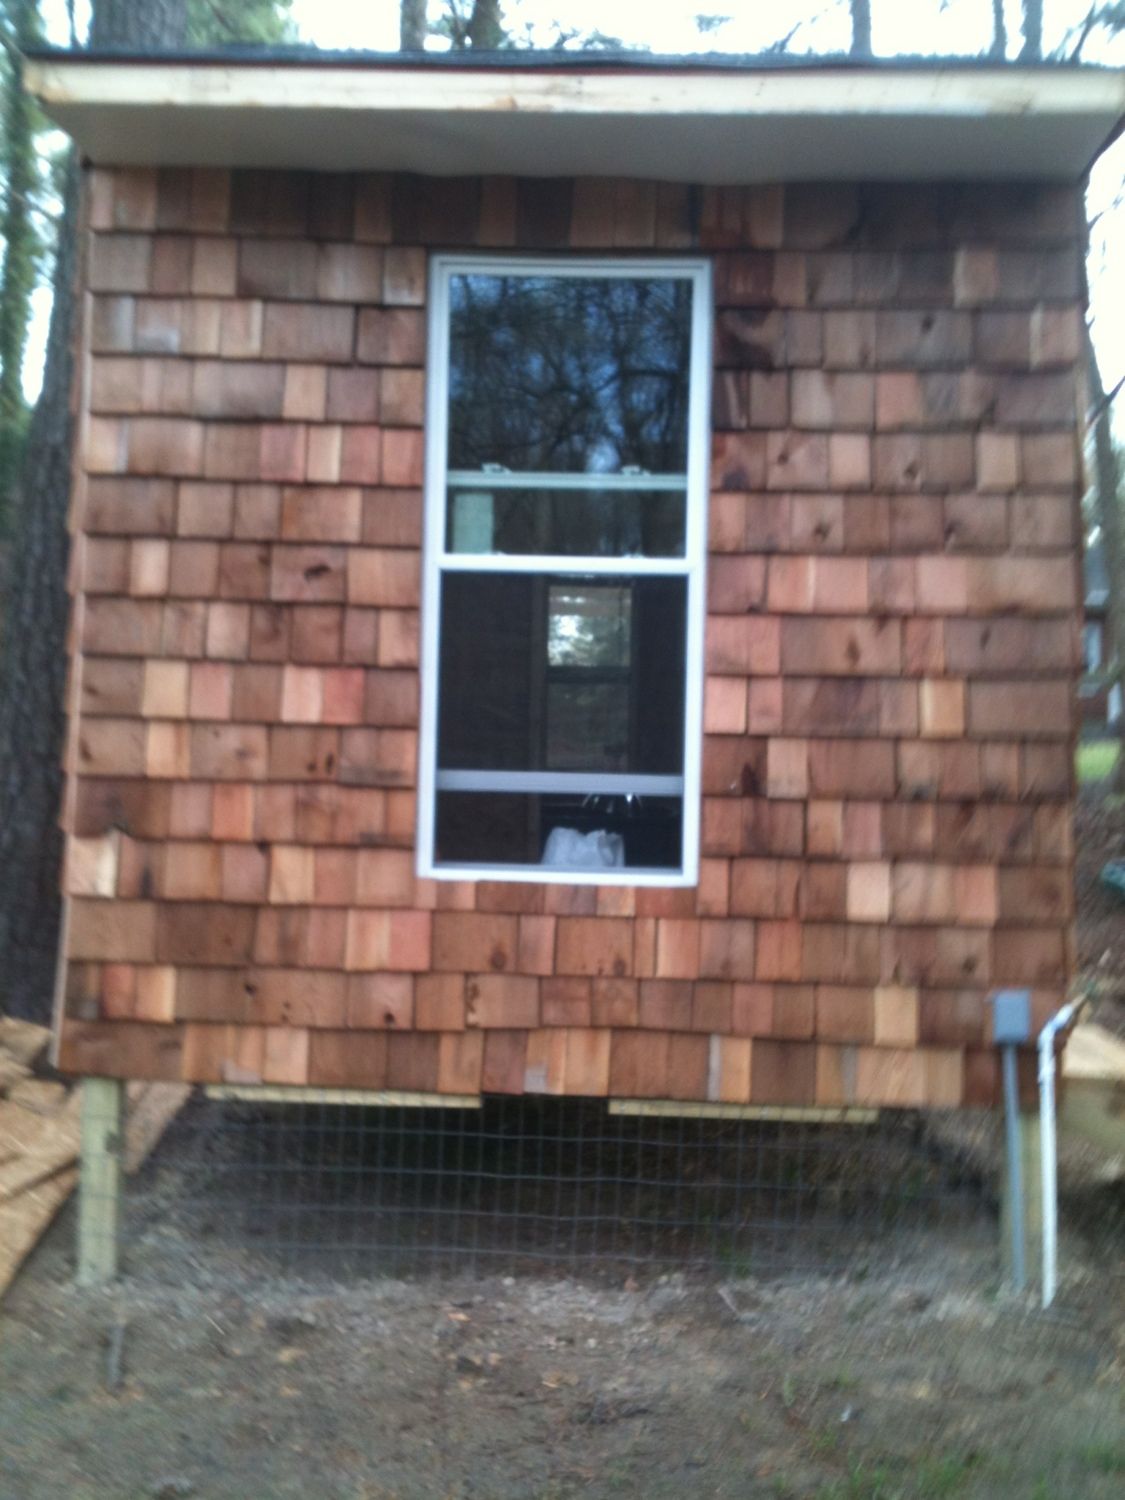
Inside of the floor joists I filled with spray foam insulation. All framing is 2x4's 16" OC. I install residential windows on the side, so i used sample windows from my supplier for the coop for some savings. I picked up a few small storm windows on craigslist for 10 bucks for the right side facing where the run will be. The door is framed to accomodate a 30x80 door which i had laying around. The roof was framed using 2x4's 16" OC at at 2/4 pitch, and a 16" overhang.
Next weekend (weather permitting) i'll start building the run.
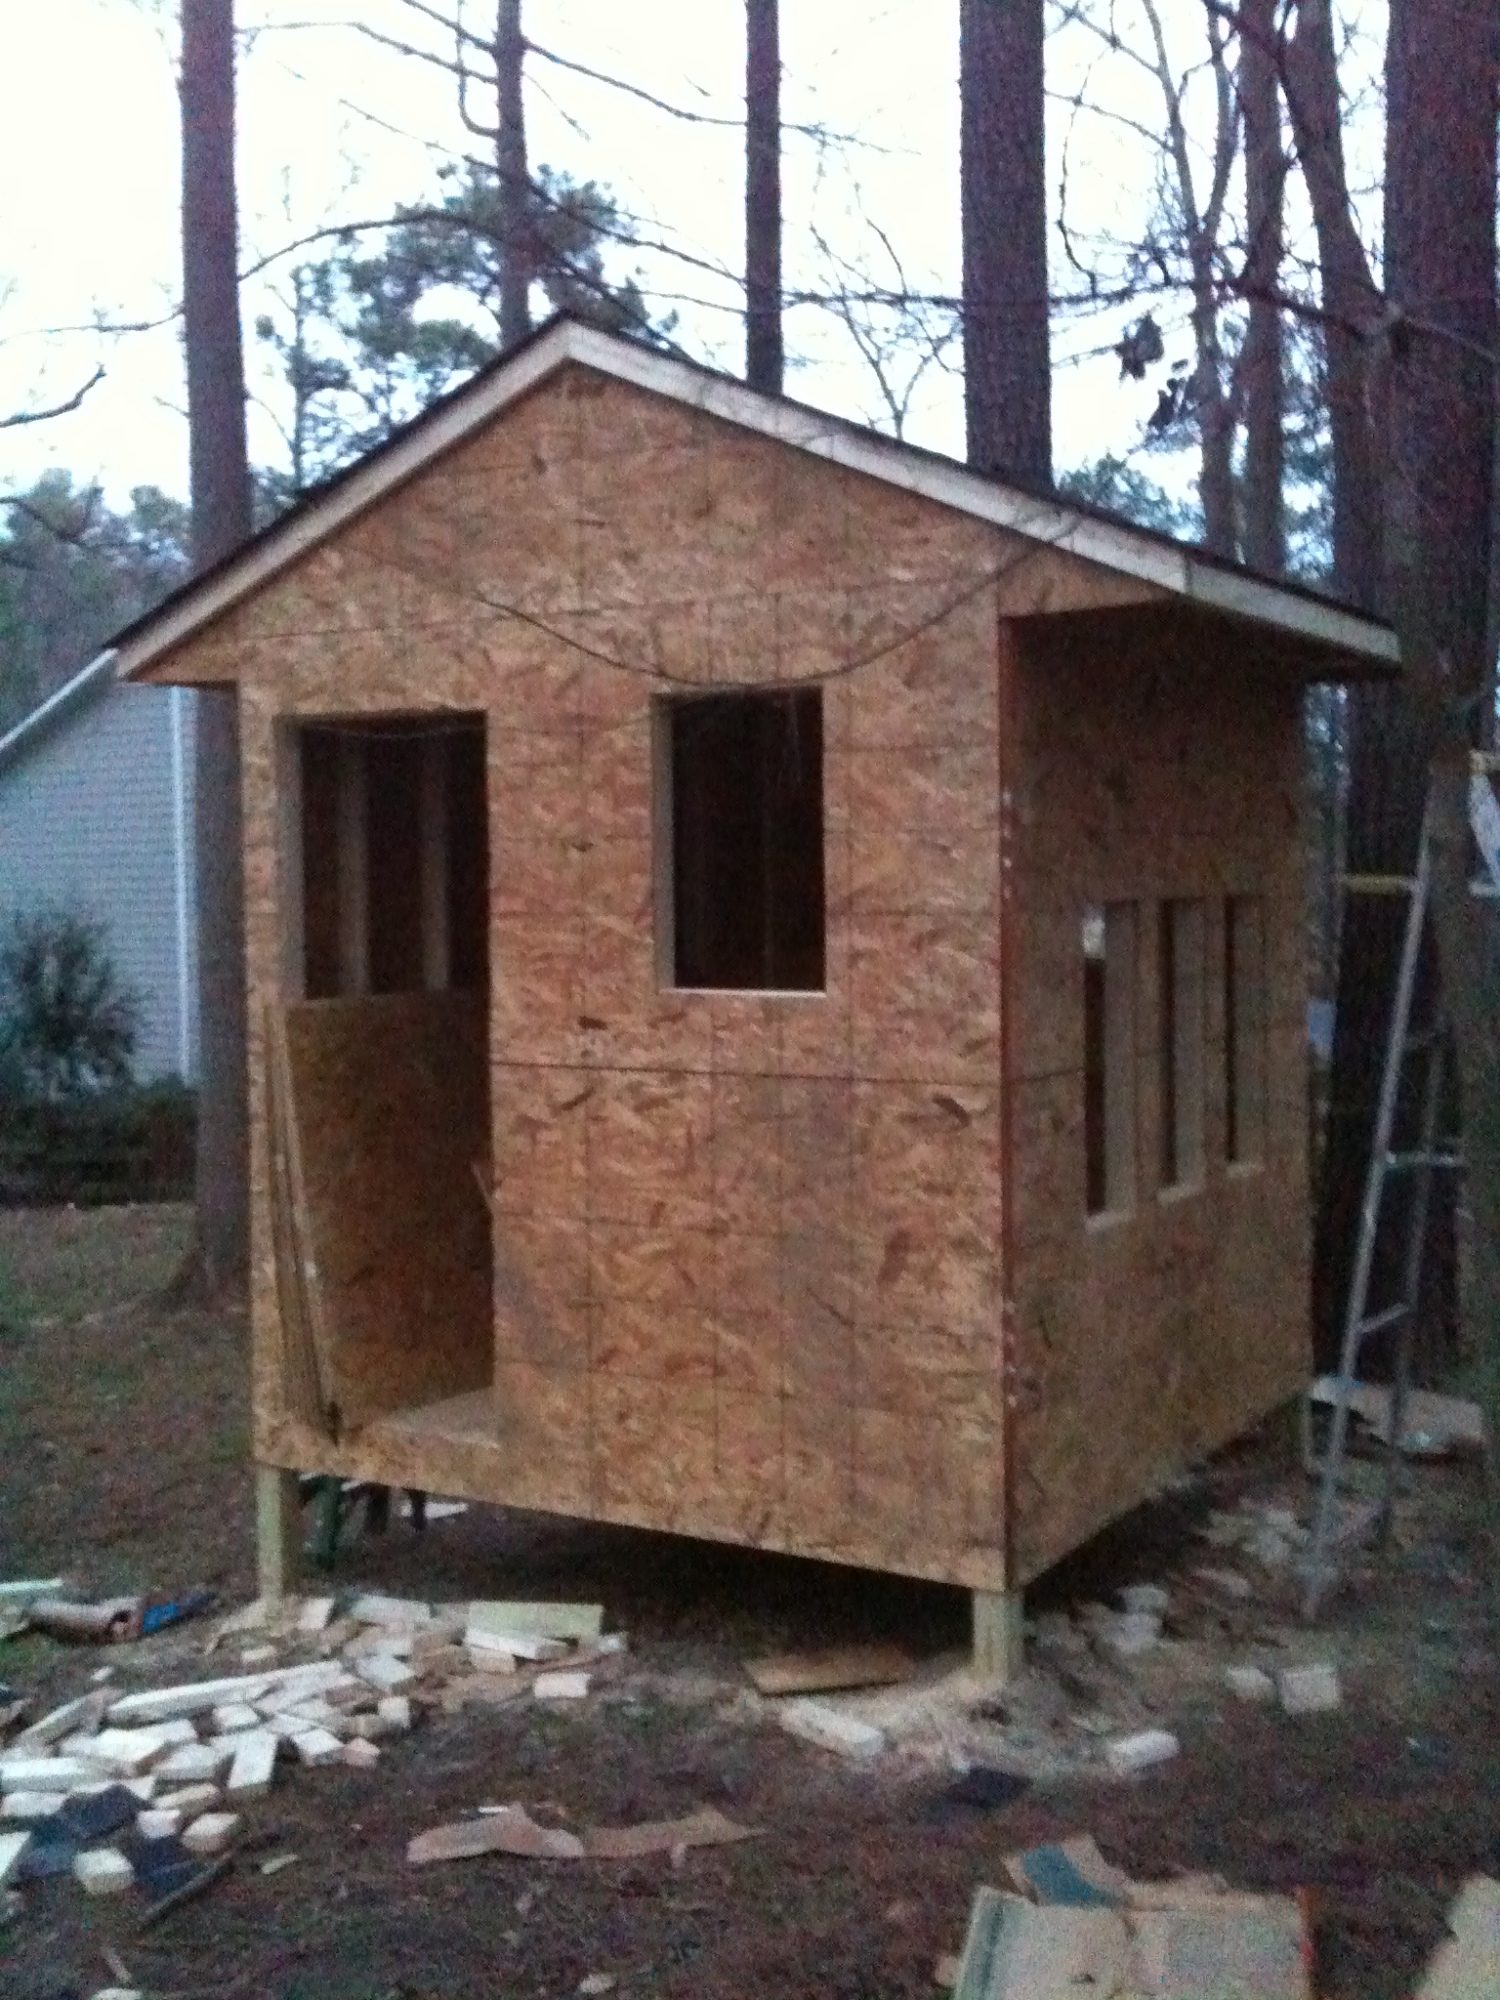
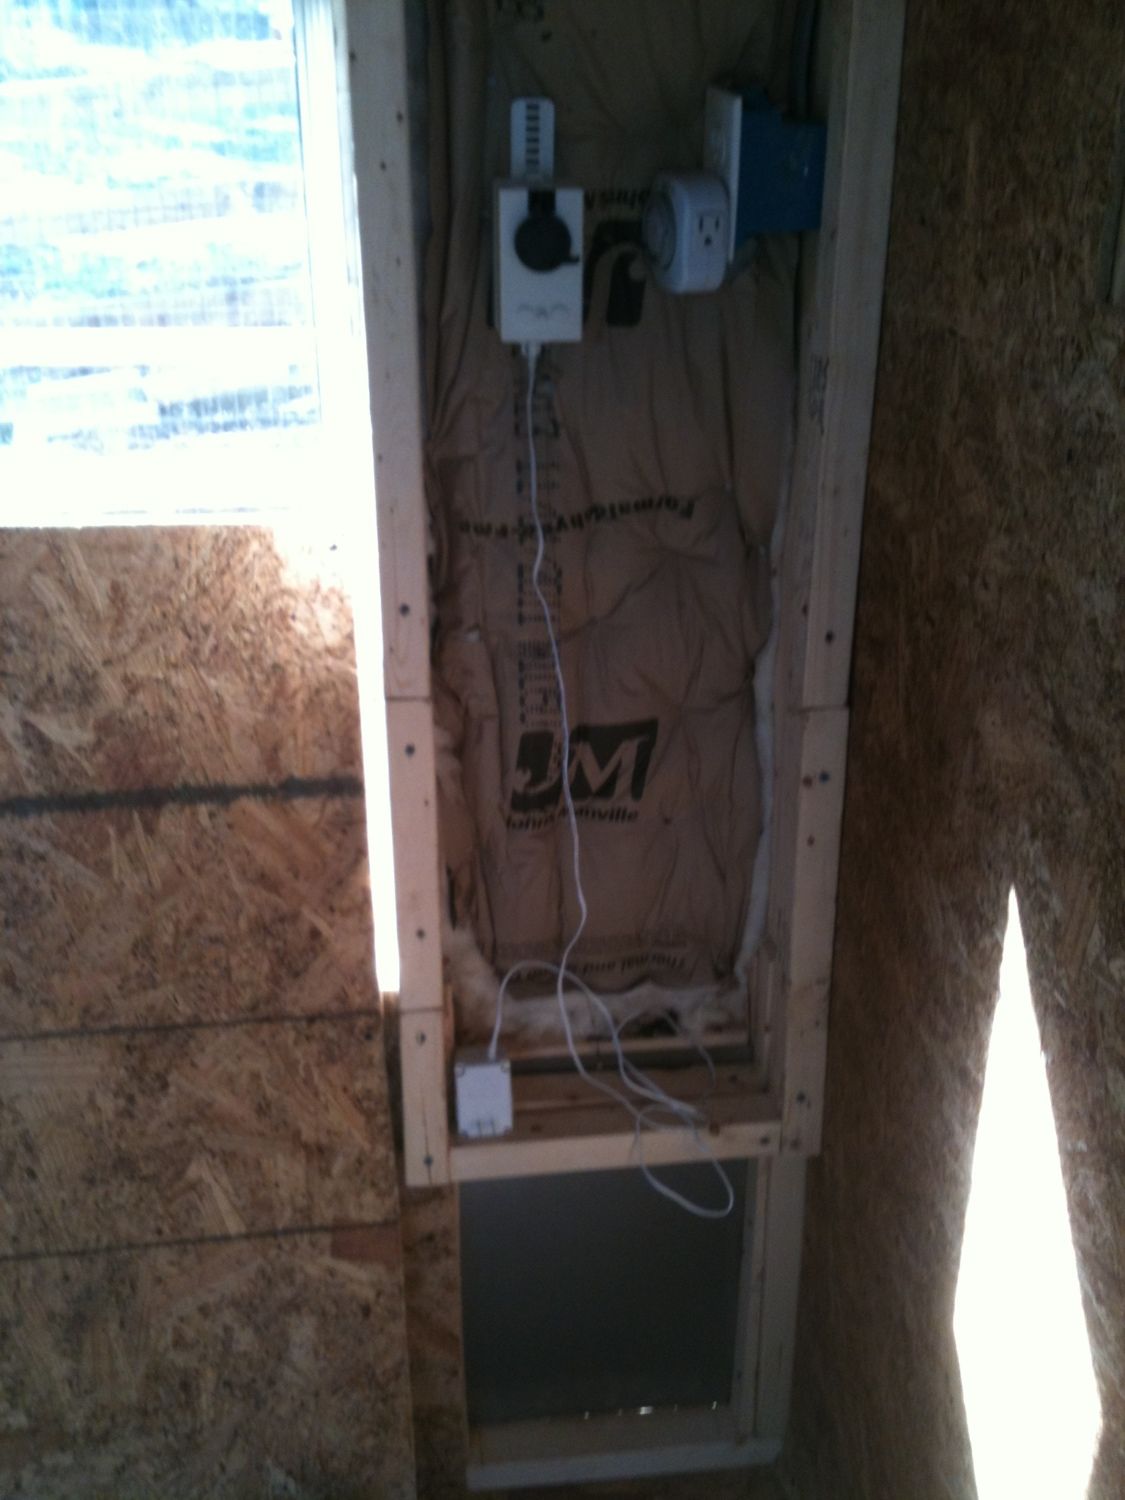
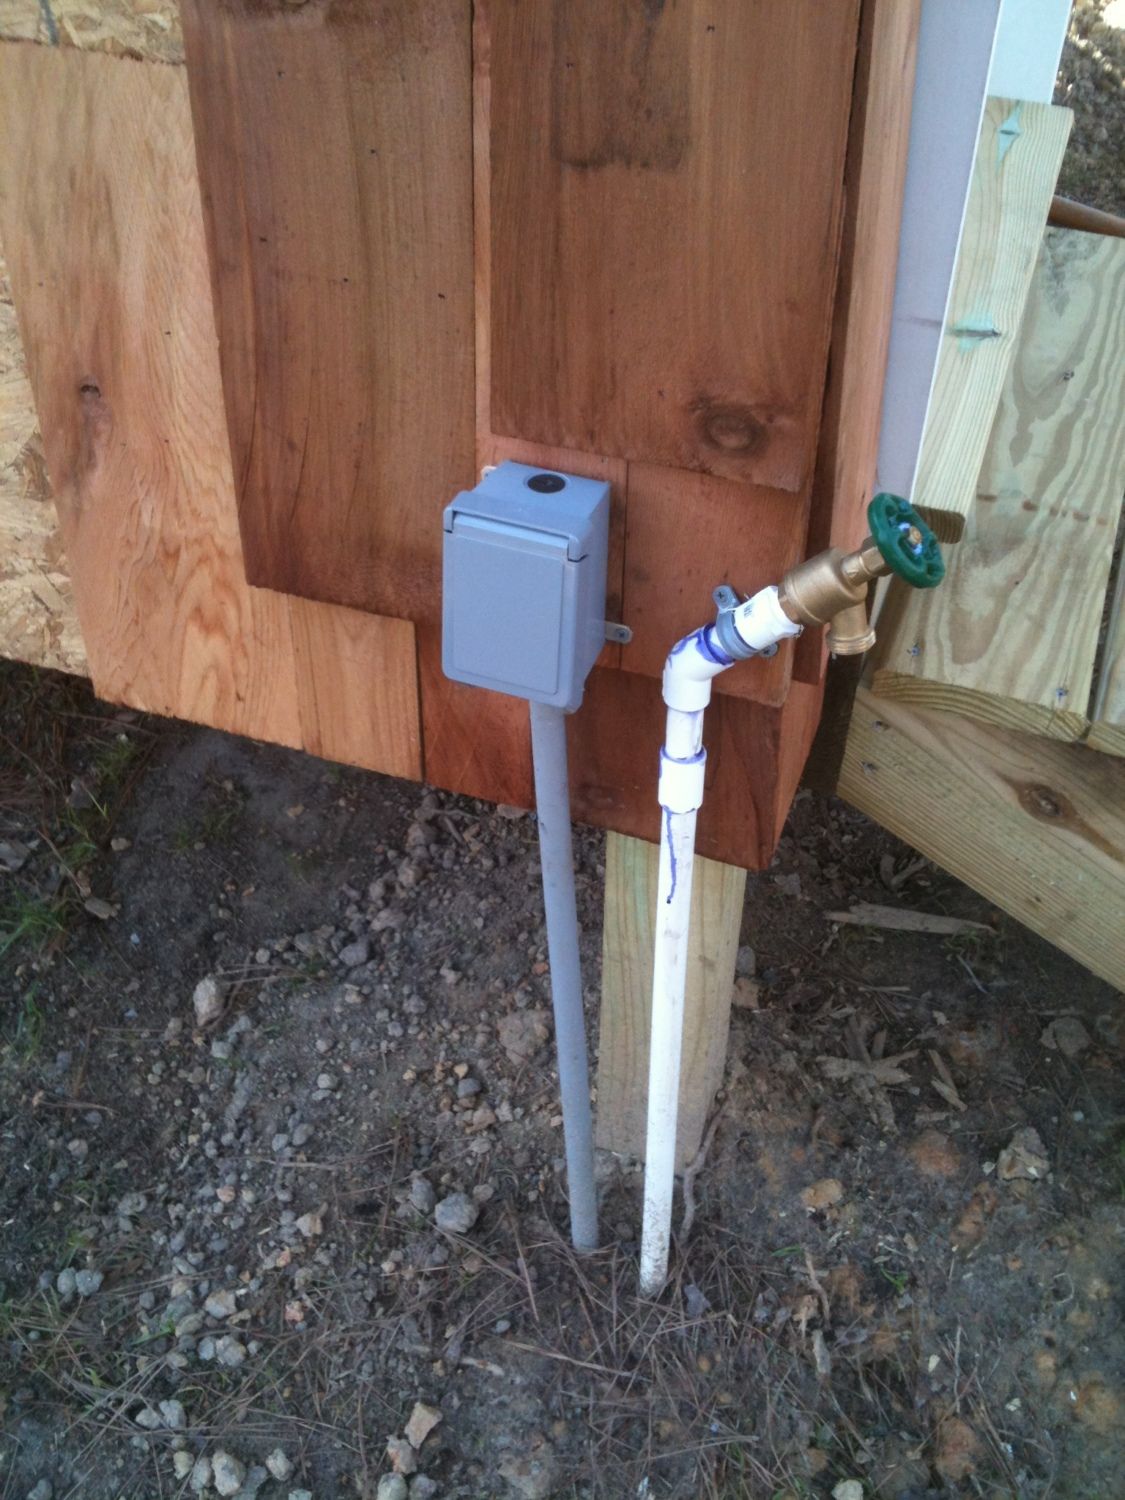
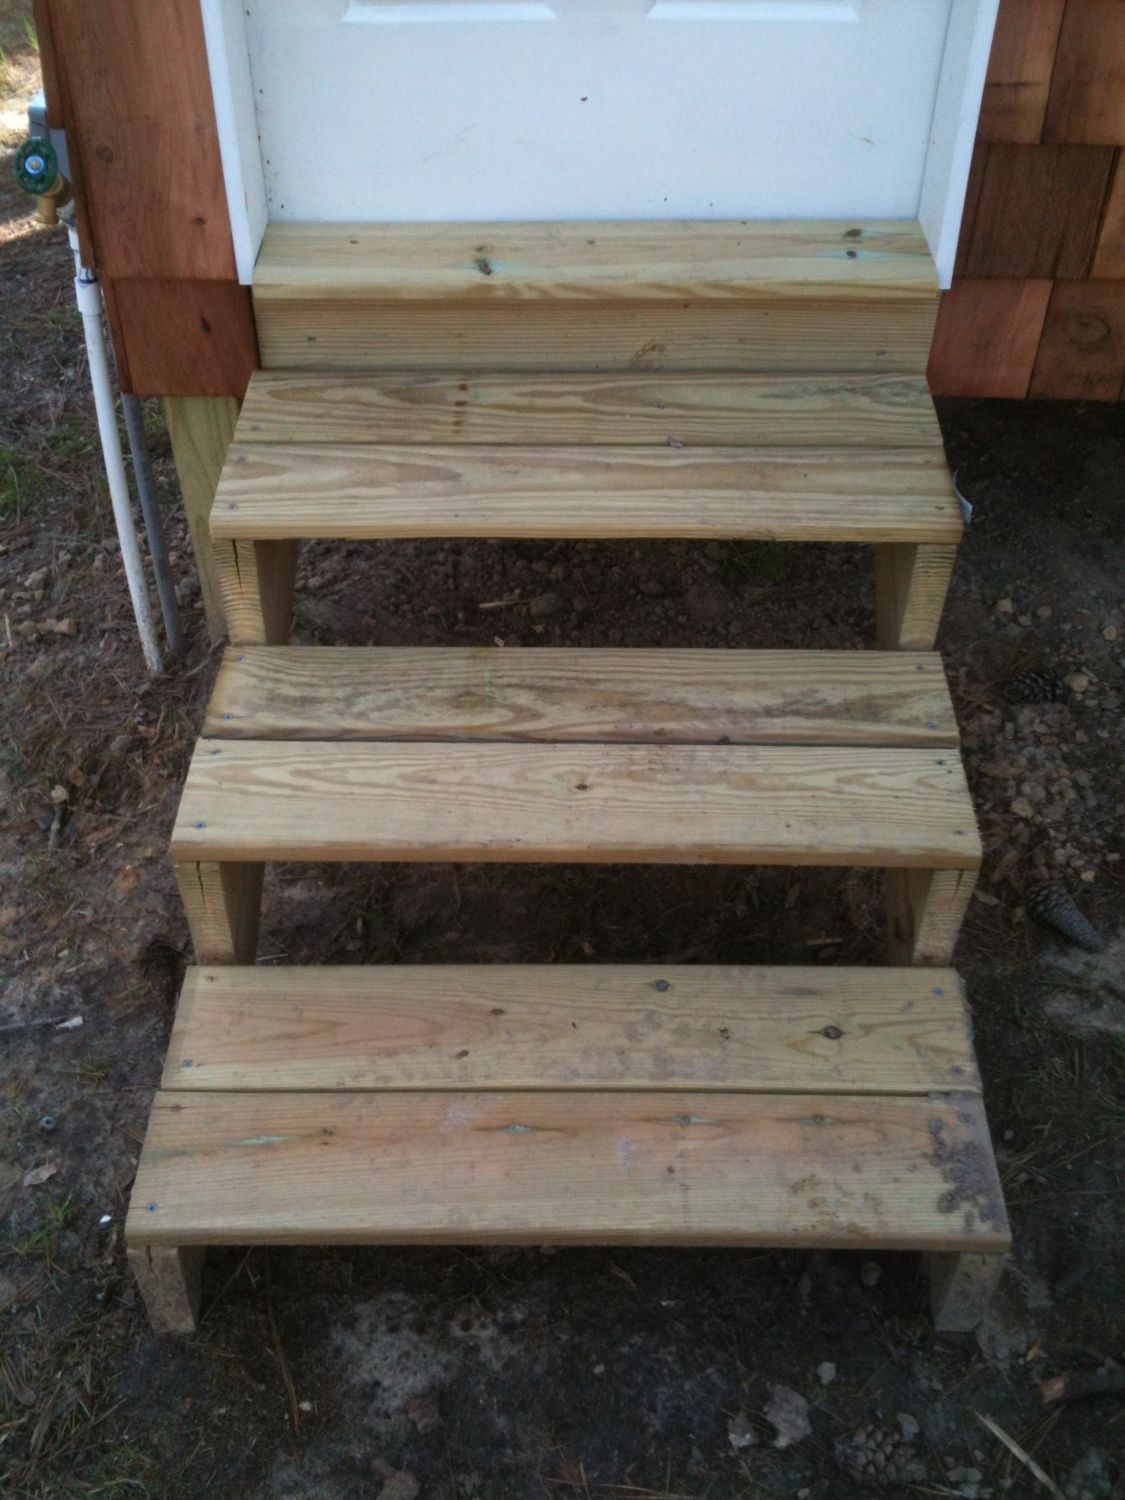
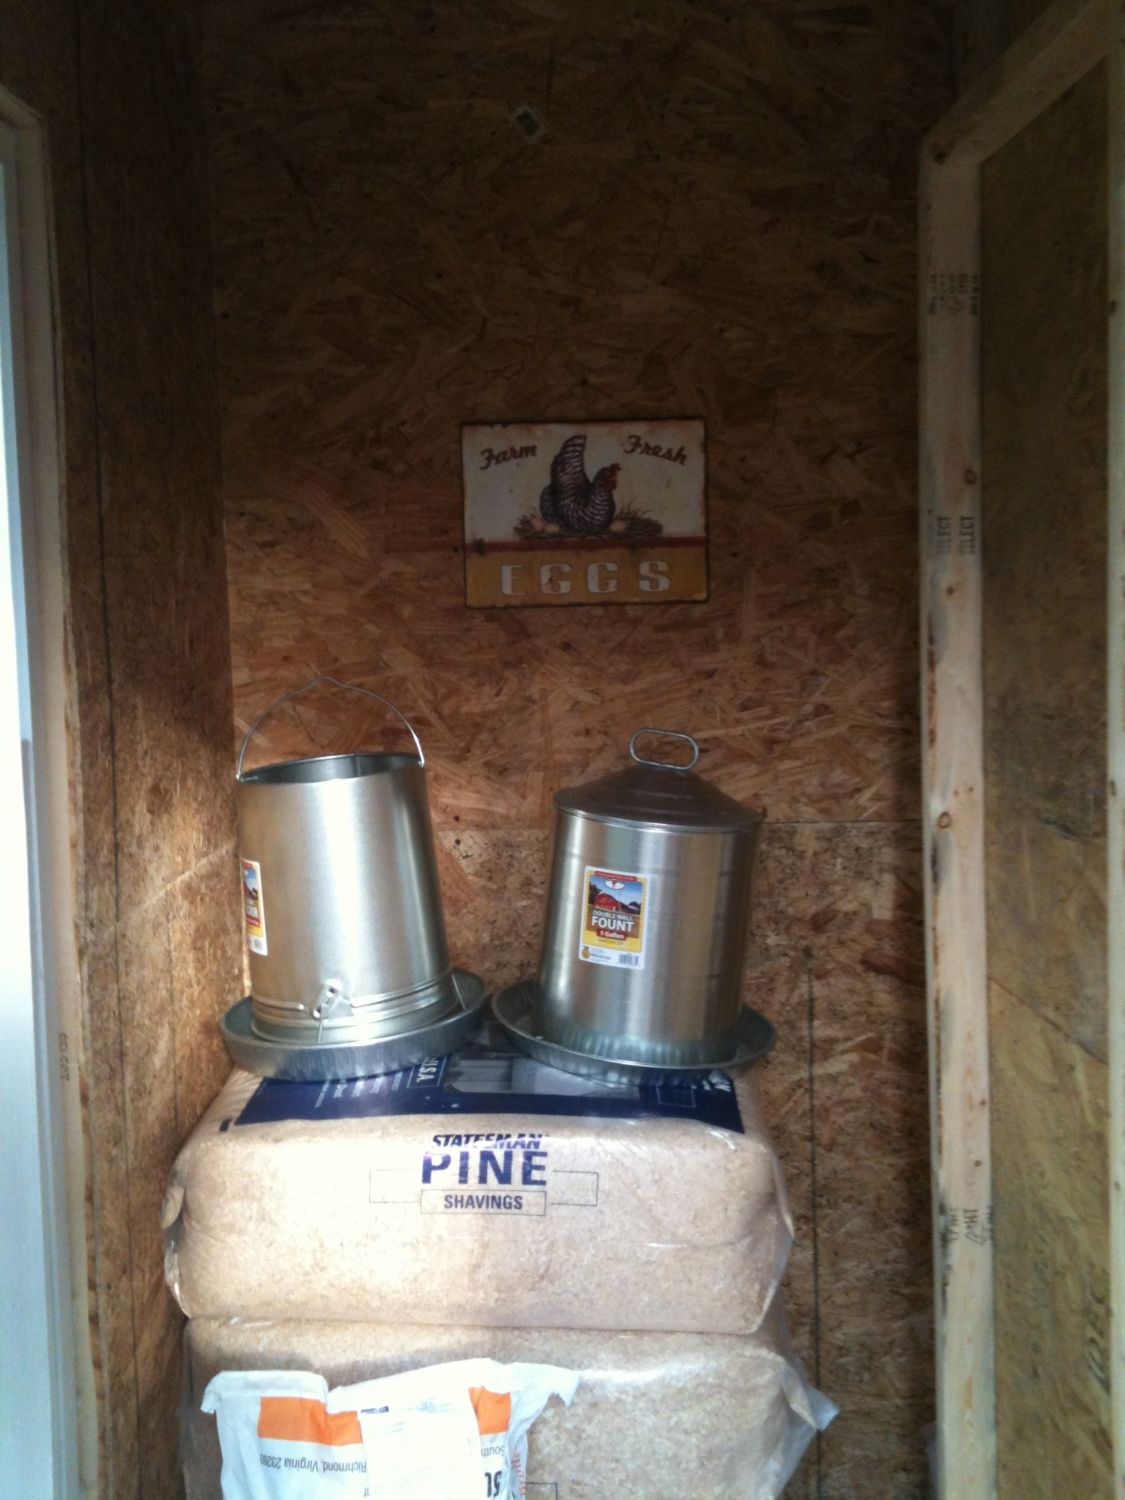
02/26/2012: Well I didn't get the run started yet, but I've got the siding started. Insulation is done, and electricity and plumbing is run to the coop. I've put in 2 recessed lights, and a couple of outlets, and installed a makeshift automatic door that is set on a timer. I put 1/4 inch osb plywood up on the interior walls and ceiling, and i've built steps for the door. All my windows and the door are installed. Hopefully i'll get the run started soon, although i'd like to finish the siding first. Once the run is done i'll get started on my roosts, and nest boxes. I'll go out tomorrow and take some more pictures.
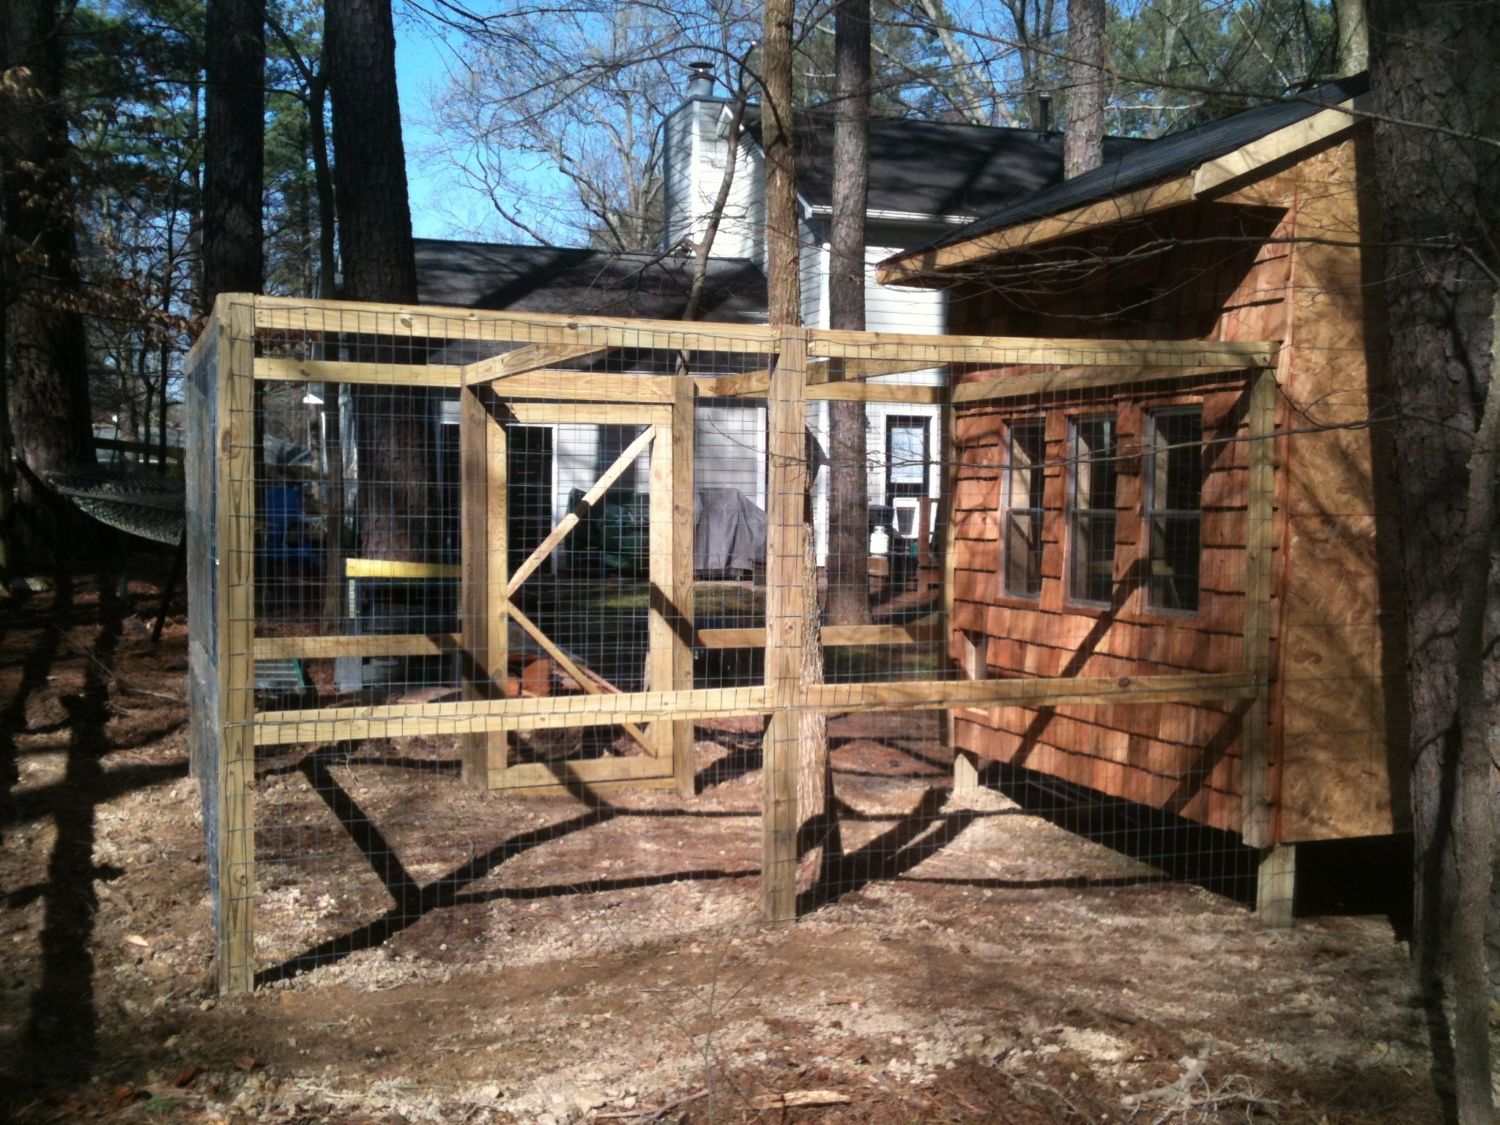
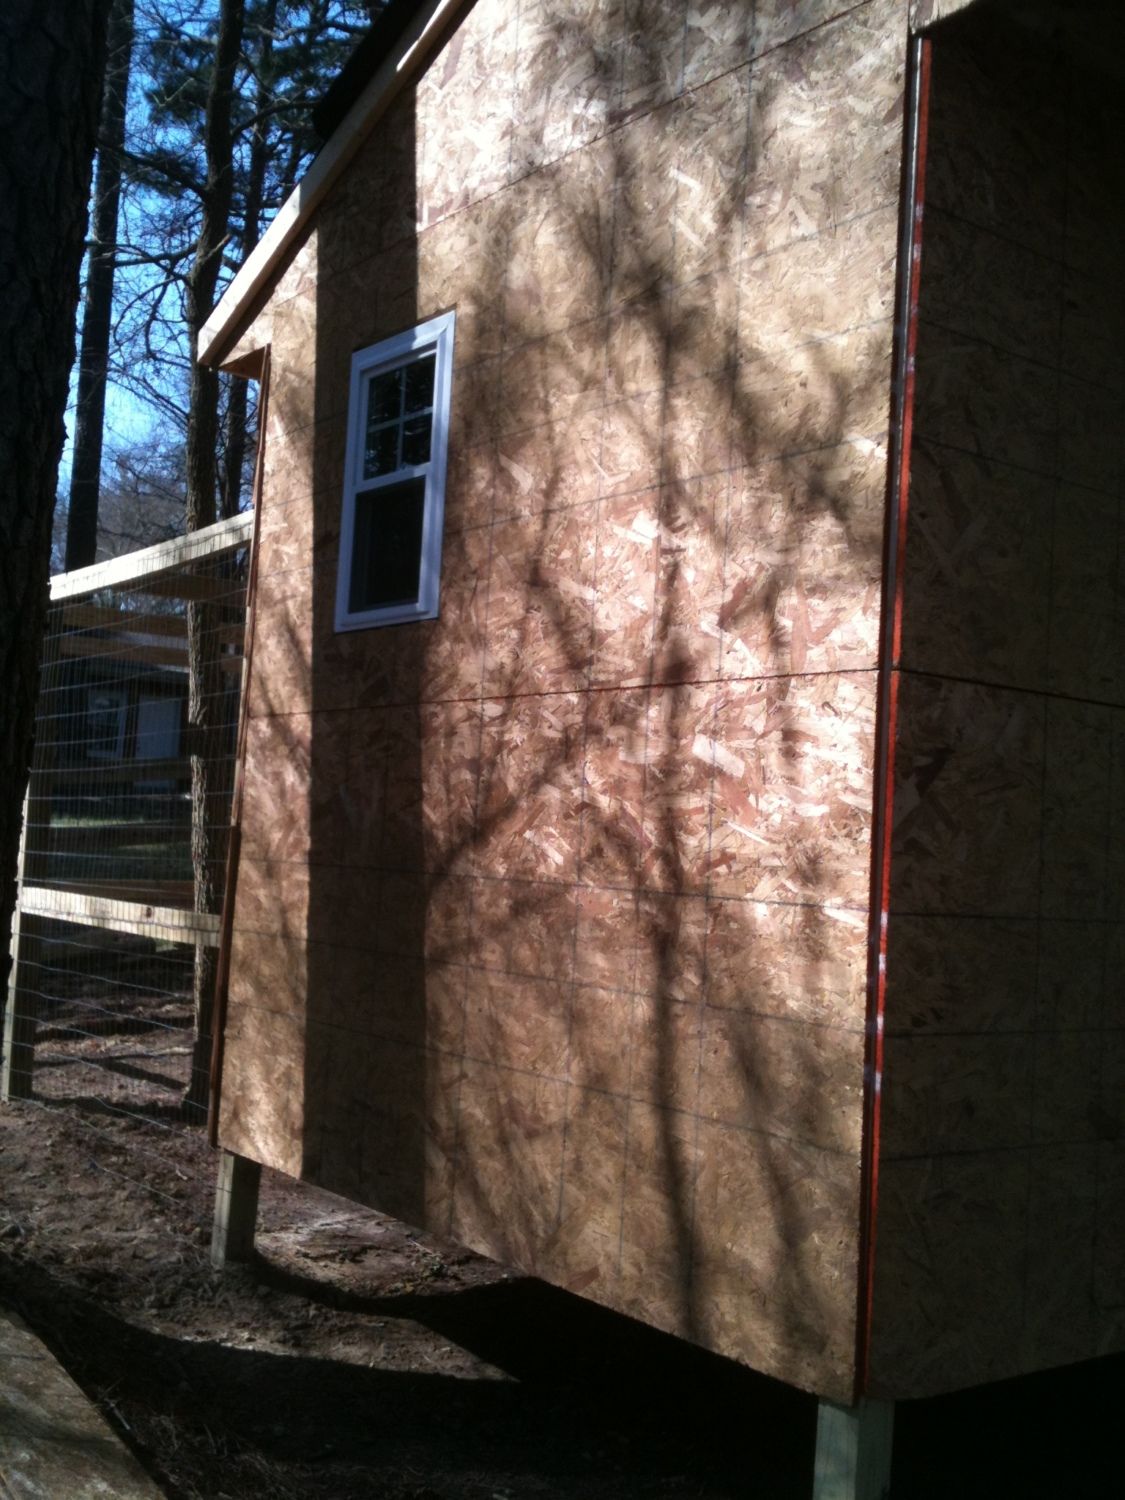
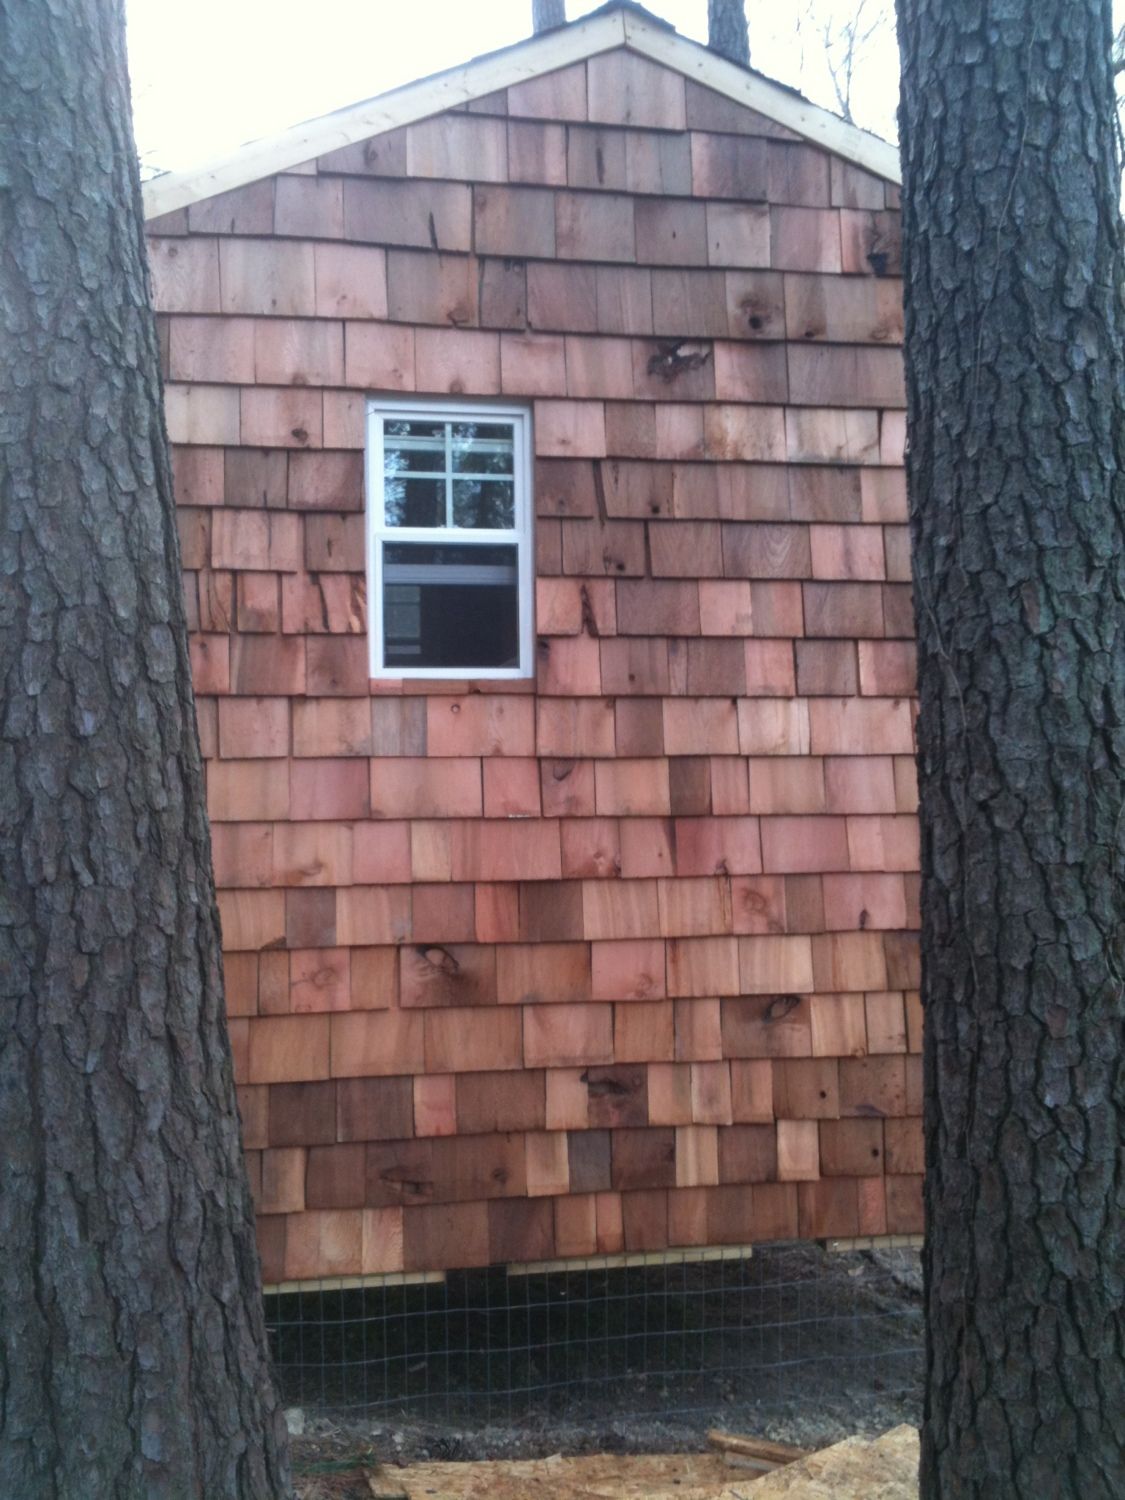
03/07/2012: So we've been having a lot of rain lately. And by a lot of rain, i mean a whole lot of rain. So here's the update. I've got the run completed, and the siding started. Here are some pictures.
The automatic chicken door is made out of a thin 1/8" piece of metal, like what road signs are made of, so that it would be light weight for the motor. The motor was bought from smarthome.com and is designed to lift up to 4lbs. It works kind of like a fishing reel, and is set on a timer.
I put a T fitting on a hose bib attached to the house, and attached that to pvc, and ran that in the ground to the coop. I wasn't going to run plumbing, but i had to dig a trench anyways for the electricity, so it just made sense to run the two in the same trench. I'm sure I will be glad that I ran it.
All walls have R13 fiberglass insulation in them, including the ceiling. The interior walls were lined with 1/4" OSB plywood. I put in 2 extra electrical outlets.
I'll take some more pictures once I get the siding finished, and build the nest boxes and roosts.
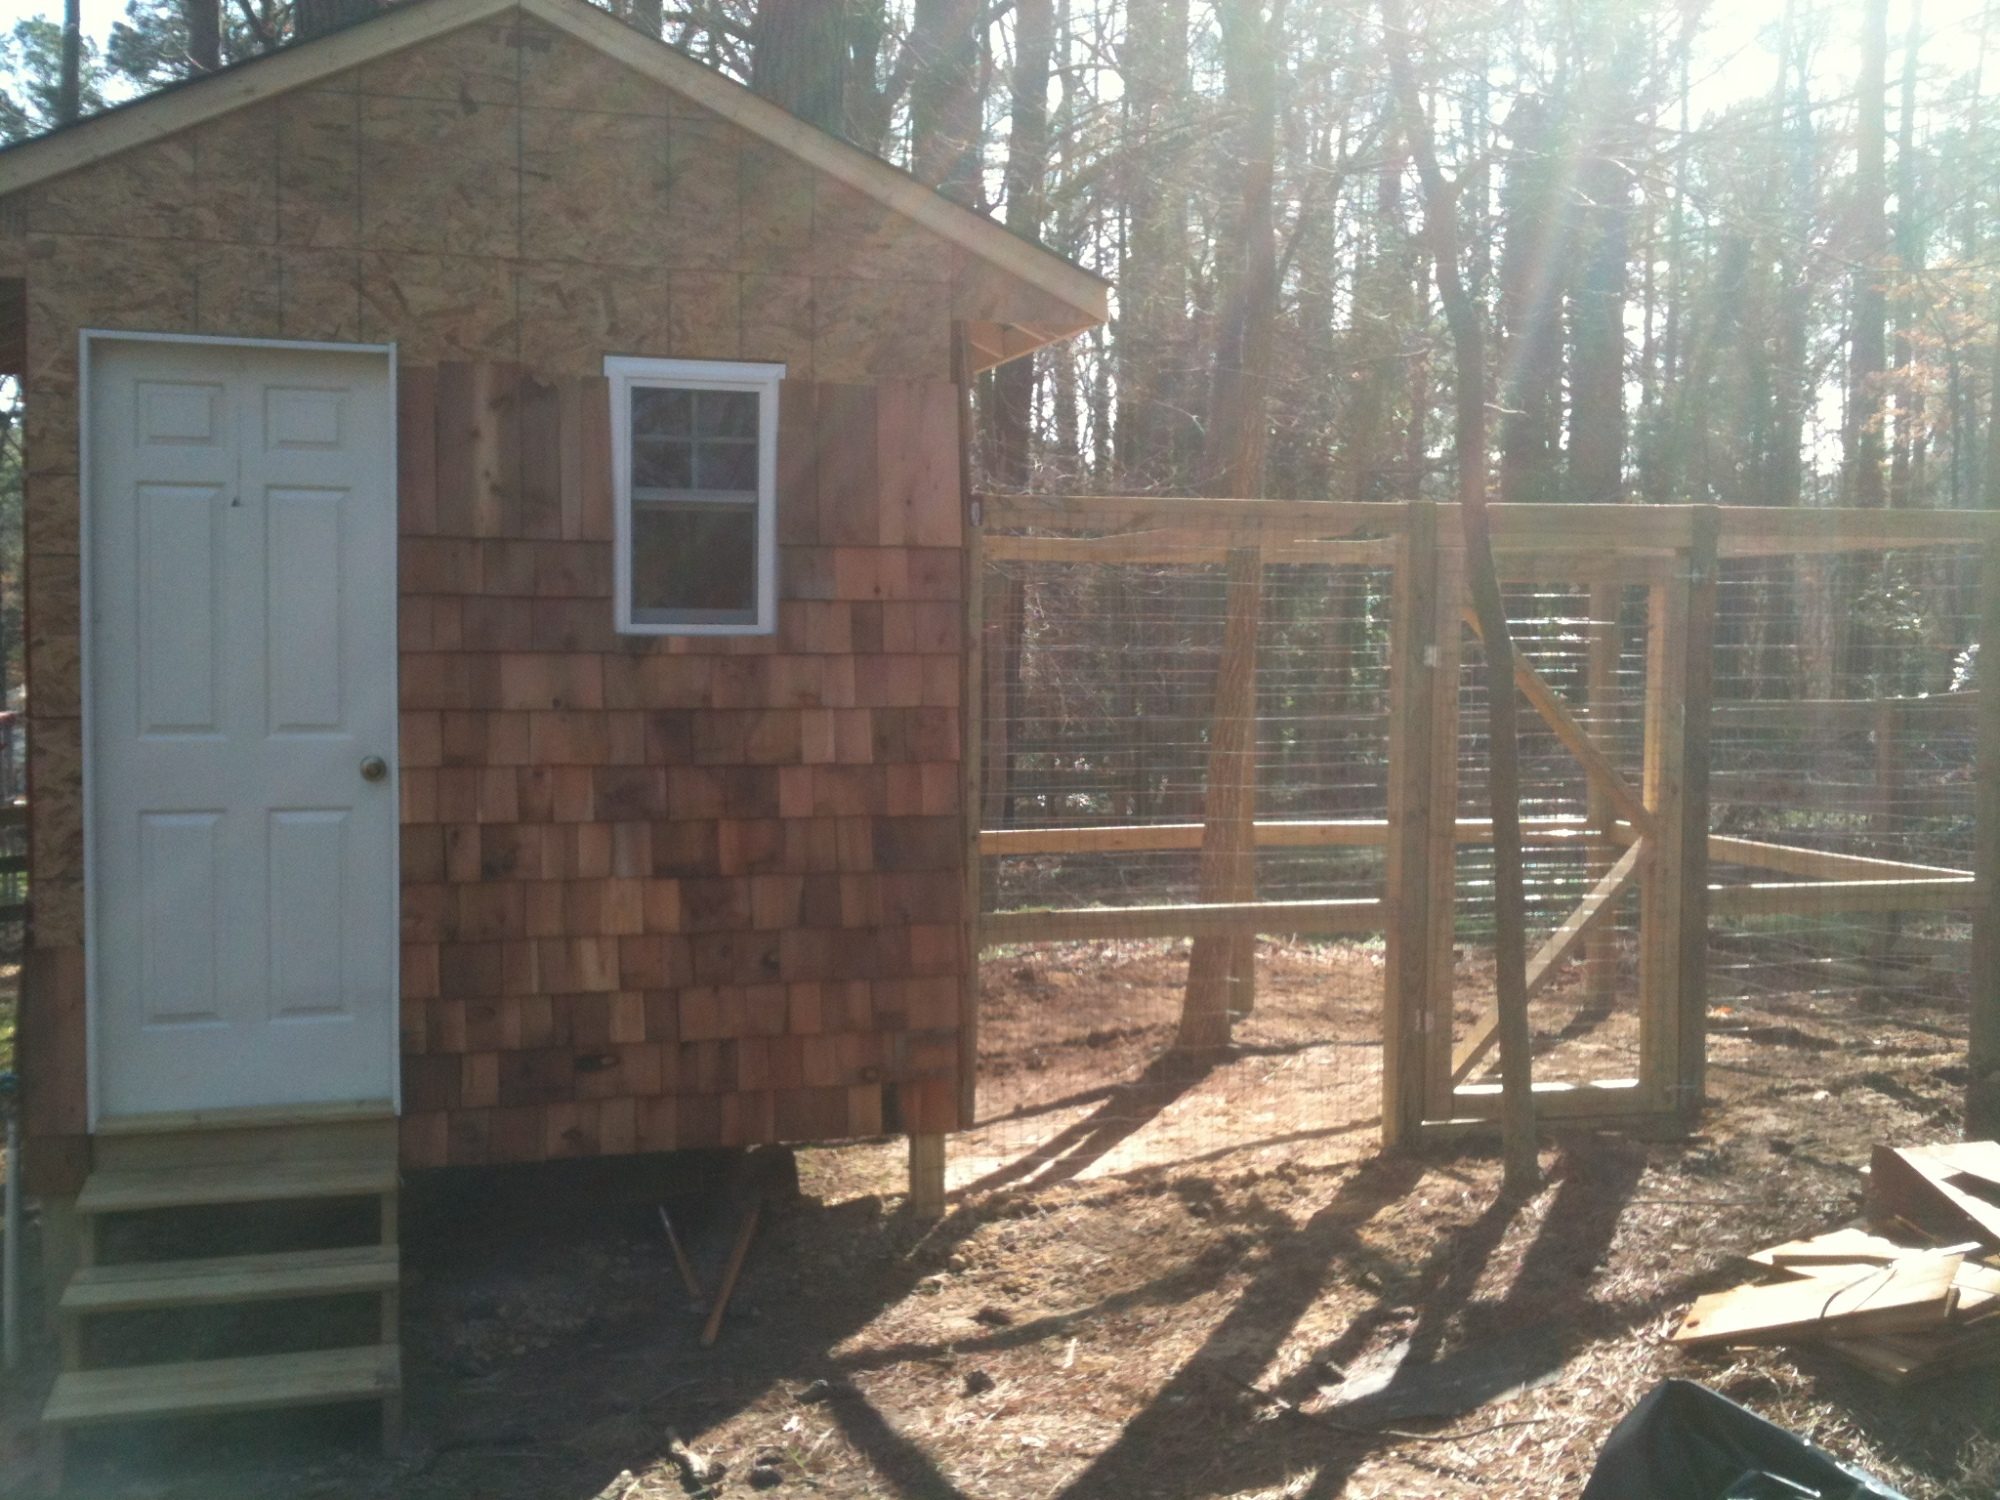
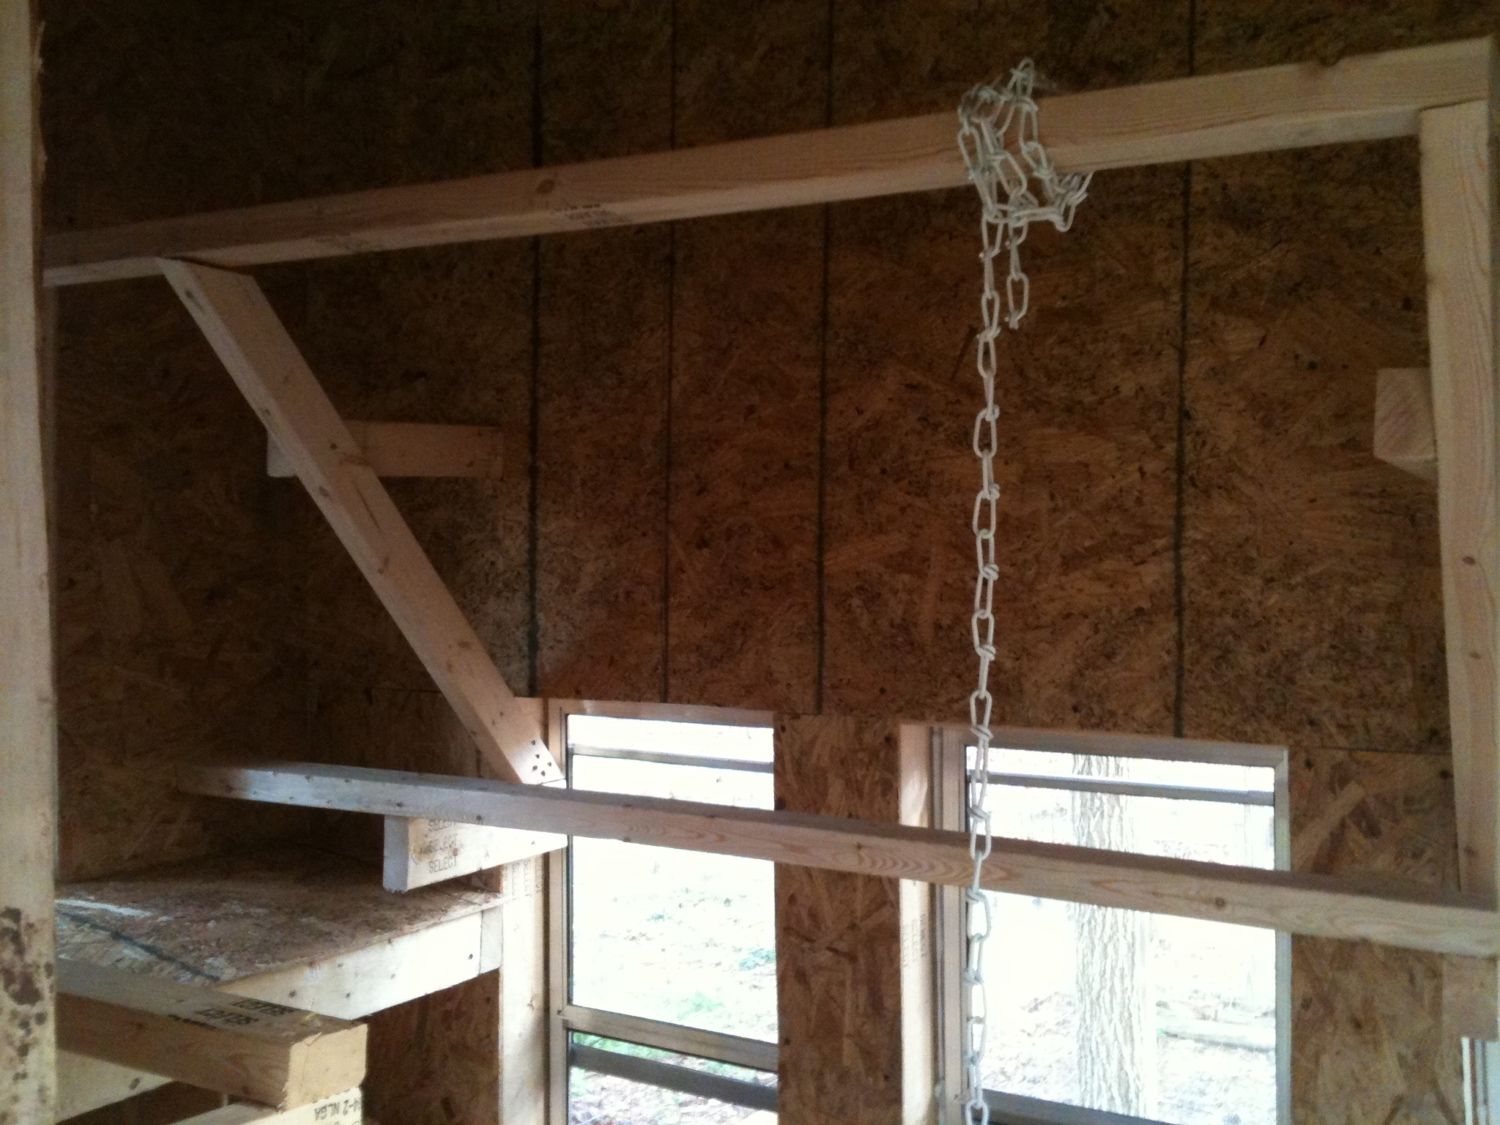
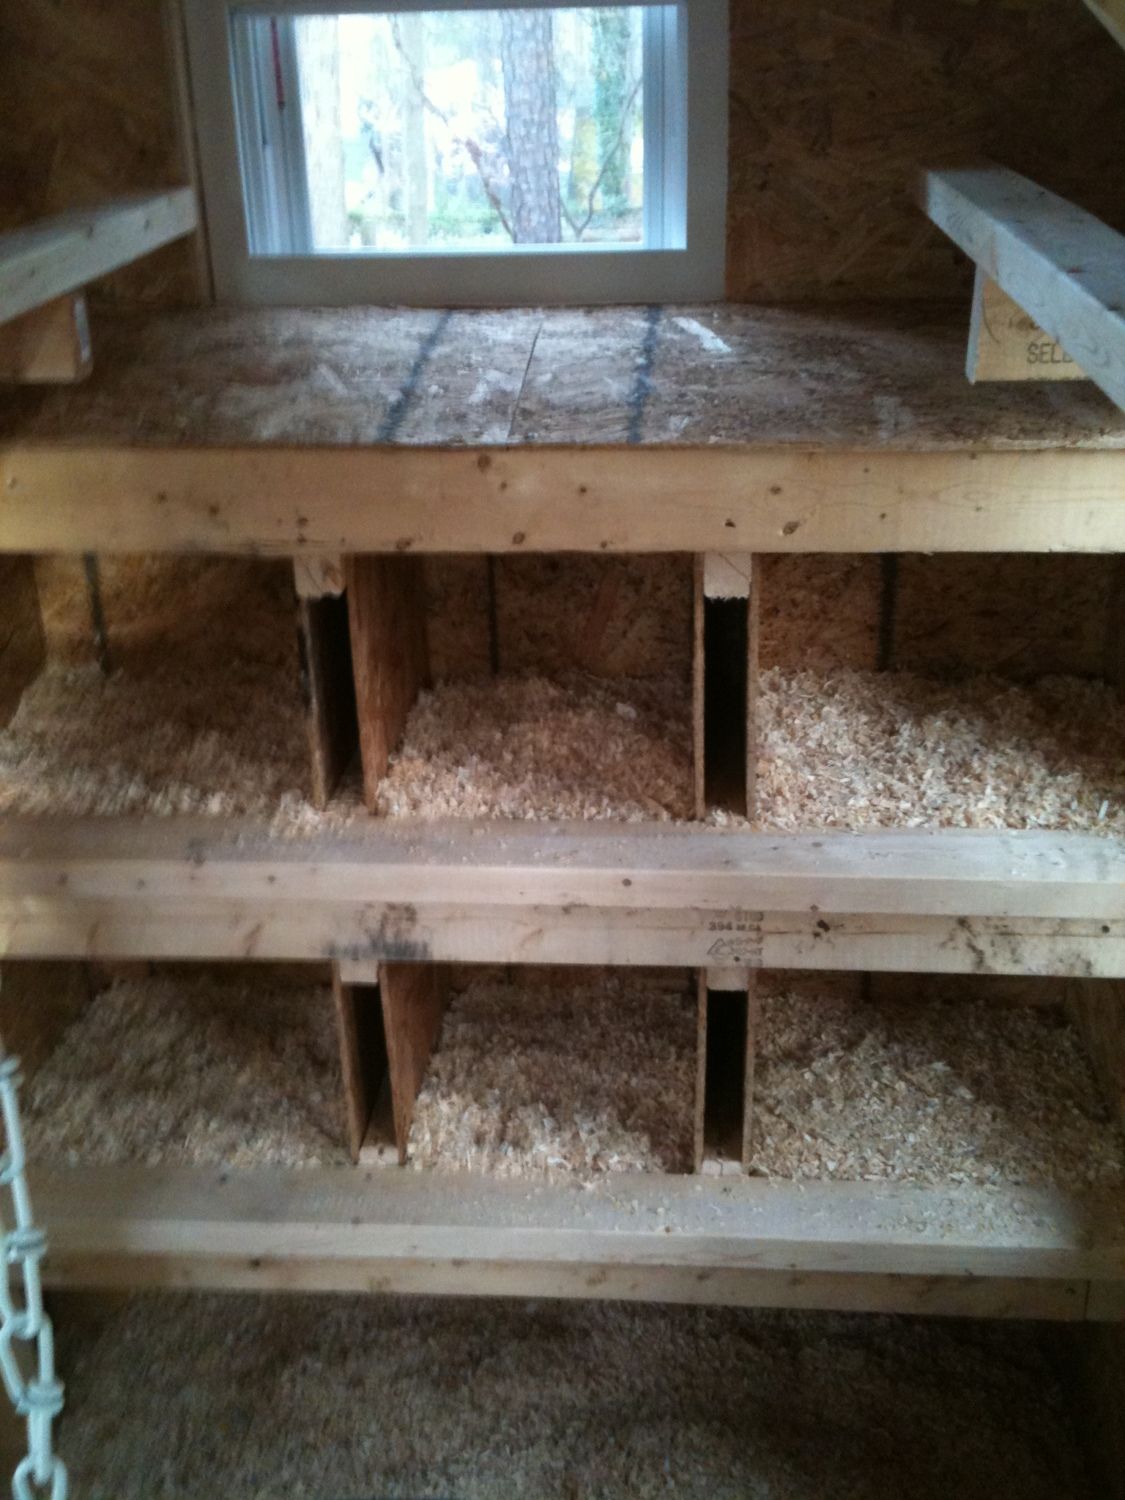
03/13/2012: Got the siding completed today. Started building my nest boxes and roosts, should get them finished tomorrow. Chicks come next week.
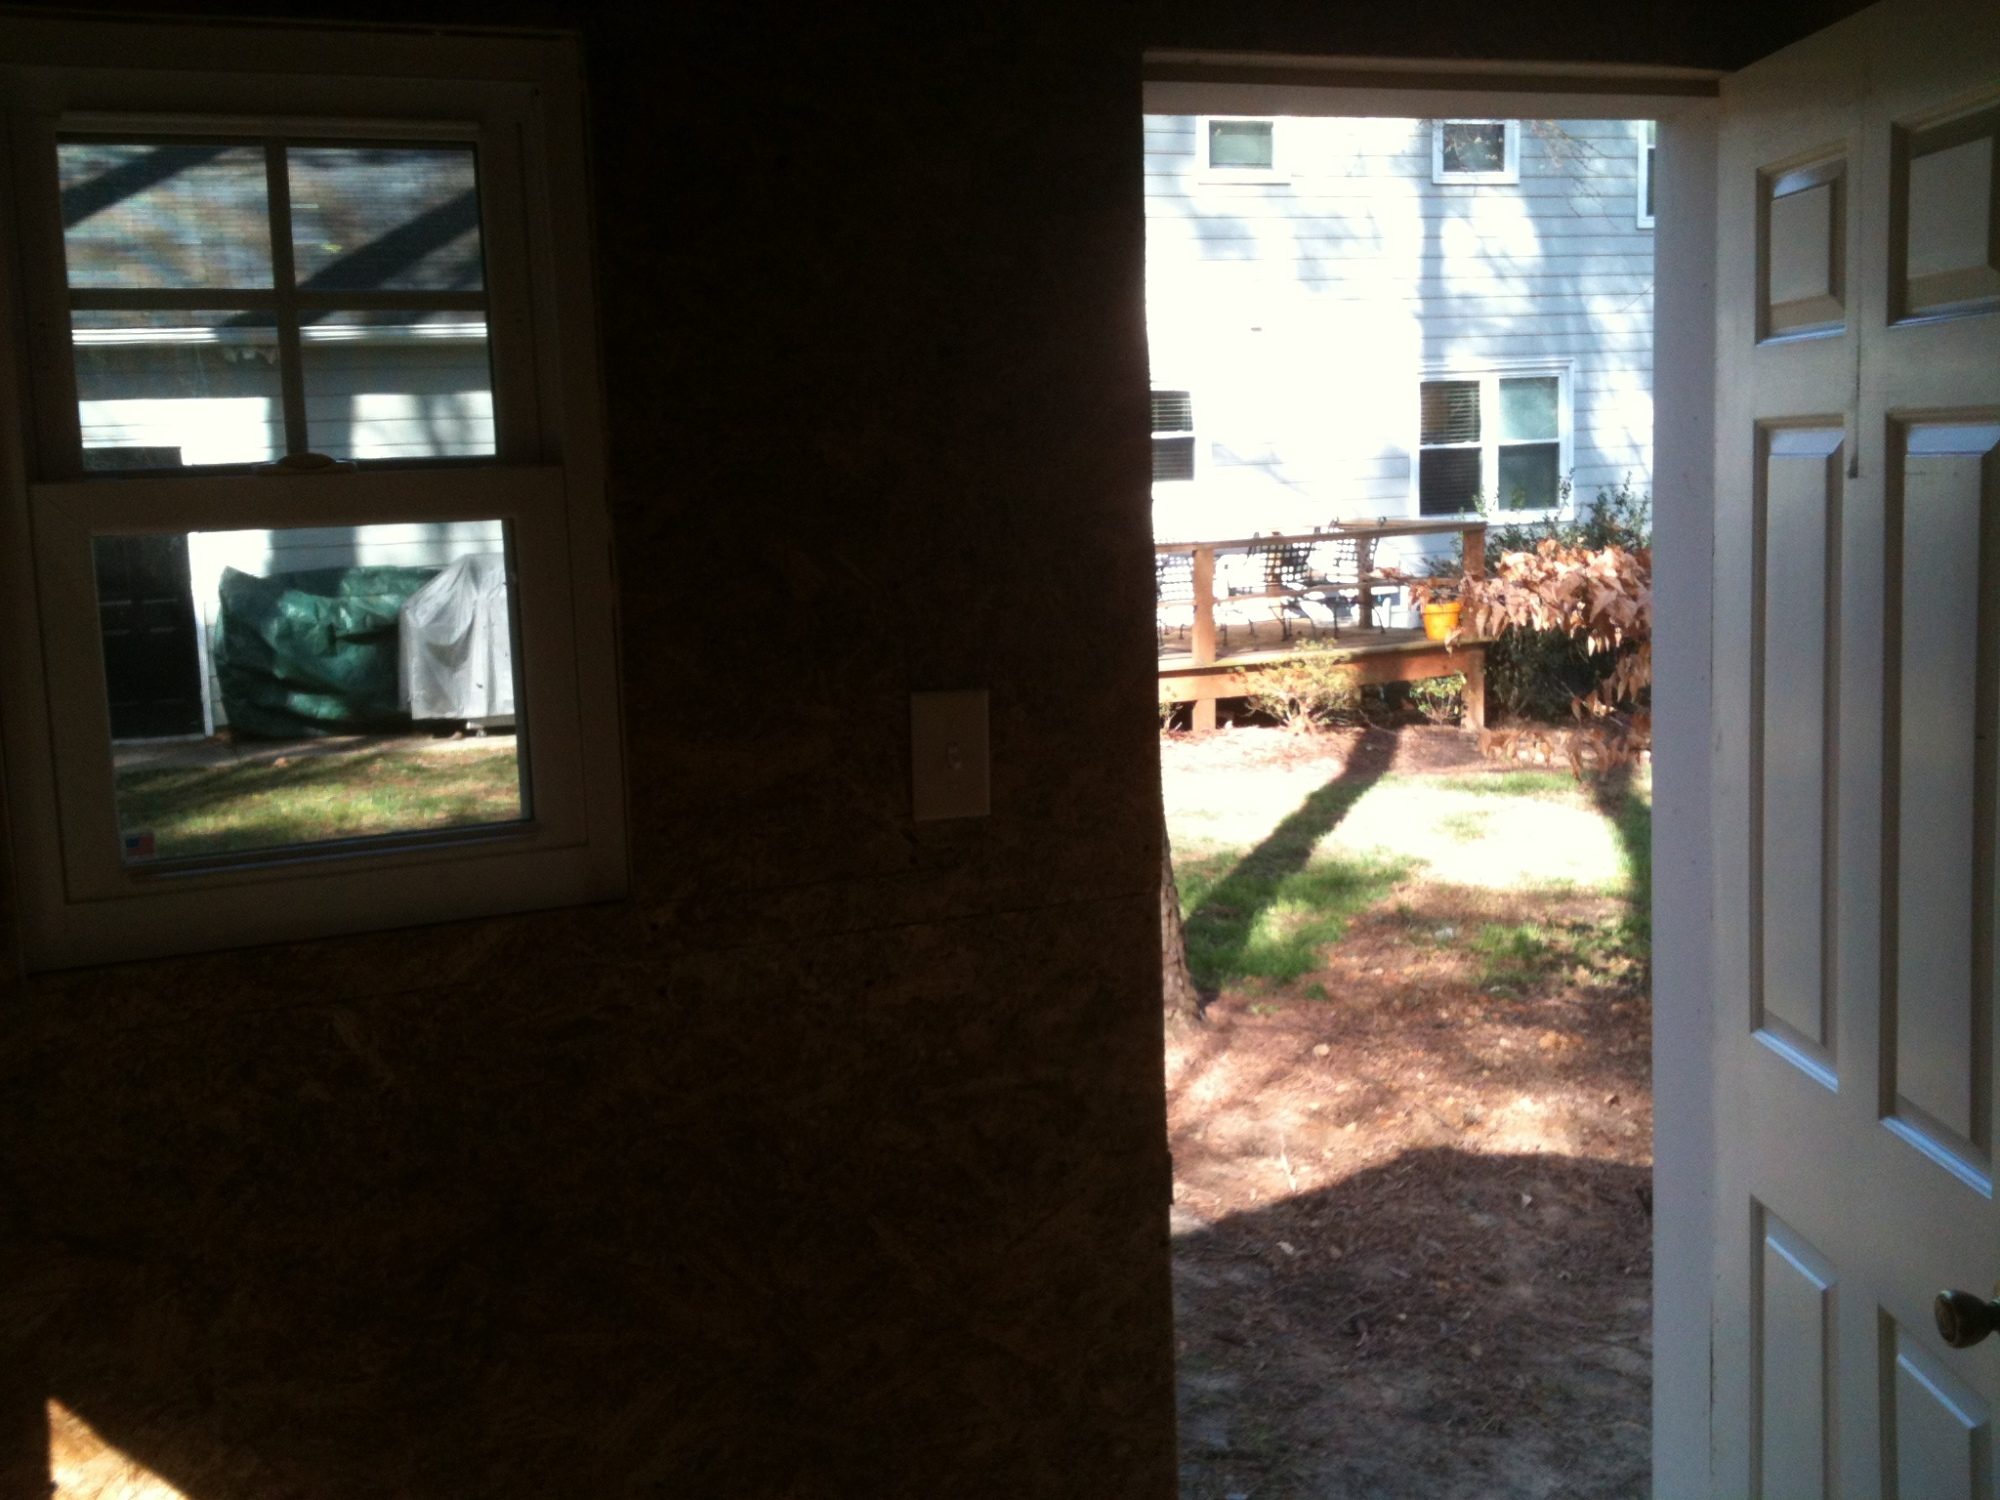
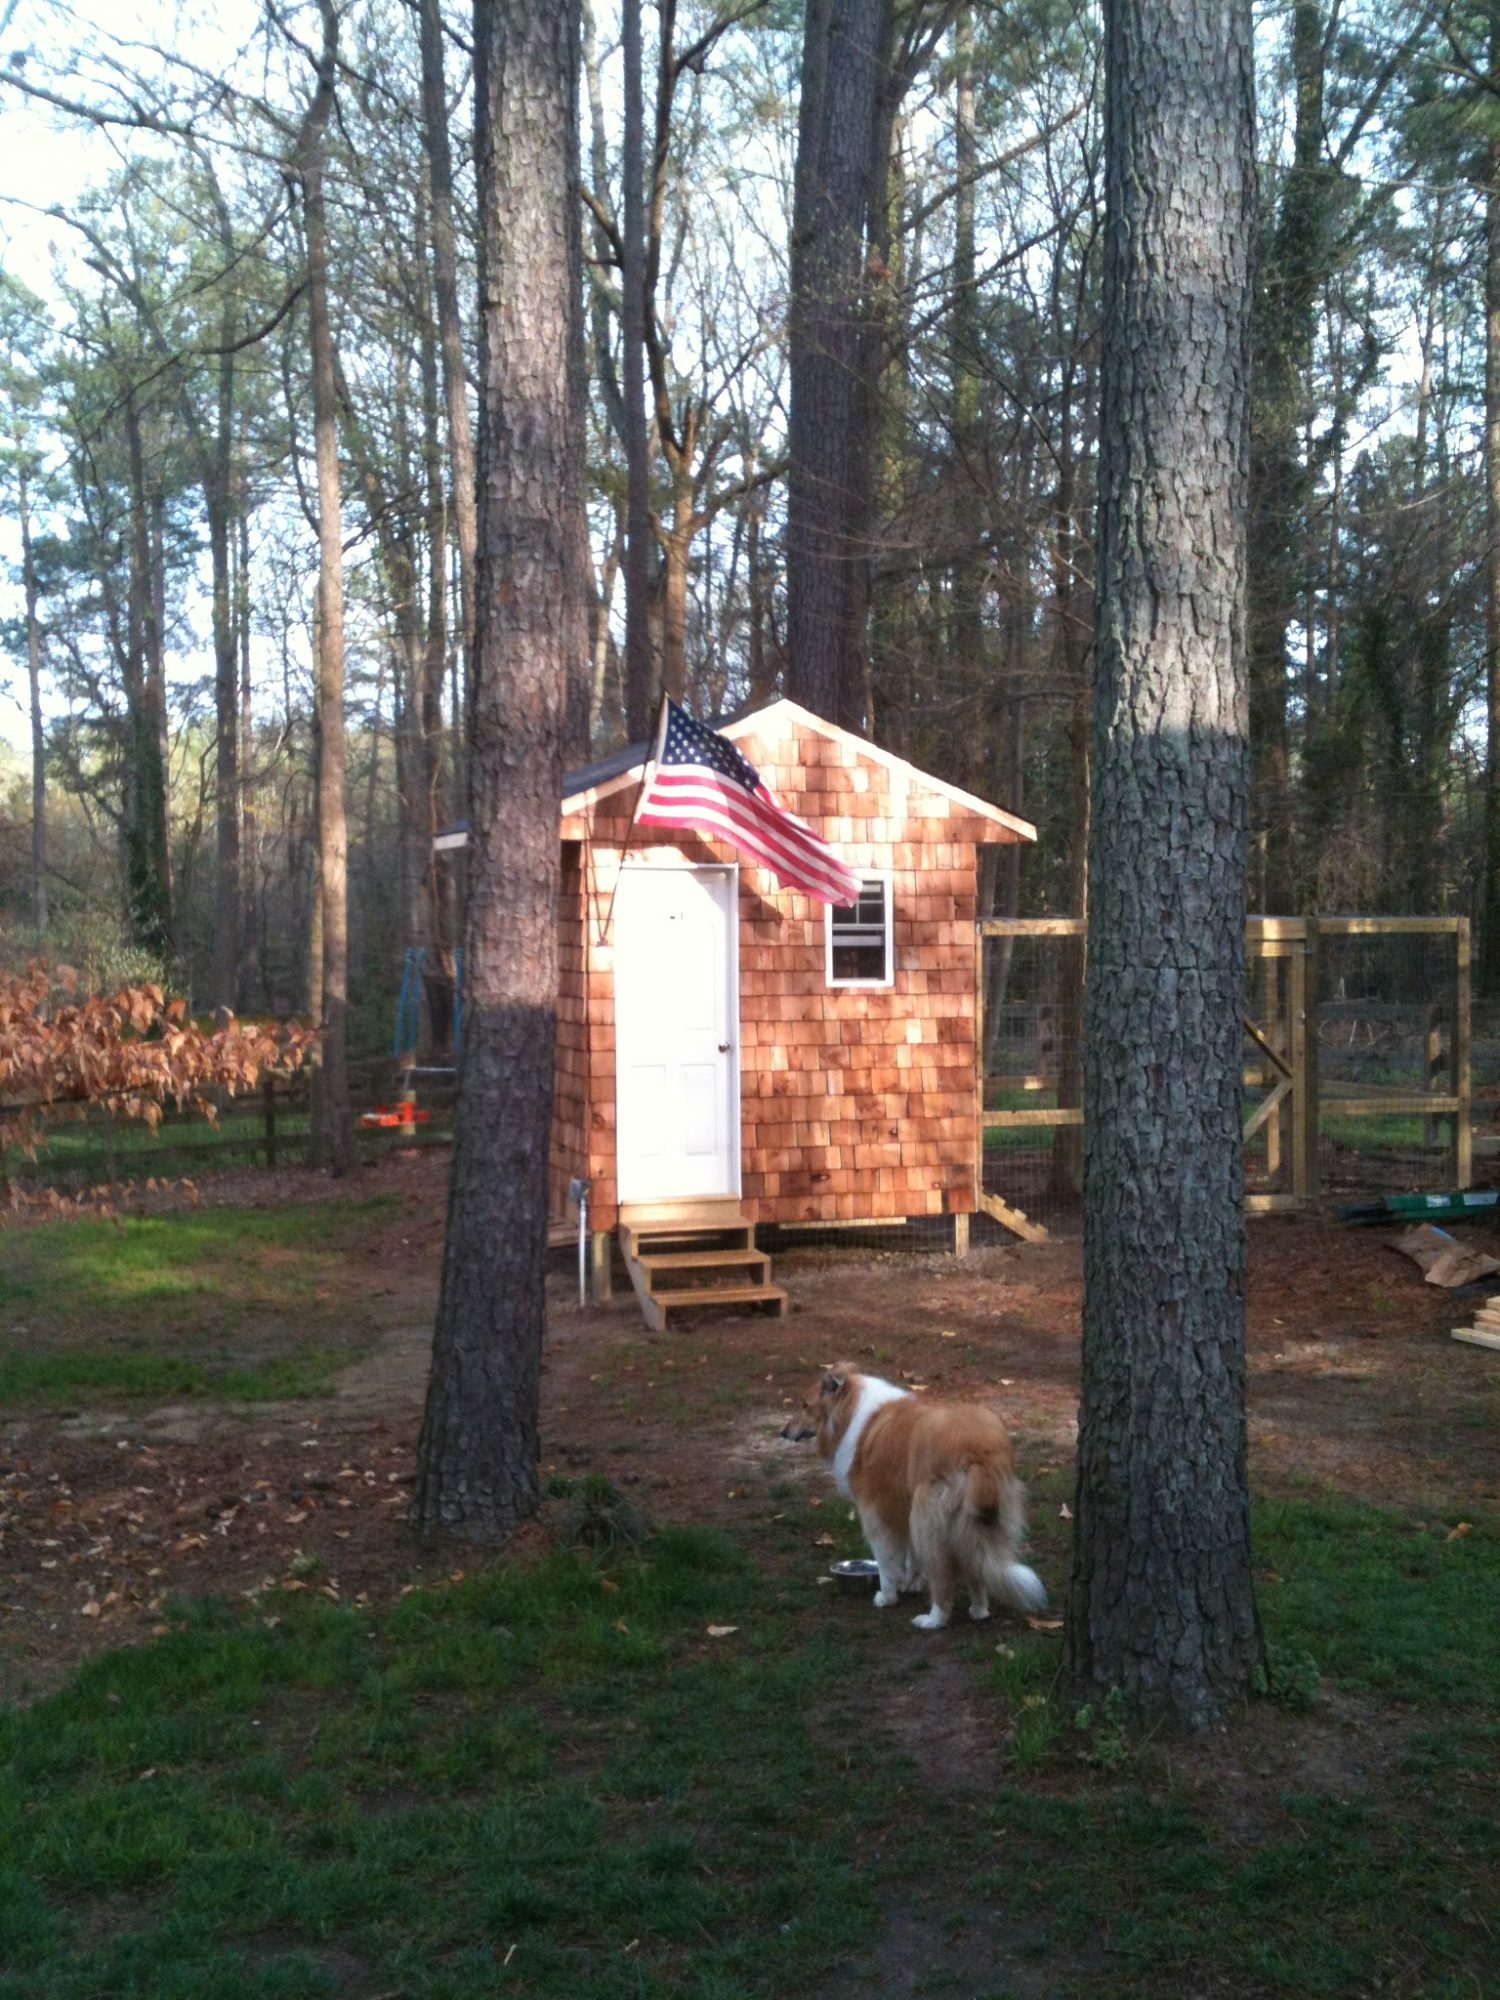
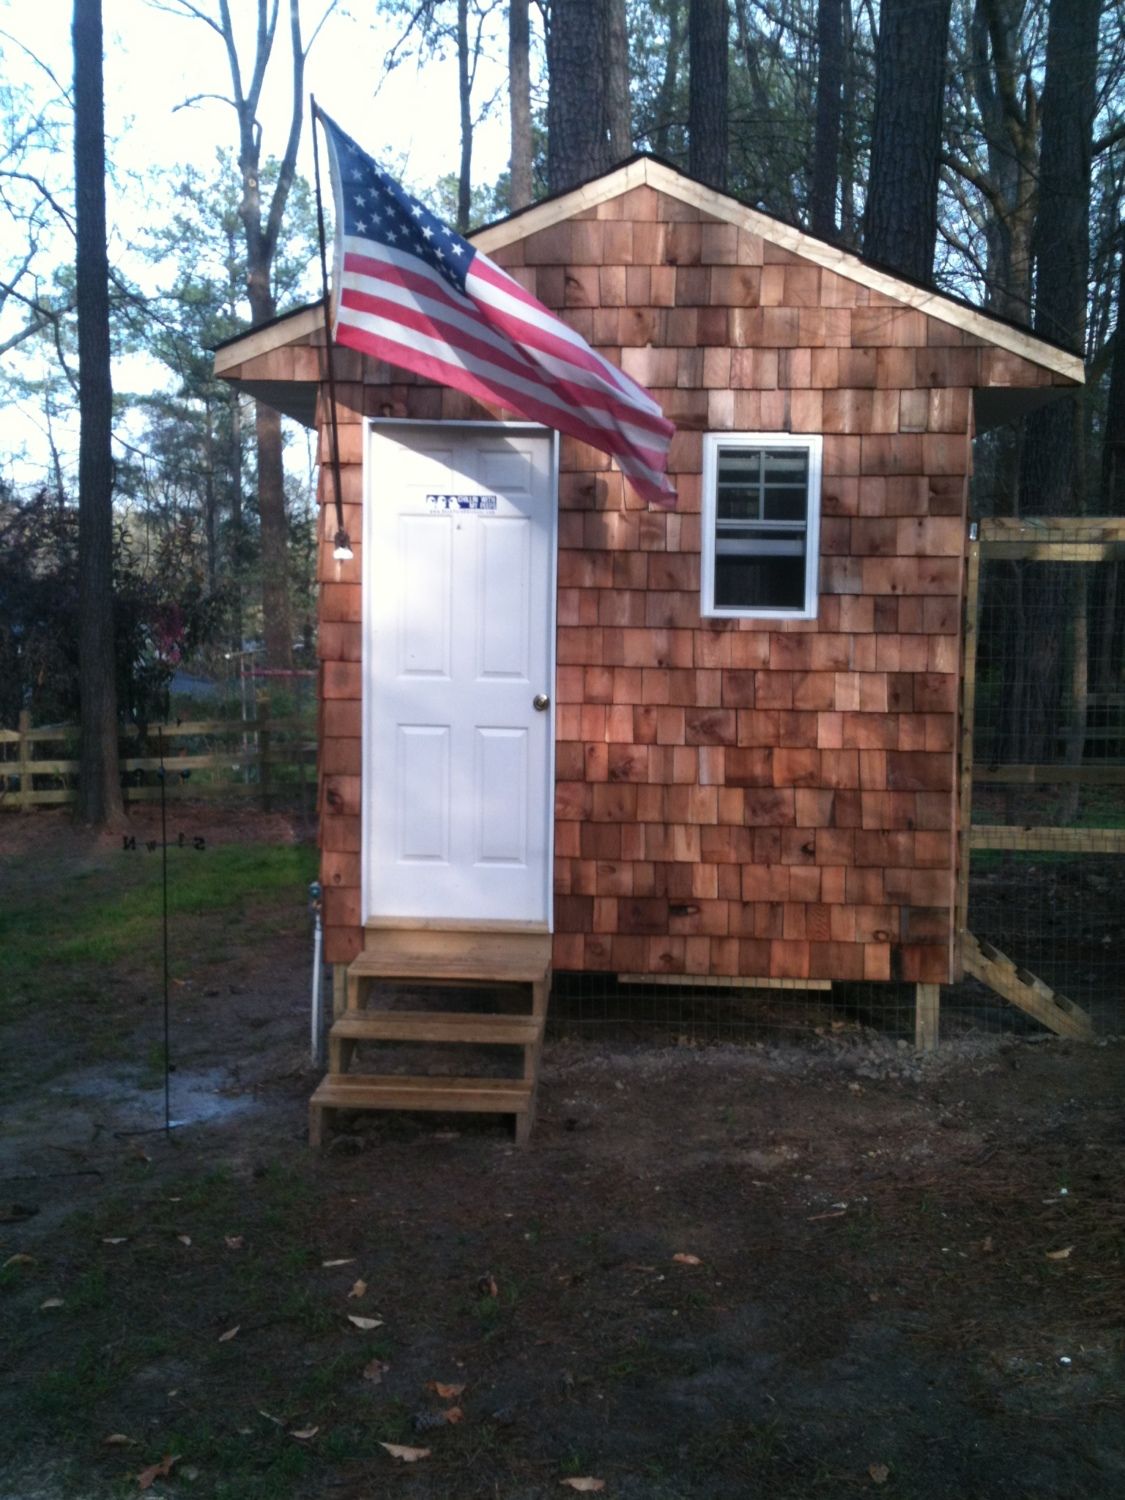
03/16/2012: Finished up the loose ends, and am completely done with the chicken coop, exactly 1 month after I started it. Here's some final pictures of it completed.
My wife wanted me to get the Backyard Chickens bumper sticker to put on the coop.
Thanks for looking, hopefully this will help inspire some people, as my inspiration came from other's pages.
02/16/2012: Well this is the big weekend. Footers are poured, and I start building the coop tomorrow. I'll update the progress with some pictures of framing either tomorrow or Saturday.
02/17/2012: Framing is started, flooring joists are set and the posts are in place.

Tomorrow, I'll put plywood on the floor and spray foam insulate it, and then begin wall construction.
02/18/2012: Today my Father in law came over and we got plywood put down on the floor, all 4 walls framed and set in place, the roof framed, the plywood put on, and we even got the roof shingled before we lost daylight. Time for some beer.
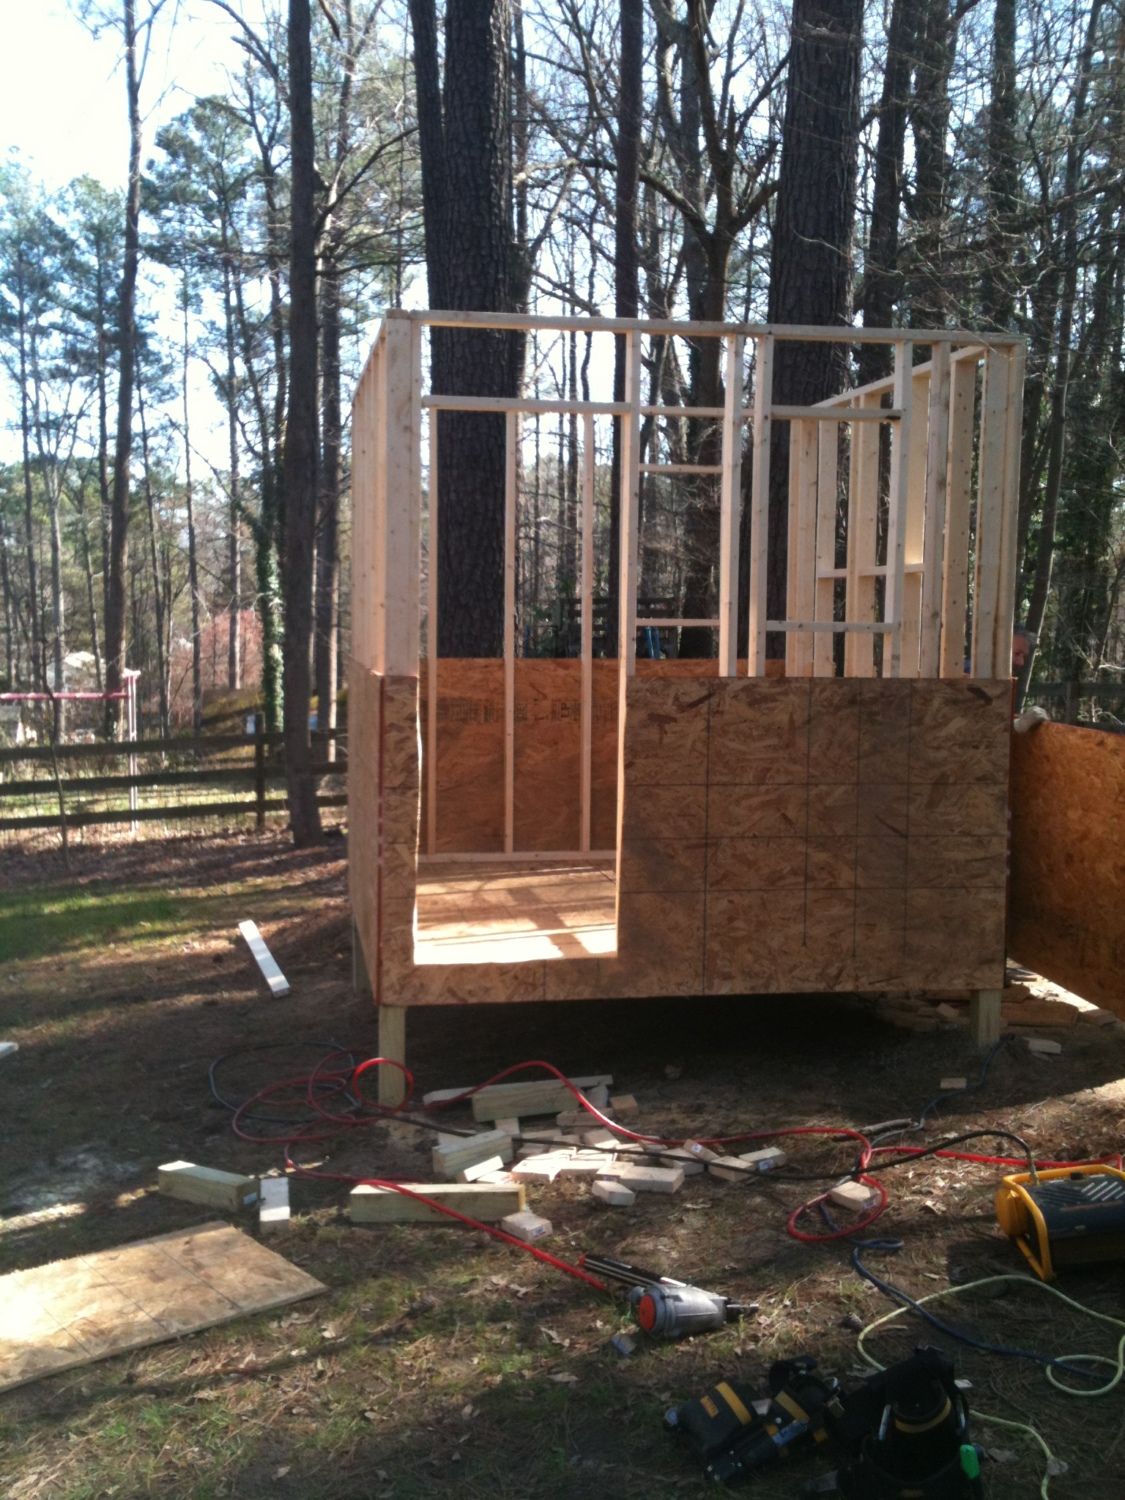
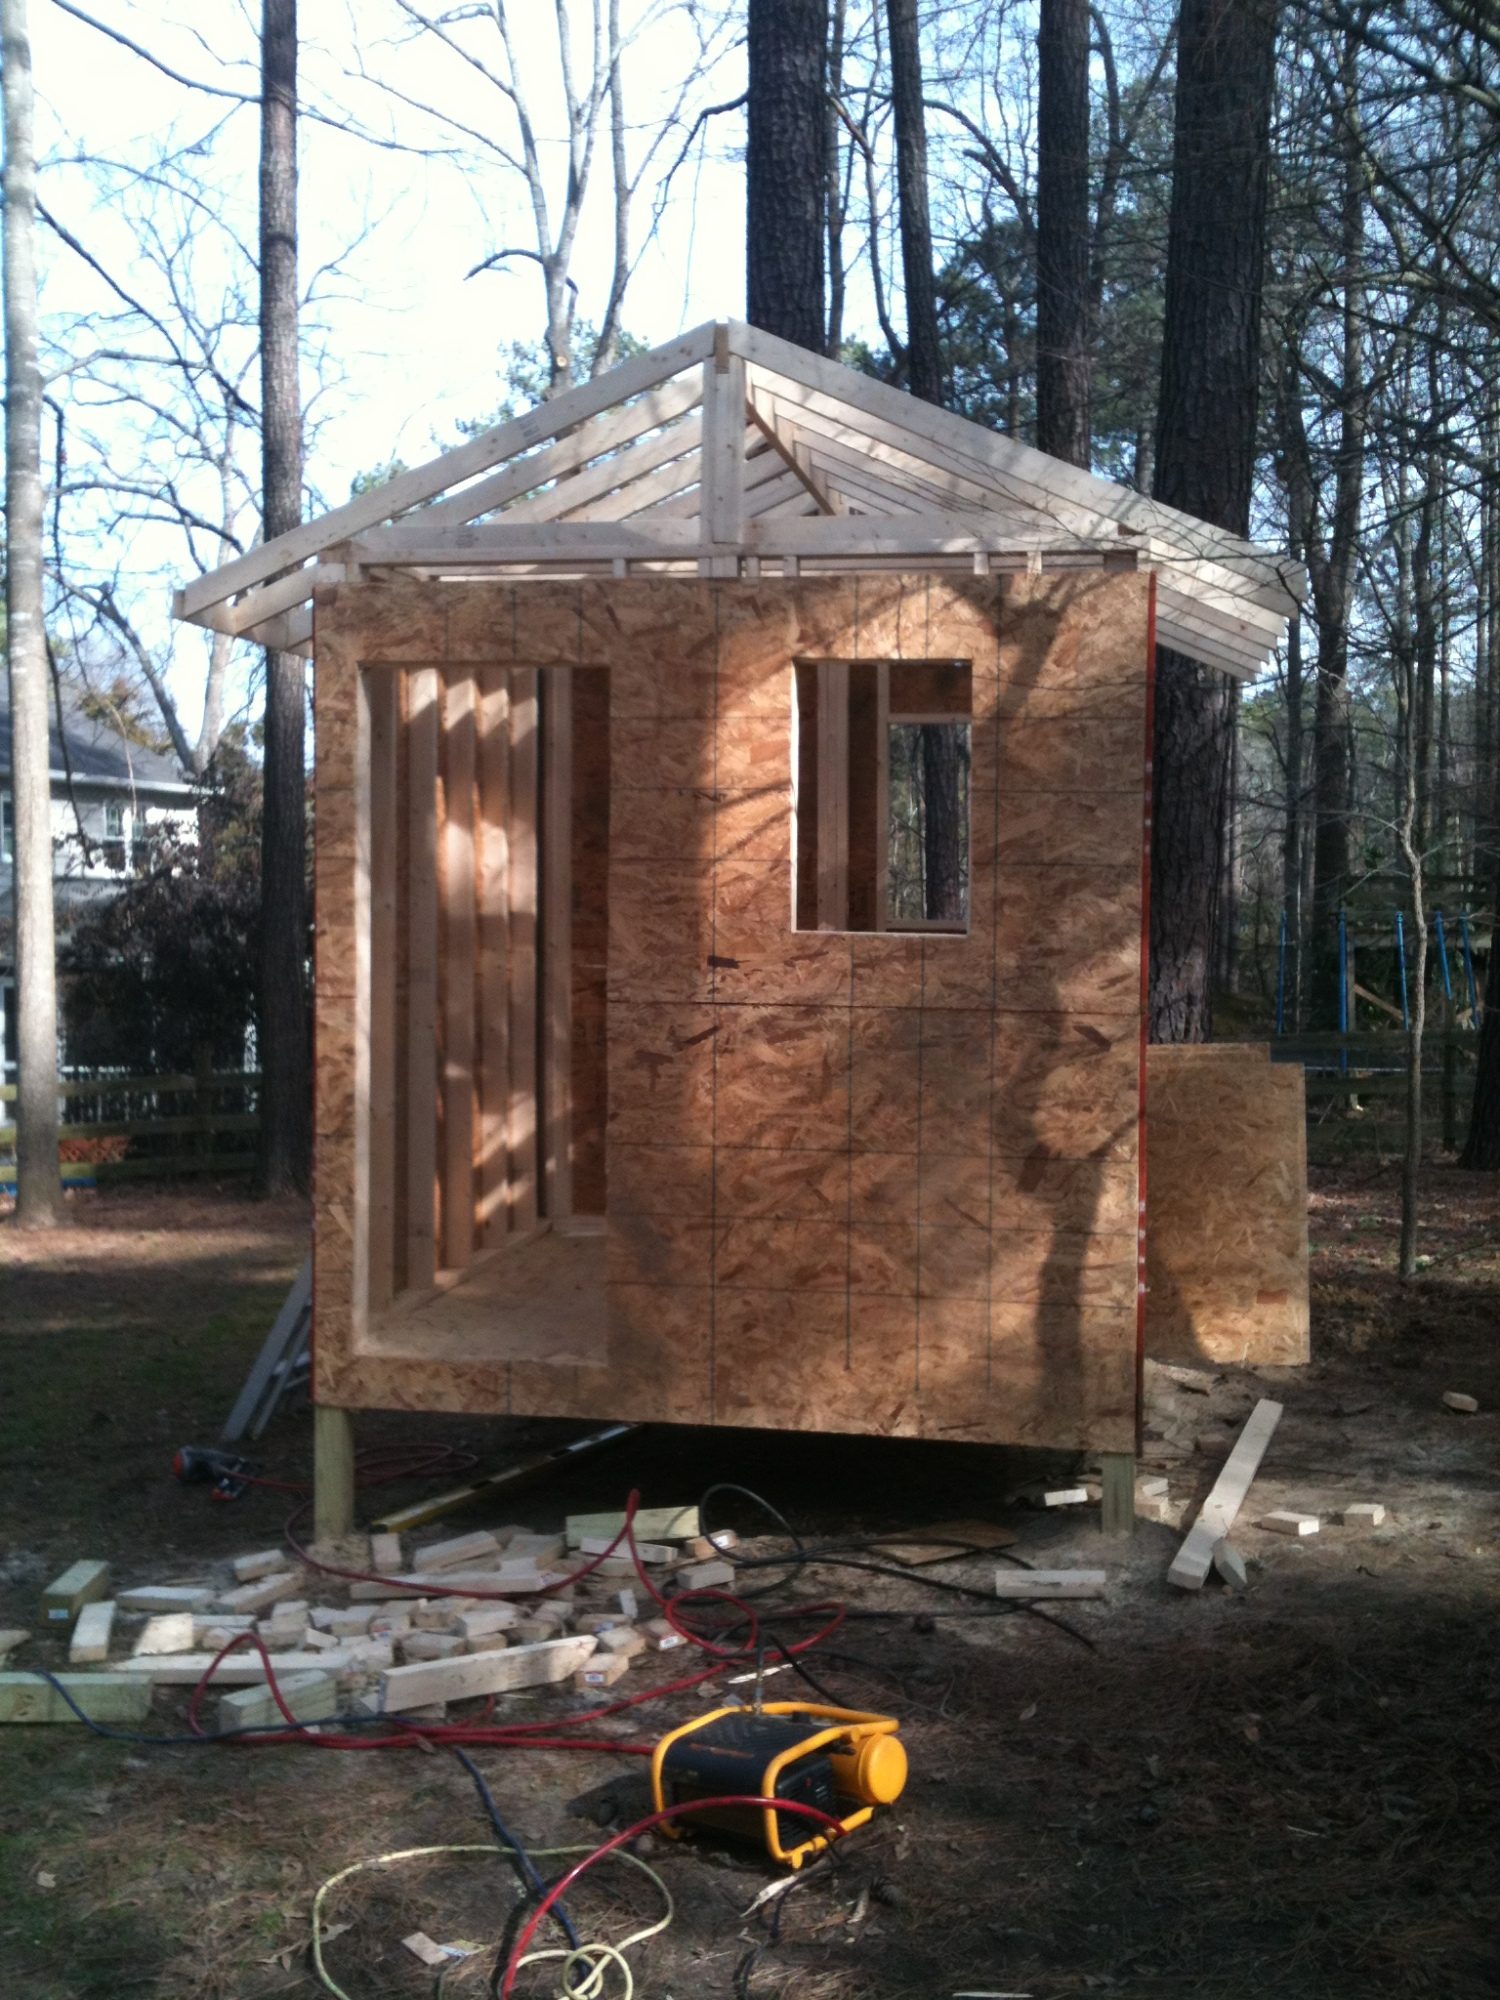
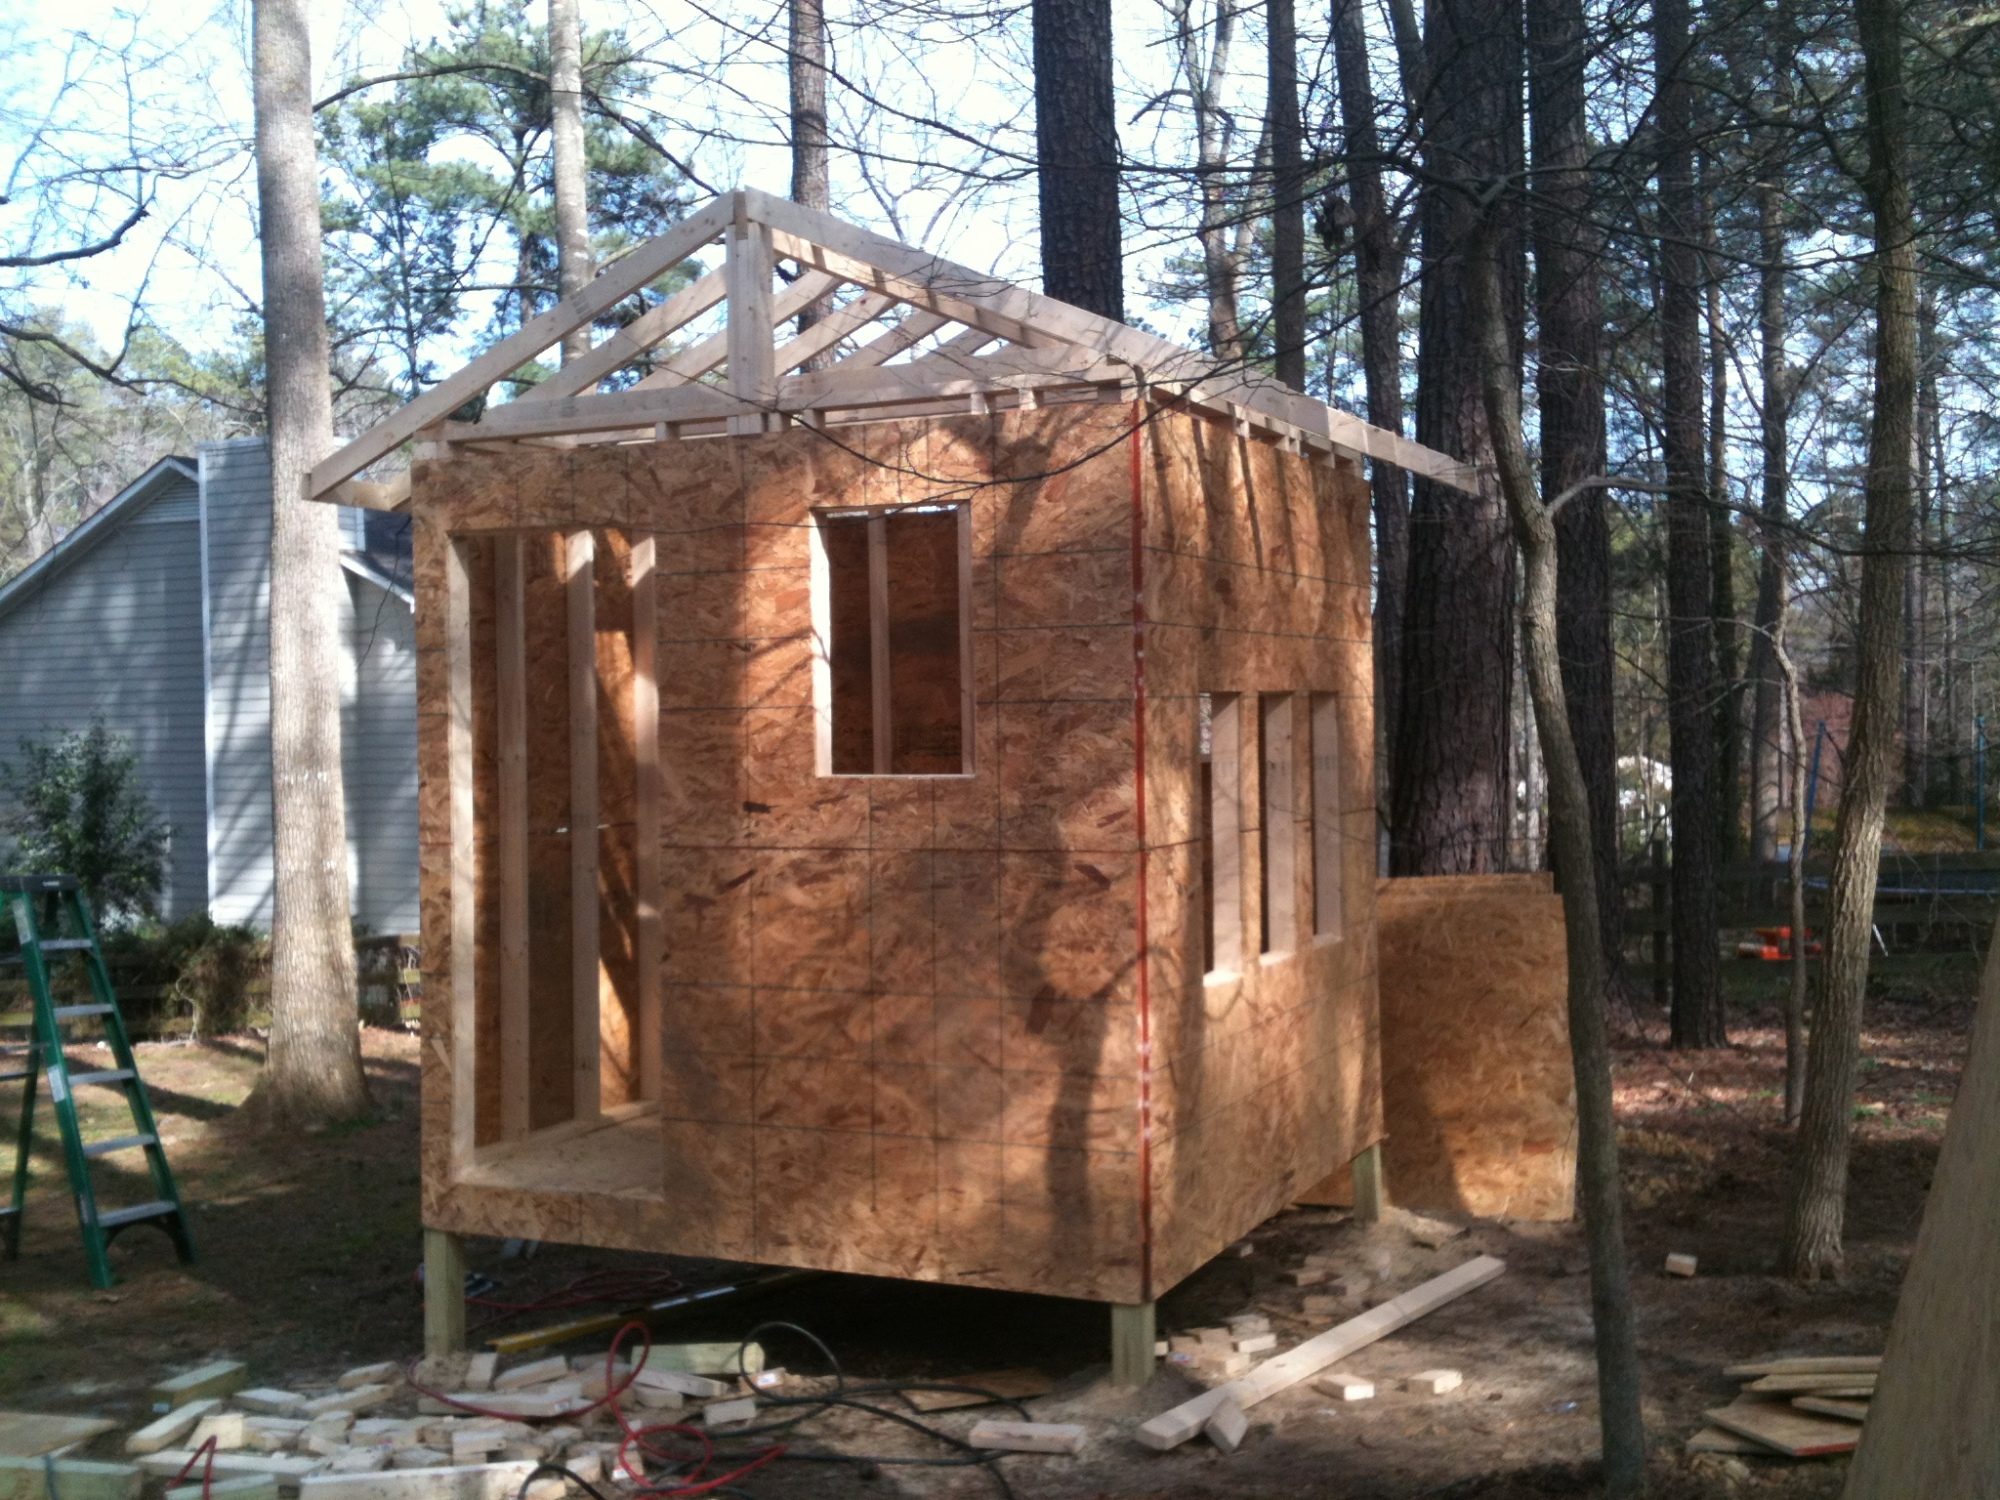
Inside of the floor joists I filled with spray foam insulation. All framing is 2x4's 16" OC. I install residential windows on the side, so i used sample windows from my supplier for the coop for some savings. I picked up a few small storm windows on craigslist for 10 bucks for the right side facing where the run will be. The door is framed to accomodate a 30x80 door which i had laying around. The roof was framed using 2x4's 16" OC at at 2/4 pitch, and a 16" overhang.
Next weekend (weather permitting) i'll start building the run.
02/26/2012: Well I didn't get the run started yet, but I've got the siding started. Insulation is done, and electricity and plumbing is run to the coop. I've put in 2 recessed lights, and a couple of outlets, and installed a makeshift automatic door that is set on a timer. I put 1/4 inch osb plywood up on the interior walls and ceiling, and i've built steps for the door. All my windows and the door are installed. Hopefully i'll get the run started soon, although i'd like to finish the siding first. Once the run is done i'll get started on my roosts, and nest boxes. I'll go out tomorrow and take some more pictures.
03/07/2012: So we've been having a lot of rain lately. And by a lot of rain, i mean a whole lot of rain. So here's the update. I've got the run completed, and the siding started. Here are some pictures.
The automatic chicken door is made out of a thin 1/8" piece of metal, like what road signs are made of, so that it would be light weight for the motor. The motor was bought from smarthome.com and is designed to lift up to 4lbs. It works kind of like a fishing reel, and is set on a timer.
I put a T fitting on a hose bib attached to the house, and attached that to pvc, and ran that in the ground to the coop. I wasn't going to run plumbing, but i had to dig a trench anyways for the electricity, so it just made sense to run the two in the same trench. I'm sure I will be glad that I ran it.
All walls have R13 fiberglass insulation in them, including the ceiling. The interior walls were lined with 1/4" OSB plywood. I put in 2 extra electrical outlets.
I'll take some more pictures once I get the siding finished, and build the nest boxes and roosts.
03/13/2012: Got the siding completed today. Started building my nest boxes and roosts, should get them finished tomorrow. Chicks come next week.
03/16/2012: Finished up the loose ends, and am completely done with the chicken coop, exactly 1 month after I started it. Here's some final pictures of it completed.
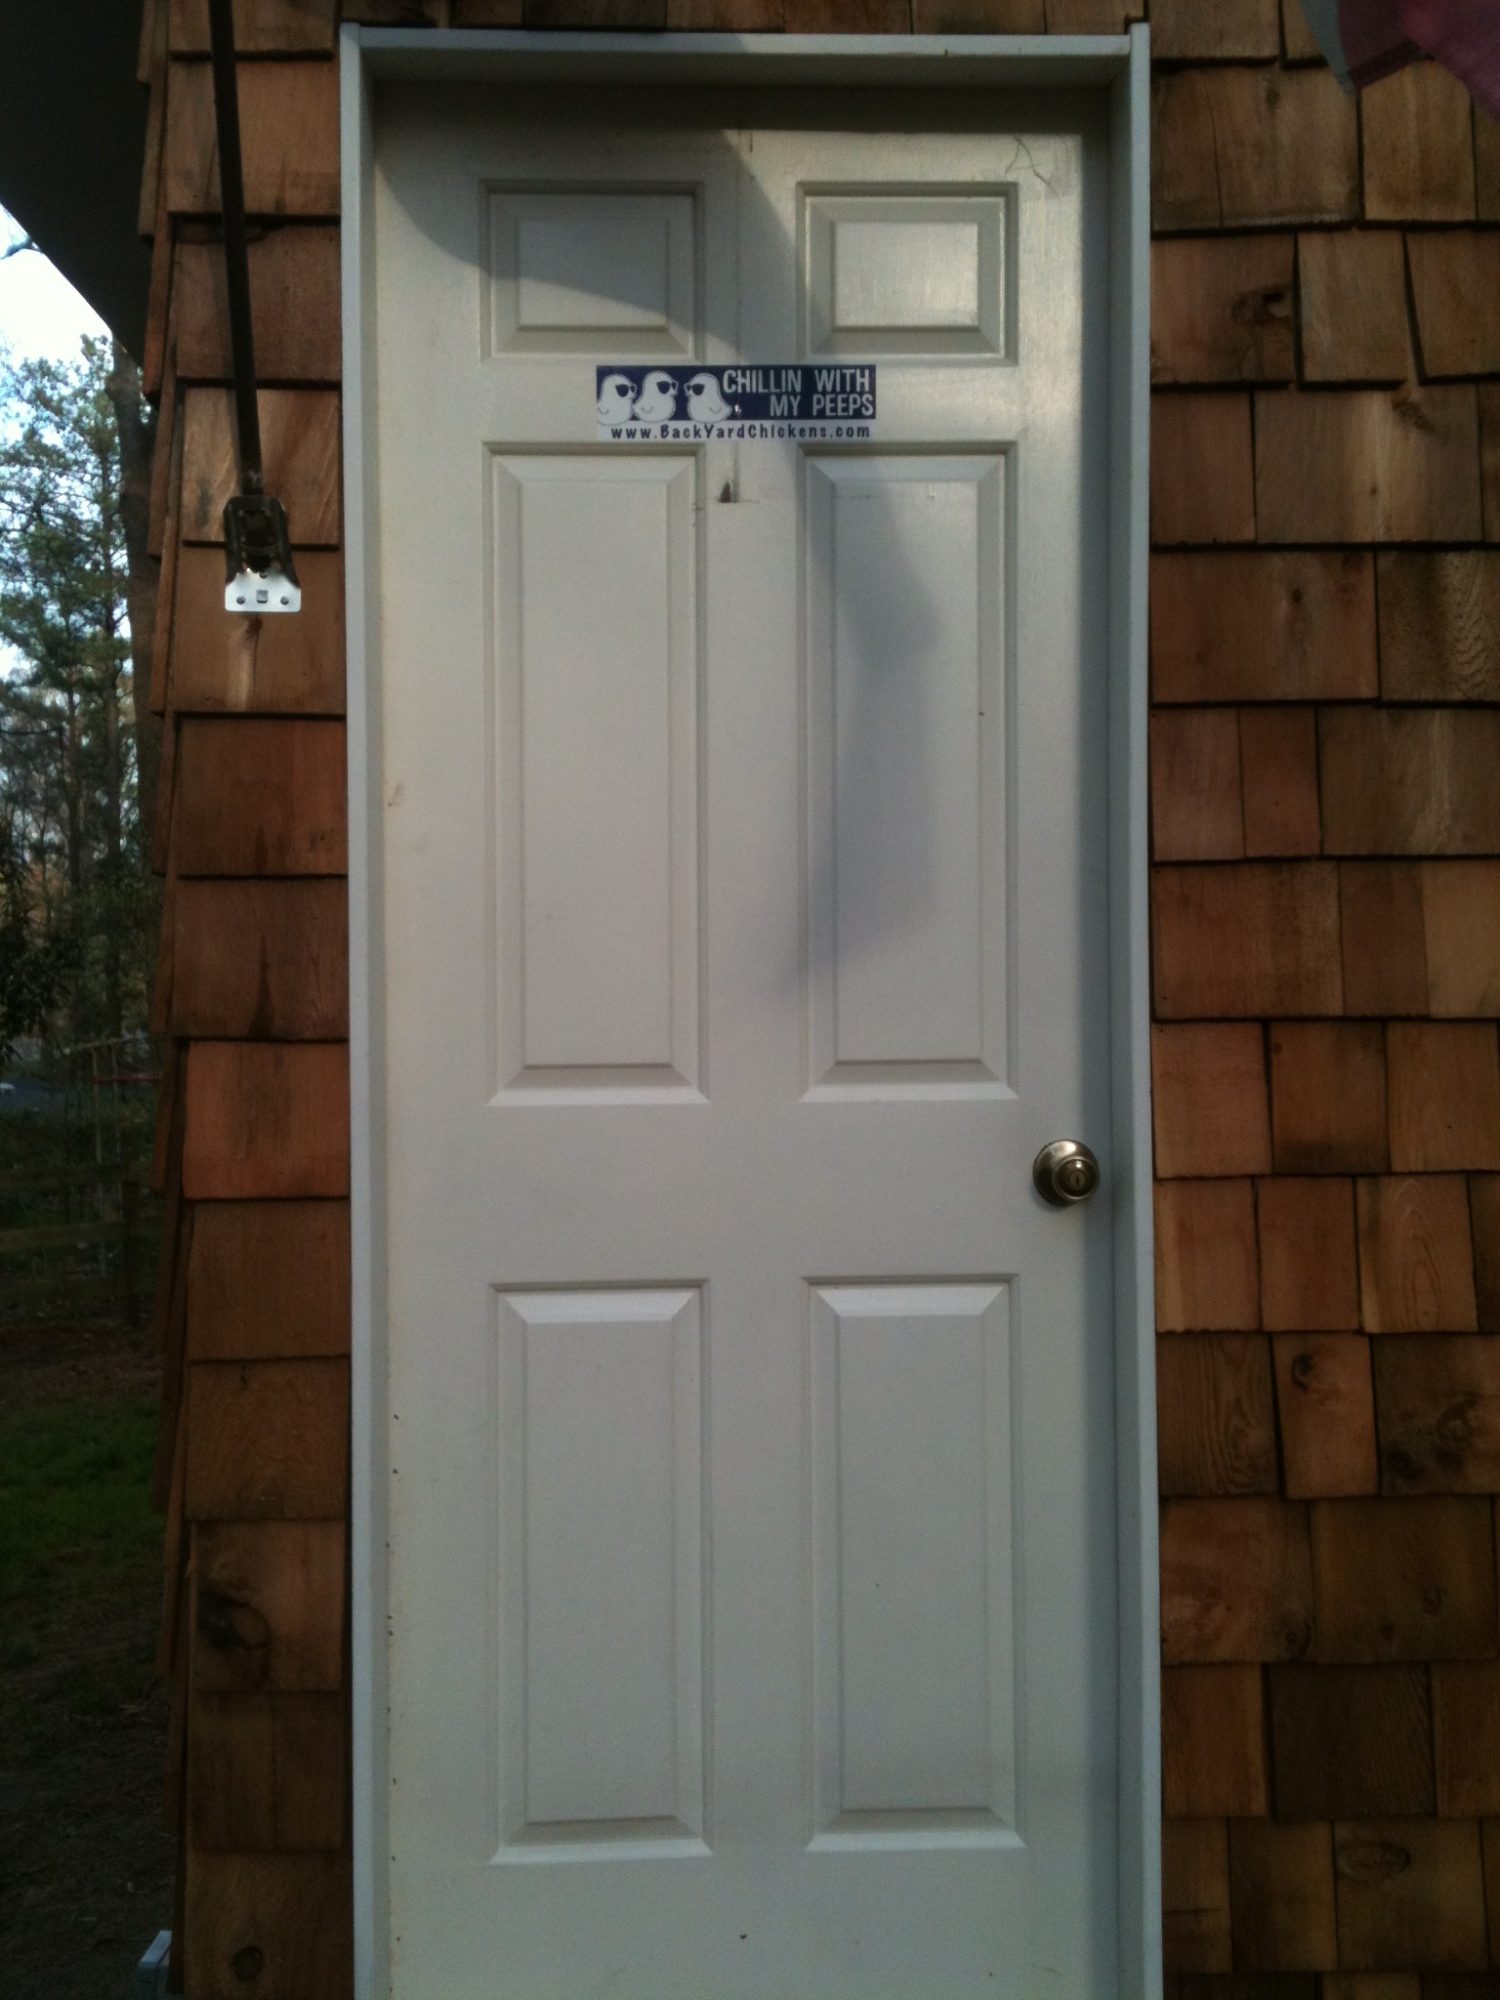
My wife wanted me to get the Backyard Chickens bumper sticker to put on the coop.
Thanks for looking, hopefully this will help inspire some people, as my inspiration came from other's pages.