The Chicky Shnoodle Shack
This was inspired by Cezanne's Coop design http://www.cezannesgarden.com/id323.htm
submitted by Jen and Andre, Nova Scotia, Canada
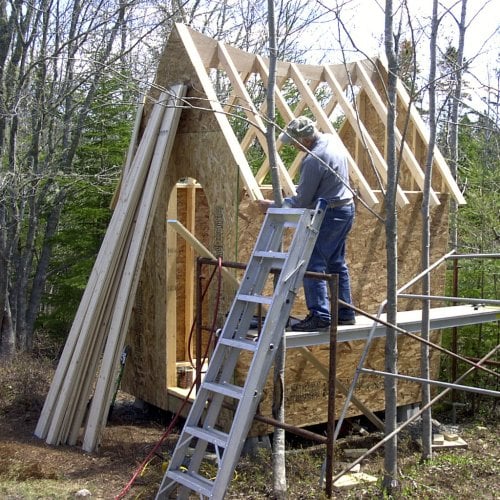
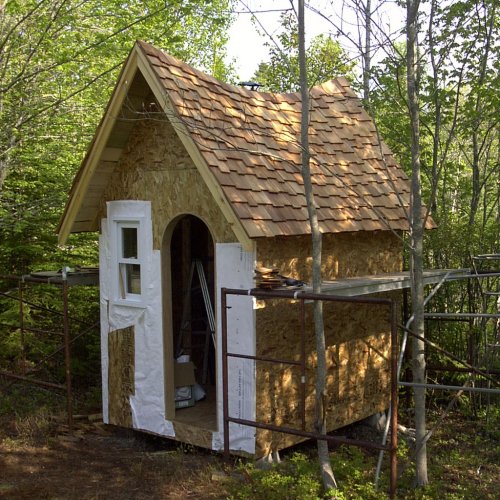
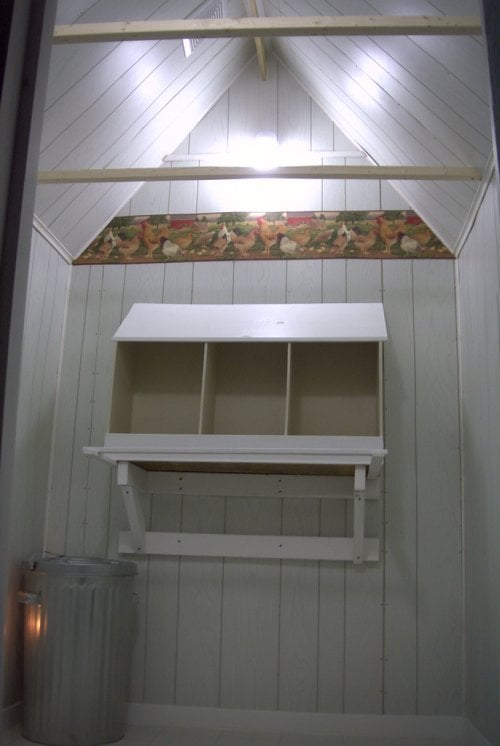
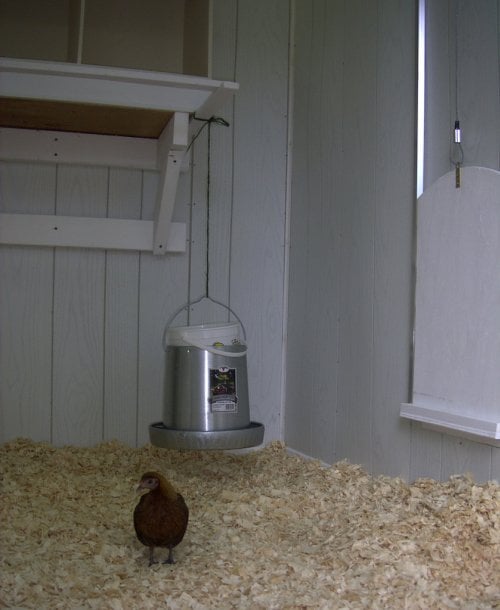
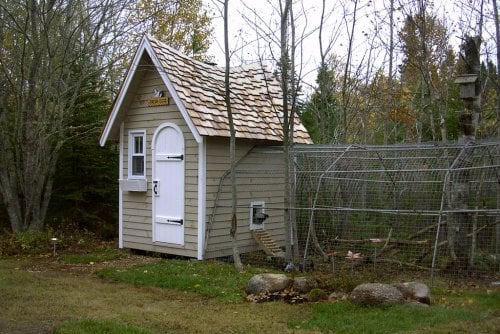
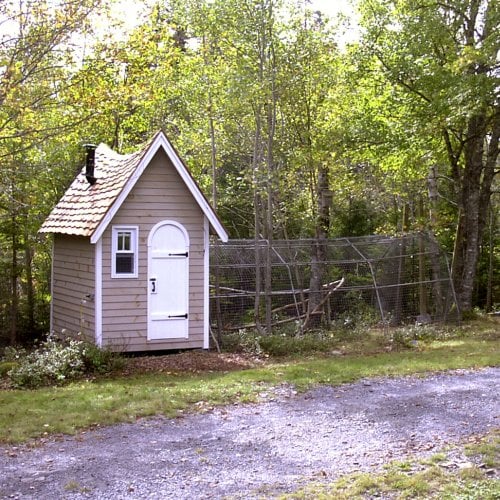
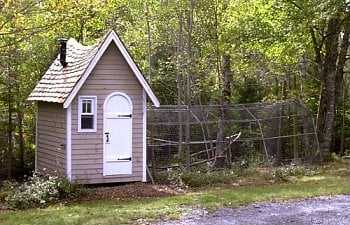
My father in law is a contracter and worked with my husband and me to make this idea come together. We were planning on about 6 hens and built it on an 8x6' foundation and about 11' tall. It is wired and insulated with a bathroom fan running out a black stove pipe in the roof for ventilation. The roof is shingled with cedar shakes and this siding is stained pine slats. The floor is covered with vinyl, which makes cleaning easy (a tip we got from the Kreitz family Poulet Chalet page). To keep the chickens from picking at the insulation, we put wood paneling over the interior walls and ceiling. My father in law made the door himself out of chipboard, pine slats and heavy bracing on the back to prevent warping. We have 3 nest boxes and there are (ornamental) rafters for perchingThis was inspired by Cezanne's Coop design http://www.cezannesgarden.com/id323.htm
submitted by Jen and Andre, Nova Scotia, Canada
The run was built with the old aluminum support for a portable vinyl greenhouse. It's 18' long and covered in 2" square welded wire mesh. We built it around the existing trees to give shade.
By request here are some details about how we built the swooped roof. With plywood the length of the coop, we used string and a pencil to draw the 'arch' (like a compass). We cut this out to make the spine of the roof with the swoop. We started at the ends (front and back) and attached the angled roof pieces to the wall frame and to the spine, working our way toward the middle. Once the structure was up, we took thin pine slats and screwed them to the angled pieces (start in the middle, work your way out). The curve will cause the pine slats to separate in the middle. We pulled downward on them as we screwed them in place to keep them relatively horizontal. The top slats needed to be trimmed with a jigsaw in the middle. We covered the slats with tar paper then shingled.
Struggles:
1) Flashing for the peak. We couldn't use a long piece (wouldn't bend) so we used lots of little metal 'V's overlapping them to keep it waterproof. They were about 6" long, and I don't know what they are called. To hide them we used construction adhesive to cover them with extra shingles and trimmed them to size.
2) putting up the wood paneling inside was a trial since the roof does not make a true rectangle. It bows inward and is taller at the end peaks than the centre. This took trial and error. The moldings hide some of the gaps that remained. As mentioned the rafters were added at the end, and are only ornamental.