As our flock has grown, we've had to keep adjusting the living arrangements. First, with the expansion of the original coop as described here: https://www.backyardchickens.com/a/crossgirls-chicken-coop , then with the addition of a separate house for broody hens and/or grow out chicks, https://www.backyardchickens.com/a/repurposed-dresser-broody-house, and now, living quarters for the two silkies. I knew when I chose silkies that they might take over a nest box and sure enough, true to nature, they have. I don't like the mess they make but couldn't alter the coop to include low perches for them, and so, a new coop was needed. With my boyfriend out of town I was really looking to buy a plastic play house to convert, but money for coops is low priority. When I saw what I believe was a potting bench at the curb, I decided to lower my aspirations and build another coop, by myself, albeit one less cute than a playhouse.
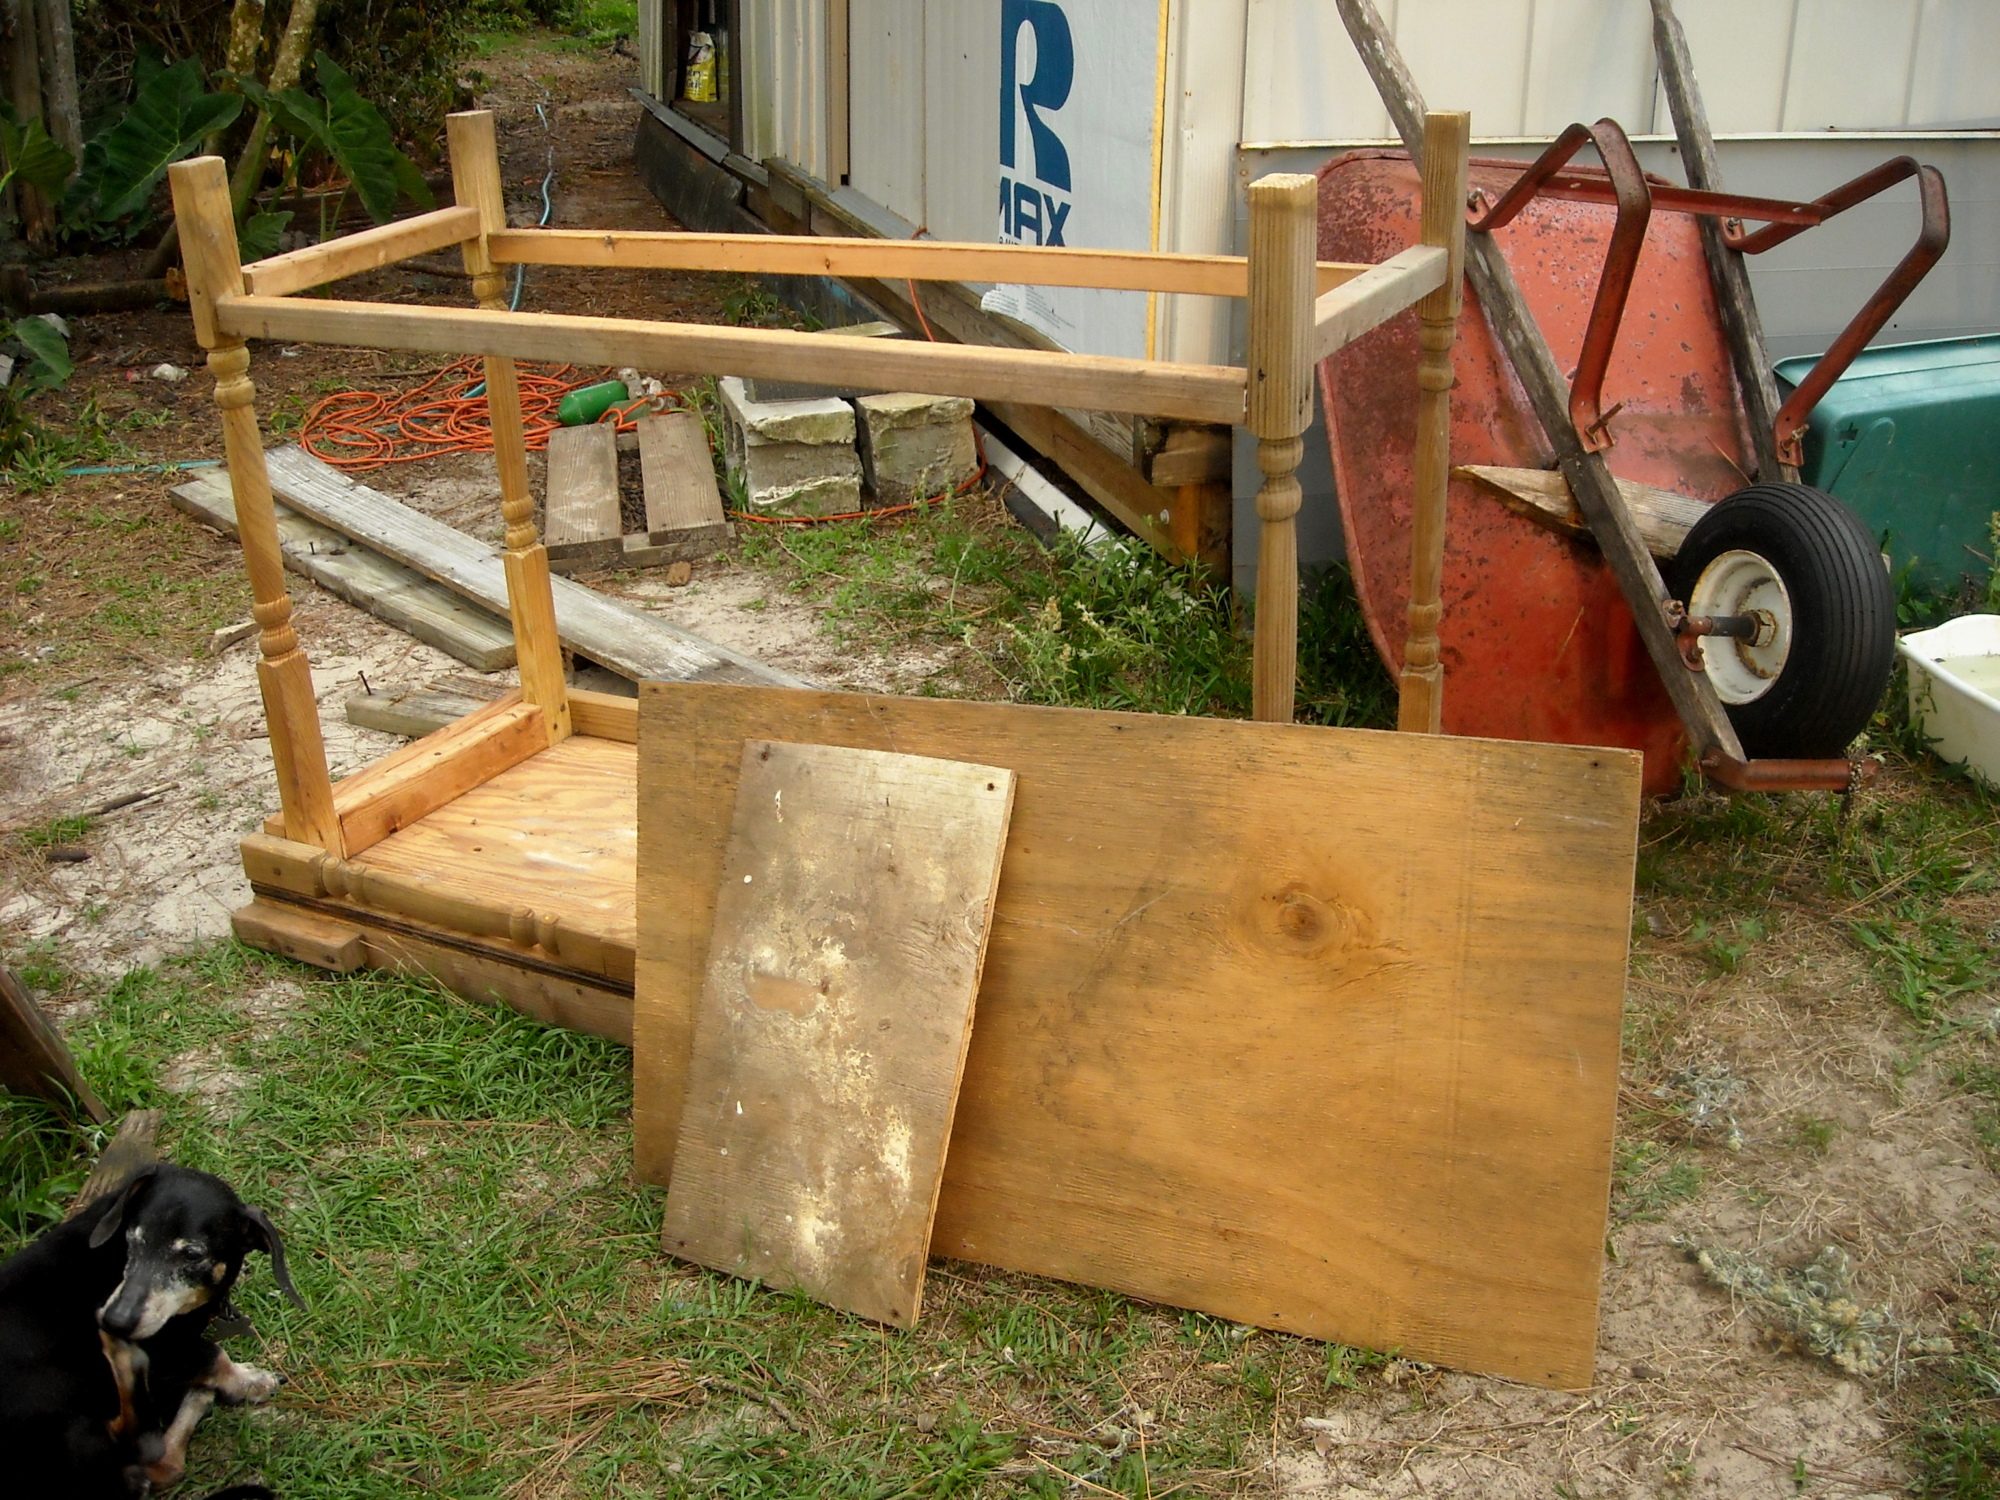
Here's the potting bench and a little wood shelf thing that was with it. The shelves are destined to be an outside- the- coop nest box. My son and I crammed them both in my little Scion in the dead of night while a state trooper watched with what I assume was amusement.
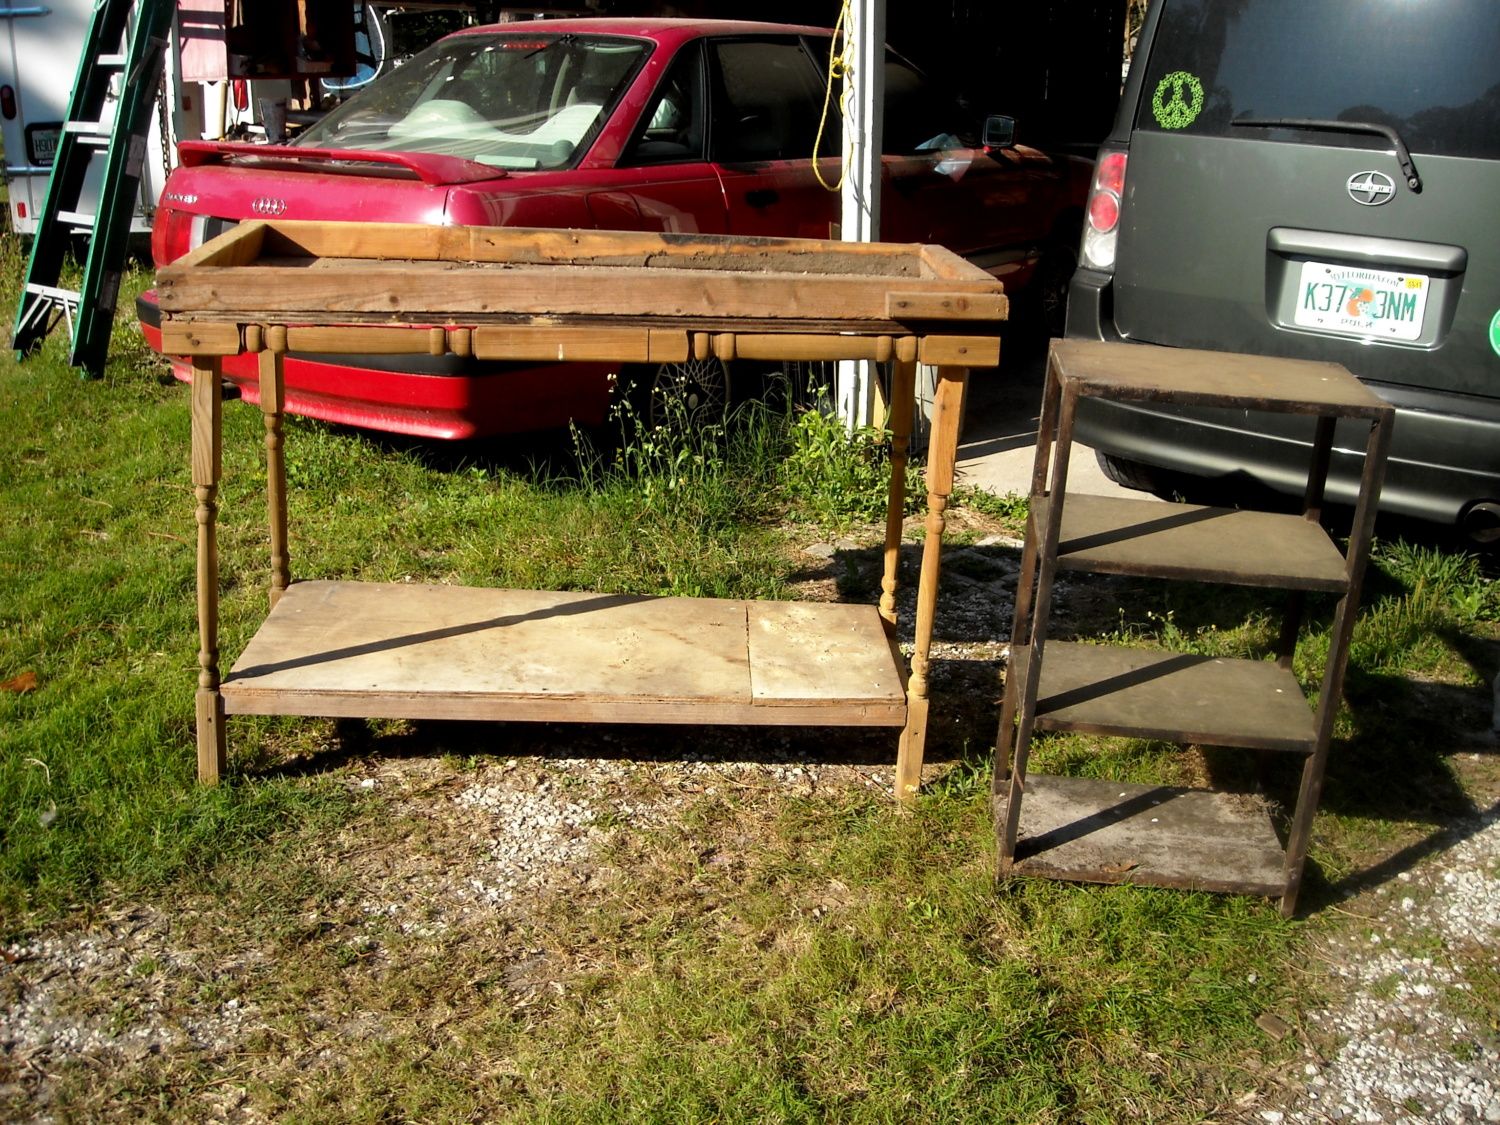
This thing was cobbled together by someone with either minimal skills, or minimal interest in building it. No screws were used just really long nails that were mostly impossible to remove. I was able to remove the plywood boards from the bottom, thank goodness, and that is how I began this project, by flipping the bench over and removing the bottom shelf.
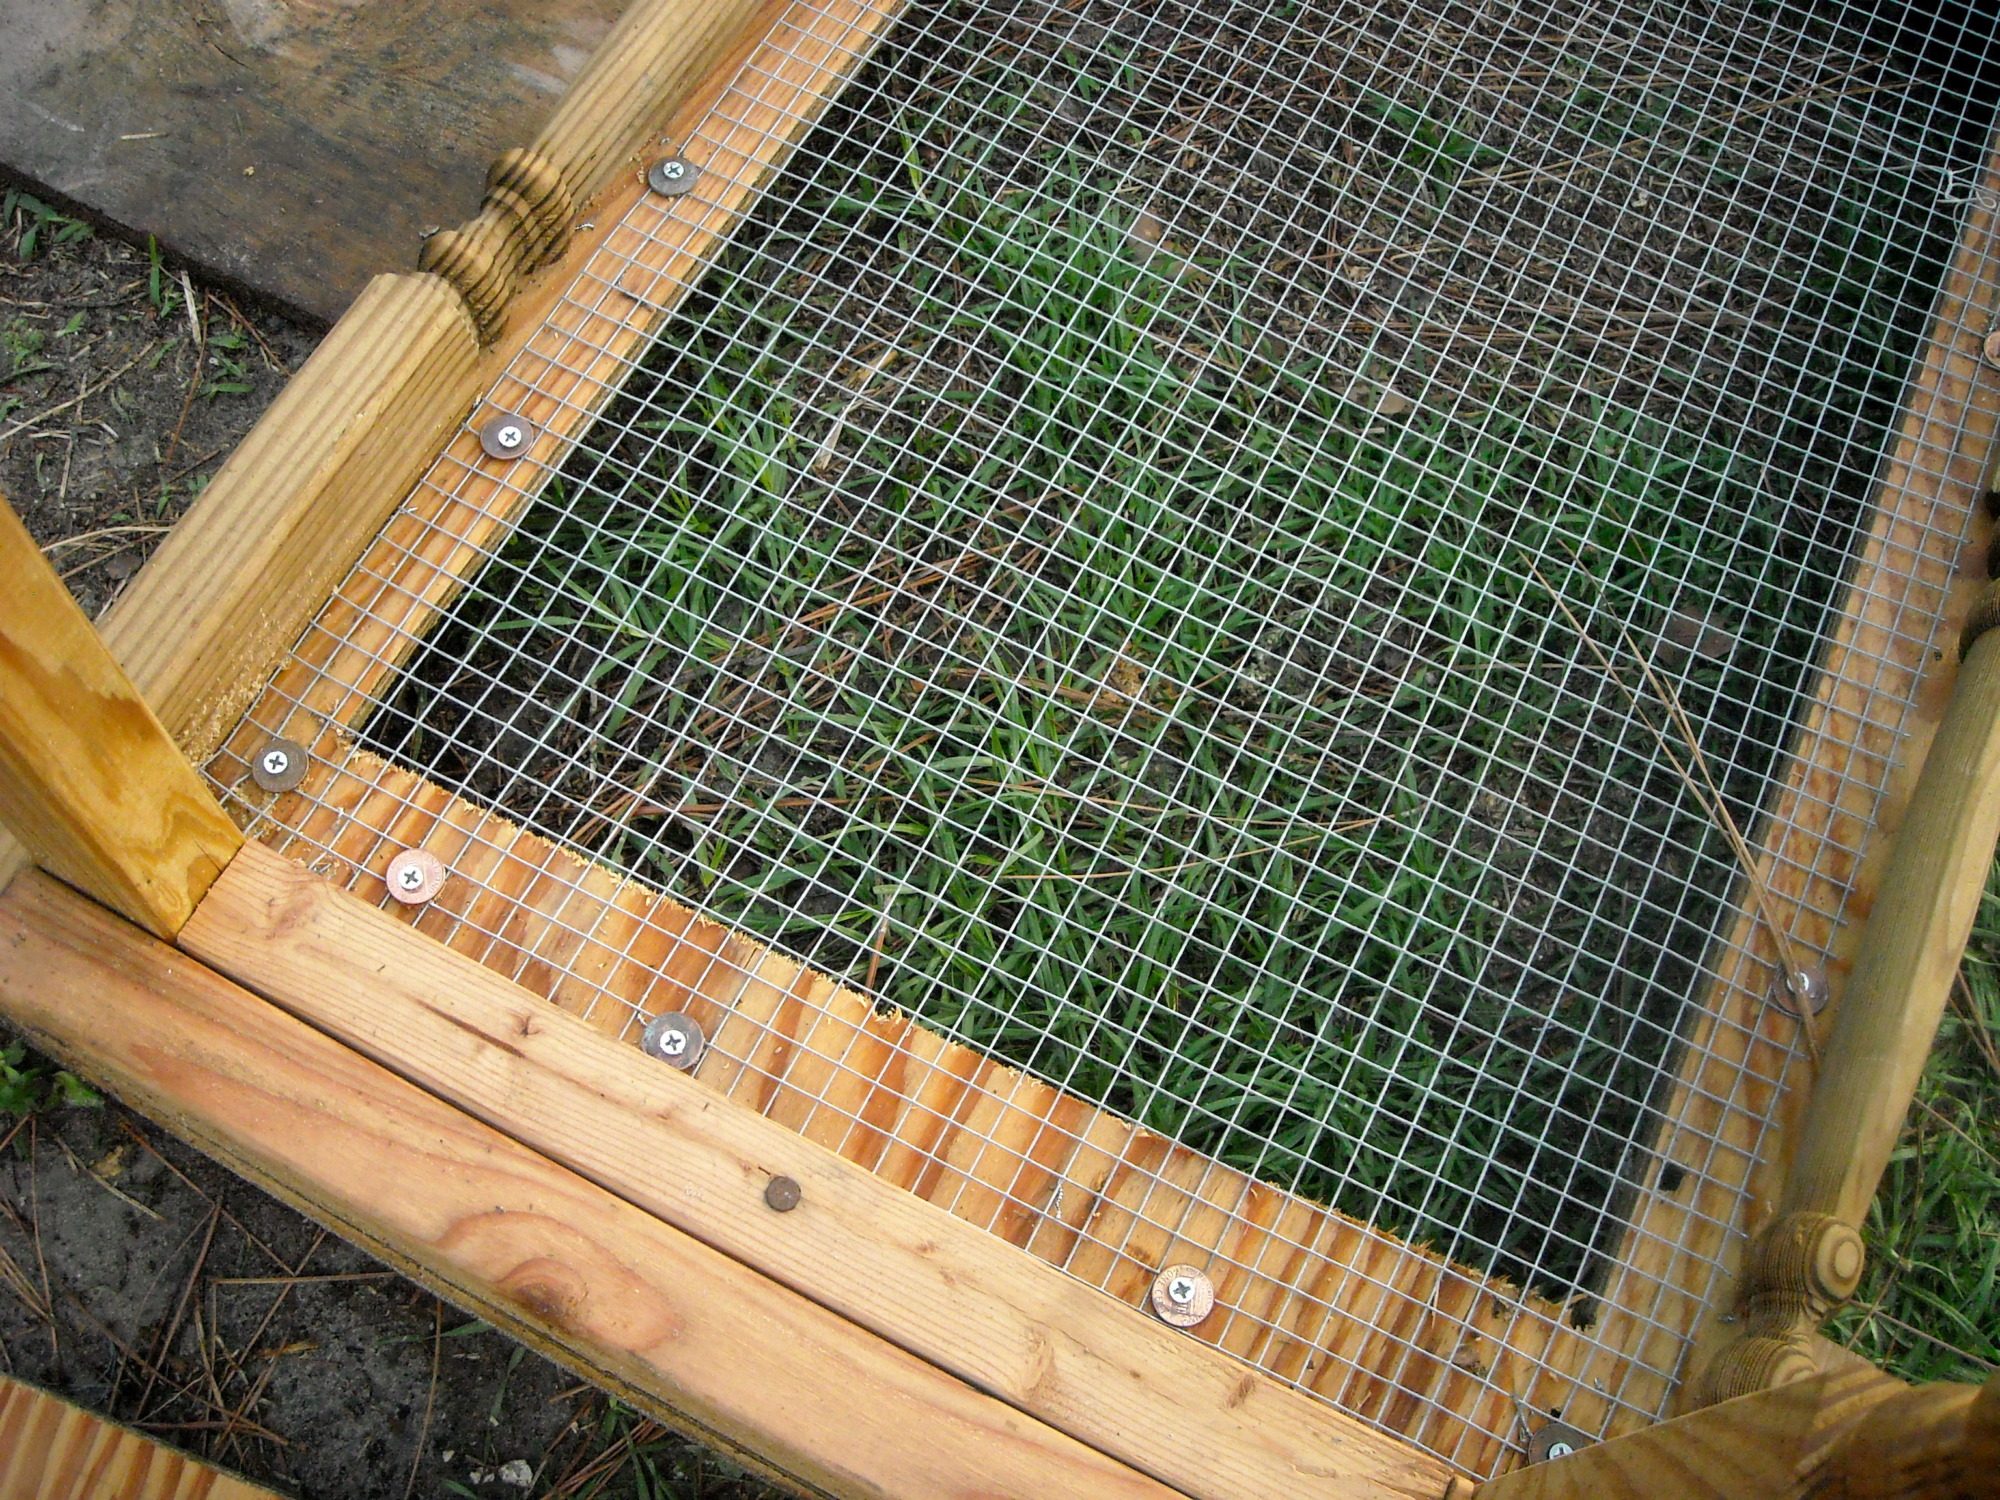
Then I cut a hole in the bottom leaving a little less than half intact for the sleeping area. I covered the now open part of the floor with hardware cloth scrap, using pennies as washers, as I learned on someone else's page here on BYC!
The walls were quite challenging because of the way the bench was originally constructed. I cut boards from old fence lumber we'd squirreled away to make the sleeping quarters. And really, this coop is just sleeping quarters. Our birds are out from morning til dark and just use their coops for sleeping and egg laying.
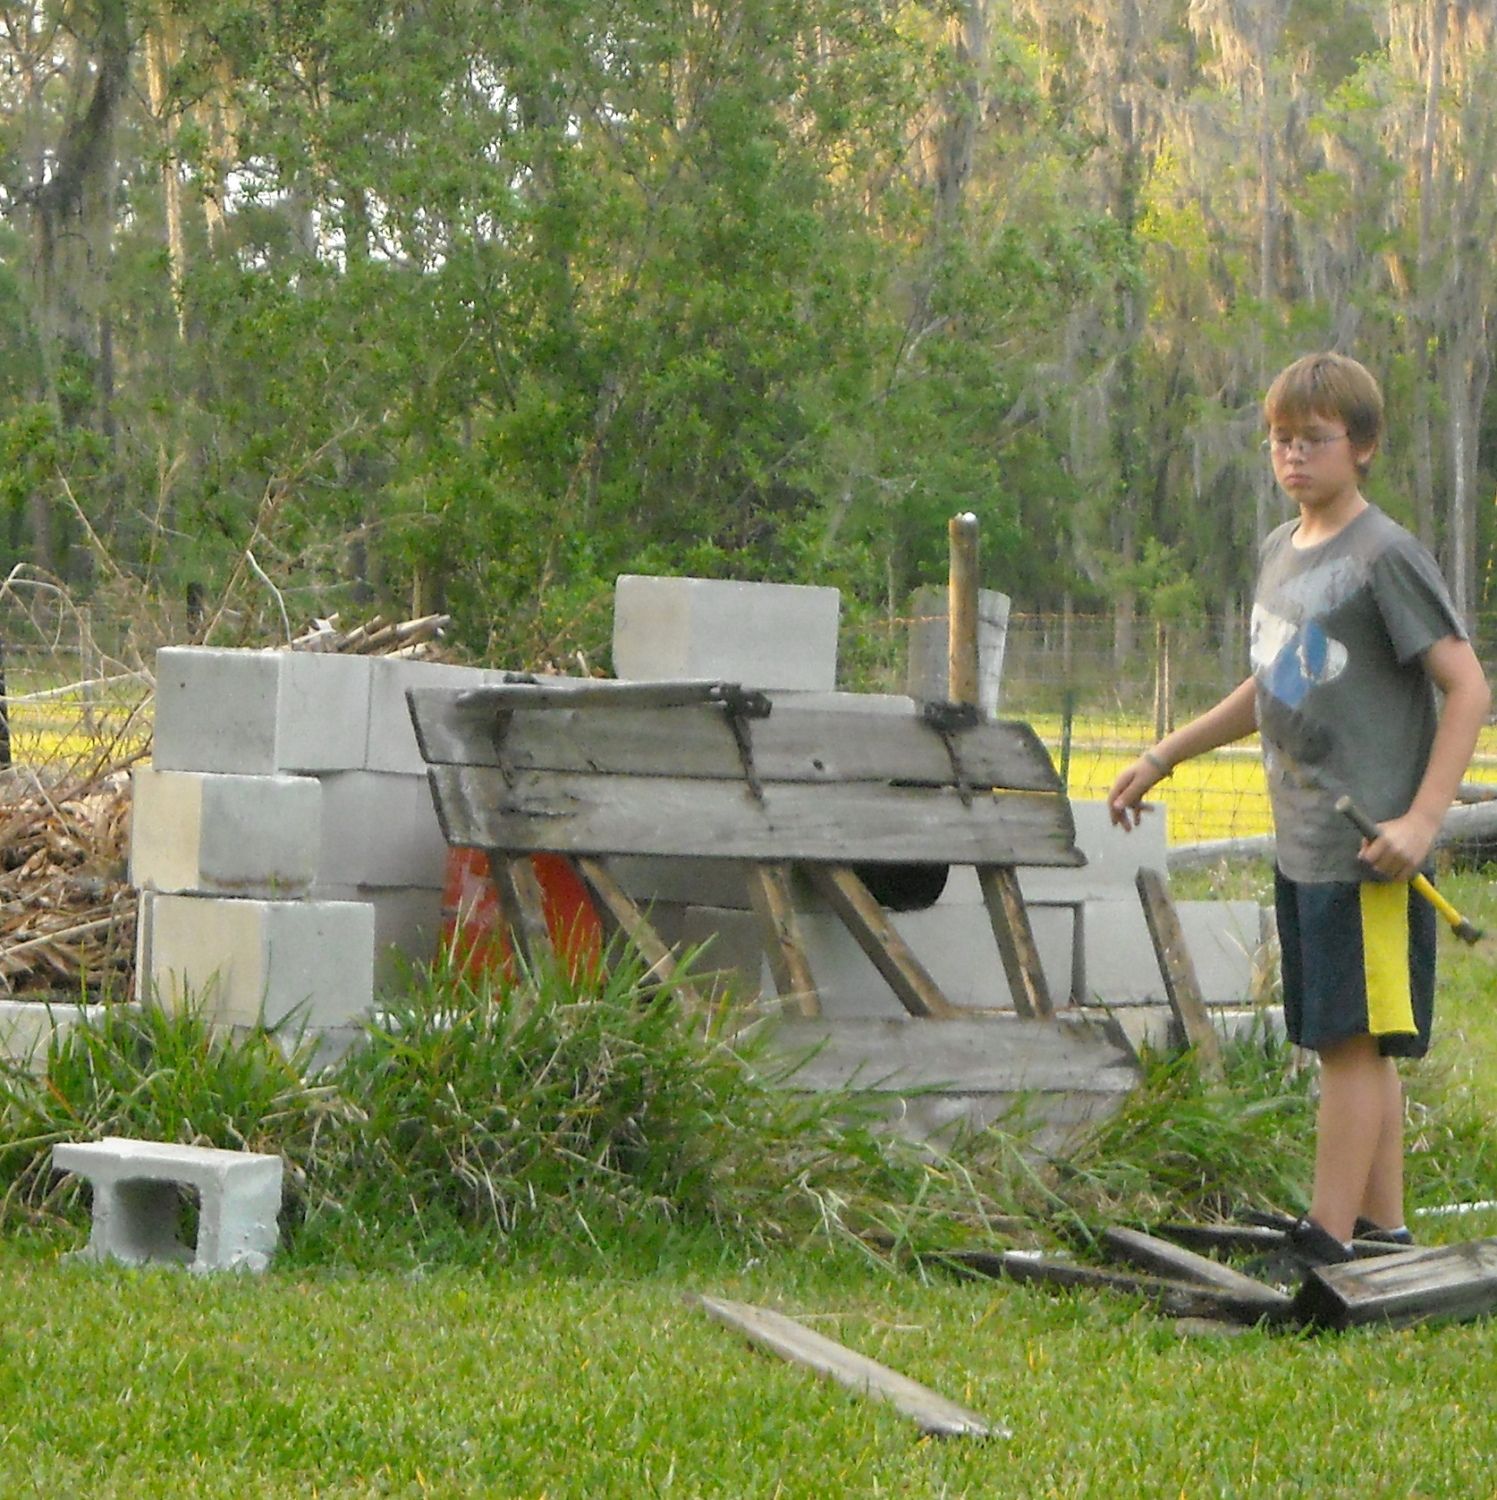
Fortunately we had old fence lumber squirreled away by the burn pile. That was the source of most of my lumber. This picture shows my helper using some muscle to dismantle a wooden gate so I could get to work.
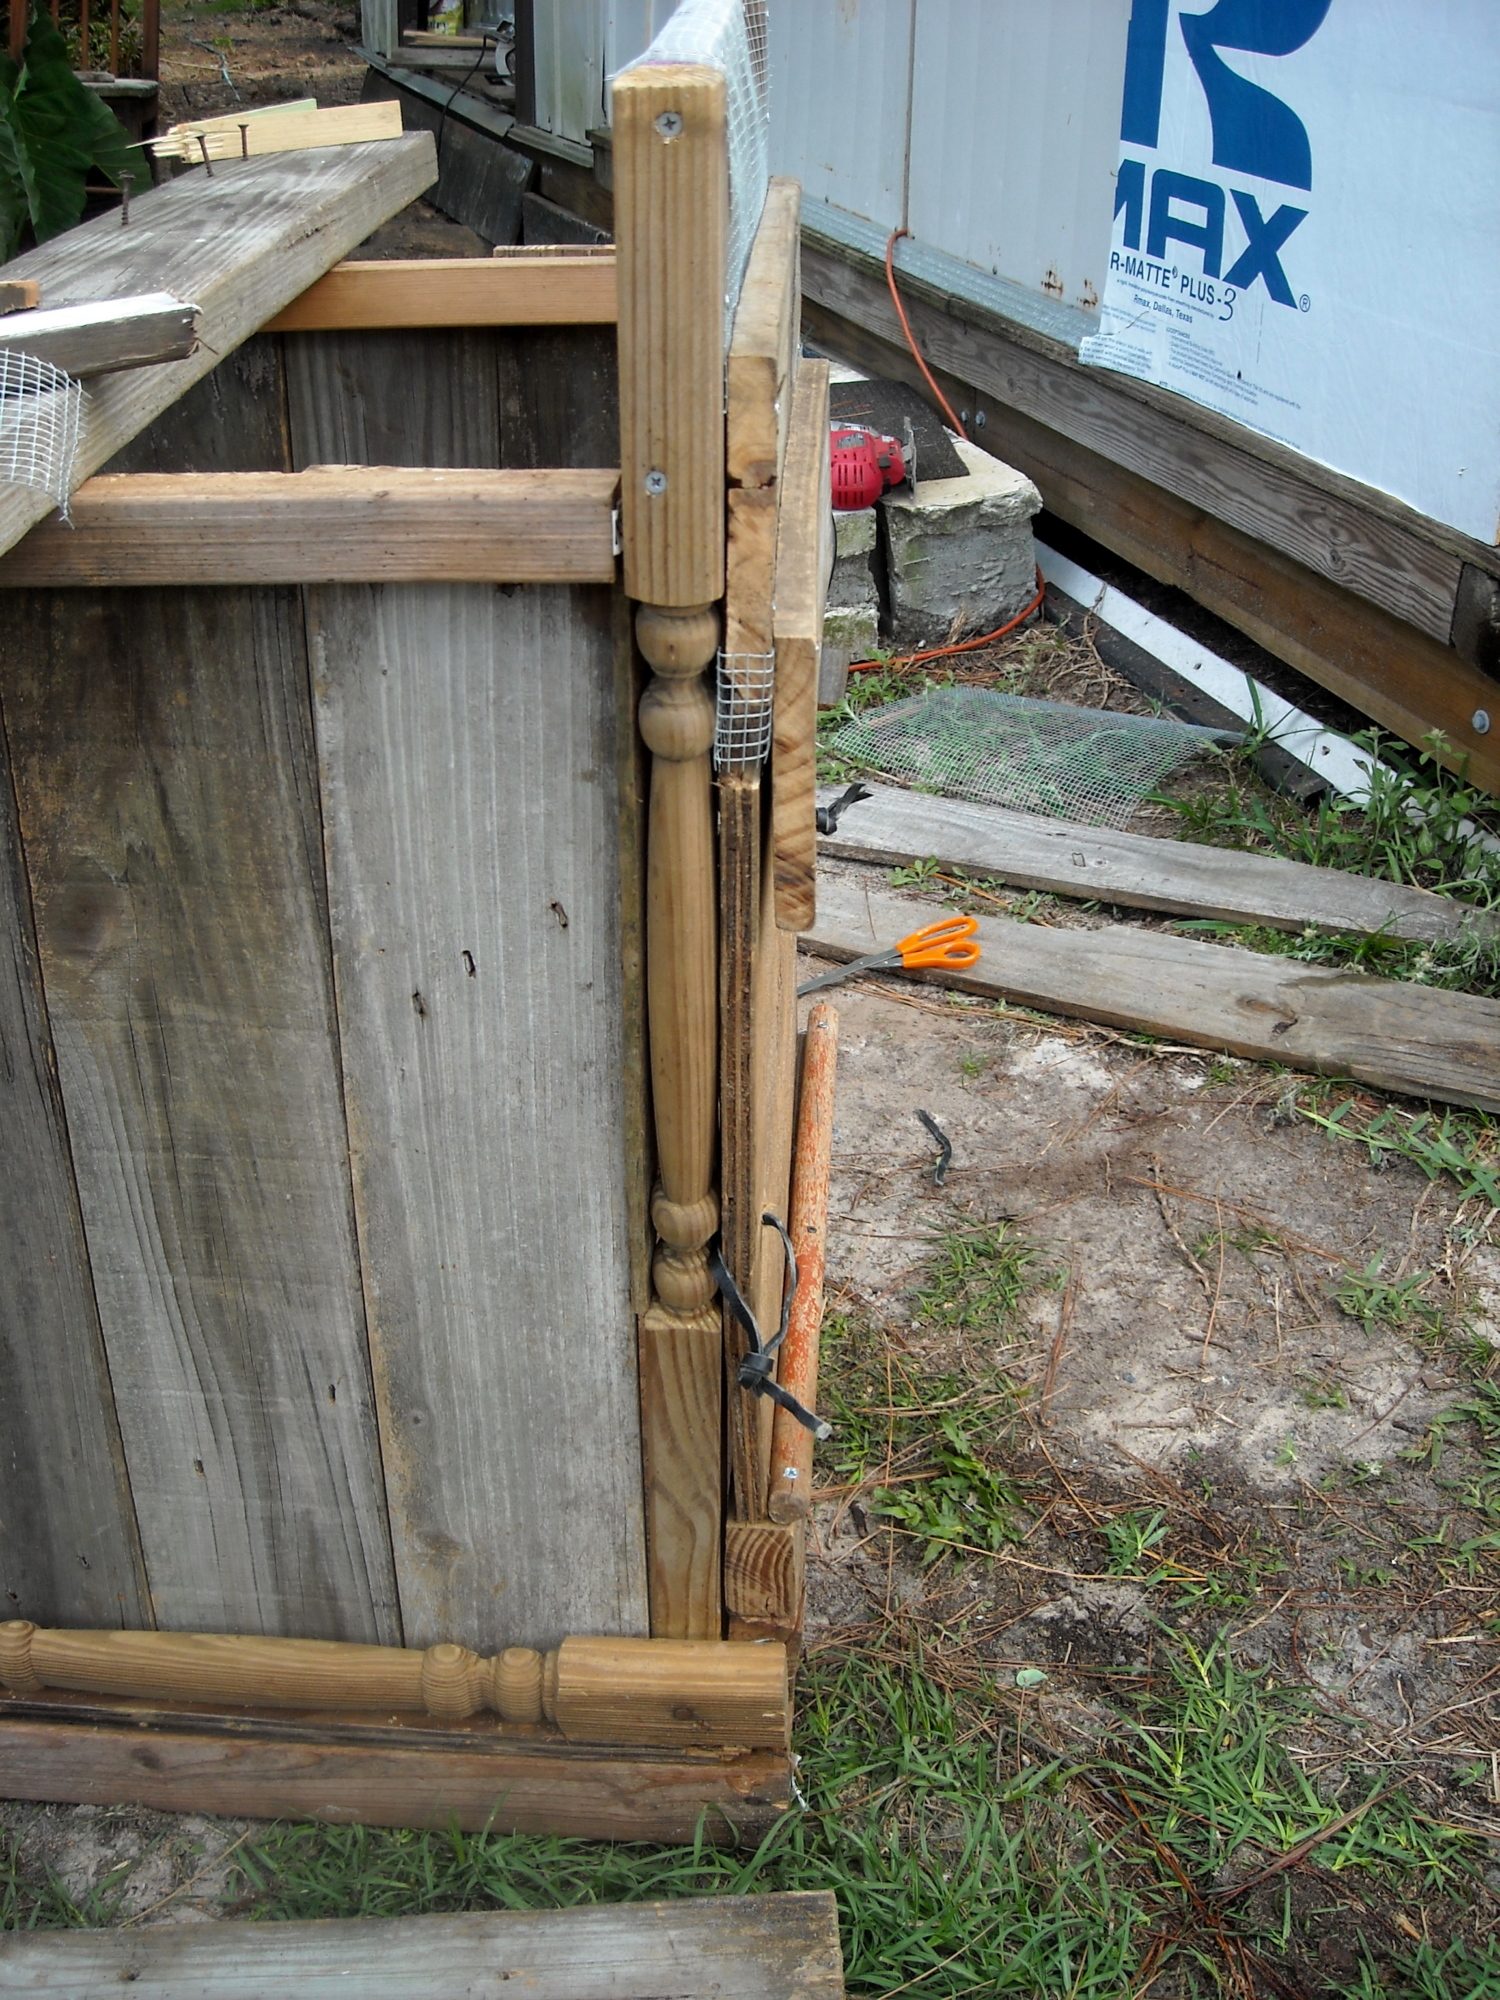
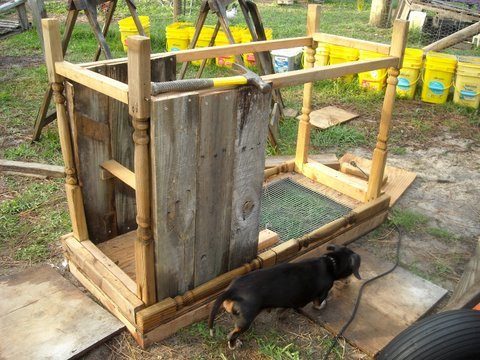
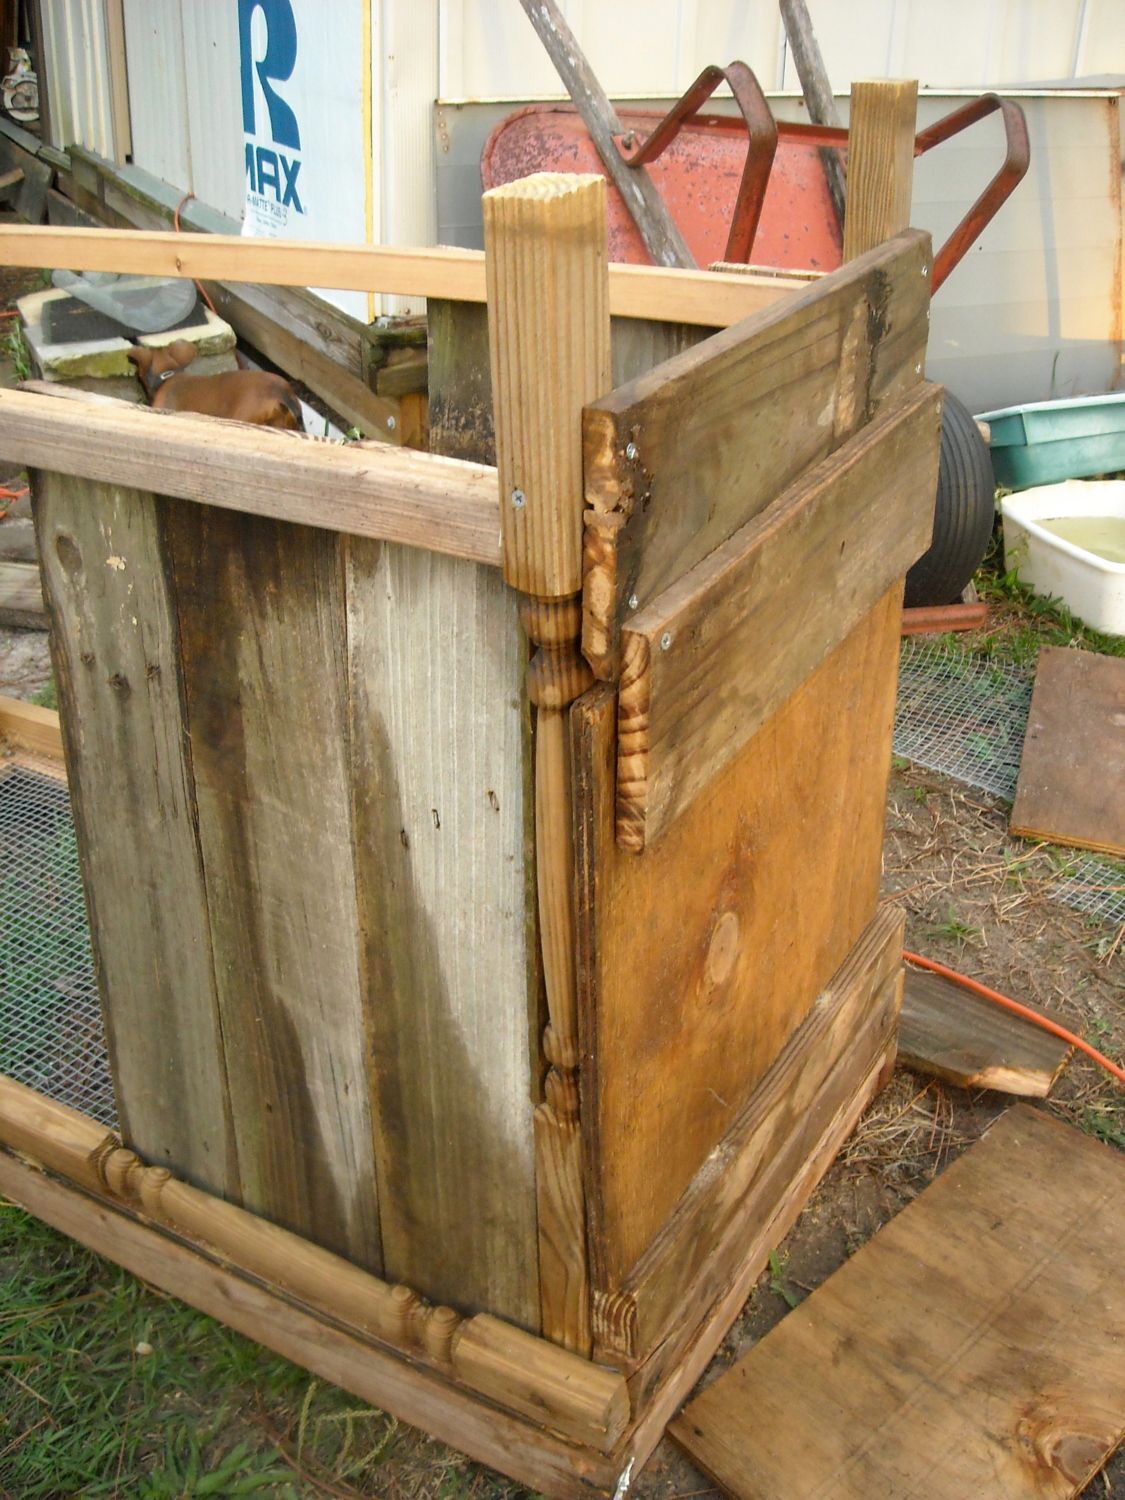
Measuring and cutting straight are not skills that I possess. I'm okay with close. Because of the way this bench originally constructed, I had to place the boards on one side of the coop, both inside and outside the supporting lumber to make it work. As you can see, I've put a low roost in there on the chance they'll want to use it.
Next step was to install a sliding door for my own access for cleaning. I did the best I could with what material and skills were at hand. This is a shot in progress.
And here is that end after attaching some hardware cloth and a bottom rail made from a broom handle to hold the door. I've drilled holes and threaded leather thongs through for handles.Those buckets in the background are the vegetable garden.
Side view. You can see I had to close some gaps with hardware cloth. Spindles are not good corner pieces and neither are boards with broken corners.
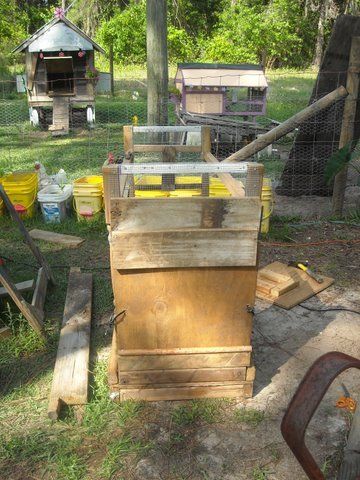
This opposite end is all hardware clothed and needing something to close it in. I wanted a ramp door for the chickens on that side. You'll notice at the other end, I've put a 2x4 where the plywood ends and the hardware cloth begins and added another very low roost. I'm hoping that board on the floor will serve two purposes; to keep the bedding on the enclosed side and to serve as a step for the silkies to make roosting easier. We'll see if it works!

I found some hinges on some louvred doors that I used to use for art show setups and attached them to some plywood for a ramp door. The plywood ended up being too warped to use and I later replaced it. That strange looking top piece of wood, the white one, was also from a louvre door sacrificed for our original coop. I love repurposing things!
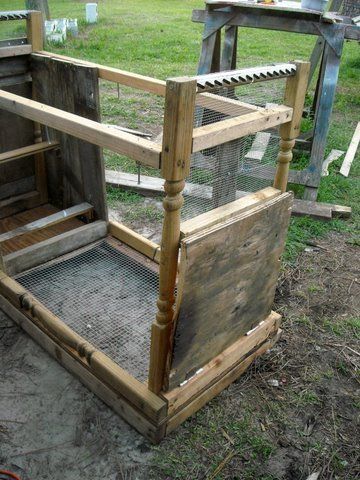
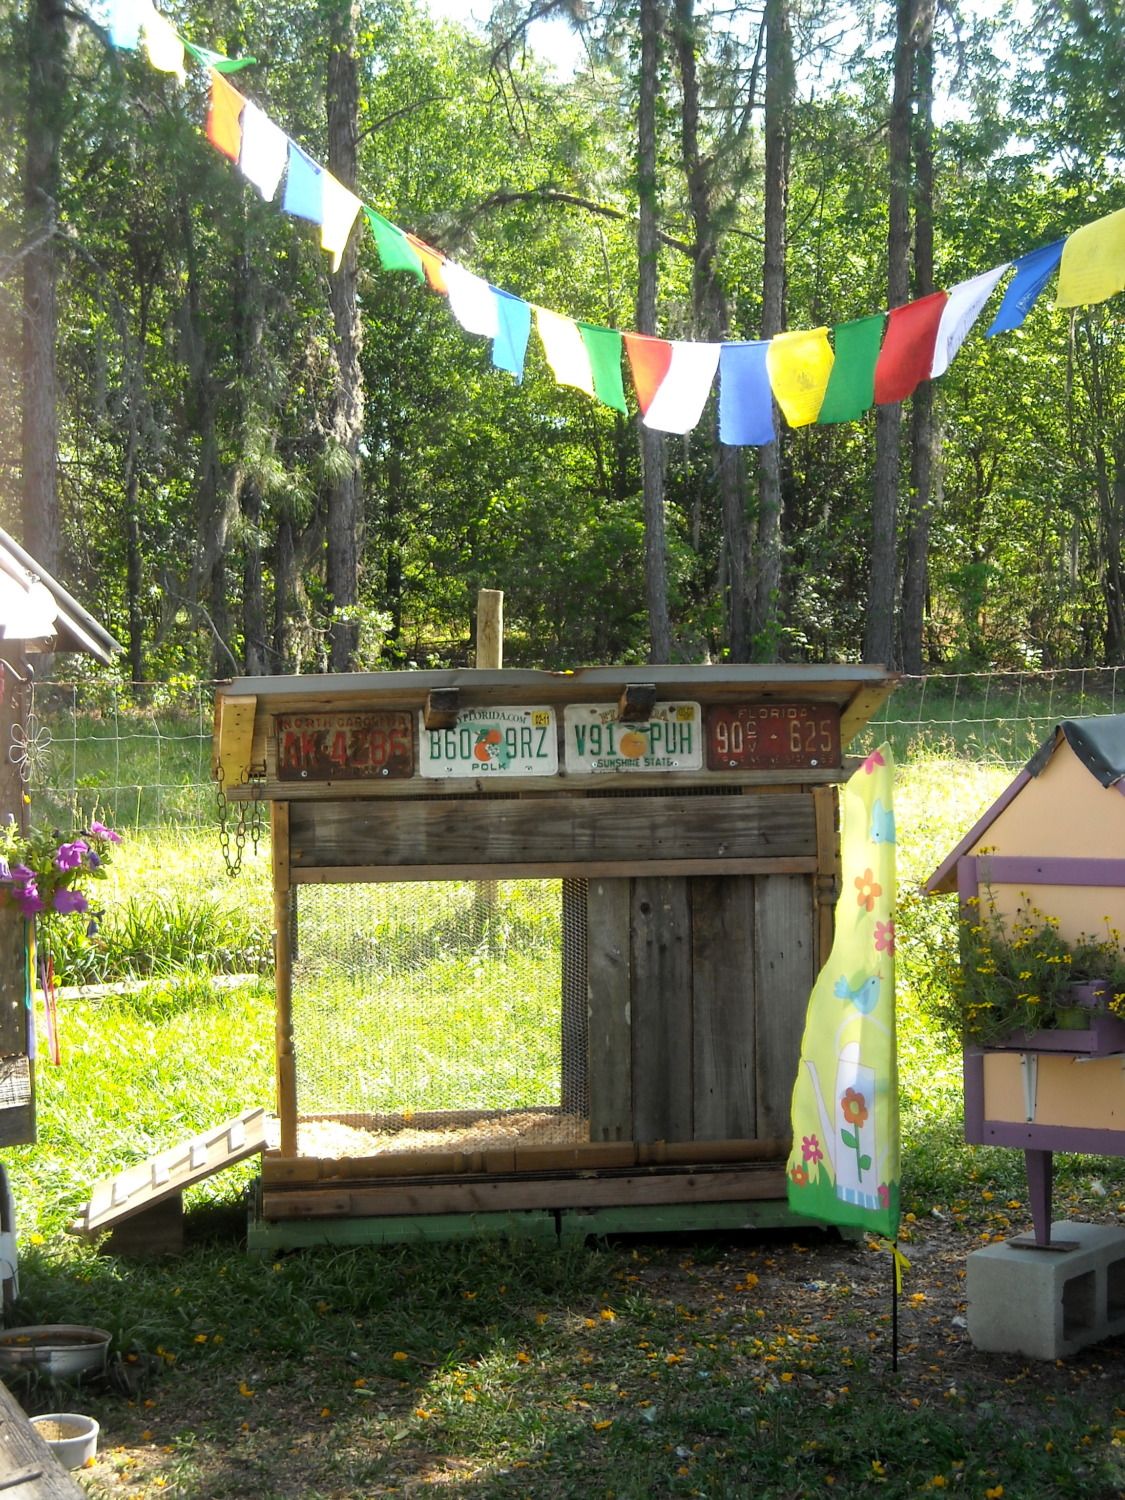
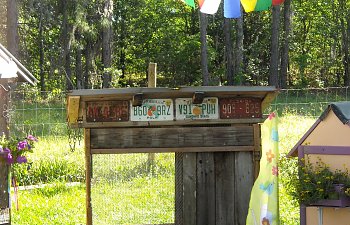
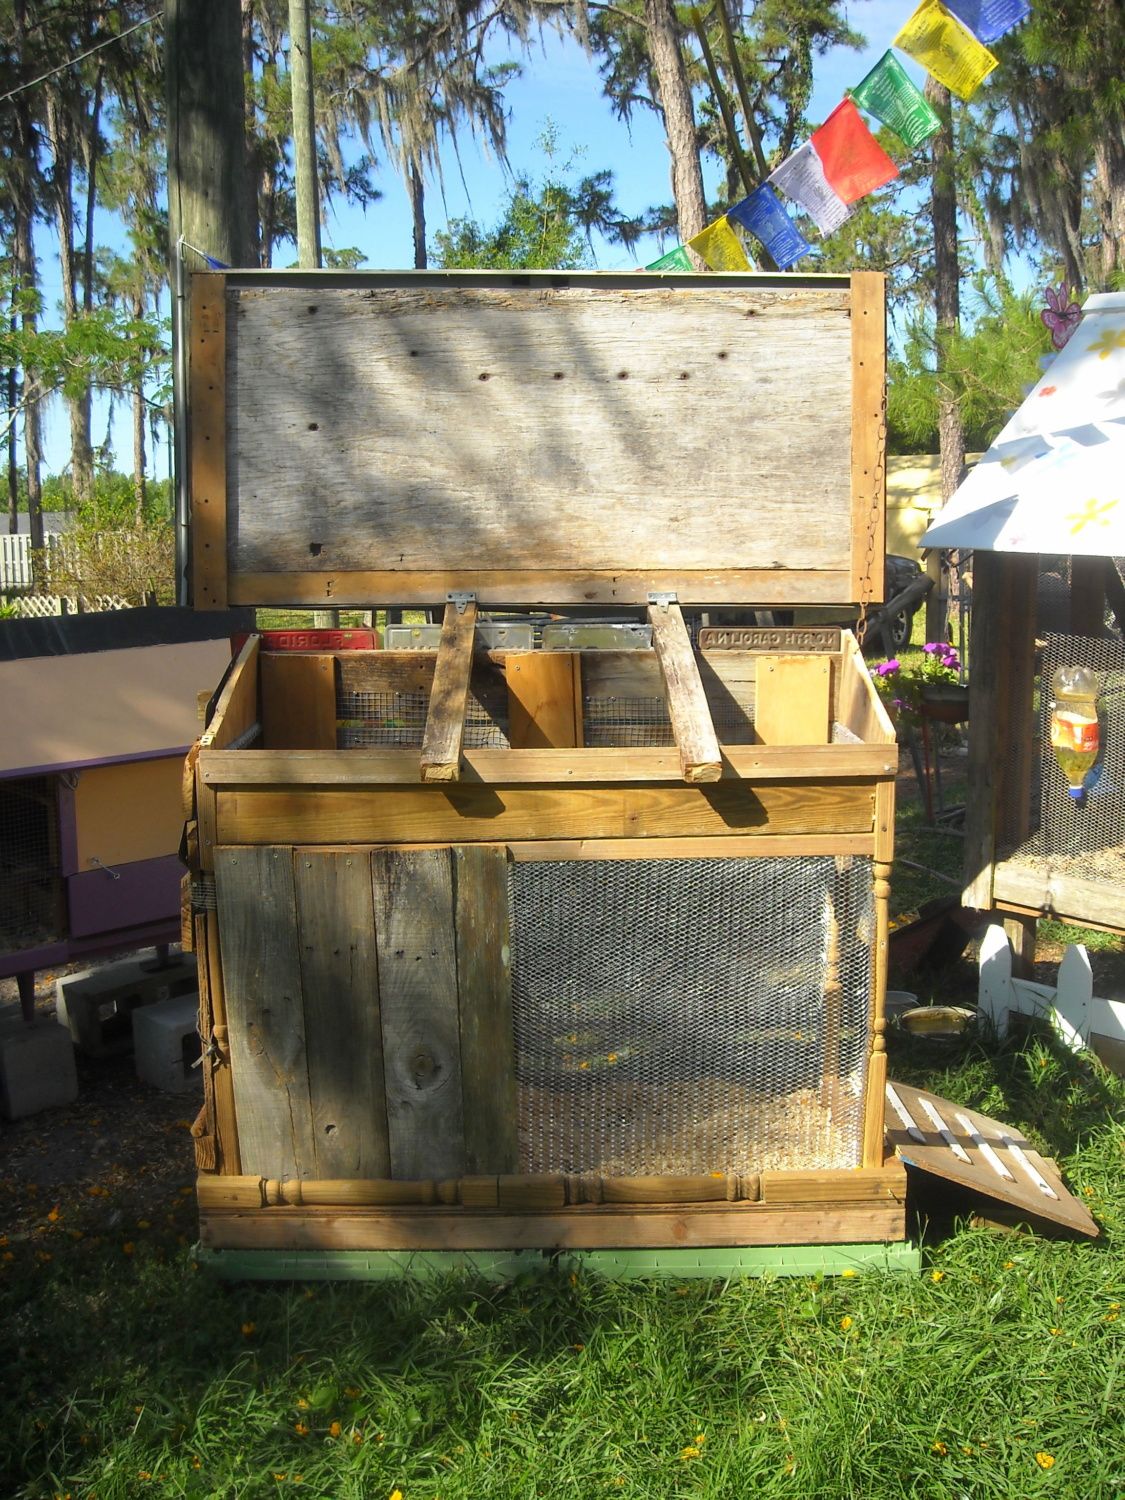
Things got tricky after that. I decided to buy some expanded metal for my sides because it had worked so well on the original coop and I didn't need much, thus making it more cost effective than buying a roll of hardware cloth. It was just the right height so I only needed to make two cuts which is a plus as I'm not very strong and my nippers not very sharp. It was slow going but in the end, I had enough for both sides with some leftover. I'm sure the neighbors were quite amused seeing me wedged inside the coop trying to work. That was the hardest most frustrating part. I ended up having to take one side off and reattach it as I'd started too far in and the mesh wasn't reaching to the other end enough to attach. Arghghgh! Two pieces of deck board cut to size and another board that happened to be just right albeit with weird dog ears off to the side to give the roof an angle and I'm almost done. I don't know how I missed taking pictures here, but there are two boards for trusses and two approximately triangle pieces to cap each end. The license plates funky it up and cover a gap.
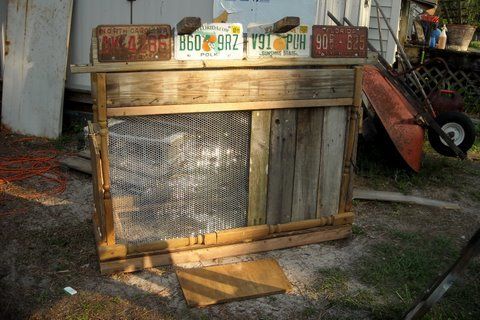
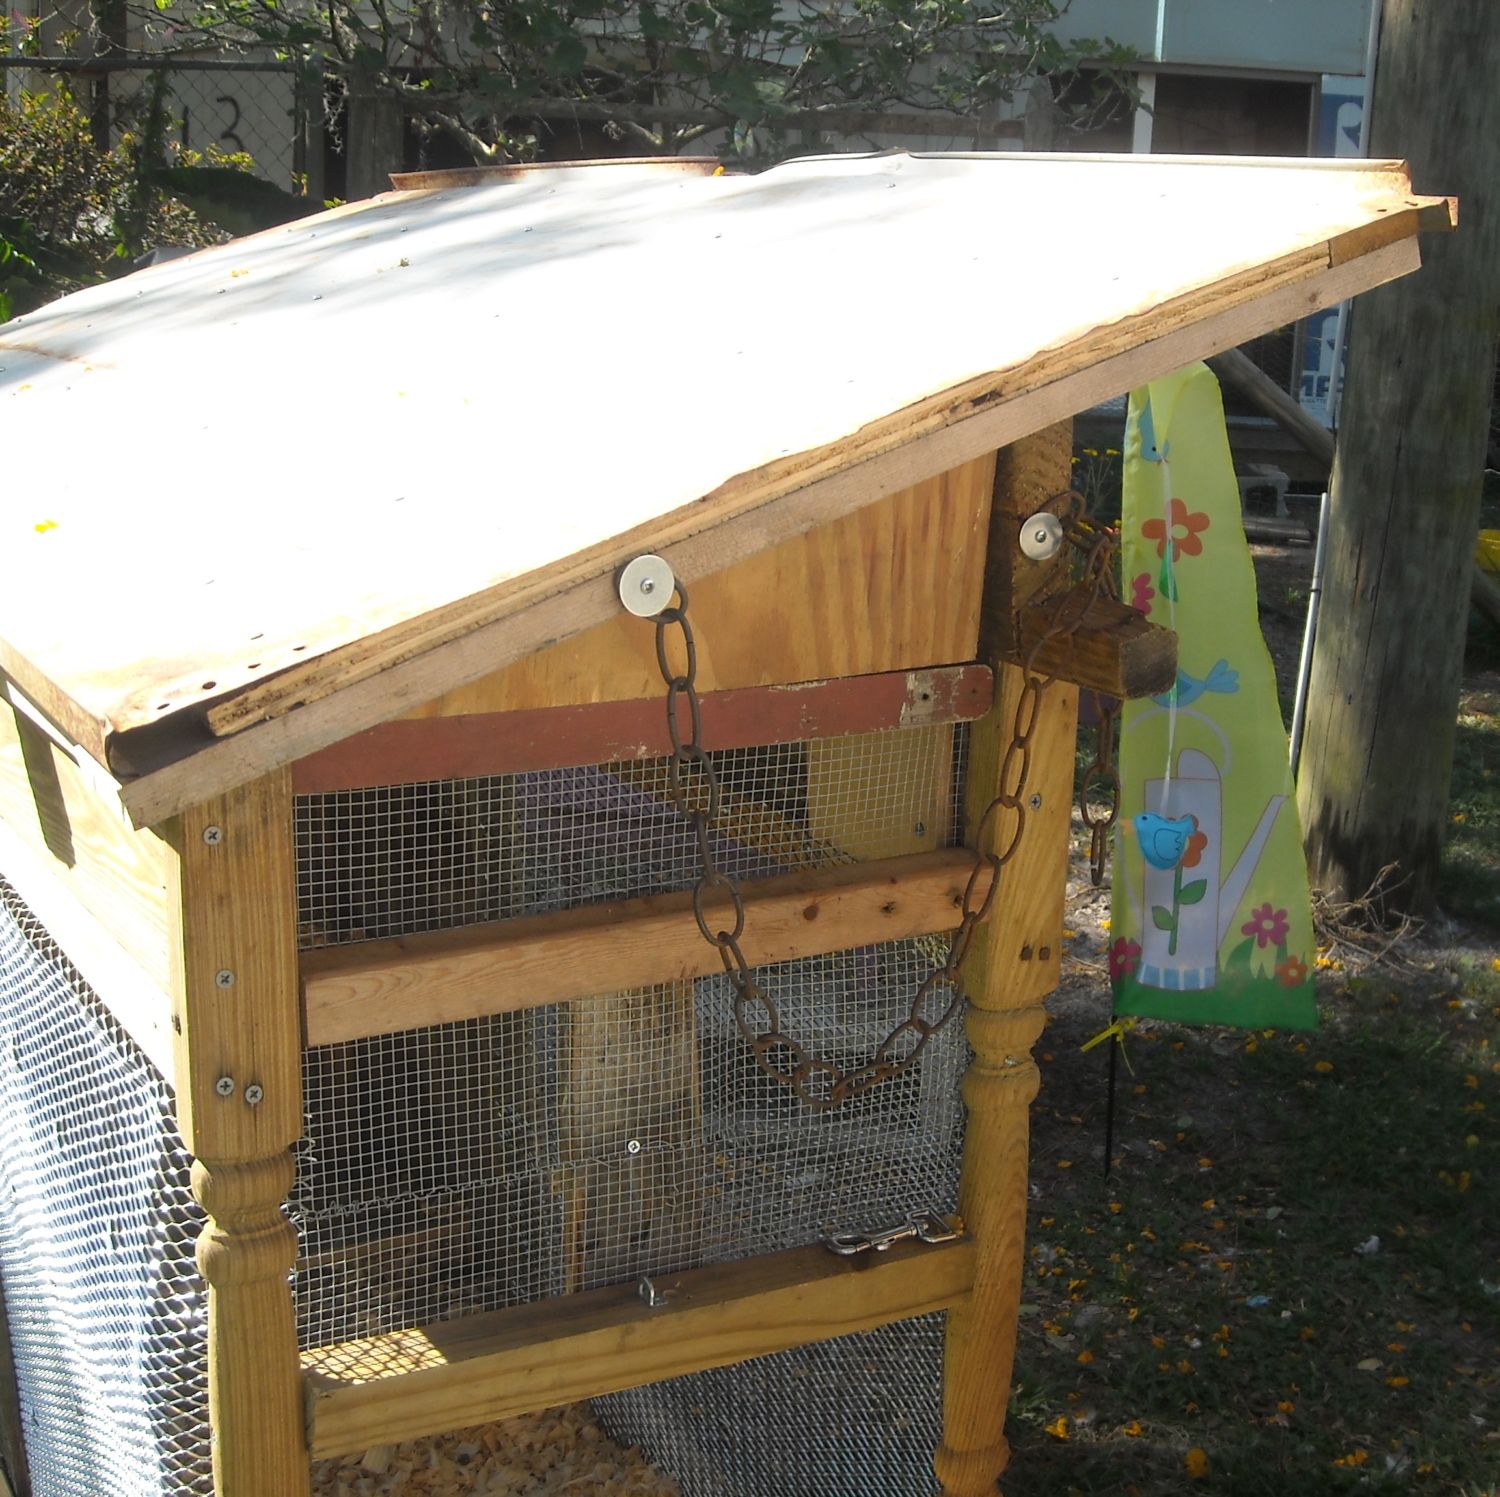
I was reluctant to put the roof on in case I made some mistakes. I needed it to be waterproof and safe. I decided to use a metal door from one of our metal sheds, the one that we didn't have the doors on! It was exactly the right size, thank goodness, as roof size pieces of wood and metal are getting slim around here. Wisely, I waited for my DBF to return home knowing that he'd get it right the first time and undoubtedly improve on my design. So many things on this coop I had to attach and then reattach to make it better. I know how I envisioned things looking but invariably after I'd get it right, I'd look at my work and realize it could be done better and then I'd have to start over He doesn't have that problem. This is what he came up with.
Brilliant! My plan was to just have the roof permanately attached. It didn't occur to me to have it open but I love it! He lined the metal with some plywood scrap to make it fit better and to provide some insulation from the sun bearing down on the roof. His other brilliant idea was to place the coop up on bread pallets; a curbside find I had no idea what we'd do with. The chicken paddock gets pretty wet so these will keep it up out of the damp. Two bread pallets ended up being the exact size for the coop. Here's the side view of the roof. The chain keeps the roof from going back to far and stressing the hinges.
And here is our finished coop. Tonight I will put the silkies in! My sister bought the chickens some prayer flags. I hadn't contemplated the religion of my birds but it turns out they're buddhist.