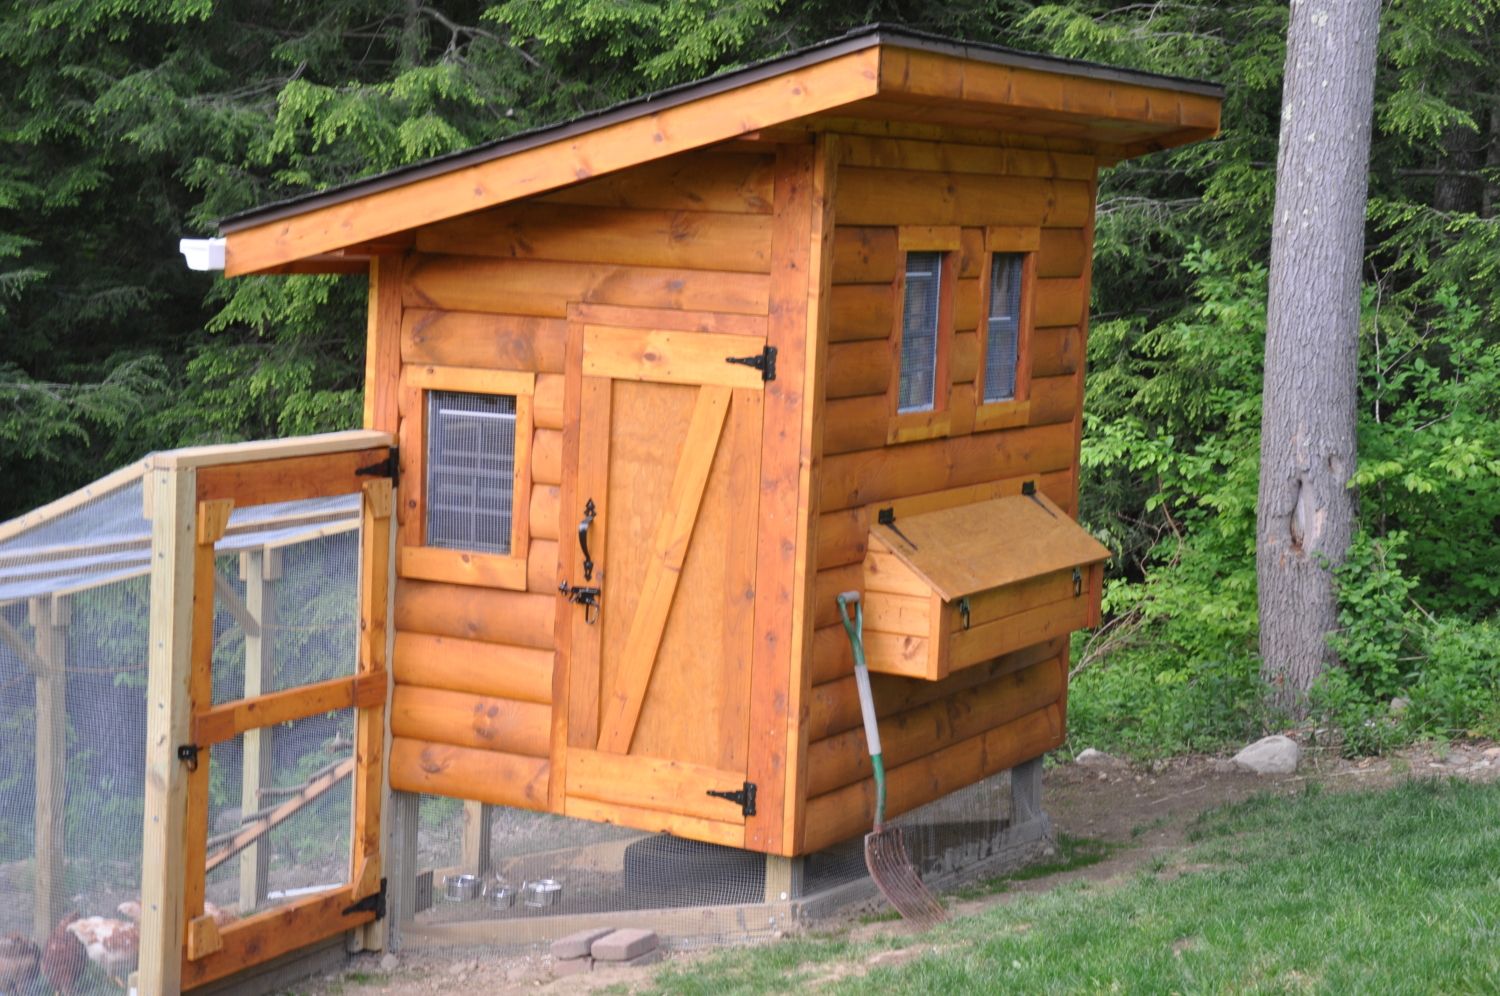
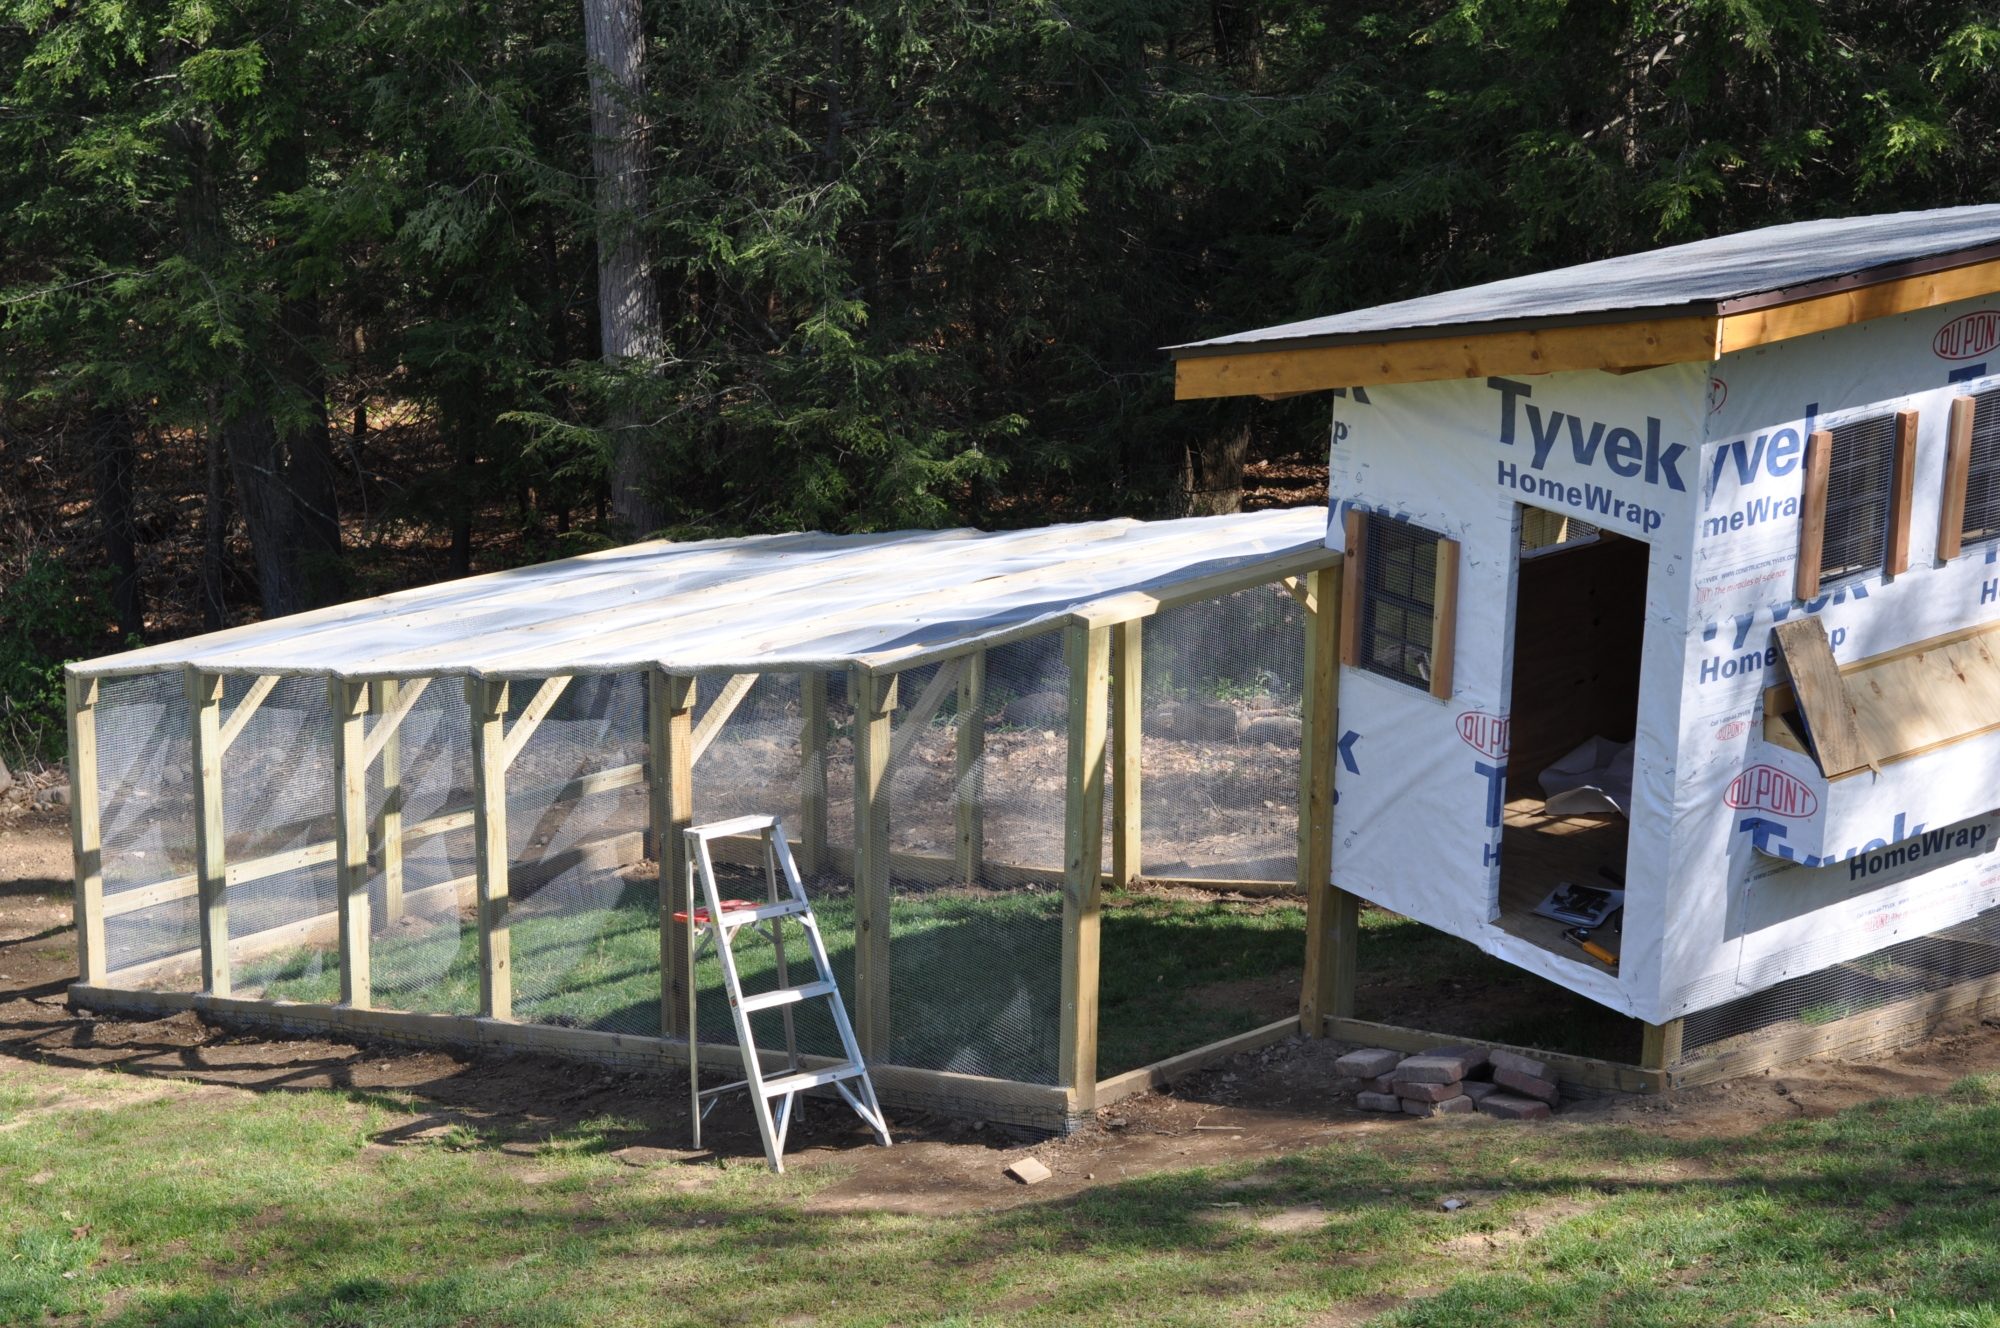
This is our log cabin coop: We didn't have any plans drawn out, just put up the first wall and went from there.. In the picture below, Mike is putting the finishing touches on by installing a gutter. We still have to put the hot wire around the bottom of the run and coop, but with the run being completely enclosed with 1/2" hardware wire (we also buried it two feet), I think my girls will be pretty safe! ")

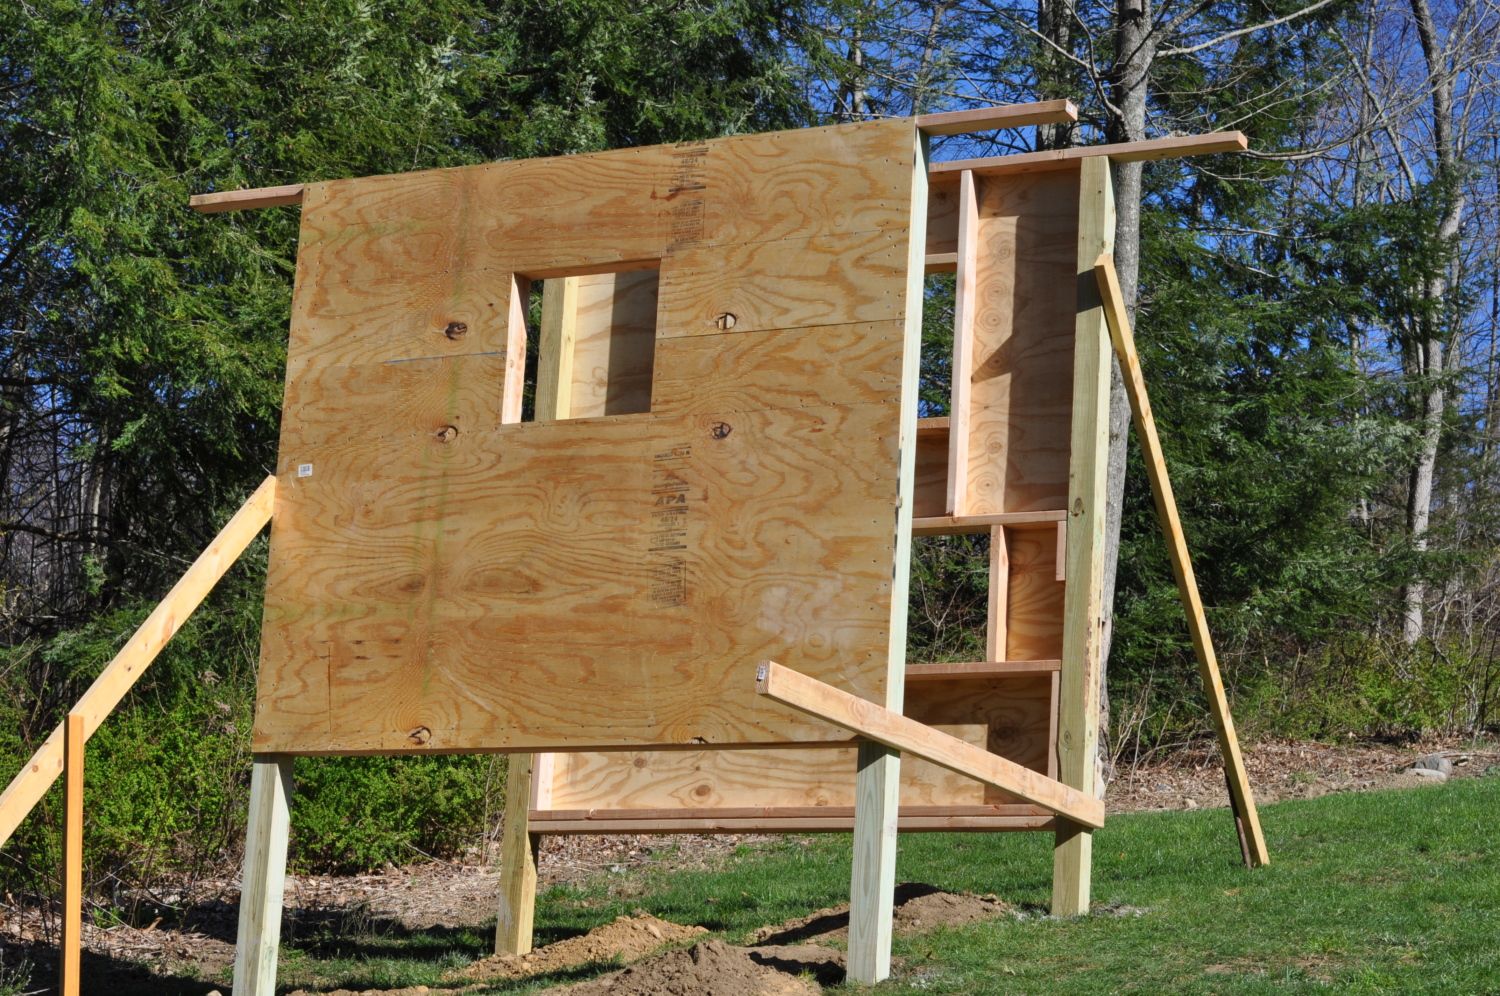
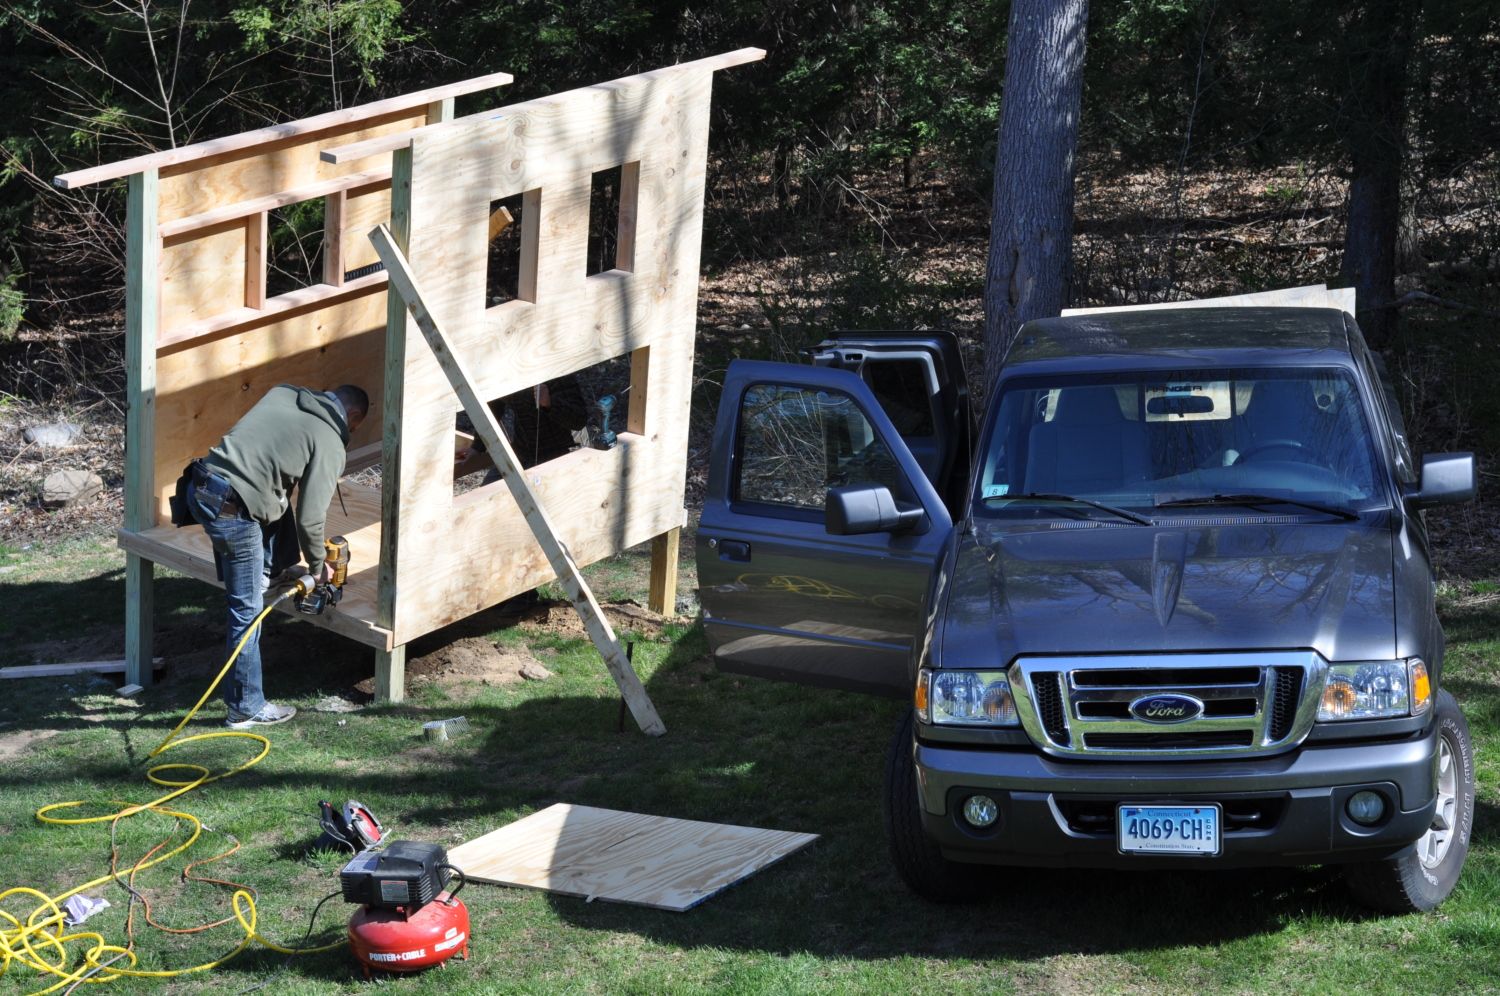
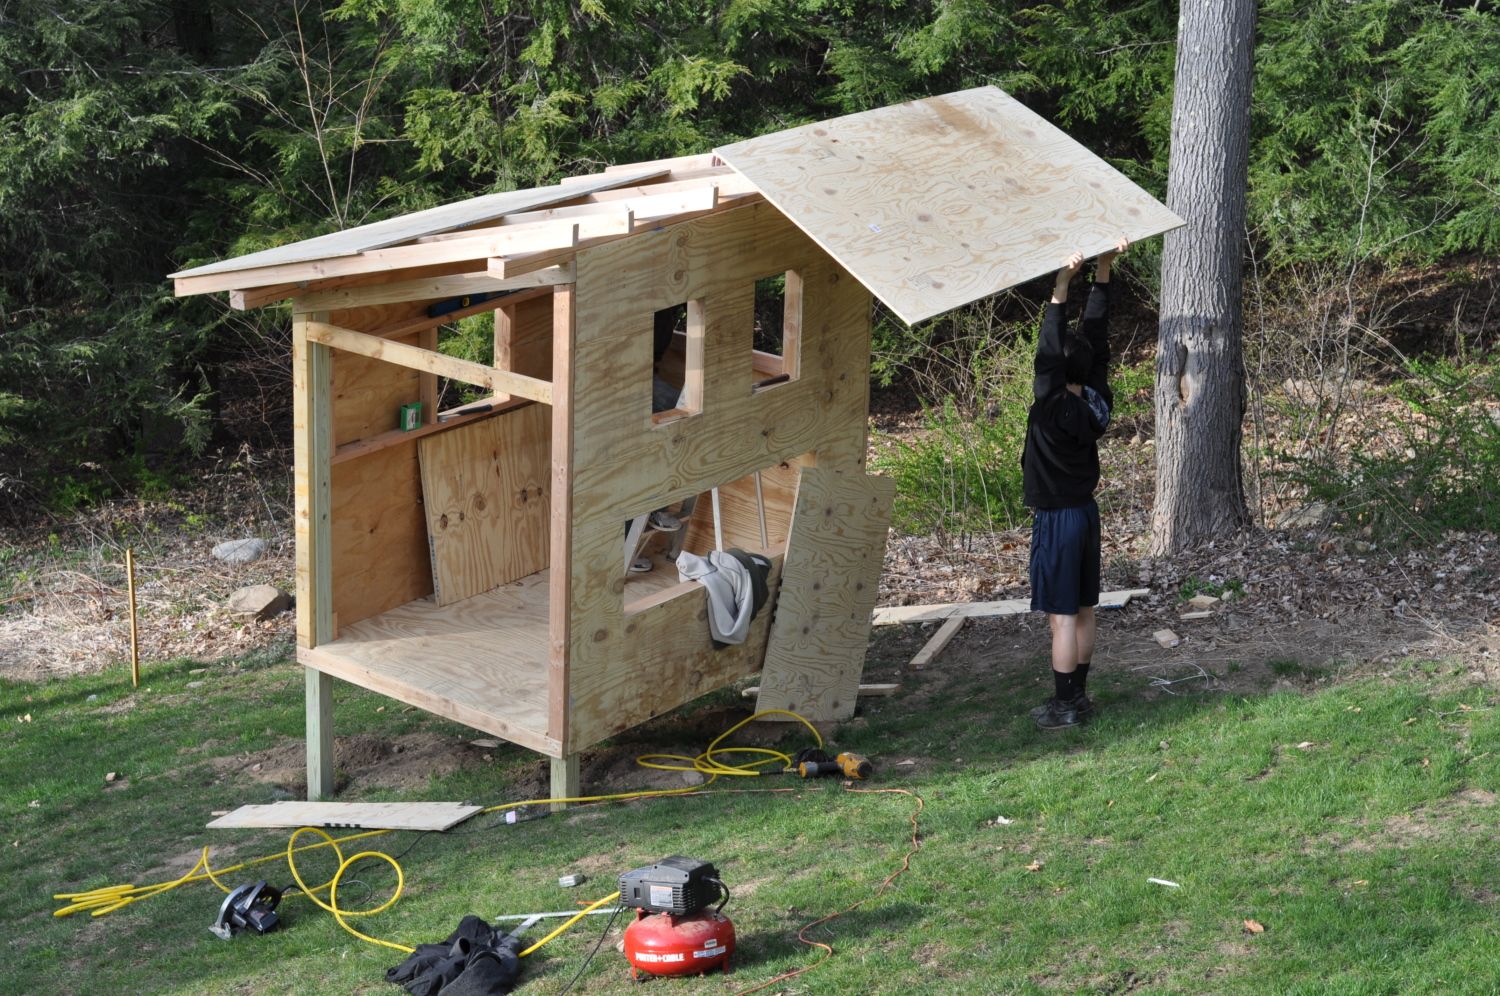
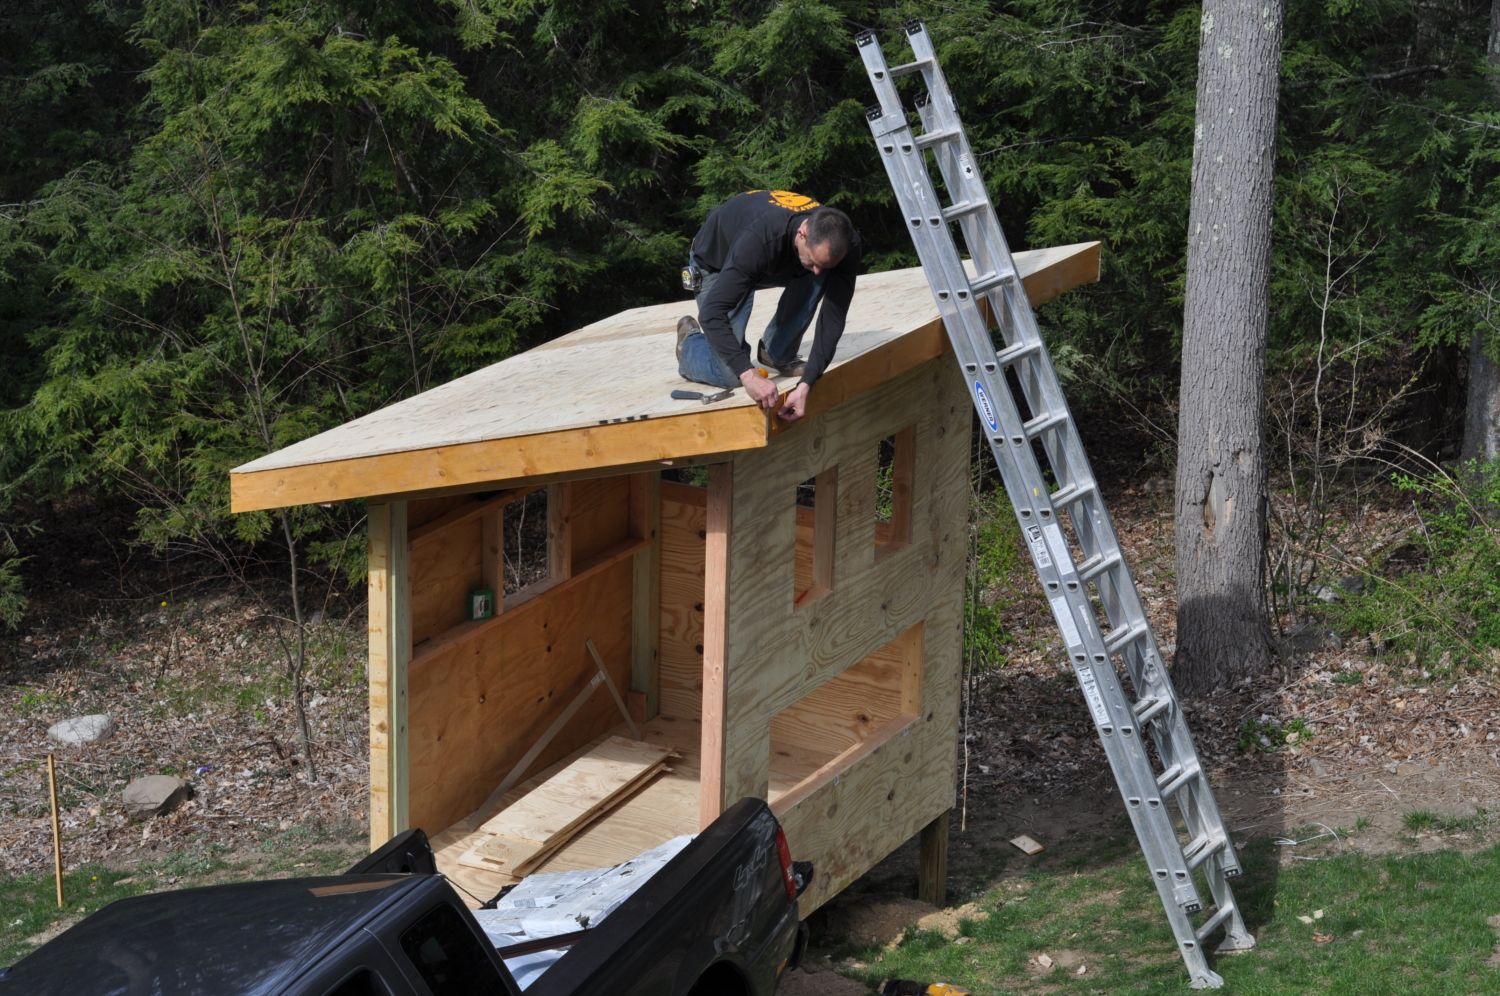
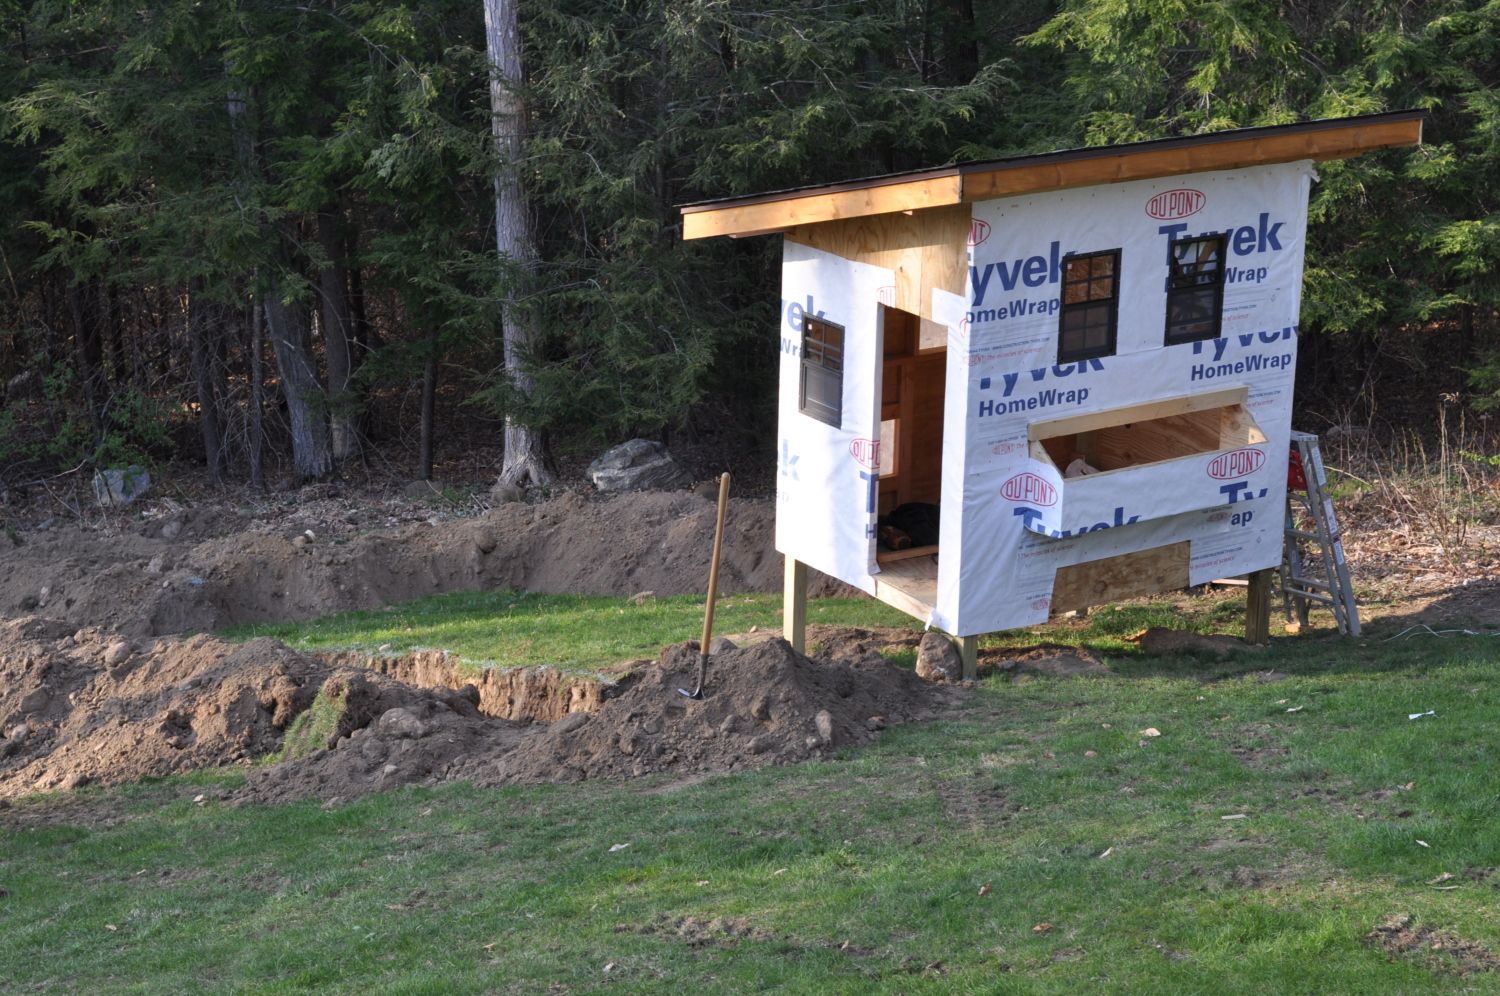
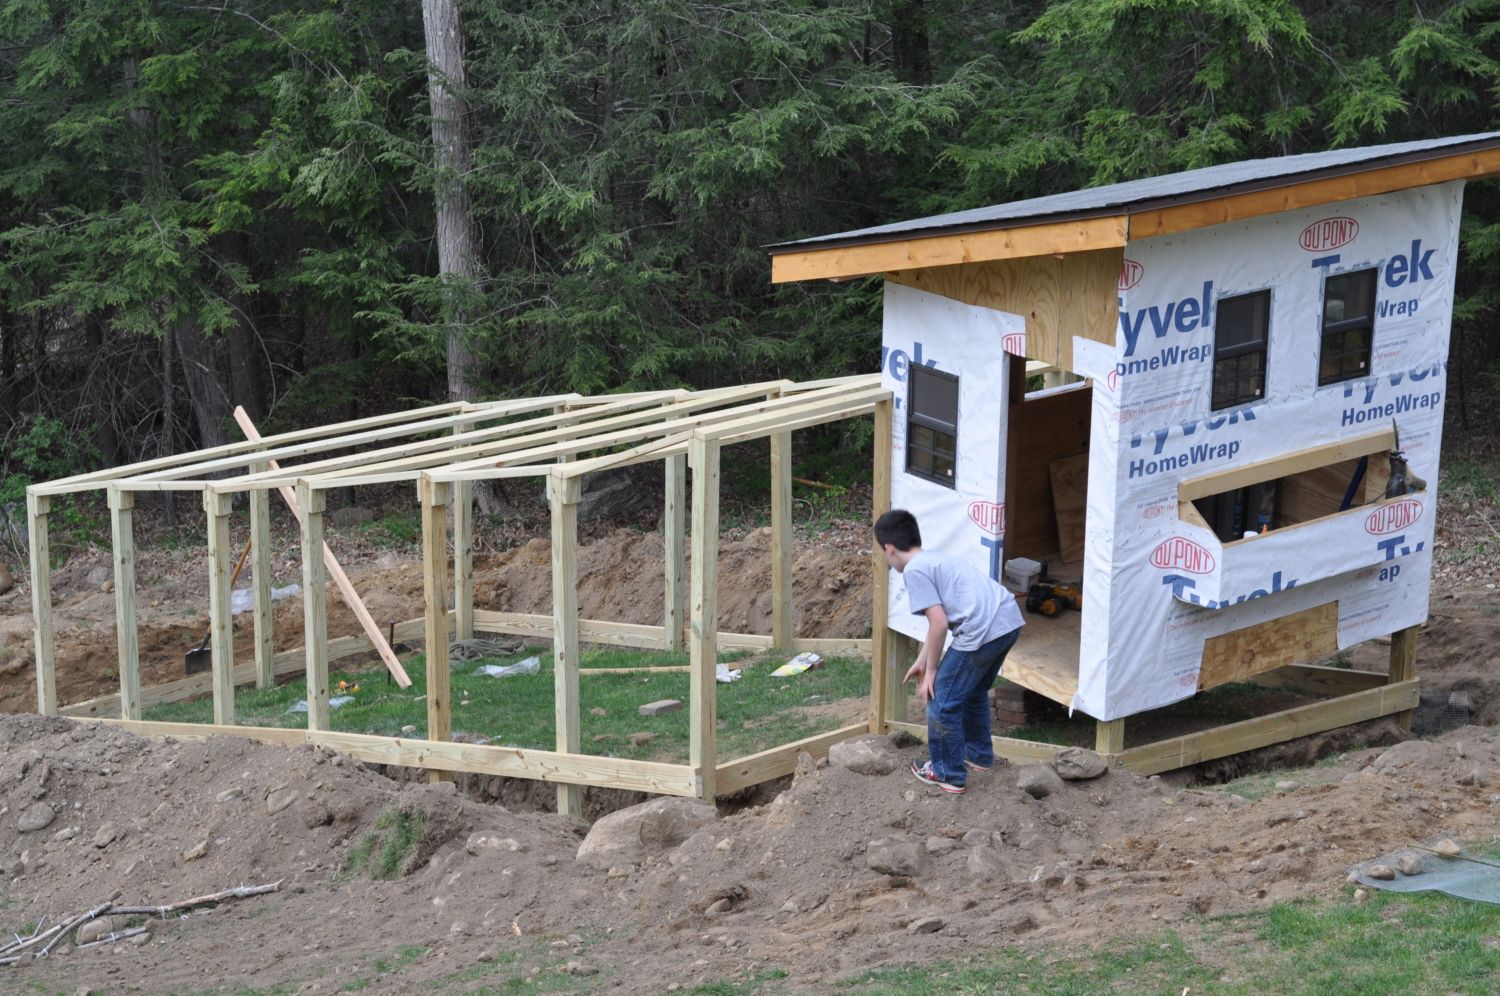
This is the beginning stages of the coop. We used pressure treated posts, but not the coop itself because we weren't sure if it would be harmful to the chicks.
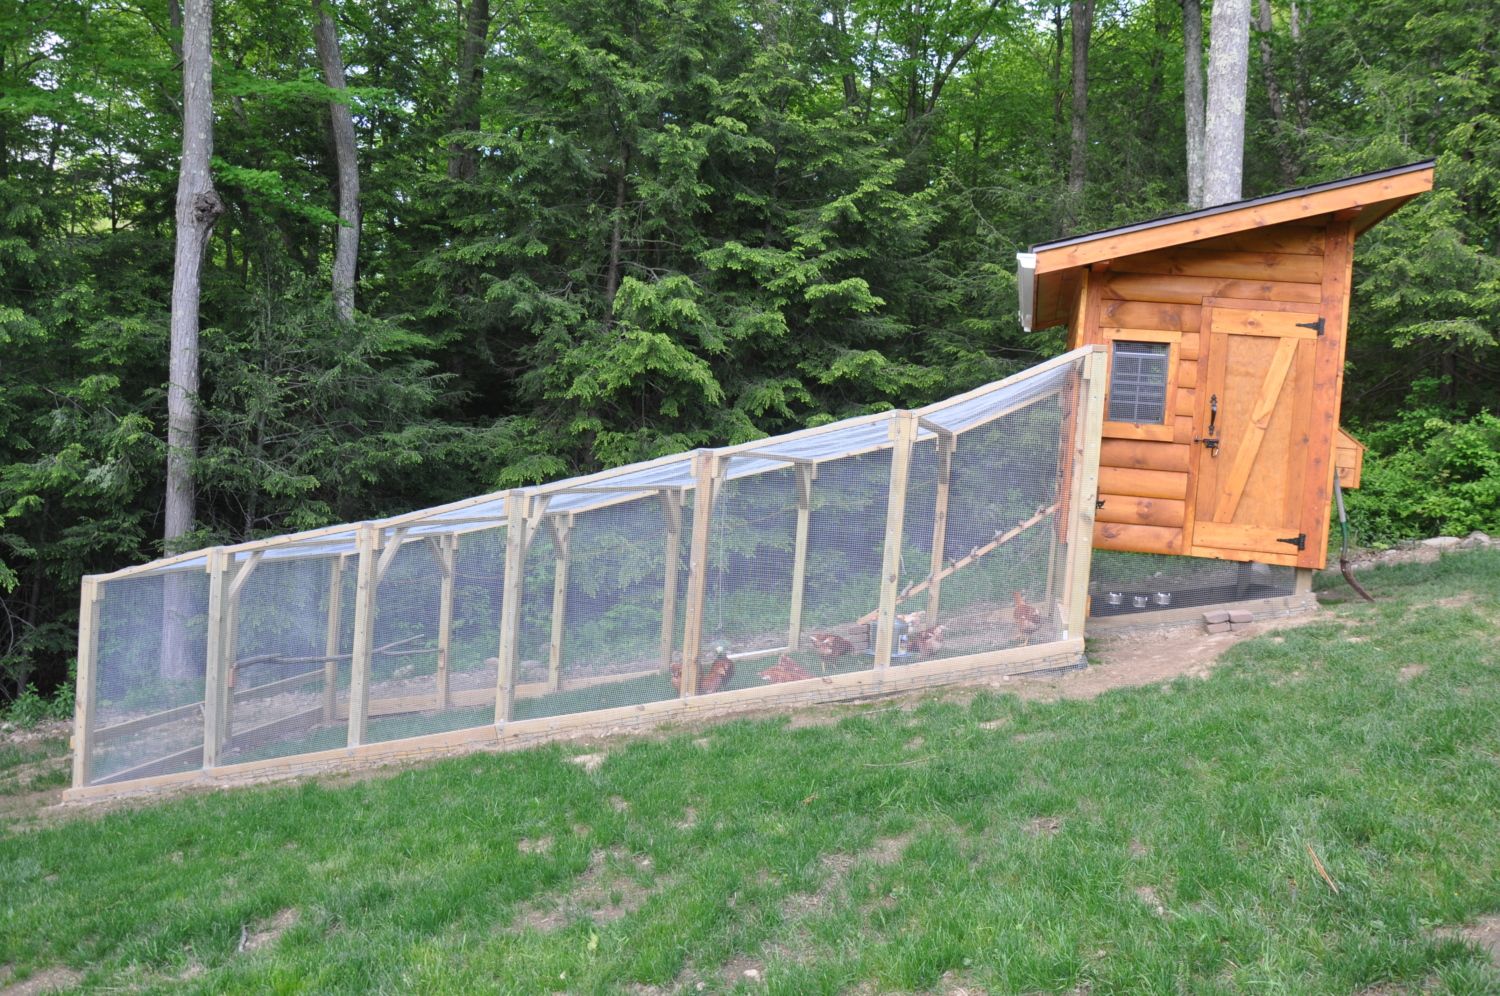
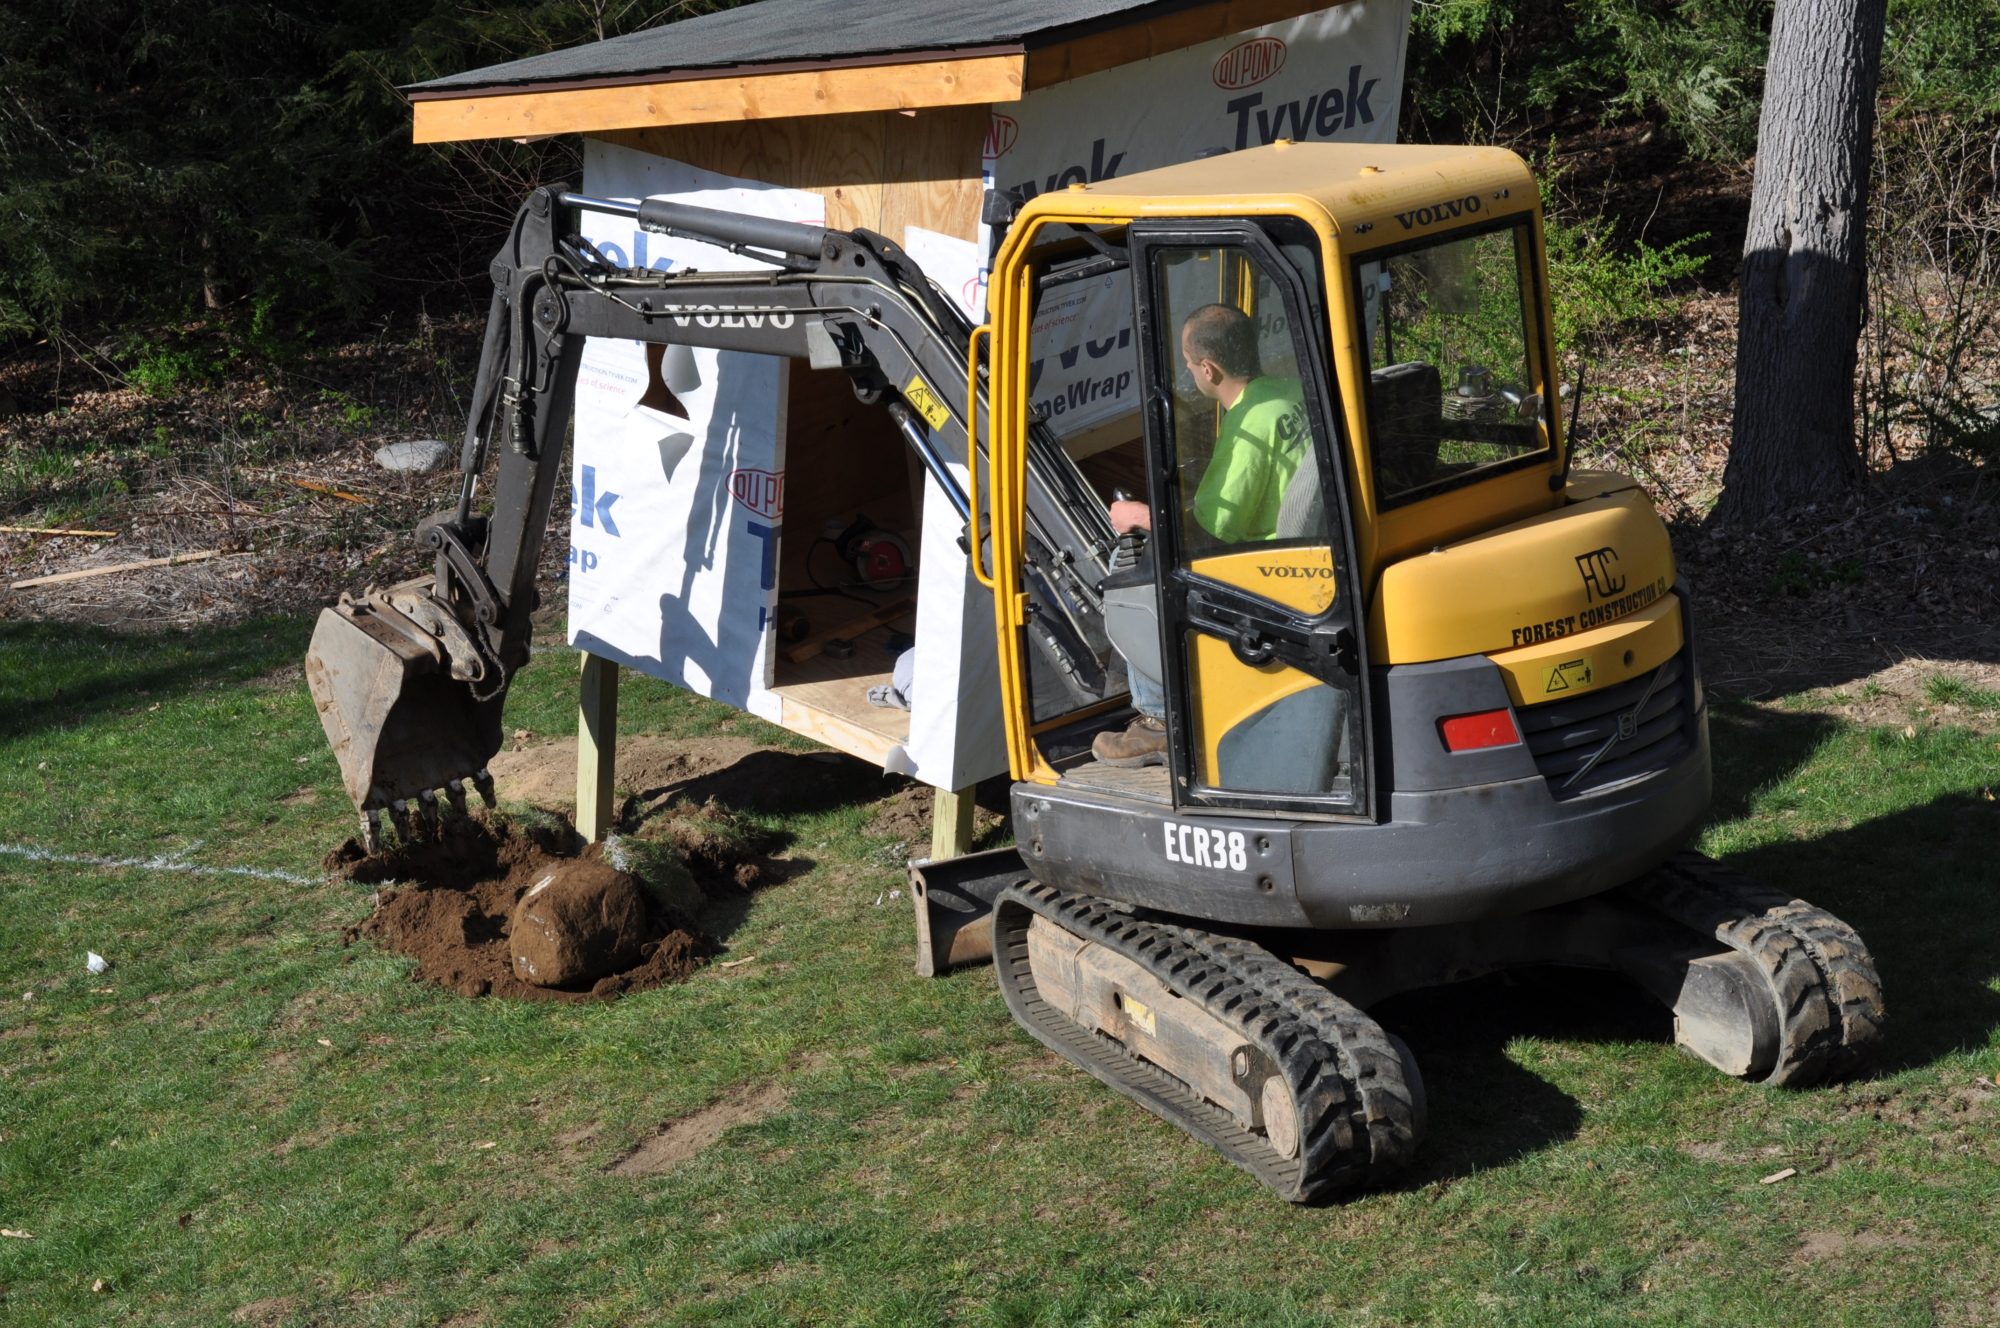
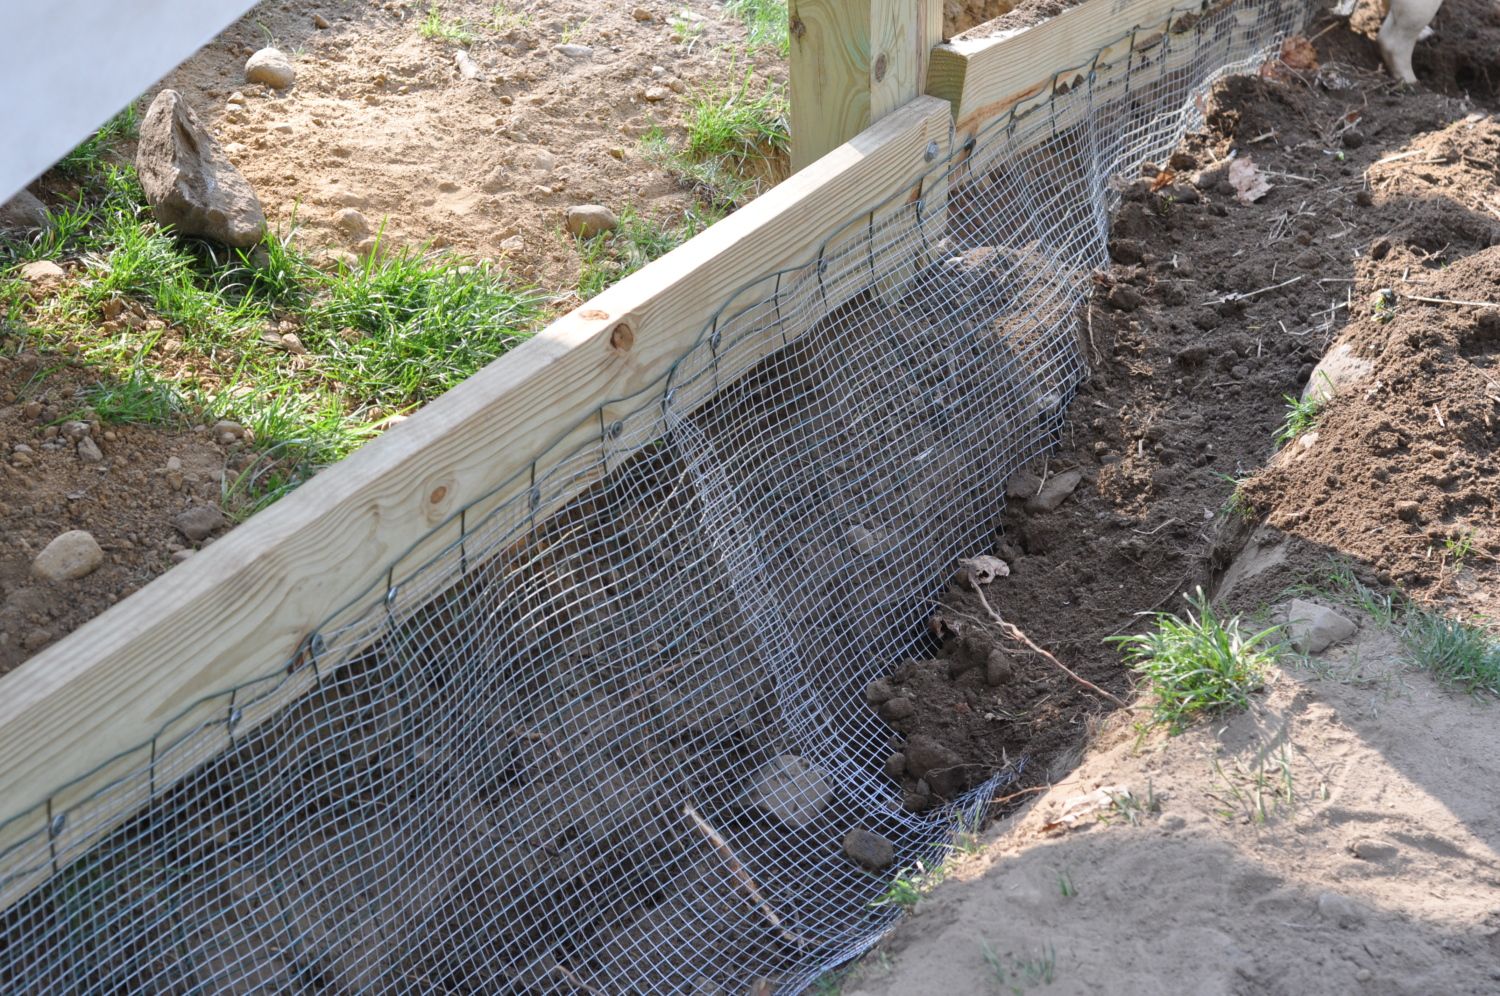
Thankfully we have an excavator friend who dug a two foot trench around the run and coop so we could bury the hardware wire.
After the posts were placed, we cemented them in for extra stability. We just used the quick dry cement bags from home depot. One bag for each post.
Every 6 inches is a screw and washer to secure the hardware wire. The entire run is attached in this way.
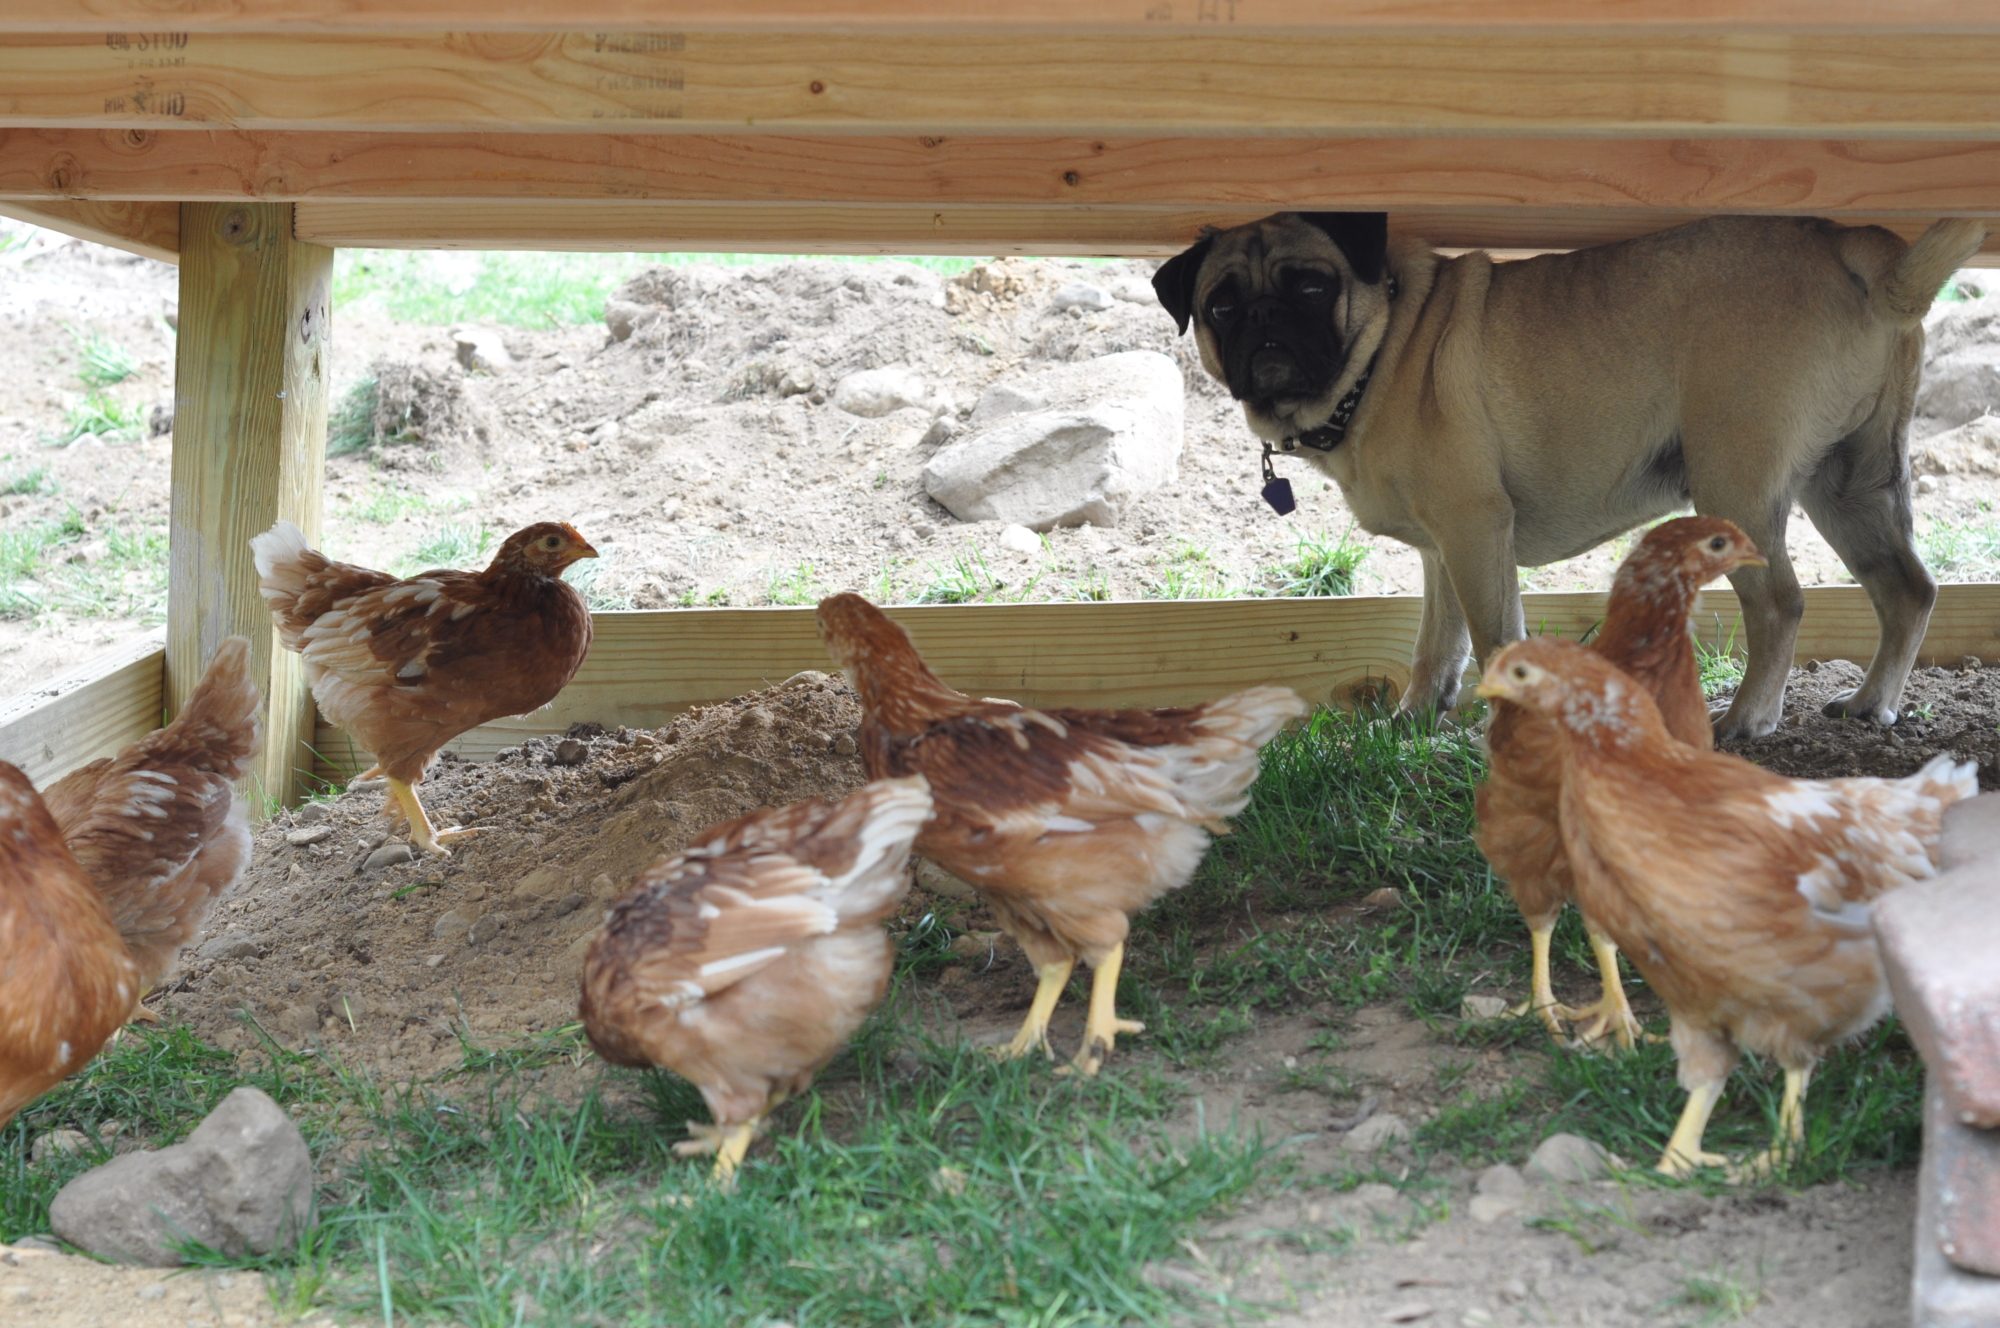
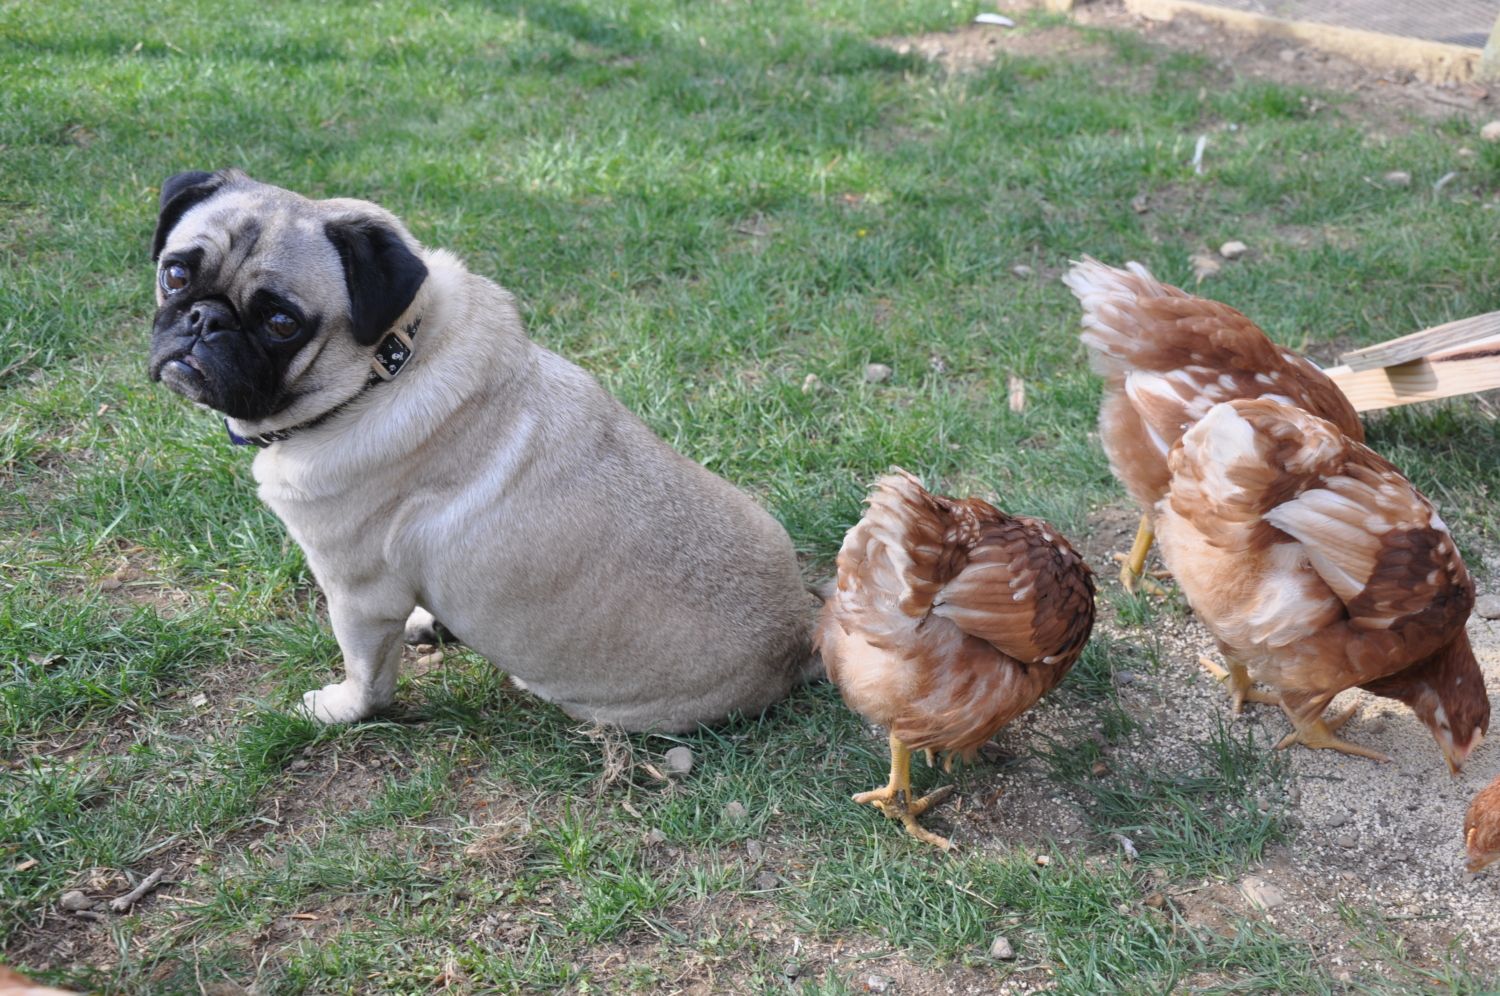
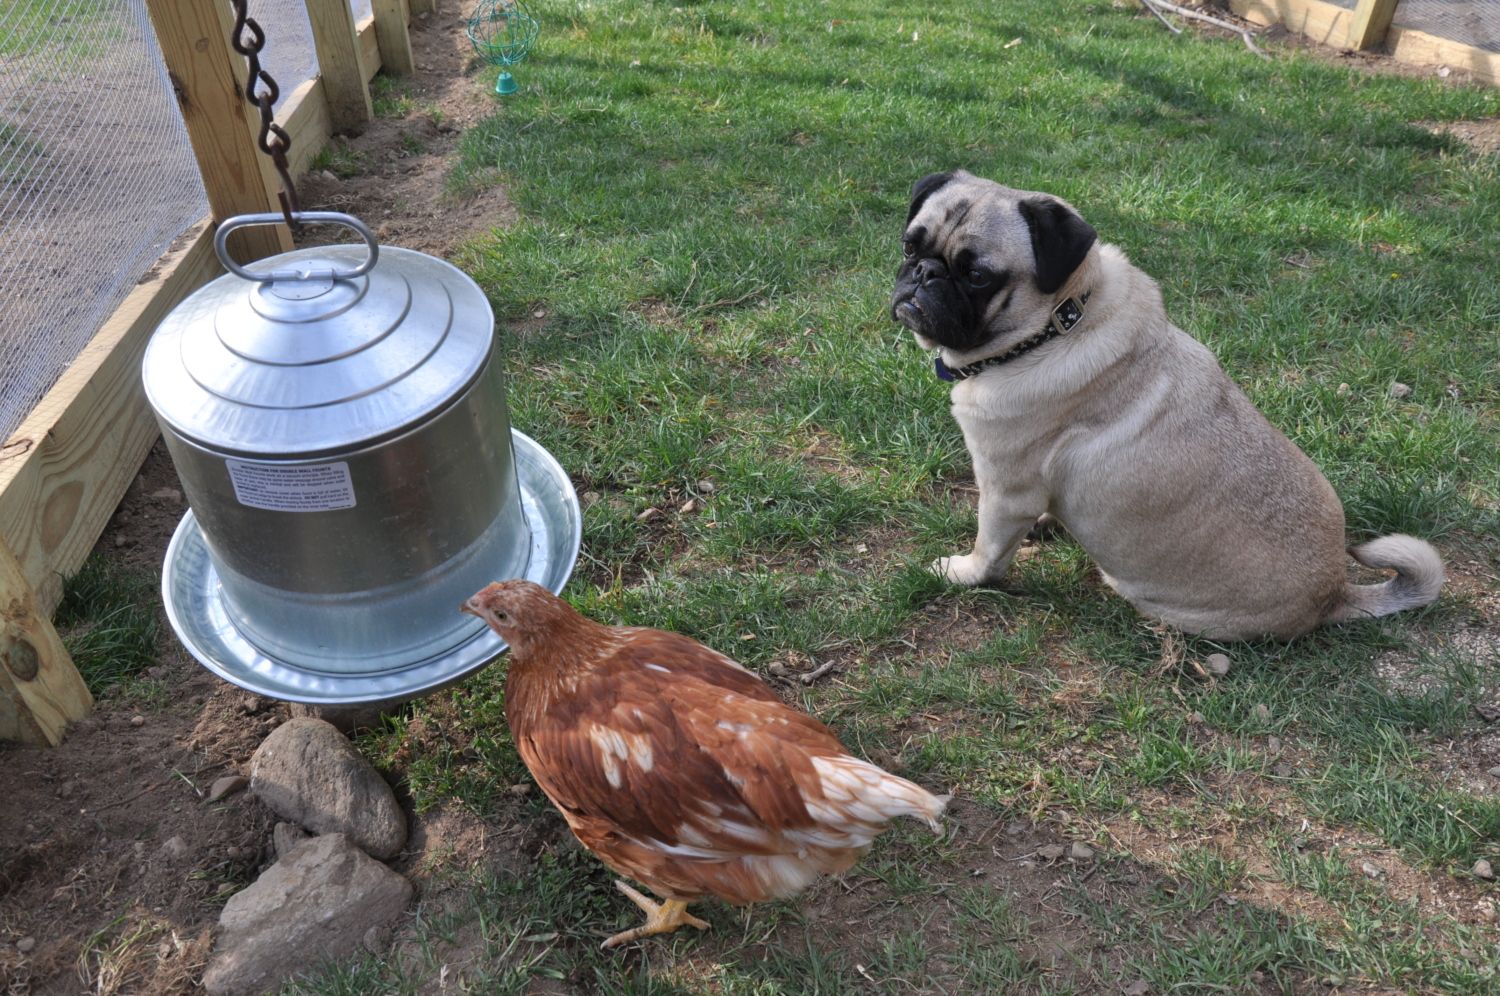
My dog Pudgie enjoying his time with the girls. Thankfully he, or my other dog, a lab, never showed any aggression towards the chicks.
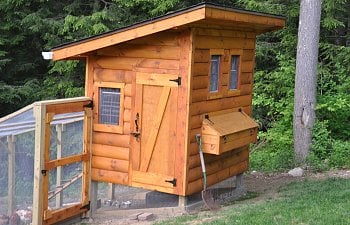
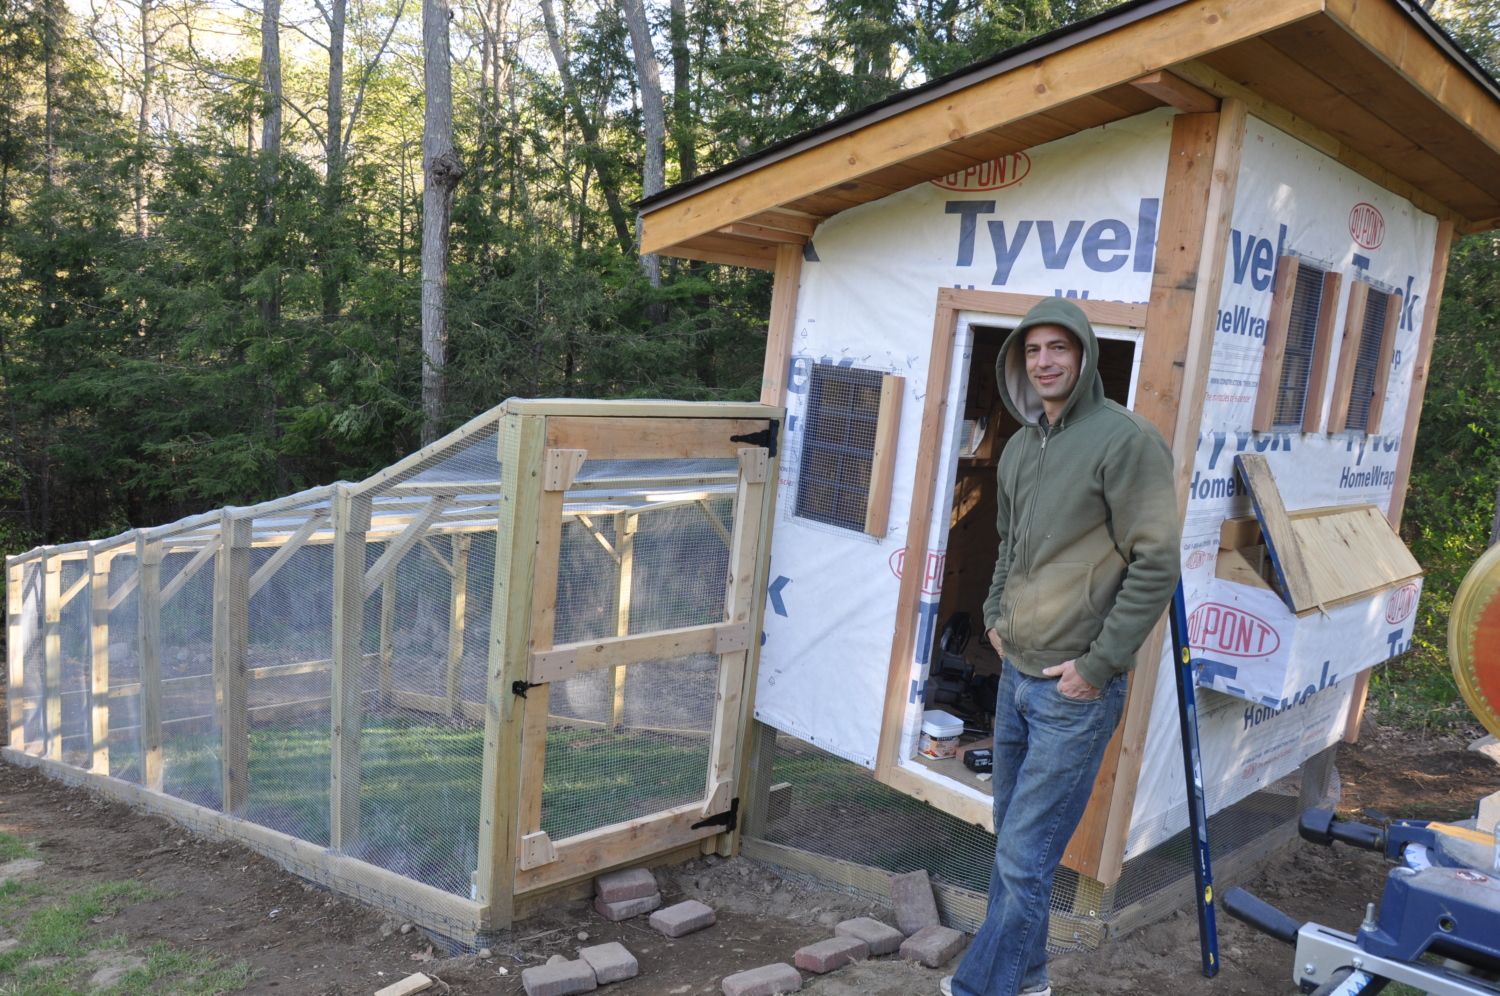
We had extra log siding due to the garage we are building, so we decided to make a log coop.
We are going to run electric out to the coop, and roof the nesting box lid..
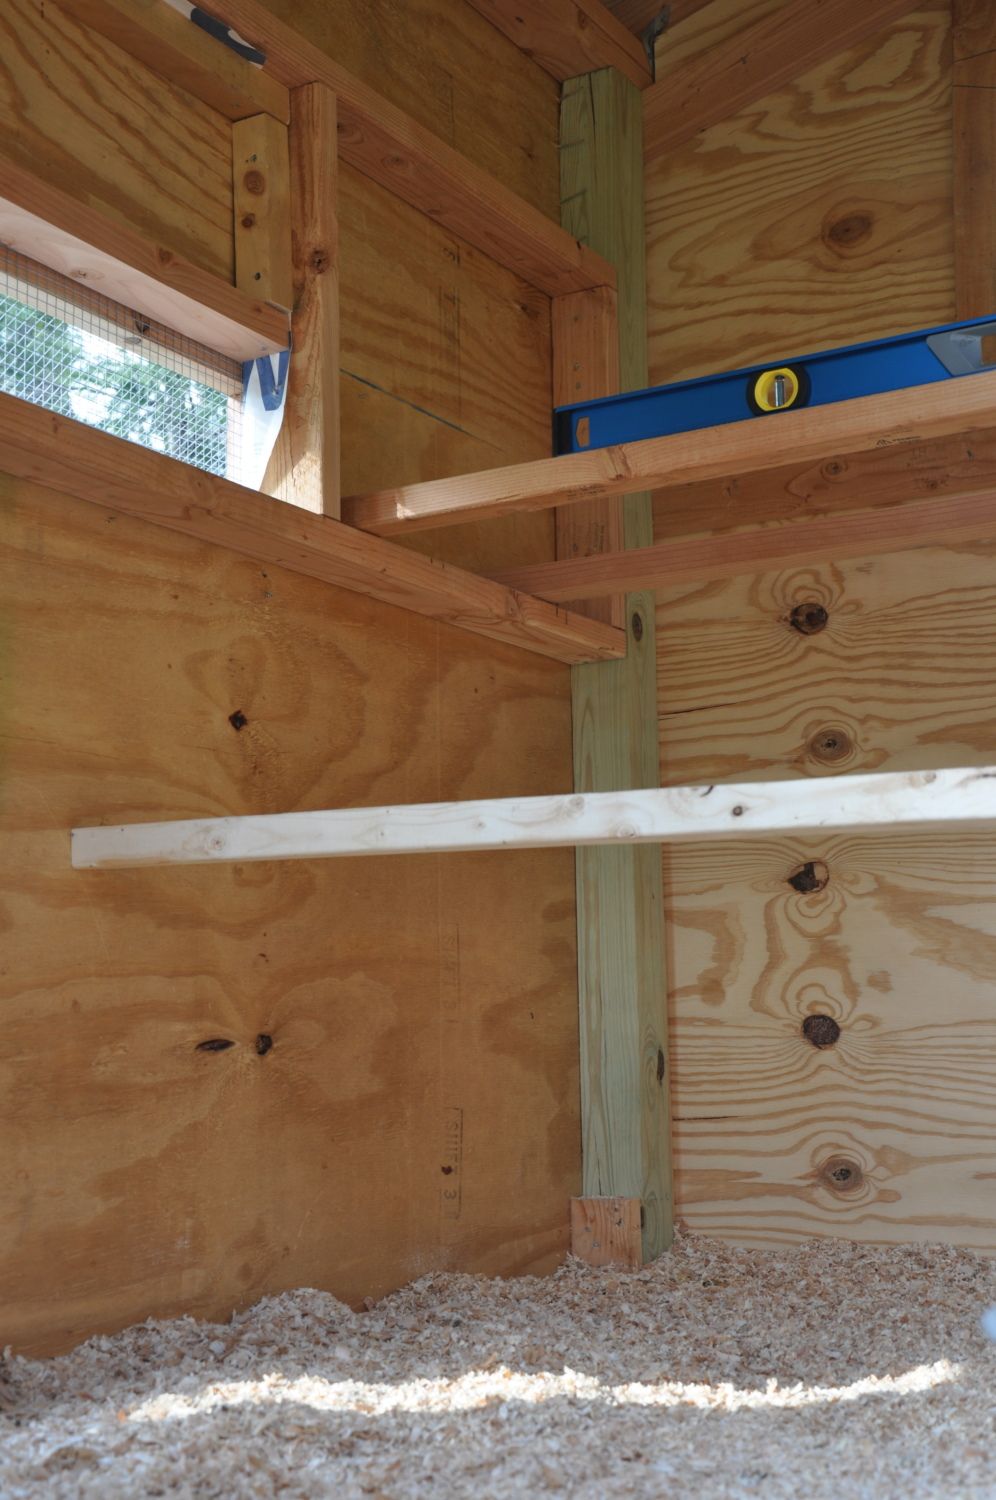
We used a leveler to make sure the roosts were perfect. we added a step so they can get up on them easily. There are two roosts at the same height to reduce fighting amongst the hens on who gets the higher roost. We are debating on putting a poop board underneath.
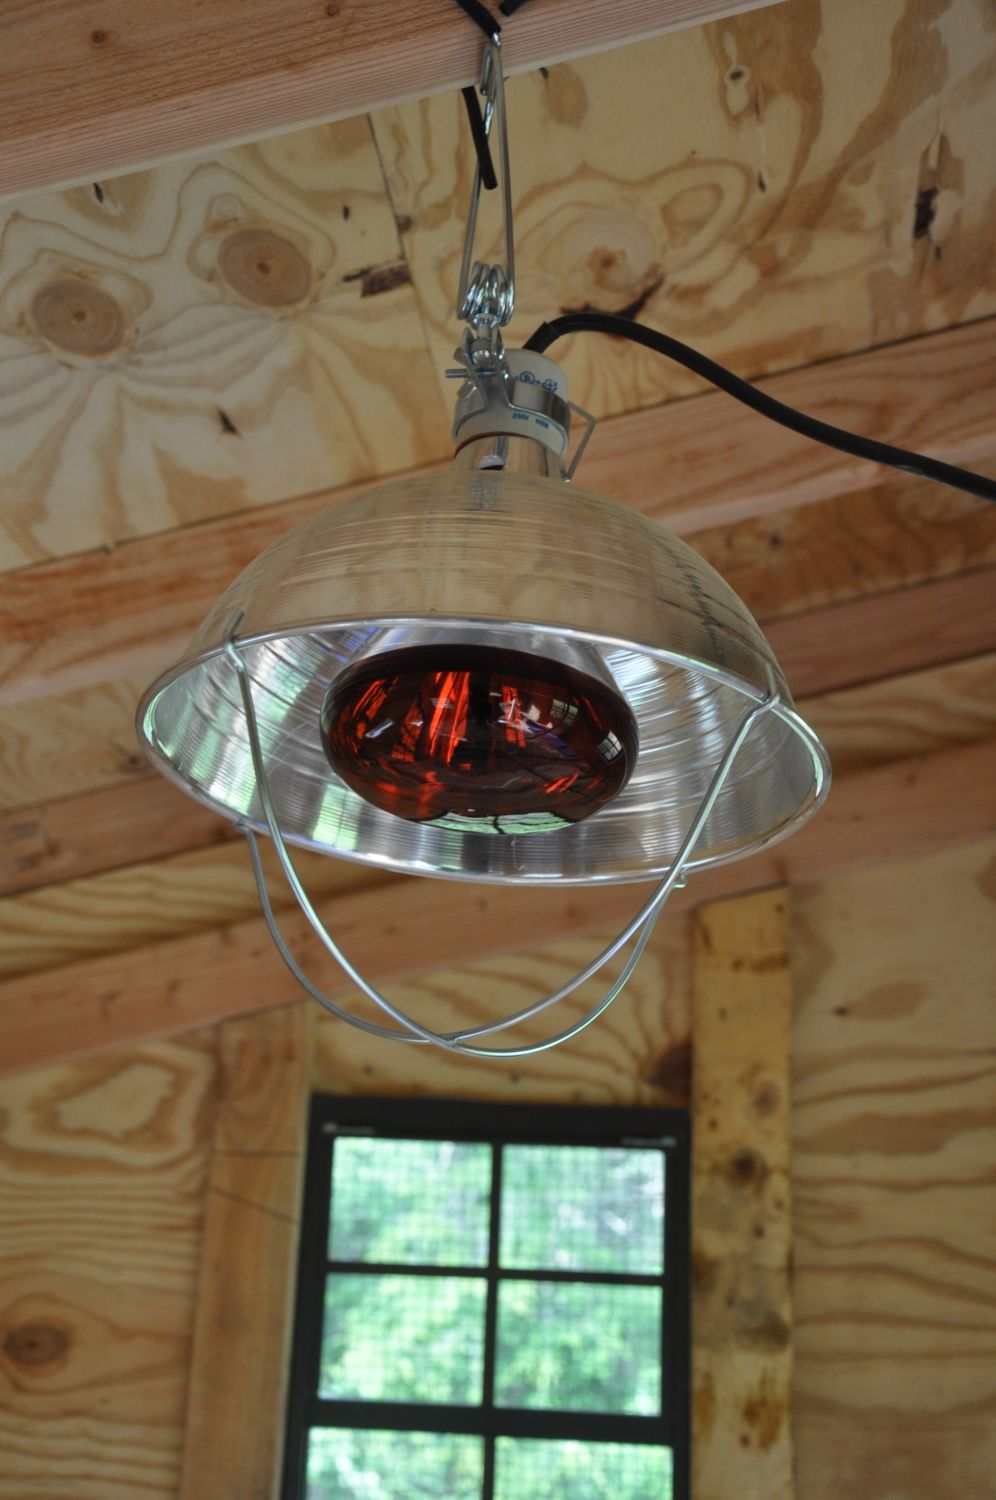
We had the heat lamp in for a few days when we first put the chicks outside.
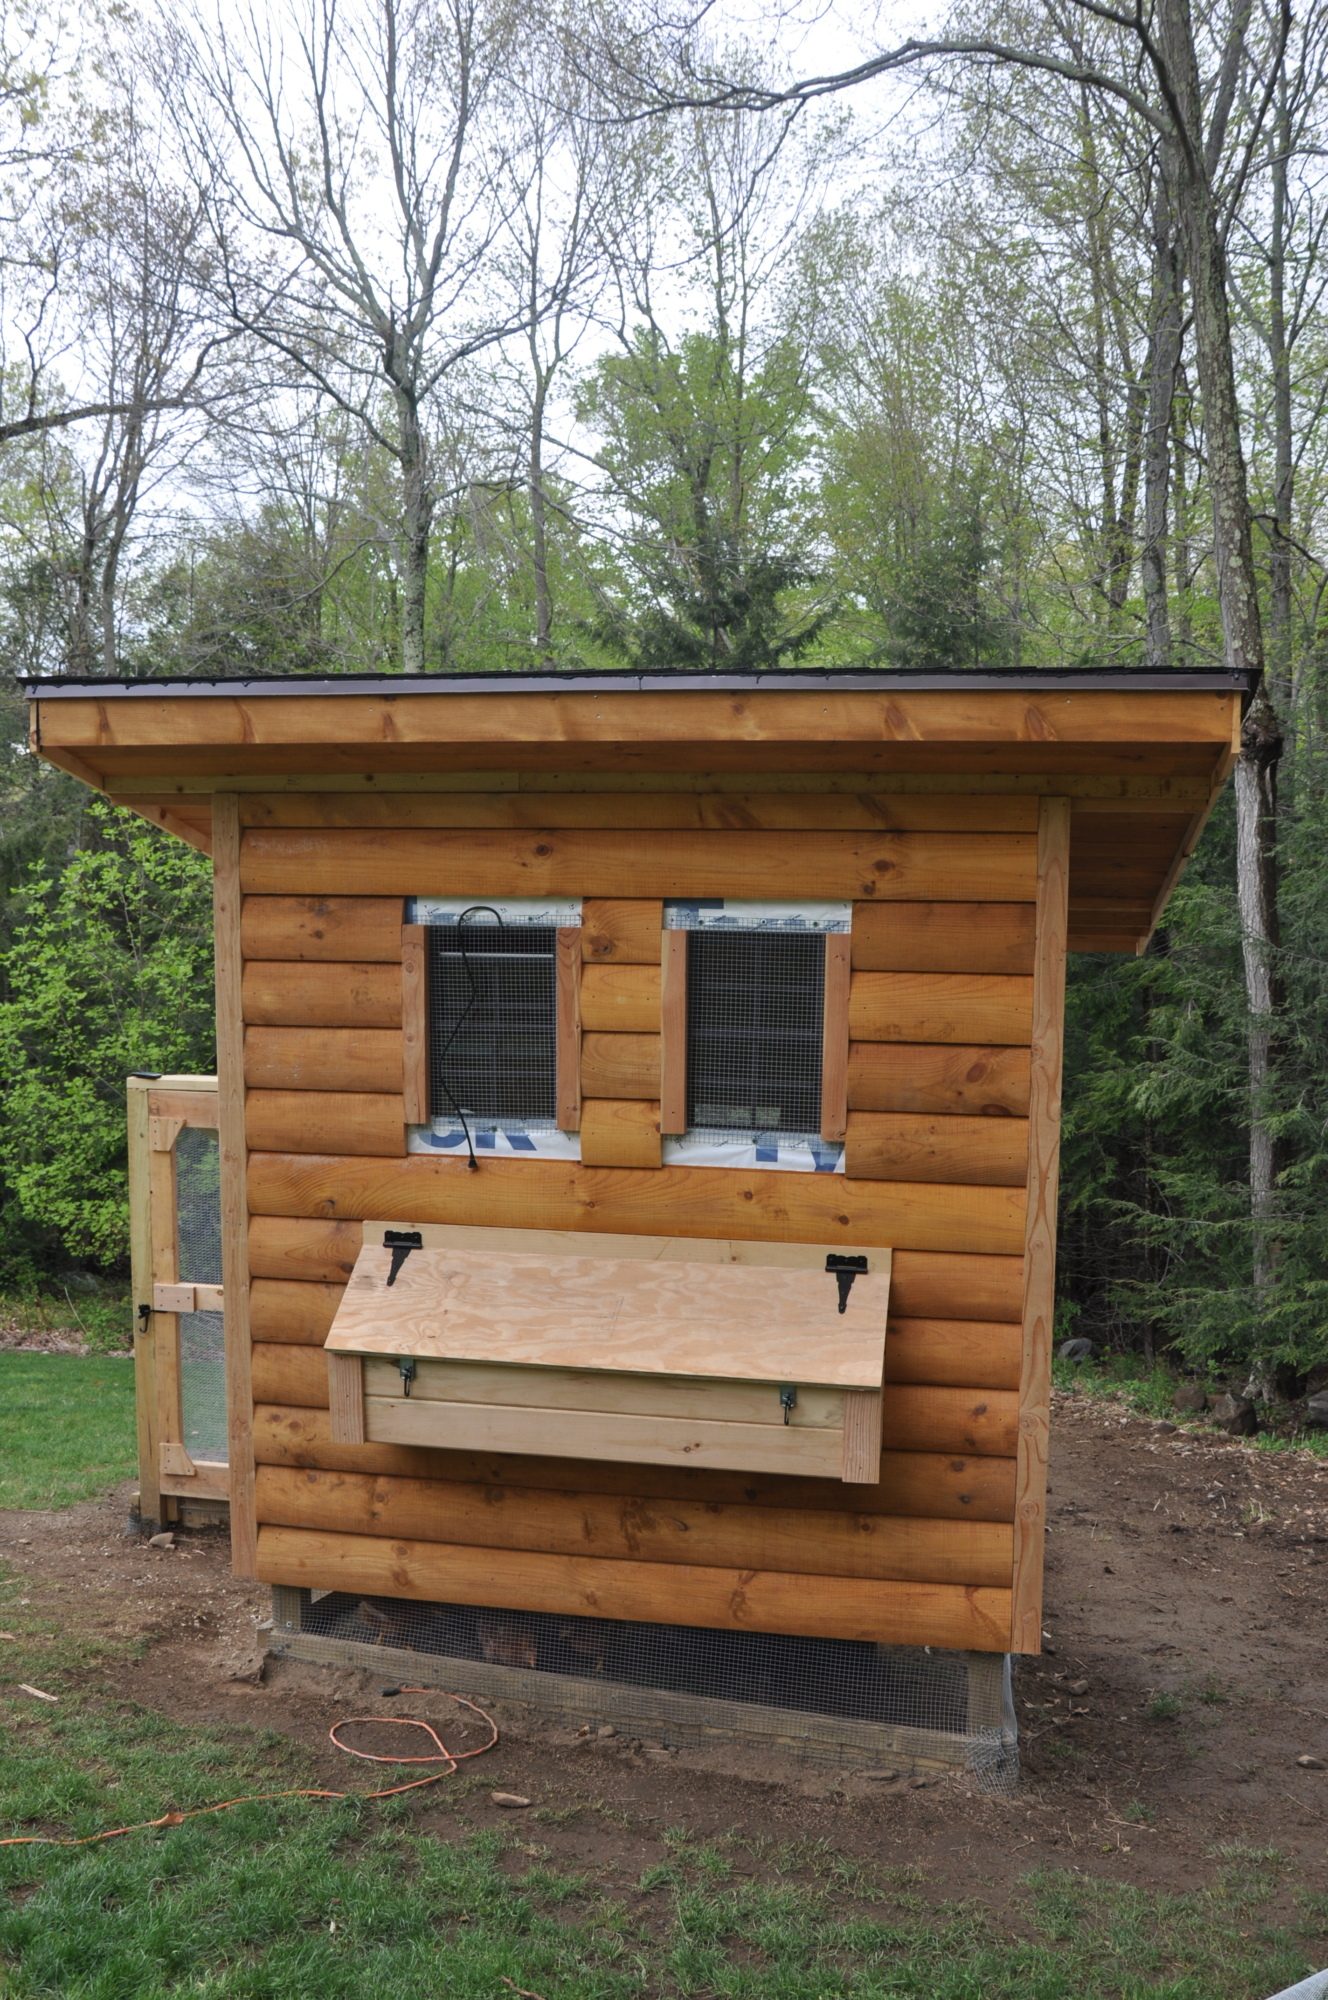
This is the side of the coop. We still have to stain it, but so far so good! If you can see underneath the run, we have some stainless steel cups with oyster shell and grit for free choice.
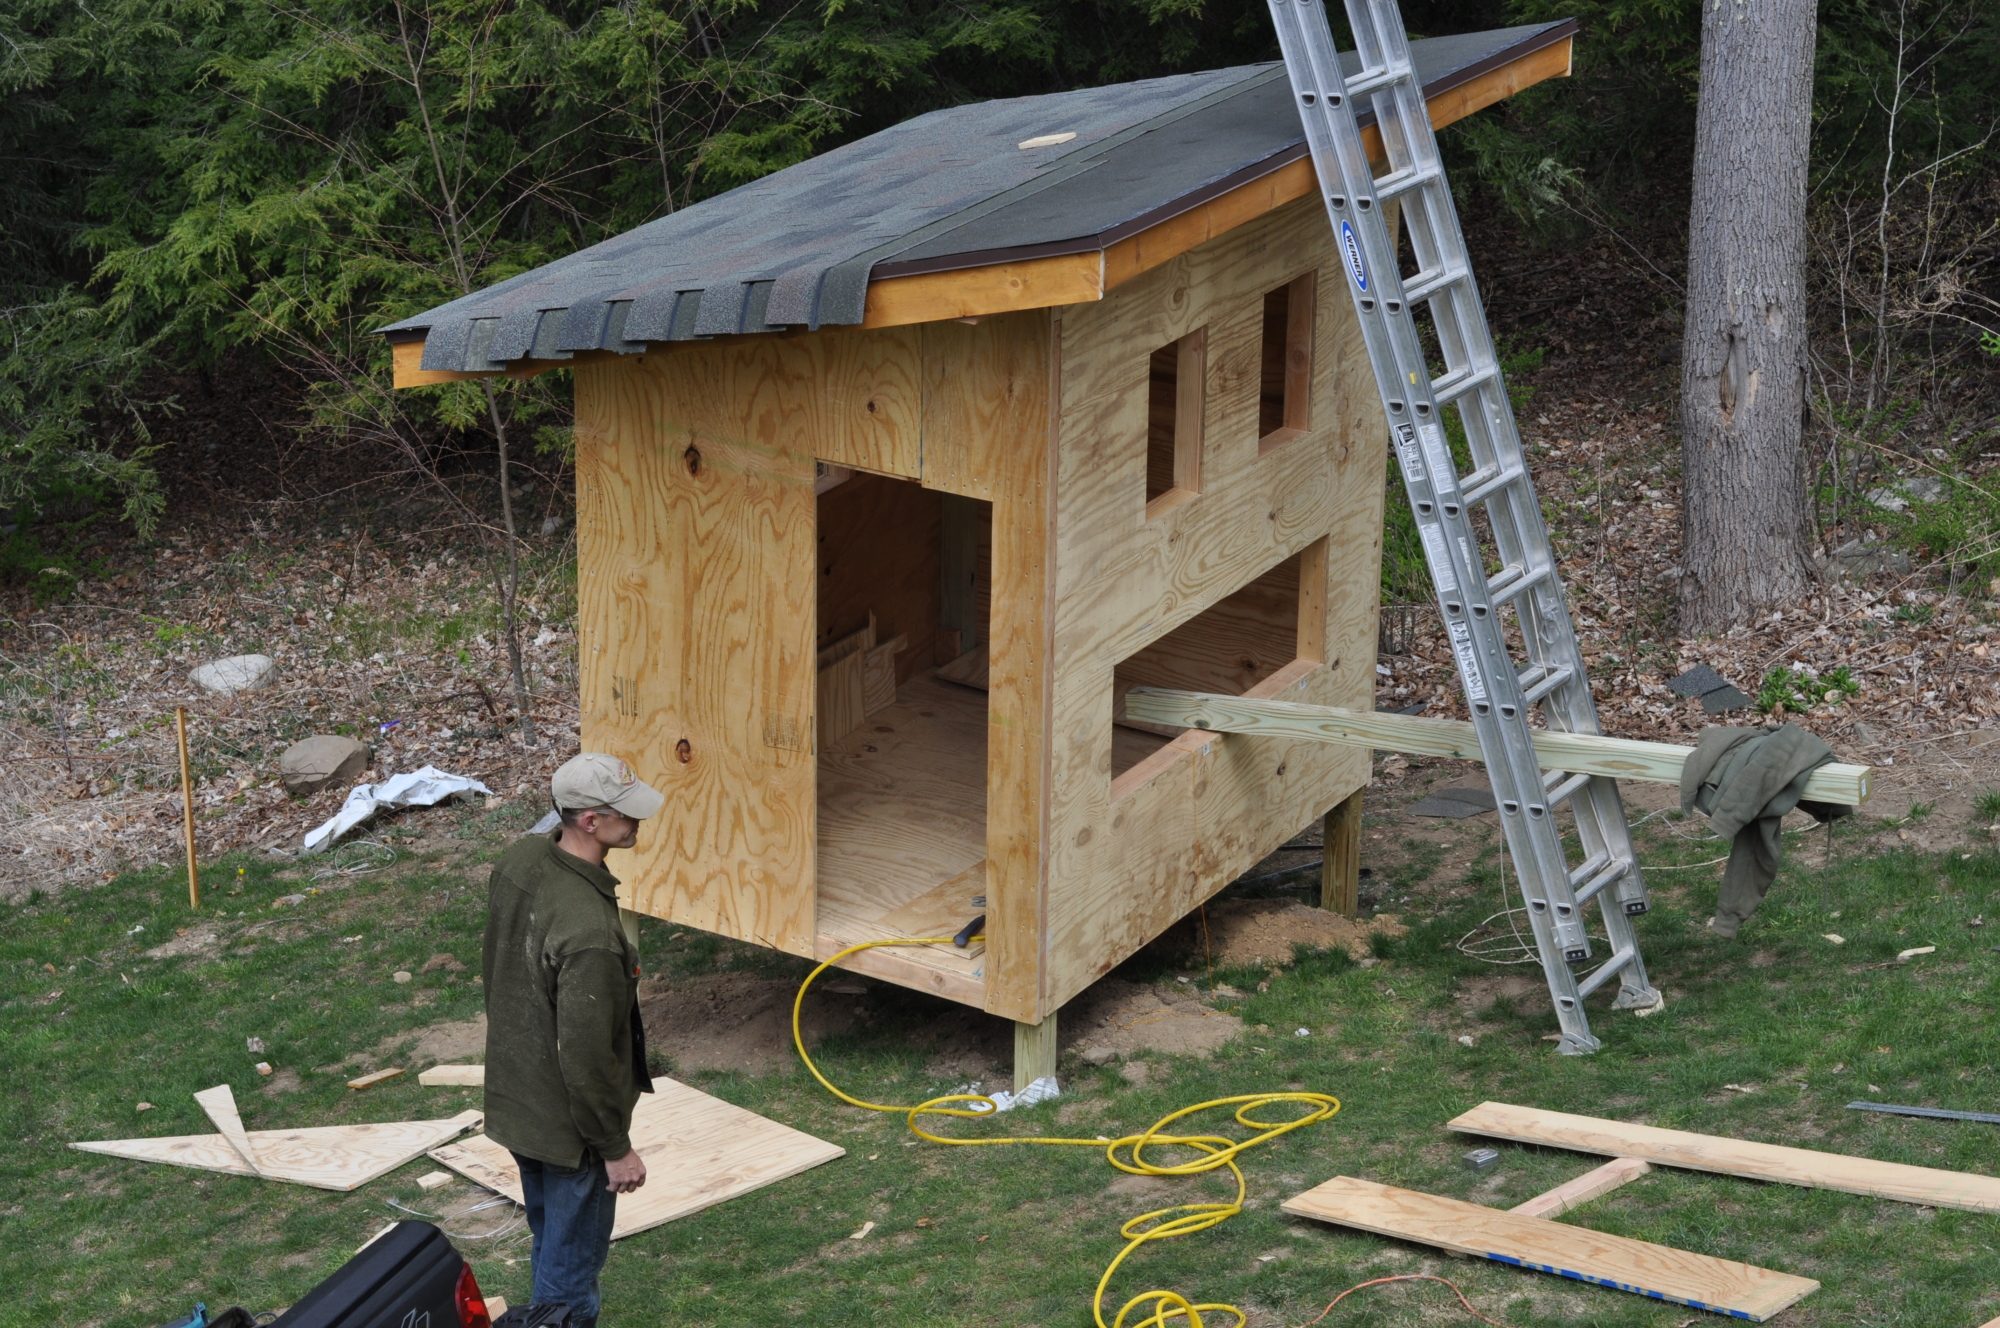
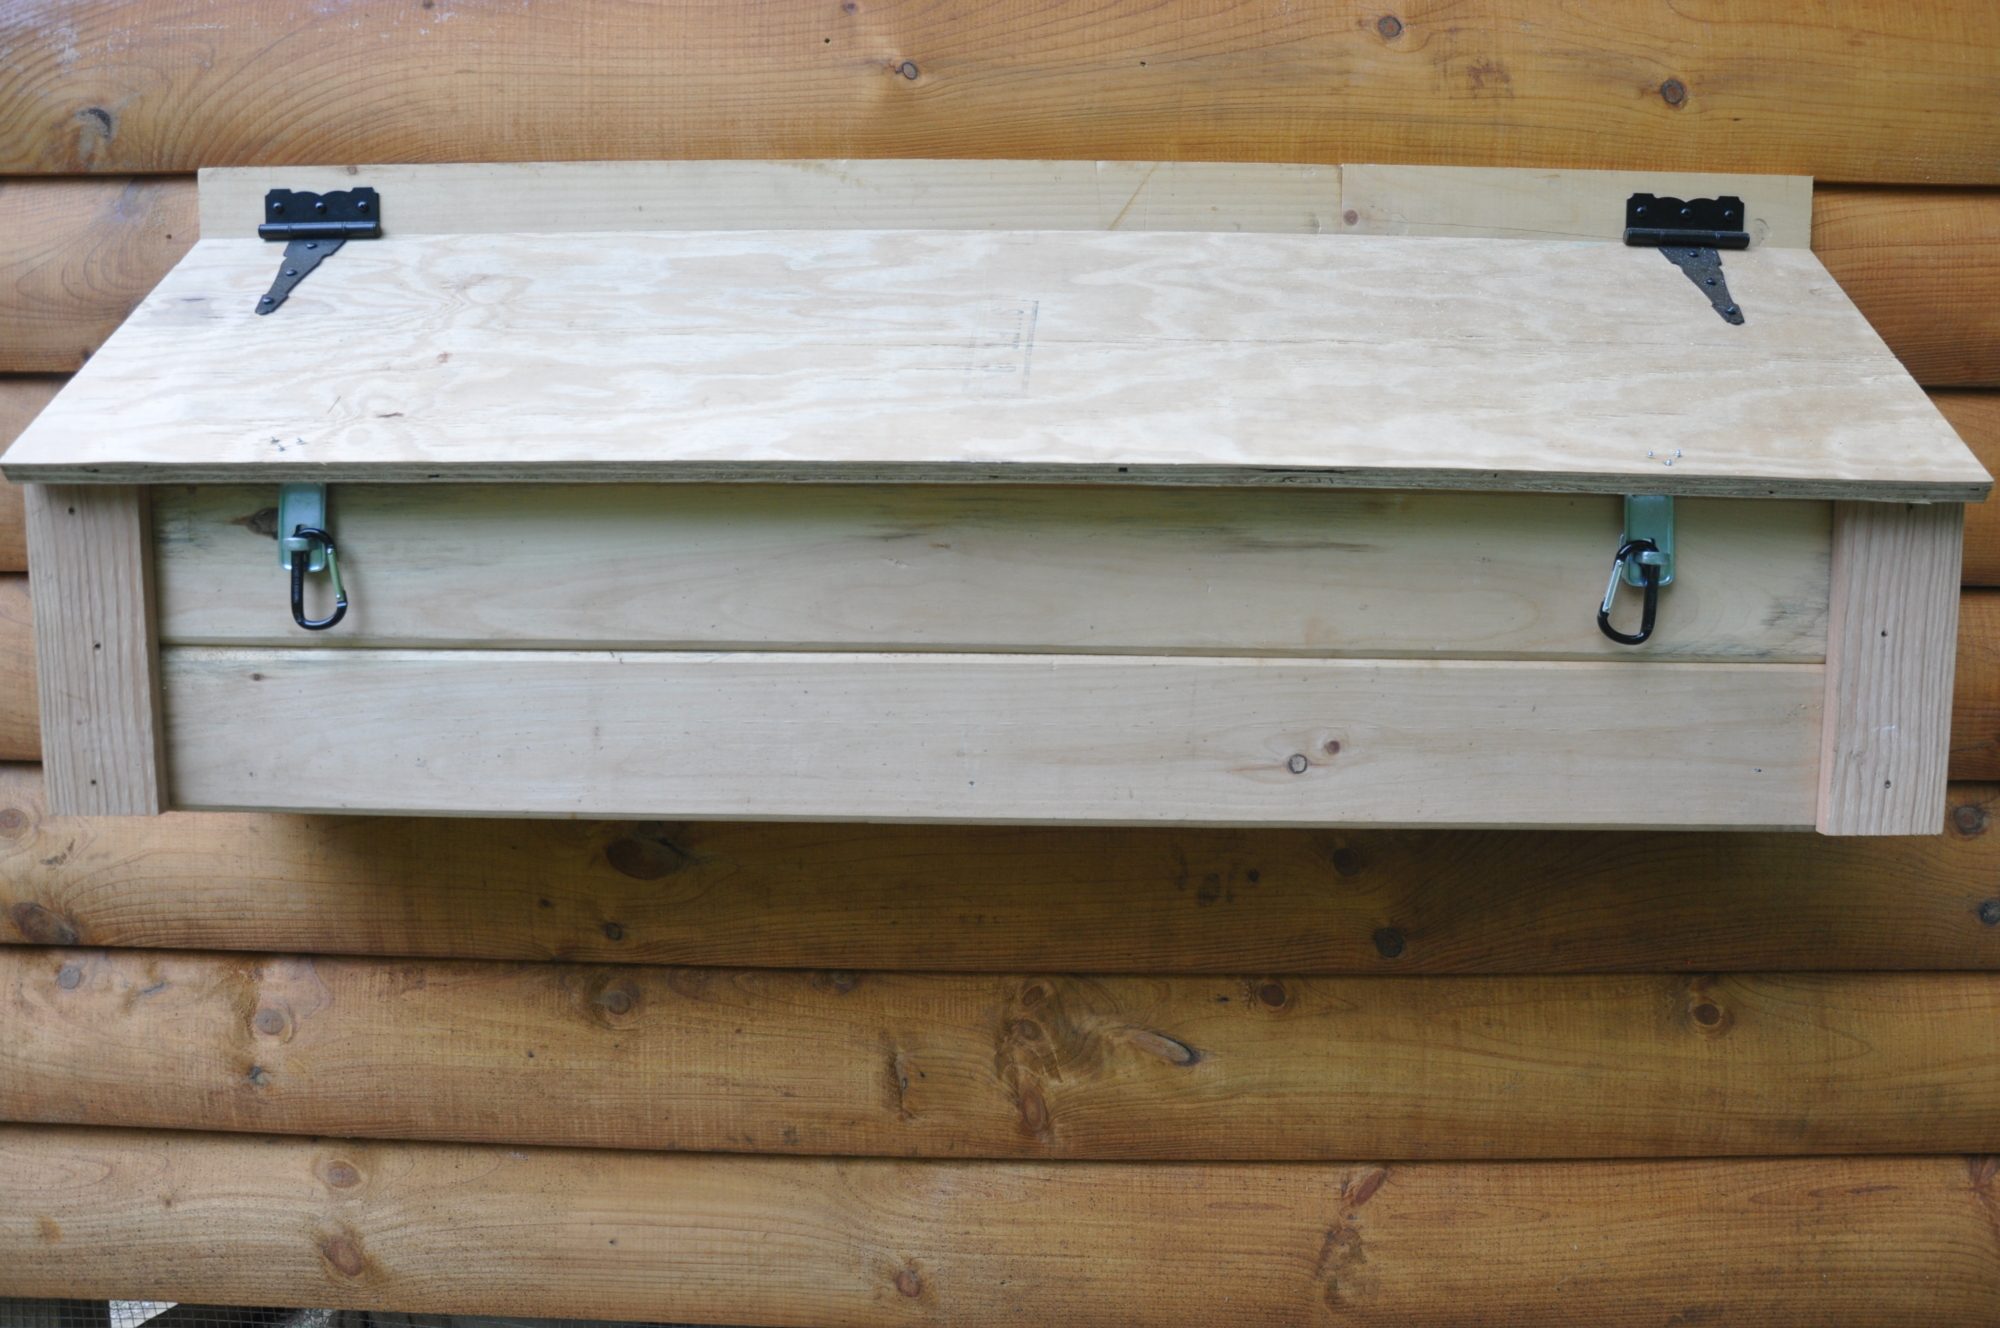
The nesting box will have shingles and be stained. two locks one on each side will prevent predators from lifting up the lid to get in.
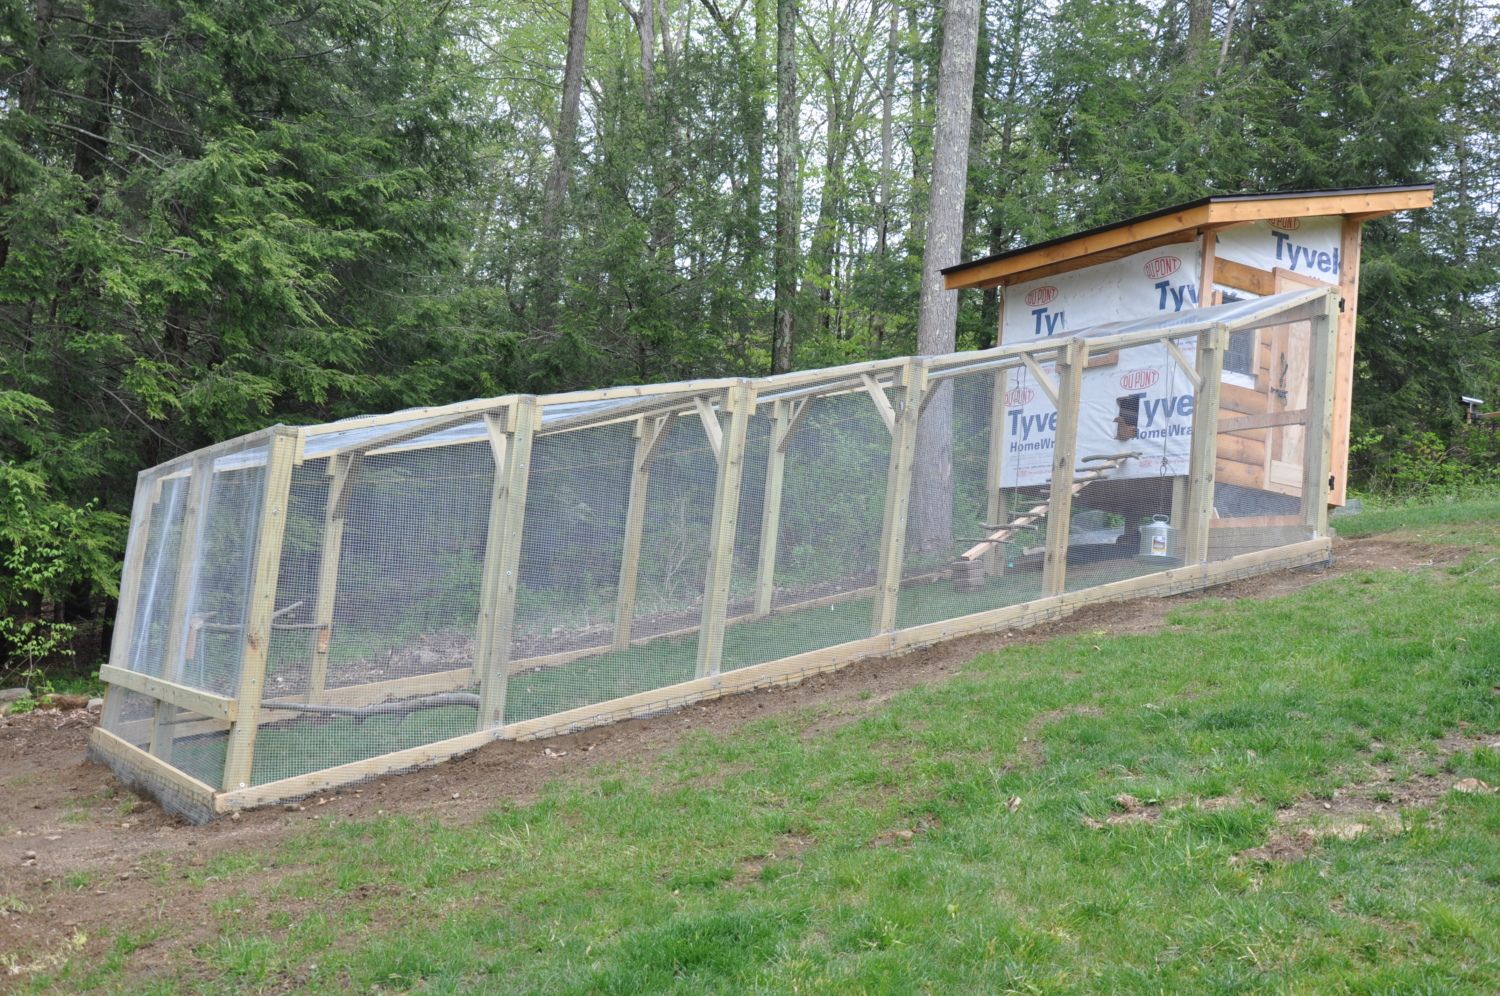
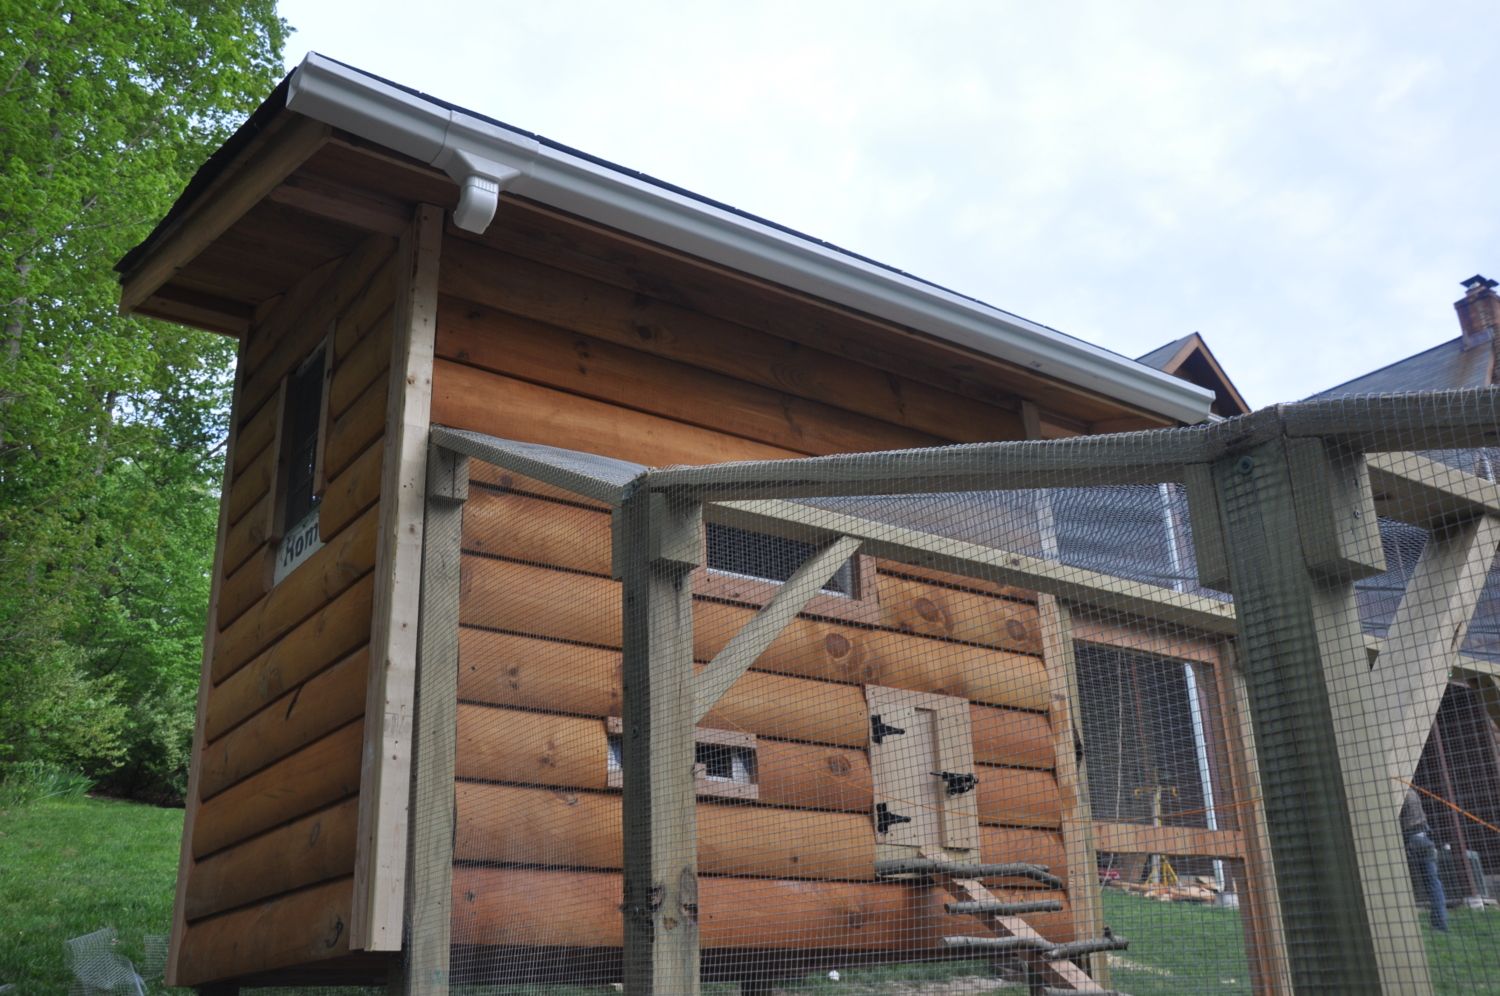
This is the back of the coop, which is attached to the run. We installed a little window at the bottom to make sure the air exchange is adequate in the coop.
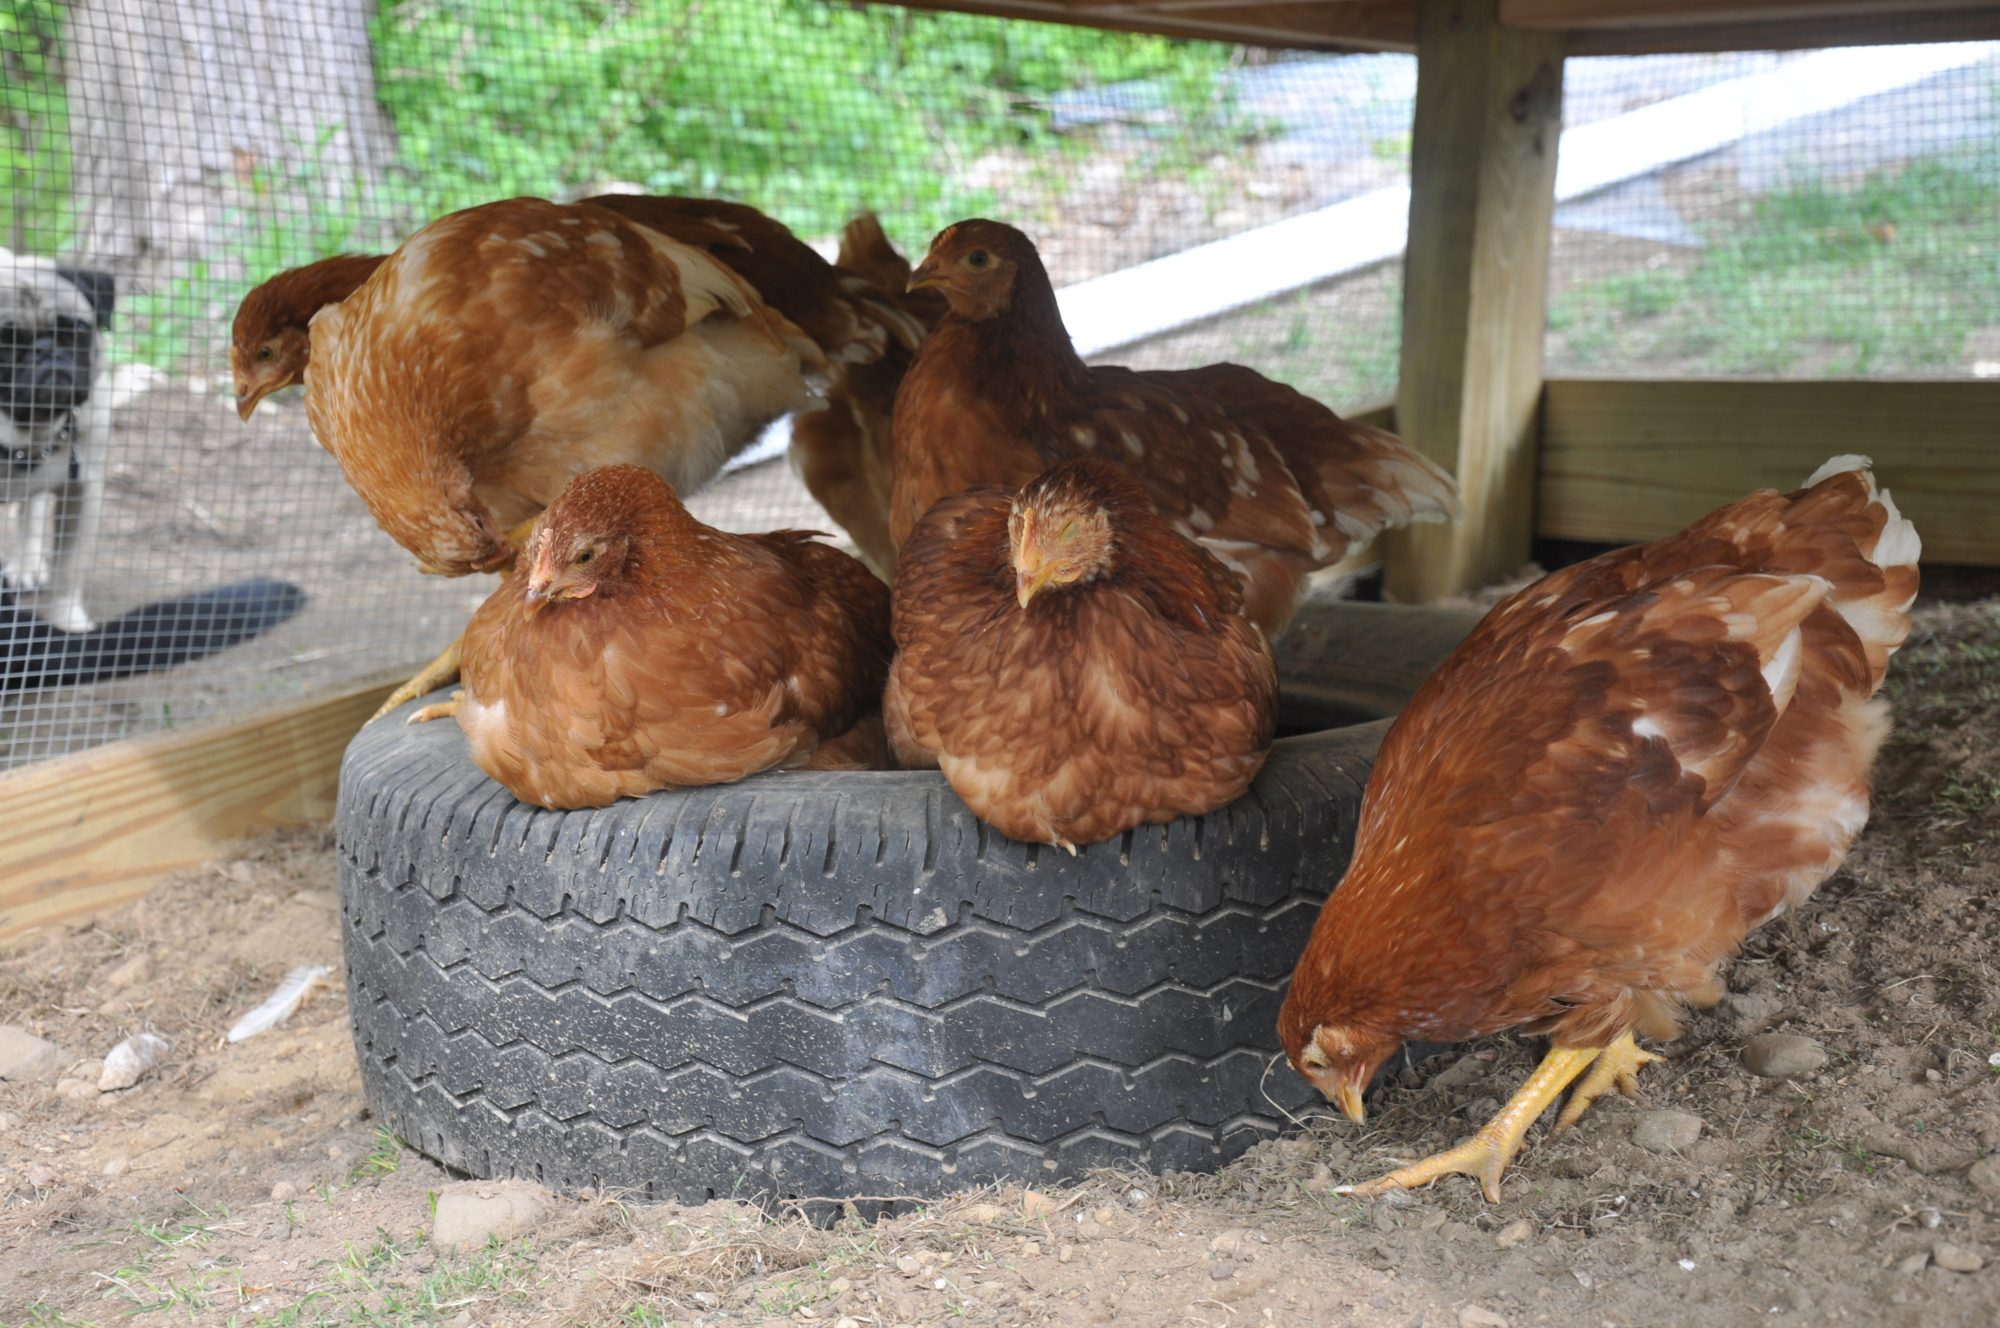
The girls love their dusting tire. I filled it with 1 part fireplace ashes, 1 part dirt, and 1 part diatomacious earth.
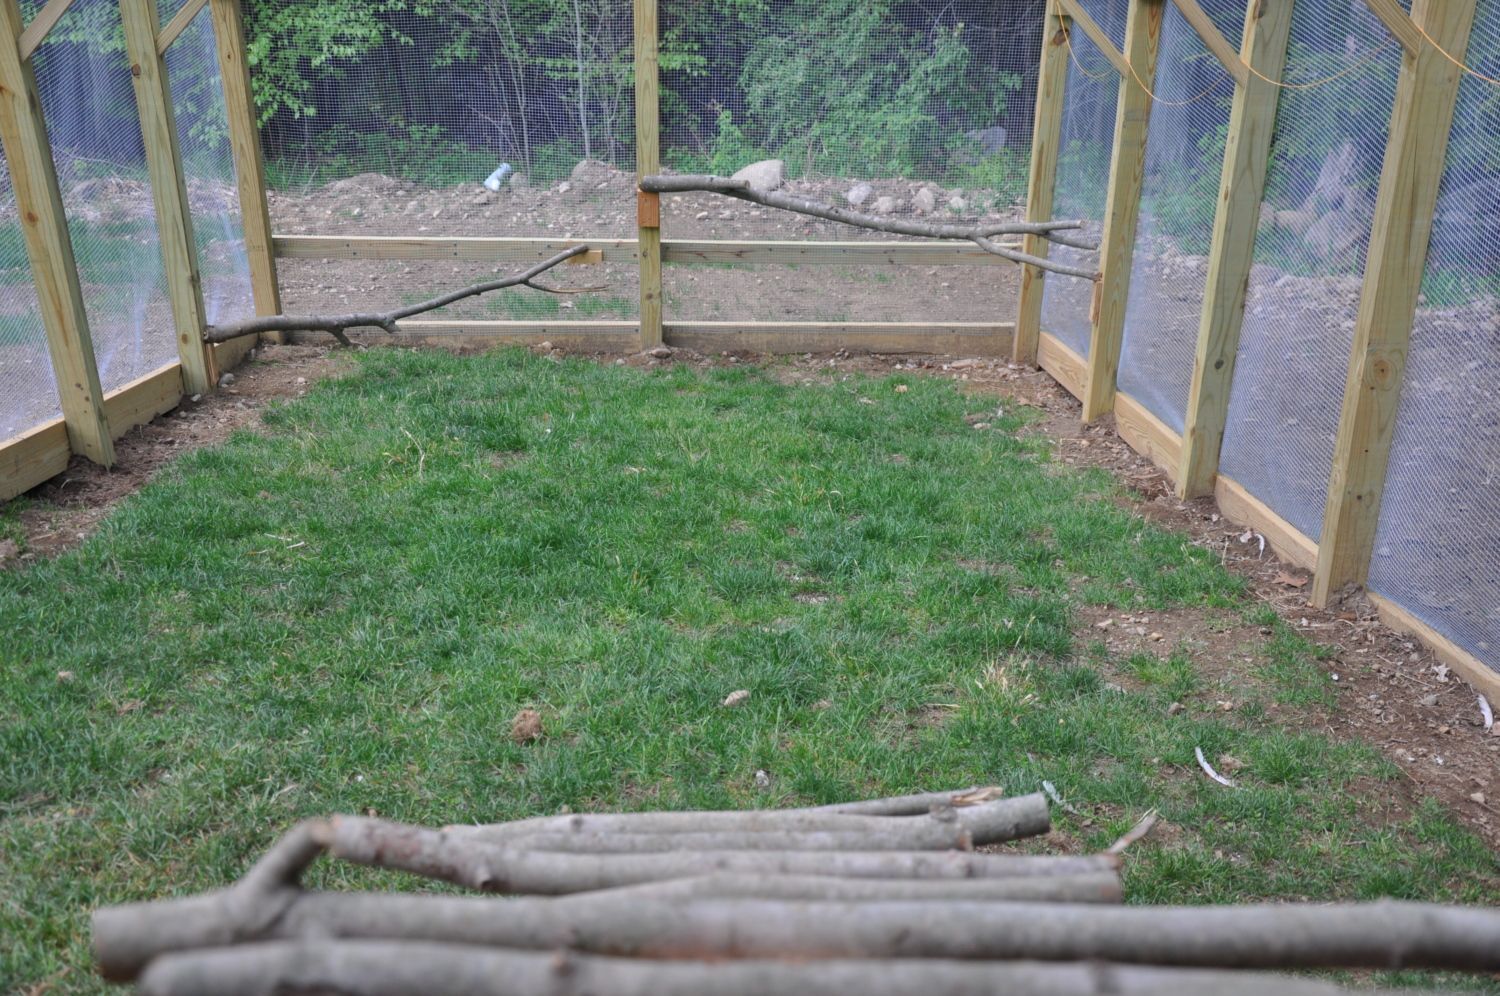
This is the view from the coop door.. Two roosts are installed at the back of the run. I just screwed in a few thick branches for a natural look.
Here are some pics of the happy chicks and their companion, my pug Pudgie..
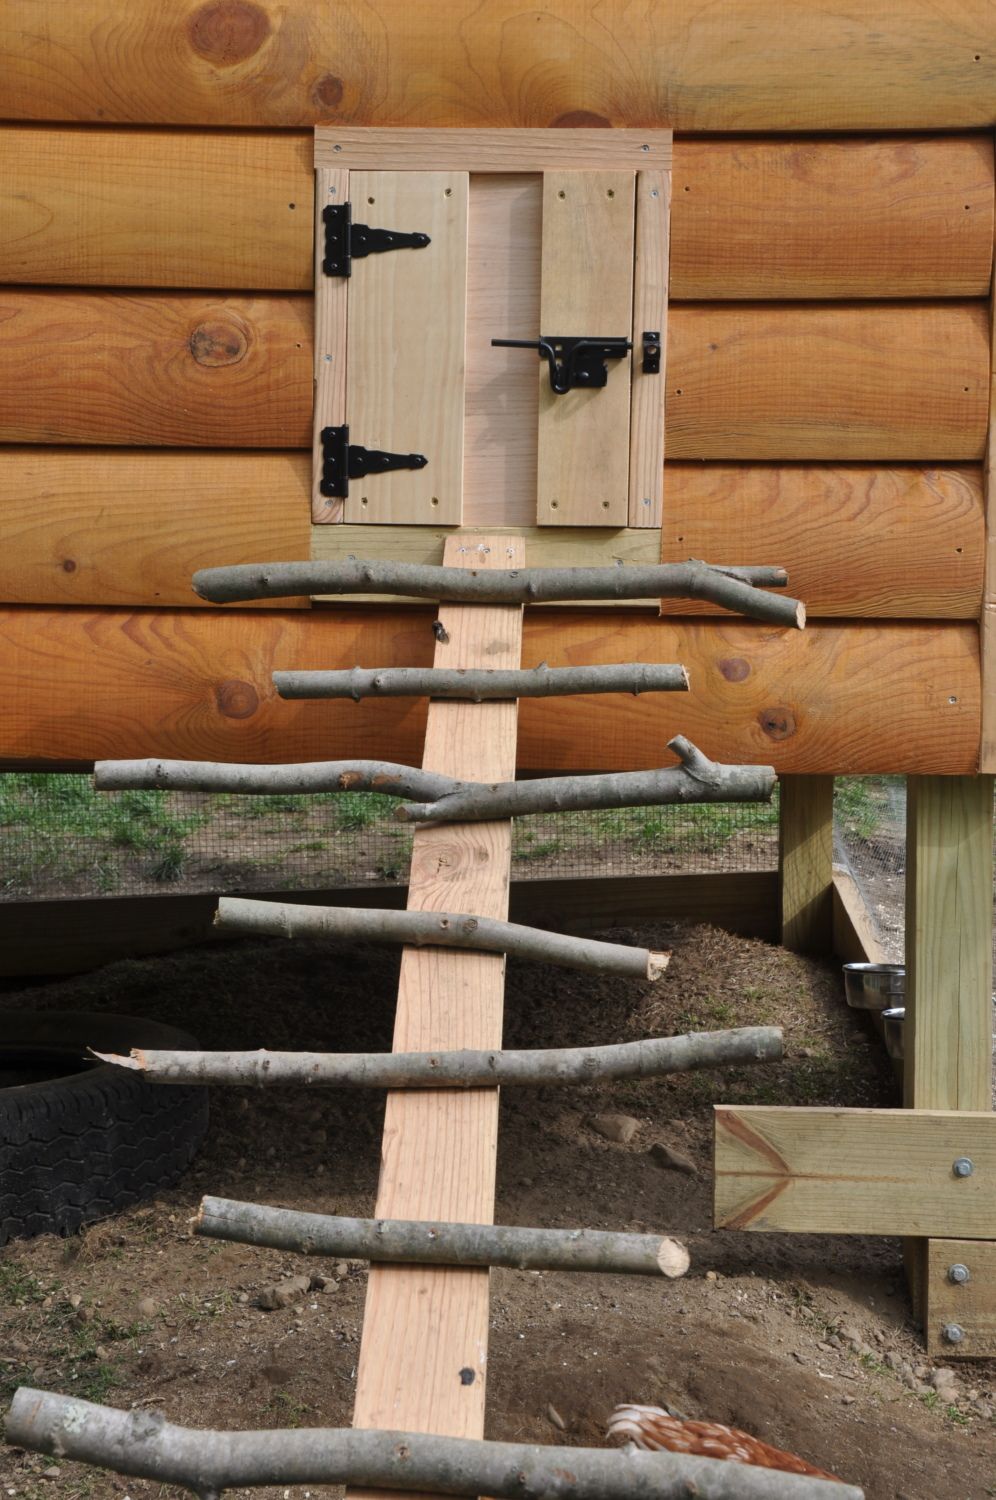
The chicks seem to like this ramp because they can go in and out of their coop easier. We will install a guillotine coop door at a later time. Right now I don't mind going out there every morning and night to open and close it. I feed them twice a day, don't leave extra food out to attract predators.
This is our first time chicken raising, so hopefully our research in building a secure coop has paid off! Thank you all for looking at our pictures!
This is the beginning stages of the coop. We used pressure treated posts, but not the coop itself because we weren't sure if it would be harmful to the chicks.
Thankfully we have an excavator friend who dug a two foot trench around the run and coop so we could bury the hardware wire.
After the posts were placed, we cemented them in for extra stability. We just used the quick dry cement bags from home depot. One bag for each post.
Every 6 inches is a screw and washer to secure the hardware wire. The entire run is attached in this way.

My dog Pudgie enjoying his time with the girls. Thankfully he, or my other dog, a lab, never showed any aggression towards the chicks.
We had extra log siding due to the garage we are building, so we decided to make a log coop.
We are going to run electric out to the coop, and roof the nesting box lid..
We used a leveler to make sure the roosts were perfect. we added a step so they can get up on them easily. There are two roosts at the same height to reduce fighting amongst the hens on who gets the higher roost. We are debating on putting a poop board underneath.
We had the heat lamp in for a few days when we first put the chicks outside.
This is the side of the coop. We still have to stain it, but so far so good! If you can see underneath the run, we have some stainless steel cups with oyster shell and grit for free choice.

The nesting box will have shingles and be stained. two locks one on each side will prevent predators from lifting up the lid to get in.
This is the back of the coop, which is attached to the run. We installed a little window at the bottom to make sure the air exchange is adequate in the coop.
The girls love their dusting tire. I filled it with 1 part fireplace ashes, 1 part dirt, and 1 part diatomacious earth.
This is the view from the coop door.. Two roosts are installed at the back of the run. I just screwed in a few thick branches for a natural look.
Here are some pics of the happy chicks and their companion, my pug Pudgie..
The chicks seem to like this ramp because they can go in and out of their coop easier. We will install a guillotine coop door at a later time. Right now I don't mind going out there every morning and night to open and close it. I feed them twice a day, don't leave extra food out to attract predators.
This is our first time chicken raising, so hopefully our research in building a secure coop has paid off! Thank you all for looking at our pictures!