Our Polar Coop
We live not far from Embarrass, Minnesota- the small northern town that usually records the lowest winter temps in the continental US...not exactly the claim to fame we'd like to boast about, but it beats living next to a freeway or coal-fired power plant. We purchased an abandoned 13 acre farmstead and have been slowly renovating it into working order. Starting with no experience in building, farming or animals, we have our work cut out for us!We got six chicks in April (3 goldstars and 3 Leghorns) and enjoyed watching them grow up and free-range around the yard all summer. The chicken tractor I built was adequate for awhile, but they quickly outgrew the space. Plus, it wouldn't be suitable for winter comfort (or survival for that matter!)...
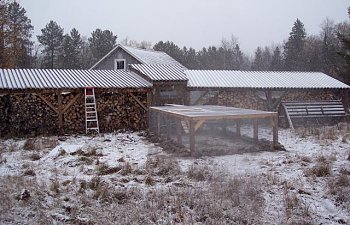
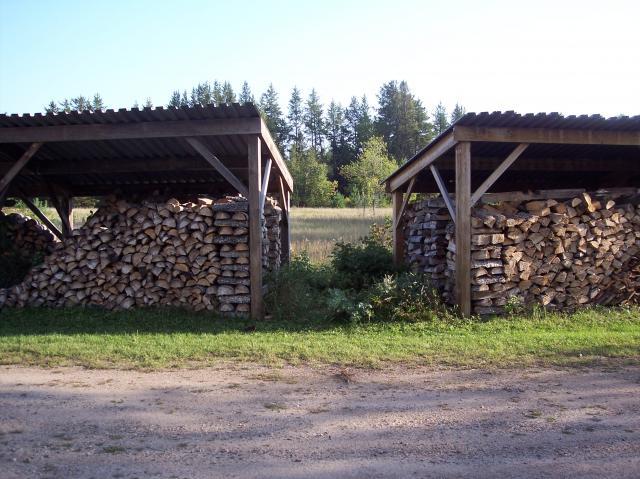
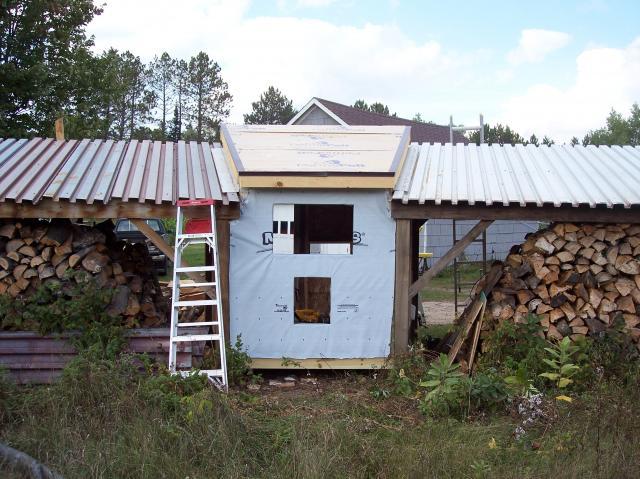
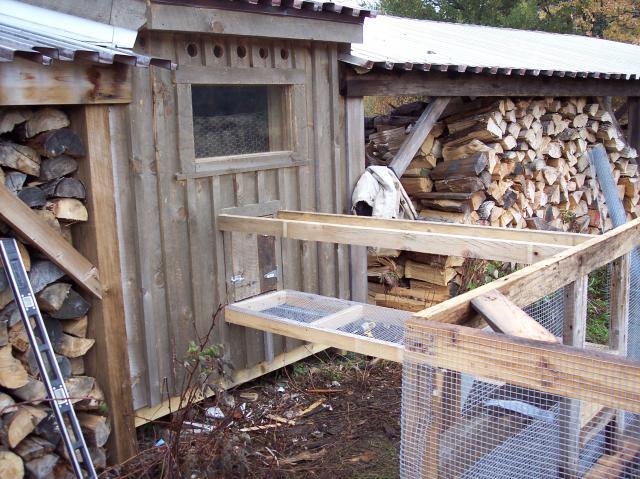
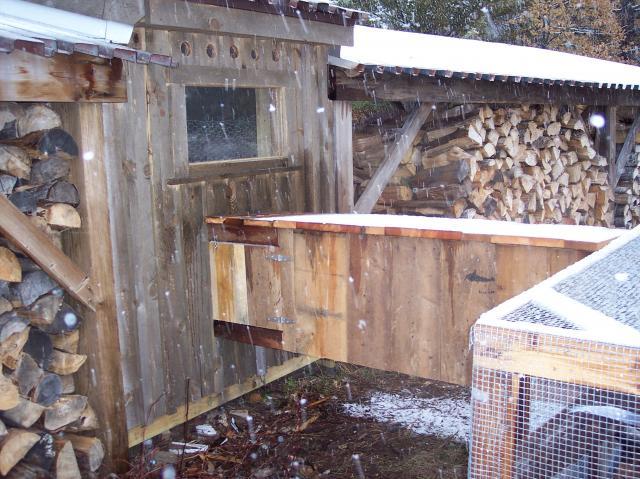
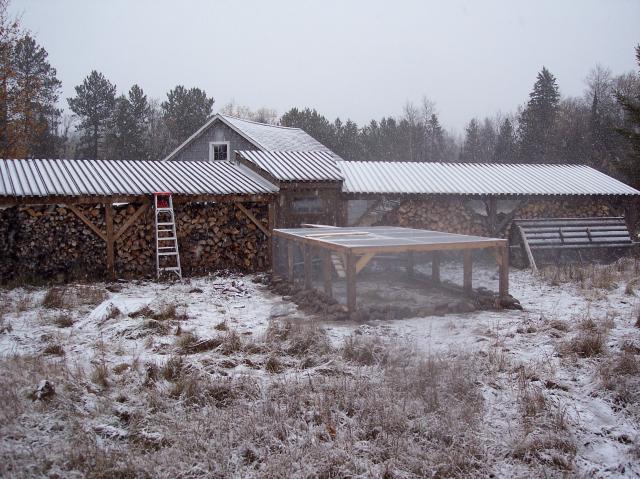
...so I set out to build the "Minnesota Polar Coop". Ideally, it would've been nice to build it inside of another building, but we couldn't do that (the only outbuilding still standing is a dilapitated garage that we plan to deconstruct next summer). The second best option seemed to be building a little coop between two wood sheds. The stacked firewood could provide a windbreak, and the site is adjacent to our driveway for accessiblility year-round. Plus, I could use the existing corner posts of the sheds to start the framing of the coop.
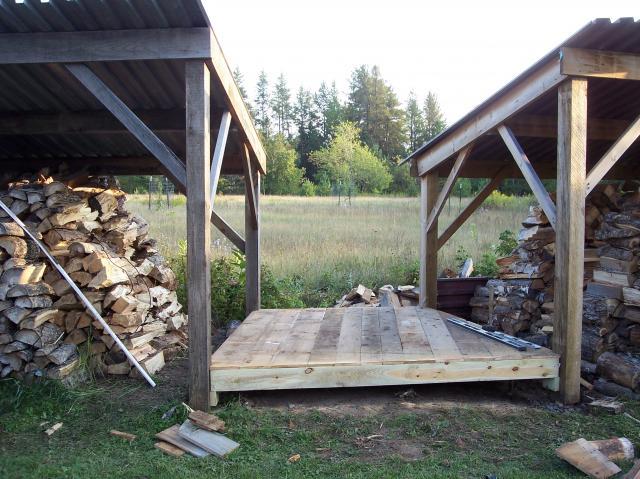
While I try to use as much salvaged material as possible, I decided to start with some treated lumber for the floor framework, since it would be so close to ground. This was attached to the existing corner posts of the sheds. On top of the treated frame, I screwed down a floor deck using salvaged barn boards. The footprint is a trapezoidal shape due to the orientation of the two sheds. It is about 8 feet across the front and 6 feet wide across the back, and about 8 feet deep- I would've liked to make it wider, but didn't have the ambition to disassemble and move one of the woodsheds a few feet.
Above the decking, I framed in the walls and roof, making it a bit taller than the woodsheds so we'd have enough headroom inside (and so that the coop roofing could overhang the shed roofs for water control). The walls were covered with 1/2" OSB and housewrap on the north and south faces, where they would be exposed to the weather. On the sidewalls, where they were protected by the shed roofs, I didn't bother and just covered the exterior framing with barnboards. The roof was covered with 1/2" OSB, water barrier, flashing and metal roofing panels. All of this material was either leftovers from other renovation projects, or salvaged from other buildings.
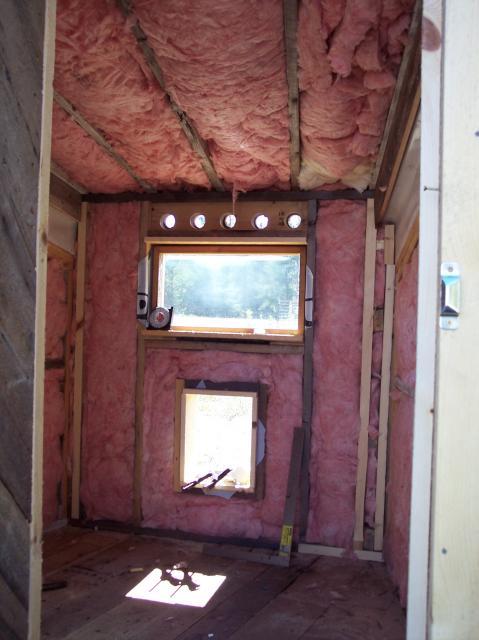
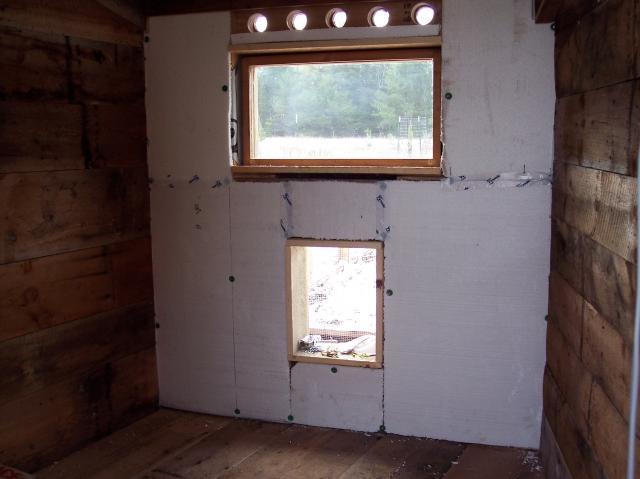
On the interior, I insulated with fibergass batting, then a layer of 3/4" EPS foamboard that was taped at the seams to provide an air barrier. Finally the interior was covered with barnboards.
All of the doors were built with regular 2X lumber, then insulated with XPS foamboard and wrapped in housewrap before covering with barnboards. I framed the door openings about 8" above the floor to allow for us to use the deep litter method during the winter. We have an abundance of wood shaving from my other carpentry projects, and figured they would make for good insulation on the floor.

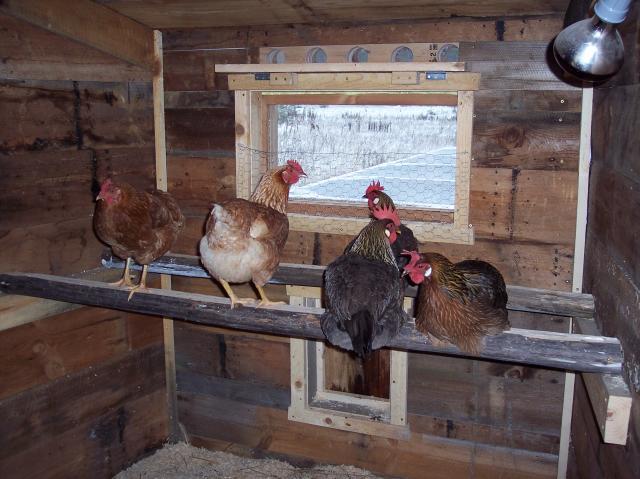
For the window, A friend donated some old storm windows which I sandwiched together using screws and silicone to make a single triple-paned version. This was put on the south-facing wall.

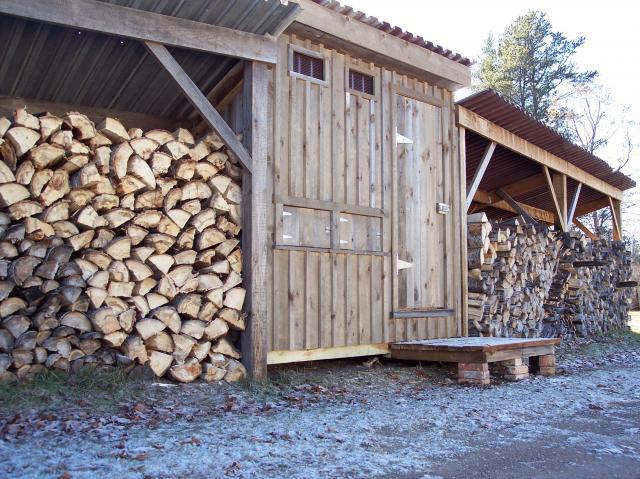
The exterior was finished with board and batten pine I milled from salvaged barn timbers.
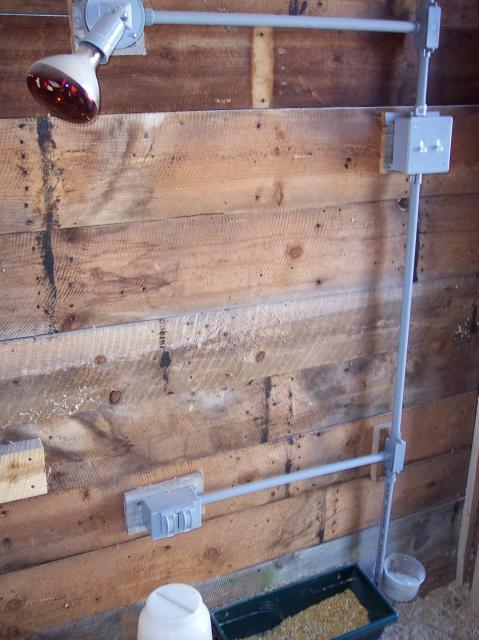
We decided to run power to the coop so we could have a heat lamp and heated water dish during the coldest time of winter. I also wired in an overhead light, which we keep on for a few hours every night during the 'season of perpetual darkness'. I brought the electrical service wire in through the floor, then connected the receptables using 1/2" conduit. I did it this way so to minimize penetrations in the wall, and so that I could easily change the wiring if necessary.
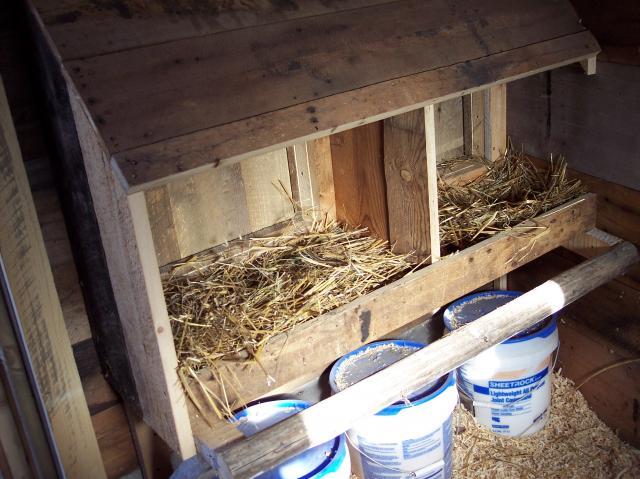
We really wanted the external nest boxes that many coops have, but knew that they would be really cold for the girls in the winter. So I built two nest boxes inside, but with insulated doors for access from outside. The access doors were insulated as described above (the XPS foamboard sandwich) and EDPM weatherstripping was applied to the jambs for a tight seal when they are closed. We keep their spare food supply in the 5 gallon pails underneath the nest boxes.
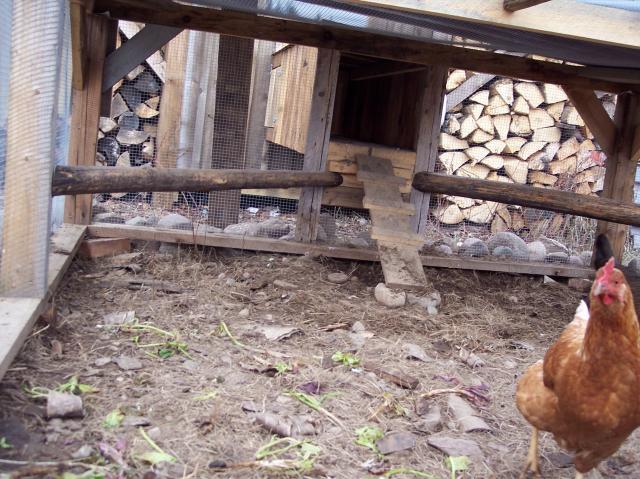
I placed the two roosting bars (these are salvaged floor joists from a barn, which I planed flat on the top side) under the window so they can spend the winter watching the snow fall. Above the window, I bored several vent holes and covered them with screen. A board hinged to the wall can be raised up to close the vent when needed. On the opposite wall, I used soffit vents instead (had 'em lying around)...I think the round vents would've looked better.
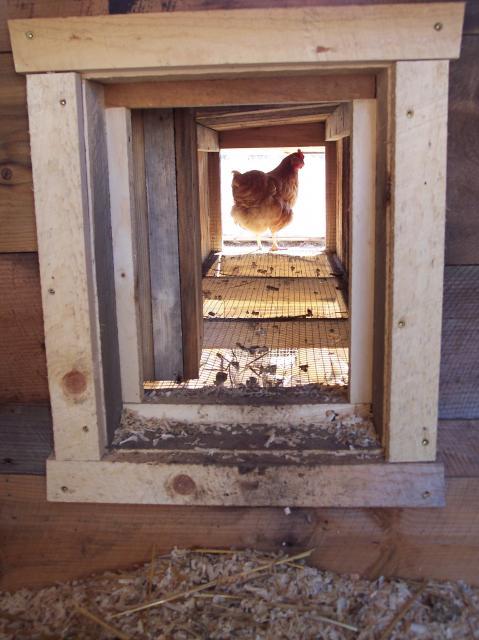
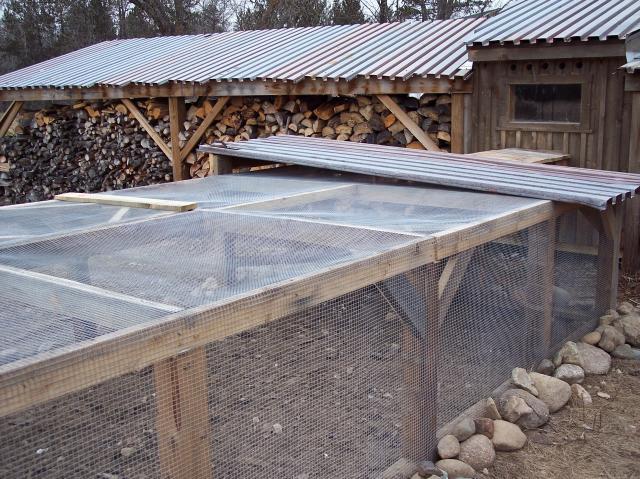
On the south side of the coop, we put in an 8' by 16' x 3' tall run. I built a 'skywalk' to connect the coop to the run, so that we wouldn't have to deal with the several feet of snow falling off the roof in a couple months. The skywalk has a screen floor to evacuate the droppings, and a side door that we can open to let the girls out for a day of free-ranging. The 'pop' door is accessed from the side door and can be closed/latched from the outside at night. I covered the sides and top of the skywalk with barn board cut-offs. The run was made with salvaged cedar posts and lumber, from which I built a framework that sits on the ground. I designed it in 4' increments so that we could install the 4' wide rolls of hardware cloth (which are very expensive!) with zero waste. It took three 25' rolls (plus an extra 8' piece we already had) of hardware cloth to enclose the run . We trenched around the perimeter and extended the hardware cloth a foot deep, then covered it with fieldstones. The top of the run has a large hinged door so we can get inside when necessary (or just to throw in some compost 'treats' for them).
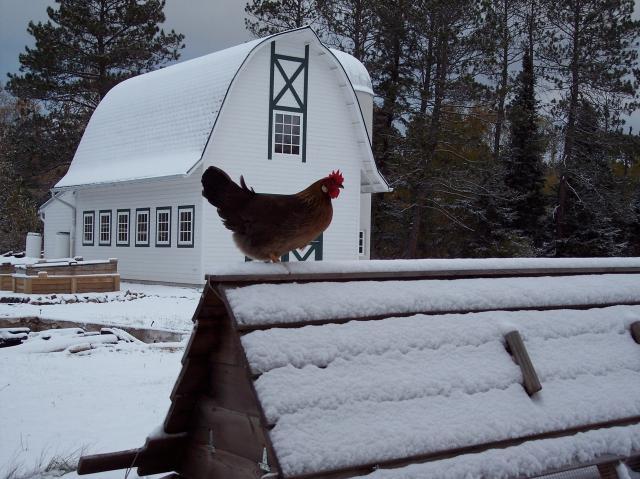
This is Dora, showin' us how it's done.
I covered the first section of the run with leftover roofing panels and built some roosting bars underneath. The girls like to sit out there when it is rainy, and it will give them a nice shady spot next summer.
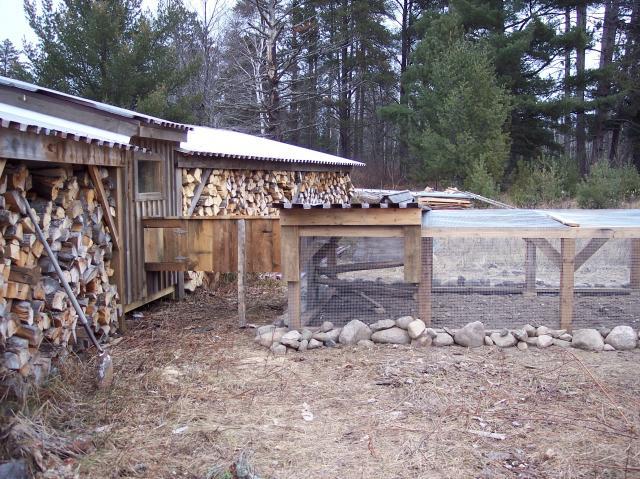
The finished product, hopefully ready for a Minnesota winter:
By using mostly salvaged materials, we were able to build the coop and run for about $350 total. The breakdown would be:
$40 Treated lumber for floor
$100 Electrical hardware/wiring
$150 Hardware cloth for run
$60 Door Hardware/ hinges/ misc.
So far, the chickens seem to love their new home and so do we. Our favorite features are the nest boxes with outside access, and the large enclosed run. We debated over spending the money for hardware cloth (compared to buying cheaper chicken wire), but it was well worth it for the peace of mind- it's nice to know they are safe when we aren't around! Also, we are glad we decided to run power to the coop- once it gets really cold, the heated water dish and heat lamp will be great.
The only complaint we have would be the size of the coop- even though our 6 girls seem happy and healthy, it would be nice to have room for alot more birds someday. I don't think we'd want to put more than 8 in here. It would be nice to have a little more space for storage of extra wood shavings, straw, etc...right now, we are keeping these things in our garage.