PVC Pipe Feeder
We built the 4" as follows for Feed and 2" versions for Grit and Oyster.
I think 1 1/2" would have been plenty, but ours work well enough.
Supply ListWe built the 4" as follows for Feed and 2" versions for Grit and Oyster.
I think 1 1/2" would have been plenty, but ours work well enough.
1 @ ANY' length of 4" PVC Pipe $10
1 @ 1' length of 4" PVC Pipe $*
1 @ 4" PVC Wye $7
1 @ 4" PVC Cleanout Plug $3
1 @ 4" PVC Female Adapter Spigot $7
Silicone for Sealing $*
Instructions
Dig 1'x5" or so hole.
Fit 1' pipe to bottom of Wye. You can fill with sand/gravel/etc. to bottom of Wye, we didn't since ours is attached to the coop via plumbers tape and screws, but this may add stability. We did seal off the bottom of the Wye right below the 'mouth' so feed doesn't get in there. Just used a bit of cardboard inside a ziplock for the block, then sealed with silicone.
Fit ANY' pipe into top of Wye.
Fit Female Adapter Spigot to top of ANY' pipe, screw in Cleanout Plug.
Seal outer edges where fitting meets pipe and allow to set at least 24 hours.
Once it's good and set stick your pipe down in the hole and tuck everything in.
Make sure the Wye Mouth is pointing where your chicks can get to it.
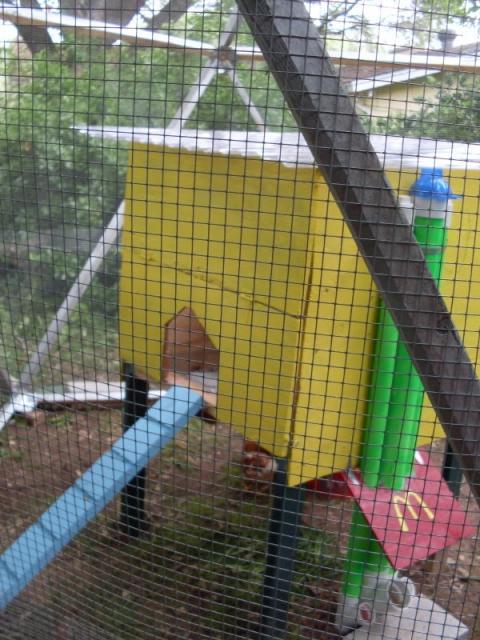
For filling I like a wide mouth canning funnel. It's the perfect size for the 2" (oyster and grit) and 4" pipes. I have a bit of wire pegged to the coop and attached to the funnel handle, and I rest it upside down on top of the feed pipe. That's the blue thing you see at the top of the pipe in the photos.
I made a 'roof' for our pipes out of a bit of leftover plywood. I cheated and used hinges to attach it to the coop.
So far it's worked very well for us.
$* - Items had on hand so don't know exact costs
Purchased one 10' piece of pipe and cut to the lengths needed, 4' length for feed, 1' bury.
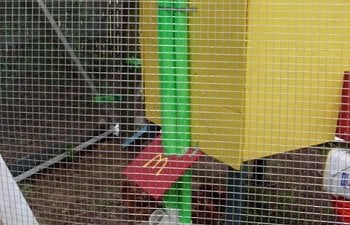
Finished PVC Pipe Feeder