Bay Area Chicken Ranch
It has been a lot of fun and my husband and I learned so much working together to build our first chicken coop. This whole plan started on April 1st, 2012 when I finally talked my husband into the idea of getting a few baby chicks. He was definitely apprehensive about getting the animals, but I don't think at the time he realized how much I would actually enjoy looking after them. That morning, I went with one of my dearest friends in Sacramento to the feed store (she has had 2 chickens herself for the past few years) and brought all four of my children to take their "pick" of which variety of chicken they would like to have. We ended up with a Barred Rock, A New Hampshire Red, A Brown Leghorn, and a White Frizzle. Less than two weeks later, I decided that I wanted two more, so I went to Half Moon Bay and picked out my Silkie and my husbands Golden Laced Wyandotte.
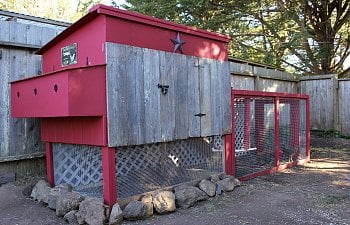
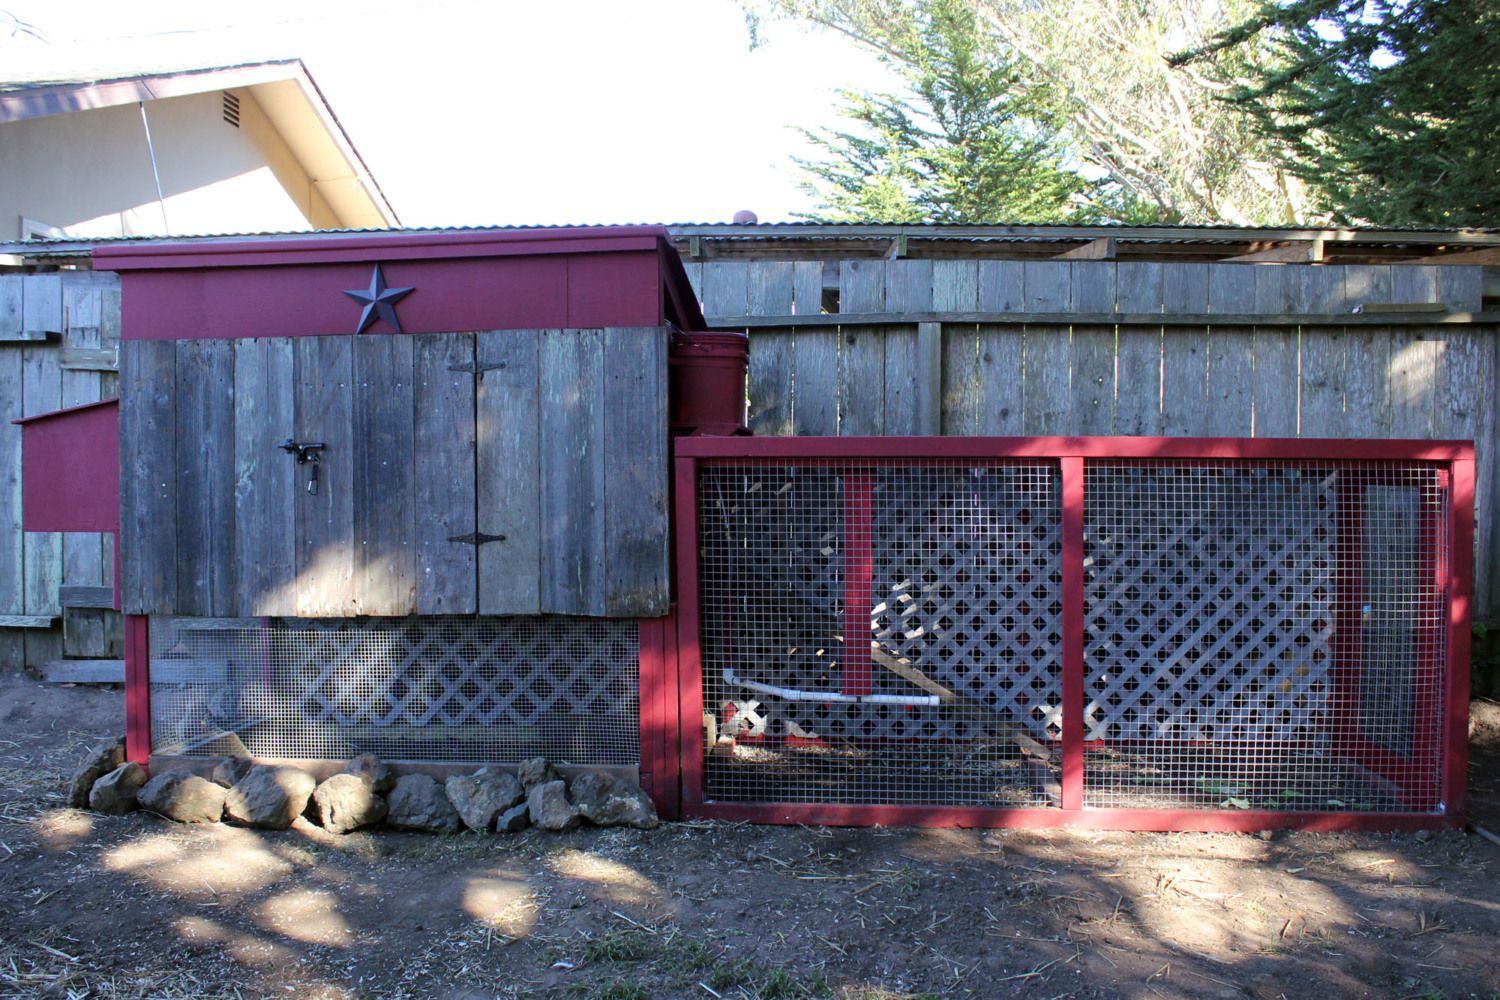
As far as the coop design, I did a lot of looking online and of course at BYC, and drew out the plans with very rough dimensions. Luckily we were able to make adjustments as we went along. The coop ended up being 4 x 6 (not including the nesting boxes). The run is 4 x 8. It took my husband, my kids, and I about six weeks working every weekend to complete this chicken coop. The entire coop (minus the studs) was made out of recycled wood we were able to gather from around the house and from a few really nice (and supportive) neighbors - okay, we promised free fresh eggs! An old bunk bed that was collecting dust came in handy too! We were in a hurry to get them into the coop because of the mess that litter was making in the garage...it was tracked all through our house! Anyway, not too far into the project, we had all four walls up and the automatic waterline installed (it was extremely helpful having a husband that is also a plumber).
The next few weeks we worked on the painting and the raccoon proofing that we needed under the coop and through the run as well. Don't get me wrong (okay, it was I who was wrong), we ended up investing our share to the local Lowes and OSH...way more that I expected. In the end, we are so happy to present our very own Chicken Ranch!
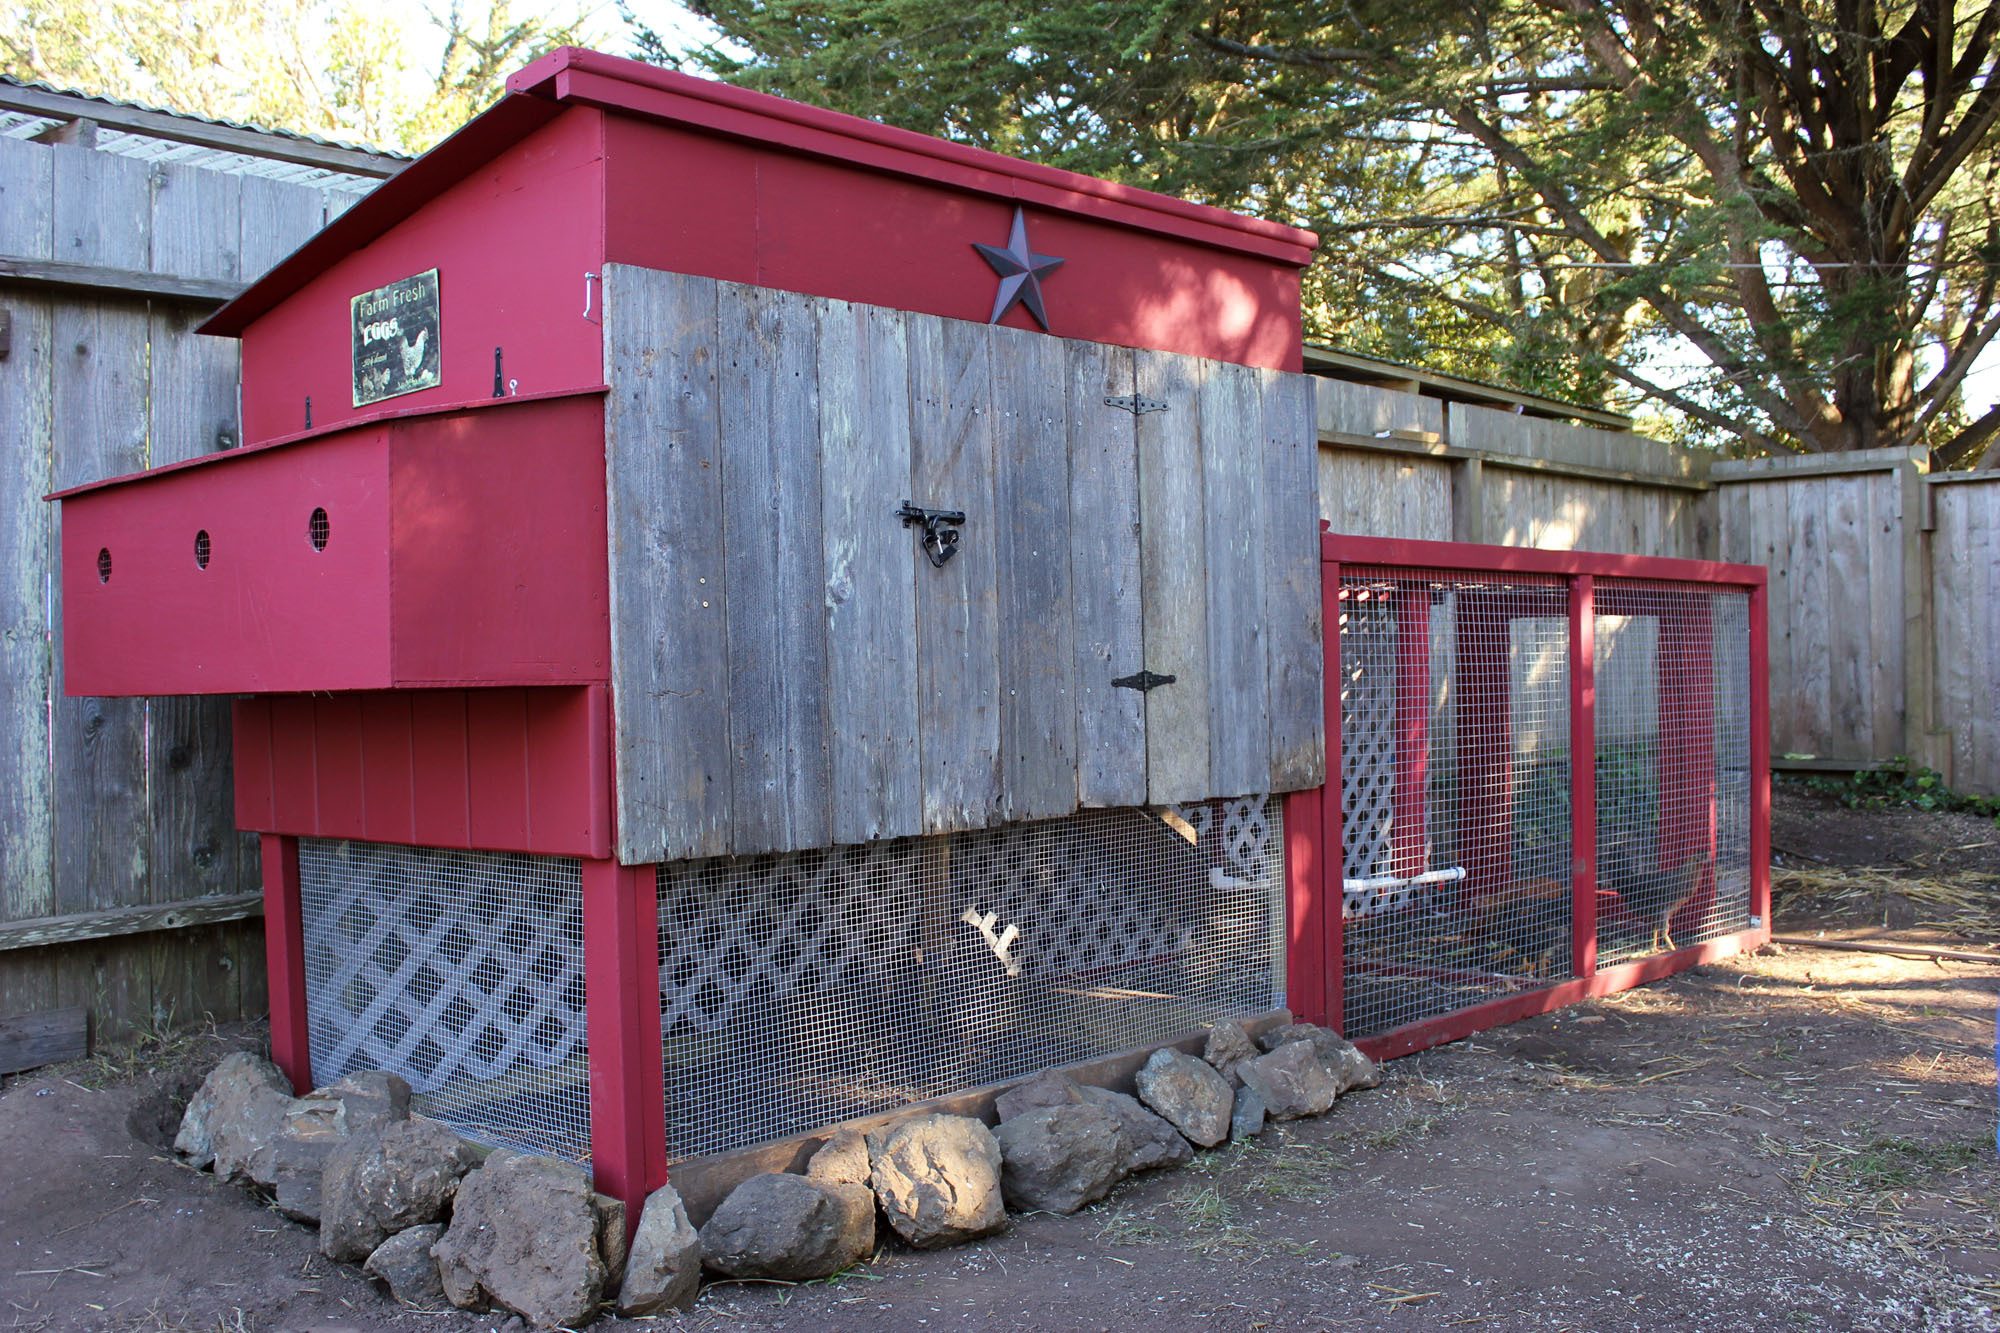
Here is a shot of the frame. I knew saving that old wood from the bunk bed would come in handy!
We installed linoleum for the ease of cleaning up the floors. It was around $20. and we still have
a lot left over.
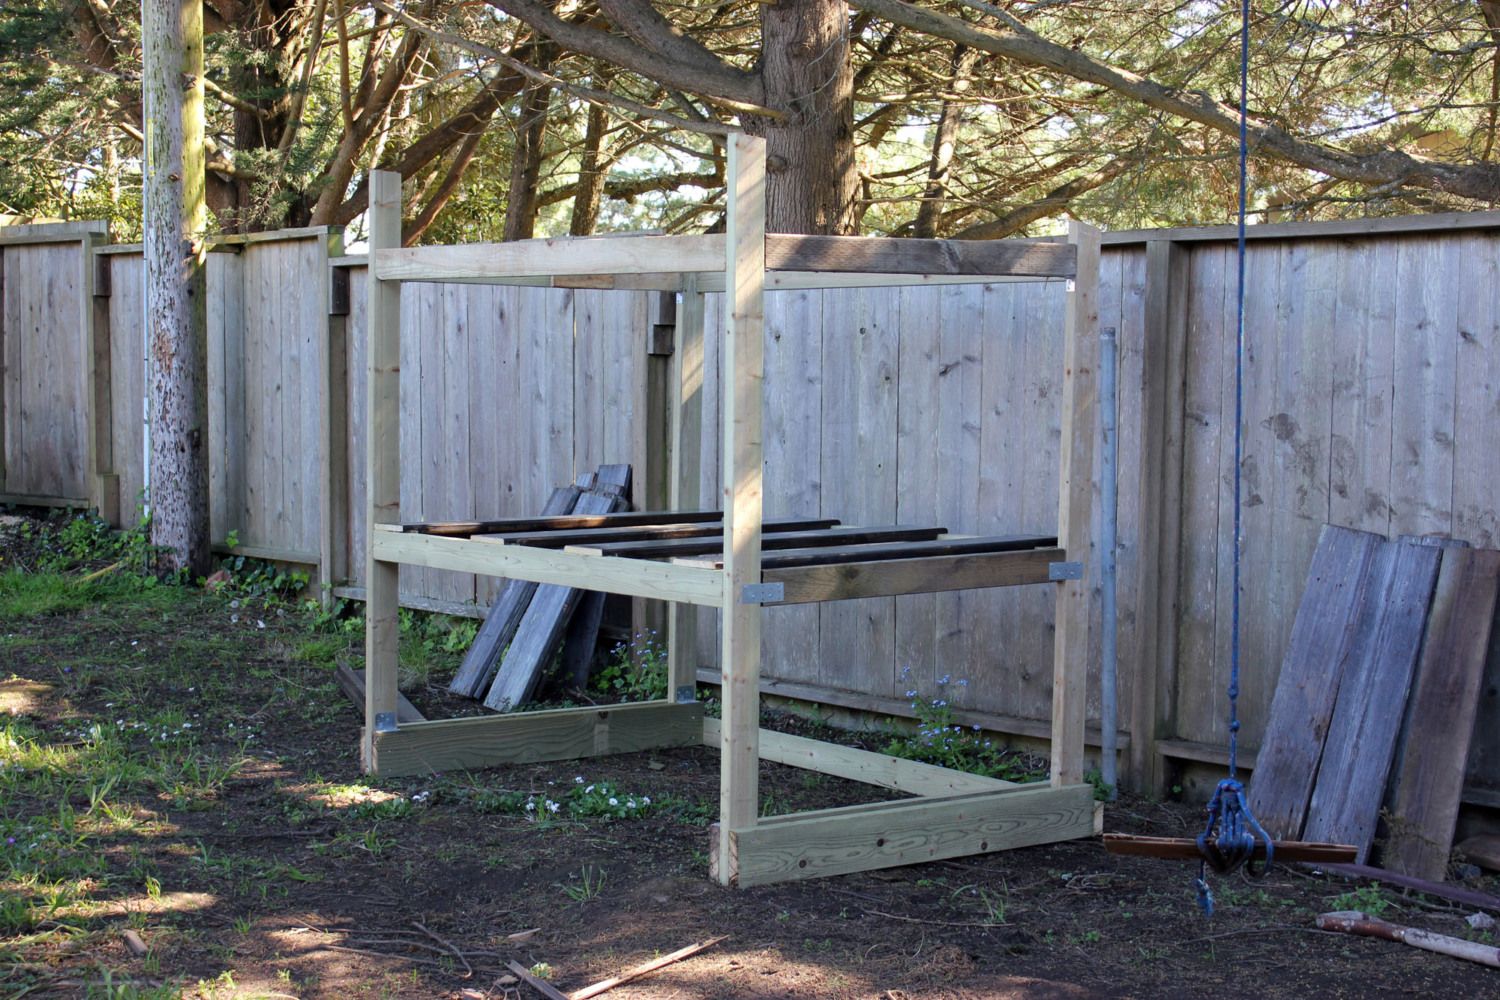
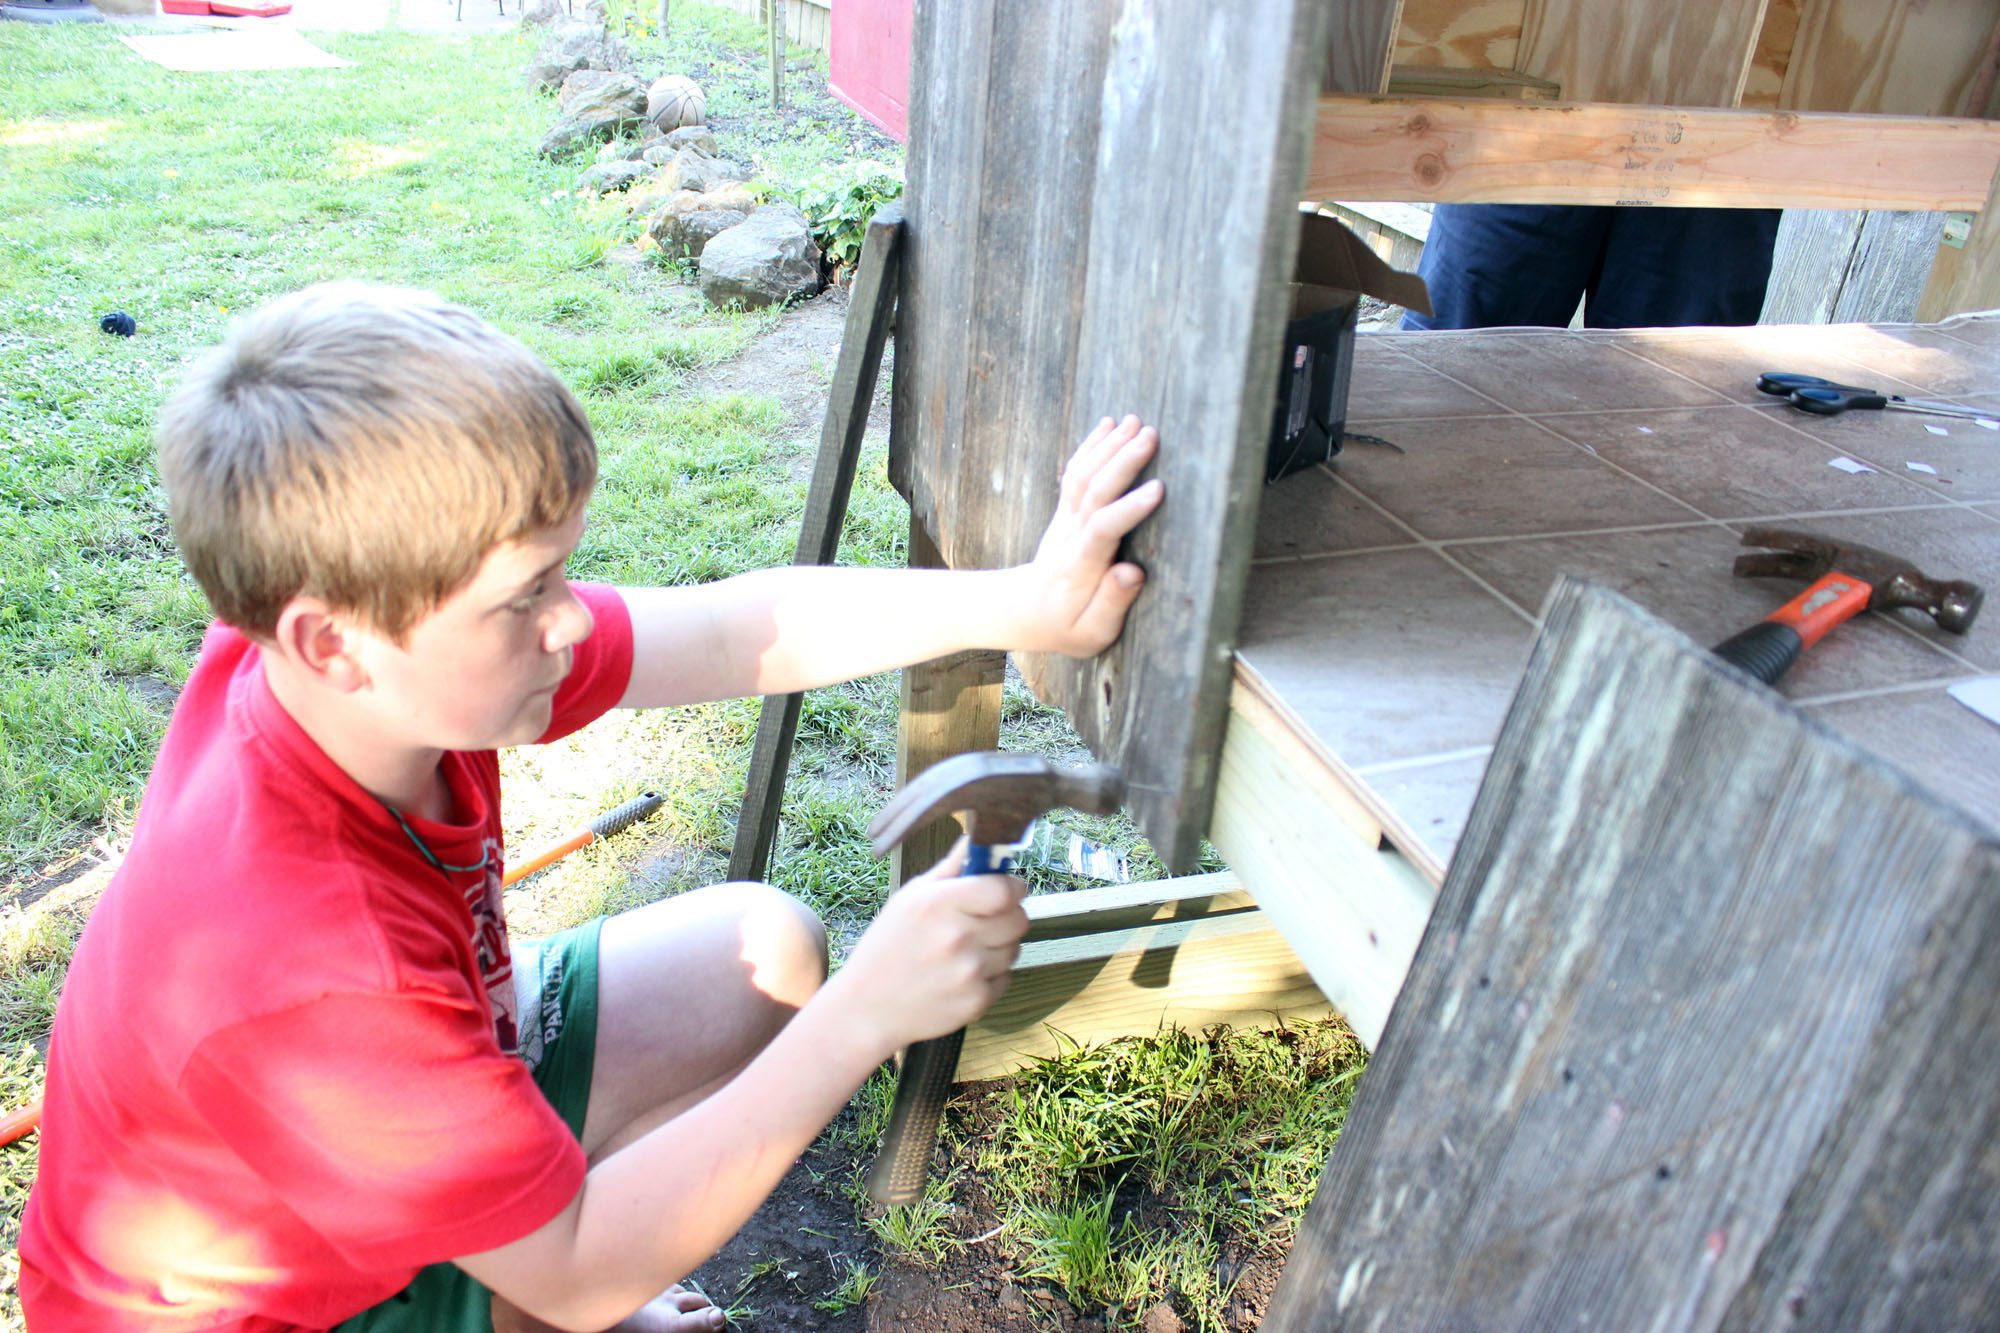
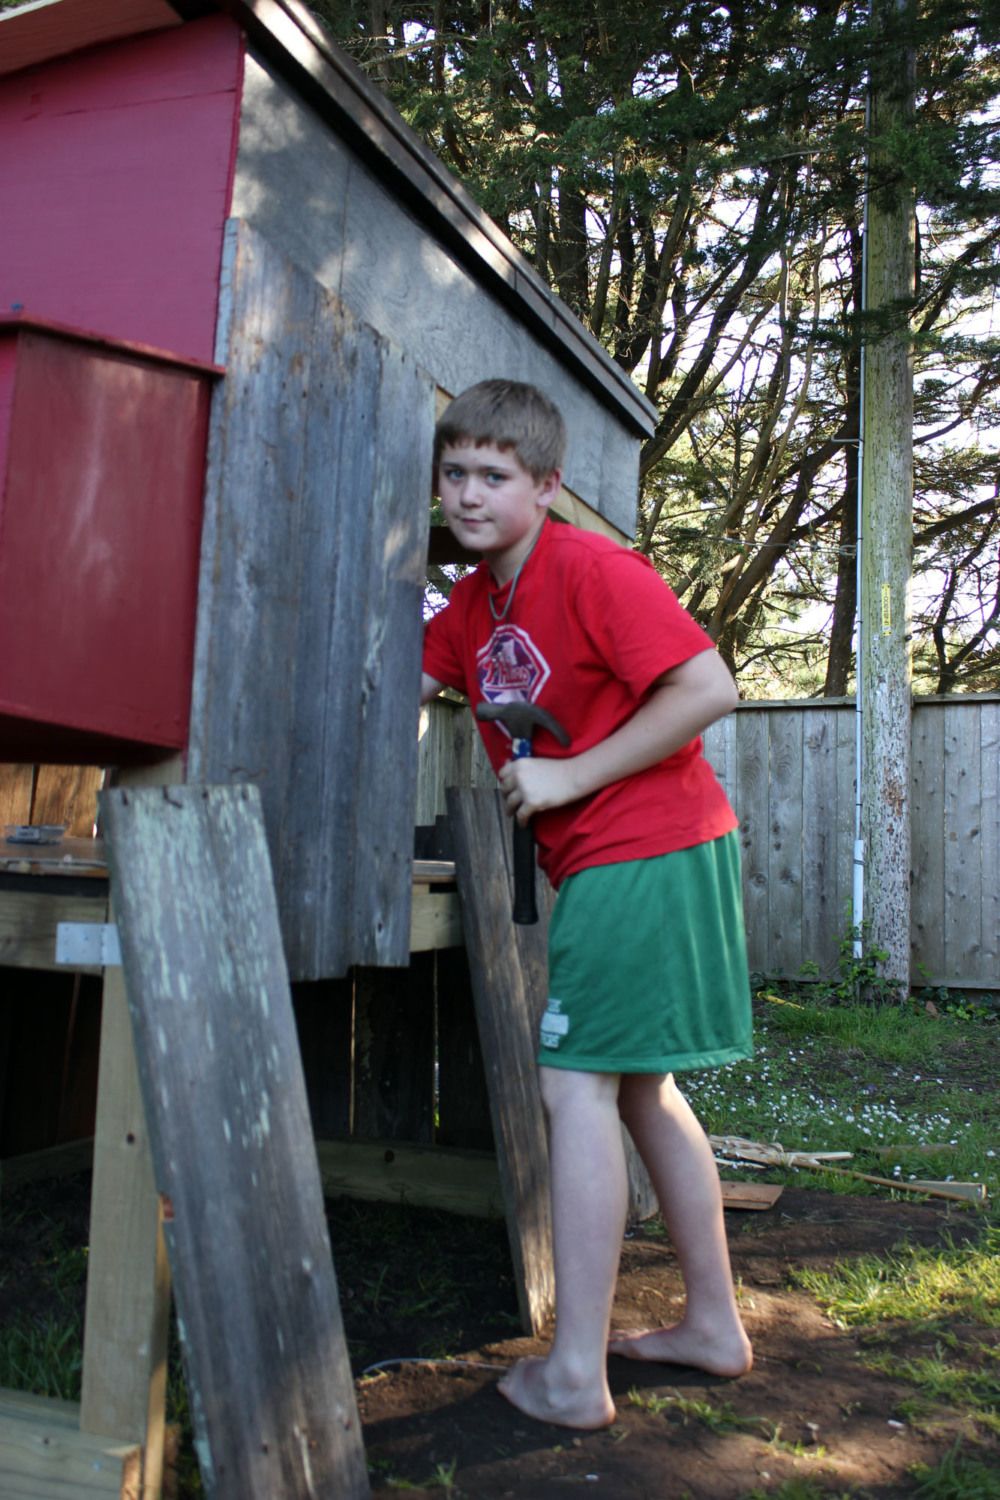
Trevor was a great help when it came to putting up the facing.
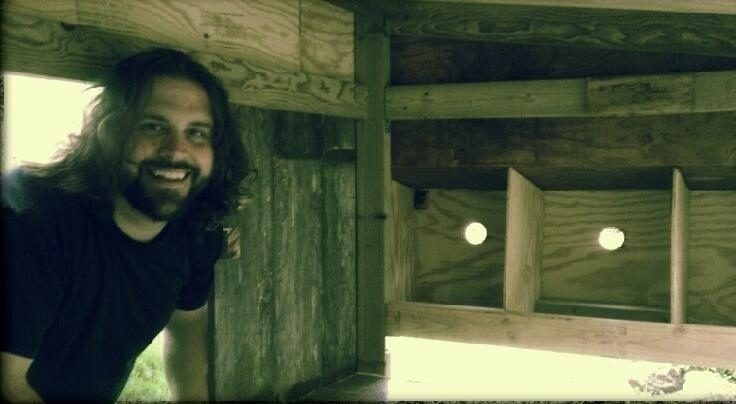
A photo of my husband Danny inside the coop. He has done a terrific job as a amateur carpenter!
It was finally all starting to come together!
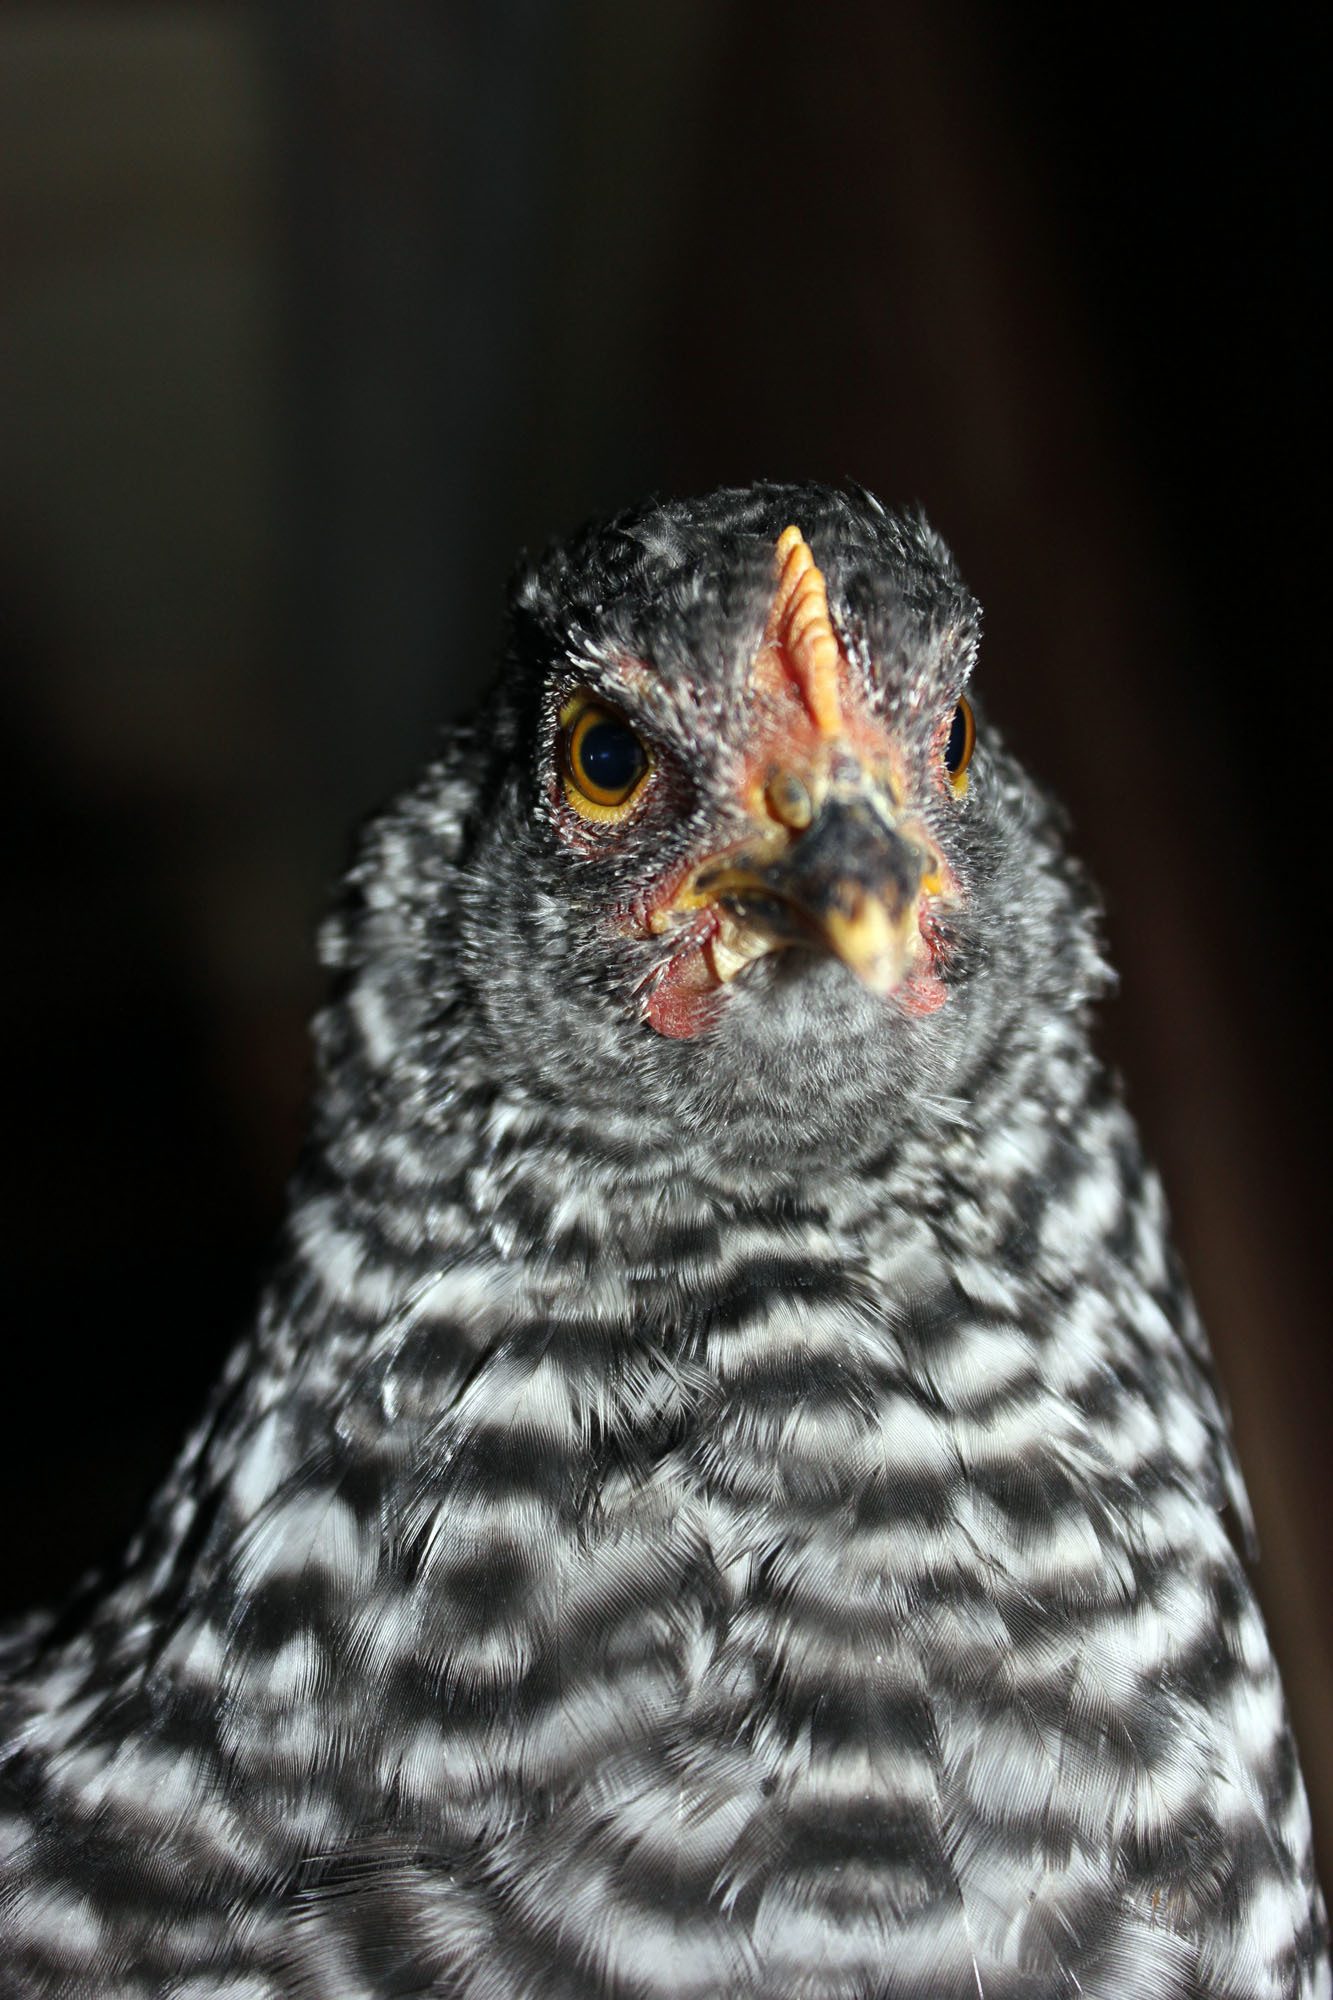
Izzy: our most friendly and outgoing chicken by far!
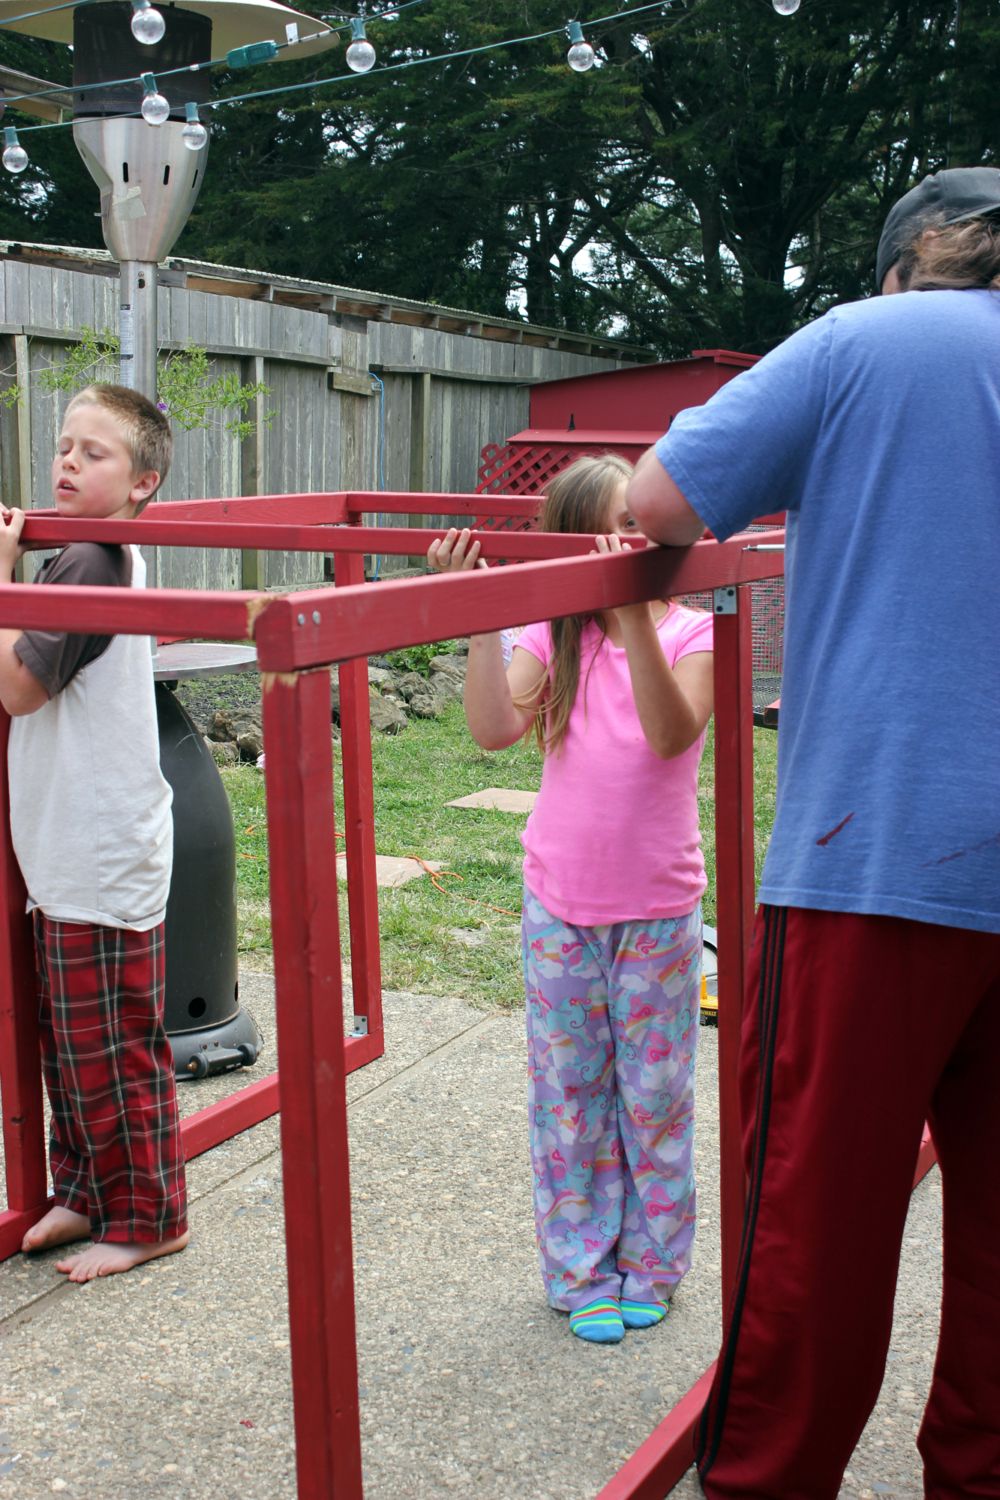
Working in our pajamas to get the run finished!
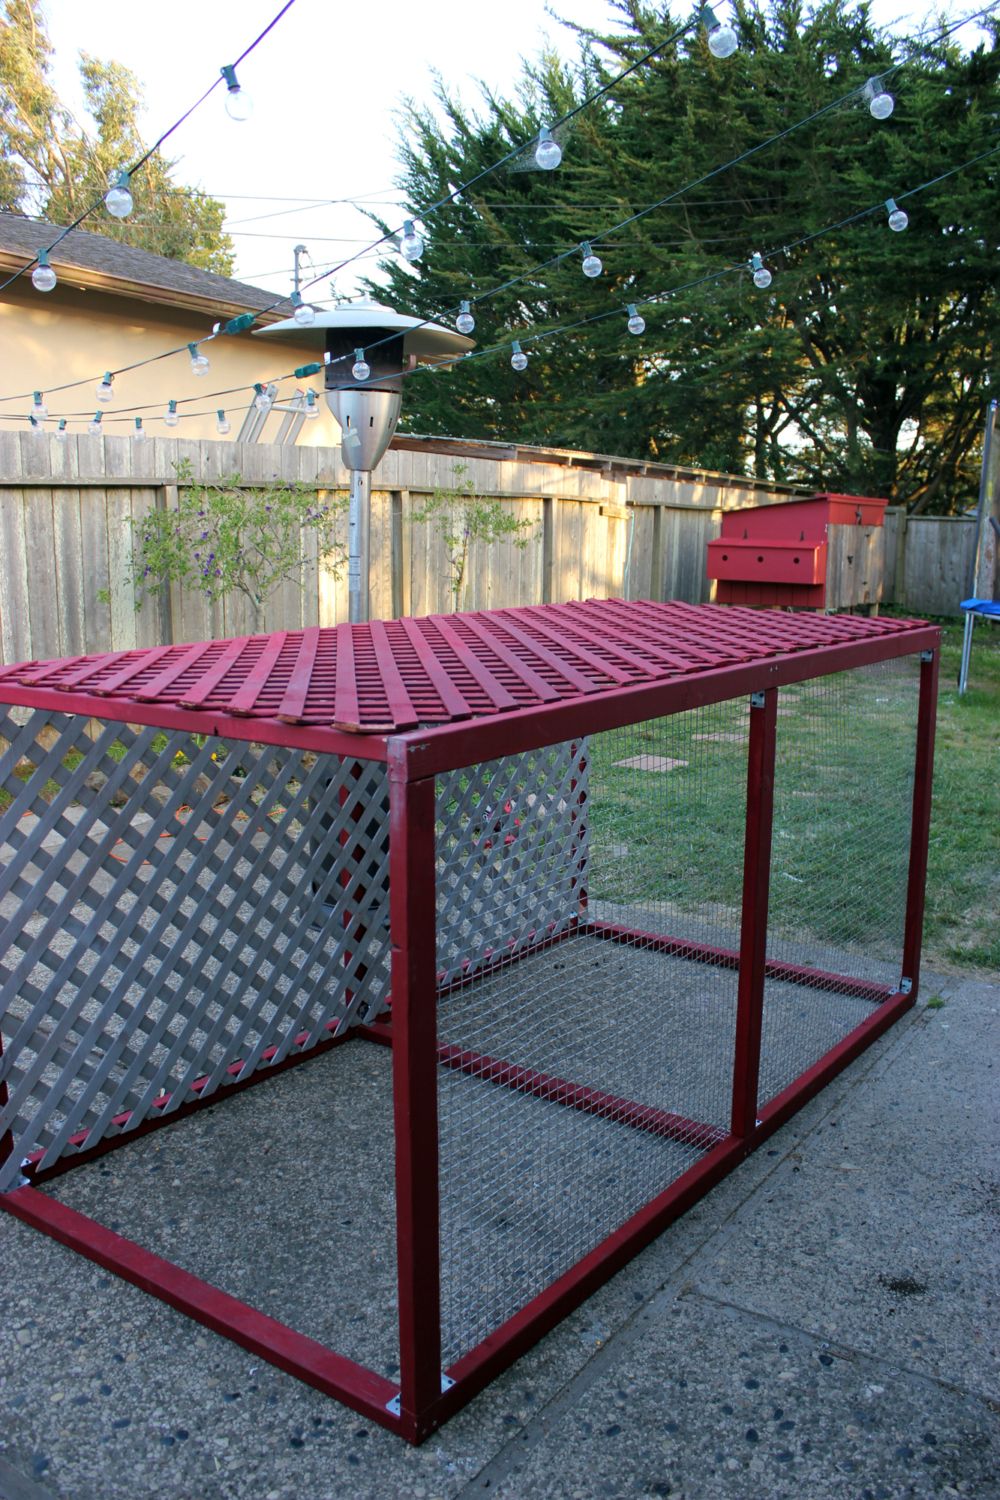
Now we just need to add the rest of the hardware cloth, move it across the yard, and put on the door!
The entire run as well as the underside of the coop is covered with the hardware cloth necessary to
keep out those pesky racoons!
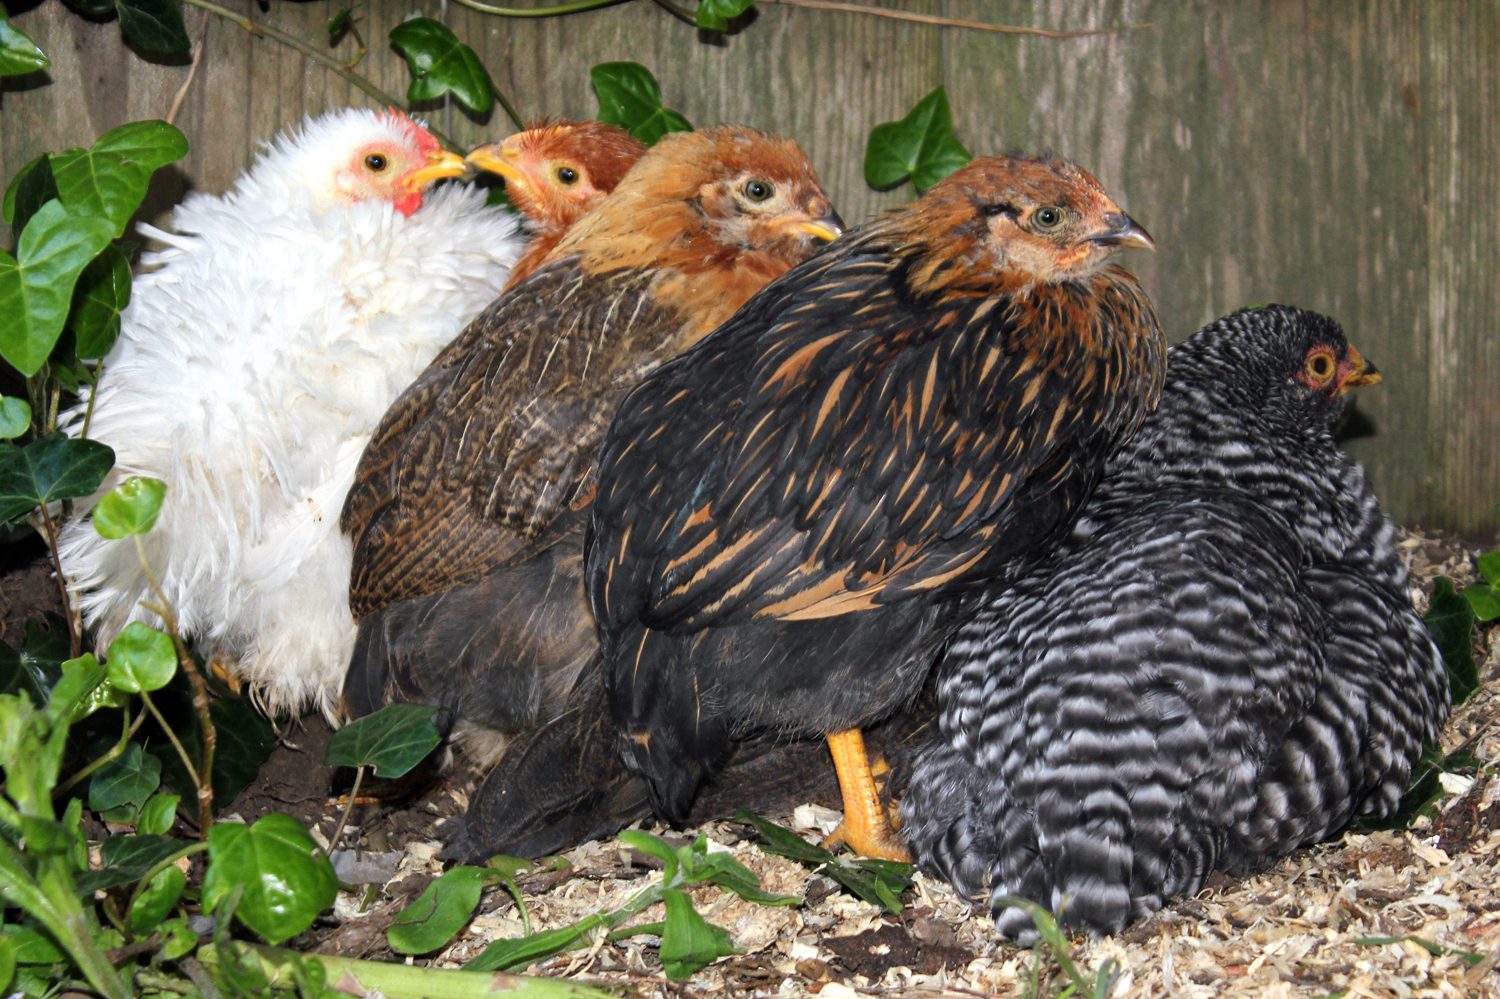
The girls just waiting for their run to be complete. Can you spot the two others hiding underneath?
There are 7 chickens in this photo!
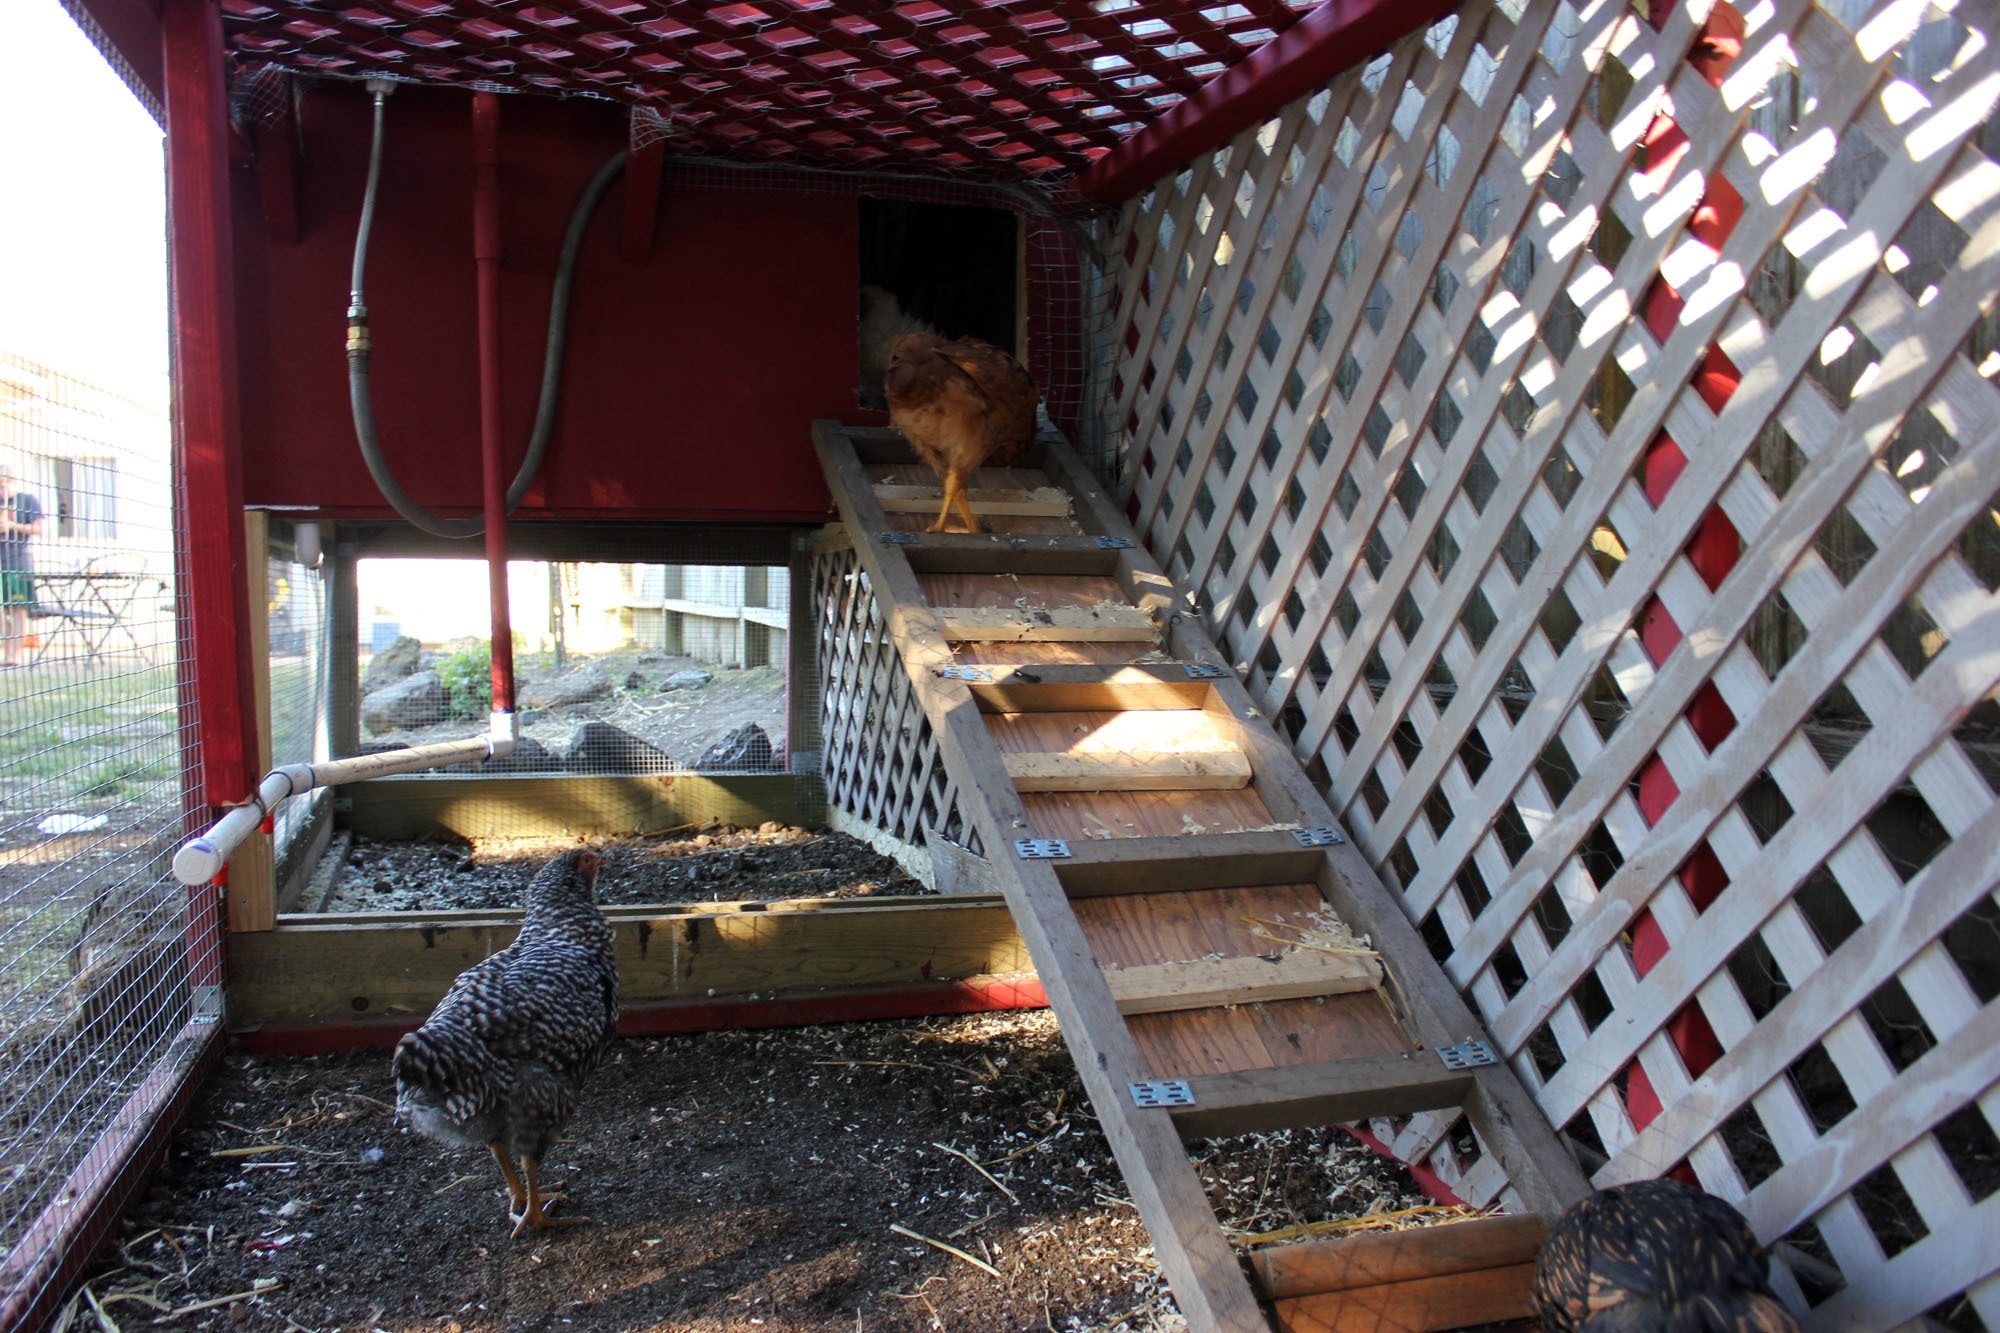
The run finally attached, view from the inside. The automatic waterline runs inside the coop as
well as down into the run so the ladies always have fresh water available.
(Even though it rarely gets over 70 degrees where we live).
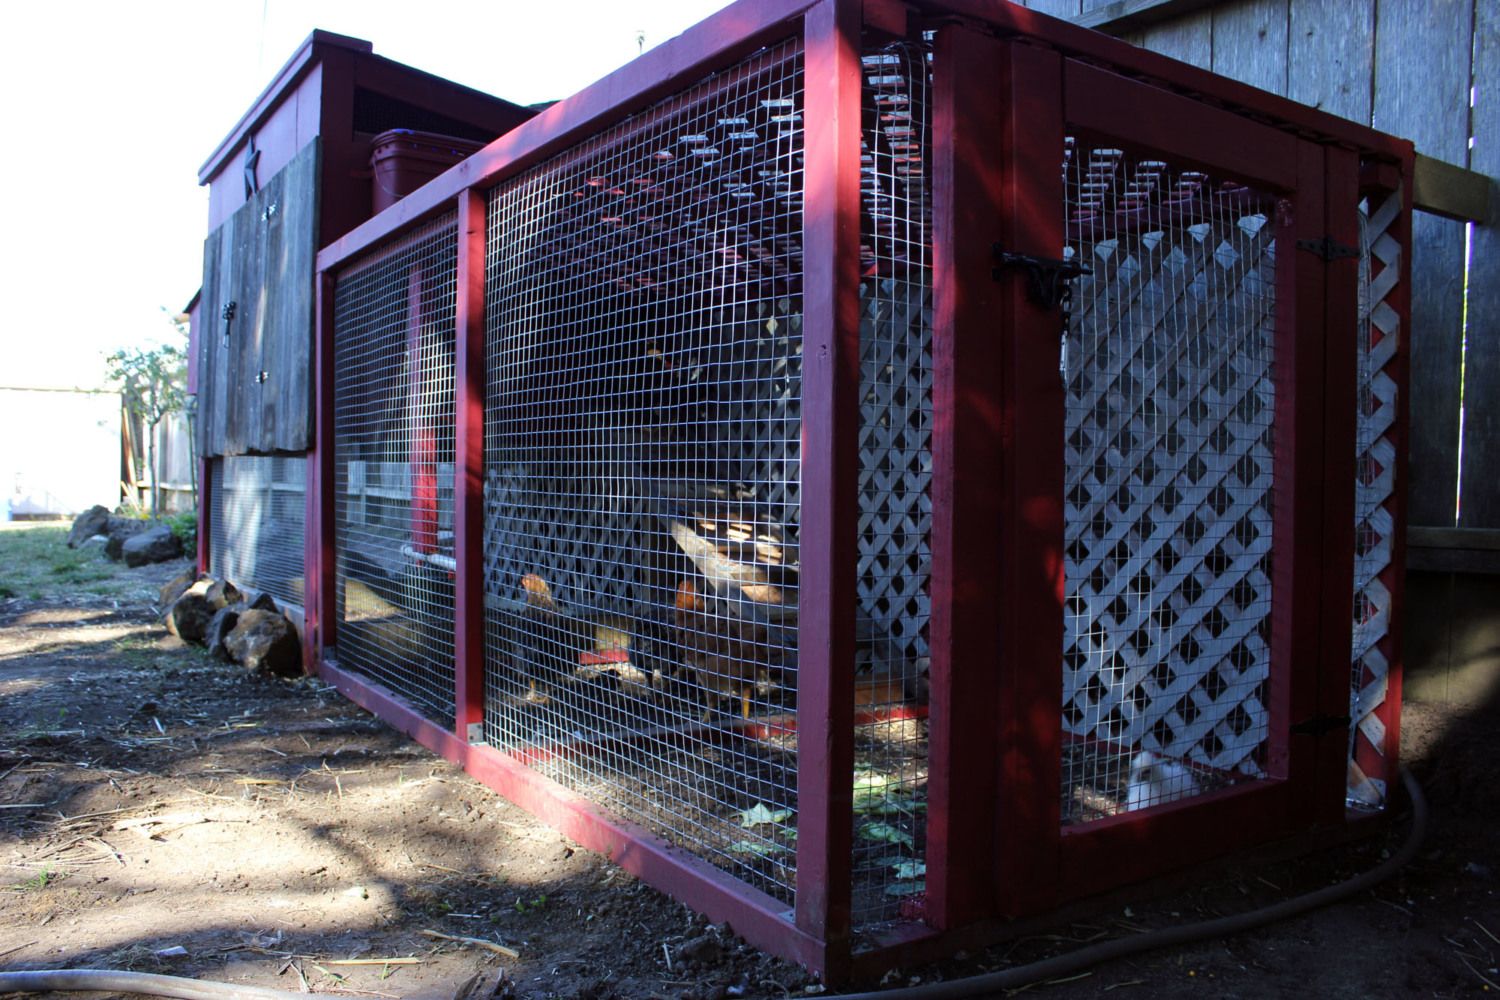
View from the back of the run. It's nice to have a working door so that we can easily get in and
keep it nice and tidy!
View from the front.
Hope you enjoy our coop as much as we do!