
Table of Contents
The Story
The Process
The Water System
Costs
Family Photos
The Process
June 11 --Construction Day 1
Finally, today, with the help of a friend (who has tools) we began construction on the coop. Wehoo! It's amazing how many times plans have changed. Admittedly, it's hard not to get frustrated with the process and my own inabilities and lack of construction know-how. I'm so very thankful the Lord has blessed me with people who are willing to help me think through the process. Today, it was Kurt who was my hero.
Reluctantly, however, he had me schlepp almost all the acquired materials to a warehouse downtown. We decided to build it off site and then transport it later either in parts or as a complete unit(TBD). Lots of ideas and sketches and even more research and patience.....although, today went really smooth. Here are a couple of my fundamental points for the coop:
- It must be easy for me to clean.
- It must be drunk proof/homeless/vandalism proof aka durable
- It must be secure aka non thief-able
- It must be low profile to fit into site location aka not draw attention to itself
- It must have good ventilation
- It should have as much space as possible
- It should nesting boxes
- It should have perches
- It should have light
- And.........I would reeeeeeeeealy, really like it to look cool
All of materials thus far have been free. Yes, I've spent hours on craigslist and keeping a sharp eye out for freebee opportunities. I have interior wall panels that used to be used for trade shows which are about 3" thick, hollow core, 40"x 96", one of them is covered with a sheet of aluminum (I think) and looks pretty cool, 2x4s, there's a solid fir door, 4x4 cedar posts and planks from an old fence (better seen piled on homepage photo) and glass from Seattle King County Transit--it's vandalized laminated glass that is shattered on one side but smooth on the other, double thick aka impossible to cut. Must use it as is. One of many creative challenge opportunities. Side note--the SKC guy was kind enough to keep up with correspondence and even met me in the SODO area thus saving me a few extra miles of running around. He mentioned that he's been encouraging his repair guys to save the panels for second use for creative folks like me and was glad that I had a good plan for them. Little did he know that breathing a second life into found materials has been and is a real challenge for me.
The base will be the found 5x7 pallet. It is rock solid. The walls will make the interior look nice and finished although they are not weather proof. Solution: cover with paper as a vapor barrier then side with cedar fencing. The door is too heavy and too tall. Solution: Cut it down to size. Light? Solution: Make a wall of glass and include a skylight (hopefully). Ventilation? Solution: Make screened air vents along the top.
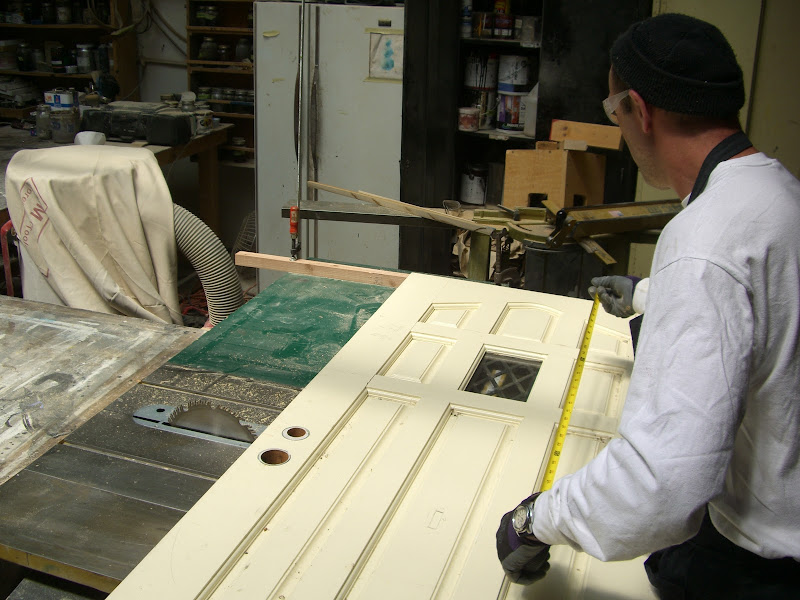
Here is my friend, Kurt. He's great. He has an awesome picture frame shop in the SODO area (south of downtown) called Unique Art Framing . He really is one of the kindest people I know. Check out his website. He's a true artist craftsman. Remember, safety first. Goggles and gloves.

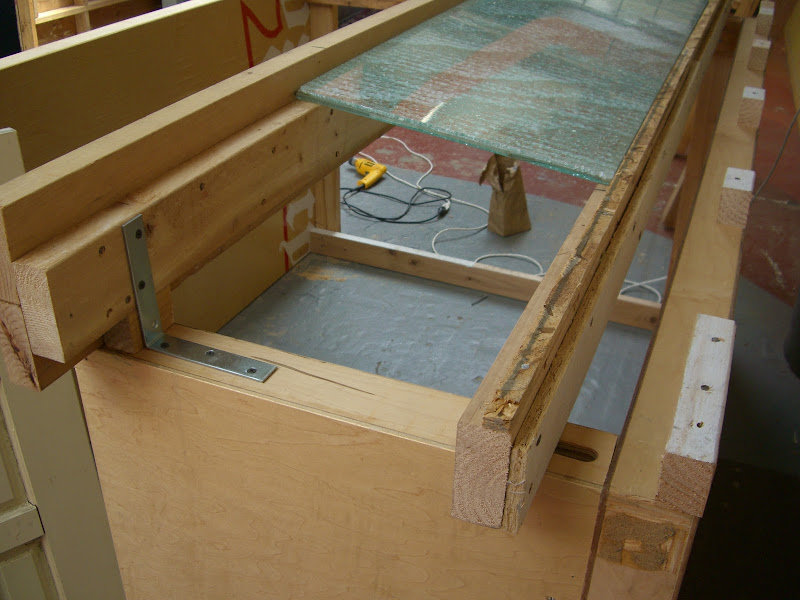
Here the coop is starting to take shape. The far end will be the glass wall. I've have the idea all along that the roof should open somehow to allow me more headroom when cleaning. I may just use a stick, but would really like a pneumatic strut (like the ones that hold up the tailgate). The junk yard sells them for $15 each. The inexpensive auto store sells them for the same price as well. Way more than I'd like to pay, but it may be a good investment to avoid clocking myself on the head with the roof by knocking the stick out while sweeping.
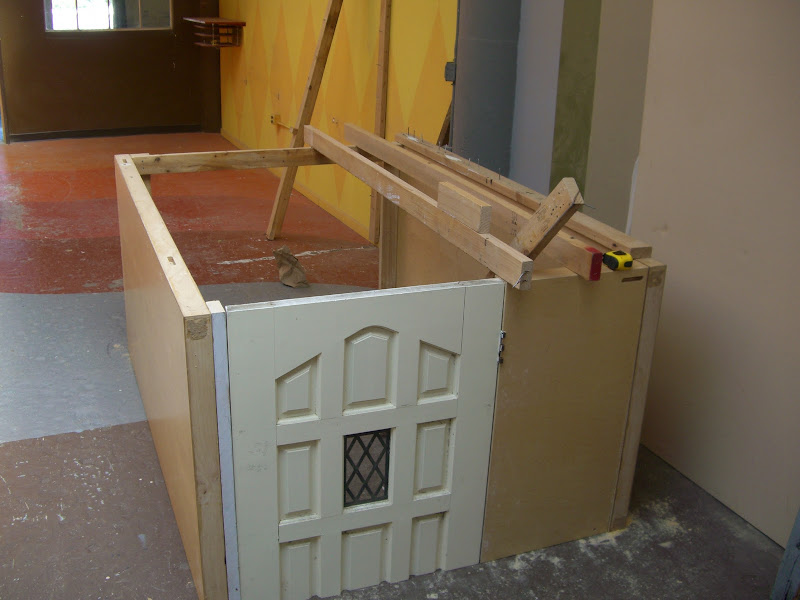
Here at the end of a successful day one, we have 4 walls, a door, and a sweet roof plan. I can hardly believe it's all coming together and pretty much like I envisioned. Not a bad 2 1/2 hours work.
Construction Day 2
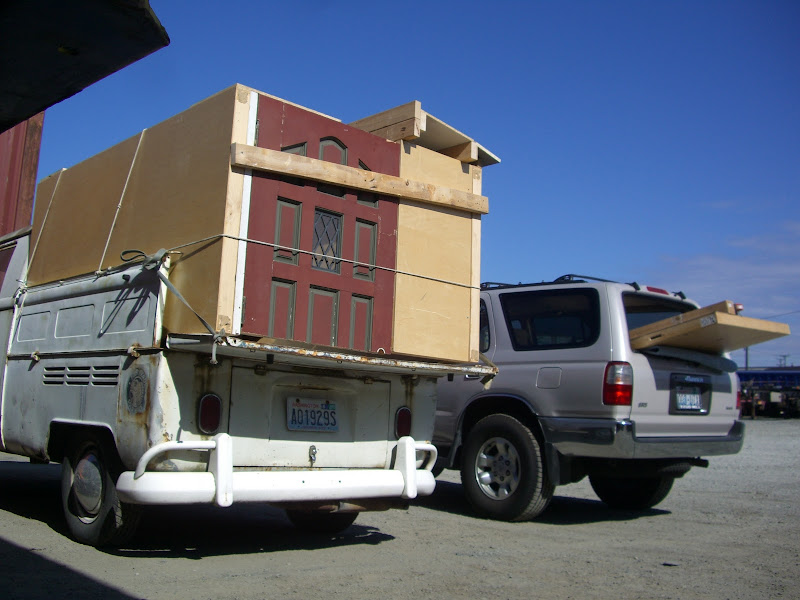
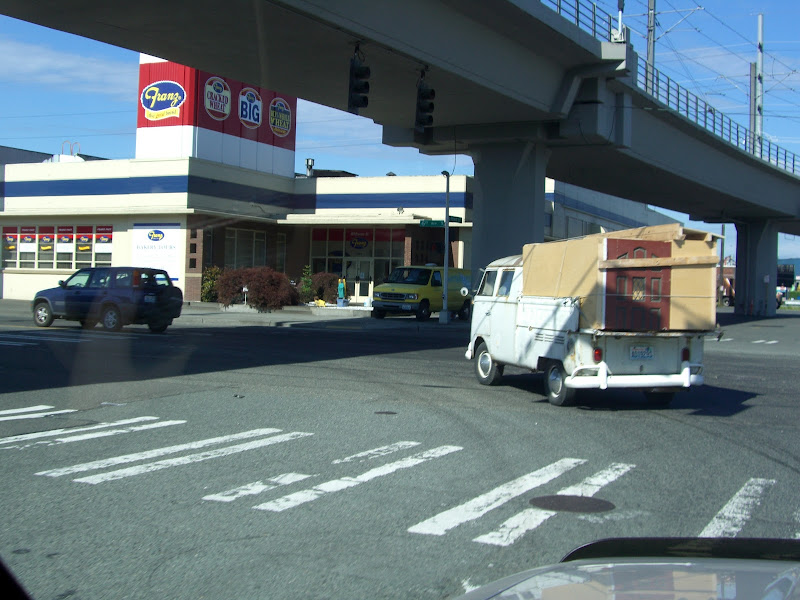
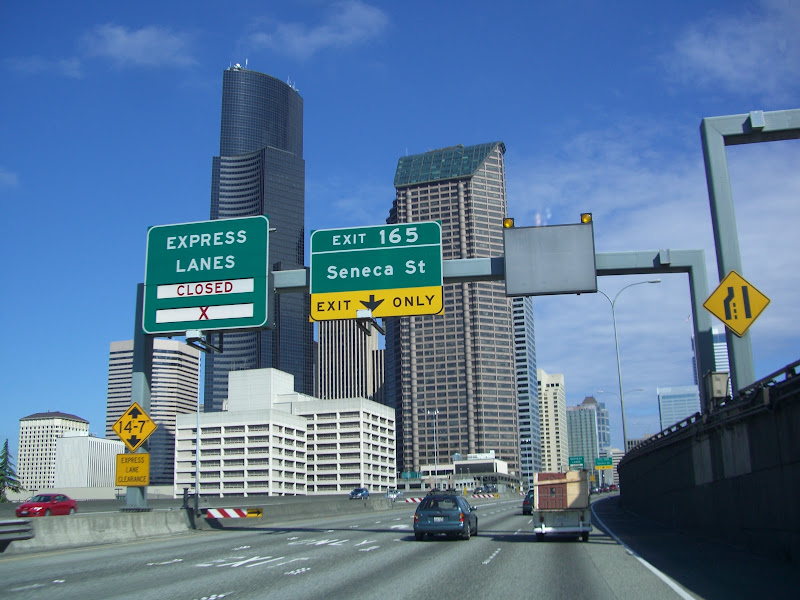
Start at 8:00 a.m. Early but easy day. There wasn't much to do but move the coop from the second floor warehouse to the bottom floor, down a hallway, onto a truck, through the city, to the yard. The two of us managed it quite well (to my surprise). And to my friend's surprise, he had room to spare in his truck. The sun was shining. That was 5 days ago. Haven't seen it since.
My friends super bus...the sides dropped down and is just a bit bigger than my 5x7 coop.


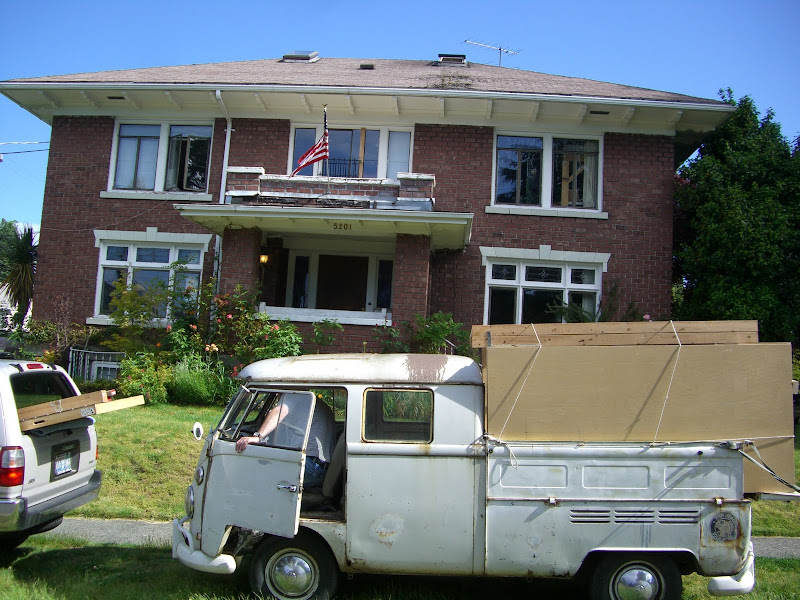
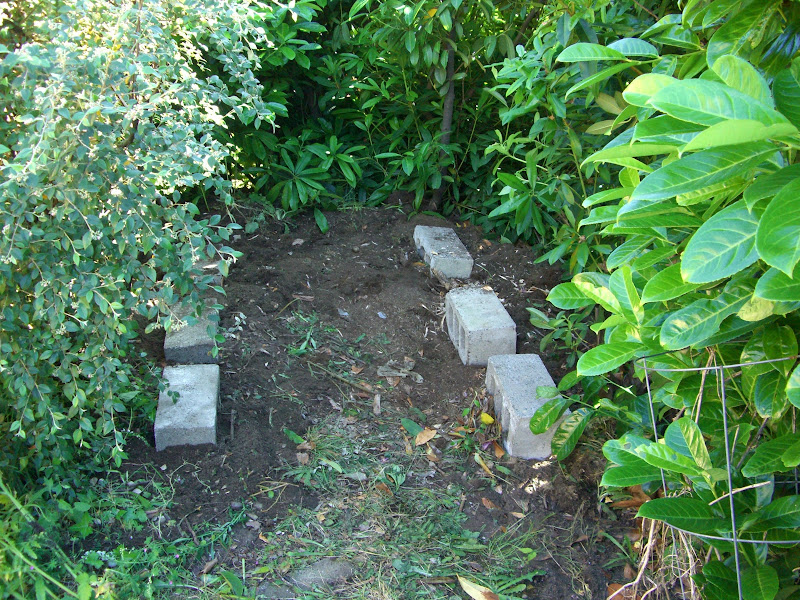
It fits snuggley on site... just as I hoped. It's pretty much the way I imagined it. Flanked by dense shrubs, camouflage is definitely part of my strategy to keep drunks and hoodlums and other pests at bay.
Day 3
The barn raising party I wanted to have to share the experience with friends and housemates has failed like the sunshine. I must've sounded pathetic enough tonight though as two friends lent a helping hand. I trimmed the cedar fencing down and they attached it to the sides of the coop. The planks run from top to bottom, securing the wall to the foundation. It looks pretty cool. We also got the glass wall installed, the roof hinged and the door too. The skylight will need a little tweaking. I think the wood is bowed or something as the glass isn't sitting in properly. I also need to figure out the front side...apparently I didn't measure the foundation as accurately as I thought I did. I had to add a 2x4 lengthwise to both sides of the pallet whereas the front has a little bit extra. The pictures to follow will show the latest progress. There's still work to be done, but the girls will be able to move out of their cardboard condo into their permanent home.
Day.....Whatever
It's done. It's been done for a little while now. The girls got moved out on July 6th, their 10 week old birthday. The coop was completed before that, but I kinda liked having them inside (although they really made a dust cloud) and I didn't want them to get scared with the fireworks (of course, in our neighborhood, they last more than just one day)... but that's the life of a city chicken, right? They took the move pretty well. I had pine shavings in their indoor condo for a couple weeks prior to the move outside. I opened the door and walked away. They mozied in and out... and after a gentle herding, they spent their first night outside. Alone. Yes, I checked on them at 2 a.m. and they were huddled cozily together, except for Ruth, who had found the high perch. The days suddenly heated up and I had to cover the sunroof. It was hot for everyone. The weather center issued "severe weather warnings" because of the potential to reach 70...a big jump from the soggy 54 on July 4th. It gradually heated up a bit more, up to 91, which left me, the girls, the crows, everyone in the great Pacific Northwest, panting. I came close to putting a fan out there for 'em, but resisted and exercised tough love.
It's been quite the experience....as I'm sure it will continue to be. Folks certainly seem more interested in knowing how the chickens are doing than how I'm doing. I'm happy to talk about any details I'm sure I've unintentionally left out. Here are the concluding photos. Mouse over for descriptions.

I don't have a dog, but I have one fish. His name is Remy.
Thanks for viewing. I look forward to hearing from you.
Here are the links to my other pages
The Water System
Costs
Family Photos