Here's the story of our  Birds in Paradise Coop Design.
We were fortunate enough to recently adopt three docile adult chickens from some friends, along with a small night coop. Our neighbor's daughter, Emily, promptly named them; Princess (the Alpha Chicken), Lucy and Shy-a. They were pretty much free ranged birds before they came to us, but would now have to adapt to life in a more confined urban setting. The small coop would not be enough space for full time confinement and they could not roam in our deed restricted urban neighborhood.
We briefly thought of buying a bigger coop, but after seeing all the cool designs and neat ideas here at Backyard Chickens, we decided to make our new pets a spacious Chicken Paradise of thier own. We started by looking for a coop design we liked as a starting point and found it in the "Maxwell House's" coop in the medium coop design section. see https://www.backyardchickens.com/a/the-maxwell-houses-member-page.
Great Job, Guys!
We took their provided dimension designs and expanded them a bit to fit our ground space and larger interior requirements for the corner of our side yard.
Ending up with a 48x48 square, our coop design at 48" tall is big enough to comfortably house 6 nesting birds in two levels with space underneath for day use and food.
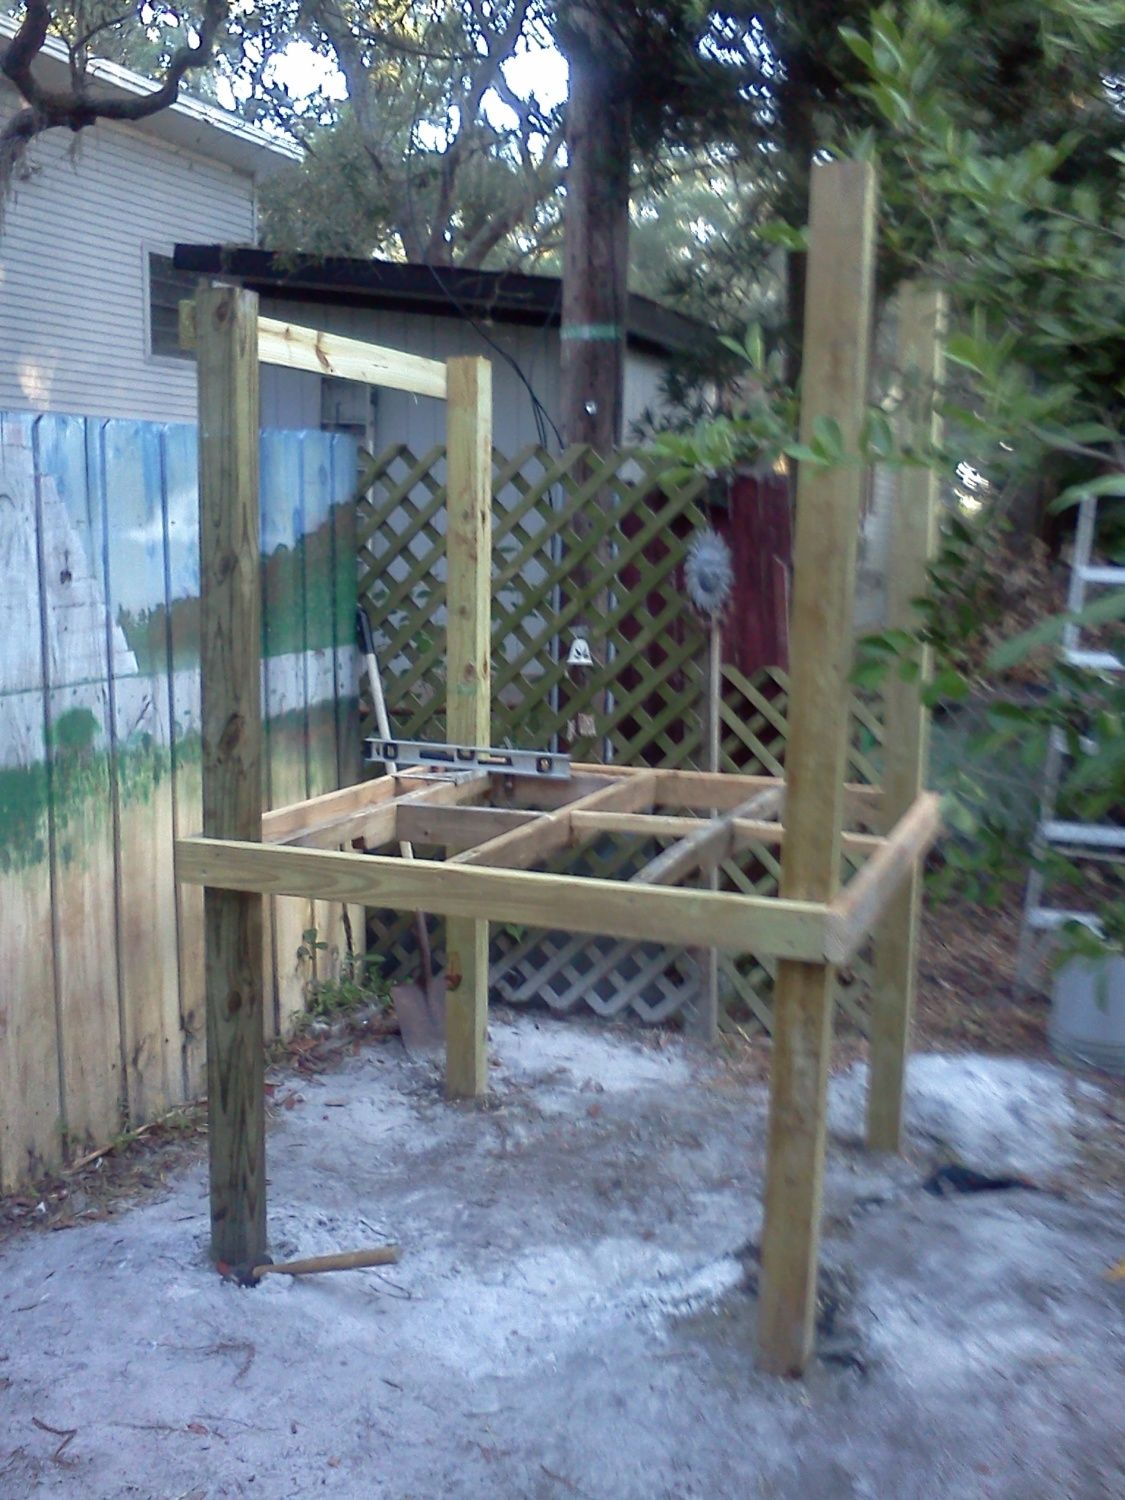
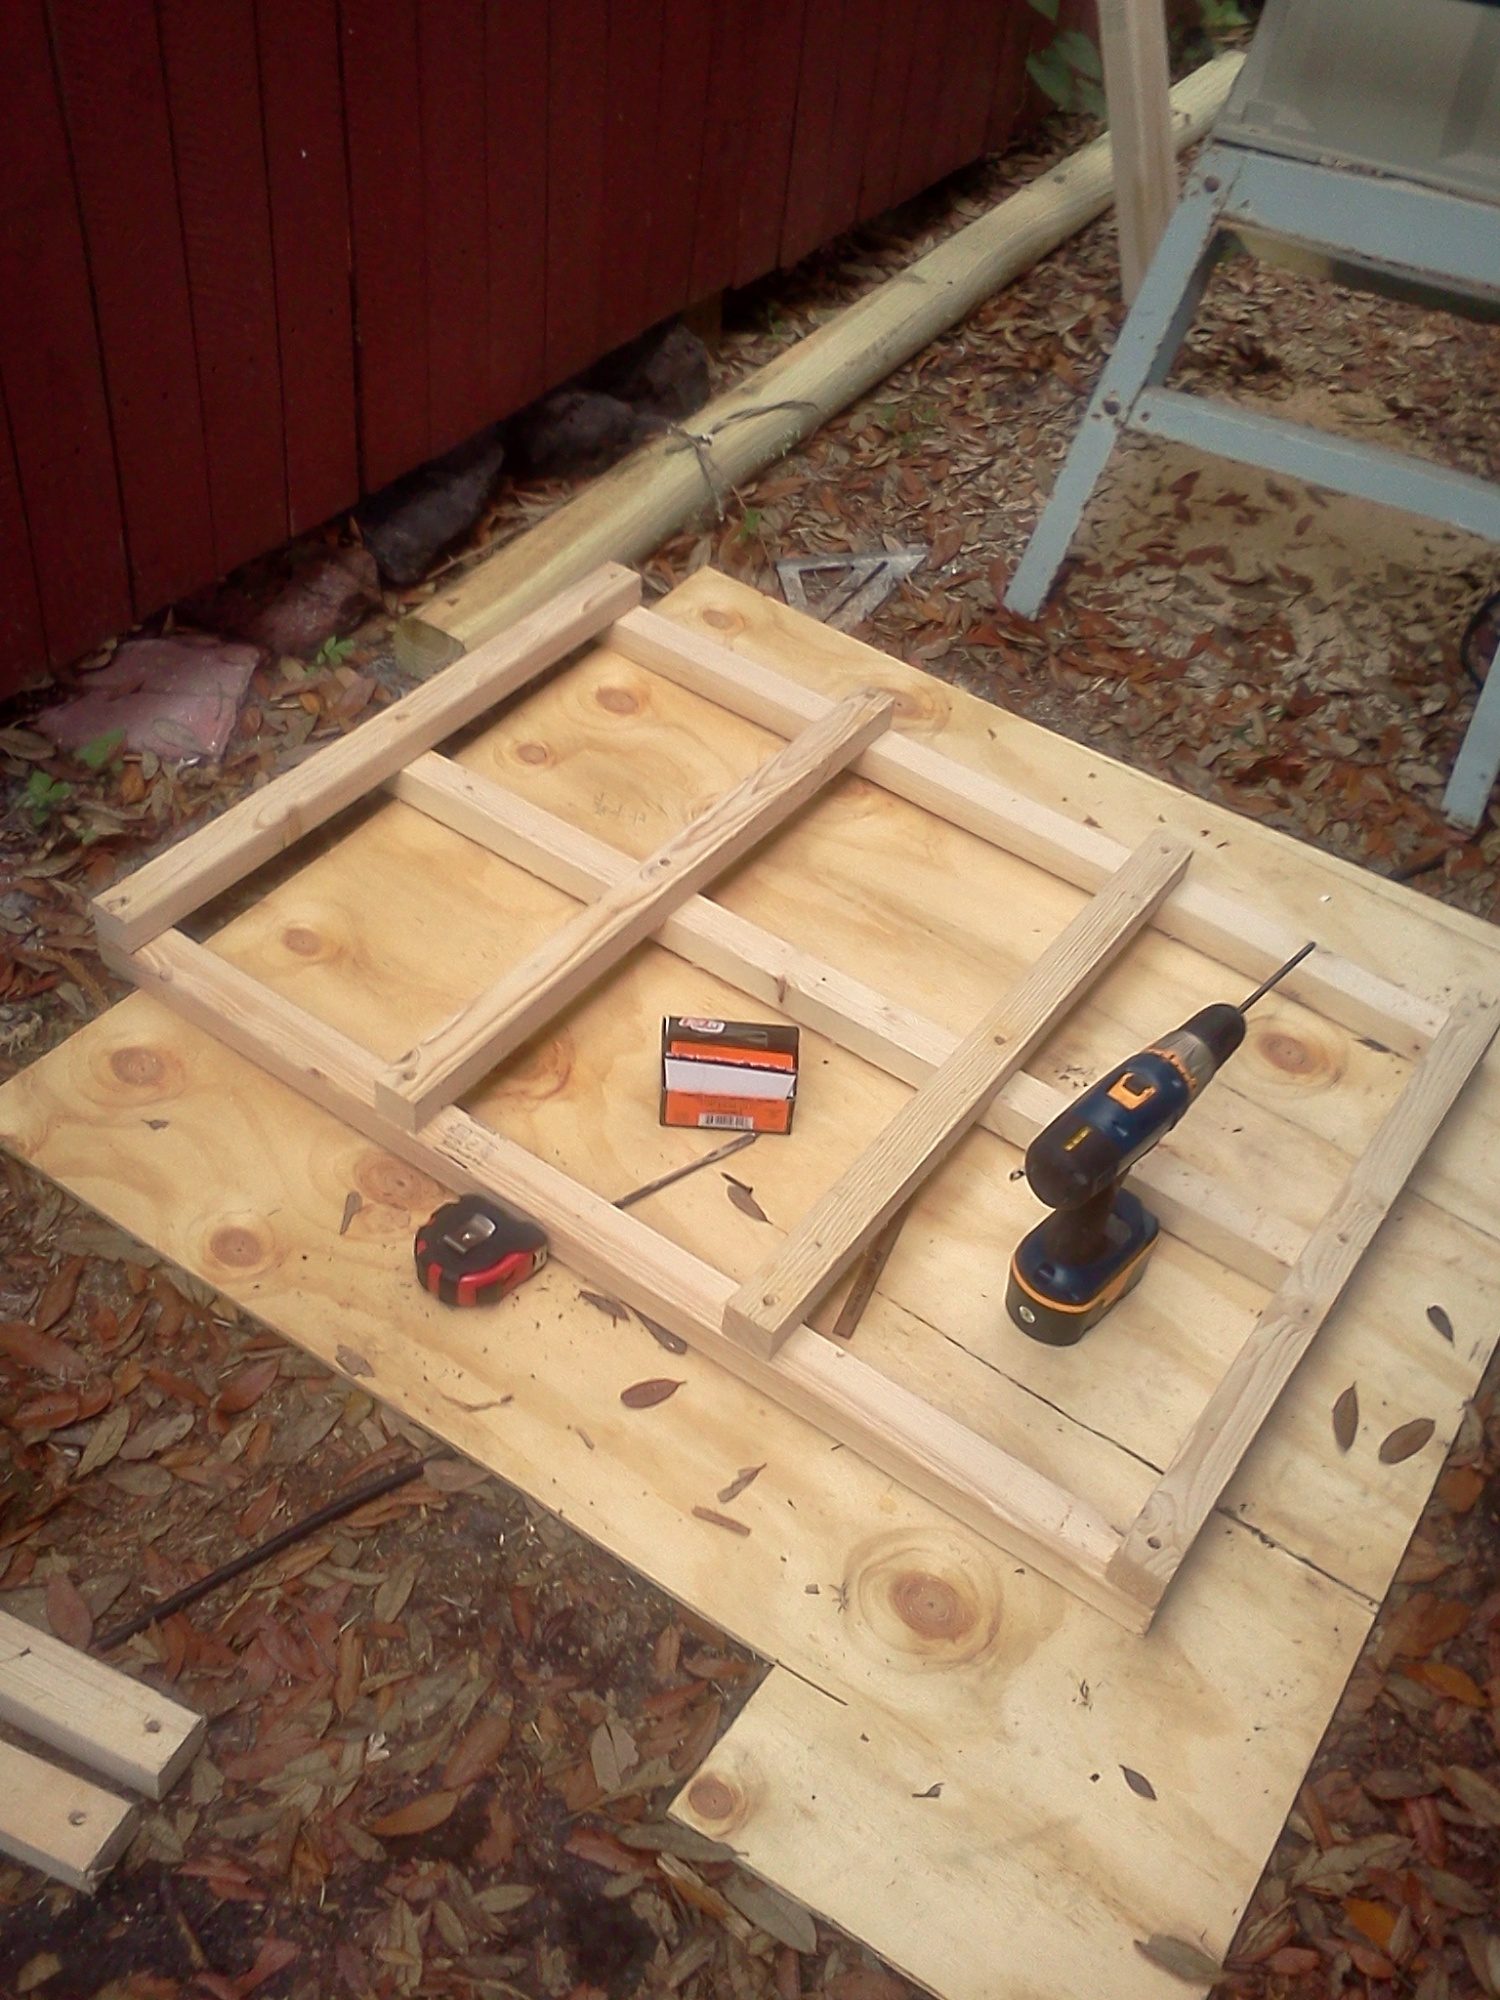
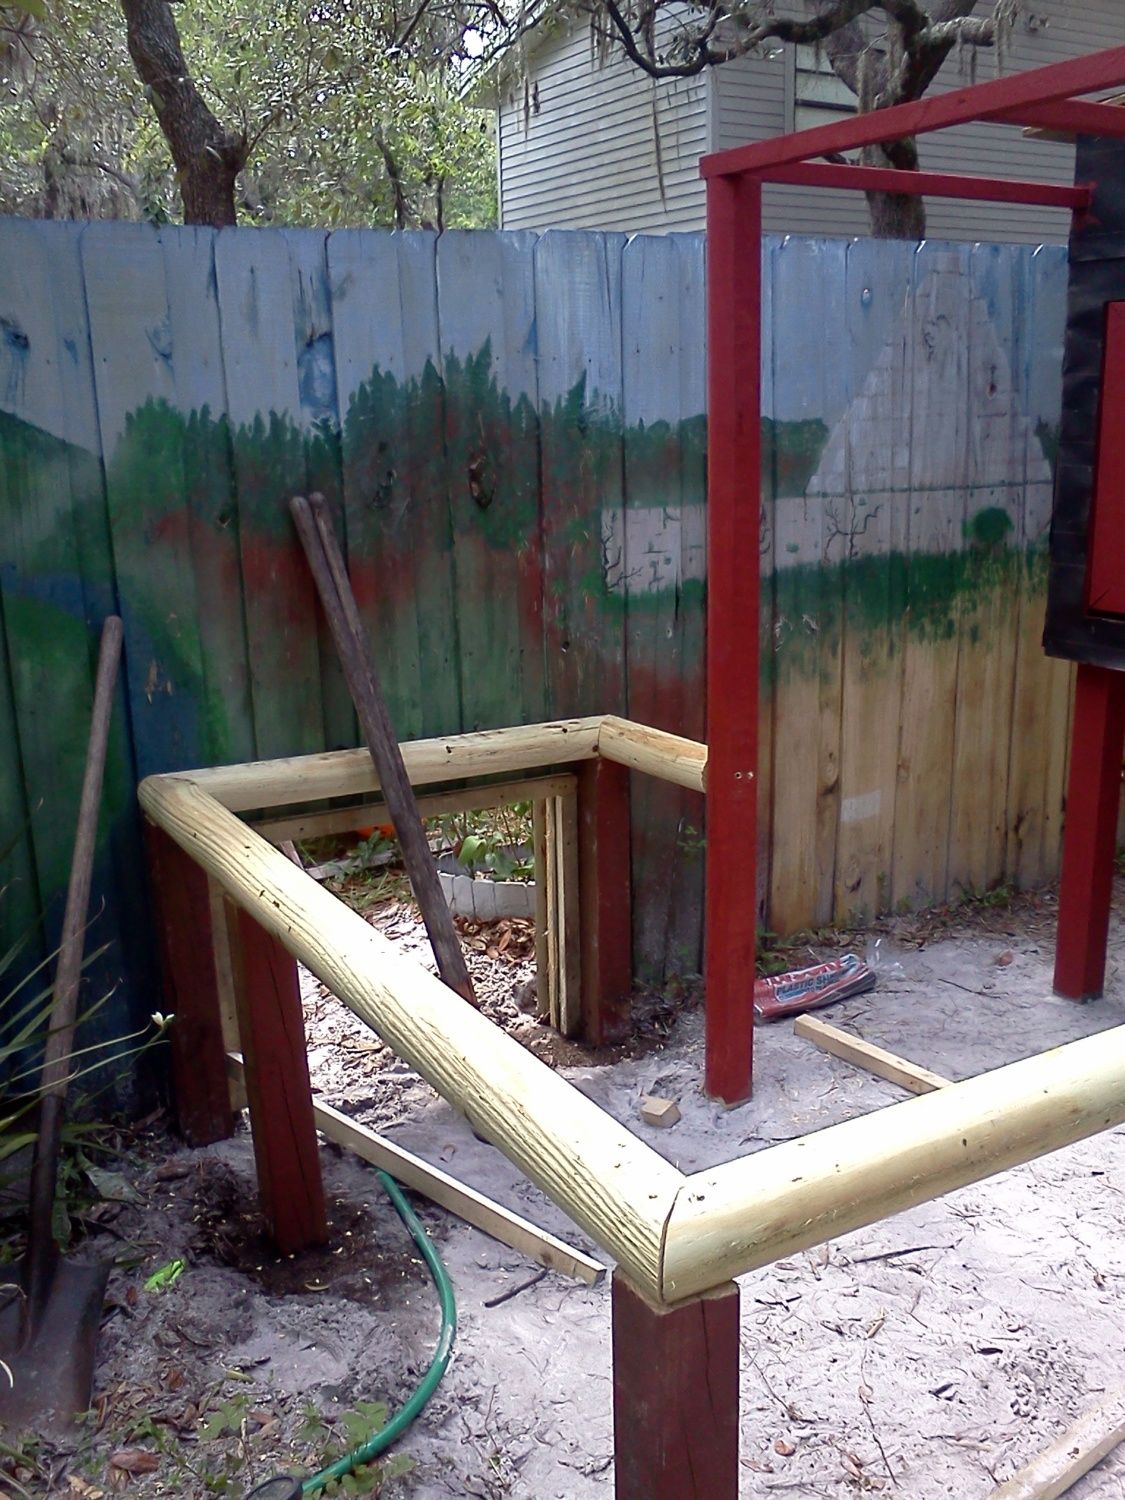
First came the foundation posts and floor. We used mostly recycled wood for the project by cutting apart packing pallets and cleaning off the nails and rough edges. A little pressure washing and the wood looks like new. We used both new and old surplus poles we had lying around the property to set the four supports 24" deep in concrete.
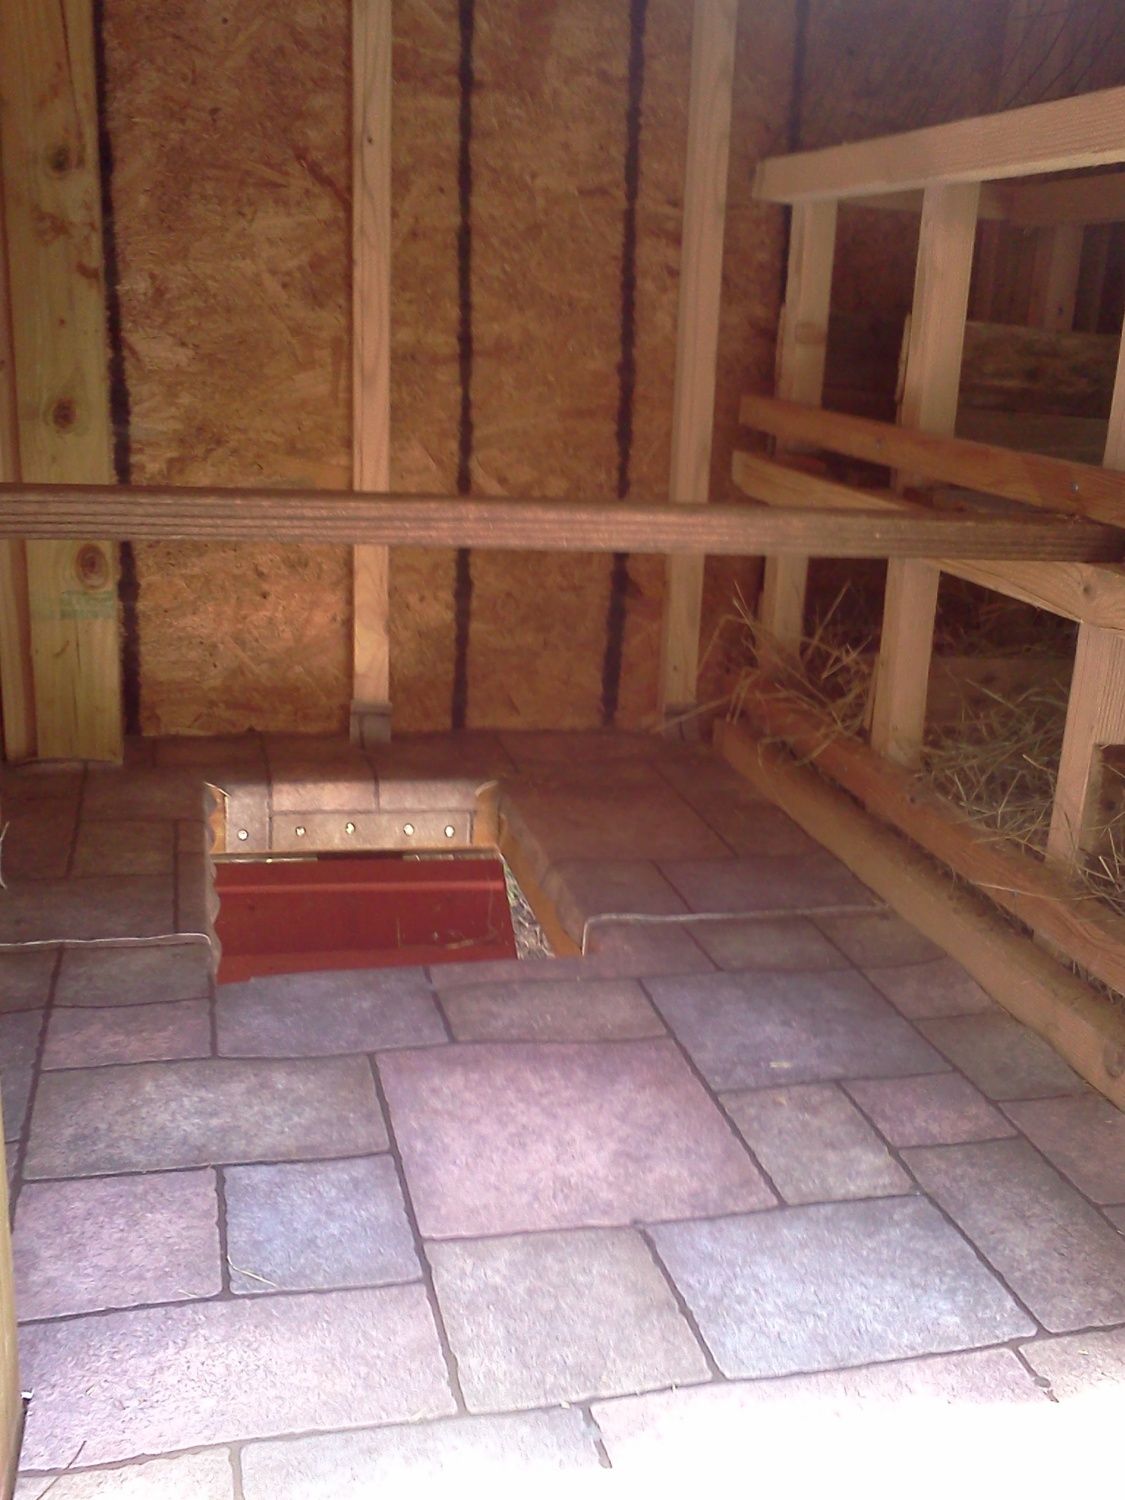
Tied at the outside with recycled 2x4s, it creates a 48x48 outside square. We made one side 6 inches higher than the other (48" from floor vs 42") to create a roof slope and a rafter cooling space as we live in humid, hot Florida. We used 1/2" plywood from my wood scraps pile to cover the floor patchwork like, leaving an adequate sized elongated hole for the ramp. We covered the floor and nest box bottoms in tar paper to create a vapor barrier and make clean up a little easier and then more pallet slats for sides and bottoms.
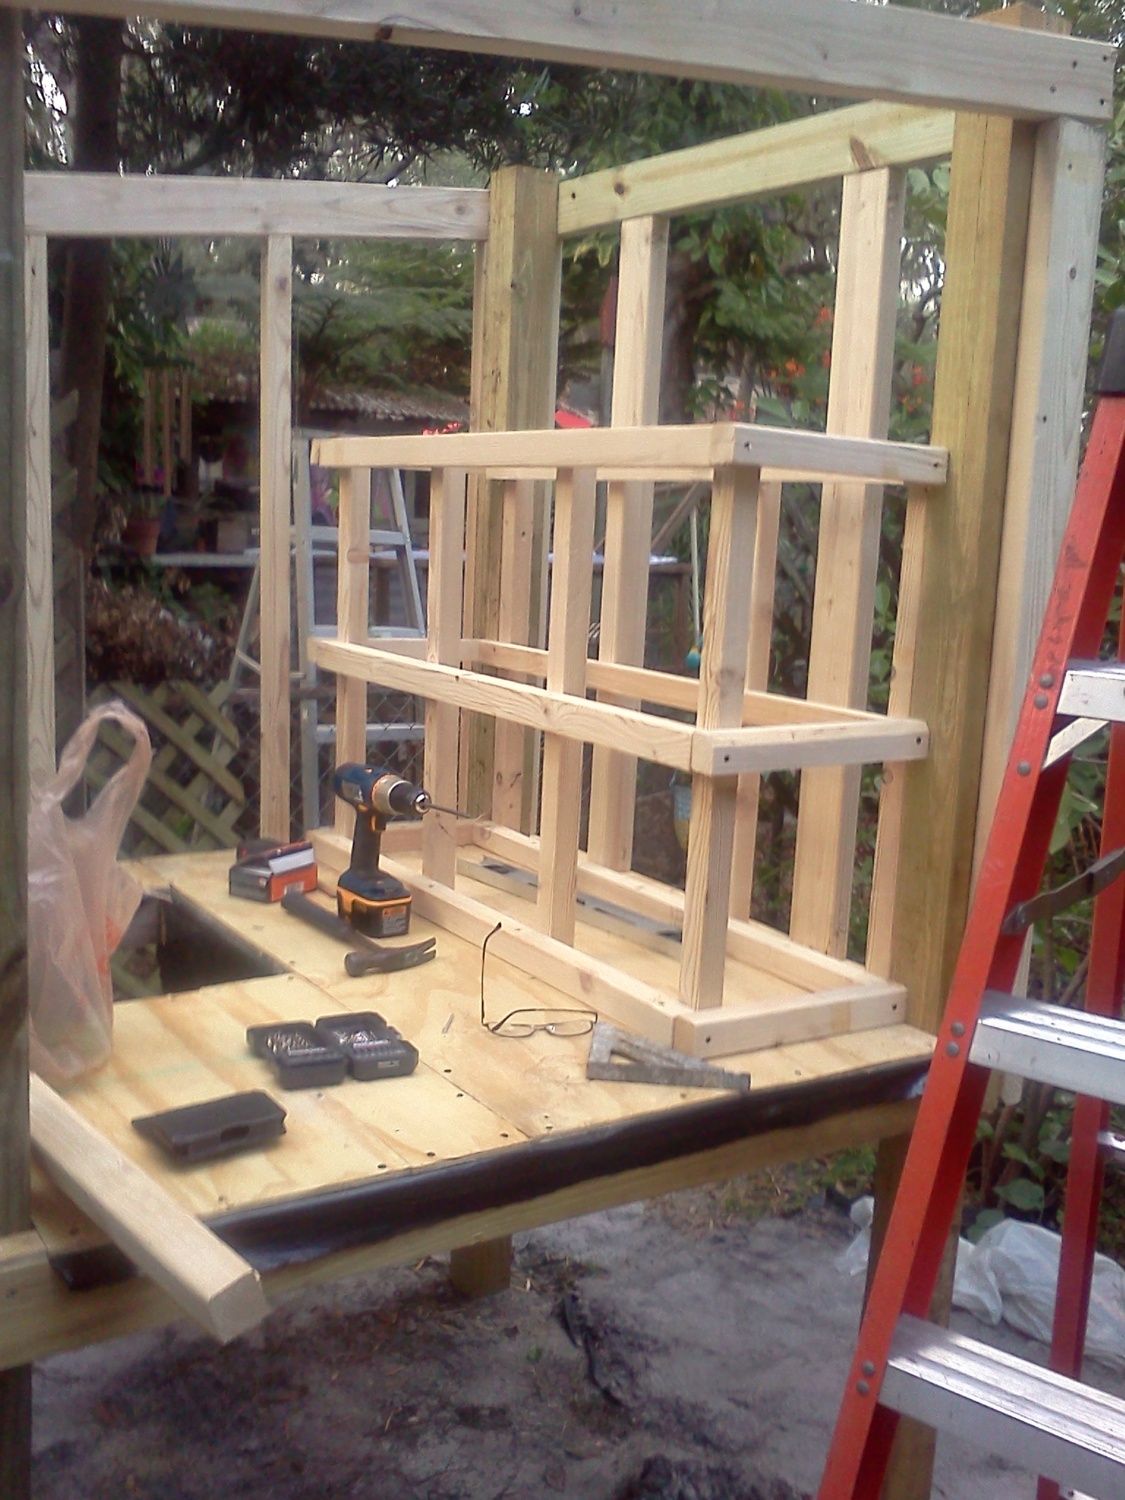
Turning once more to our recycle pile, we cut larger boards down into 2x2s for the walls and nest box frames, then covered that framework with new exterior sheathing wood we purchased at the local builder supply (~$20 a sheet, we needed 2) .We made sure the nest boxes were about 14"x14" finished to give the hens laying space along with room for nesting hay in each box. Placement was three nests above and three below, with a floor in the upper boxes to stop disgusting debris from above from raining on the tenants in the lower boxes.
.
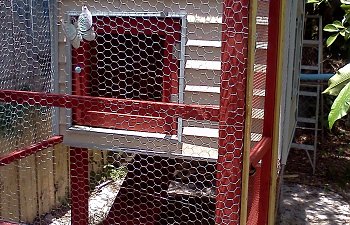
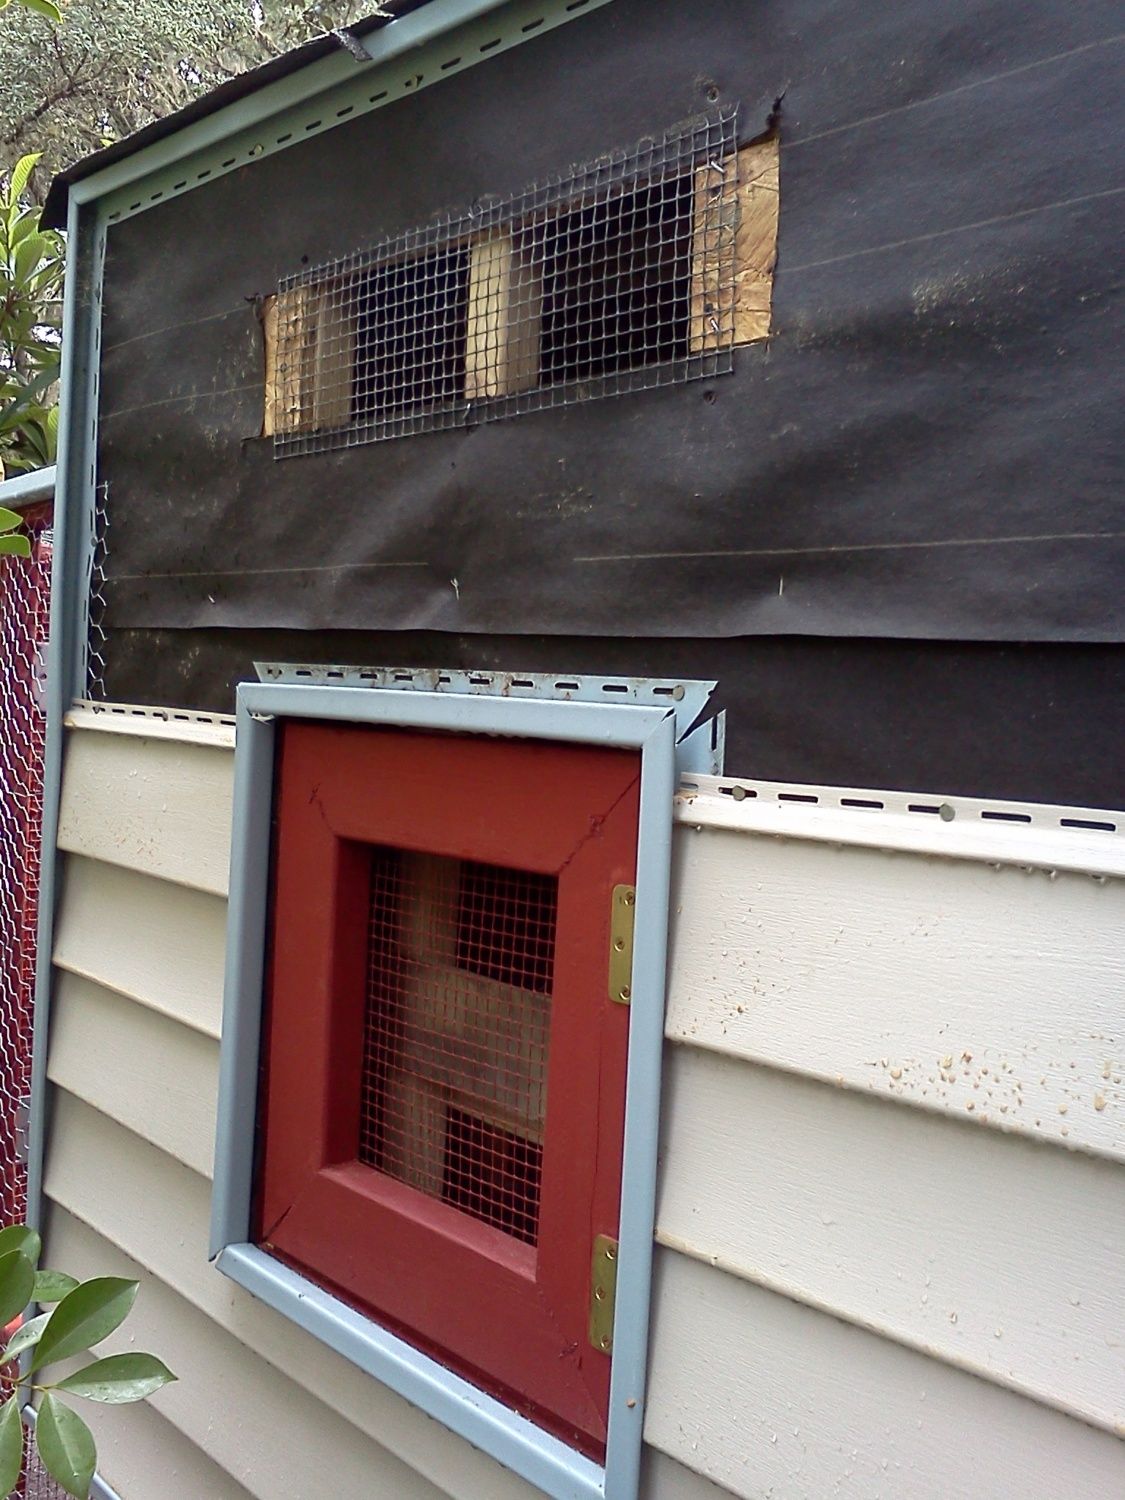
Behind the nest boxes, We framed an 18x18 door, centered so that you can reach into each of the six boxes easily to retreive eggs with as little visibility by the birds as possible. The door has a small screened opening for ventilation and is easily covered in winter to create a warmer coop.The framing left a opening above the door which we used to make a 6x18 inch vent, also rabbit-wire covered.
Both vent and egg door openings can be closed off in cold or stormy weather. Next came the Ramp. Using more plywood scrap, we cut a 14" wide strip of 3/4" plywood and backed it with two long 2x2 boards runing the length for rigidity.
We used scraps from the wood trimmings to cut 1/4" strips for the ramp treads, then screwed them directly to the plywood. The back of the ramp is hinged at the top to allow it to be pulled up and latched closed, locking the birds in for big storms or other emergencies. The Front clean out door is 32" wide to allow easy in access for cleaning out the boxes and floors.
Now that we had the coop and our fence portal cut, we turned to framing the pen. I used inexpensive Landscape logs ($ .96 each) for posts along with some old 4x4 fence posts that still had some life in them. No one can tell 'em from new once they get a coat of barn paint. We didn't bother with concrete for the pen poles, just made sure they were in deep enough to stand their weight without leaning. Once they were tied together with the boards and slats, it was solid as a rock.
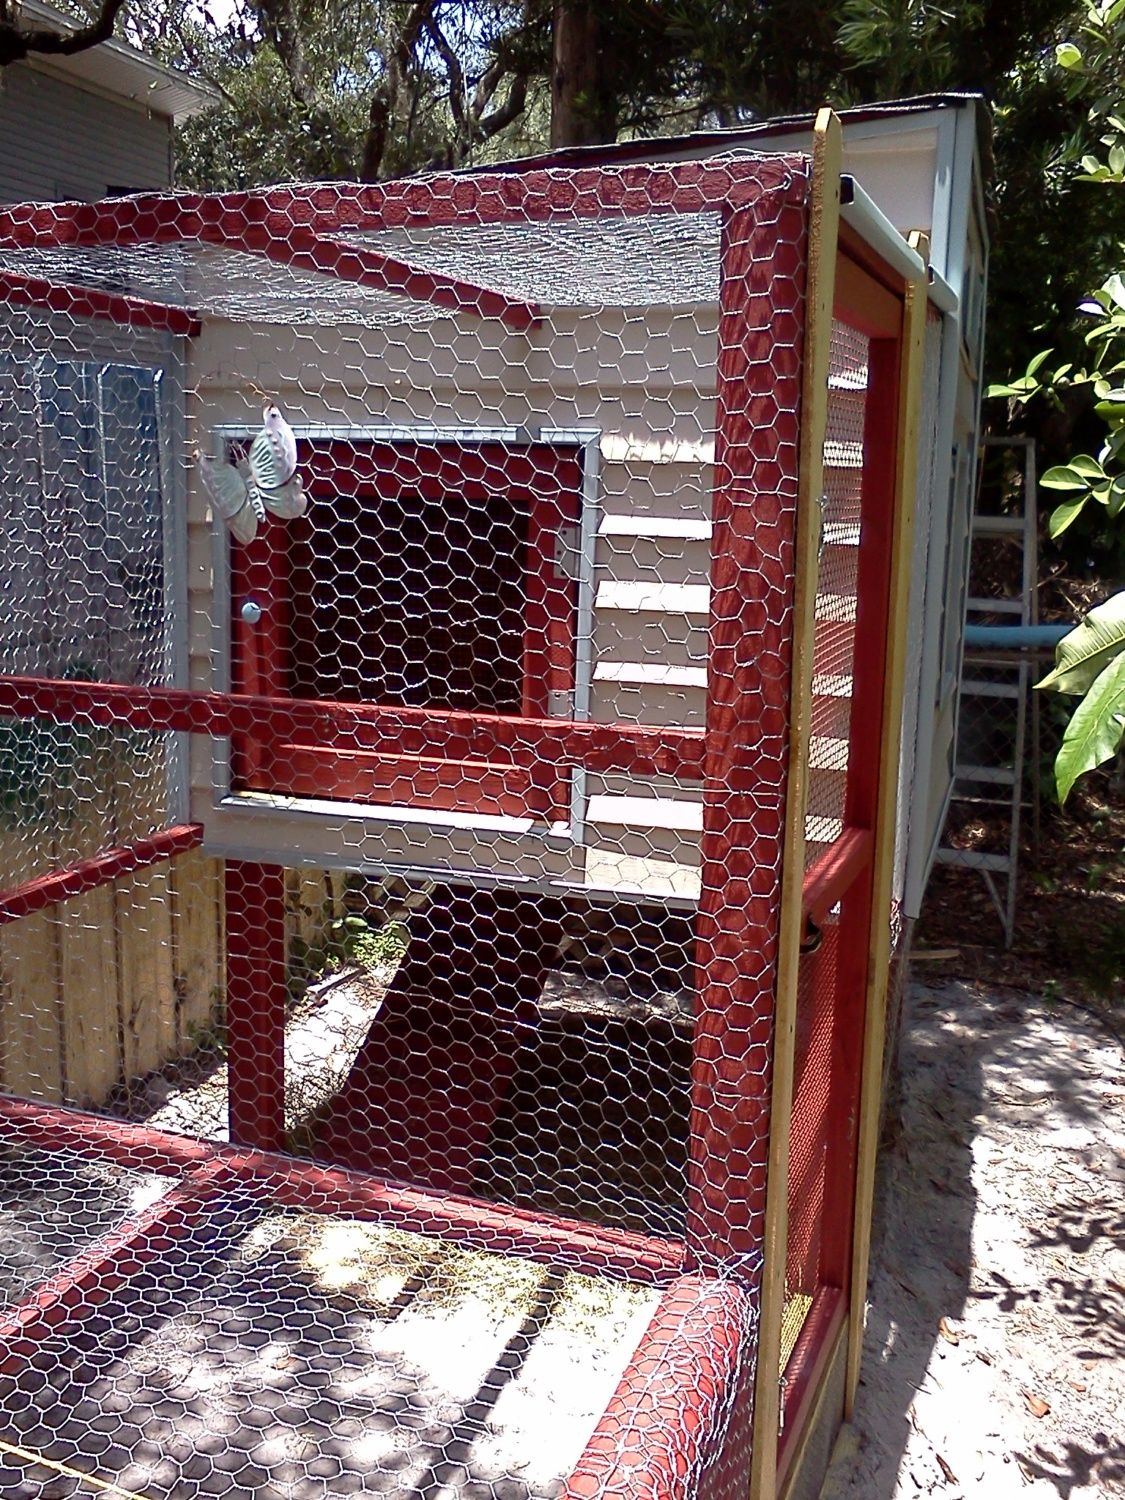
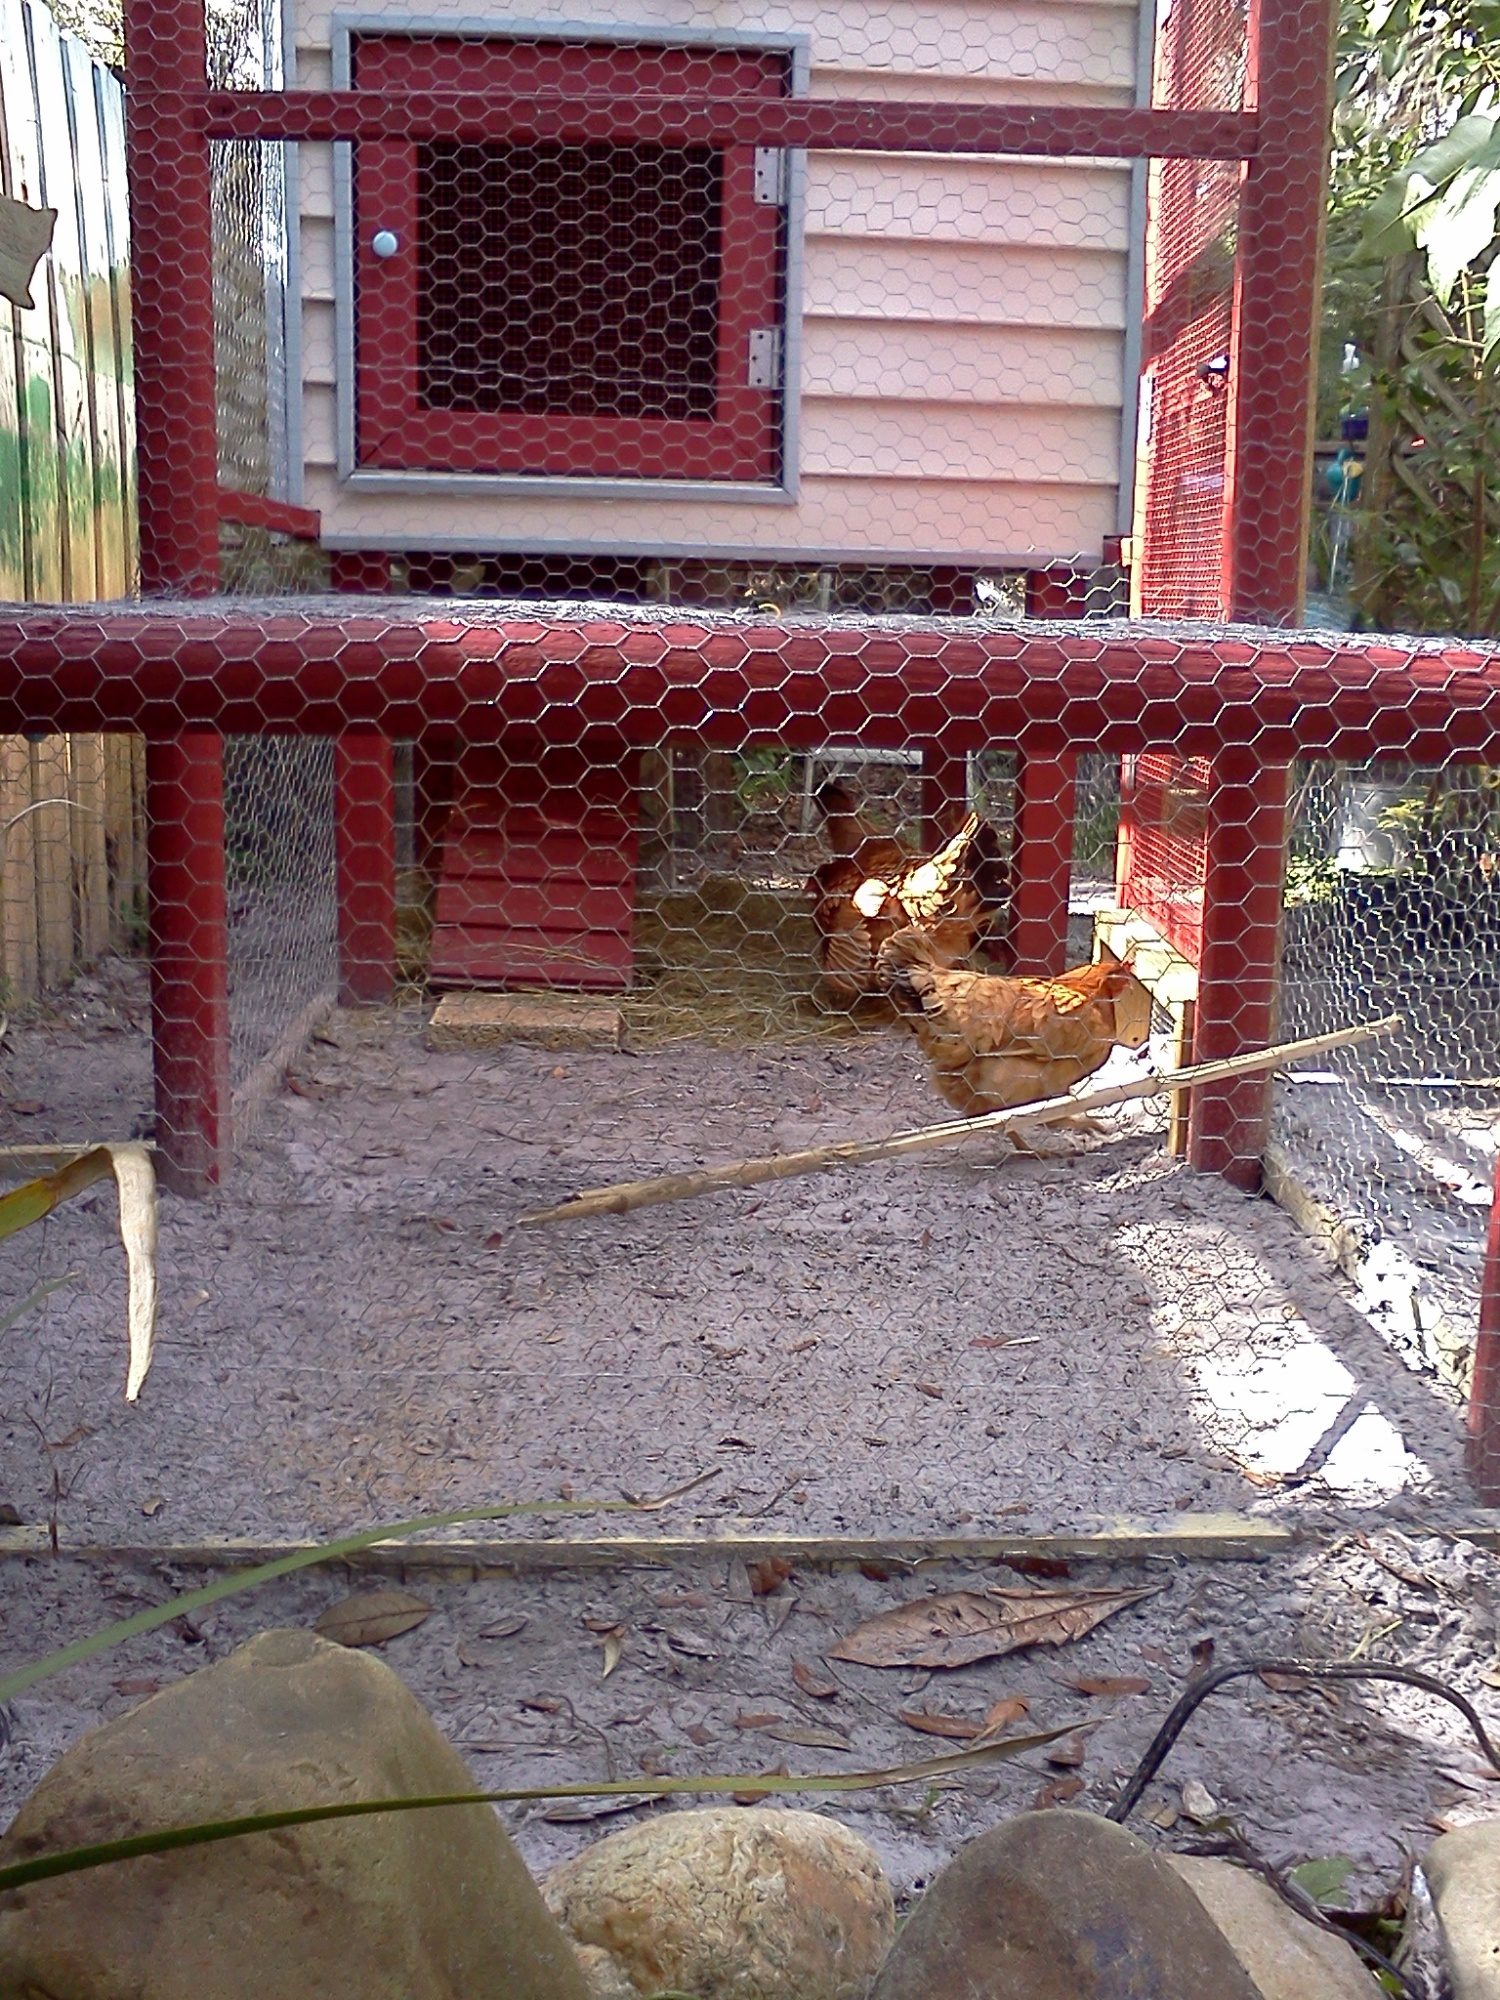
The bottom of the entry door was raised 12" off the ground to help keep the birds in when opening and closing the door. Door dimensions was 48" x 24" and is just large enough to go in and out with feed buckets or birds in hand. The 12" high step is awkward at first, but it eliminates fighting back any birds dashing for the open door. We made the pen door open inwards too, which helps make it harder for the inmates to rush their cell door!
Once the pen was framed, we began to lay the floor. Yes,..the Floor. Florida is a wildlife filled environment and racoons, possums, and other small predators are all present in our state and my urban neighborhood. We have lost many Koi to foragers and wanted to avoid any carnage with our new pets. To keep our new flock safe, we wanted the pen proofed against local night time visitors.
We painted all of the pen posts and boards in barn paint and then wrapped them in 1" chicken wire using nail in wire staples. The chicken wire sides were pulled UNDER and then up on the outside bottom rail, where it was nailed together with the dog wire to the outside of the board. Excess wire was trimmed off and the boards painted.
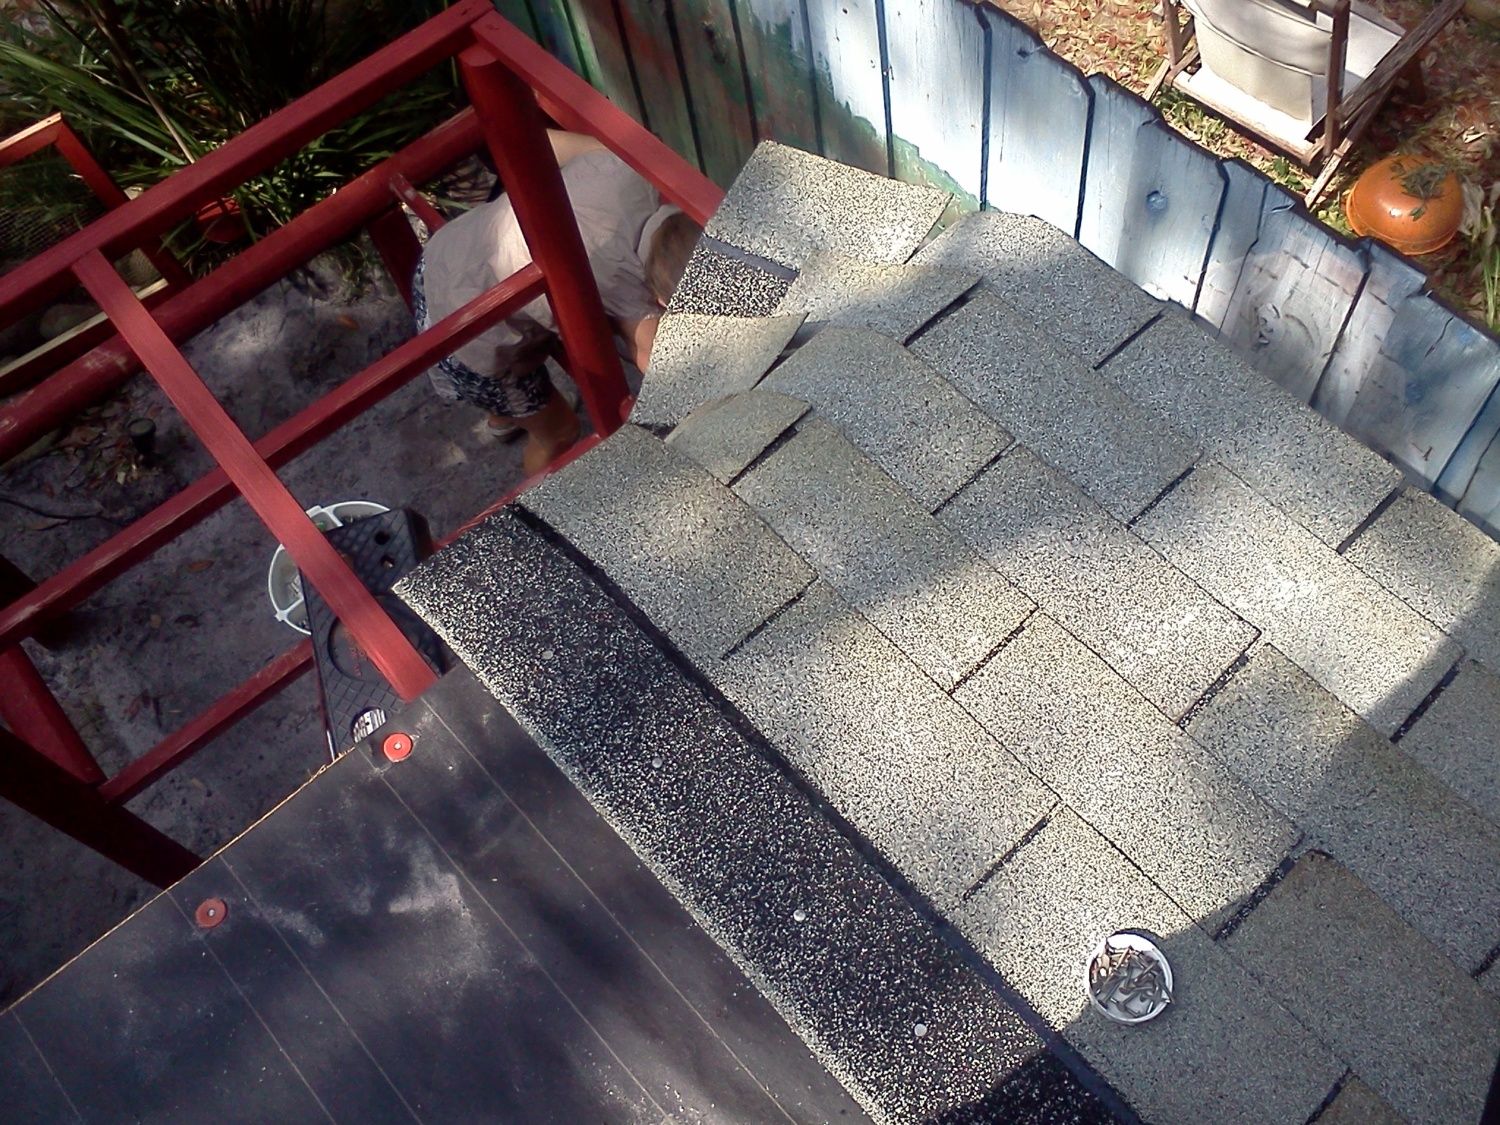
The roof was finished with tar paper and shingles left over from our last reroof,
Keeping our costs low once again. We made sure to leave an overlap of shingles at the edges so the water would not run down the siding. With the roof on, we could now put on the rest of the wire and siding. We wrapped the exterior in tar paper for a vapor barrier before nailing on the vinyl siding. Cutting the vinyl pieces to size with a pair of metal shears was a breeze and we had it wrapped and done in an afternoon.
\
We now hinged the small fence segment we had cut out earlier and hung it over the opening to create a trap door that opens to the neighboring yard where a 16 x 8 run is being built for the new birds. A pulley and cable runs to the front of the pen so we can open and close the door with ease. With the door and run addition, the chickens have tons of room to roam and are not so cramped after
being free ranged for so long. Our neighbors share the care for the birds and have dibs on equal share of eggs. The whole family has helped in the project and we are looking forward to sharing the fun and knowledge of keeping poultry with this next generation.
With the exterior pretty much done, we turned to finishing the inside. A Wire screen was added above the nests to keep the birds from climbing on the top nests occupants. We added a roost pole to give the birds a easy perch indoors. Edges were sealed to provide a scrubable surface. The bottom of the front clean out door is even with the floor so debris, hay and poop can be swept out the door. The doors and vent provide ample light and ventilation and the birds took to the new coop immediatly.
With the birds now transferred to their new home, we could start on the chicken run. Our neighbor, who was hosting the girls in his yard while we built the new digs, carefully dissassembled the old night coop and used the two 8' long walls for the outside wall of the new run on his side, recycling as much as possible once again. Going back to the scrap pile, we again cut 2x2s out of larger boards to make the remaining top and sides of the run. The fence between our yards provided a conveinant two walls, needing only dog wire buried 12" around the perimeter to make it safe for day use. We even used the old coop doors and hardware as well for the other side of the trap door, picking the old coop carcass clean and breathing new life into old wood and wire! Used the same door sizes and design as the coop (why mess with success!) and then got to painting again. Once more, Barn Paint ($8 gal) hides a lot of carpentry sins and errors, so use lots!
I Did! .
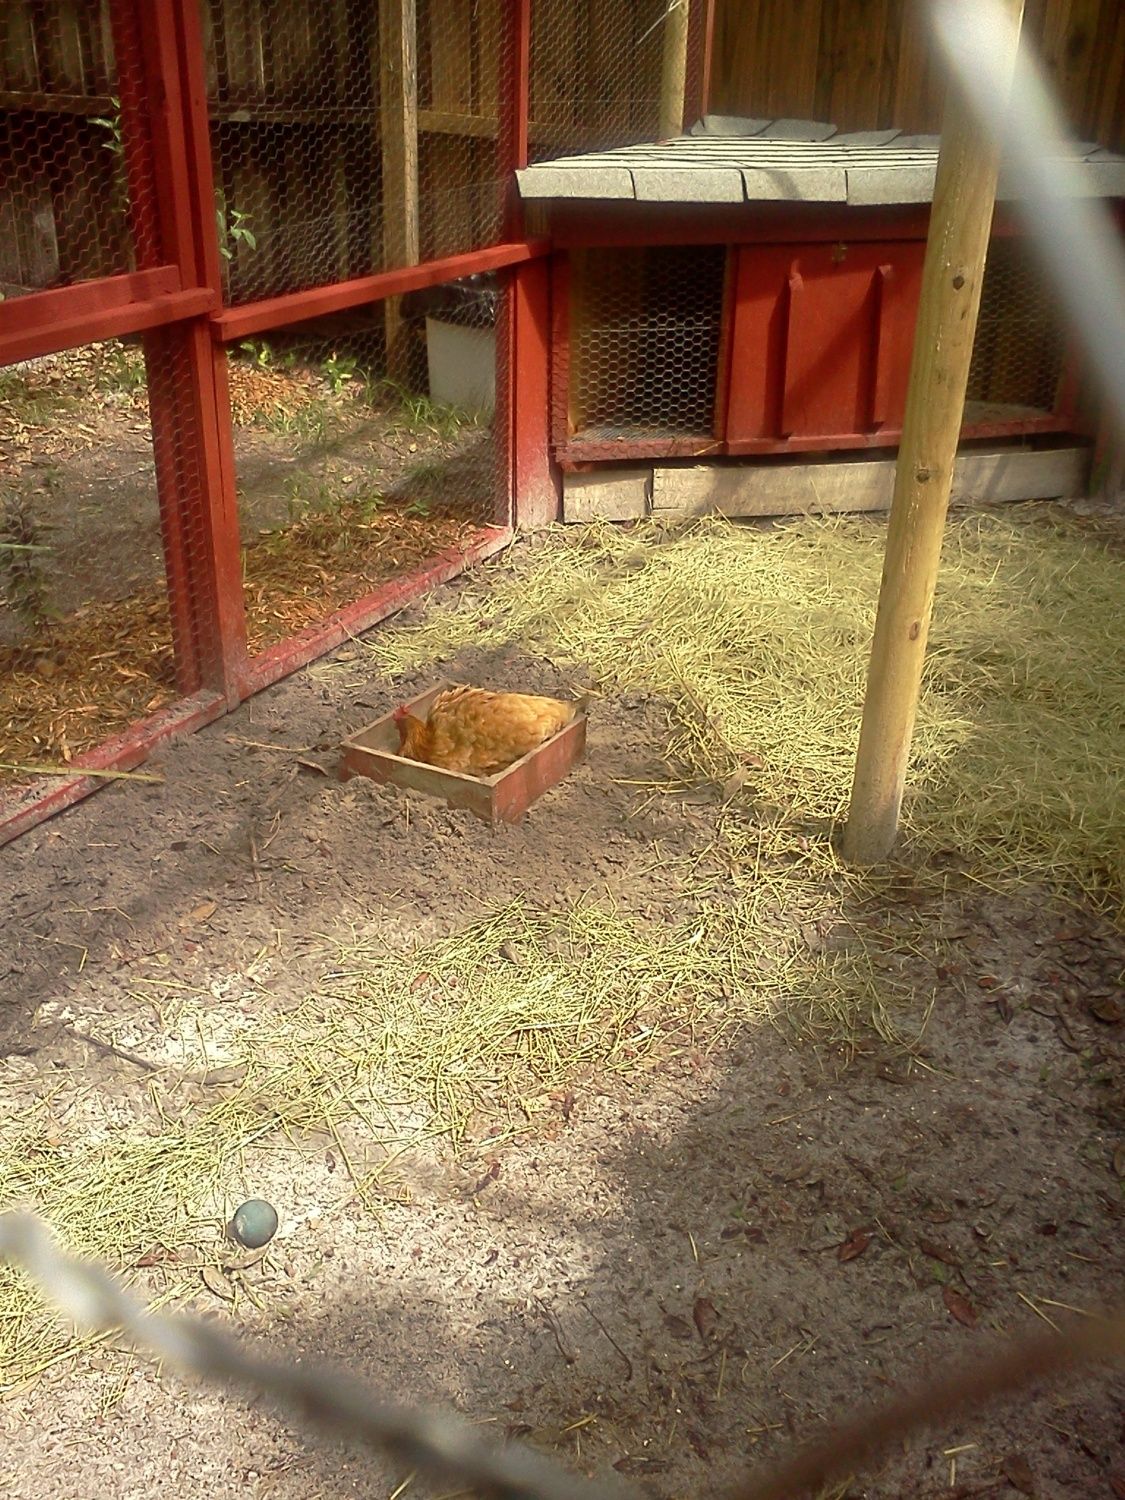
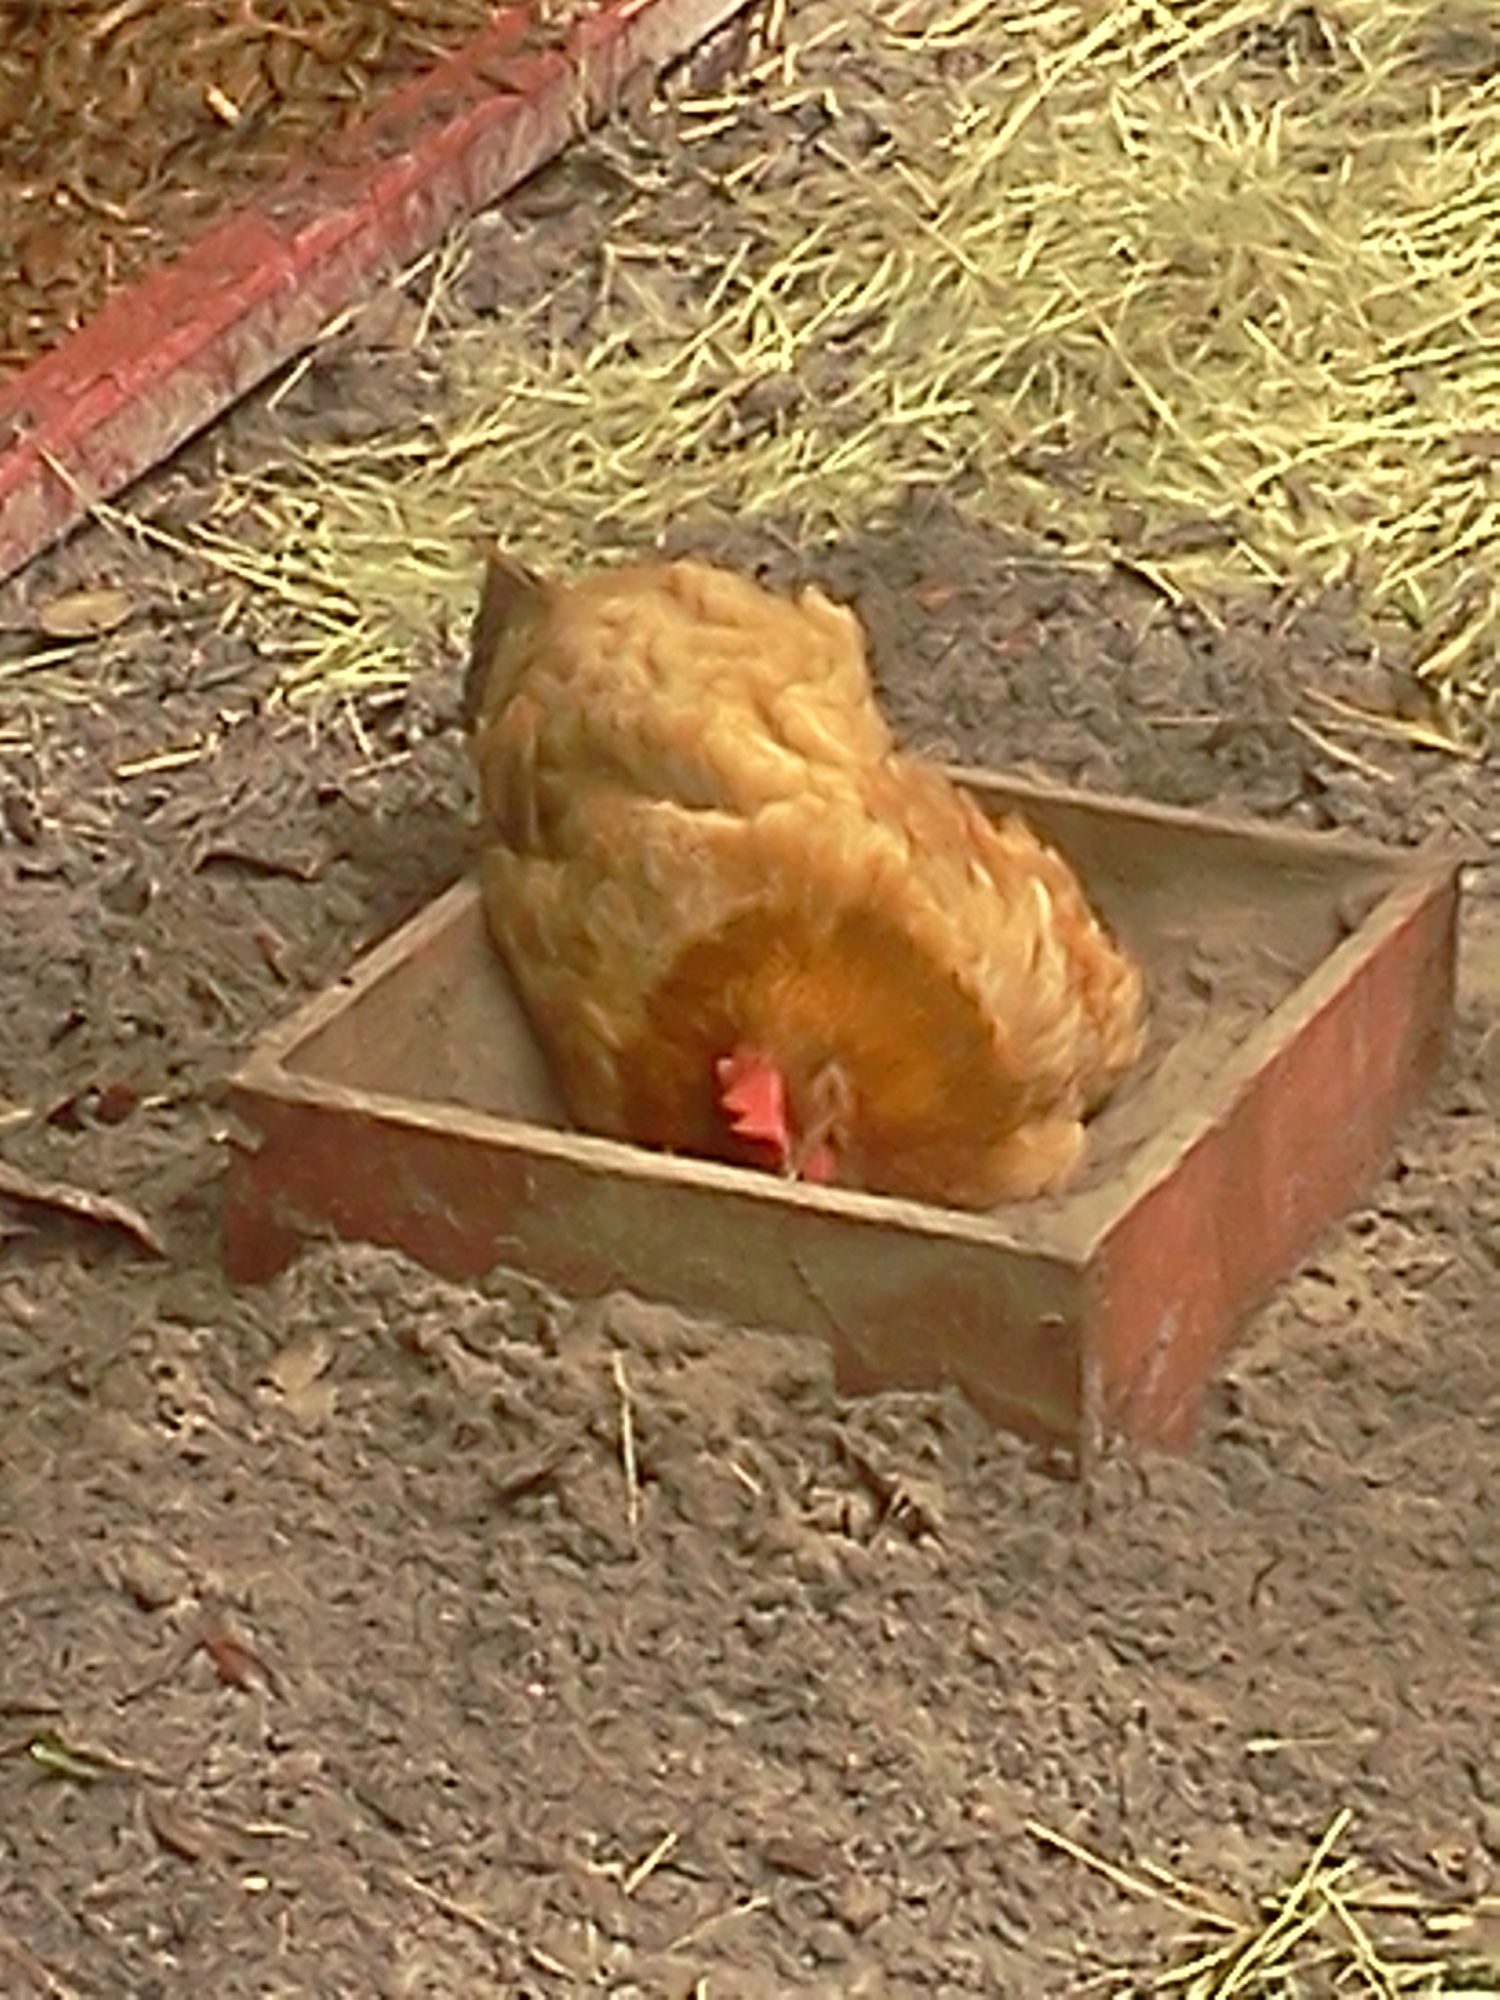
The new finished run includes a buried Dust Box for the birds to sit in. Filled with white play sand and diatomaceous earth, the birds love to sit and dust themselves to keep the mites and parasites under control. Its just a recycled wood box with slats on the bottom for drainage, buried about 6 inches deep in the pen and filled with the D.Earth and sand. The birds will literally roll in it to coat themselves in the bug killing dust.
Now its was just a matter of painting and enclosing the new chicken run. Once again we used 34" spacing for the frames for the 36" wire, giving us a generous and easy to work overlap when stapling the wire down to the wood. As we were finishing the run, we acquired our newest flock members; three baby sex links about 4 weeks old
.
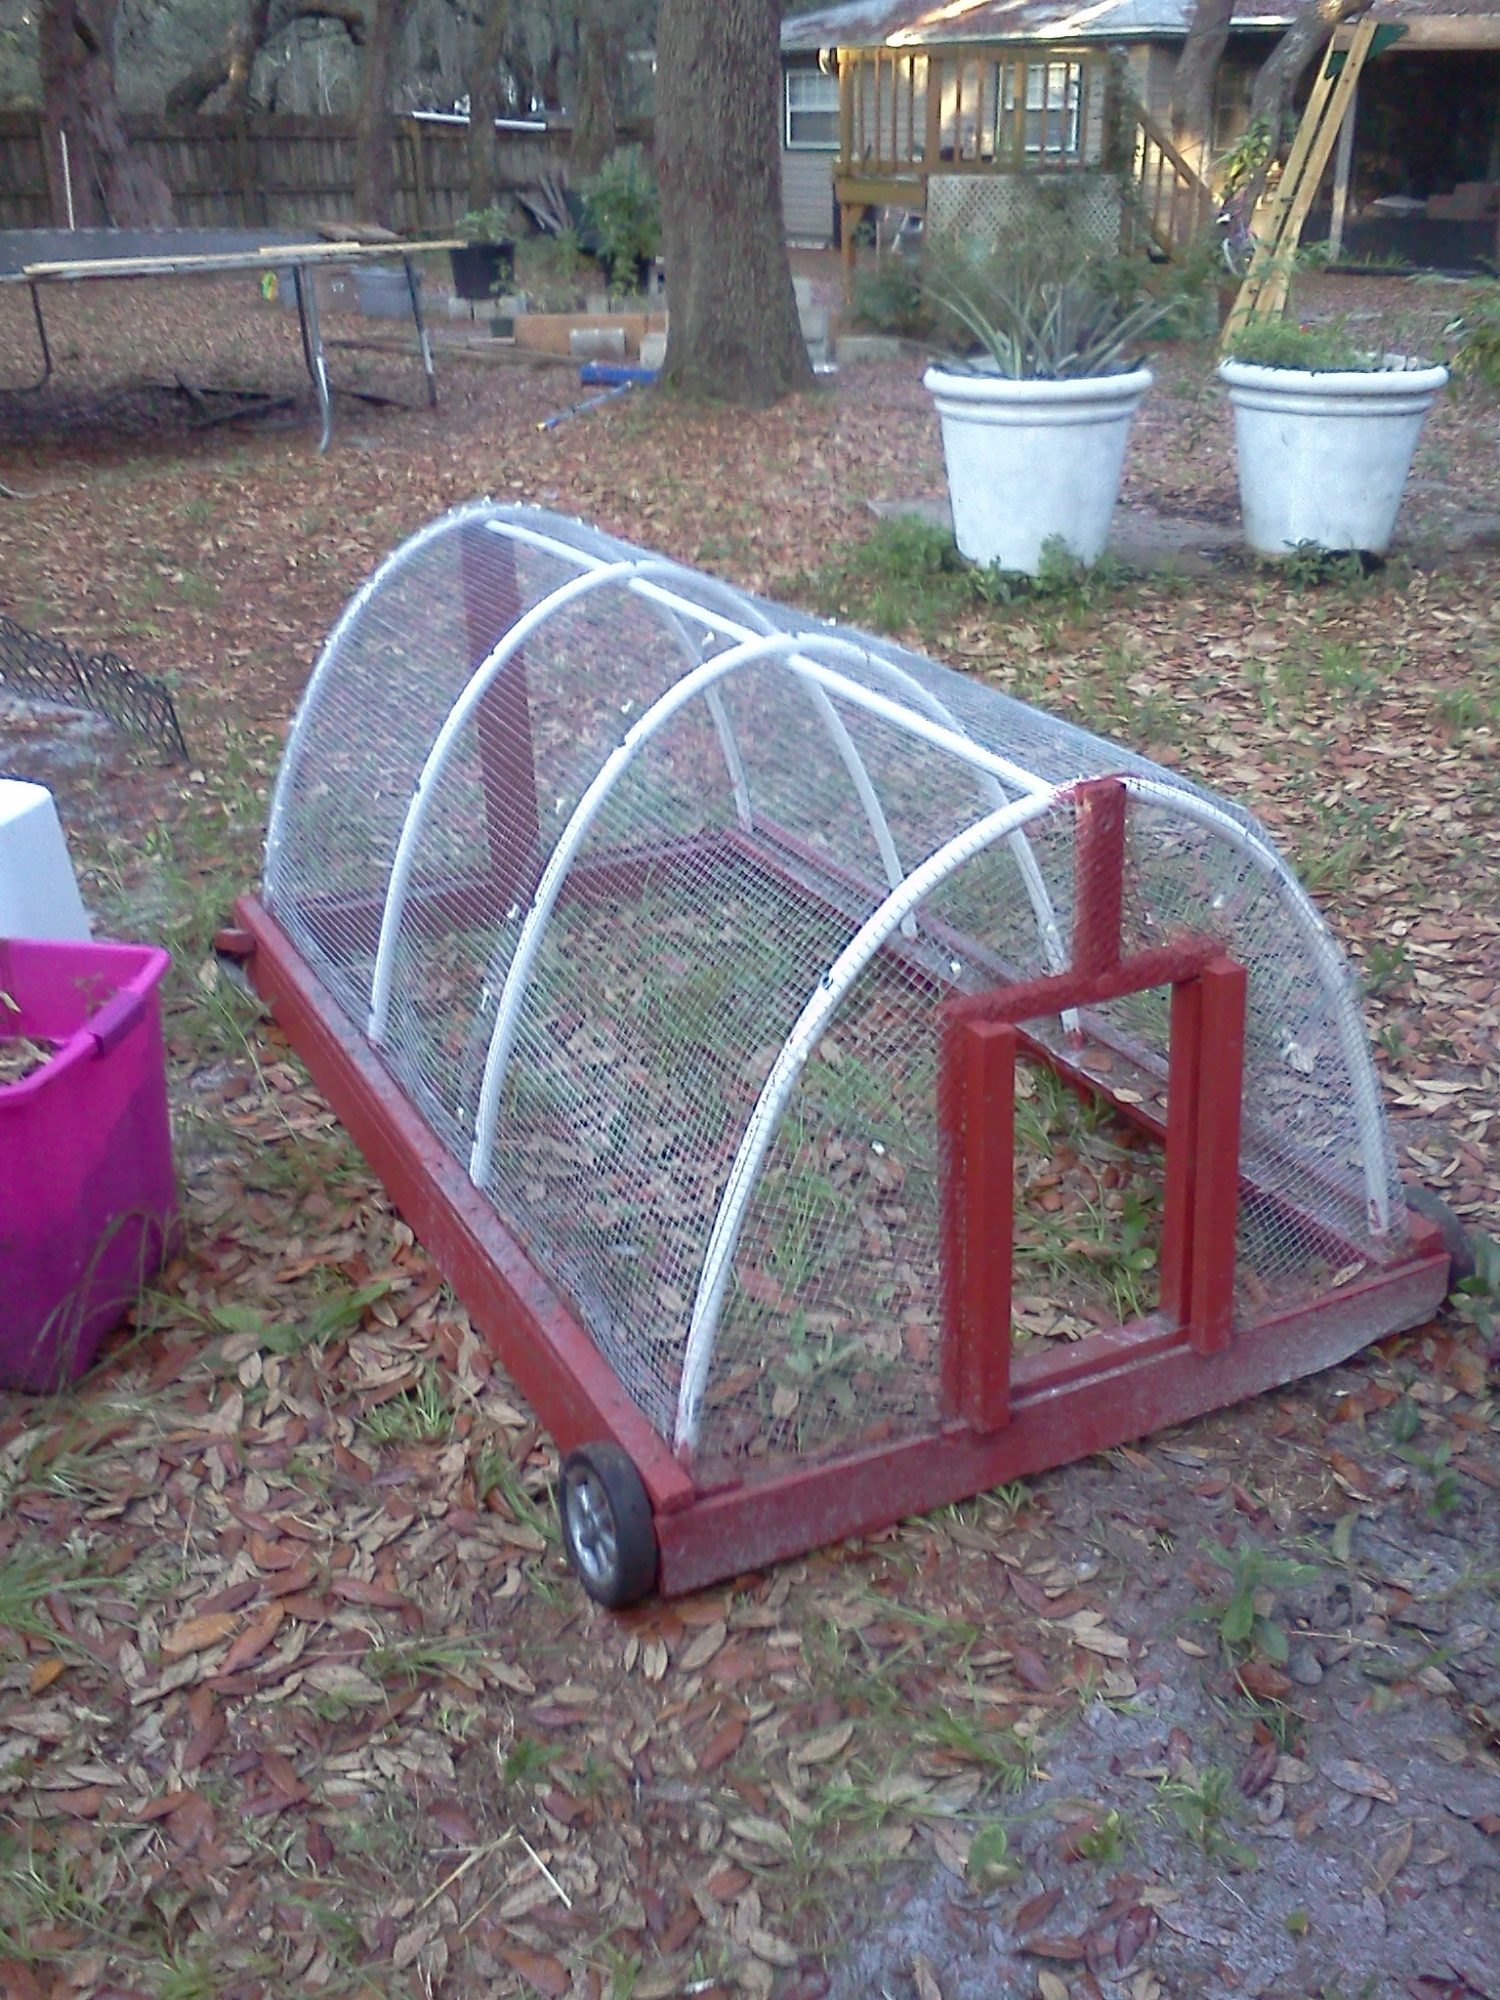
They are living in the chicken tractor we built from scrap pallets, old pvc and a busted luggage cart. The chicks will need to stay in quarantine for another few weeks before meeting the flock through the wire. Once they get near the adults size, we will let them mix physically. Meanwhile, the three stooges are a gas to watch and will be a fun addition to the flock. They are just getting a second set of feathers and rocket around the tractor pen like meteors trying to take flight. Soon they will have tons of space to run in.
We had a ball building our Birds of Paradise coop and run, and we can Thank BYC.com and all the contributors for the inspiration!
What will YOUR Coop look like?
 Birds in Paradise Coop Design.
We briefly thought of buying a bigger coop, but after seeing all the cool designs and neat ideas here at Backyard Chickens, we decided to make our new pets a spacious Chicken Paradise of thier own. We started by looking for a coop design we liked as a starting point and found it in the "Maxwell House's" coop in the medium coop design section. see https://www.backyardchickens.com/a/the-maxwell-houses-member-page.
Great Job, Guys!

We took their provided dimension designs and expanded them a bit to fit our ground space and larger interior requirements for the corner of our side yard.
First came the foundation posts and floor. We used mostly recycled wood for the project by cutting apart packing pallets and cleaning off the nails and rough edges. A little pressure washing and the wood looks like new. We used both new and old surplus poles we had lying around the property to set the four supports 24" deep in concrete.
Tied at the outside with recycled 2x4s, it creates a 48x48 outside square. We made one side 6 inches higher than the other (48" from floor vs 42") to create a roof slope and a rafter cooling space as we live in humid, hot Florida. We used 1/2" plywood from my wood scraps pile to cover the floor patchwork like, leaving an adequate sized elongated hole for the ramp. We covered the floor and nest box bottoms in tar paper to create a vapor barrier and make clean up a little easier and then more pallet slats for sides and bottoms.
.

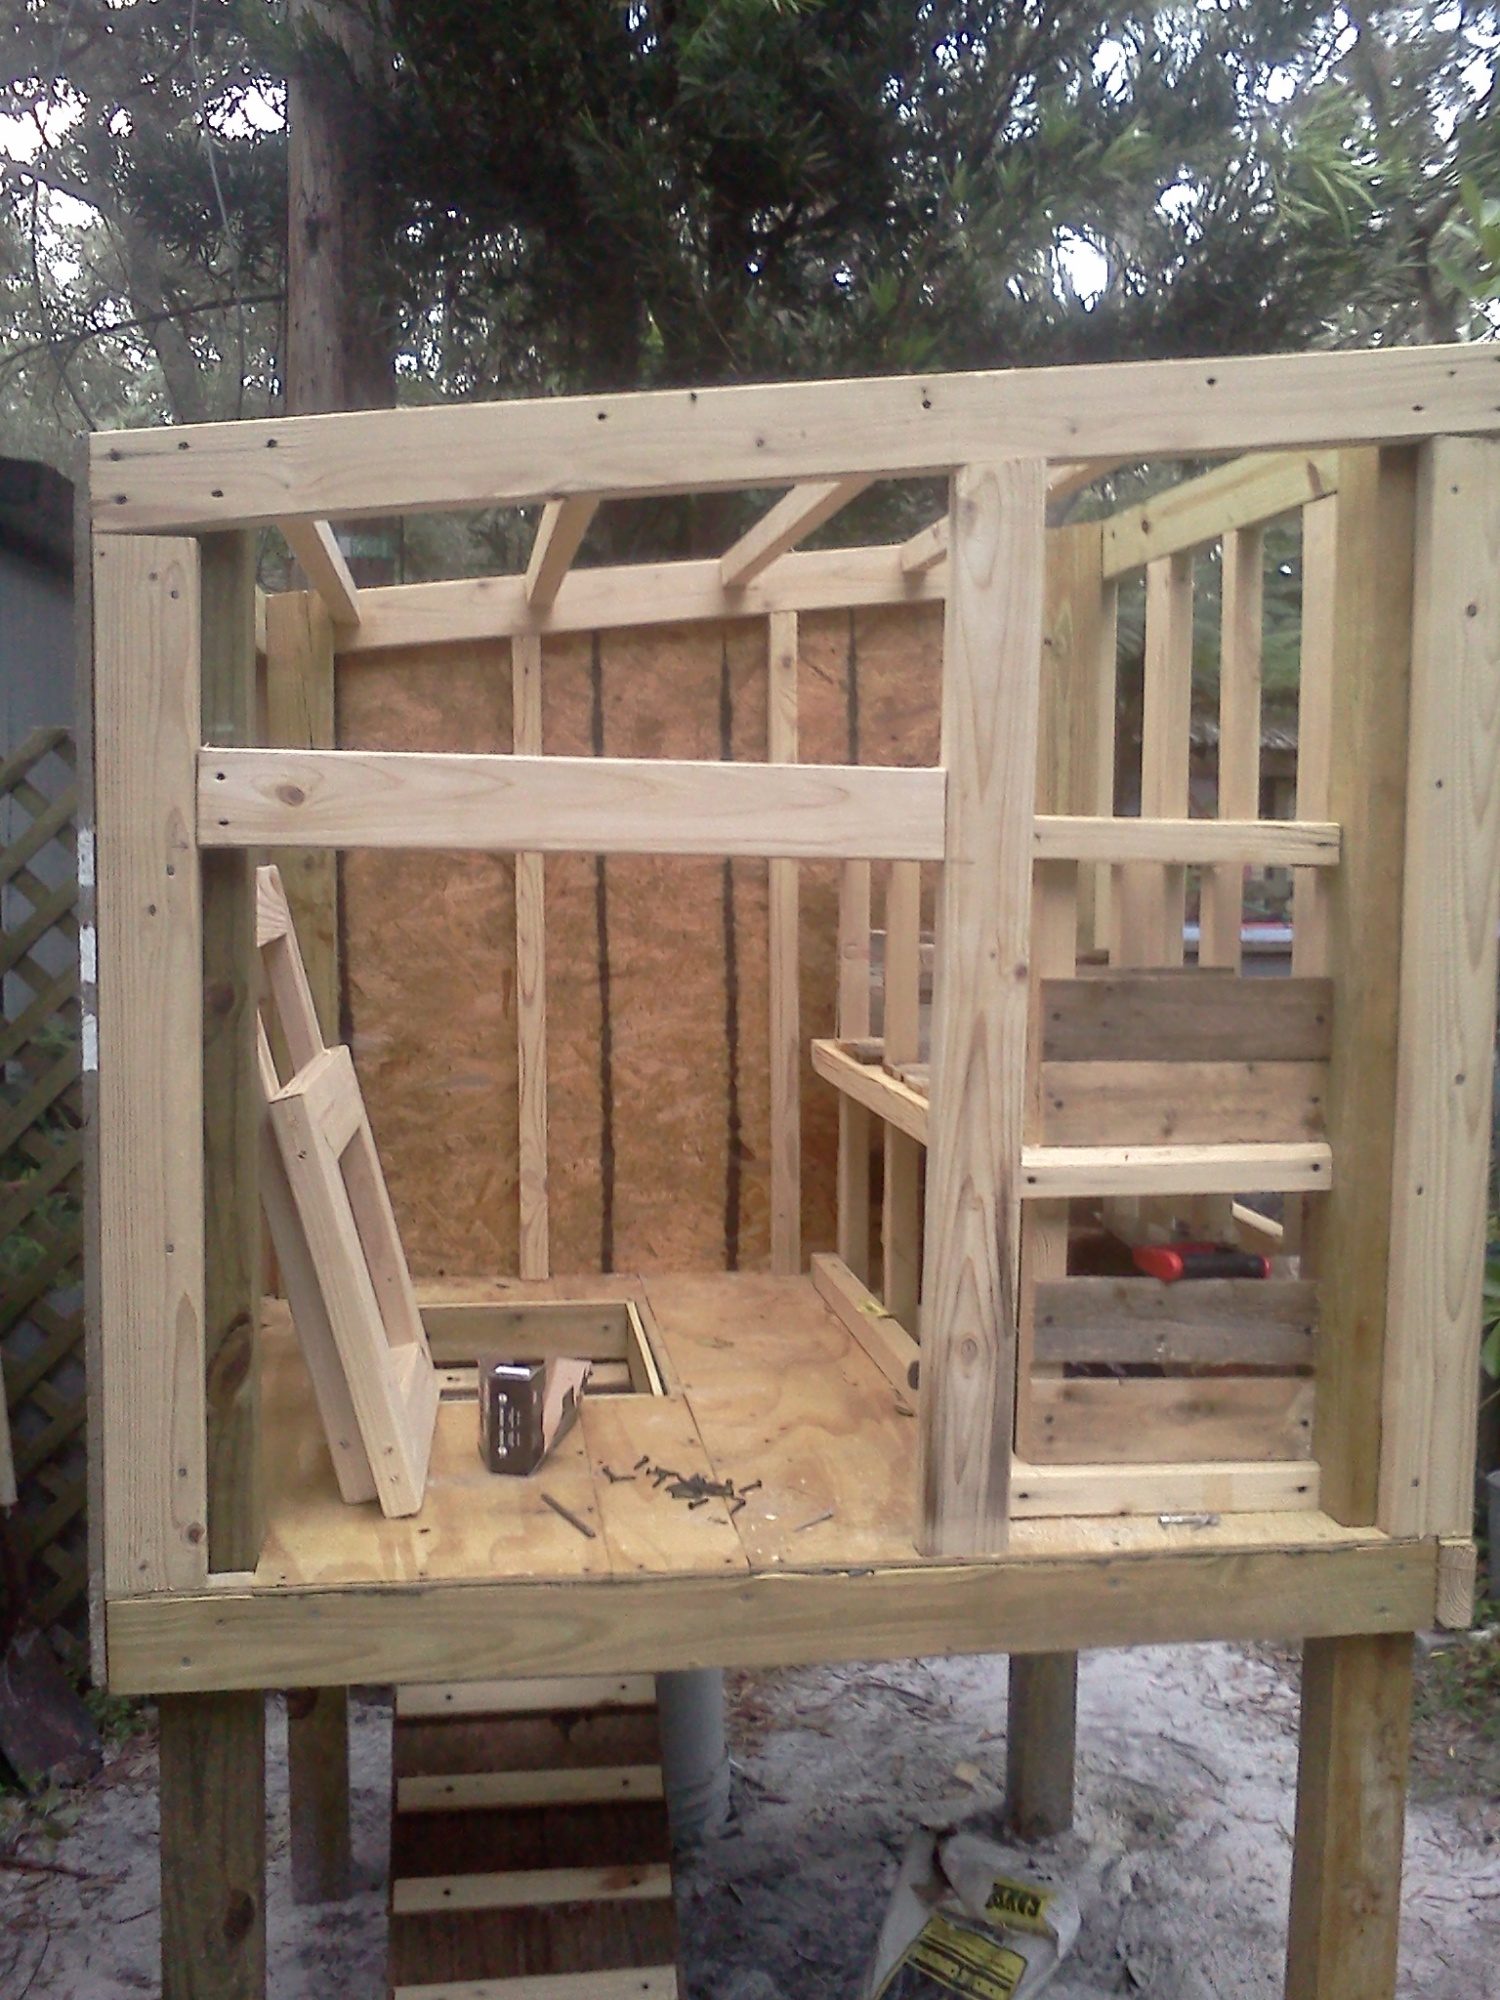
Both vent and egg door openings can be closed off in cold or stormy weather. Next came the Ramp. Using more plywood scrap, we cut a 14" wide strip of 3/4" plywood and backed it with two long 2x2 boards runing the length for rigidity.
We used scraps from the wood trimmings to cut 1/4" strips for the ramp treads, then screwed them directly to the plywood. The back of the ramp is hinged at the top to allow it to be pulled up and latched closed, locking the birds in for big storms or other emergencies. The Front clean out door is 32" wide to allow easy in access for cleaning out the boxes and floors.
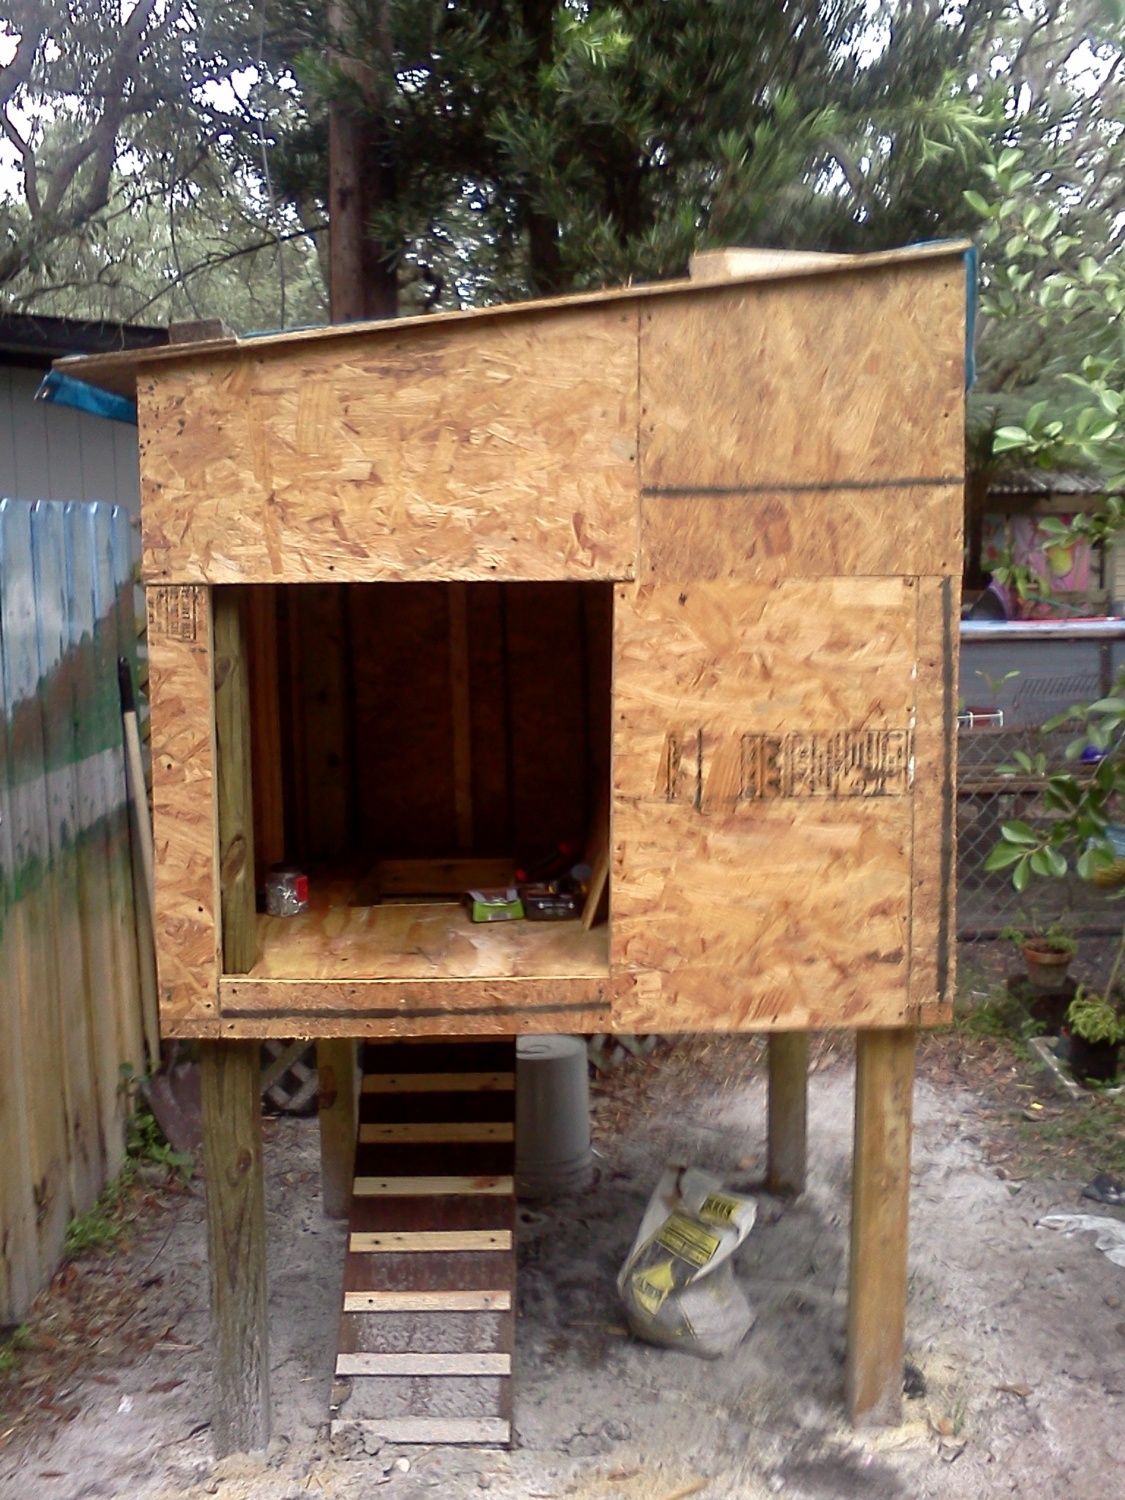
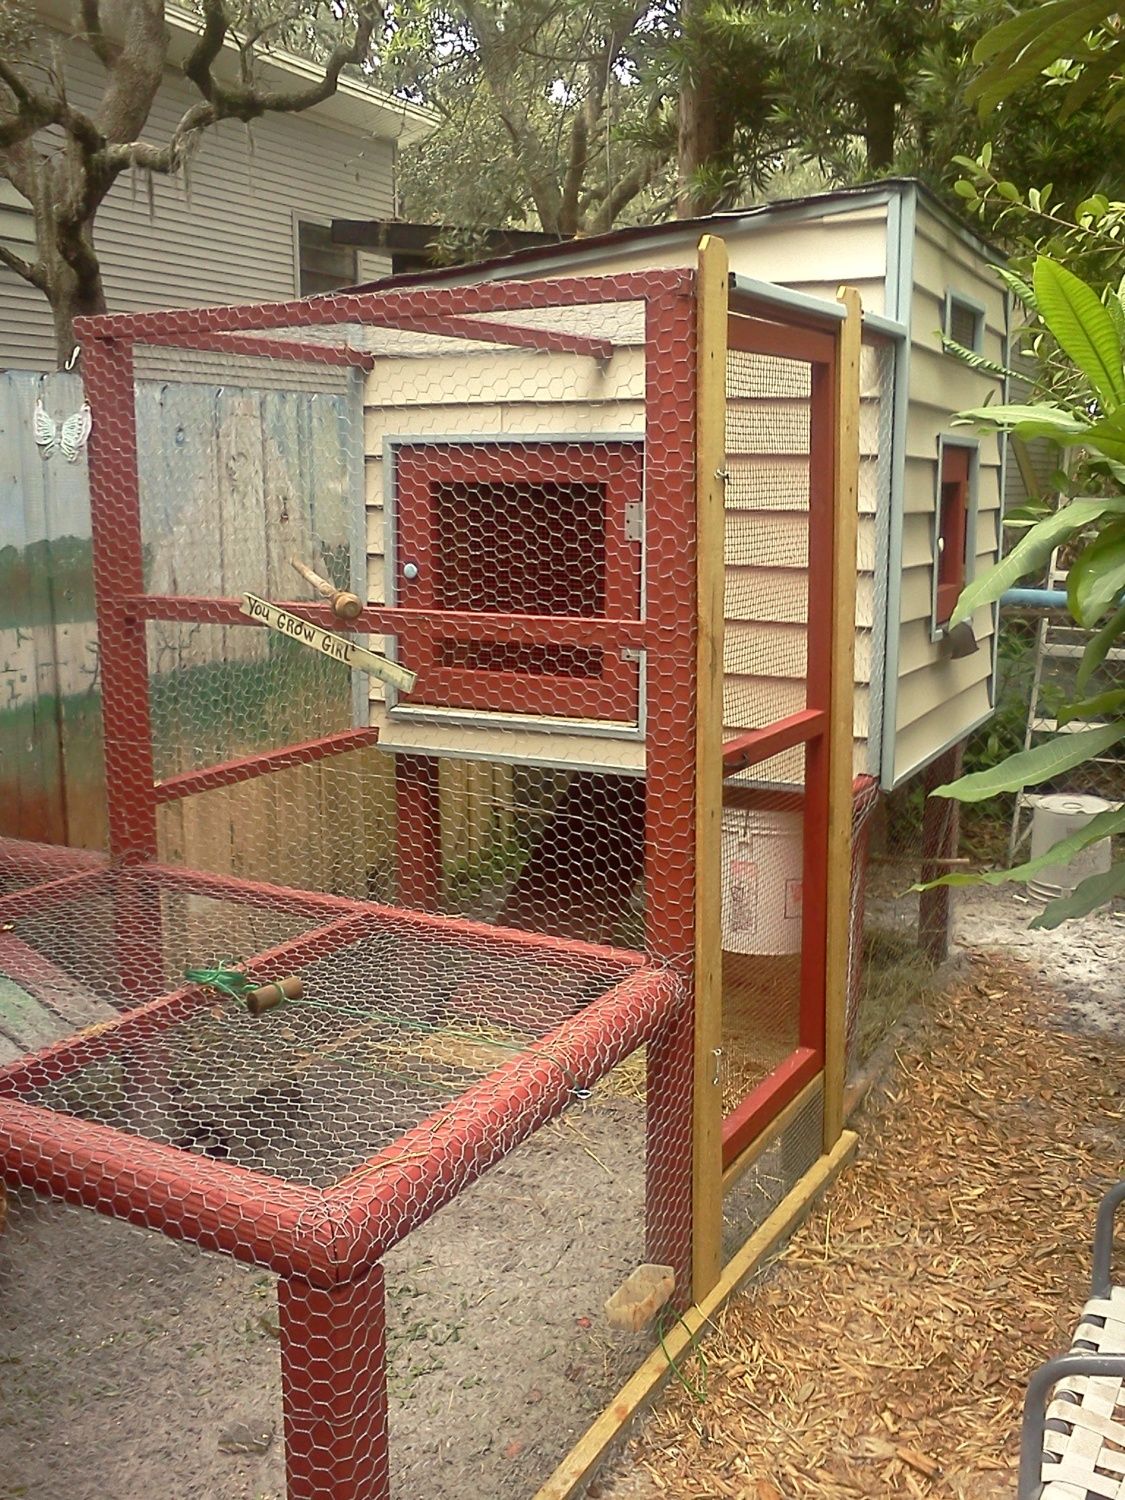
Once the sheathing was on, we fished out the left over siding from when we did our house remodel and covered the exterior to match our house. Blending in is Good in a Deed Restricted setting, and it makes for an attractive coop area. But before we added the siding, we needed to complete the open pen area and make a gate so the birds could go between our yard and our neighbors. We carefully framed the section we cut out into a panel so we could use it as the door later. You'll see why as we near the end ..

Now that we had the coop and our fence portal cut, we turned to framing the pen. I used inexpensive Landscape logs ($ .96 each) for posts along with some old 4x4 fence posts that still had some life in them. No one can tell 'em from new once they get a coat of barn paint. We didn't bother with concrete for the pen poles, just made sure they were in deep enough to stand their weight without leaning. Once they were tied together with the boards and slats, it was solid as a rock.
We made the area just outside the clean out door full height (just over 5') to make cleaning a breeze. In our 50s now, we have no idea how long we can continue to stoop and crawl around, so we added this high zone to allow us to walk in and out of the pen for cleaning and care of the birds without stress. 
The bottom of the entry door was raised 12" off the ground to help keep the birds in when opening and closing the door. Door dimensions was 48" x 24" and is just large enough to go in and out with feed buckets or birds in hand. The 12" high step is awkward at first, but it eliminates fighting back any birds dashing for the open door. We made the pen door open inwards too, which helps make it harder for the inmates to rush their cell door!

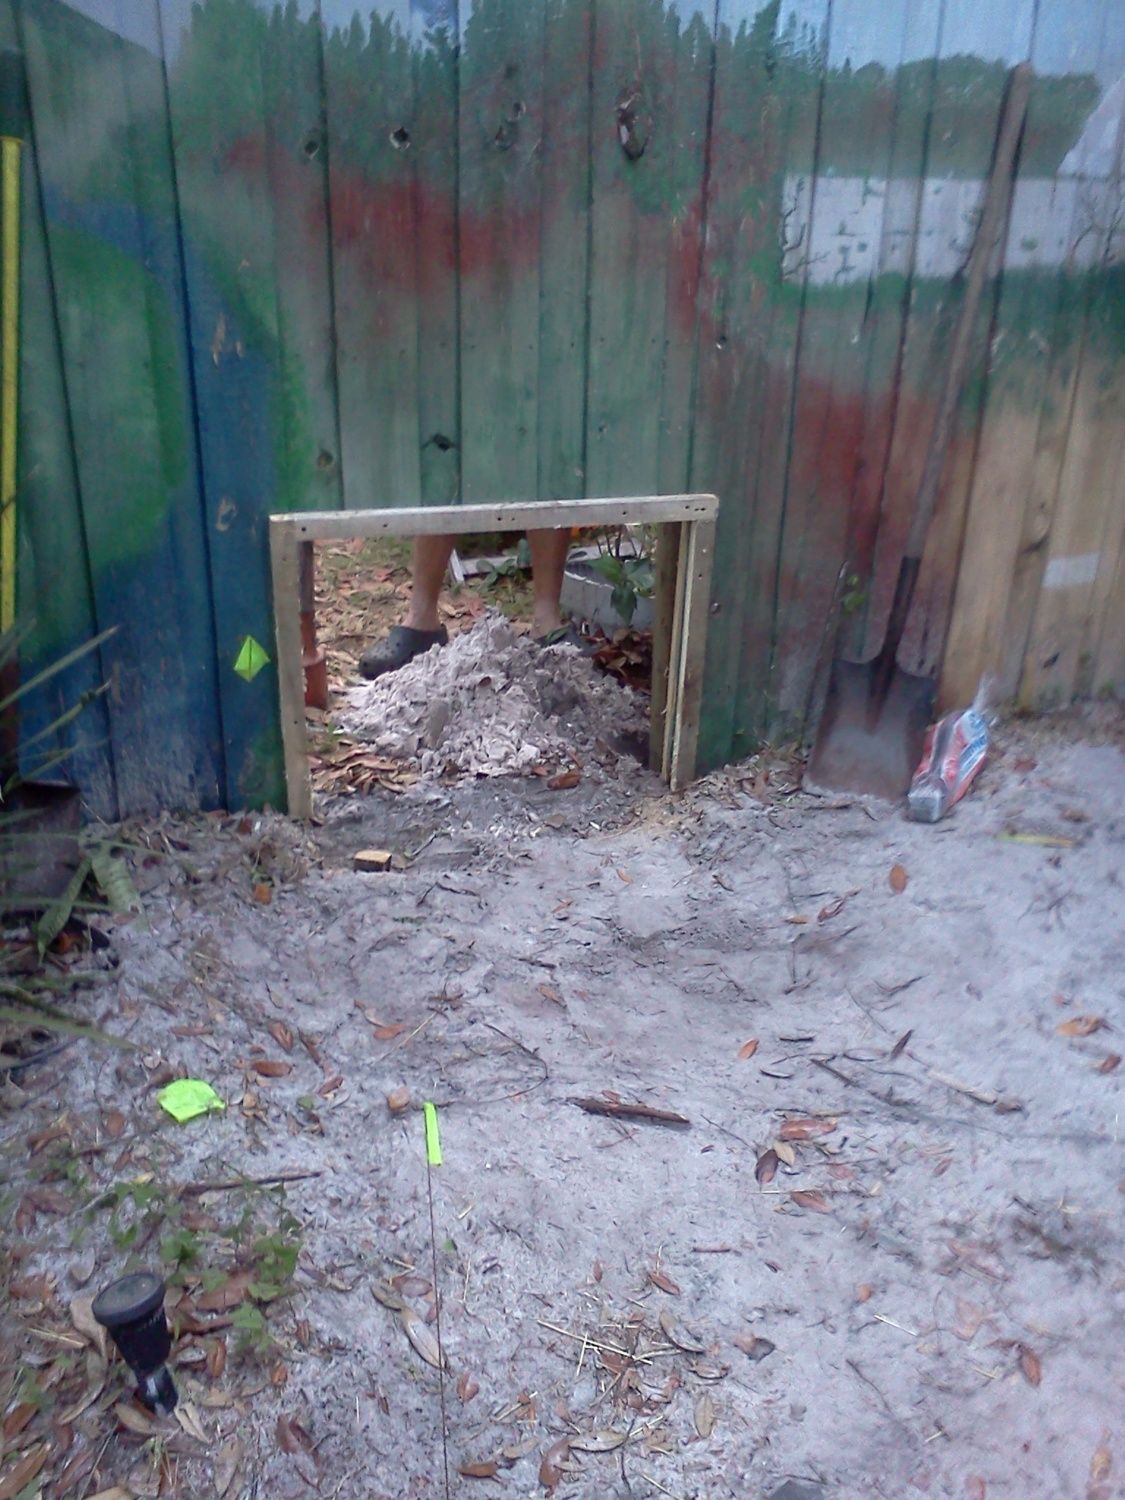
Once the pen was framed, we began to lay the floor. Yes,..the Floor. Florida is a wildlife filled environment and racoons, possums, and other small predators are all present in our state and my urban neighborhood. We have lost many Koi to foragers and wanted to avoid any carnage with our new pets. To keep our new flock safe, we wanted the pen proofed against local night time visitors.

We used dog pen wire (2" x 4") to create our critter barrier on the bottom of the pen area. First, we dug down and removed about 6 inches of soil from the pen area. Then we carefully cut and laid the dog wire in the pen, cutting around the posts and edges and leaving about 4 inches Outside the pen boundry. Once in place, we replaced the soil in the pen over the wire and now had a wire grid UNDER the pen covered in 6 inches of soil. Now we finished framing in the pen walls and roof so we could get to the wire.We took care to make our frames no more than 34" apart to take advantage of the cheaper 36" wire rolls.
We painted all of the pen posts and boards in barn paint and then wrapped them in 1" chicken wire using nail in wire staples. The chicken wire sides were pulled UNDER and then up on the outside bottom rail, where it was nailed together with the dog wire to the outside of the board. Excess wire was trimmed off and the boards painted.
The roof was finished with tar paper and shingles left over from our last reroof,
Keeping our costs low once again. We made sure to leave an overlap of shingles at the edges so the water would not run down the siding. With the roof on, we could now put on the rest of the wire and siding. We wrapped the exterior in tar paper for a vapor barrier before nailing on the vinyl siding. Cutting the vinyl pieces to size with a pair of metal shears was a breeze and we had it wrapped and done in an afternoon.

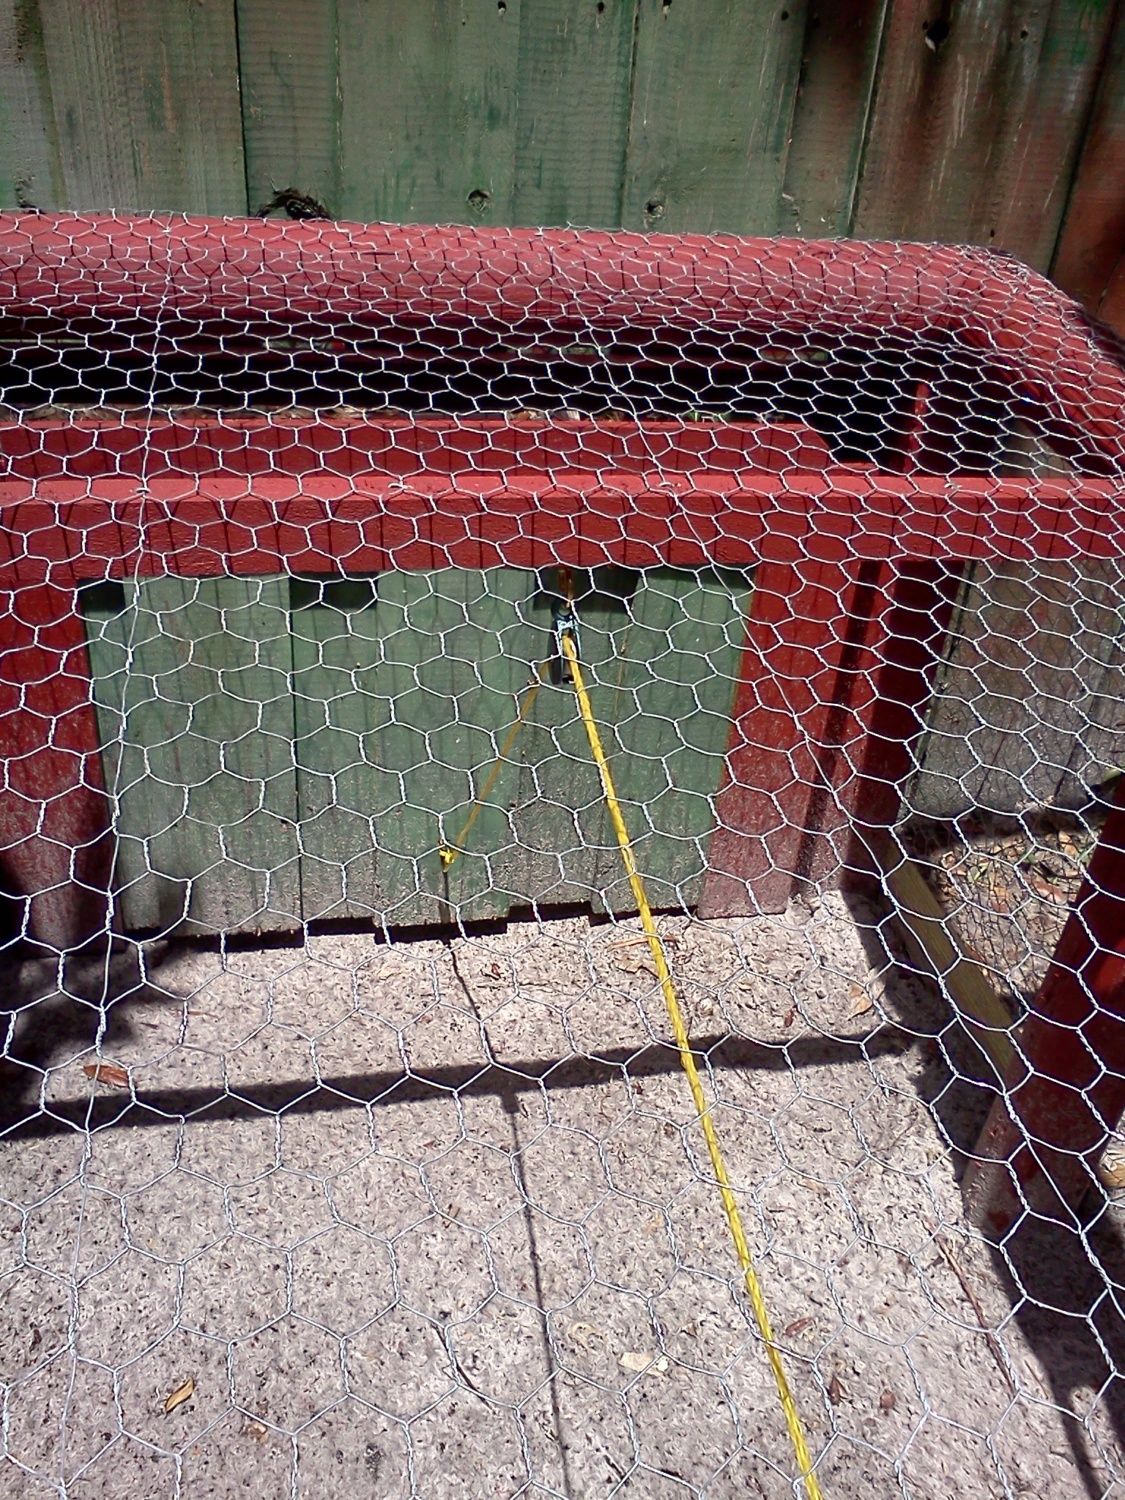 \
\We now hinged the small fence segment we had cut out earlier and hung it over the opening to create a trap door that opens to the neighboring yard where a 16 x 8 run is being built for the new birds. A pulley and cable runs to the front of the pen so we can open and close the door with ease. With the door and run addition, the chickens have tons of room to roam and are not so cramped after
being free ranged for so long. Our neighbors share the care for the birds and have dibs on equal share of eggs. The whole family has helped in the project and we are looking forward to sharing the fun and knowledge of keeping poultry with this next generation.

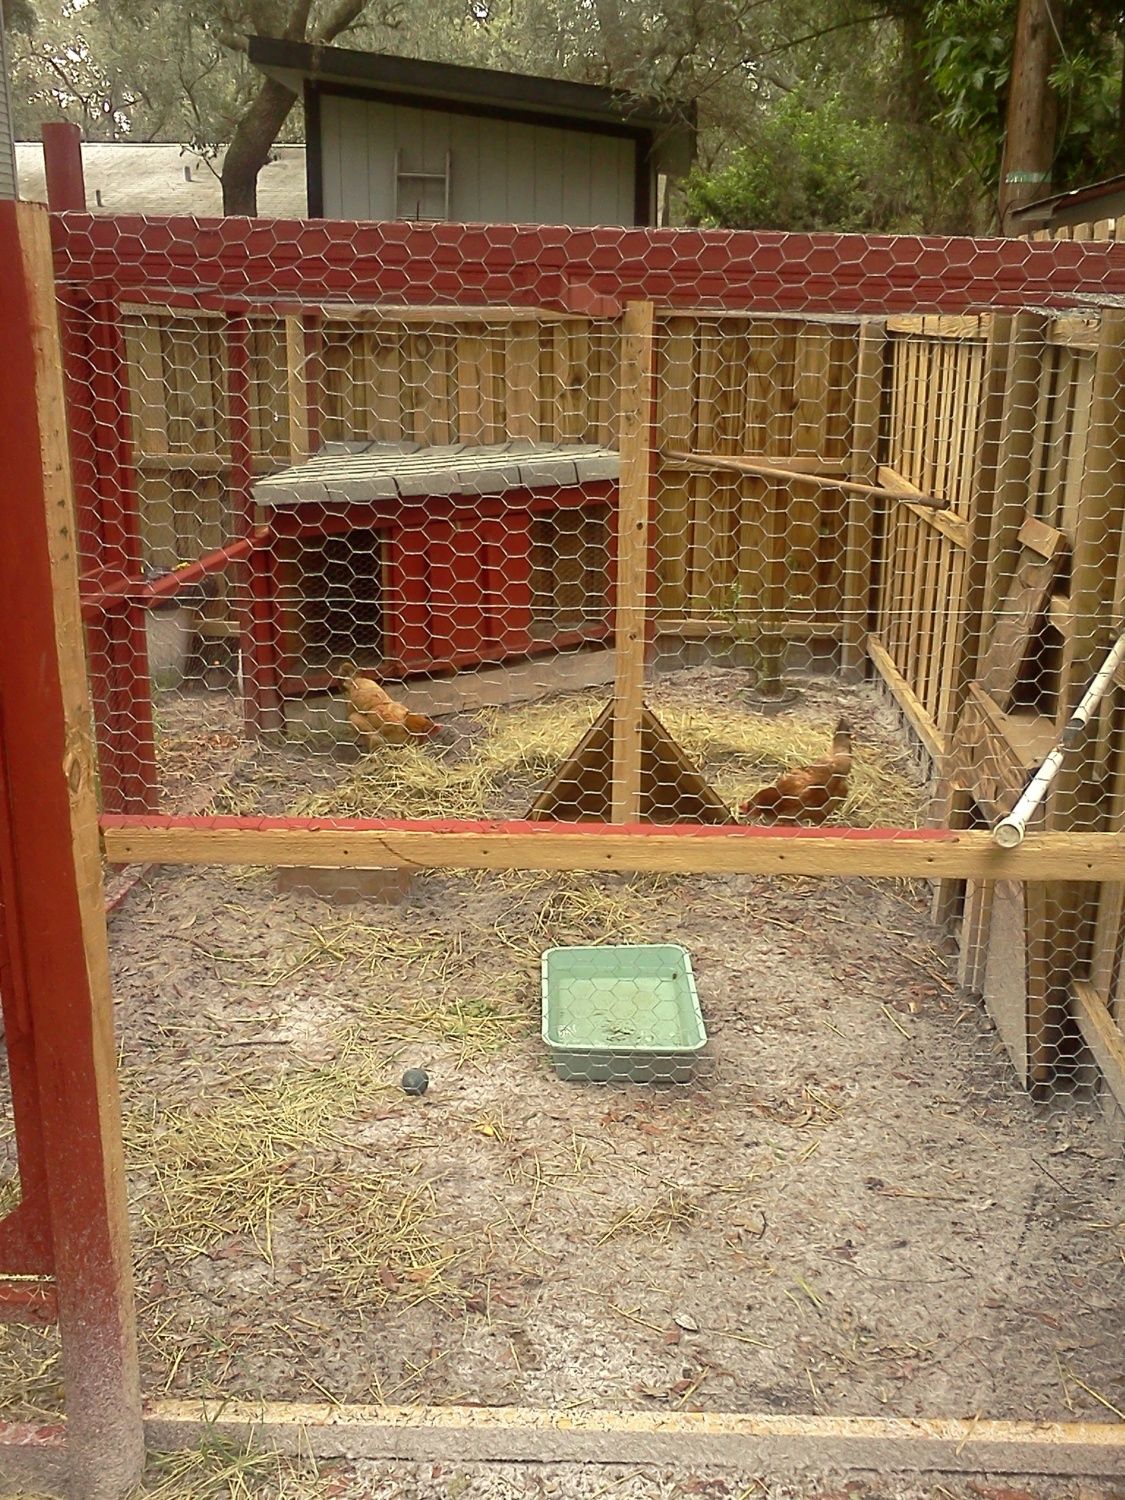
With the birds now transferred to their new home, we could start on the chicken run. Our neighbor, who was hosting the girls in his yard while we built the new digs, carefully dissassembled the old night coop and used the two 8' long walls for the outside wall of the new run on his side, recycling as much as possible once again. Going back to the scrap pile, we again cut 2x2s out of larger boards to make the remaining top and sides of the run. The fence between our yards provided a conveinant two walls, needing only dog wire buried 12" around the perimeter to make it safe for day use. We even used the old coop doors and hardware as well for the other side of the trap door, picking the old coop carcass clean and breathing new life into old wood and wire! Used the same door sizes and design as the coop (why mess with success!) and then got to painting again. Once more, Barn Paint ($8 gal) hides a lot of carpentry sins and errors, so use lots!
I Did! .

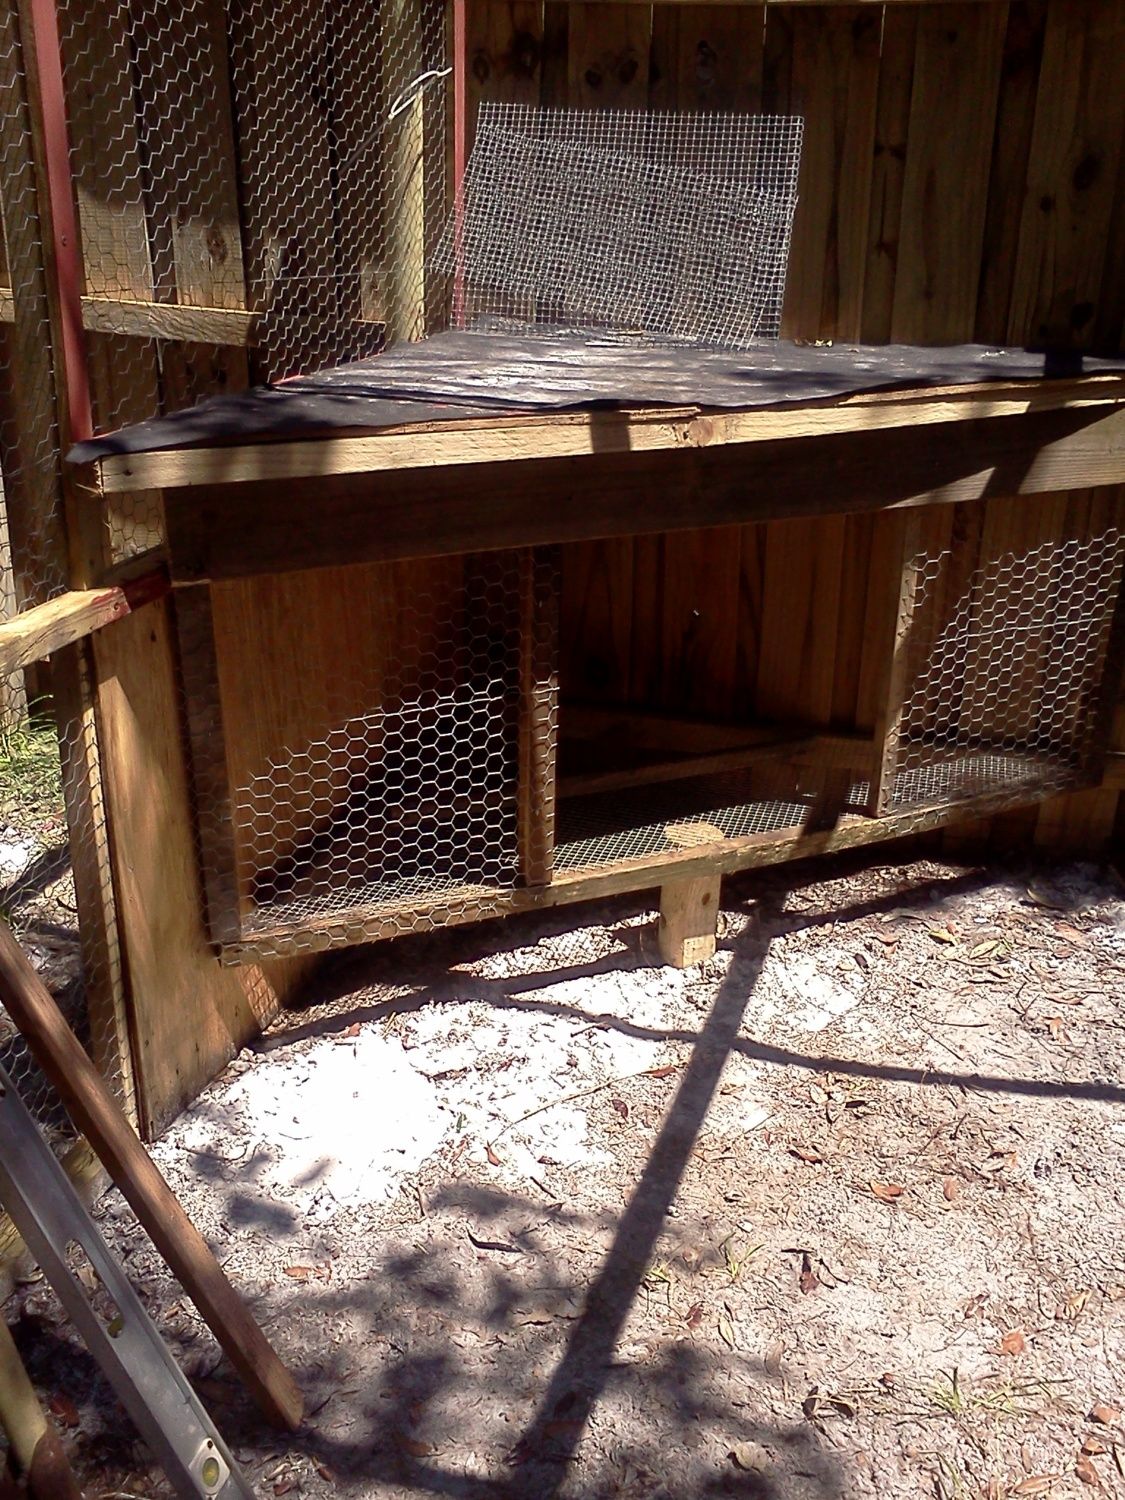
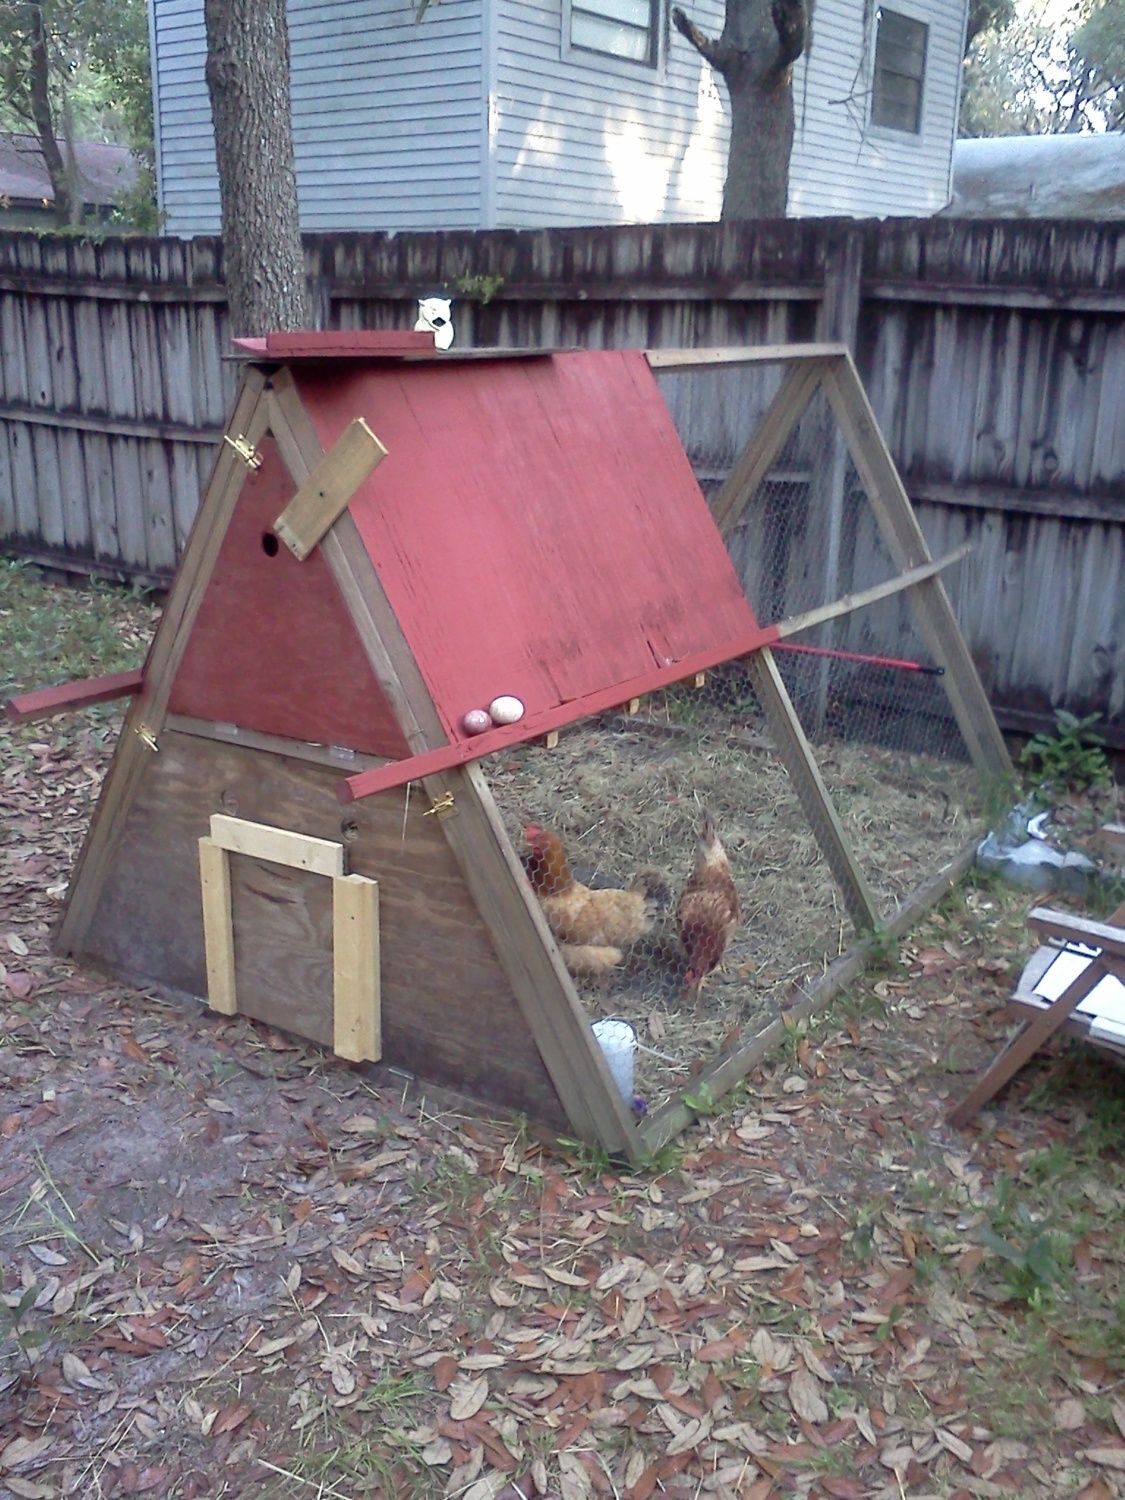
We added a small hutch in the run for day nesting and shelter. Its just a nice cool place for the birds to hang out when the weathers wet or hot (thats every day here in sunny FLA). With a locking ramp door and shingle roof, its also a safe spot for new birds to hide out in when the pecking order gets hot and heavy. Since we are adding three new birds, we wanted to take the "Introduction to the flock" issues in hand now so the new birds can have a place to hide in when the Alphas in a bad mood.

The new finished run includes a buried Dust Box for the birds to sit in. Filled with white play sand and diatomaceous earth, the birds love to sit and dust themselves to keep the mites and parasites under control. Its just a recycled wood box with slats on the bottom for drainage, buried about 6 inches deep in the pen and filled with the D.Earth and sand. The birds will literally roll in it to coat themselves in the bug killing dust.
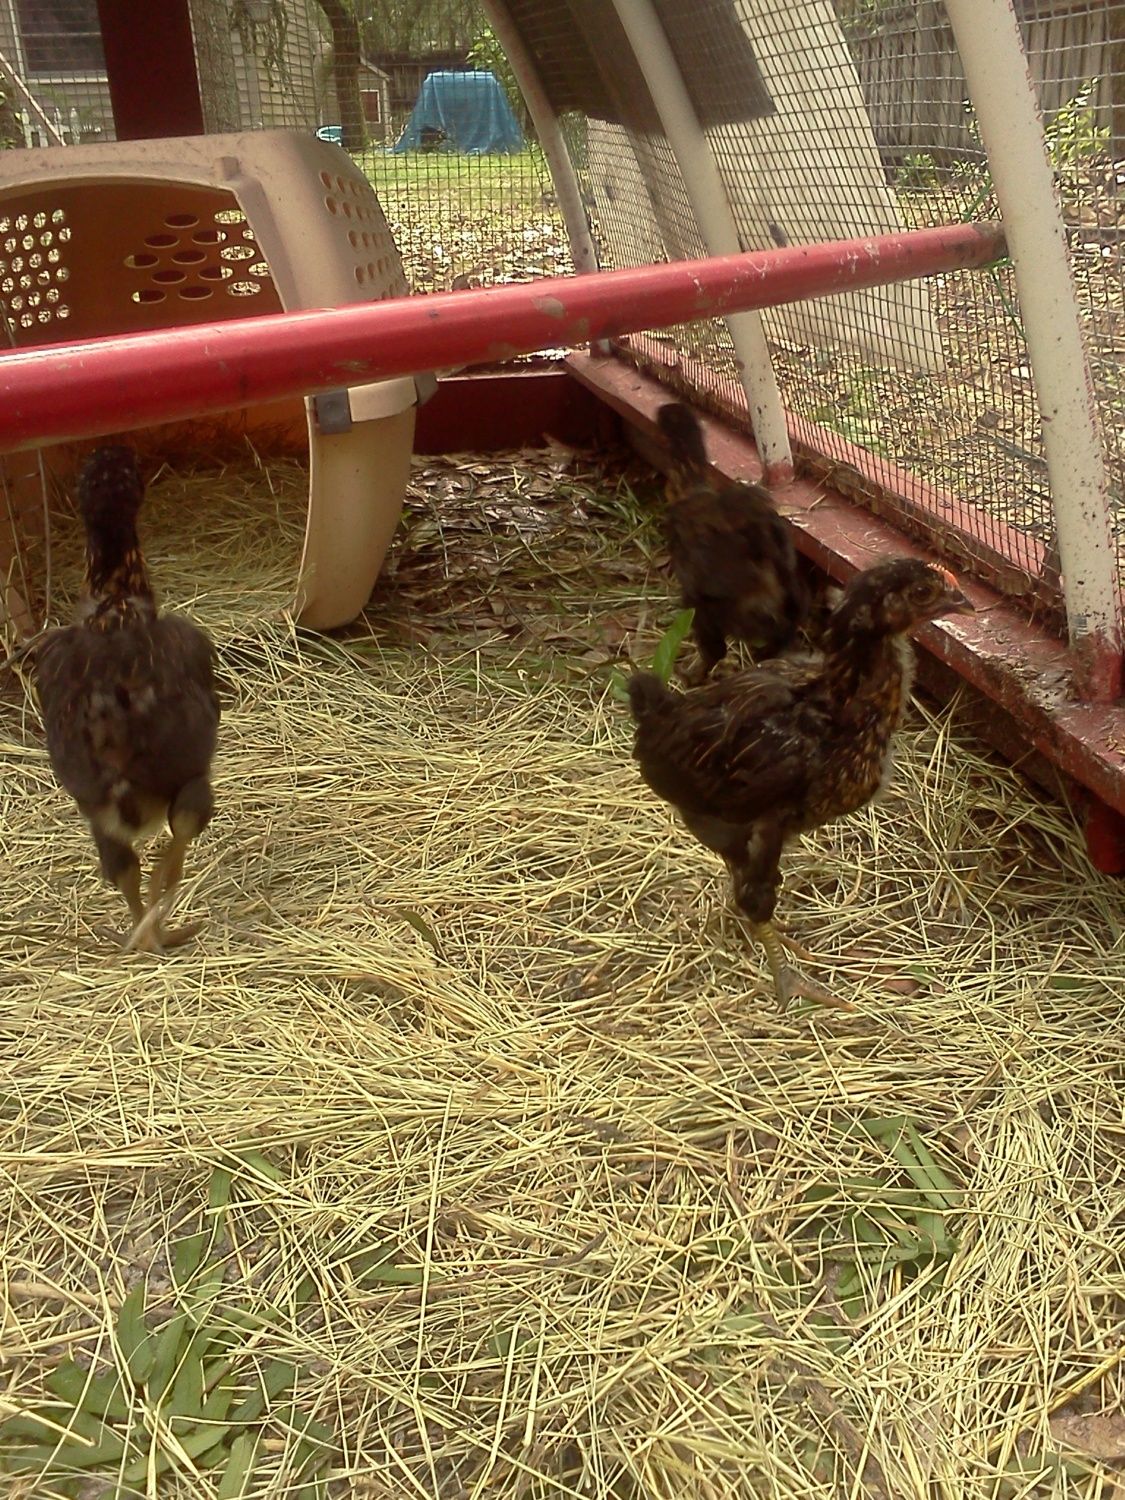
Now its was just a matter of painting and enclosing the new chicken run. Once again we used 34" spacing for the frames for the 36" wire, giving us a generous and easy to work overlap when stapling the wire down to the wood. As we were finishing the run, we acquired our newest flock members; three baby sex links about 4 weeks old
.


We had a ball building our Birds of Paradise coop and run, and we can Thank BYC.com and all the contributors for the inspiration!

What will YOUR Coop look like?