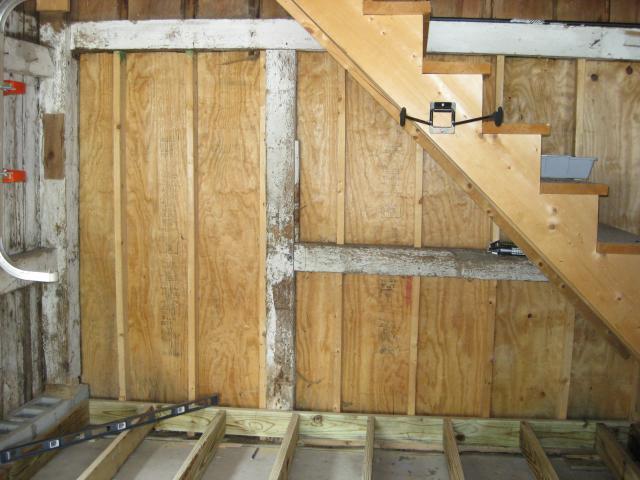
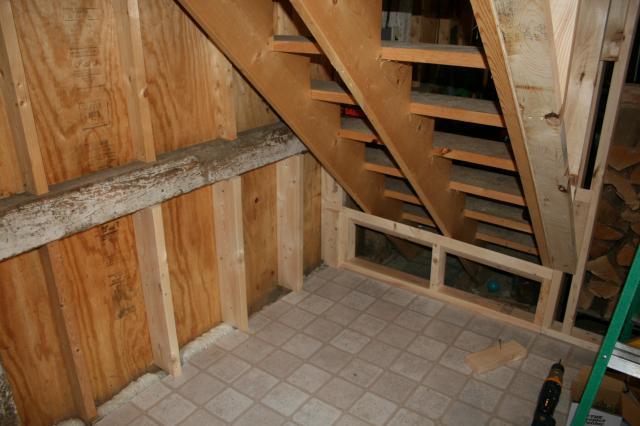
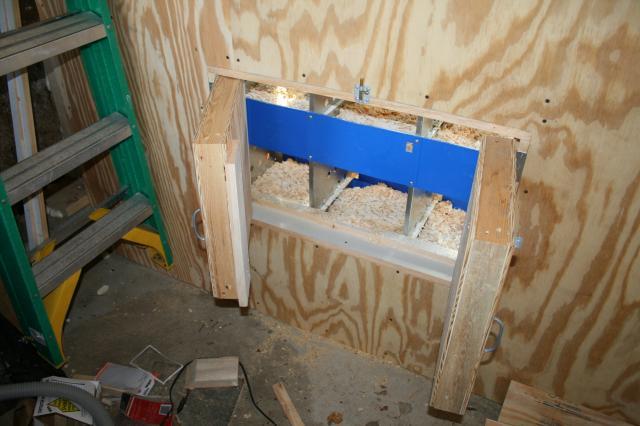
Above is the corner of our detached two car garage/barn where the coop is going. See the floor and how uneven it is.
Many challenges....
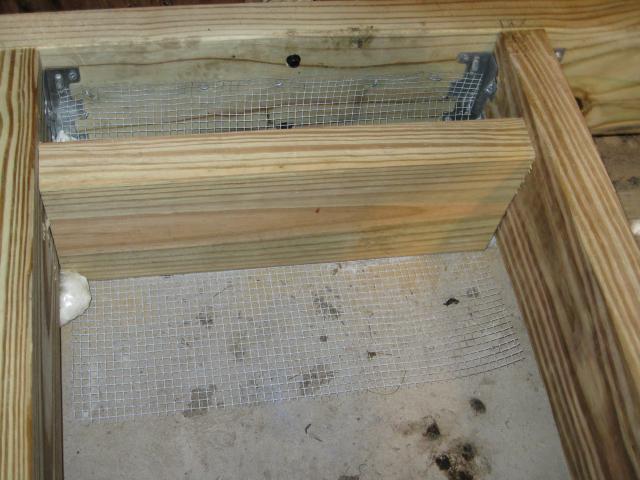
We put additonal boards and hardware cloth along with spray foam in every corner to try and keep the rodents out and some warmth in. We shall see.
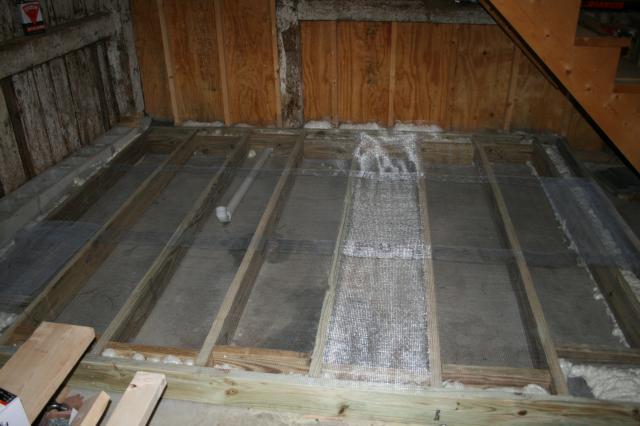
Additionally, we put a layer of hardware cloth over the whole entire floor, to keep rodents who do get past the barriers from chewing up and through the floor to the coop. The white PVC pipe you see will be a drain in the floor so I can use water to clean out the coop in the spring and fall if I need to. It drains to the outside back of the barn. In the corner where you see no foam we had to pour Quick crete to plug a hole.
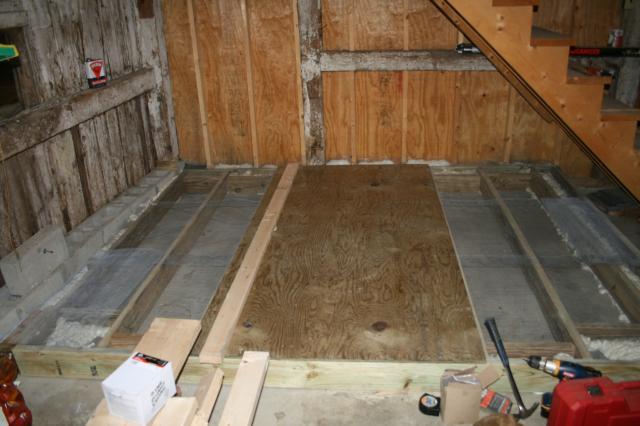
The plywood goes on over the hardware clothed floor bracing. Hole for drain will be cut later.
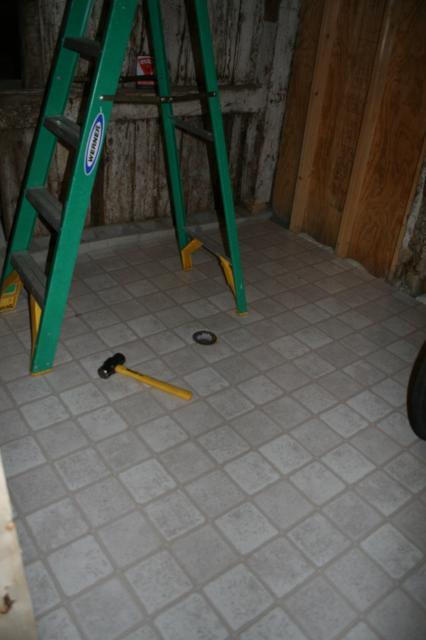
There's the drain with the $49 sheet of cheap linoleum from Home Depot. We did not glue down the linoleum. We used trim on the sides to hold it down.
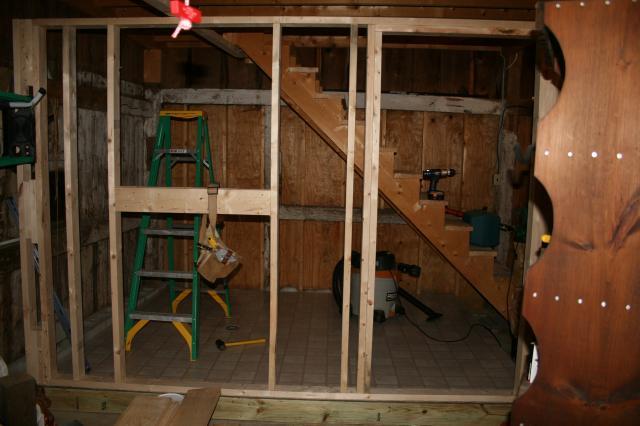
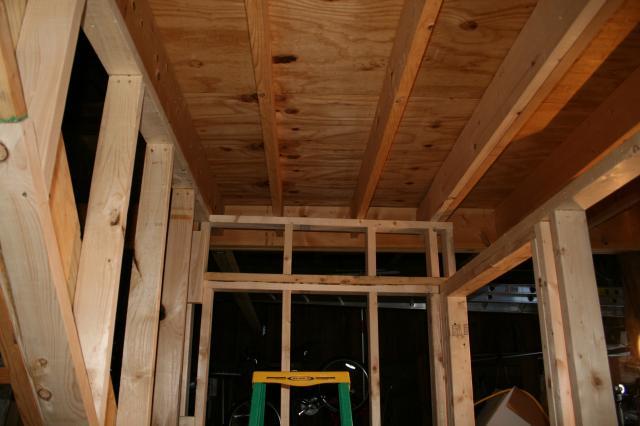
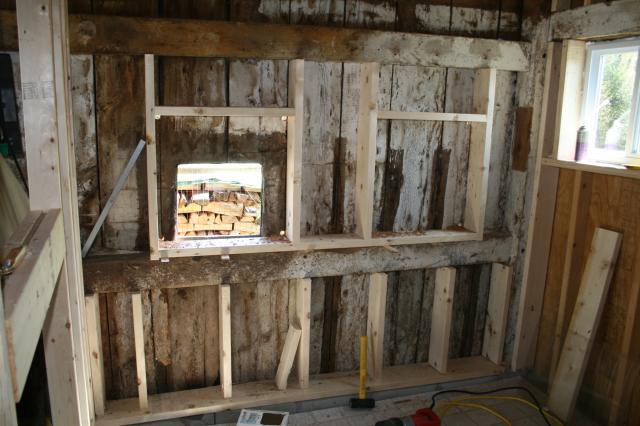
The first wall goes UP!!! The big opening is the door opening. The other two squares are where a window (top) and egg doors(bottom) will go.
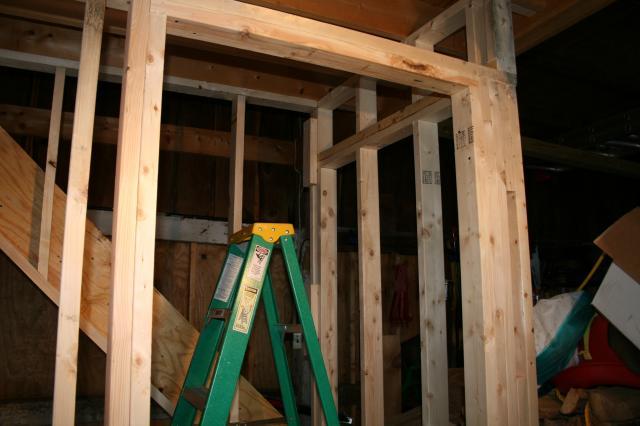
More wall framing, and tying it into the already existing staircase and ceiling.
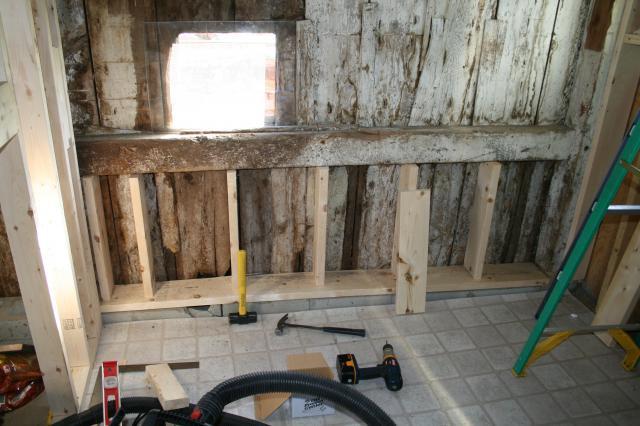
An old window opening to the East. Another one will be cut beside this one to let in more morning light.
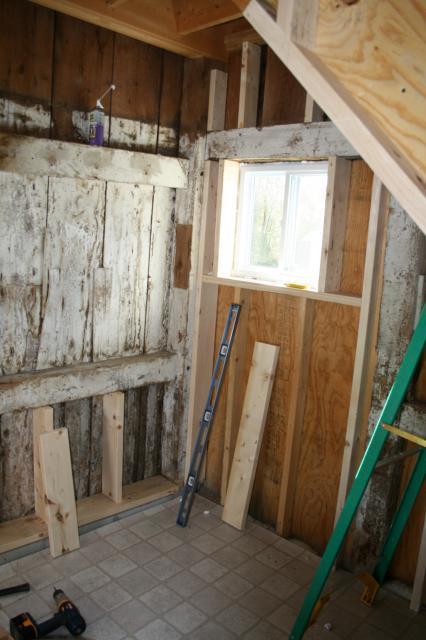
A new window opening to the South.
The East facing windows framed up.
To cut window, large holes were drilled in corners, then the Sawz all was used to cut "between the dots".
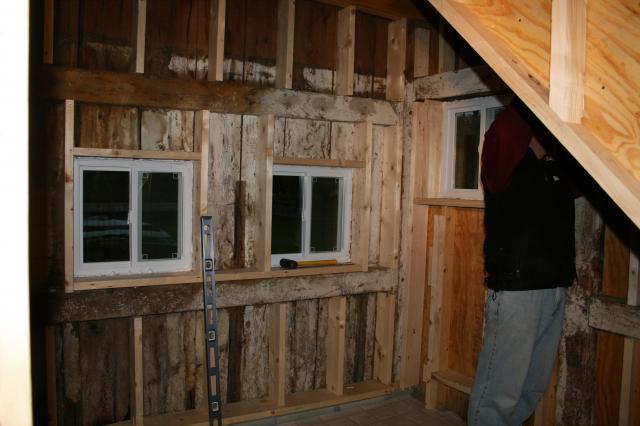
3 windows in, one to go..... Are you getting excited yet? I am just telling you about it, let alone my girls outside in the Chick n Hutch!
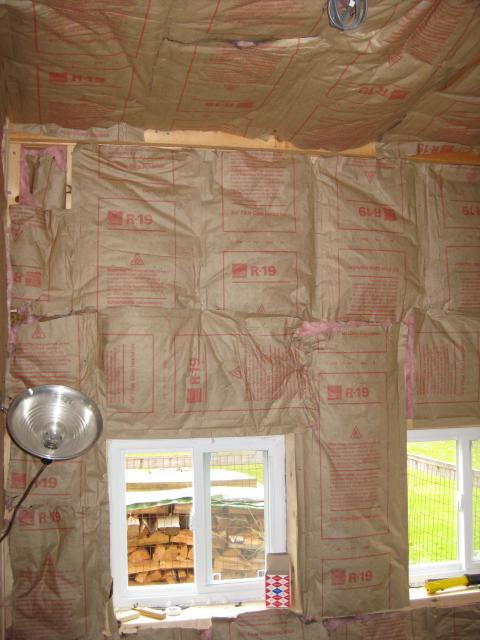
Massive insulation goes up. We are in Central New Hampshire. BRrrrrrrrr cold winters.
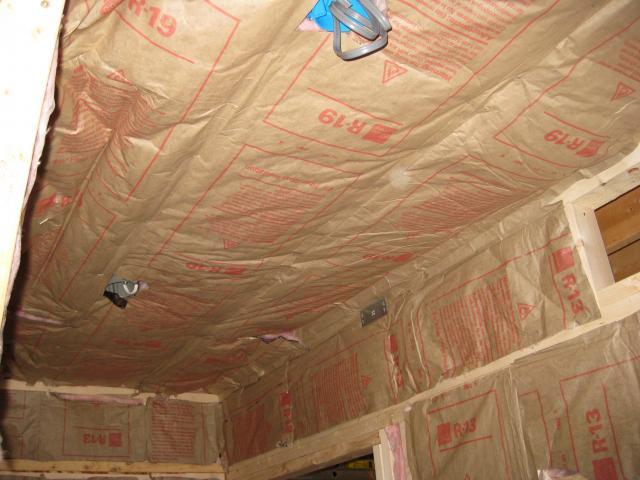
R-13 on interior walls, R-19 on roof and exterior walls. Two lights in the ceiling.

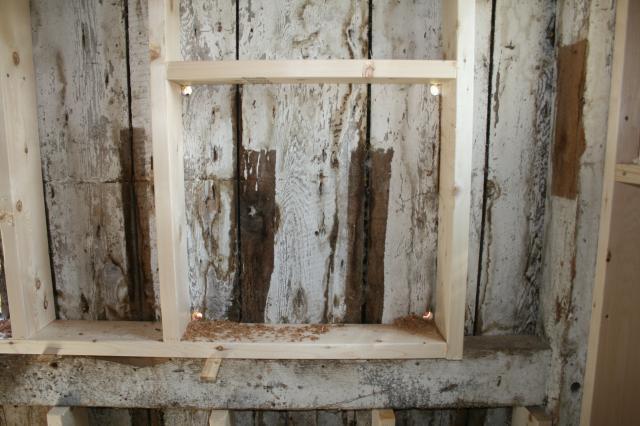
This is where the egg doors and the final window will go. I wanted an interior window so I can keep it open with no breeze, as long as the garage doors are both shut. With the garage bay doors open and the other three exterior windows open, a beautiful cross breeze blows. Lots of options for heat in the summer (not that we get much of it, but on occasion) and the long cold winters. The small electrical box by the door frame is the outside light switch. I can turn the light on when spying on them without going into the coop. There is another light too with a pull chain inside the coop.
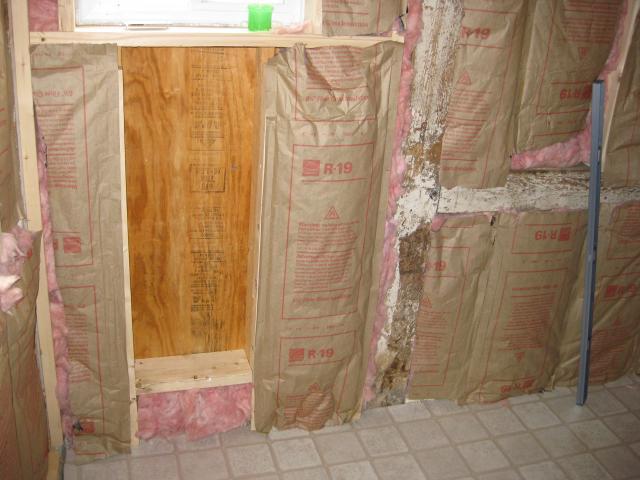
Where the chicken door will go. It will be on a pulley system and openable from outside the coop, but inside the barn.
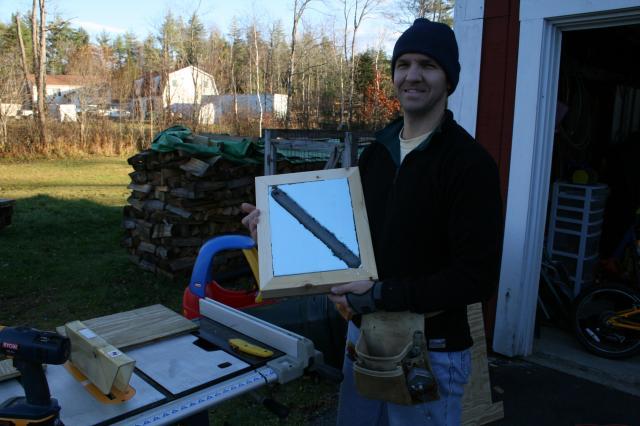
Said chicken door(and my dear sweet husband-coop builder extraordinaire. Thick foam insulation and complete with a weight. It must have some weight to pull the pulley down and to make it hard for predators to open it.
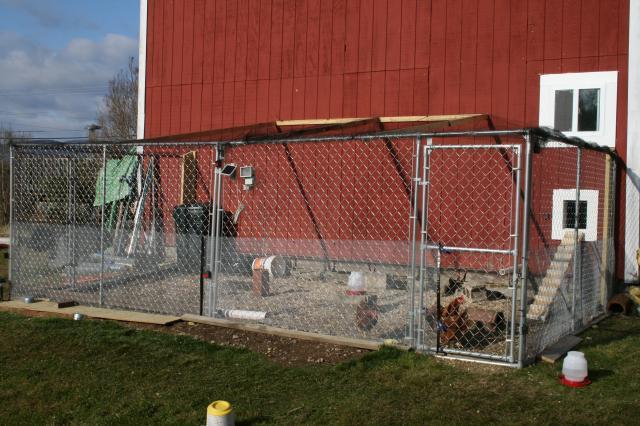
The 10 x 20 run that the 5 gals have. Bird netting on top, solar spot light on front, game cam not pictured.

The door, ramp, night guard predator light, and drain pipe. And now to the inside of the finished coop....
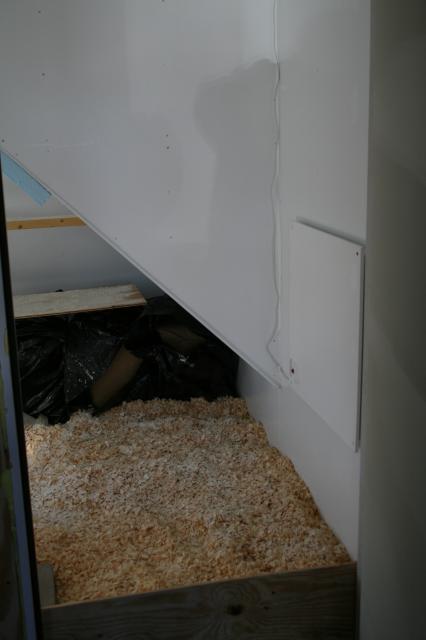
This is the people door, which opens to our East garage bay. The board is in place so shavings don't come out everywhere. The contractor garbage bags are 3 bags of shavings that I have stored in there under the poop board. We are currently making the poop board bigger so they cant keep pooping on the contractor bags. Oops. I would do that different, but we did not have a big piece left for the poop board, so we used what we had. The white square to the right is the flat panel Eco Heater. It is plugged into a thermostatically controlled outlet, on at 35 degrees, off at 45 degrees. The plywood walls are painted with primer then Kilz white paint. It is supposed to be mildew and stain resistant. Again, we shall see.
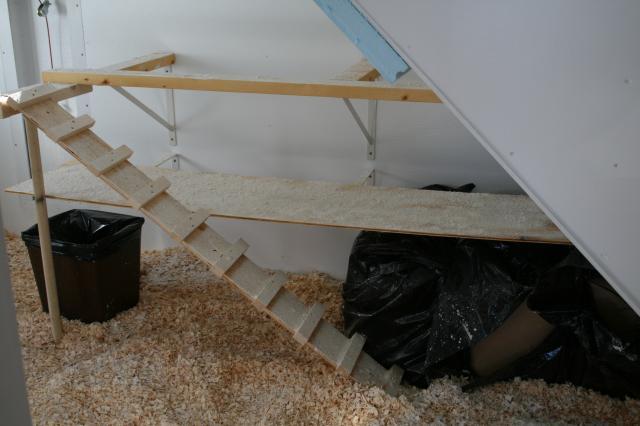
A step into the door and this is what you see: the roost with droppings board below. The thick blue insulation you see at the top right is because I kept hitting my head on the angle there and almost knocked myself out. The steel waste can is for scraping the daily poo into. They all get up different ways. Some fly, some hop to the droppings board, some walk up the ramp the whole way, some jump over half way up. Again, the droppings board came up short as they all roosted on the cross bar, most of which is not over the droppings board.
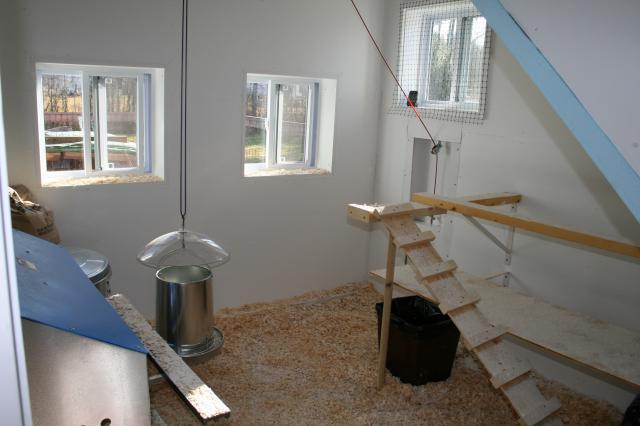
The highest (South facing) window is covered with plastic deer netting so they can't fly to or roost in it. The cable for the door pulley is there too. We left one small bottom corner open so that we can put our hand in to open and close the window. The like to look out the other two East facing windows.
https://www.backyardchickens.com/forum/uploads/22059_img_3650.jpg
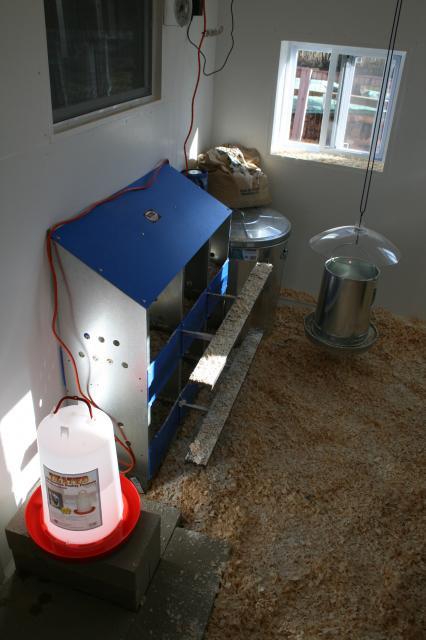
Heated waterer (troublesome design though), Kuhl 6 hole nesting boxes that I got a great deal on sale, feeder with squirrel baffle to keep out (some) dust and to keep the chickens from sitting on it. The galvanized can next to the feeder is the feed can, and my DE bag is on top of it. The chickens hop from top nesting box bar, to can, to window. Funny. I bet that will be a poop trail soon. Window above nesting boxes opens into barn garage bay. We don't keep our cars in there anyway.
https://www.backyardchickens.com/forum/uploads/22059_img_3653.jpg
Nesting boxes, waterer on concrete blocks. I heard it is good for chickens to get their nails on concrete, thus the concrete altar to the waterer. Wooden track is for the board to keep the shavings in. I can have a higher one if I want, to keep the chickens from bum rushing me. You can see the bracket for the ramp/ladder to the roosts. It is removable, so when I come in to scoop the droppings board, I don't have to reach around this ladder. I just pull it off and lay it on the ground. When I am done, it just sits right back on there. And of course the lovely blue anti head bumping foam in the left corner of the photo- my favorite part of the coop. I bumped on the foam today, and no injuries to me!
https://www.backyardchickens.com/forum/uploads/22059_img_3654.jpg
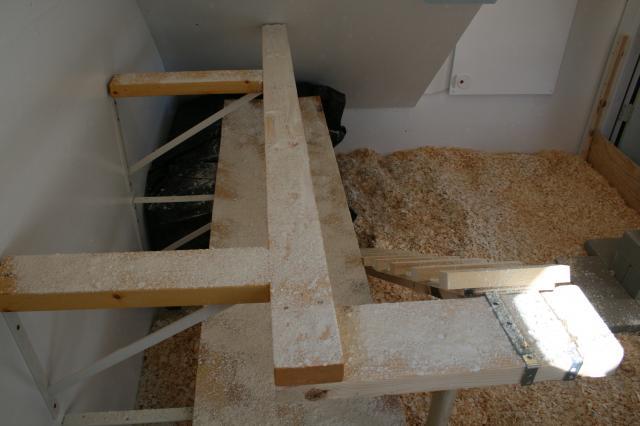
The roost with (too short) droppings board and ladder. DE is the white powder. Heavy duty shelving brackets hold these up. We only have 5 chickens, and they all roost on the cross bar and bridge from the ladder. Silly girls. I guess they like to cuddle. The will use the long roost bar....eventually? The droppings board is covered in 5 coats of quick drying polyurethane. It cleans up beautifully, and is actually pretty when there is no DE or poo on it. The roosts were rubbed with Linseed Oil. They were made from defect free 2x4s, and DH rounded the corners off with his mouse sander.
https://www.backyardchickens.com/forum/uploads/22059_img_3655.jpg
The view of the (insulated) egg doors, window, temperature controlled vent(closes at 45 degrees) and pulley(the wooden bar on the cable above the ladder) so you can open and close the door from inside the garage, but outside the coop. I open the door in the morning, they all rush out, I close the door and I am free to go in and clean the coop without feathered "helpers". When I am done, I exit the coop and open the door up for the day. It now had a D latch that attaches to a steel loop to hold it open. The window tilts out toward the garage, and again is accessed from the garage, not inside the coop.
https://www.backyardchickens.com/forum/uploads/22059_img_3656.jpg
The egg collection doors are thick blue foam ( the anti head bonking foam from the pictures before) sandwiched between the plywood frame you see. They close up tightly.
https://www.backyardchickens.com/forum/uploads/22059_img_3657.jpg
Another pic of the indoor vent, window, thermometers (plural-one wireless, one regular) and pulley for the chicken door. You see the pulley runs through the wall inside PVC pipe. I believe the floor dimensions are 8 x 10.
Well, that is our inside the barn/garage coop page. Hope you enjoyed it. We are brand new to chickens as of May 2009. My husband is a mechanical engineer, but has carpentry skills he learned at his jobs in high school and college. This coop was 100% his hard work and I helped design it with alot of help from Backyard Chicken experts! It was made from top to bottom with all new materials. We were in a severe time crunch to get this done before winter set in and second hand materials need time to collect and figure out how/where to use. The girls moved in Tuesday, November 17th. It was started September 26th. And that was with my DH working every night, weekend, and holiday (except my 40th birthday/12th anniversary, which he threw a nice surprise party for). It was an expensive endeavor, but worth every penny. I stopped keeping track at $1000. Too stressful. Hubby did say that if we get out of the chicken business, he gets this as his heated workshop
") That's fair, not likely, but fair
That's fair, not likely, but fair What would we do different? Fix (extend) the droppings board. The roof may be too high for 5 chickens to retain heat. I wanted the roof at 6 feet, he wanted it tied into the existing garage bay roof at 8 feet, for stability and saving materials. He won. We installed a flat panel heater to accomodate for that during the deep winter freeze, but have not needed it yet this mild fall. The outside high temp got to 50 two days in a row, then went down to 20 at night. The coop dropped one measly degree to 49 both nights, and one night we left all the windows open(oops), and it only dropped 3 or 4 degrees(no wind). We shall see when the days don't go much above 0 for a high what the temps will be. We installed hardware cloth to cover the outside windows so predators can't come in through the insect screens. I would love an automatic chicken door closer, as I am the most forgetful person you will ever meet. My nickname is Dory, from Finding Nemo. Can I help you? Oh yes, the coop. The Kuhl nesting boxes were bought on sale before I found Backyard Chickens Forum. They seem rather fancy now when I see the innovative ideas for nesting boxes that some have posted. But they were extremely easy for me to assemble, and it was one less thing for my dear husband to have to worry about designing, and they are plastic and metal(less mite hiding places). The girls love them, so it worked out. I put a fake egg in each one and they lay in a couple favorites. Funny girls. They adjusted to the coop great. We kept them cooped up while we reconfigured the run and attached it to the back of the barn. I love the Night Guard predator lights. I installed our game cam to see what lurks about at night. For months, the only think we ever get is deer, and our own dog running by for his nightly potty. That is it. My neighbor has had skunks and other predators. I used to see fox and coyote in our yard. Not anymore. They really work well, but not against deer. We did our hardware cloth apron around the outside of our dog kennel chicken run to prevent diggers. It is too rocky to dig in hardaware cloth to any real depth here. I would like awnings over the outside windows so that if I forget to close them when a storm is coming, it won't rain or snow in them.
Ventillation? I tried to follow Patandchicken's advice for cold coop ventilation and insulation. We have 3 outside windows, one interior window, and one interior vent plus the chicken door(day only). Plus we could get a screen door for the people door for the summer. The roosts themselves are out of the way of the windows and don't get drafts on them. I hope we did OK. I want healthy happy chickens.
I would love to say that DH will put plans on for this, but we really had to "fit" this into a very old existing structure. So he just "winged it". Lol. A free standing coop may have been easier, but this is very "user friendly" for us.
Well, I think that is all for me. I will have DH come back with his more techincal eye and tell you what is what. I am so happy we got chickens and built this. My little boys love the chickens as much as we do, and I do feel good knowing that my 5 hens will stay out of a battery cage because of this. We used to pay almost $5 per dozen for free range organic eggs. I am not sure how many years we will have to have chickens before we start saving money, but it is all worth it in the end. Take care. Dawn & Joe
