 My
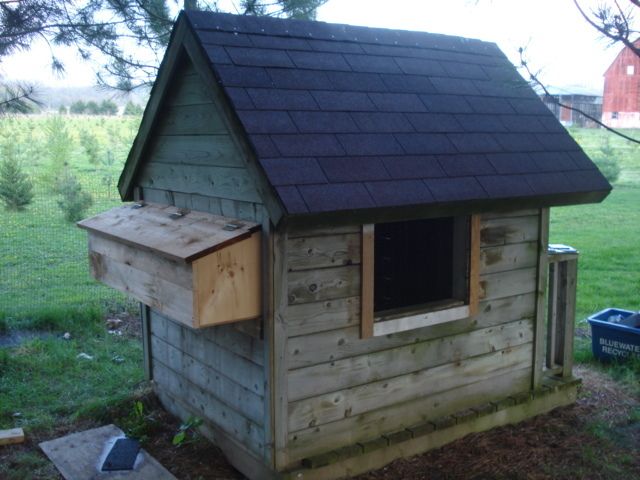
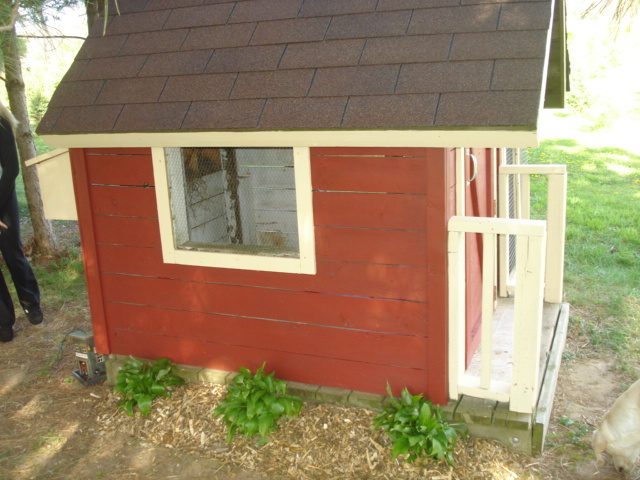
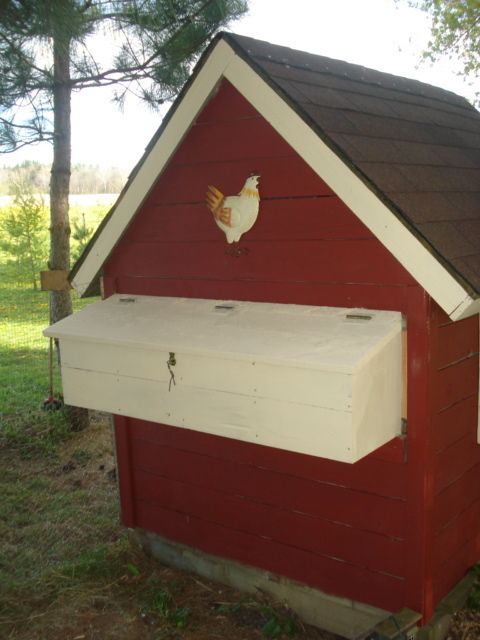
MyThis is the basic structure! Our first chicken coop! We started with and old tree house and we have been modifying it to fit the needs of our chickens.This view shows the nesting boxes, with an opening top for easy acess. We closed in the window with chicken wire , we covered the roof with typar and got the shingles at a surplus store for $16.00.
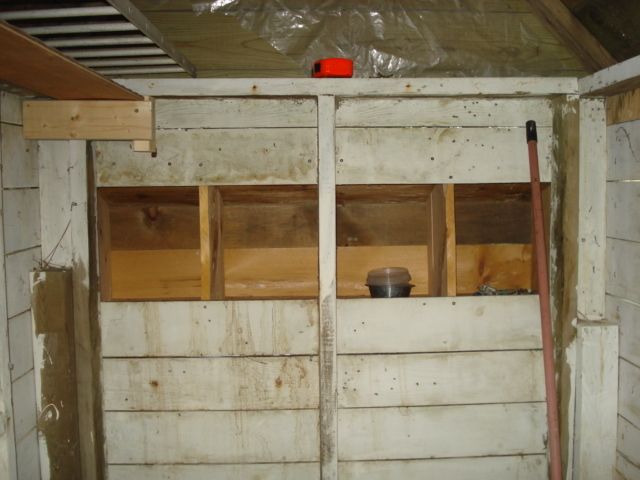
This is the inside looking in form the door way/ This tree house is 20 years old so it has had it's fair share of children playing inside and making messes on the wall. To the left is our perches with our removable poop board underneath... the chicks haven't been in here yet, so we will have to see if this works, if not we will adjust.
**update** the first couple of nights they weren't sure where to roost and I ended up just putting a couple of them up there myself, I also decided to install two lower roosts on the right side of the coop on either side of the window incase the birds were having trouble flying up so high in such a small space.. .Of course after I did that, they started roosting up on the hight roost all by themselves.. they now have a pecking order, 3 on the high roosts, 2 on the lower right roost and one on the lower left roost.
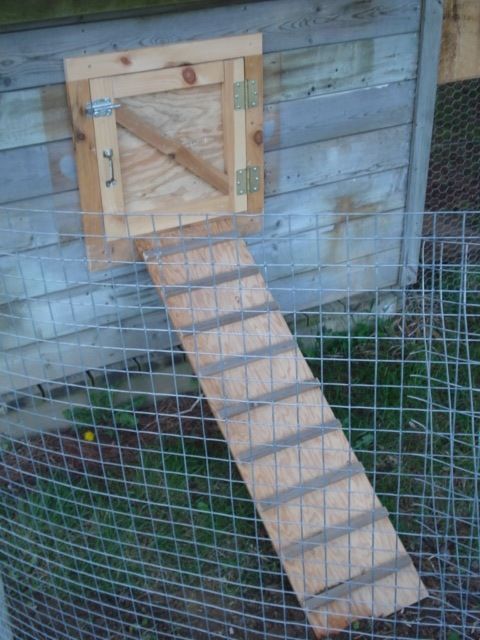
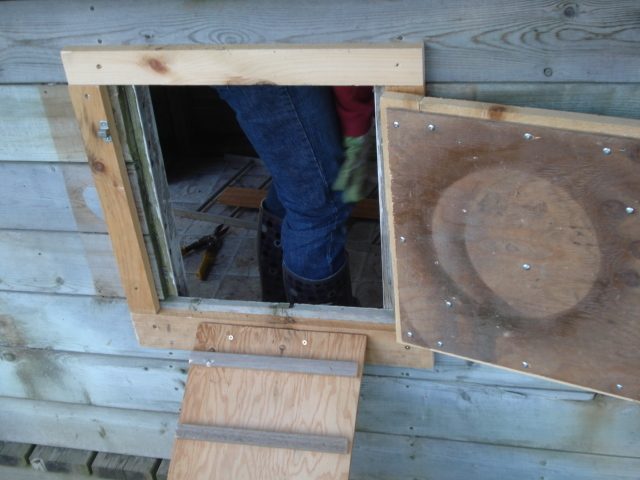
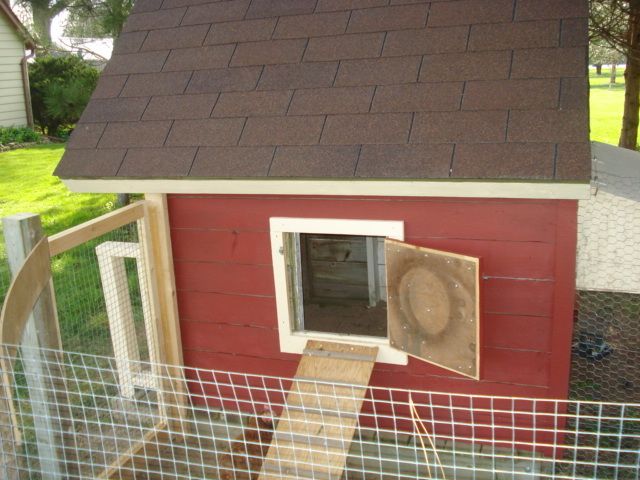
the other window we decided to close in and create the chickens exit to the outdoor run. The door is sealed in tightly and can be locked to keep them safe at night!
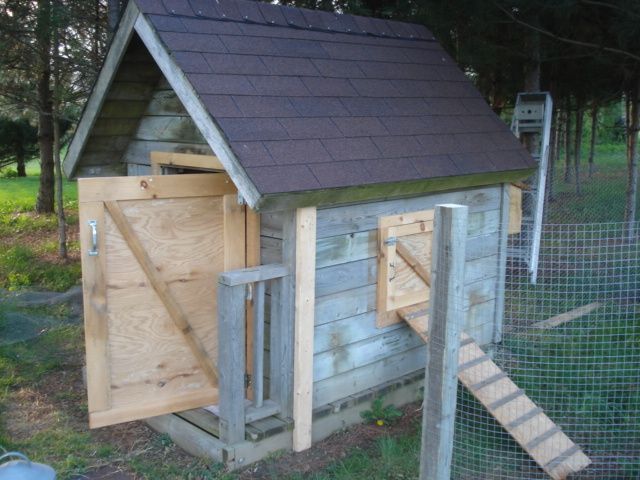
This is the other side of the coop showing the exit door, and the main door into the coop. This is before we put the man door into the pen on.
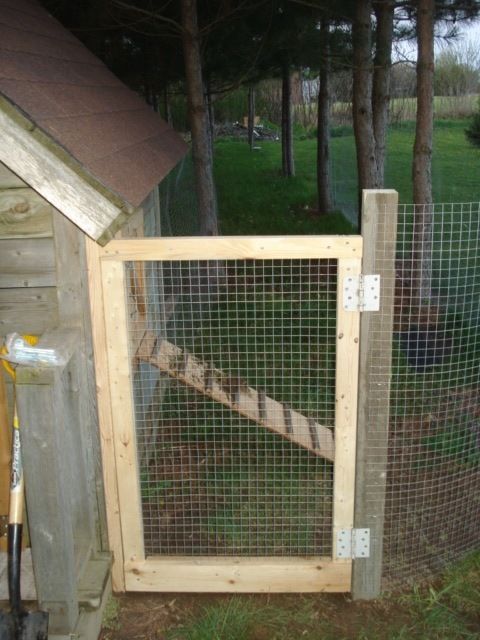
This is the man door into the coop.
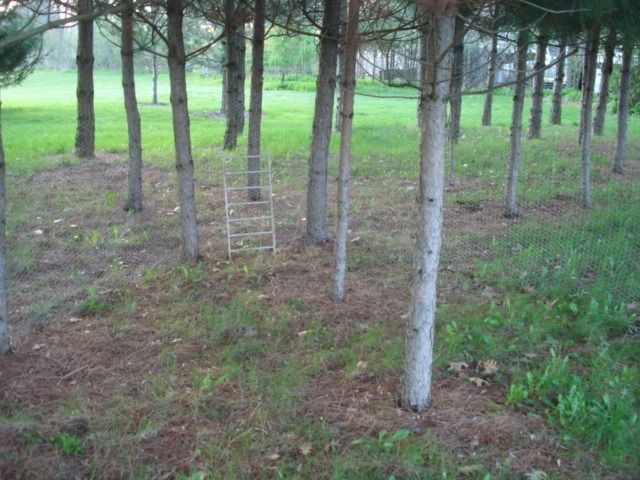
This is the run that comes off the coop. The wire is difficult to see, but it is 4ft chicken wire. The area where we placed it is under a thick pine tree underbrush, which I believe will help the chickens get out of the weather and prevent predator attacks from the sky! The short ladder is the back of the wire, the run is about 150 square feet.
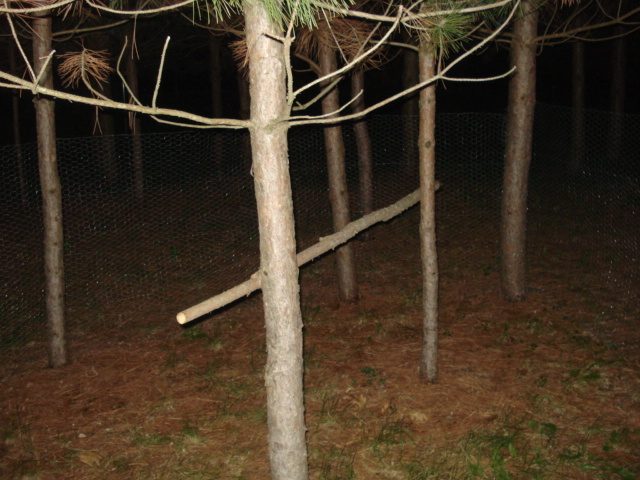
We put up this little perch to give the chickens a place to get up incase something does get into the pen, or just to hang out
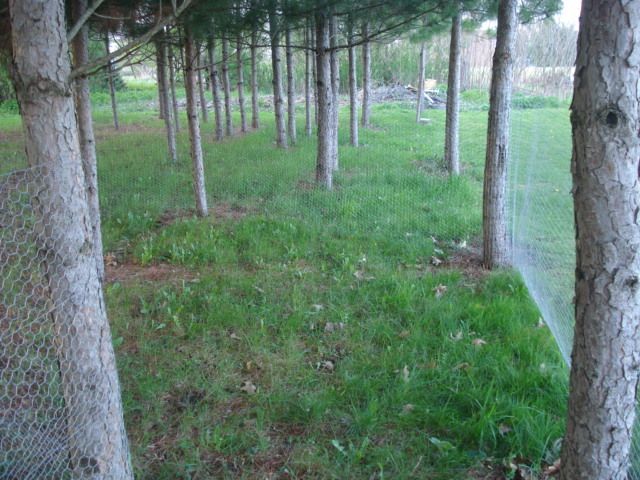
another view of the run coming from the coop
Another view of the exit door
We plan on painting the whole building, I will add more pictures after we have done this. The flooring that you can kind of see in the last picture is some linoleum . I figured this would be easy to clean out and keep the floor boards in better condition. I plan on putting some sand on the floor to make it easy to clean out and hay in the nesting boxes. The chickens are moving in tomorrow *we have 6.
The total cost of this coop was very cheap. My dad builds ALOT, so all of the wood and screws we had kicking around. Our cost included
chicken wire- $40.00
linoleum floor- $10.00
shingles-$ 16.00
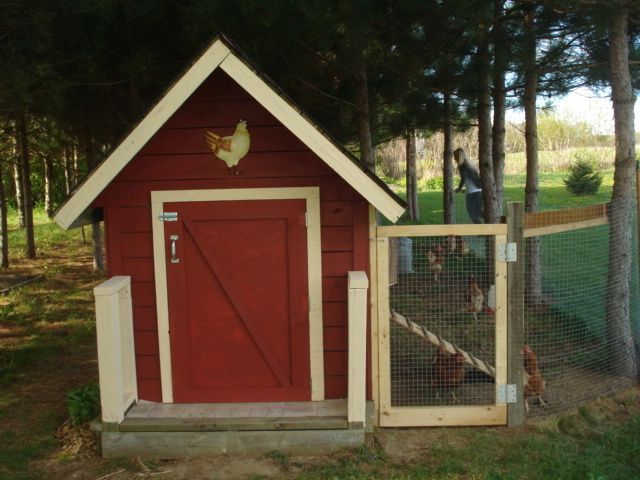
Here is the finished coop, we chose to use a stain so that the colour would last longer! As you can see the girls are already moved in and loving their run!
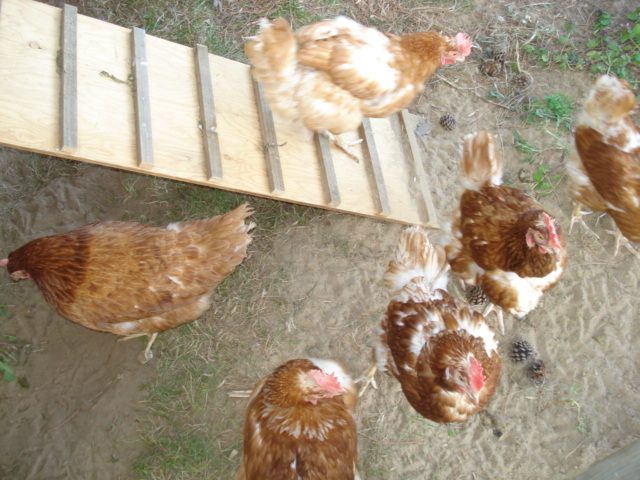
Figuring out their ramp.. they are so funny to watch go down it!
That's it!!
Any questions just ask!

