It all started with the small idea that chickens would make a great pet for our one year old daughter. Both my husband and I agreed and decided to build a chicken coop in our backyard. We have the space, checked the city codes to make sure we weren't breaking any laws and enlisted the help of a wonderful friend whom we are and always will be debted in eggs to him for all of his knowledge and hard work. So, on a very cold weekend at the end of April 2009 the process began and we had no idea how large it would be.

This is a very cold day 1. Trying to dig through frozen ground to set the cement blocks for the foundation. We decided to keep everything above ground and not use cement in case we ever want to move the coop to a new location. It can be unbolted and dismantled.
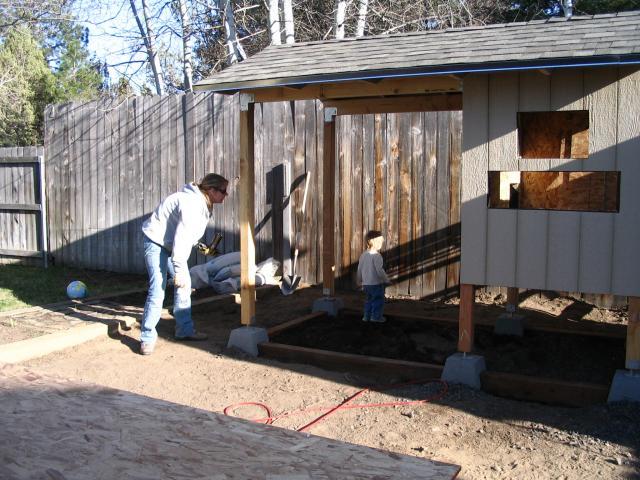
Well, here is where it will sit next to our shed. The guys dug holes, filled with rocks and leveled each block accordingly.
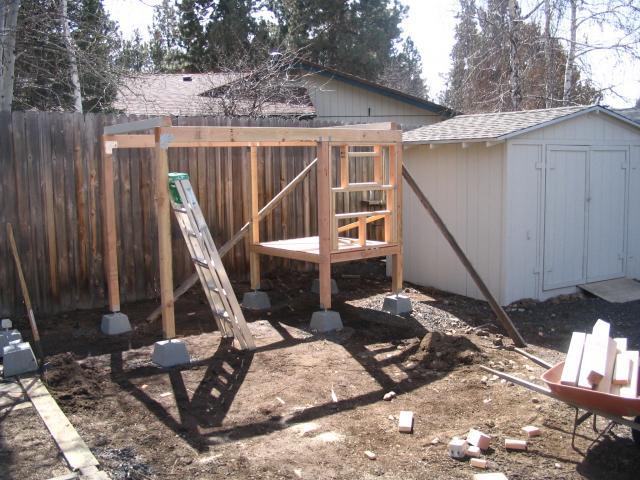
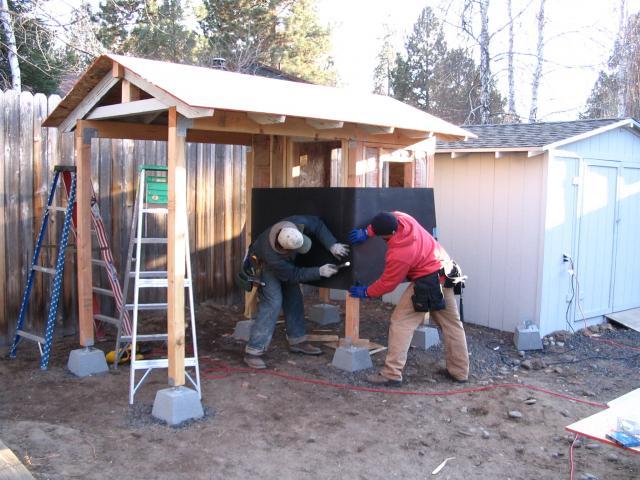
Let the framing begin! 4x4 beams were set into place to create the 4x5 coop and the 5x10 run that will extend underneath the coop when completed.
Framing the floor of the coop.
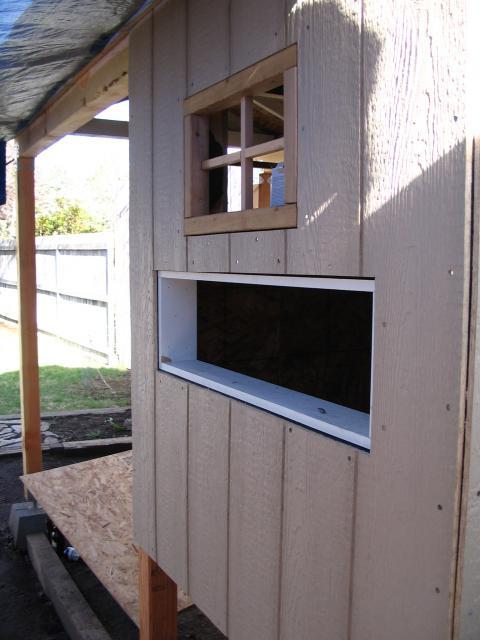
This shows the framing of the north window and where the nest box door will be.
Framing the east window and where the pop door will be located.
You can see the doors and windows are framed andall of the sheeting is being installed on the inside. Every nook and cranny of this coop was insulated with R-13 insulation, even underside of the floor. We live in Central Oregon and it can get very cold here. We are no stranger to negative temps.
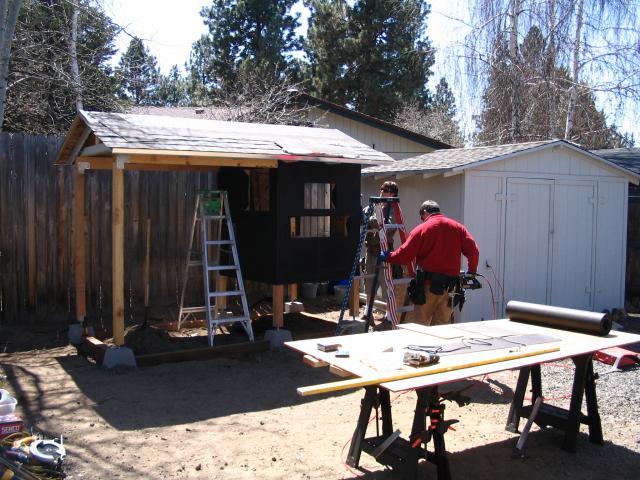
We used a 4x6 beam across the top pf the structure to form trusses for the roof. We recycled the wood from an old covered porch in our backyard and used it for the trusses.
Here the roof has been sheeted and is ready for shingles. The guys are putting tar paper up before the siding is installed.
Here is a view from the inside showing where the pop door will be and the east window.
We bordered the bottom of the coop and run with preassure treated 4x6 beams so we would have anchors for the wire that will enclose the whole run.
Made sure it was level and then backfilled it with rocks and dirt. It is buried about 4 inches into the ground.
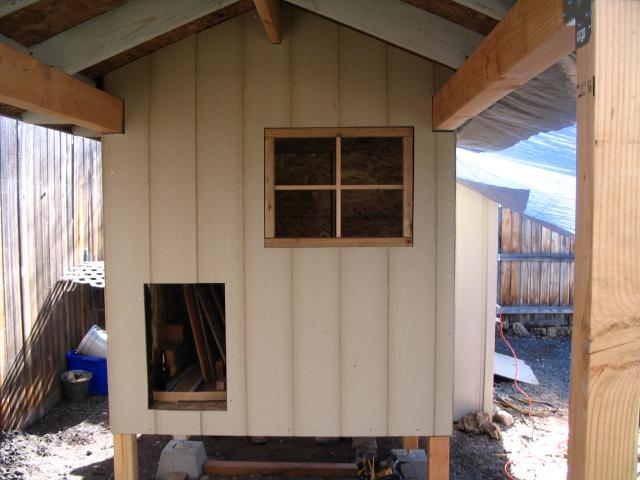
We shingled the roof to match our home and shed. The coop was tar papered and the windows and doors have been cut out.
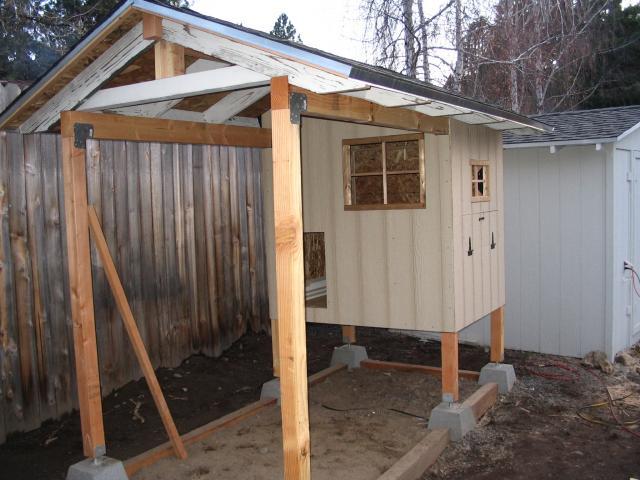
You can see the completed roof here and the siding has been started.
This is the east side of the coop. Our chickens will wake up to the morning sun shining through their window. The guys built the windows and we used a heavy duty plexi glass instead of glass. Our only regret is we did not make the windows able to open. There is however plenty of ventilation from the pop door and under the eves of the roof. In the future we might replace them with windows that will open.
This is the main door that opens out to the west. It is mounted with heavy gate hinges and has a pop latch to keep it closed. It is also insulated to keep the cold out.
This shows where the nest box door will be. It will sit flush with the side of the coop and is also insulated. This window was made as well and plexi glass was used.
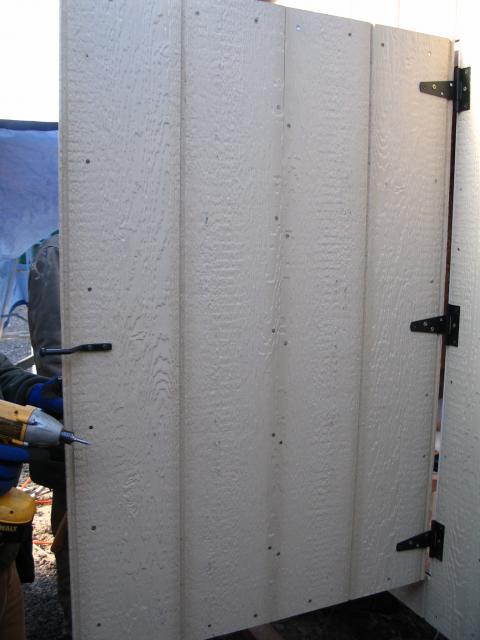
Here is the completed, insulated nest box door.
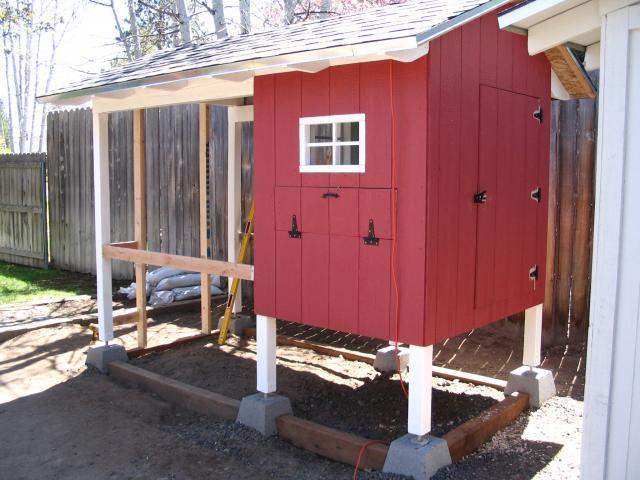
Siding is complete and all doors and windows are installed. Ready for paint!!
This is a view of the inside of the coop. You can see both windows and the nest boxes. They measure 13x13. We slanted the roof on top of the boxes to discourage them from roosting up there. It doesn't help
!!
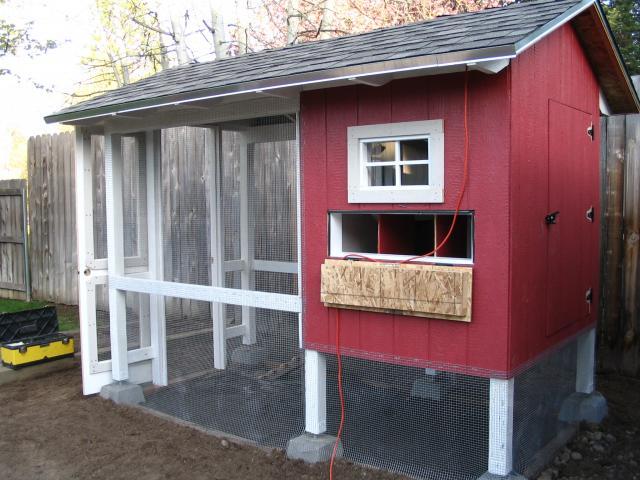
Framing out the doorway and rails so we can install our wire. Painting has started and it looks pretty good!!
We ran an extension cord through the vent holes to install a heat lamp. The girls are living here now!
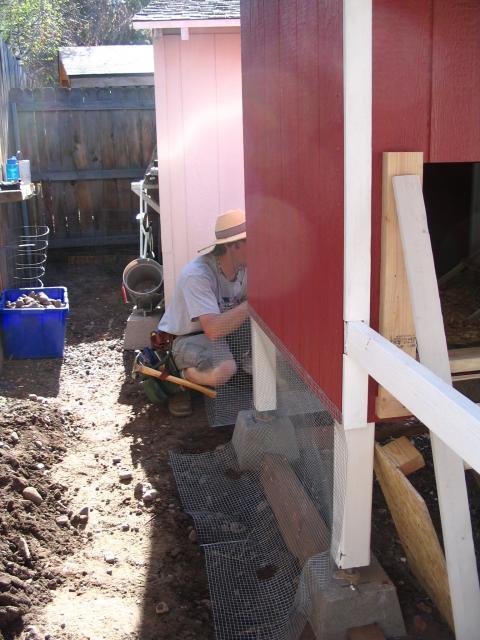
Oh how the weather has warmed up! We installed a solid core door that was bought at Habitat for Humanity. We are going to cut out the panels and put wire so it looks like an old screen door. The guys are starting to run the 1/4 inch wire around the outside. We dug down about 1 1/2 feet all the way around the coop and run. The wire will lay in the ditch flared away from the coop and be covered with river rocks and dirt. It is also stapled to the border we prepped earlier.
Here is the wire flared out from the coop in the ditch. This keeps chicken predators away! You can also see the ladder. We used and old piece of reclaimed barn wood that was left over from an earlier remodeling project.
Here is a front view showing the rungs of the ladder being installed. We cut off the long ends of the rungs and sanded them down so they are not sharp.
More wire. You can never be to careful!
Here is all of the wire finished. It has been backfilled all the way around with river rocks and dirt. You can also see the door has been cut out and the wire installed for the screen door effect. All that is left now is trim!
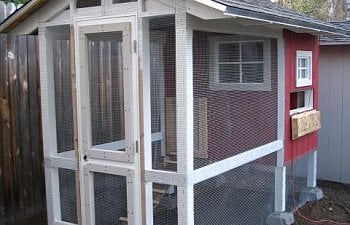
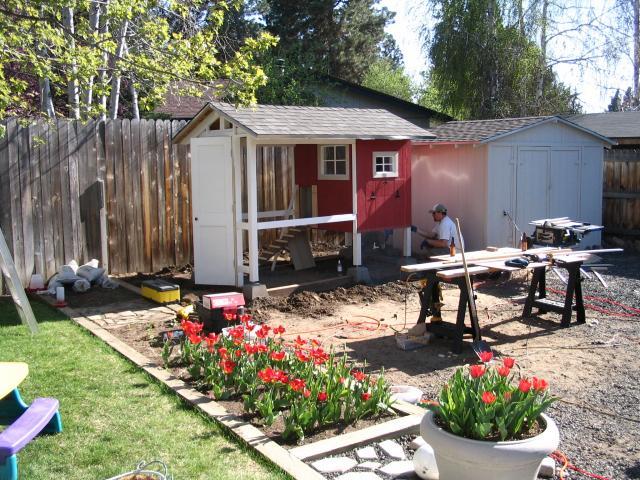
Here is the view from the front showing our coop. This projact took about 8 weeks to get to this stage. We have since completed the trim and added 2 roosts to the run and 1 inside the coop. Their water and food hang from the beams in the roof from chains and this prevents them from scratching their food. I don't think a project like this is ever done. We want to add some landscaping around the outside of it and put in some stepping stones at the base of the run door. Maybe next spring!!! This was a big job but very fun and rewarding in the end! All 5 girls love it and are now giving us 5 eggs a day!!
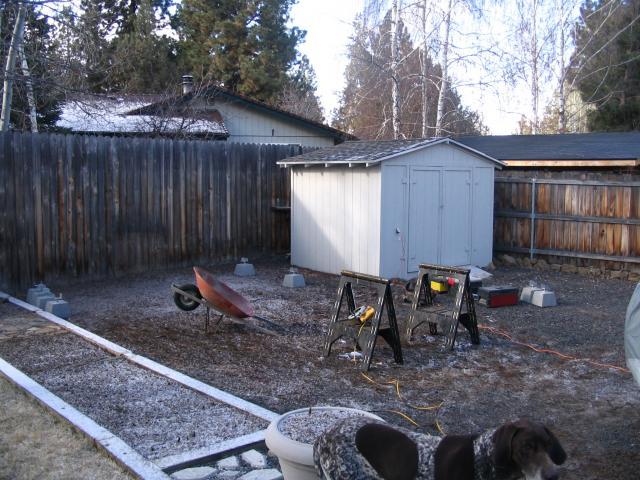
This is a very cold day 1. Trying to dig through frozen ground to set the cement blocks for the foundation. We decided to keep everything above ground and not use cement in case we ever want to move the coop to a new location. It can be unbolted and dismantled.

Well, here is where it will sit next to our shed. The guys dug holes, filled with rocks and leveled each block accordingly.
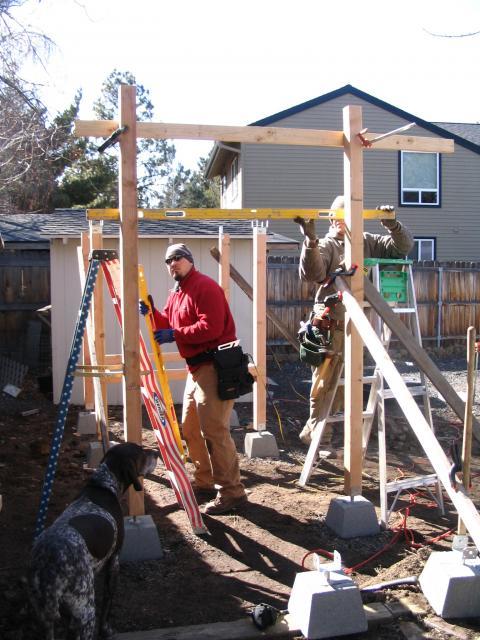
Let the framing begin! 4x4 beams were set into place to create the 4x5 coop and the 5x10 run that will extend underneath the coop when completed.
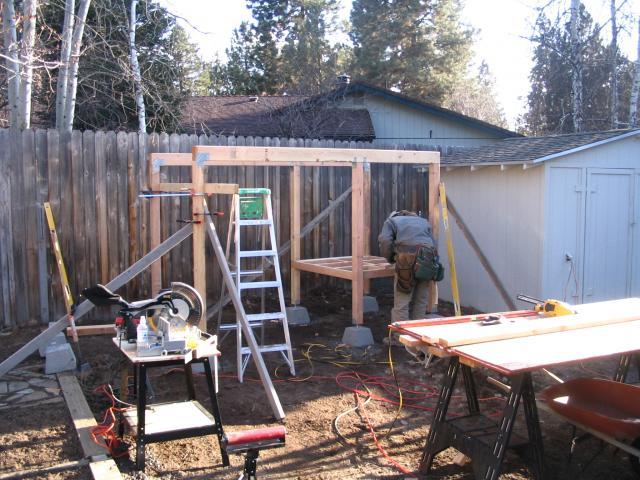
Framing the floor of the coop.
This shows the framing of the north window and where the nest box door will be.
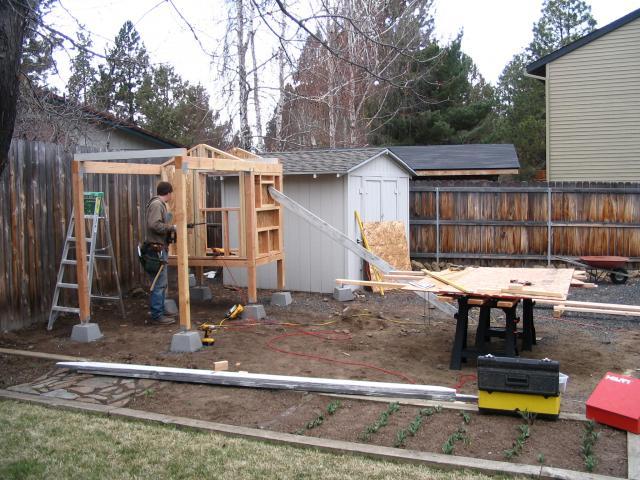
Framing the east window and where the pop door will be located.
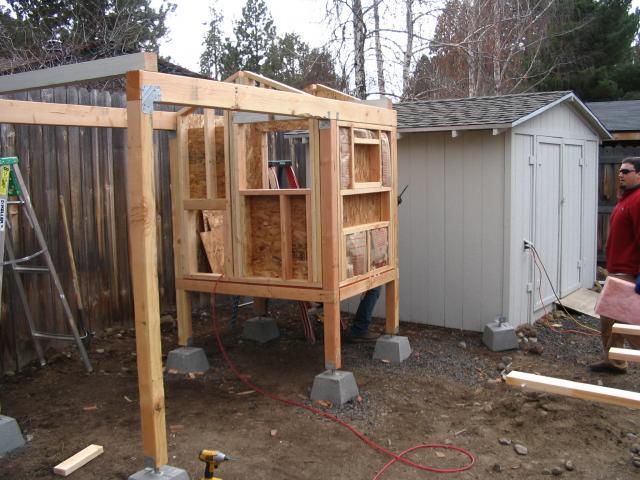
You can see the doors and windows are framed andall of the sheeting is being installed on the inside. Every nook and cranny of this coop was insulated with R-13 insulation, even underside of the floor. We live in Central Oregon and it can get very cold here. We are no stranger to negative temps.
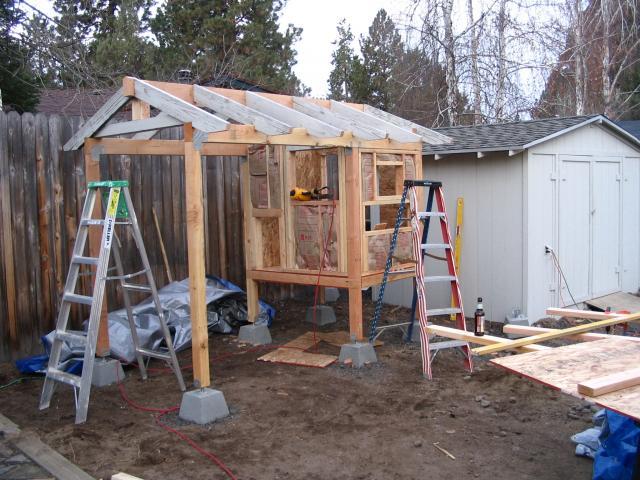
We used a 4x6 beam across the top pf the structure to form trusses for the roof. We recycled the wood from an old covered porch in our backyard and used it for the trusses.
Here the roof has been sheeted and is ready for shingles. The guys are putting tar paper up before the siding is installed.
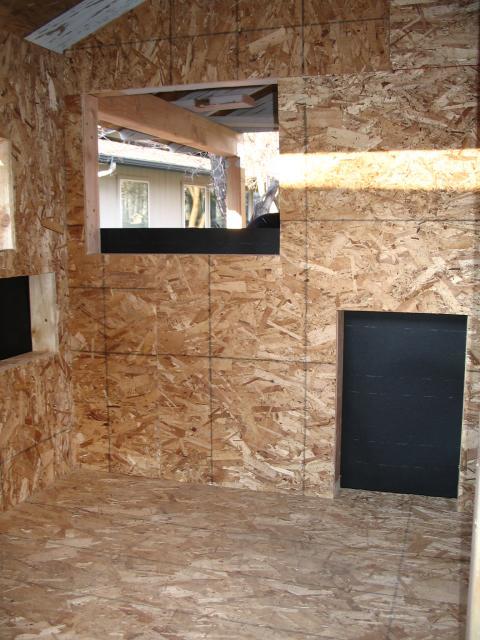
Here is a view from the inside showing where the pop door will be and the east window.
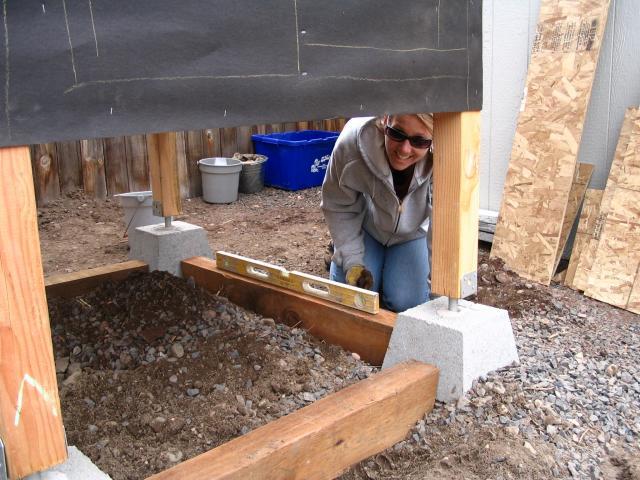
We bordered the bottom of the coop and run with preassure treated 4x6 beams so we would have anchors for the wire that will enclose the whole run.
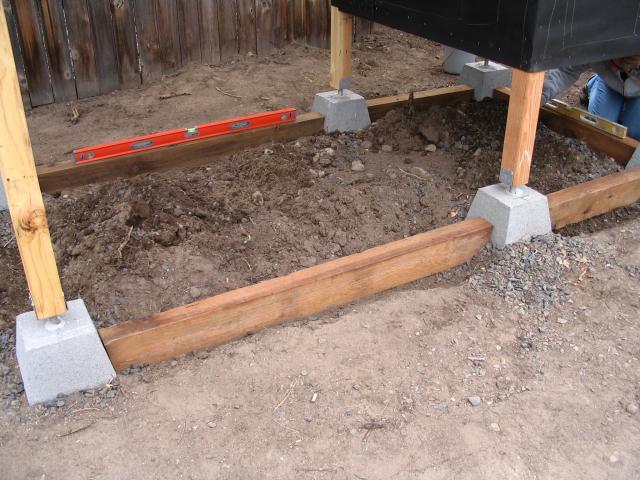
Made sure it was level and then backfilled it with rocks and dirt. It is buried about 4 inches into the ground.
We shingled the roof to match our home and shed. The coop was tar papered and the windows and doors have been cut out.
You can see the completed roof here and the siding has been started.
This is the east side of the coop. Our chickens will wake up to the morning sun shining through their window. The guys built the windows and we used a heavy duty plexi glass instead of glass. Our only regret is we did not make the windows able to open. There is however plenty of ventilation from the pop door and under the eves of the roof. In the future we might replace them with windows that will open.
This is the main door that opens out to the west. It is mounted with heavy gate hinges and has a pop latch to keep it closed. It is also insulated to keep the cold out.
This shows where the nest box door will be. It will sit flush with the side of the coop and is also insulated. This window was made as well and plexi glass was used.
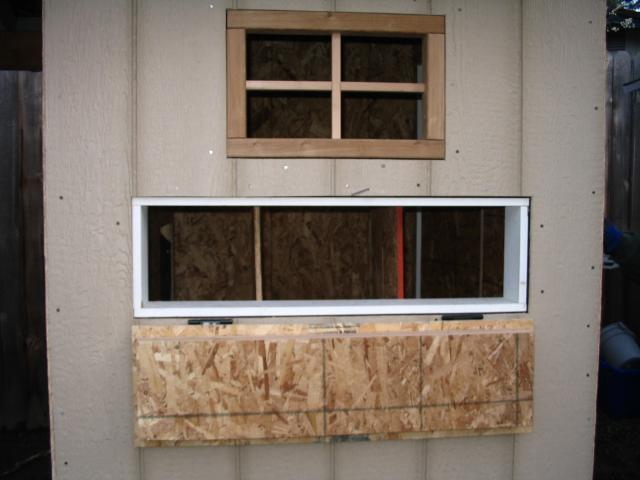
Here is the completed, insulated nest box door.
Siding is complete and all doors and windows are installed. Ready for paint!!
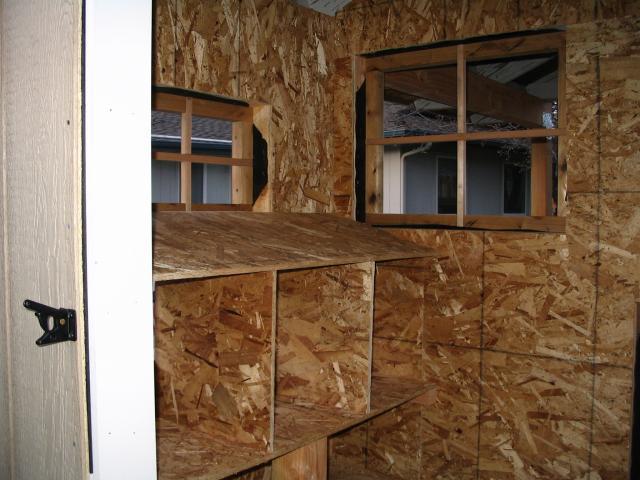
This is a view of the inside of the coop. You can see both windows and the nest boxes. They measure 13x13. We slanted the roof on top of the boxes to discourage them from roosting up there. It doesn't help

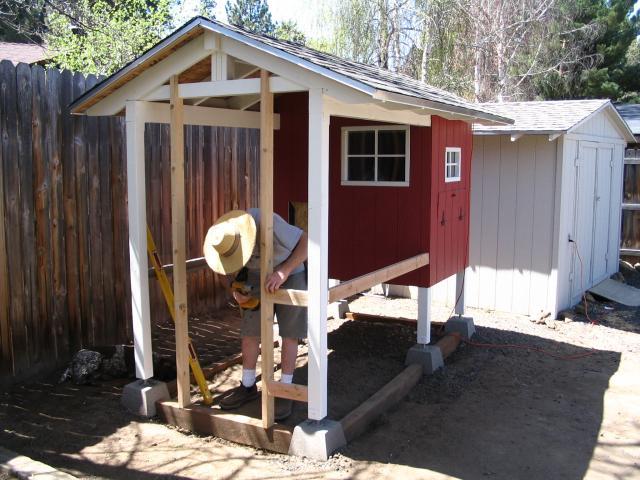
Framing out the doorway and rails so we can install our wire. Painting has started and it looks pretty good!!
We ran an extension cord through the vent holes to install a heat lamp. The girls are living here now!
Oh how the weather has warmed up! We installed a solid core door that was bought at Habitat for Humanity. We are going to cut out the panels and put wire so it looks like an old screen door. The guys are starting to run the 1/4 inch wire around the outside. We dug down about 1 1/2 feet all the way around the coop and run. The wire will lay in the ditch flared away from the coop and be covered with river rocks and dirt. It is also stapled to the border we prepped earlier.

Here is the wire flared out from the coop in the ditch. This keeps chicken predators away! You can also see the ladder. We used and old piece of reclaimed barn wood that was left over from an earlier remodeling project.
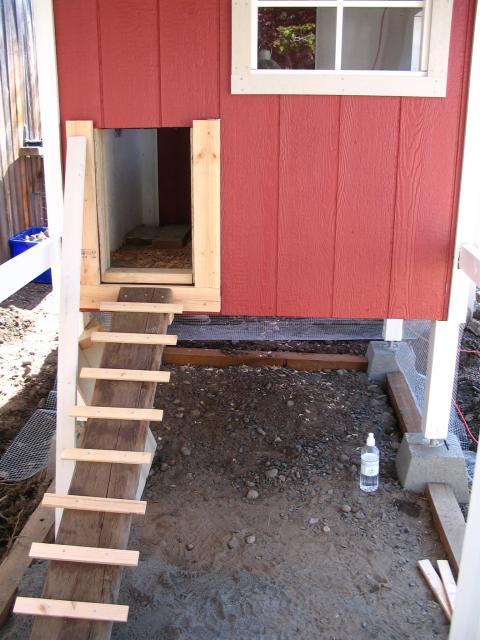
Here is a front view showing the rungs of the ladder being installed. We cut off the long ends of the rungs and sanded them down so they are not sharp.
More wire. You can never be to careful!
Here is all of the wire finished. It has been backfilled all the way around with river rocks and dirt. You can also see the door has been cut out and the wire installed for the screen door effect. All that is left now is trim!
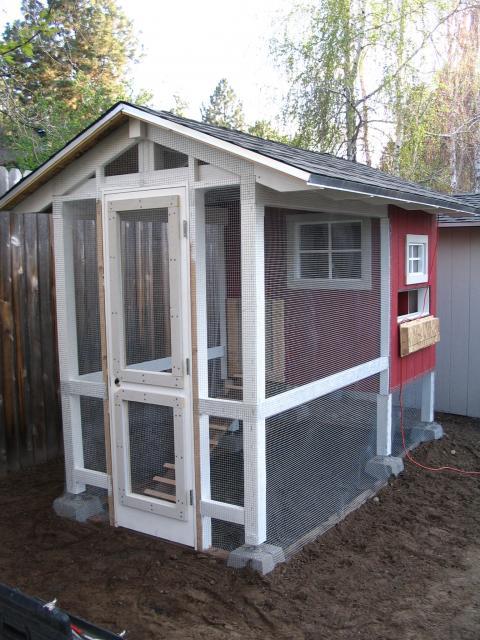
Here is the view from the front showing our coop. This projact took about 8 weeks to get to this stage. We have since completed the trim and added 2 roosts to the run and 1 inside the coop. Their water and food hang from the beams in the roof from chains and this prevents them from scratching their food. I don't think a project like this is ever done. We want to add some landscaping around the outside of it and put in some stepping stones at the base of the run door. Maybe next spring!!! This was a big job but very fun and rewarding in the end! All 5 girls love it and are now giving us 5 eggs a day!!