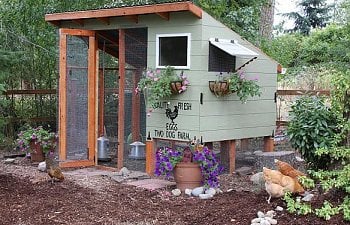
Quality Fresh Eggs from
"Two Dog Farm"

We have no farm on our suburban acre in the Pacific Northwest, but we do have two dogs and several other pets which gets us teased by our friends, hence the "farm." From scouting BYC pages a long time I determined a coop must be individualized for each person's needs. Our coop needed to fit the following criteria:
"Two Dog Farm"
We have no farm on our suburban acre in the Pacific Northwest, but we do have two dogs and several other pets which gets us teased by our friends, hence the "farm." From scouting BYC pages a long time I determined a coop must be individualized for each person's needs. Our coop needed to fit the following criteria:
1. Fit 3-6 hens.2. Be safe from the many raccoons and coyotes in our area.
3. Be rainproof and have good drainage.
4. Fit within this area in our yard, as it meets property setback requirements (we have a driveway behind the coop,) is sheltered from the weather and less visible to neighbors, and I can see it and easily access it from the house.
5. Be tall enough for us to walk into to save on back stress.
6. Be easy to clean.
7. Be attractive so as to prevent neighbor complaints (our acre is surrounded by housing developments).
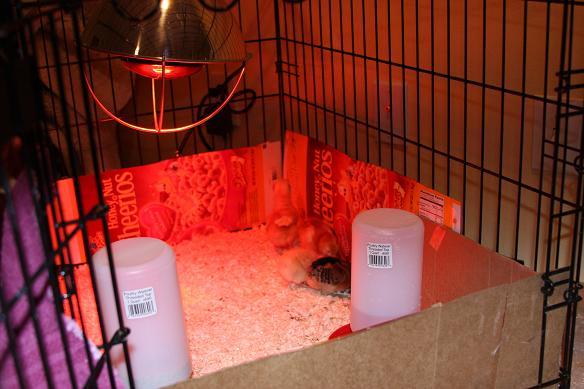
The "brooder," a dog crate with cardboard around the edges in our laundry room! Better start work on that coop...
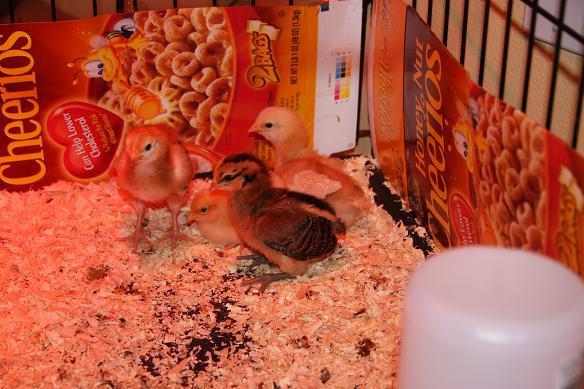
Our babies! Notice there are four...Lily the Rhode Island Red grew into a rooster and now lives happily with about 15 hens in Issaquah, where his crowing will not disturb any neighbors. We were sad to see him go, but he lives the good life at his new home.
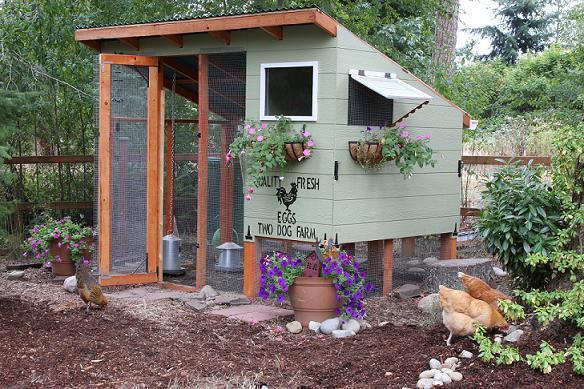
Our total coop and run roofed area ("footprint") is 6x10 feet, with the actual coop being 3x6 feet. The design is basic and modeled after many fine coops already featured on the site!
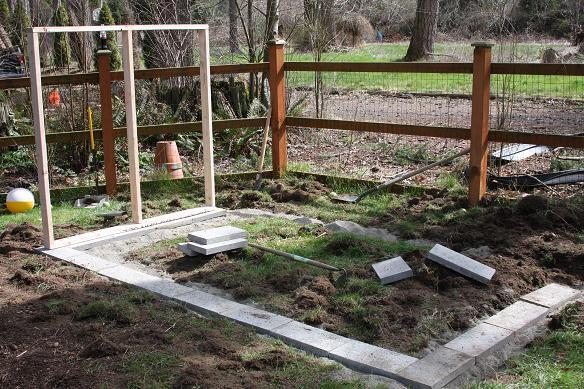
This shows the foundation for the coop. Approximately 2" thick bricks were leveled with sand and placed around the perimeter.
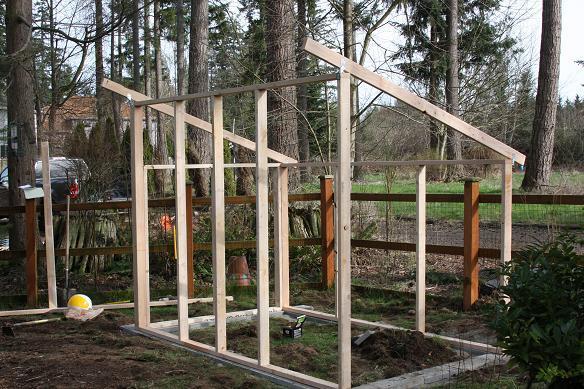
The initial framing.

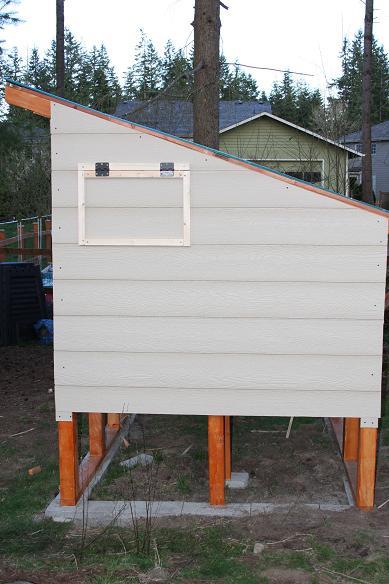
Outside mostly finished, no hardware cloth or plexiglass windows yet.
West side, unfinished. The window finished props open, with hardware cloth inside. It is primarily for ventilation, and is about 12"x24".
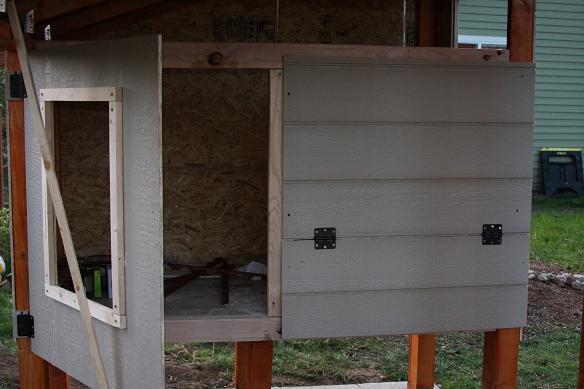
Here is the east side, unfinished.
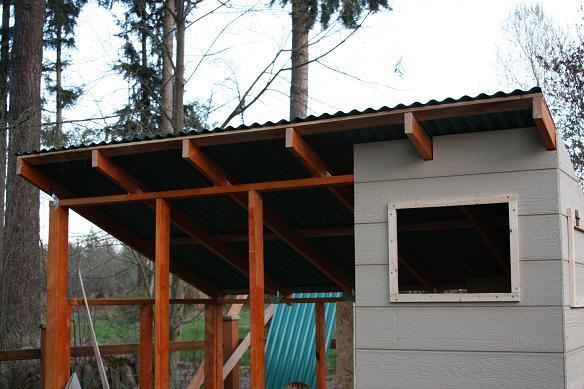
The front of the coop (north side) unfinished. When you see the finished pictures, you can see how we blocked off the openings at the top of the run with siding.

Here is the east side of the coop, finished! You can see the plexiglass "window" in the large door--the girls all roost here, in front of the window. I do keep food and water outside at all times. The screen is all hardware cloth, with a three-foot apron on the ground, many large rocks and stumps help keep the apron down. The hardware cloth was attached with screws and washers.
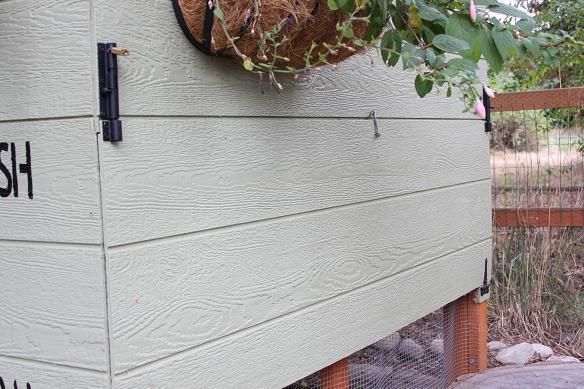
This is the west side of the coop, just below the "window" which is just hardware cloth. The entire bottom side opens up but is kept locked with keyed padlocks when not open for cleaning. The floor of the coop has a sheet of linoleum from our closest ReStore in Ballard, and the coop is very easy to clean.
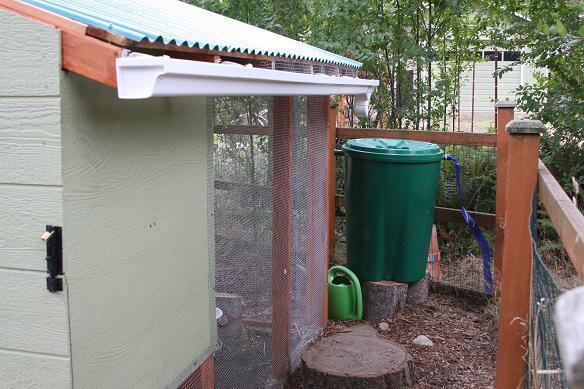
This is the south side of the coop. To keep the coop dry, I put a little gutter at the base of the corrugated plastic roof (I chose green over clear to avoid a greenhouse effect). I need to finish the gutter downspout, but you can see how it will go into the rain barrel. The blue hose on the other side of the barrel is the overflow hose.

Here is the east side of the coop again. You can see the ventilation hole with hardware cloth cut in the top, it is a bit wonky because of the framing inside, but with that opening and the large hardware cloth "window" on the west side, the coop stays well ventilated.
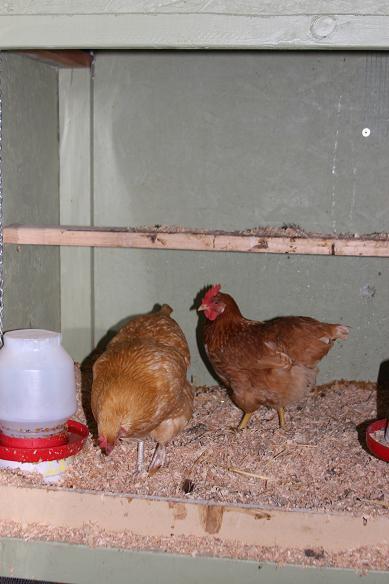
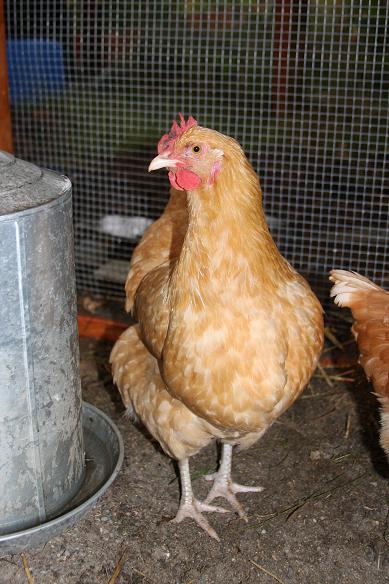
Here is the same view with the door open. I am one of those paranoid people who keeps some food and water in the coop too, just in case, we don't let them out until late one morning, etc. You never know. The roost is a 2x4 turned on its side. Daffodil is the Buff Orpington, and Rosemary is a Red Sex-Linked.
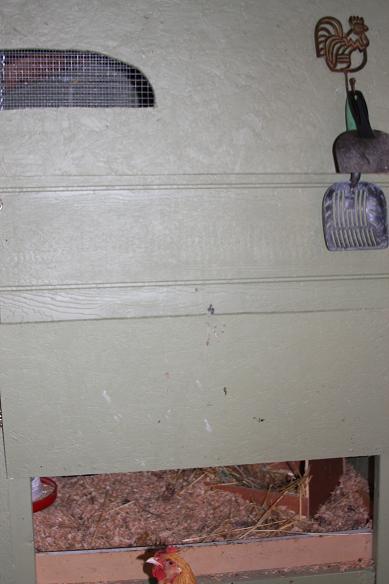
Here is the chicken door to the coop, as you can see it is much larger than normal, because of the framing and to facilitate egg collection by my young children. Our original plans were to have an egg collection door on the outside of the coop, but we found we really liked going in with the birds daily and it was one less door to lock. For winter we will put plexiglass over about one-half of the opening, so they have the light but not so much of a draft. For the summer it has been nice extra ventilation. Notice the cat litter scoop and spackle knife hanging, those make for quick and easy cleaning of the coop on a frequent basis. Obviously, this wouldn't help with a large flock of hens but for three it is really easy to clean a little as you go along.

Our nest boxes. These were "prefab" and so lack some quality details like a sloped roof. However, it is easy enough to clean with only three hens. The golf ball is there for inspiration. Interestingly, our hens do use both boxes instead of just one. We may have to add a larger box for our Buff Orpington Daffodil, she is looking a bit crammed in there to us.
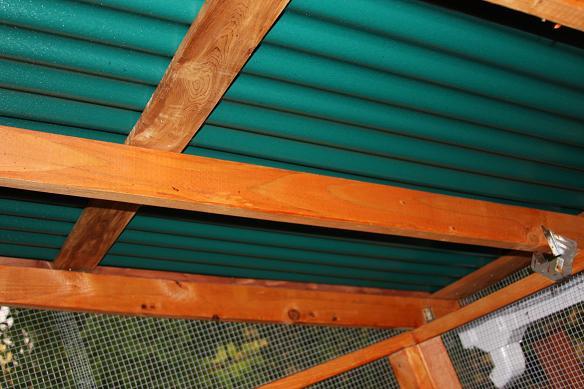
Here is the roof, from the inside. It has done a great job keeping the run dry, was inexpensive and easy to install for us beginners.
Daffodil demonstrating our sand run. The sand has been so easy to clean with a rake and stays nice and dry.
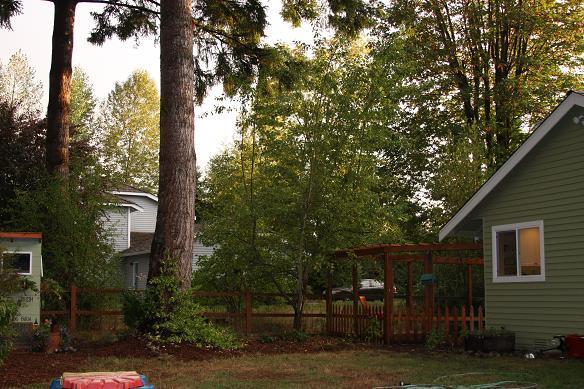
This photo is showing the proximity of the coop to our house, the distance is about 30 feet. The window is my kitchen window, so I can easily look outside to check on the girls or the kids in the sandbox. The pen on the side of the house is for our cats and rabbits, they like to have some room to run around outside in a coyote-free environment.
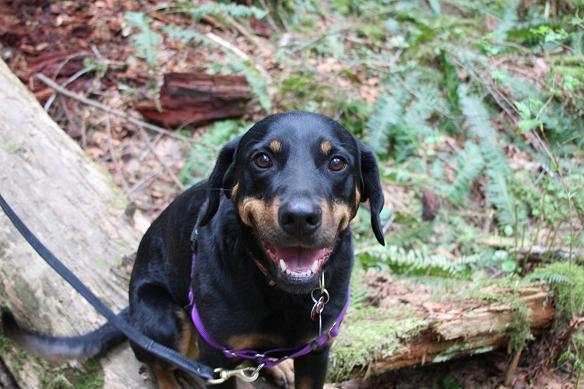
One of the two dogs! This is Sadie, she is a registered Delta Pet Partner dog and enjoys visiting schools. Here she is hiking at Twin Falls, in the Cascade Mountains off I-90.
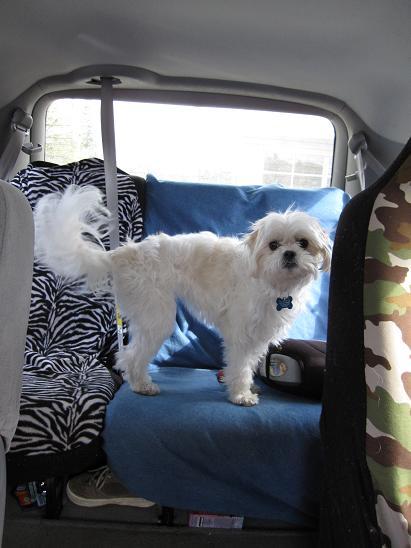
This is Pixie, the most tolerant little sweetie who ever lived. Here you see her in her natural habitat, the back of a minivan at a burger joint.
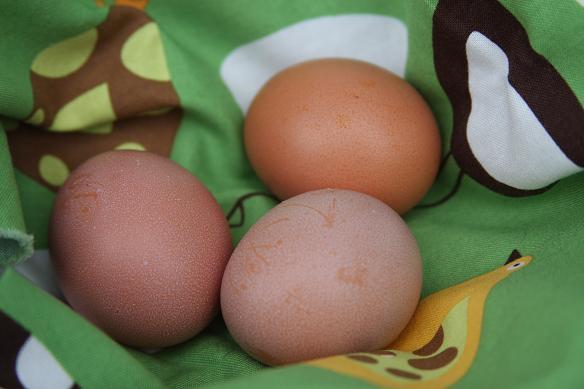
Our first eggs! They were from Rosemary, and we didn't expect them so soon so she had three in the back of the coop before we noticed them.
I hope you enjoyed seeing our coop here “on the farm” in the Seattle area's Eastside! If we were doing it again, I would...
1. Insulate the coop, even though we rarely get below 28 degrees F even at night, we usually have a couple of weeks of really cold weather which will require an external heat source. Last year we had a week in the teens, and we had to bring our rabbits inside.
2. Place the framing closer together to make the hardware cloth installation easier!
3. Eventually we will build nicer nest boxes and mount them properly, but while my children are short they will remain as they are.