Our Chicken Palace
After losing far too many chickens to coyotes (and quite possibly hawks), I opted to add an attached run to our existing coop thus forcing our chickens to live in a 6 x 10 coop with a 10 x 10 run attached. While I didn't lose any of my girls, they were clearly not happy with their living conditions.Thus began the quest for a new home for my chicken friends. Before I get started, I want to thank Arianna on BYC for her inspirational coop. My husband, on the other hand, wants to send her a bill
")
My original coop design called for a 40 x 40 space but hubby laughed and called me crazy. At least I think that was the worst of the names! I caved and went with a more reasonable 40 x 25 space.
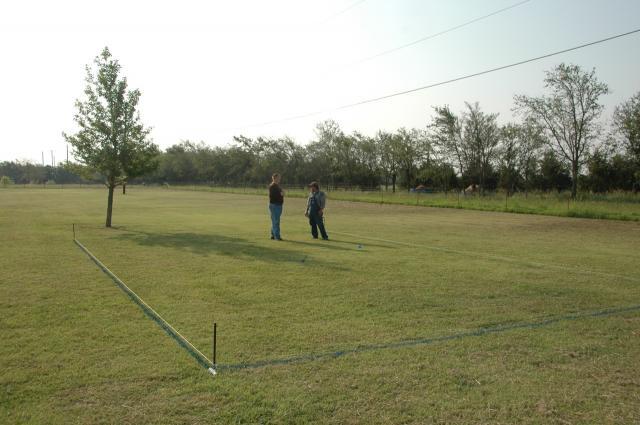
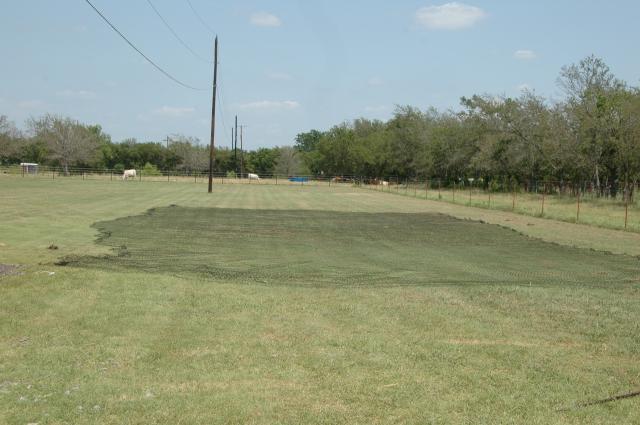
The perimeter is laid out and ready for trenching.
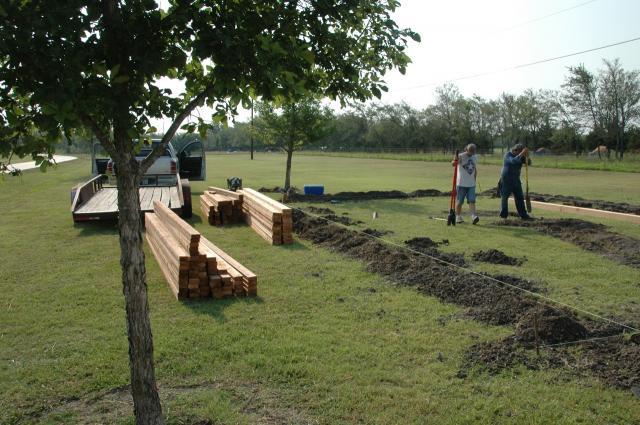
Trenching is complete and the first batch of cedar has been delivered.

Frame is complete.
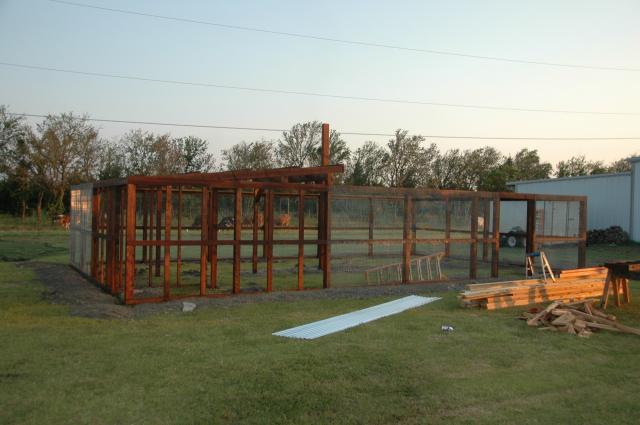
Wire mesh installed and placed approximately 12" underground. We used 1 x 1 mesh. The trench was then filled in with dirt and concrete.
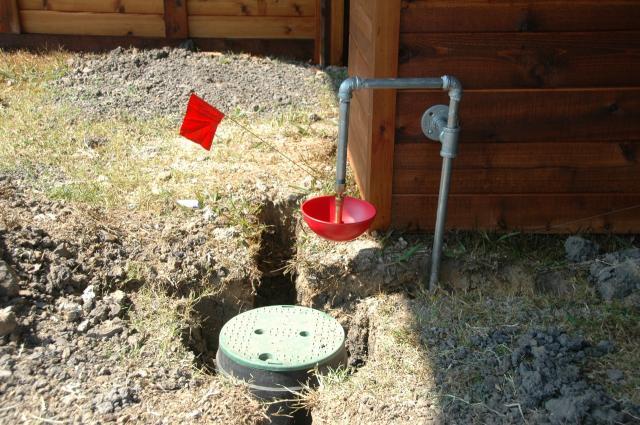
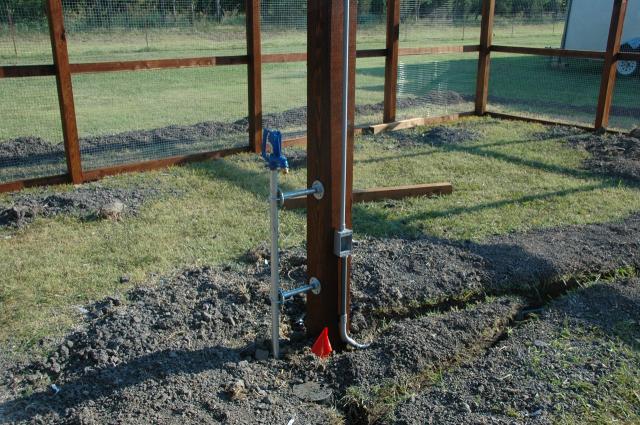
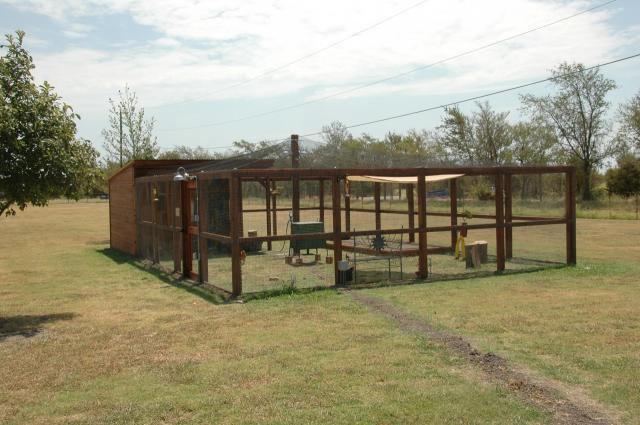
Two automatic waterers were plumbed in (one on each end) as well as a large faucet in the middle of the coop. We also put power into the coop so that we could have lights and a fan in the summer and a heat lamp in the winter. You just never know what you might need so we also have a few extra outlets in my storage area.
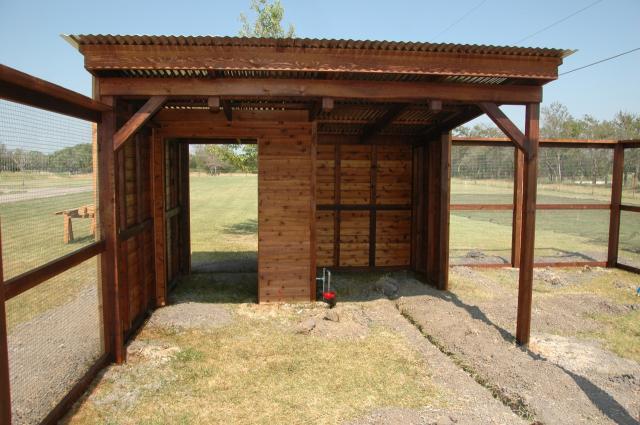
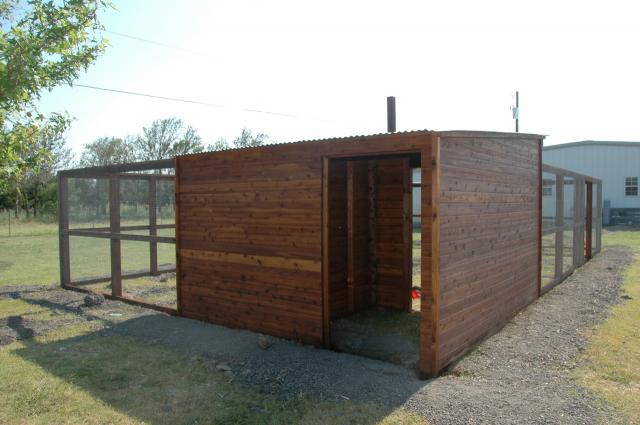
This is my 6 x 6 storage area on the left. It has a door going into it from the coop as well as a door going outside. I plan to have a garden some day and it will be on this side of the coop. There is also power in the storage area to eventually install a sprinkler system for the garden. Just to the right is a 3 sided area for the nest boxes. This helps block the wind for winter. The roof comes out 12' to keep everyone dry and provide shade.
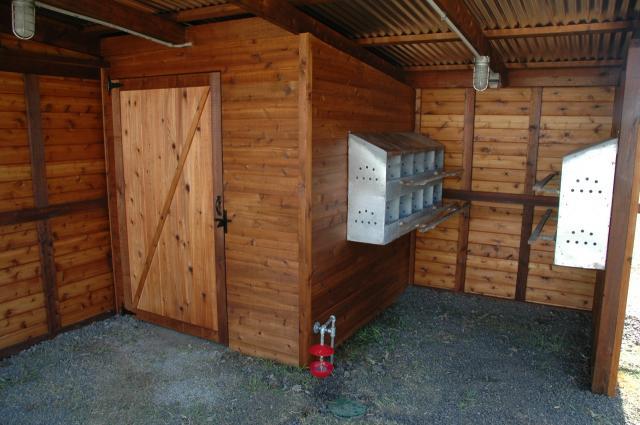
Here is a pic of the nest boxes. Two rows of five on each side. I added a roost underneath the boxes on the right. My young top hats were having trouble getting up to the higher roosts.
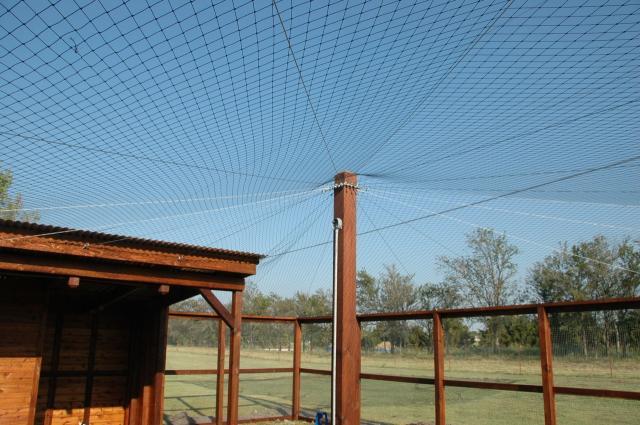
To keep flying predators out, we got a fabric mesh to cover the entire coop. Hubby had the great idea to use a metal plate that he had left over from some ham radio antenna to use to connect the cables that hold the mesh up. The other ends of the cables are bolted along the top perimeter.
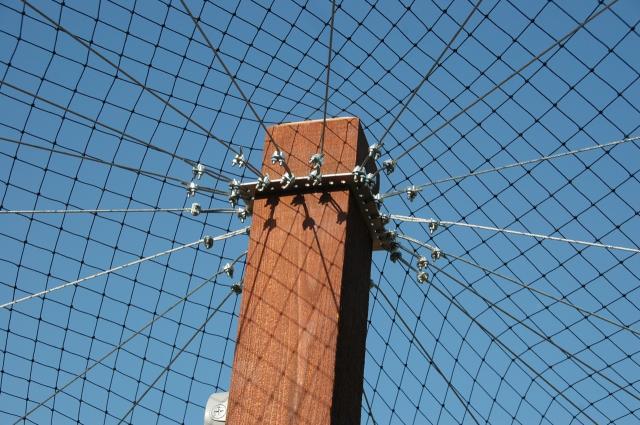
Here is a close up of the cable plate. To prevent the mesh from getting ripped on the corners, a small piece of wood was cut to cover the plate and give some height for the mesh to drape over at the center point. A piece of copper covers the wood.
Here are some of the extras that we put in:

The salad bar. Note that the top is open. The lid is hinged and has a clasp at the top so that it can be easily opened and closed without requiring more than one person. I plan to plant rye grass and the like in this so that the chickens have access to fresh greens. I learned of this wonderful idea on BYC!
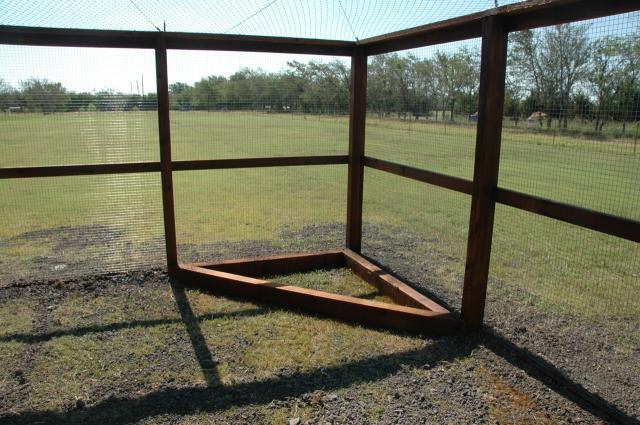
Future sand box. It currently has sand in it with a small bag of DE to help with bugs. I learned of this tip on BYC as well.
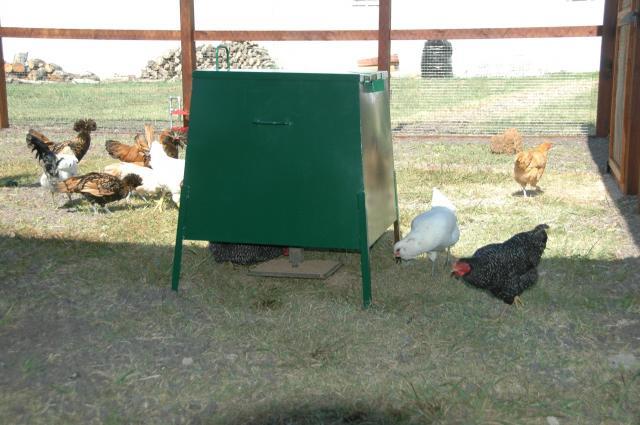
Hubby had several quail feeders laying around, not being used. I put a fresh coat of paint on the exterior and snagged it for my coop. It has since been lifted up by about 6 inches as the chickens were scratching all of the feed out onto the ground. This feeder is awesome because it will hold 100 plus pounds of feed and water doesn't get into it or under it where the feed comes out.
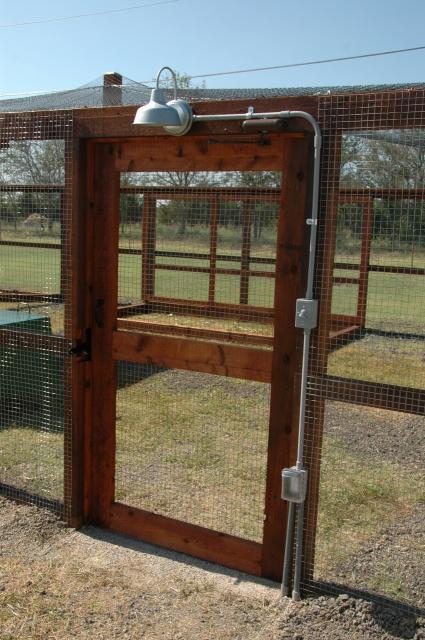
Main entrance. The door has an automatic closer so that it swings shut on its own.
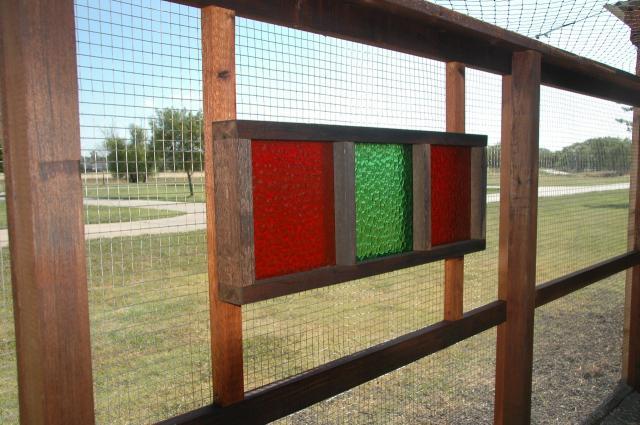
This is just some decoration for my girls. They like pretty things too! It actually came from a restaurant that closed down in Fort Worth. I got it at an antique shop in Glen Rose where I got the nest boxes.
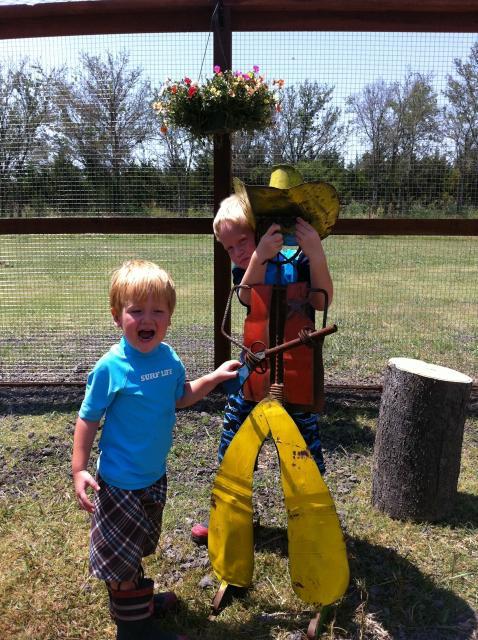
We opted not to have a guard dog. Instead, this gunslinger is on duty to protect the chickens! My two boys are trying to take him down but he is still standing and not letting go of that pistol!
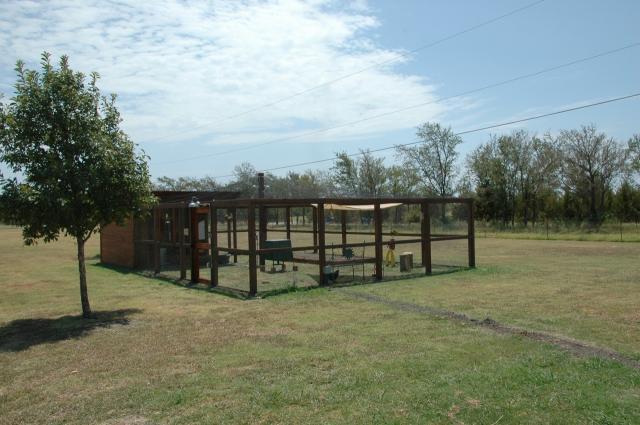
Changes I would have made: I would have added shade cloth across the top portion on the west side. As it stands now, I have put up a triangle sail cloth for shade and I am patiently waiting for my honeysuckle to grow up the side and over to help provide shade. I am also contemplating planting a crepe mrytle inside the coop for shade, color and fun for the chickens. For winter time, I am planning on hanging a PVC strip door that can easily be taken down and put back up each season to help with the cold and to keep the heat from the heat lamps in.
Here are the final pictures of the coop with a seating area, shade sail and the much needed fan!