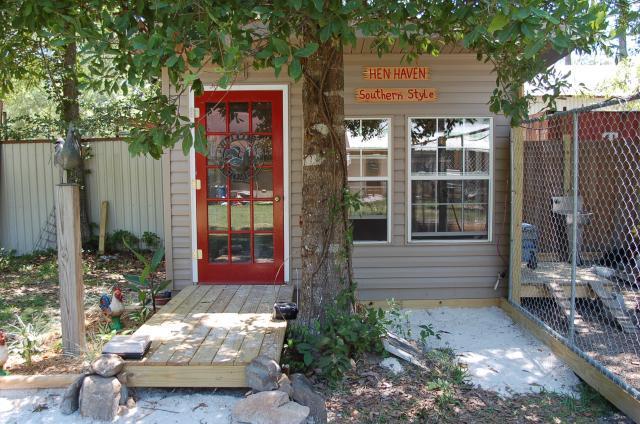
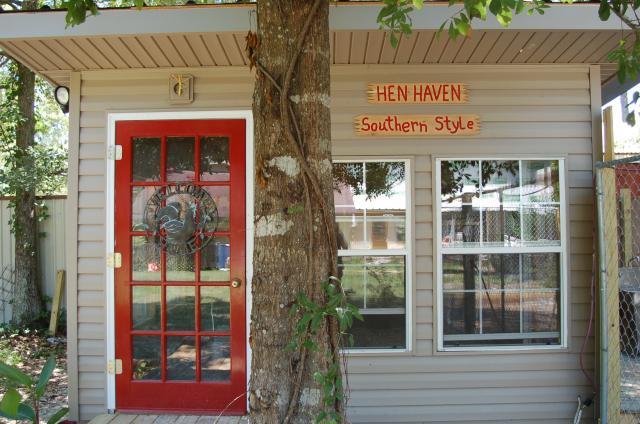
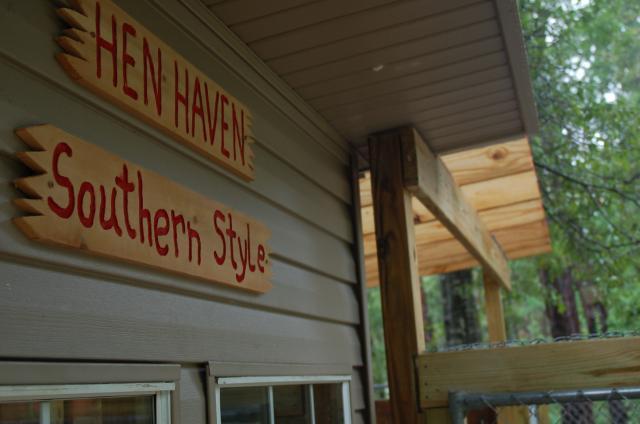
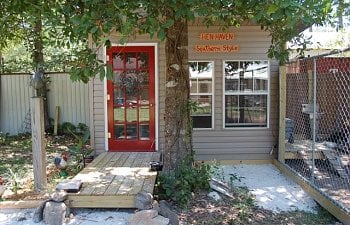
Hen Haven
Southern Style
We still have to install chain link over top of run, finish roof over 10 x 10 run by side door , install chicken door motor , run power and water underground from house to coop and some more landscaping.
We are new to raising chickens, hooked by our 12 year old grandson from Atlanta into giving it a try. Now we are addicted. My wife works a stressful job in a courtroom and sidelines as a paralegal for law firm. I am a Firefighter and remodeling guru, so the chickens have become our stress reliever. Plus our other grand-kids love them. Oh yes, and the wife has named them all.
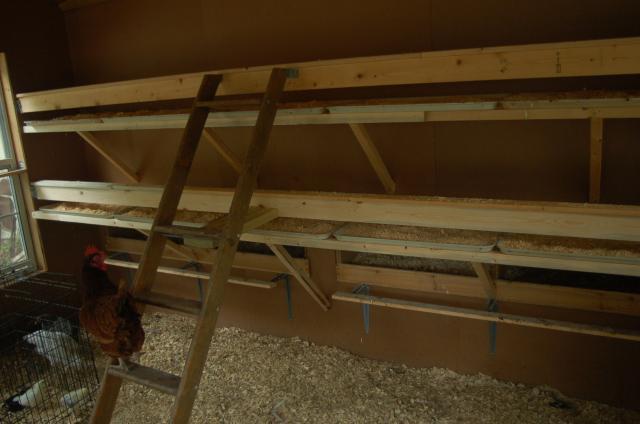
Our Hen house is 10' x 12' floor space. 7' tall on low side and 8' on high. Metal roof, vinyl siding and aluminum windows. Two french doors for people and a sliding chicken door for.....well, the chickens. We put congoleum on the floor and use deep littler method. i built a single roost and added removable poop trays underneath the roost. Works great and easy to clean into tote and bring outside for the compost pile. There is a ladder leading up to the roost. Will add more roost space as needed. Interior walls are covered with 1/4 masonite for easy clean up as well. The house has plenty of ventilation to get rid of the deep south heat we get via 5 windows and a high volume exhaust fan. So far working great with our 95 degree heat we are experiencing. A few little finishing touches and we should be done.
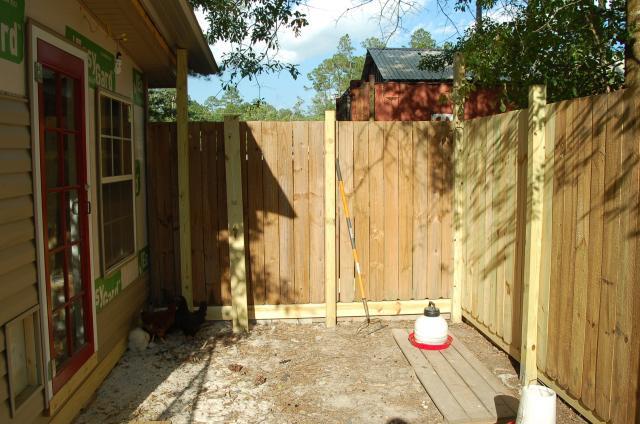
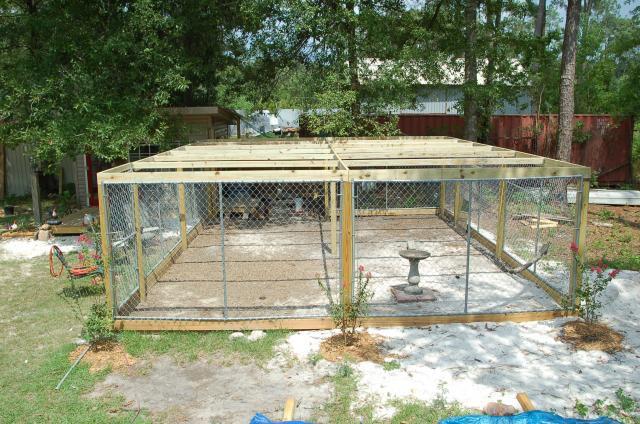
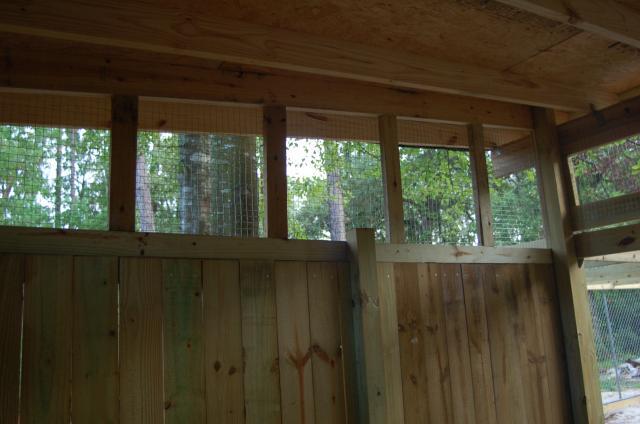
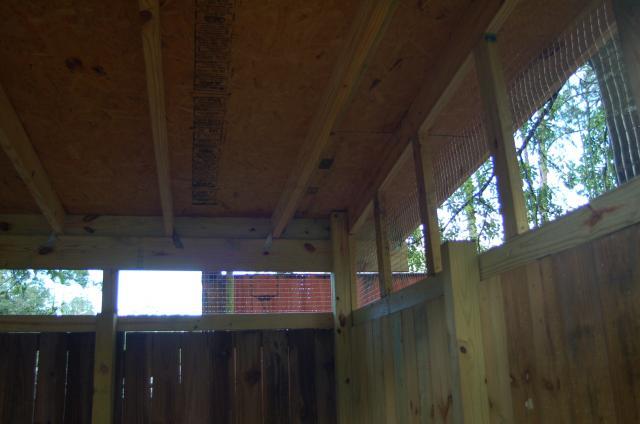
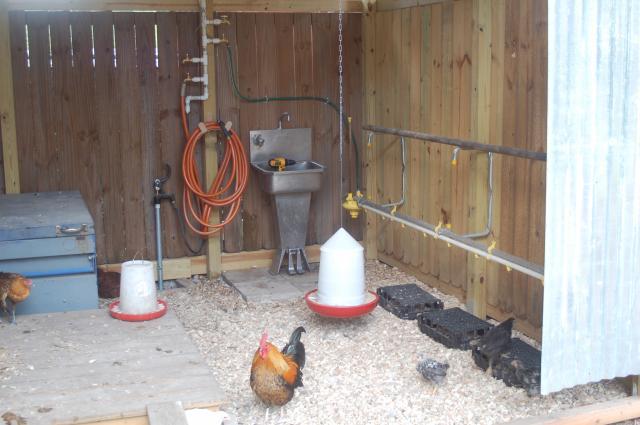
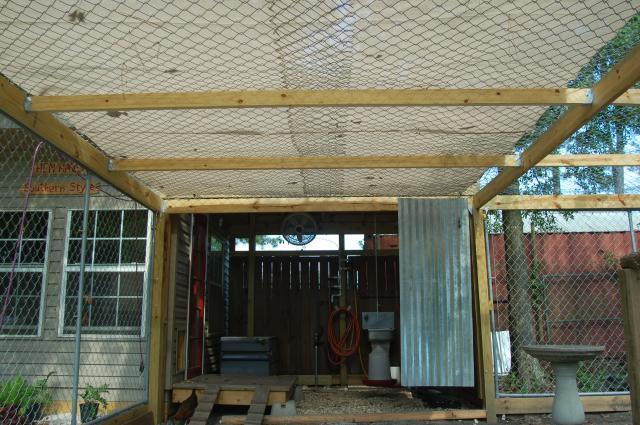
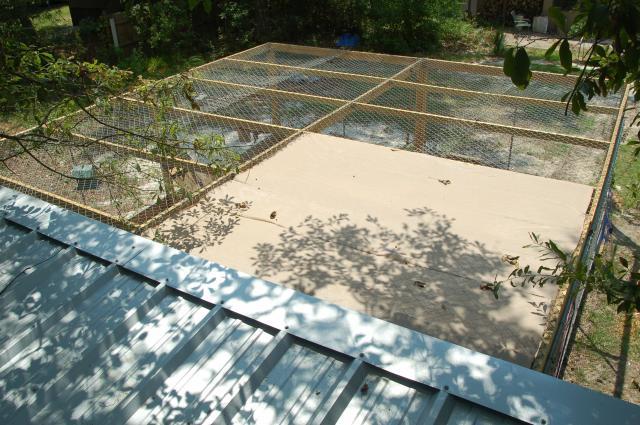
The run area will be two part. 10' x 10' enclosed with wooden fencing to block winter wind and roof overhead to keep dry. This is where their feed will be and nipple watering system. Also food storage will be here as well as a sink for cleaning up utensils and a garden hose for poop washdown.Trying to create a shady, dry area for them to stay out in, even if it is raining or hot summer day. The open run will be 20' x 24' using chain link fence panels set in 4" x 4" framework, topped with chain link fencing over treated lumber joists. Will have two 4' wide people gates....one on front side and one in rear for hauling out shavings/poop for the compost pile.
As a former city boy, all of my inspiration came from BYC. Looking at other coop designs and reading the forum. I just tweaked some of them a little to suite my ideas and needs.
Hope you enjoyed the story and please take a moment to view our photos of the building of our coop. I did all of the work myself, along with dear wife. Did have the help of fellow firefighters Freddy, Keith and Skip on first two days framing walls, setting windows, sheathing and installing metal on roof. Otherwise it was a one man show. Used as much second hand and left over materials. Scored the fence sections and metal for roof off Craigslist. However, still cost a pretty penny. Friends and family call it the "Chicken Palace". Hope you enjoy.
Judy and Erik
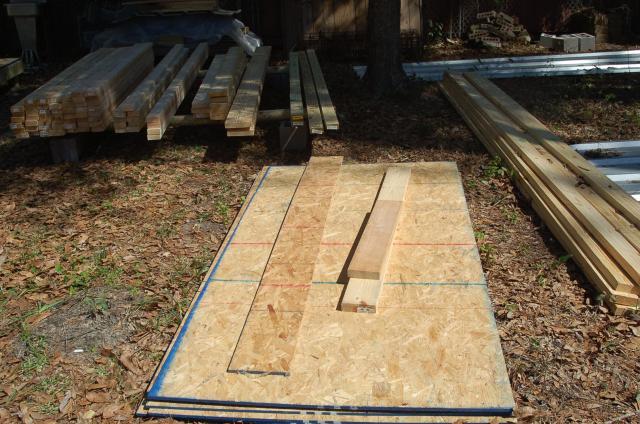
Materials gathered.
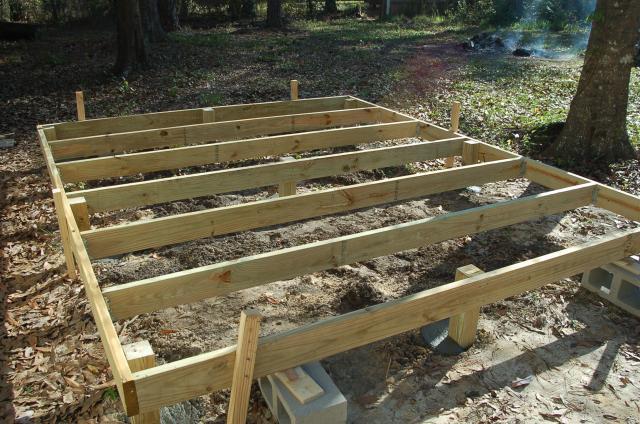
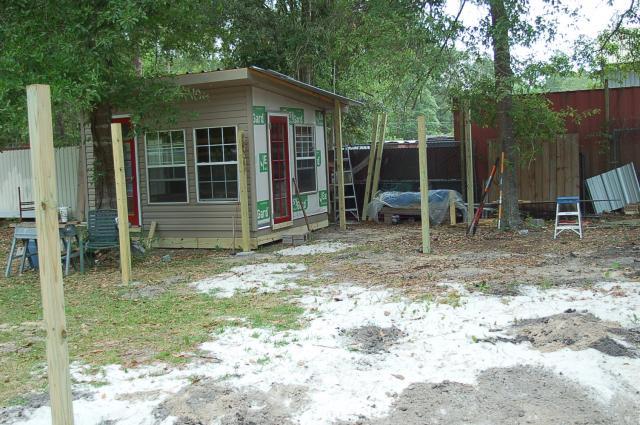
I framed platform, supported with stakes to keep level and square. Then set posts
 Posts set in concrete.
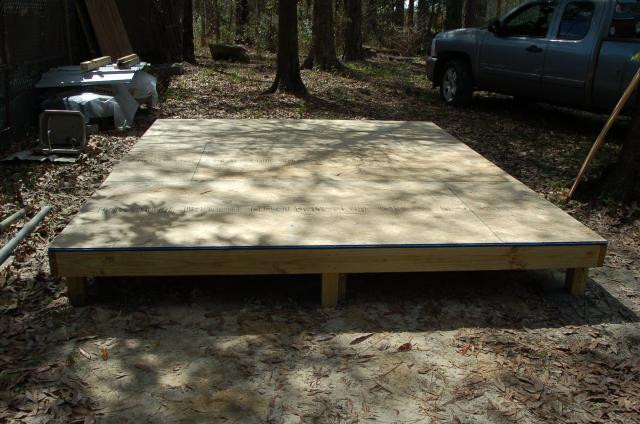
3/4 " osb for decking
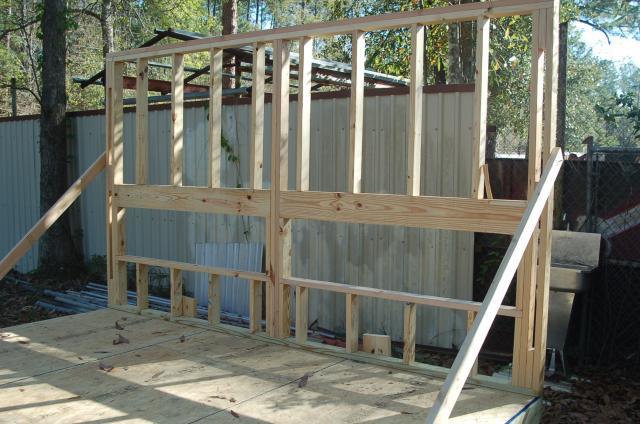
Back wall with openings for nest boxes. Plumb and square.
Front wall(8') in place. back wall 12"s lower for shed roof. Openings for 2 windows and door.
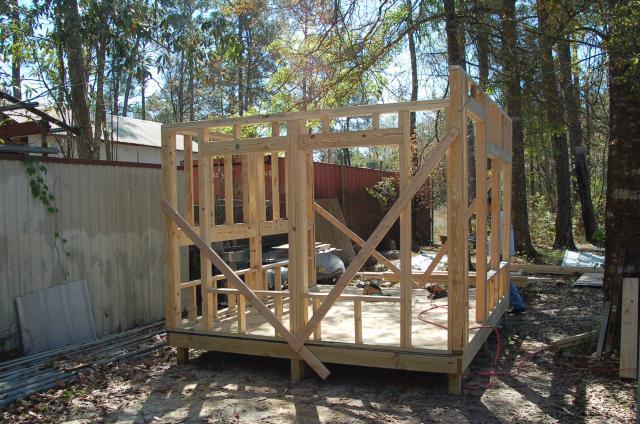
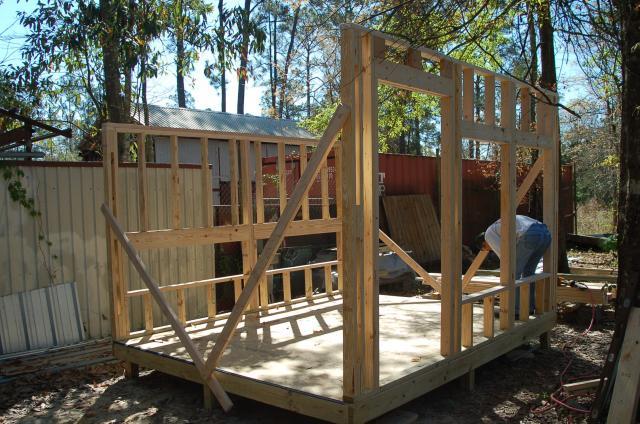
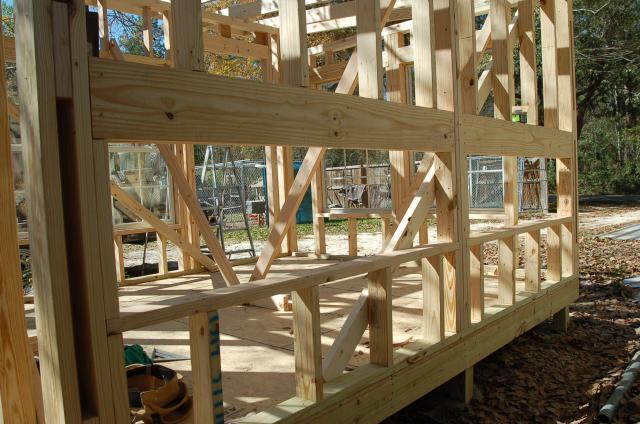
End wall with openings for 2 windows. Braced to keep plumb and square.
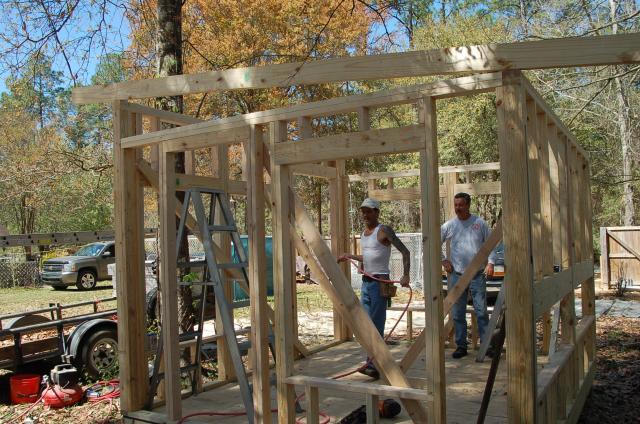
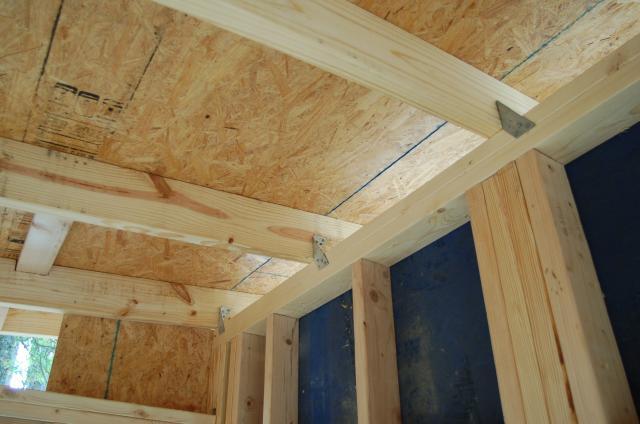
Other end wall in place. Opening for 1 window and side door to run. Fireman buddies were nailing together as I was cutting and laying out. Note rafter in place.
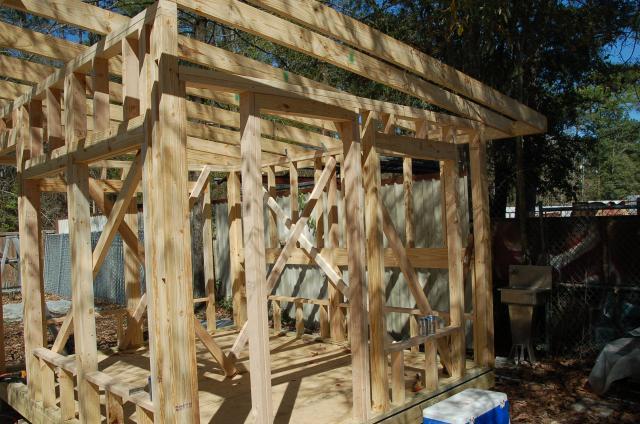
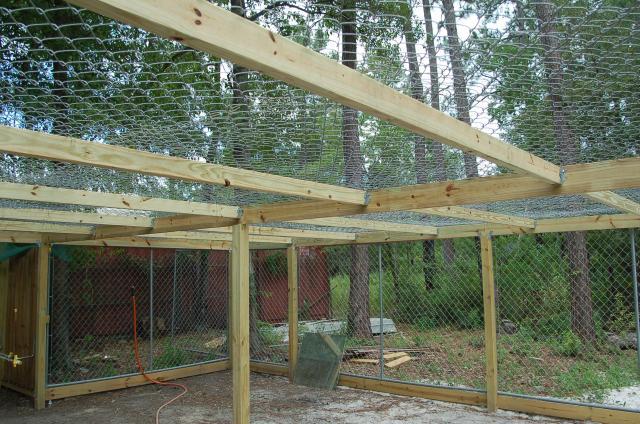
All rafters installed. Braced in all directions to keep plumb and square.
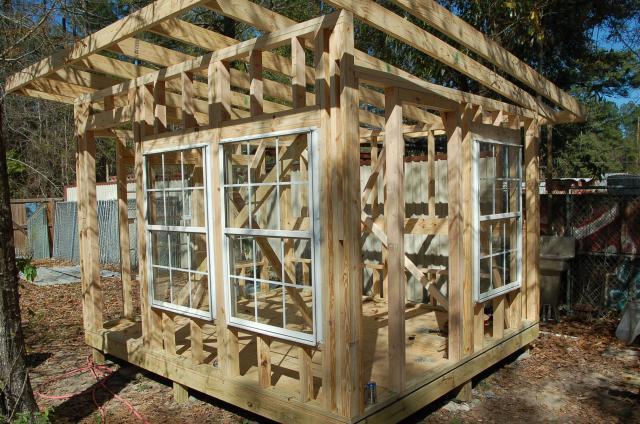
Windows going in.
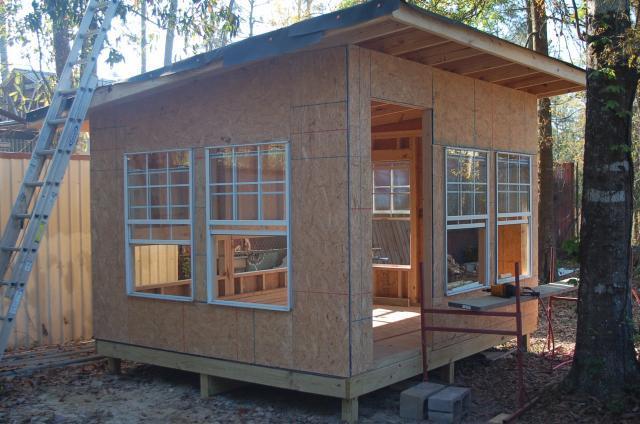
osb sheathing on and felt on roof. This was day two.
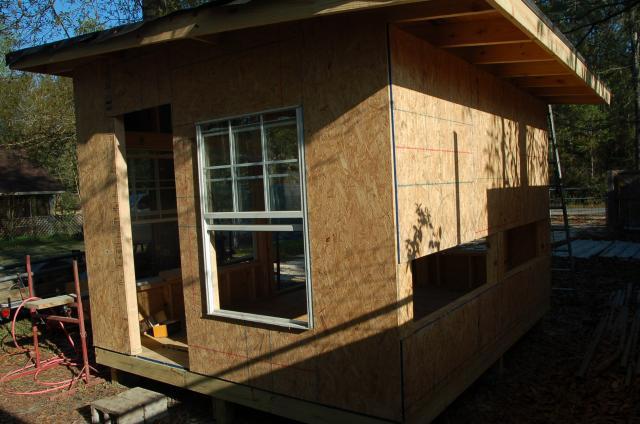
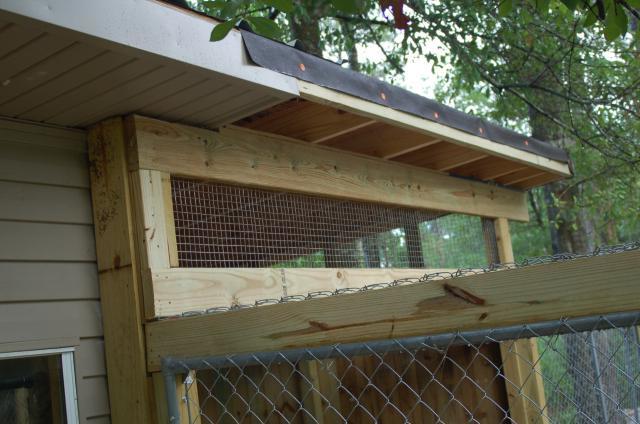
Opposite end with side door. Note openings in rear for nest boxes. Also, wide overhang of roof to protect nest boxes.
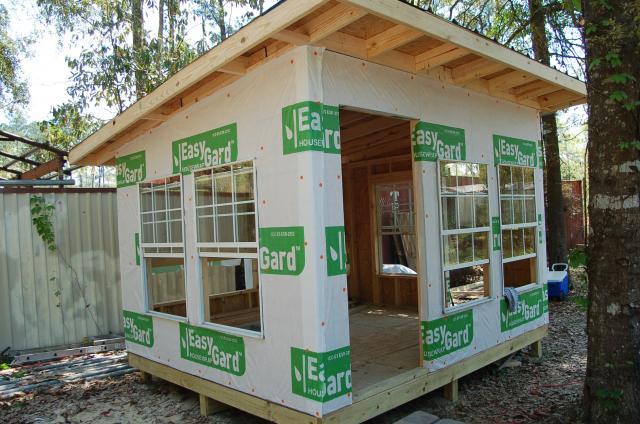
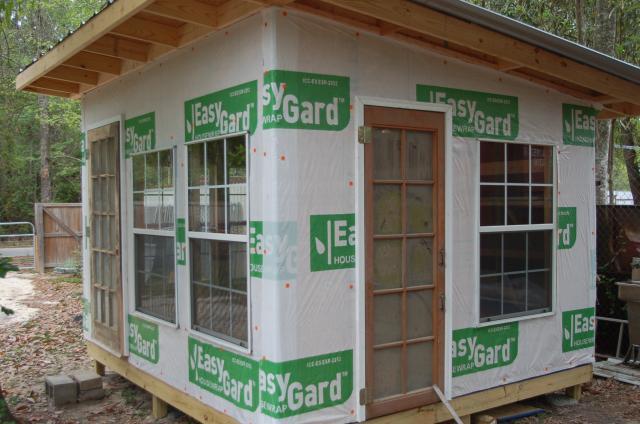
House wrap in place. Ready for soffit and facia. Then vinyl siding.
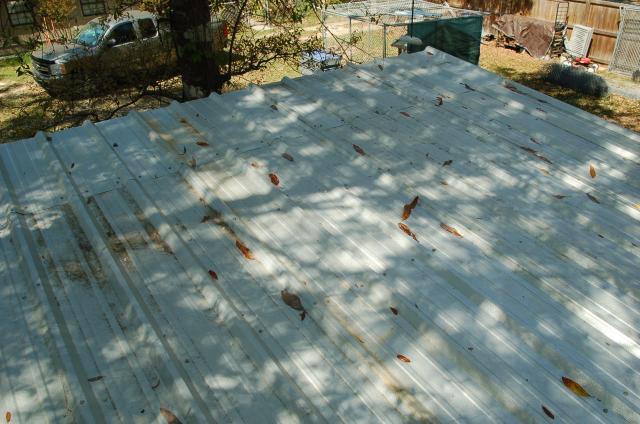
Metal on roof. Note temporary run in background. Got a few hens unexpectedly so had to hurry my progress on new coop.
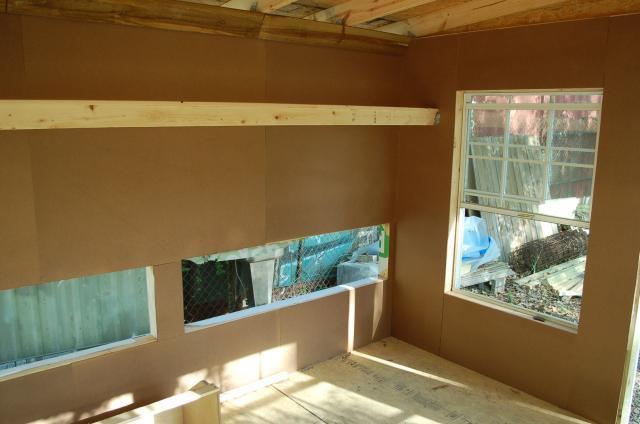
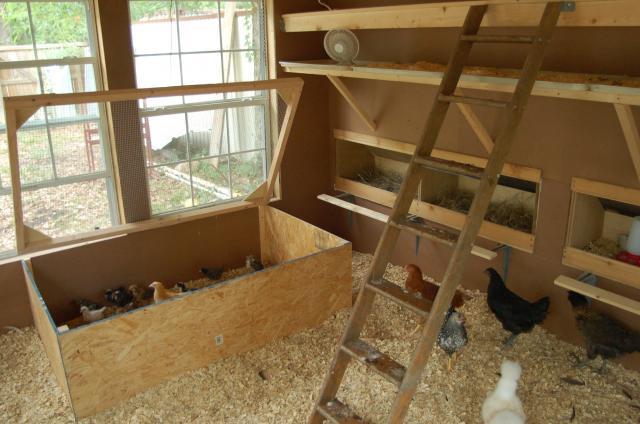
Jumped inside and got wiring done and masonite on walls. Also put up roost made from a 2" x 4" with a 1" x 3" on the flat on top, for a nice wide footing for the girls.
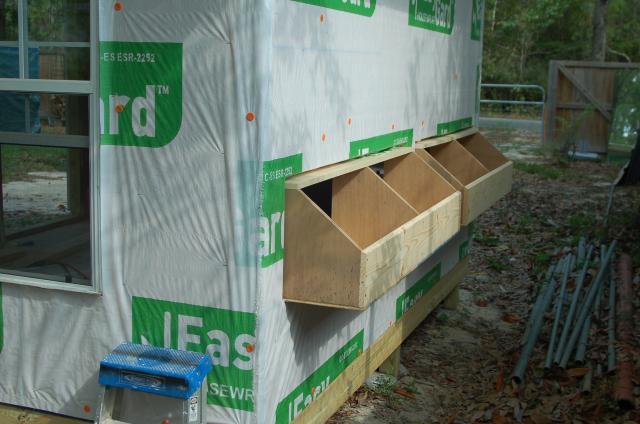
Built the nest boxes in my workshop and brought them over and installed. Lids to follow. Will be hinged to open from outside for egg collection. Gotta move all of that pipe on ground so DW doesn't break a leg and then break my head.
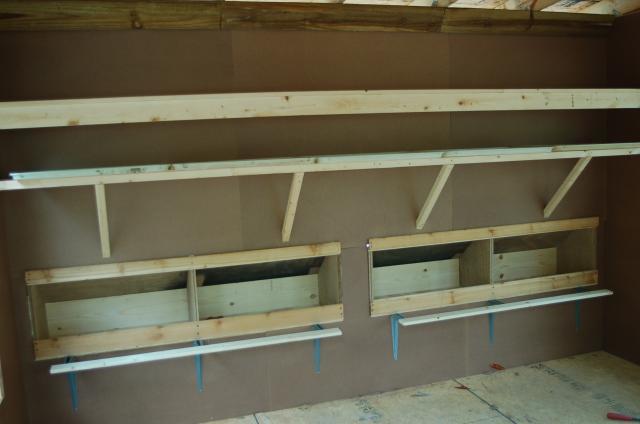
Nest boxes finished, poop trays installed. They are used cafateria trays sitting on a 2" x 2" framework for easy removal and cleaning.
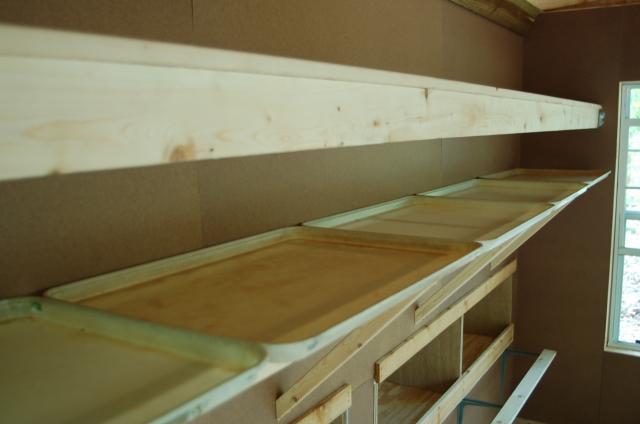
Now you can see them better.
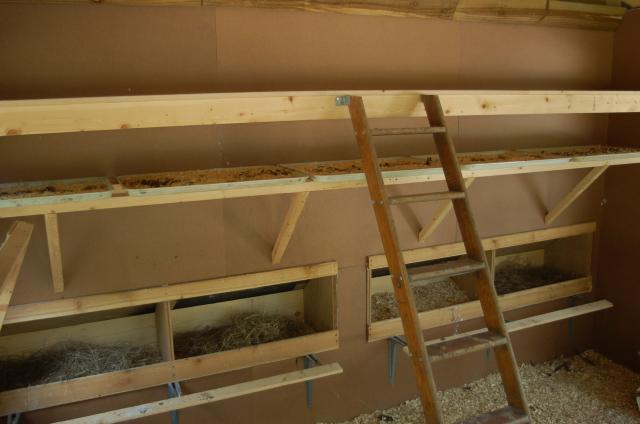
Oak ladder from a shoe store that I cut down and installed for the girls to go up. They love it.
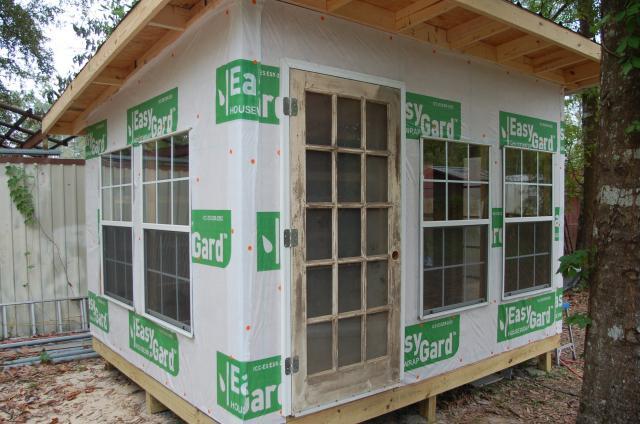
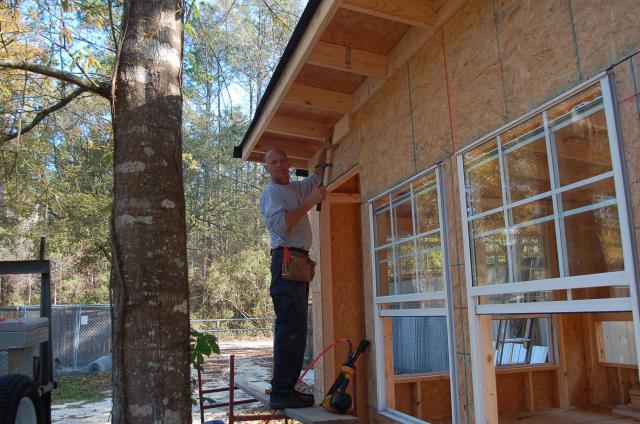
Front door I had laying around from remodeling job.
Ditto on the side door.
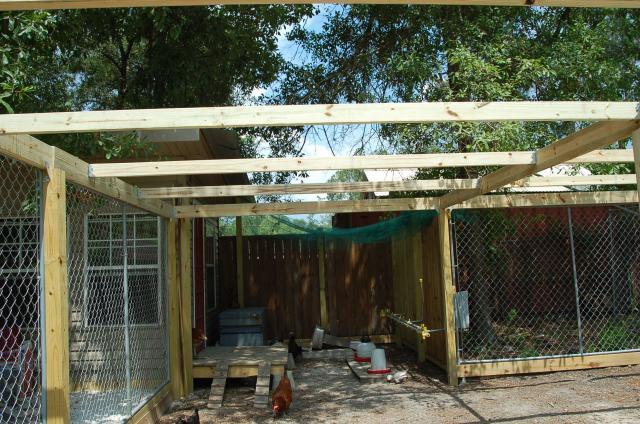
Note the blocks between the rafters to keep critters out and birds in. Metal hanging over end of rafter will continue over 10' x 10' enclosed run so they'll have protection from rain while outside. Chicken door will be to left of side door.
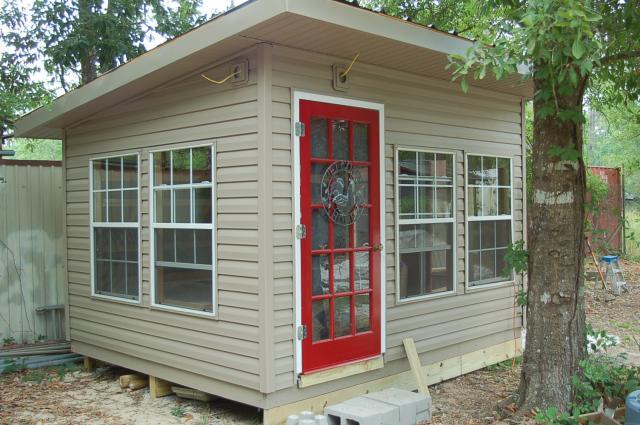
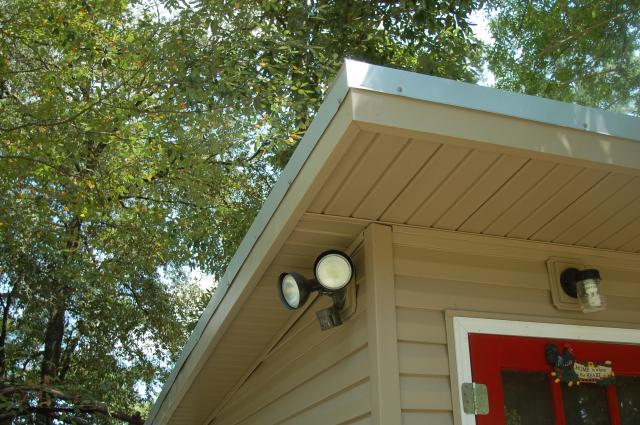
Vinyl siding, soffit and aluminum facia finished. Door painted and wiring ready for outside lights. All we need is a porch and some plants.
Back inside with the girls. Grandson brought some girls from Atlanta unexpectedly and babies came in so had to re-group and throw together a brooder real quick. Now we have four different age groups to deal with. Crazy
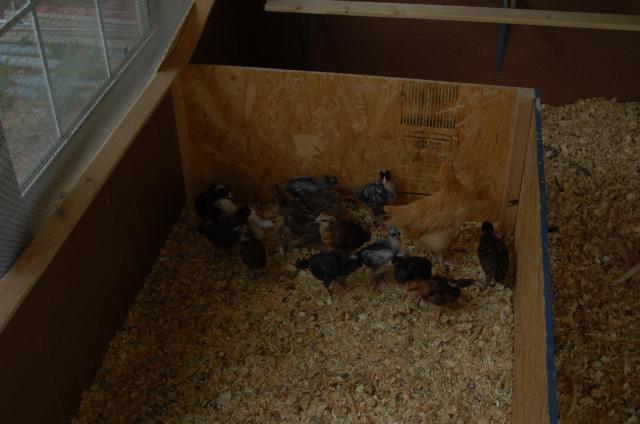
The new babies a few days old with 2 teens from grandson.
Still jumping around. Didn't get to finish the siding, had to start on the run. Temp run getting crowded. Gotta get moving.
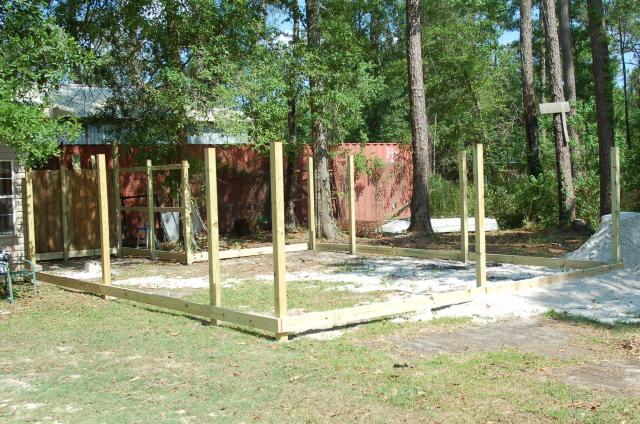
Moving right along.
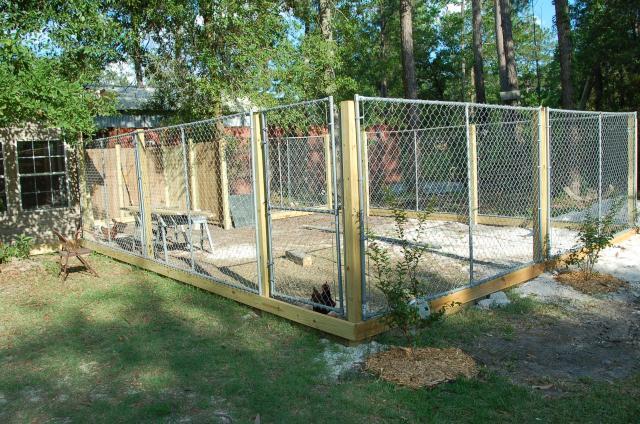
Fence sections in place. Bought these off of Craigslist for 10.00 each. Got twenty of them. They are 6' high and 10' wide. Cut one of them down, re-assembled it and made the gate.
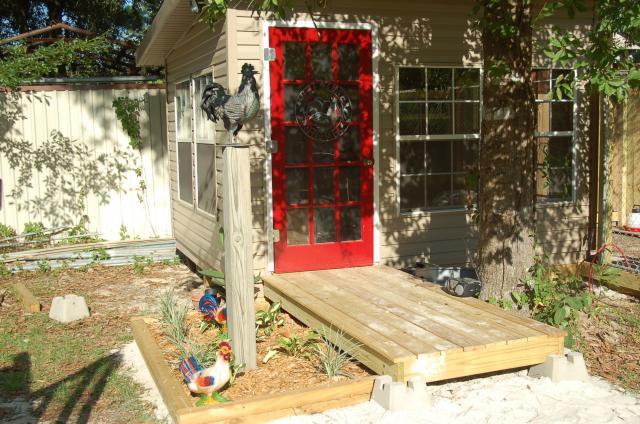
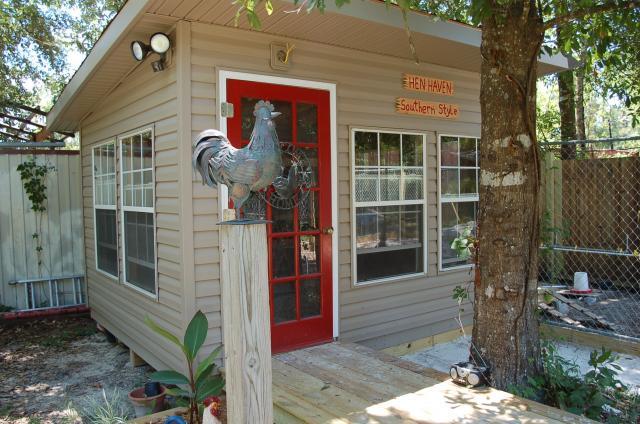
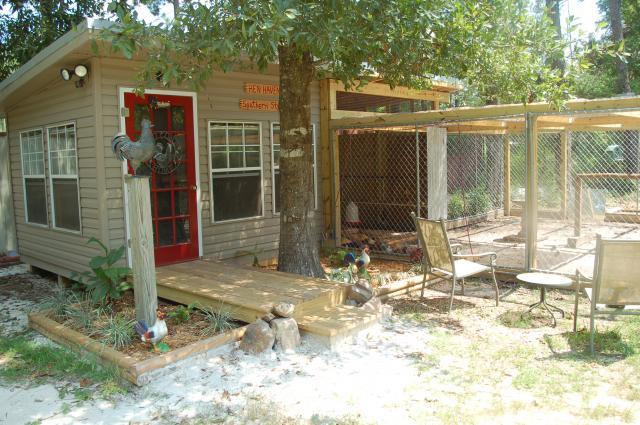
Mama's walkway and garden. Suprised her with that. Copper rooster standing guard on post is gift from friend.
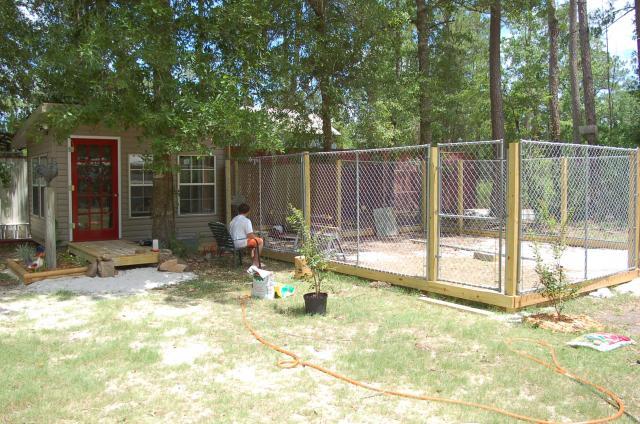
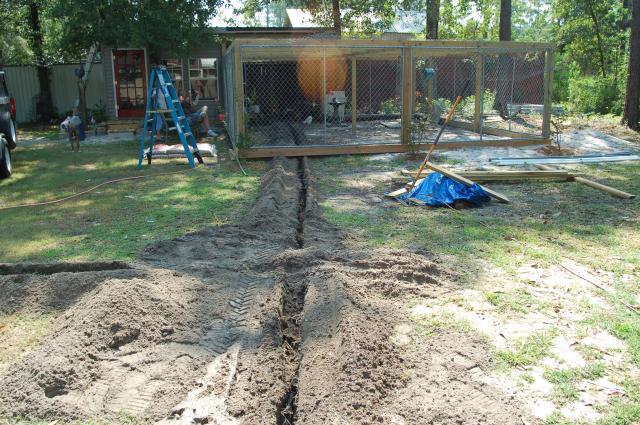
Wider look at overall coop and run. Grandson visiting from Atlanta feeding them grapes. Planted a few crepe myrtle trees for shade in future. Still have to frame up and chain link fence a cover over the whole run. Next week I hope, along with trenching over the water and power.
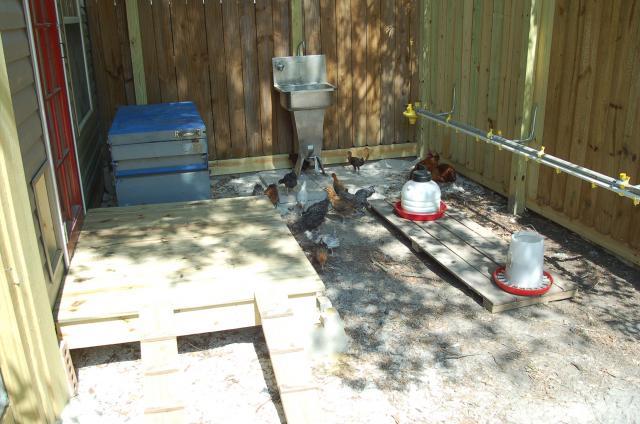
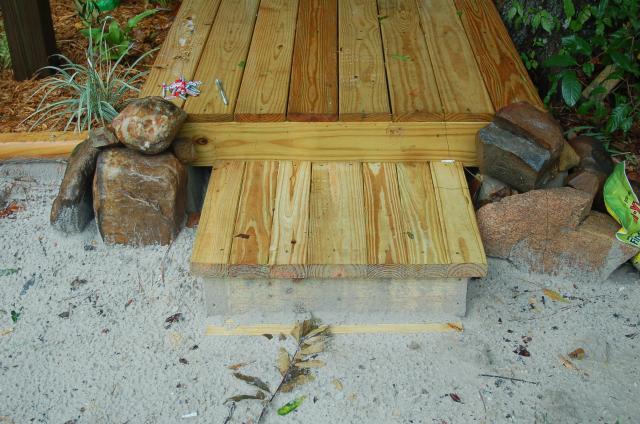
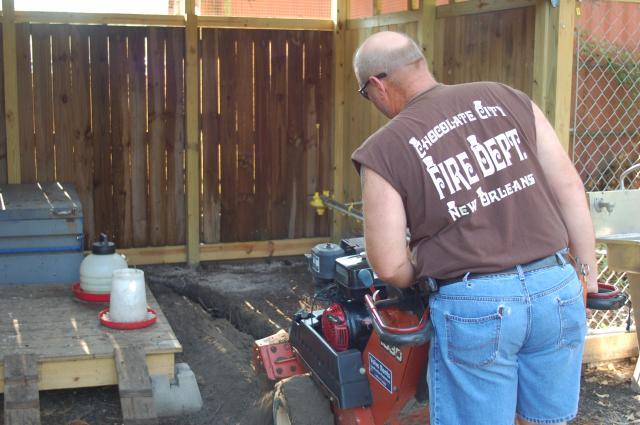
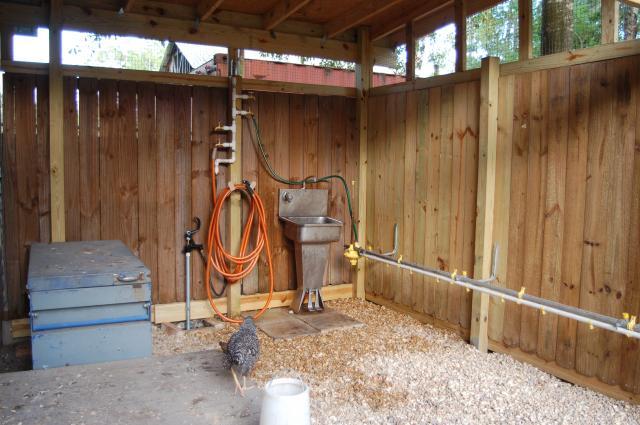
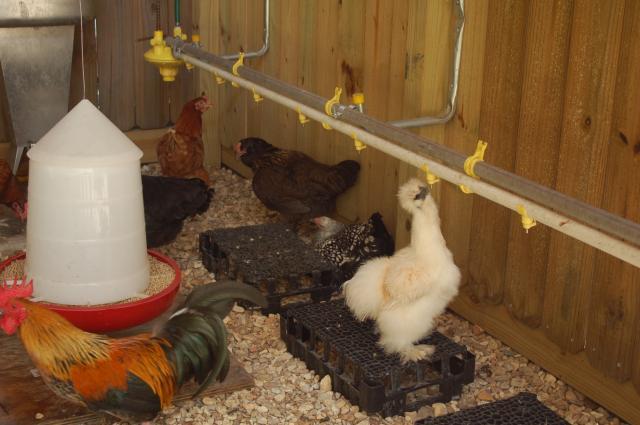
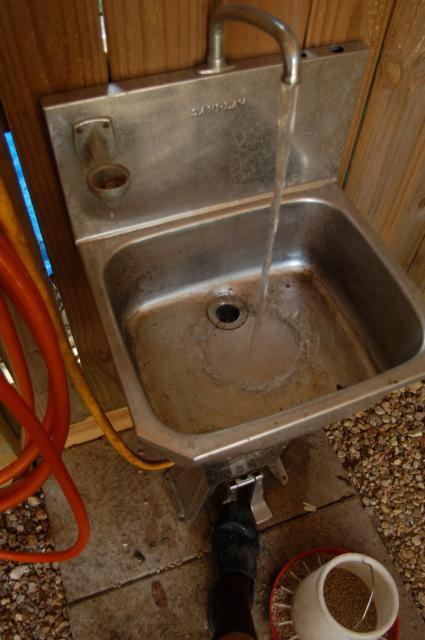
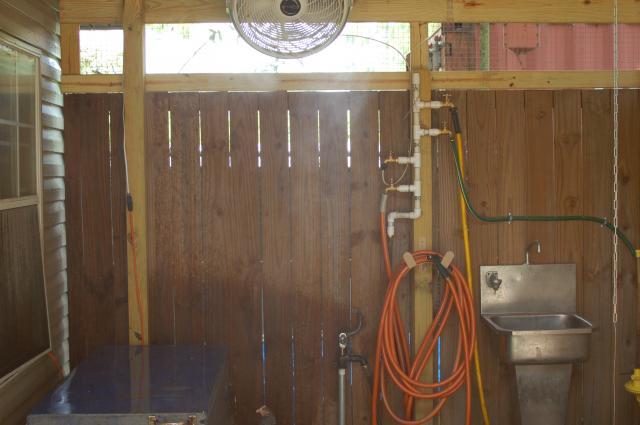
Side porch built, ramps installed, steel tool box for feed storage(very predator proof), ss sink for clean up and chicken nipple system mounted to fence. Just need that water line run over. Babies growing and enjoying a stretch and some Louisiana sunshine. Between the porch and platform the feeders are on is where the trench will be dug for water line and electrical conduit. That will be the last thing I do. Extension cord and garden hose from house about 70' away will do for now.
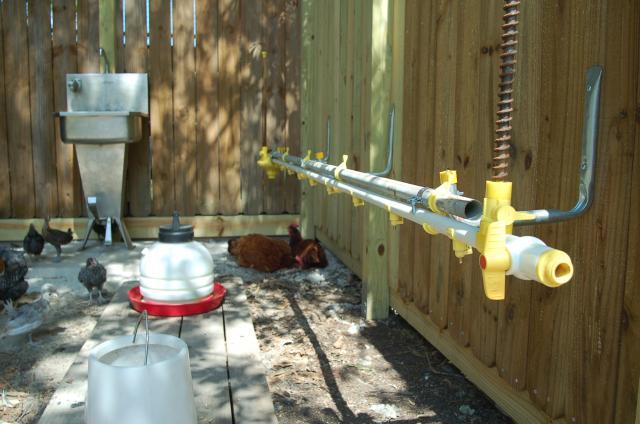
Close up of the chicken nipple system my buddy in Arkansas gave me. I rigged it up on some old brackets I found in my workshop. total cost. 0$ Gotta love it.
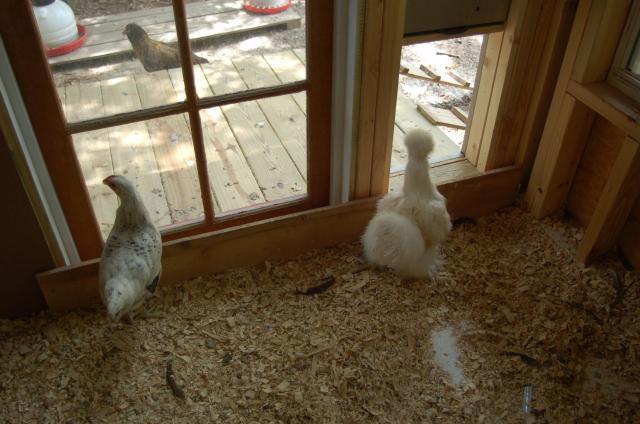

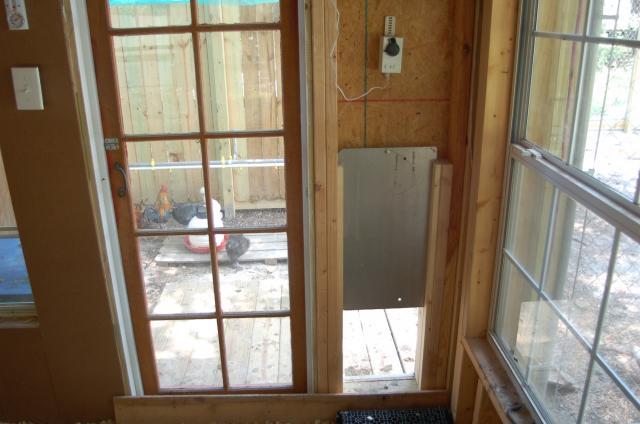
Chicken door made from an aluminum street sign my son stole years ago. Just had to cut down and make a track for it to slide in. Now, just waiting on my chicken door motor to hook to a timer. Then we will be automated.

My ventilation system. A three speed a/c blower temporarily wired to the middle speed. the high speed will almost suck the pine shaving off the floor in there are no windows opened. Will be hooking up to a three position switch so we can move as much air as we need to according to the weather. Works great and again it was a freebie. Just alittle muscle to get that sucker hung up there.
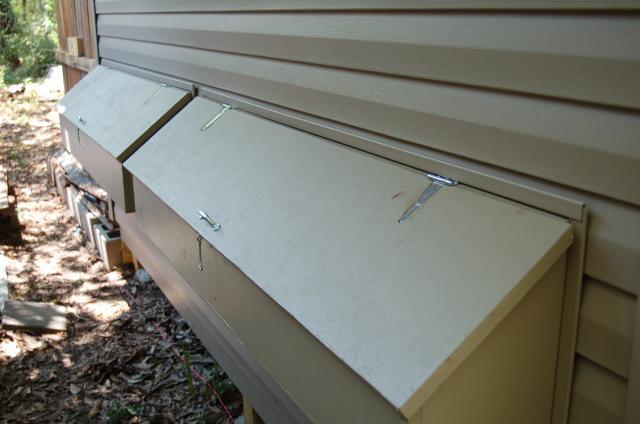
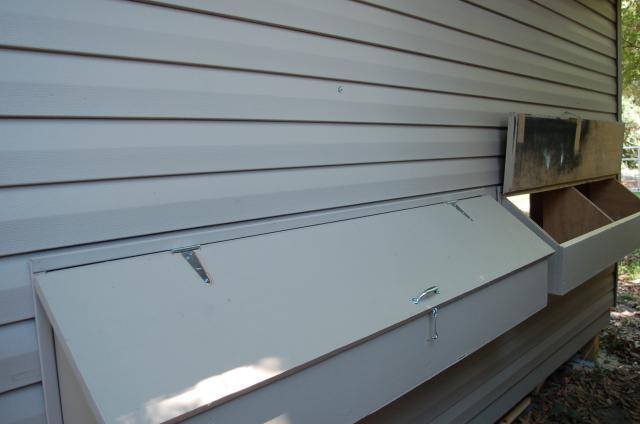
Siding finished on back and hinges and handles installed on nest boxes. Still need to level off the ground, move "junk" and put down stepping stones.
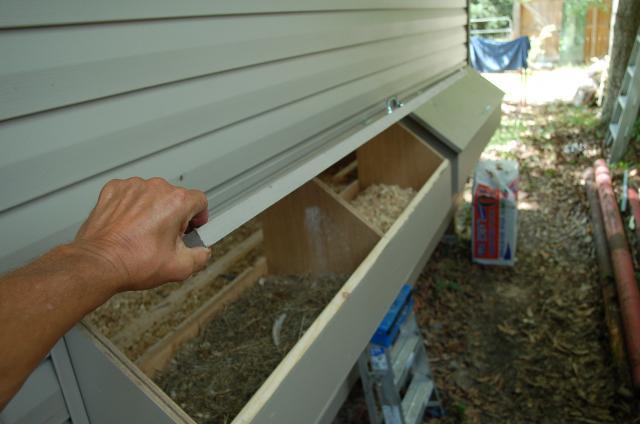
Trying hay in two and pine shvings in other two just to see what the girls prefer. Notice I went for wider boxes, they don't seem to mind sharing. Working so far.
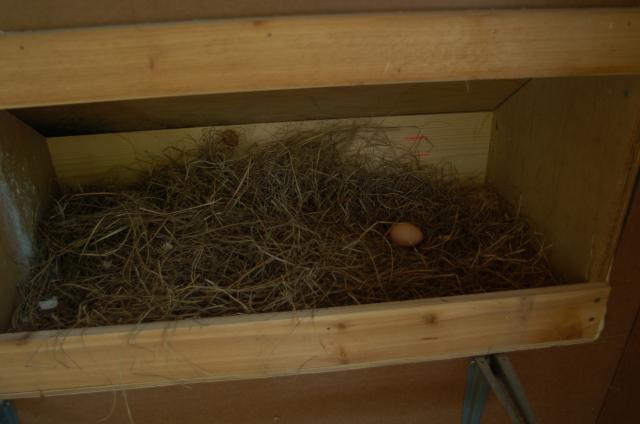
Last but not least.....the very, very, very expensive egg. I hope it is solid gold.
Well folks, I hope you enjoyed looking at our coop. It truely has been a labor of love and worth all of the sweat and back ache.....and the money that I have put into it. My wife, grand kids and friends all love it. The girls seem to love it as well. I will say that everyone thinks I am alittle crazy and went way overboard, but I would do it exactly the same if I had to do it over. Maybe even alittle bigger.
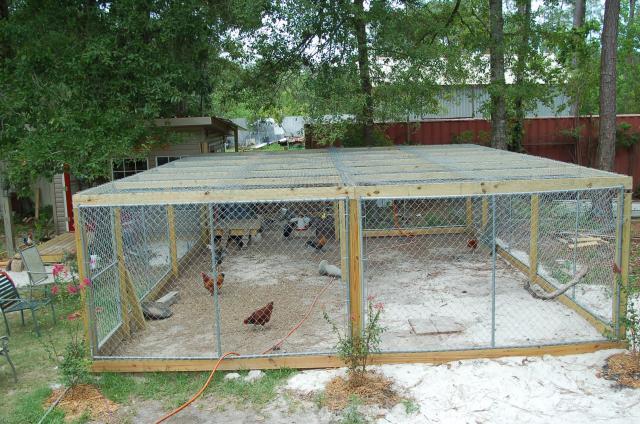
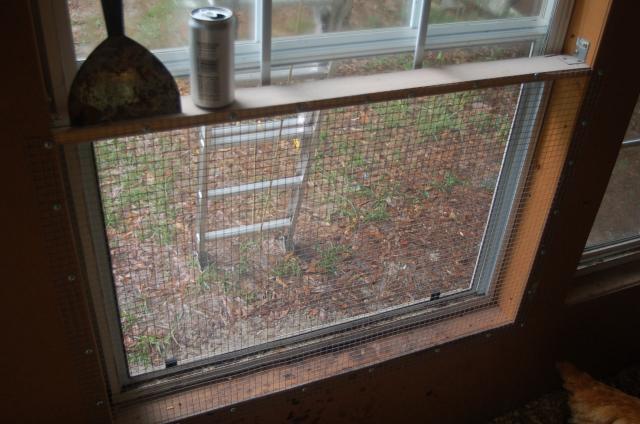
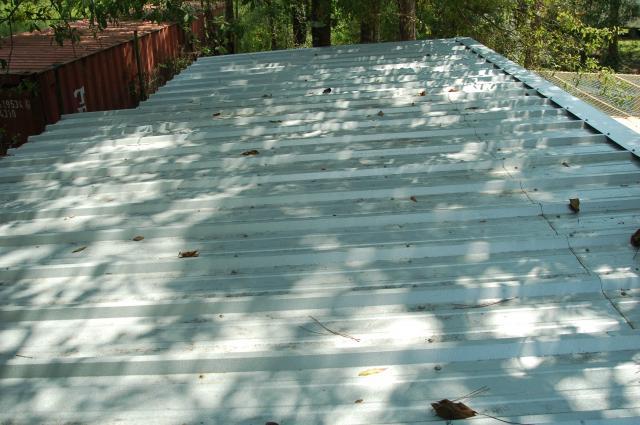
Latest update photos after putting on the roof over the enclosed portion of run. Plus adding welded wire to enclose top so flighty girls don't end up running around outside of run as we have had to deal with in past few days.

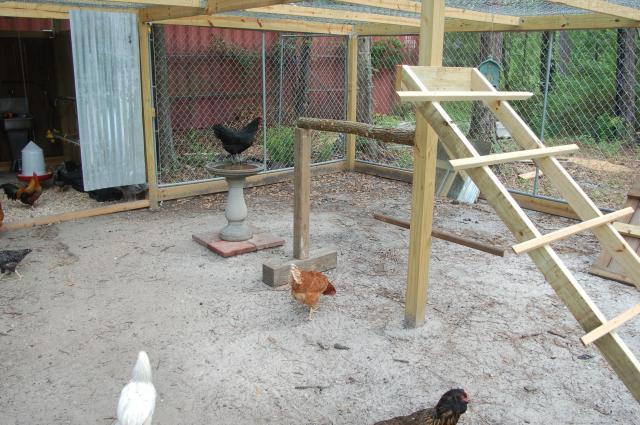
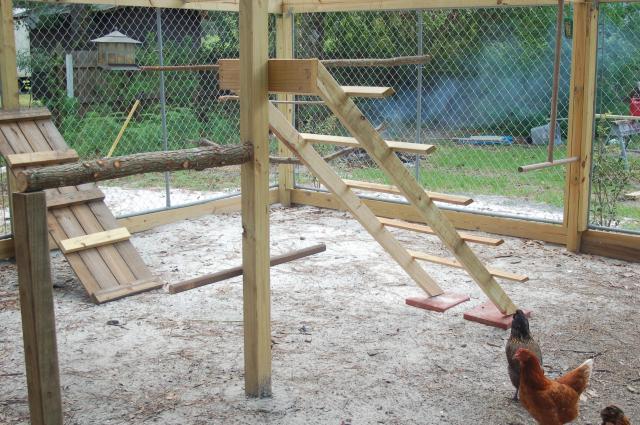
Ok, decided the girls needed some exercise and fun in the run...so we built our "Chicken Jungle Jim" today to give them a place to play and exercise. We have a swing, ramp, roosts, ladder roost and bird bath for washing their dirty little "feet". Was alot of fun to build and the girls love it, only they are all chillin' durning the photos trying to escape from S.E. Louisiana heat we have going on. But trust me, they love their "playground".

With the extreme heat and humidity we have been experiencing i decided I had to do something to give the girls some relief. Came up with two ideas: Provide more shade and try dropping the temperature during the hottes part of the day with some type of cooling. What follows is what I came up with.
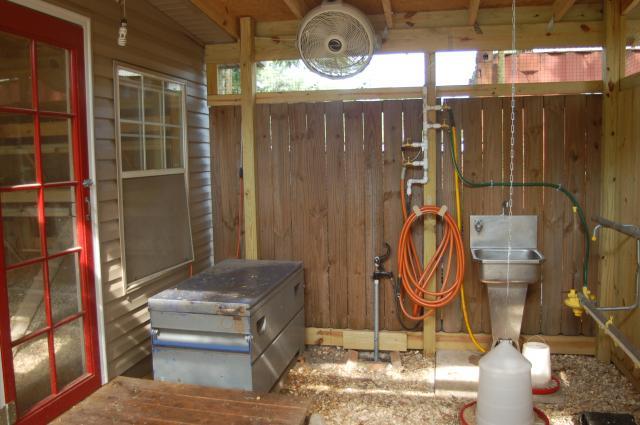
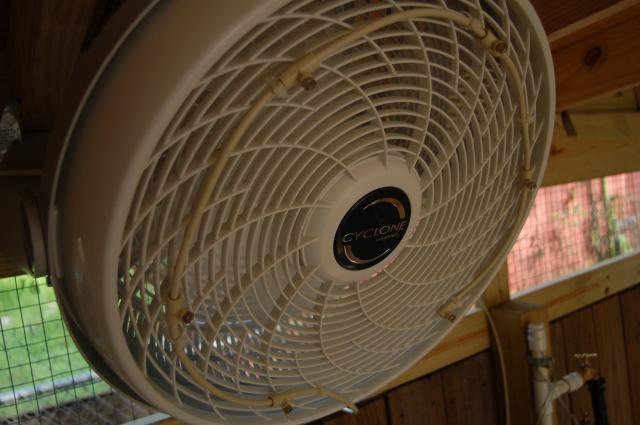
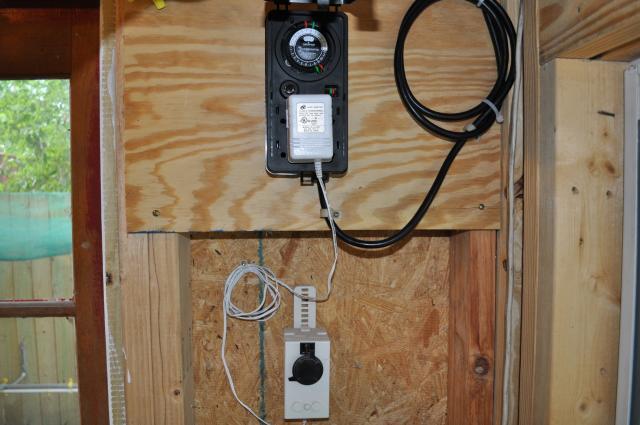
Once I run a circuit from inside the coop to out into the run area, I will plug the fan into a cheap timer and program it for activation from about 11 am 'till around 5 pm. On hottest of days, we will manually turn on the faucet to add the mist. May at a later point, tie the water line into a solenoid valve controlled by timer so that it would all work without human involvement for when we are gone on trips.
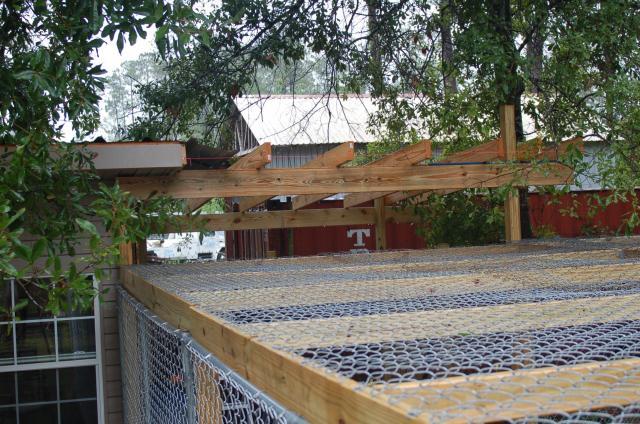
Ok, newest update. Yesterday finally put the metal roof on enclosed section of run. Felt paper was holding up great, but I decided I had to finish this thing.( Well, almost) and put an end to this madness called Chicken Coop Building and Additions. So, here are a few more updated photos of this finished and things added. They just don't seem to stop.
Update 9-14-2011 Decided to suprise my wife with a patio are for sitting out and "Chicken Watching". Did this as one of her birthday presents. She loves it. Will be adding more pavers in front of porch next week.
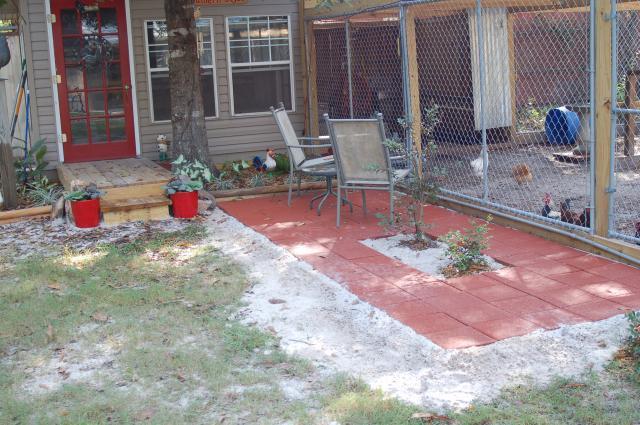
More to come, I'm sure.
So there are the additions so far. Keep looking and please leave feedback.
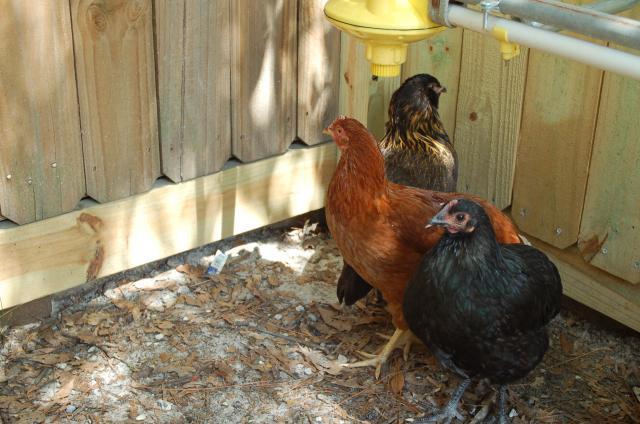
Oh, and here are some Pictures of a few of our girls.
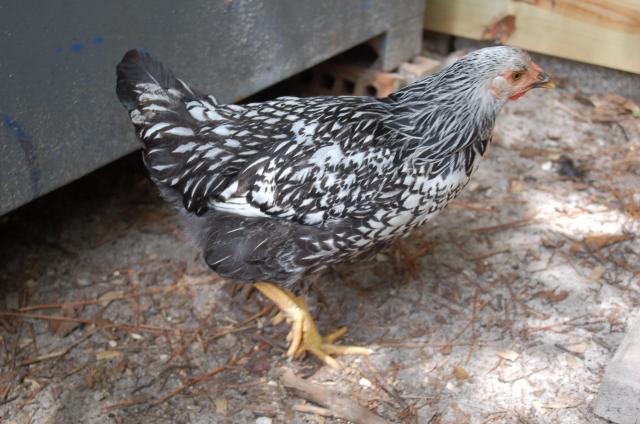
Sylvia.....Silver laced Wyandotte
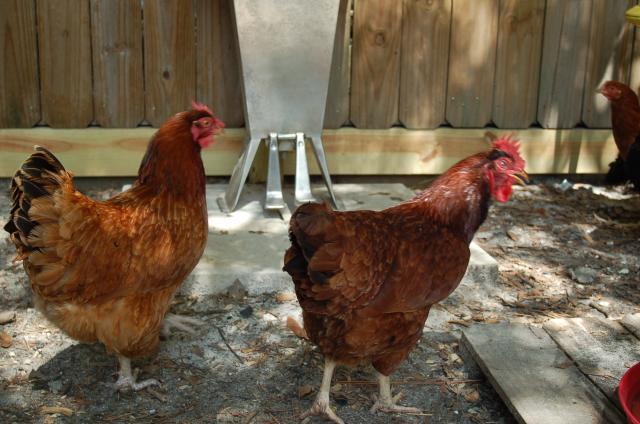
Ruby-RIR on right, with the wild woman Rhonda-NHR on left
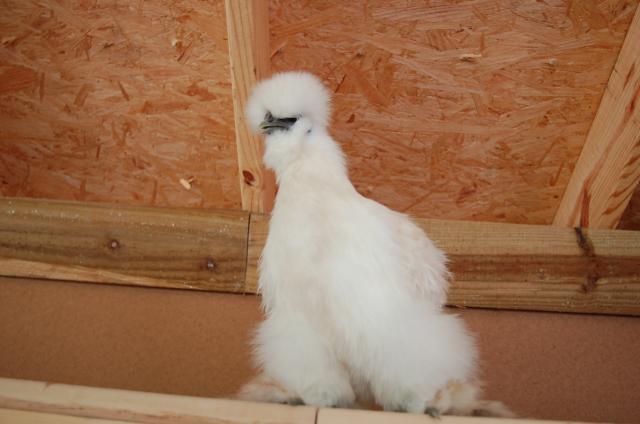
Little Princess the white Silkie
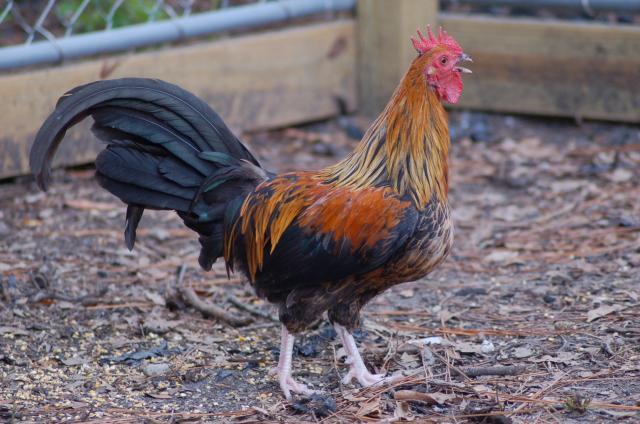
Our new Roo......Rocky, "Yo Adrienne"
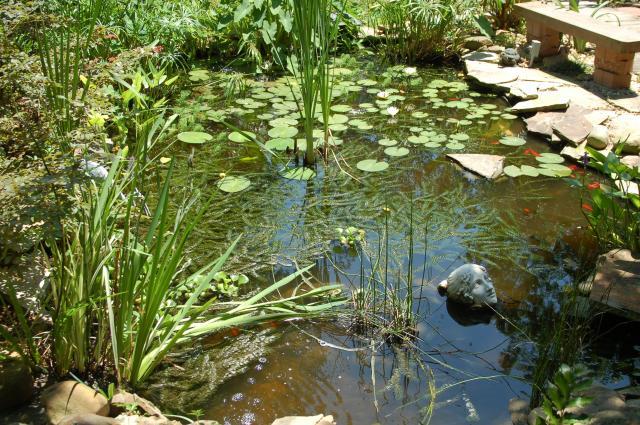
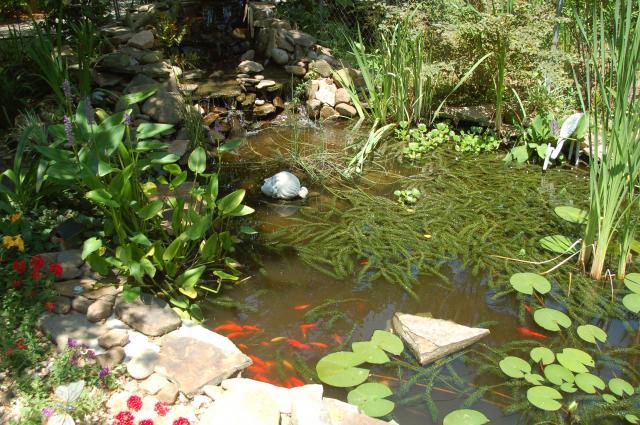
And some Lagniappe..... Our Koi pond
Hope ya enjoyed.
Please let me know what ya'll think. Thanks
Erik

 OMG Absolutely LOVE this chicken coop! An inspiration!