The Bjorklund's Chicken Adventure
When we moved here on St. Patrick's Day in 2006 and my mother heard we had 1.1 acres, she said "you should get chickens". She was born and raised on a farm and had chickens. First I thought yes, chickens would be fun. So we visited friends that have free-range chickens (a mini-farm on 5 acres) to see their set up. Yes quickly changed to noooo after we visited and I saw the utter destruction of their landscape (they have about 5 dogs and 4 goats to contribute to the destruction). I am a gardener first, so destruction of the yard was not an option. Fugeddabout it! Gave up on the idea.
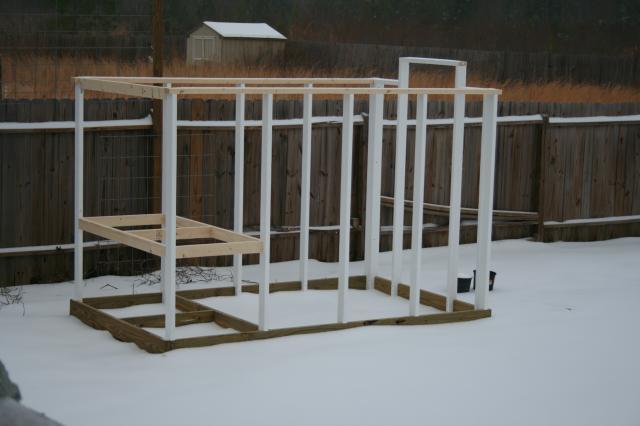
Skip forward to 2010... a few months back I revisited the idea after finding the BYC website again (I'd been browsing here before) and found from many wonderful members that you can have chickens in a confined coop/run area and not free range. I began plotting... trips to the library and a lot of time on BYC. DH was completely, adamantly, undeniably against the idea. I believe the words were "no, absolutely not". I held my ground and explained that this was something I wanted to do for me, for pets, for a hobby, for eggs, and it would be a great learning experience for our 5 year old son, and he (DH) would get to build something... I showed him some coops I particularly admired from your coops pages. After looking with me (and knowing that a happy wife = a happy life) we have settled on a design/plan for a 6' by 10' covered coop/run, inspired by La Cage Mahal, Chick Mansion and La Cage de Poulet. The goal is to build the coop and run BEFORE purchasing chicks in the late winter/early spring. When we moved here on St. Patrick's Day in 2006 and my mother heard we had 1.1 acres, she said "you should get chickens". She was born and raised on a farm and had chickens. First I thought yes, chickens would be fun. So we visited friends that have free-range chickens (a mini-farm on 5 acres) to see their set up. Yes quickly changed to noooo after we visited and I saw the utter destruction of their landscape (they have about 5 dogs and 4 goats to contribute to the destruction). I am a gardener first, so destruction of the yard was not an option. Fugeddabout it! Gave up on the idea.

")
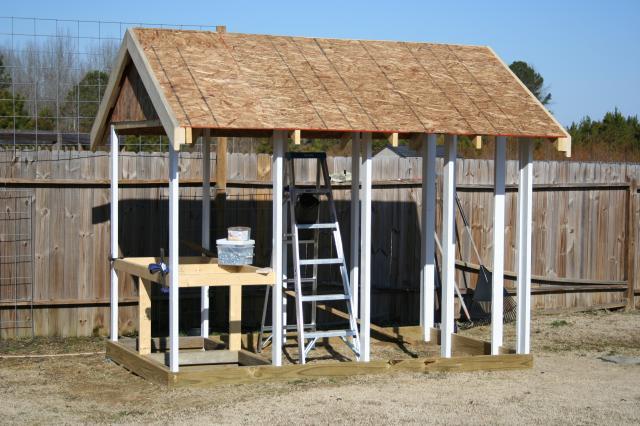
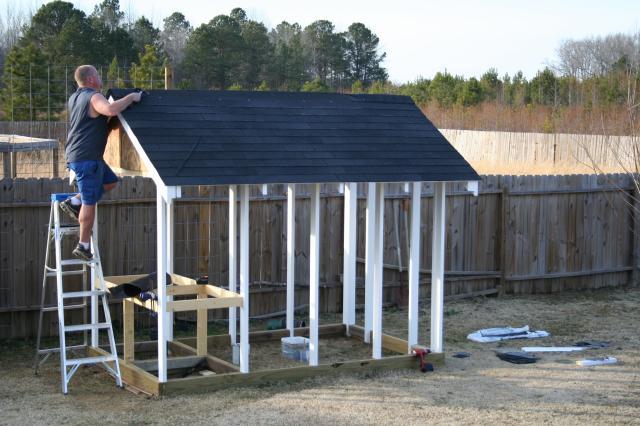
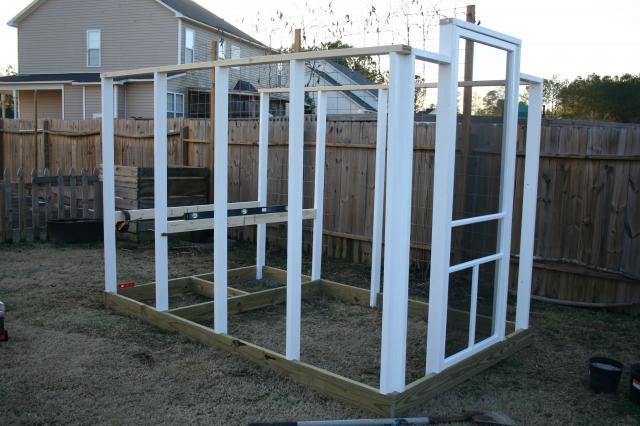
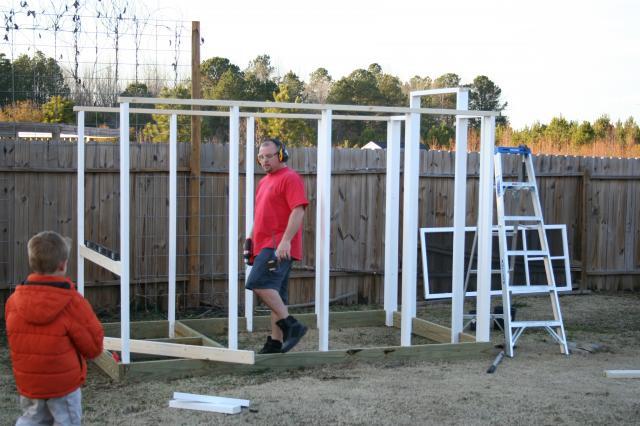
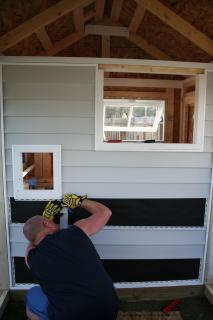
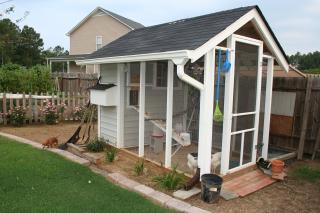
So I took my son to California March 17th to the 22nd to visit his grandma - meanwhile back on the "farm"... I came home to this! Hubby needed some alone-time to get some work done and all I can say is "Woo Hoo!" I think we're in the home stretch. Time to get some chickens... but that is on my other page.
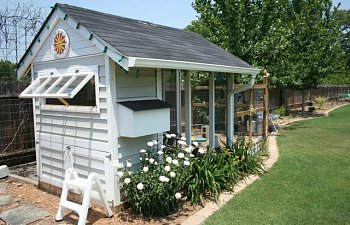
Check 'em out!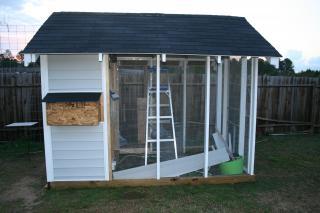
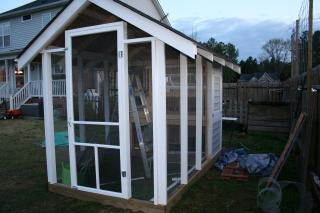
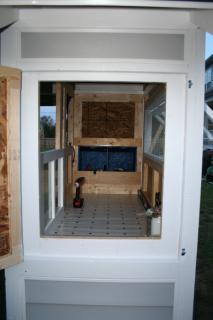
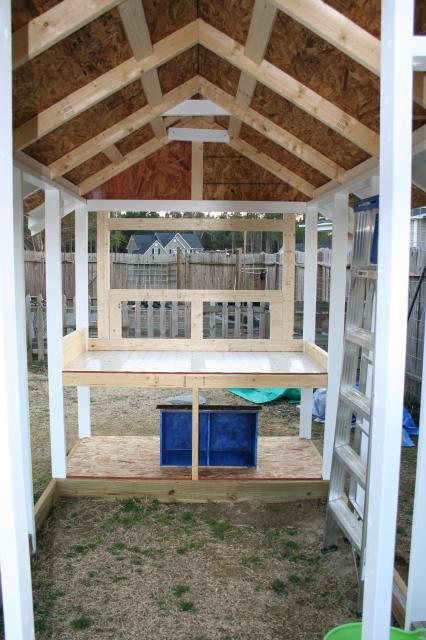
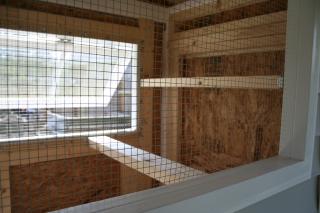
This is looking inside the run - the top of the coop is hardware cloth on the run-side for ventilation. It will have a solid cover for winterizing to keep the chill out. The large framed hole on the right is for another window that will open into the run. The pop-door is lower left just out of the picture (under the hand broom).
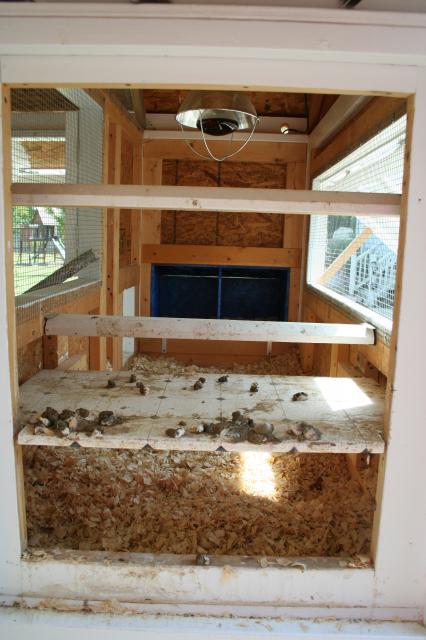
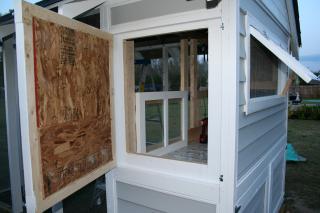
Lovely dark blue painted interiors on their nest boxes you see on the opposite wall. The girls like and share the two boxes. If there is an egg in one, all the girls will lay in that same box. Go figure?!?
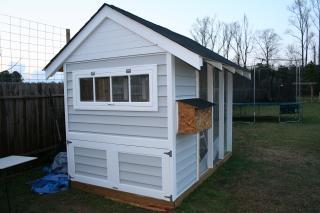
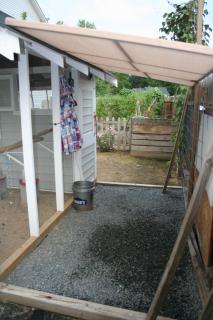
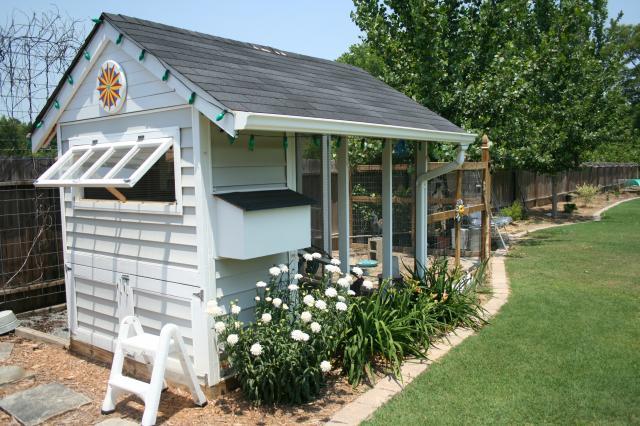
Newly graveled in and shade cloth covered side of coop/run. I got tired of trying to mow through here, although the chickens liked the clippings getting blown their way. My compost pile is 10' behind the coop. This graveled in area is where the new chicken waterer will go (in the shade). That's on another page. This side is fabulously covered in hyacinth bean vine and shades the West side of the coop and run from the hot sun all summer long!
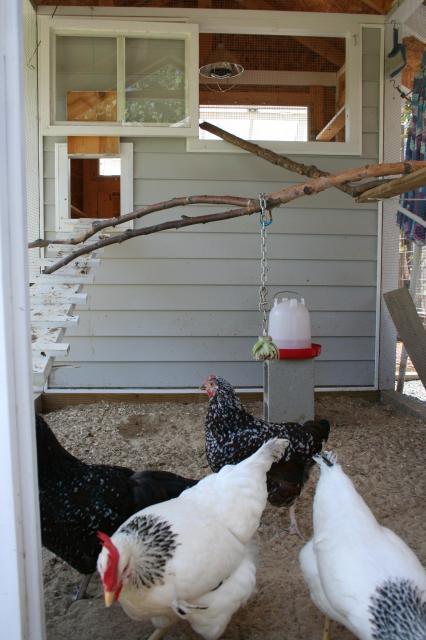
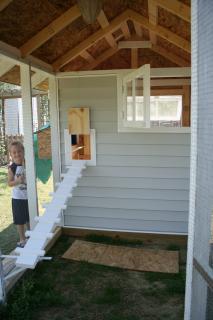
The coop interior - finished. The girls have a nice ramp from the pop door to the run. The pop door stays open 24/7 so far. They have a nice roost on the West wall, and a y-shaped Birch tree branch they use to do their tight-rope walking. Overall they are happy healthy birds.
May 2011 update:
The girls are doing great! We're getting between 2-4 eggs a day, more than we can possibly eat. The girls are thriving and healthy... a few plucked feathers here and there led to an expansion of their run earlier this spring. Enclosed by the 6' wood privacy fence on one side, the other sides are wood and wire fencing. The girls made short work of clearing out everything that resembled something growing.
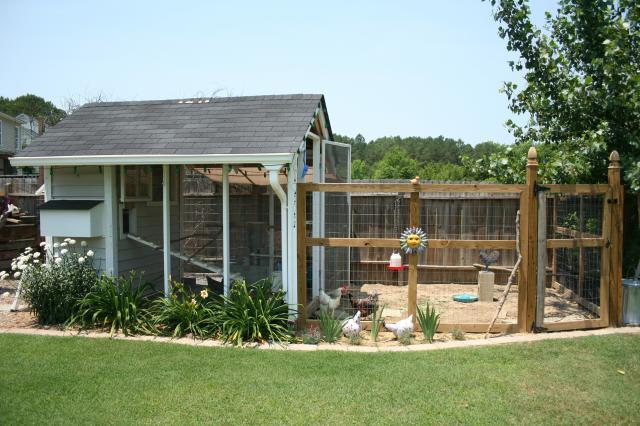
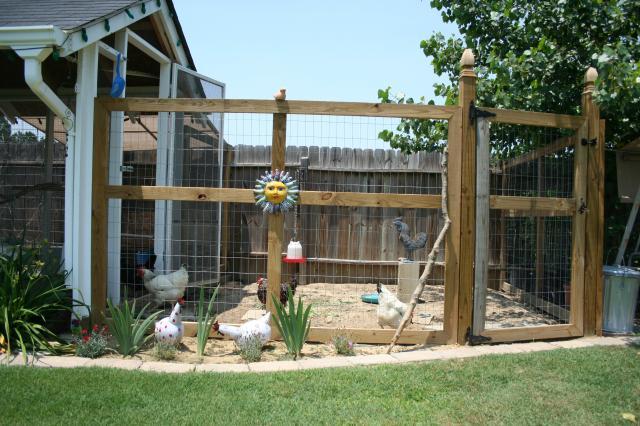
These are the newest pictures of the coop and extended run area. They now have a "sun run" as well as their shade run. I planted it in with "strayberry candy" daylilies, blue iris, and pink dianthus, and an "ice star" shasta daisy. Has to look nice because this is the view from my back porch - just about 30' from my house.
Please feel free to PM me if you have any questions on the build, plants or the yard in general.
Thank you for visiting my page!