100_2225.jpg


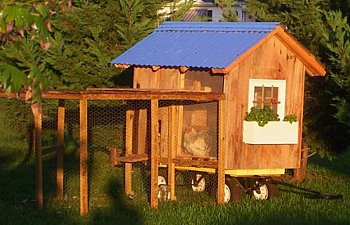
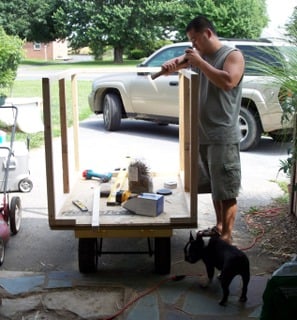
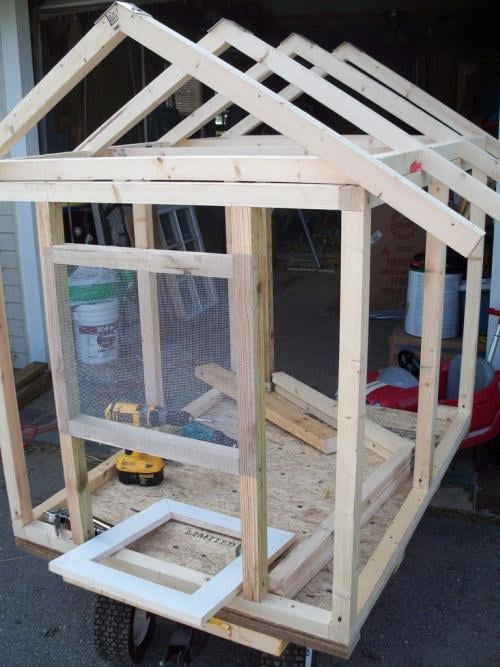
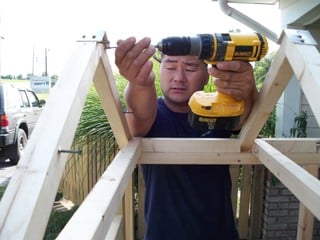
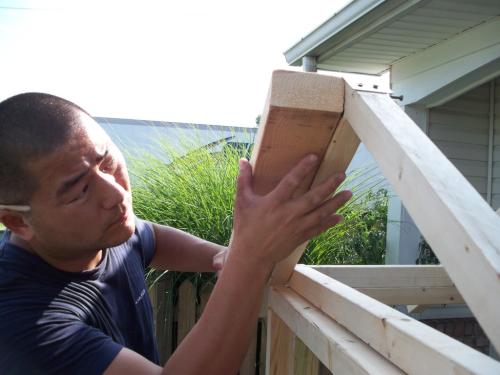
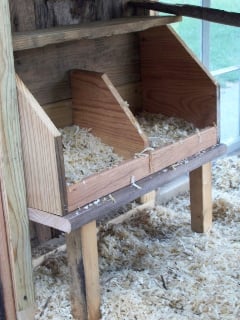
Below is a picture of a coop we built for someone.

10091_100_4414.jpg
10091_100_4416.jpg

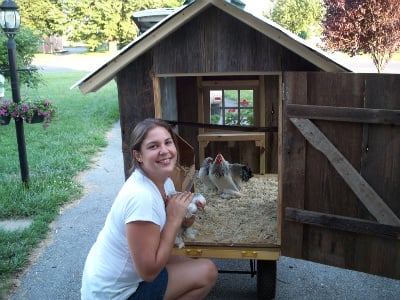
The birds love the protected, outdoor space. Even on the nastiest days, they hang there.
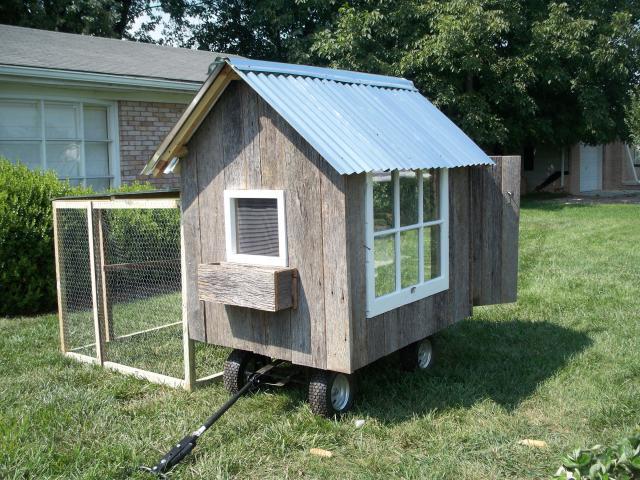
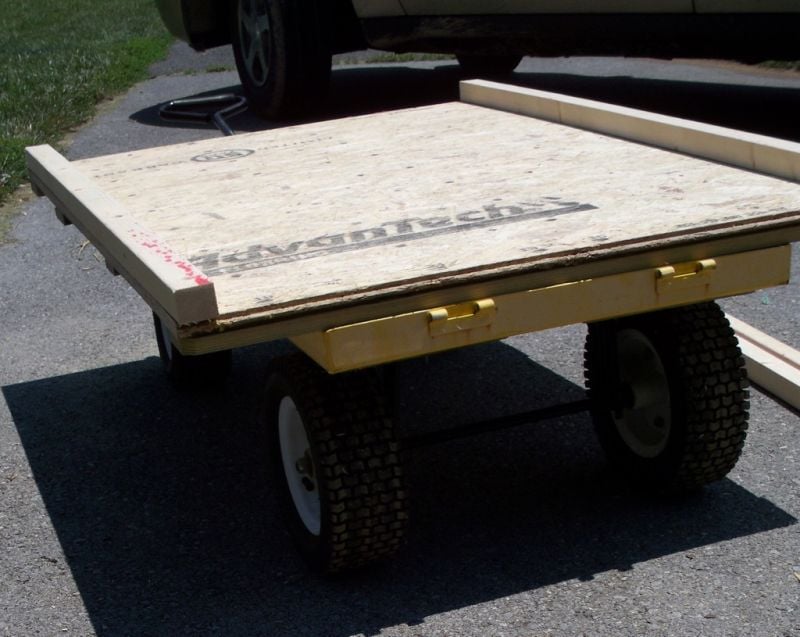
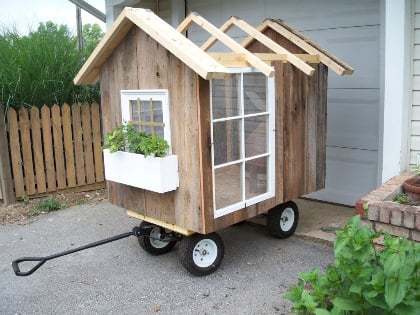
We started with a heavy duty garden cart we found on Ebay. These carts are rated for weight over 1,000lbs. and have been turning up for sale on newspapers and on Craigslist so keep your eyes peeled. This one was perfect for making our small-sized chicken tractor to accommodate our banty cochin trio. We took off the side rails and bumped up the top with 2x4 to make them level with the outer lip. They were secured with bolts. We topped those with 2x4's that measured 36" but now I think we could've pushed it a bit more. We could've extended it out the back too but not the front. We had to leave room for the handle to move around.
100_1420.jpg
100_1423.jpg
We layed 3/4" subfloor over the joists, then began framing the walls with 2x2's (2x4's ripped in half to lessen the weight)
100_1424.jpg
Here's my hubby being put to good use with his faithful sidekick, Luci. Check out the back of the coop here. We notched out the bottom plate to make room for a snug fitting rear door and to make clean-up easy. Just sweep that crap on outta there! and yes that's neighbors right across the street and that close on both sides. They love to peek at us while we're building strange looking little houses. I wonder what they think we might do next:)
100_1448.jpg
We framed out the sides to allow for some reclaimed windows and I added a small window in the front for "curb appeal." The trusses were mitered to an angle we liked, screwed then reinforced with metal plates. We screwed them directly to the frame then reinforced them with cross braces. You can see we also blocked in between the trusses in order to keep out predators when the metal goes up.
100_1453.jpg
We used hardware cloth and stapled that to the insides of the windows for some nice air flow when the weather is decent and the front window will be all season ventelation.
100_1445.jpg
100_1446.jpg
Here's Rusty screwing in the 2x4 that will make the overhang for the roof.
100_1475.jpg
100_1477.jpg
We added a balcony for the chickens to chill by the window and check out the goings ons and made a door out of the barn board siding with a traditional "Z" style backing then attached with hinges.
100_1609.jpg
Here are the nesting boxes. They are approximately 10"x10" (bantam sized). They are made from whatever pine we found in the garage. They are right inside the door for easy egg hunting.
100_1498.jpg
Here's a pic of the finished product...well, almost finished. Of course, I had to get the geraniums in before the roof. Prioritize, Erin.
100_1613.jpg
We were hoping to come across some aged standing seam from a fallen barn but no-go. We wound up purchasing this corrugated sheeting at Lowes for $13 per sheet. We used 2. (1/2 sheet went to each side and then a long strip from the 2nd to bend over the top. We used screws with rubber washers that melt on the first hot day for a tight seal.
100_1622.jpg
Here I am with my best hen. I do have favorites on Le Farmette Du La Erin. Her name is Daisy and she is the queen bee around these parts. She follows me around the yard, like all of them, but waits for me to sit so she can hop up for a pet. LUV HER!
[/FONT]
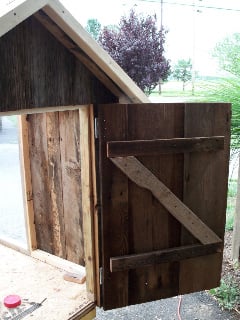
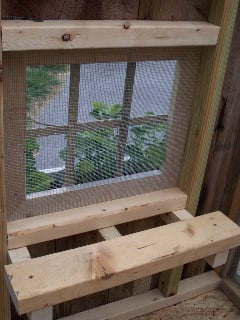
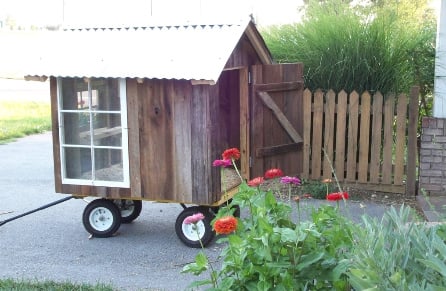
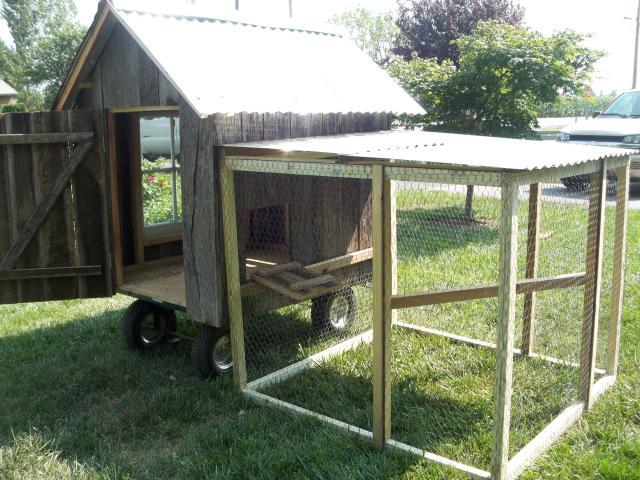
[FONT=book antiqua,palatino]Things I would change: Nothing! This coop is perfect so far. We've added a chicken door to the side and a movable run which we'll be adding a roof to so they'll have some outdoor space on nasty days.[/FONT]
Things I LUV: The fact that it's on a cart. It is so easy to move.
100_2174.jpg

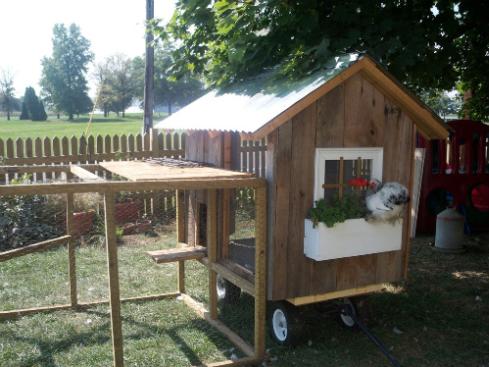
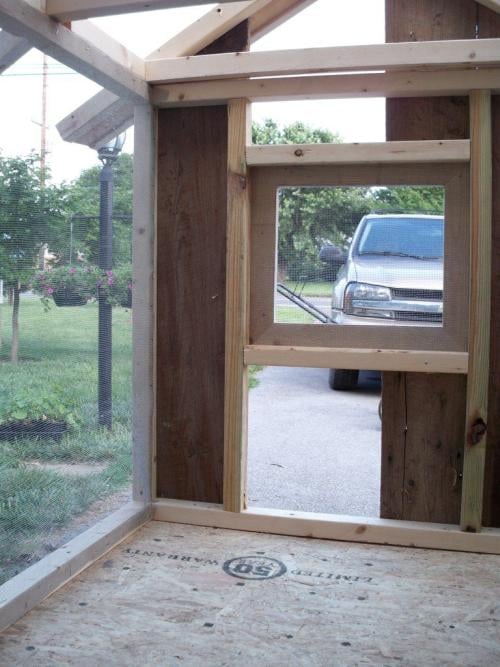
I could pull them all the way through town. The cochins' favorite part is the balcony overlooking their geraniums. They spend a lot of time there. Daisy likes to be on the outside looking in
smiley-kiss.gif