Layer's Lodge
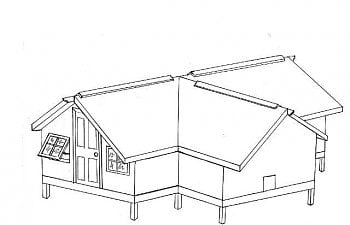
When my wife agreed to let me have chickens the only rules given to me was to make sure that I kept the odor under control, they were not to have the run of the entire yard, and the coop would have to look nice since it was going to be part of the yard and she didn't want to be looking at an eyesore.No problem I instantly knew the type of structure that I wanted to build a lodge retreat or cabin type of feel to the building. I wanted something that would challenge me since building construction is sort of a hobby of mine. So I drew out a sketch for her (the building inspector) to approve. The coop is 160 sq ft. and I had a small area reserved for storage leaving me 140 sq ft for birds. Using the 4 sq ft per bird rule I could have about 30-35 bird in it when I was done which was plenty for now since I have 24 and only keeping 19-20 after weeding out the roos. We live in an unzoned area so she was the only hurdle I had to overcome. Here is the sketch of what I was going after and a layout plan.
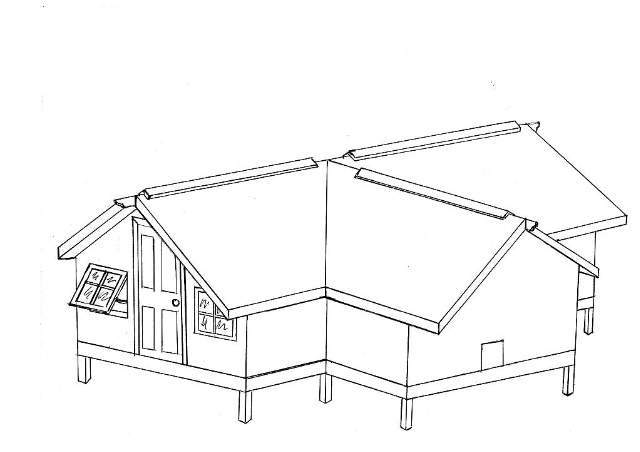
I made some plans on the computer after I built the coop for the BYC coop page contest. They should give you a good idea about how to construct the coop but they are from far perfect.
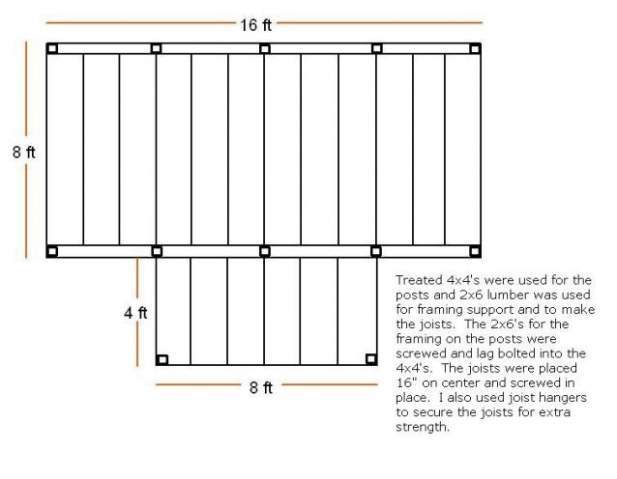
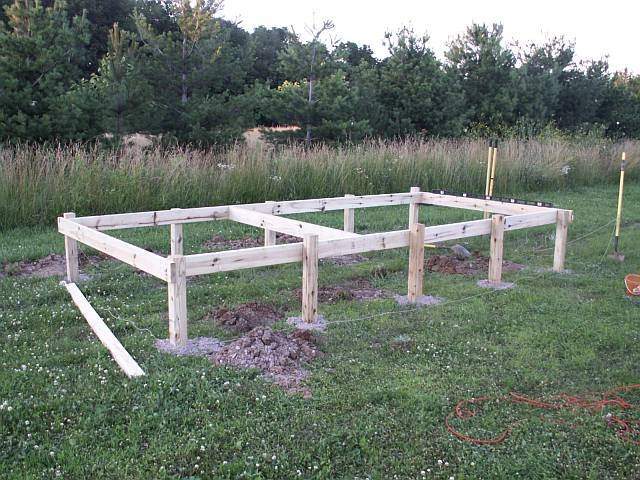
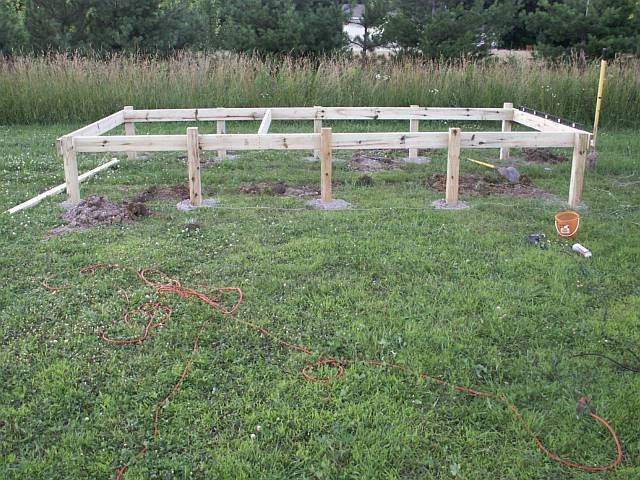
First the floor structure where I set the 4x4 posts and framed in the floor joists.
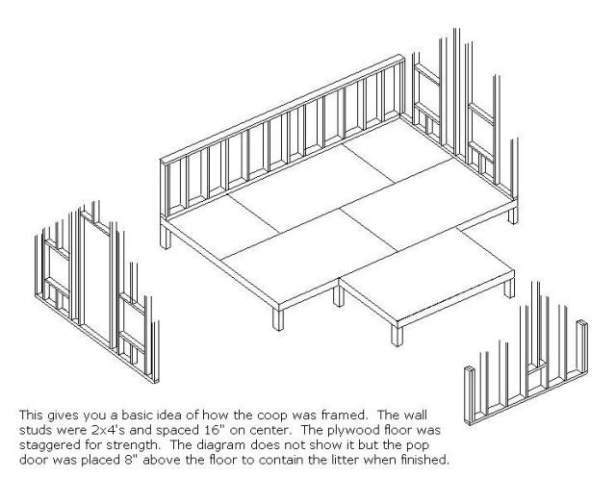
Next you will see a sketch of how the walls were framed.
And finally the roof framing diagram. It can be tricky bringing in two gable roofs to meet one another and the angles can be frustrating.

The next diagram is how I plan to layout the interior of the coop.

I wanted to keep costs down as much as I could so I made the dimensions to have as little scrap as possible. I made sure that most of the lumber I needed were 8 foot length or shorter for ease of transport in what ever vehicle I used (so I had to borrow my fathers pick up truck as little as possible). Wifey approved the design so let the construction begin.
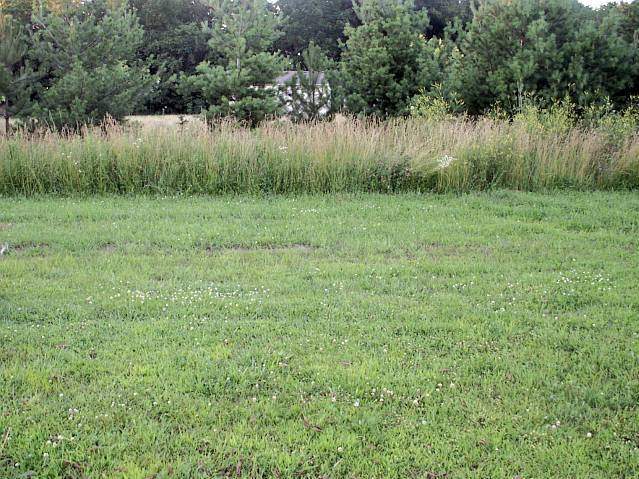
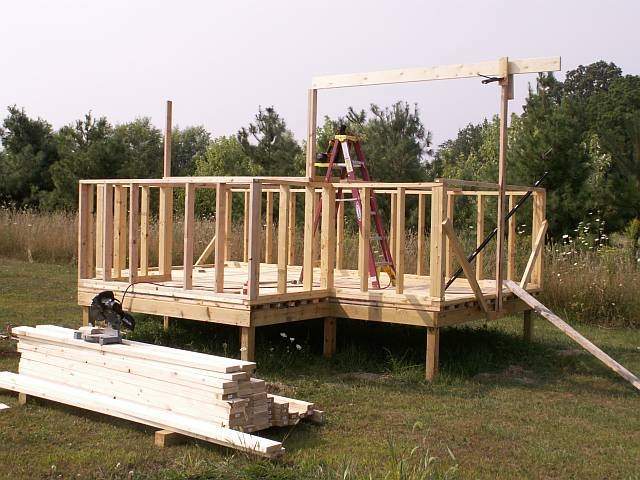
I then selected a site in the yard that was out of the way but not too far to be a hastle for the daily chores.
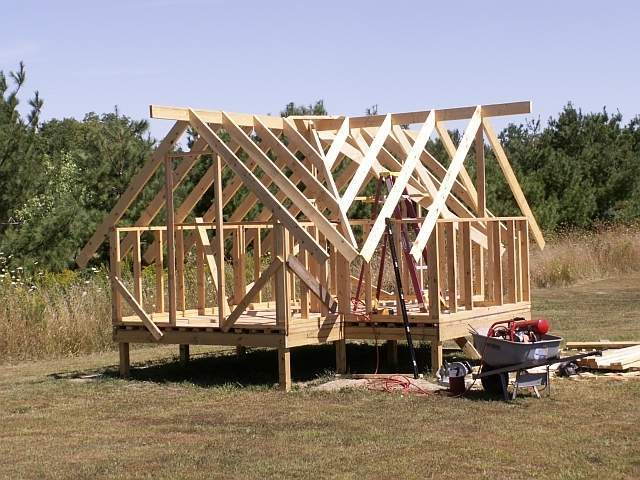
After setting the 4x4 posts the framing begins. I used treated 2x6's 16 inches on center with joist hangers to frame the floor. I elavated the coop for shade for the birds since our house is newly built and we have no mature trees on the lot to use for shade. Once the floor was done I started framing the walls.
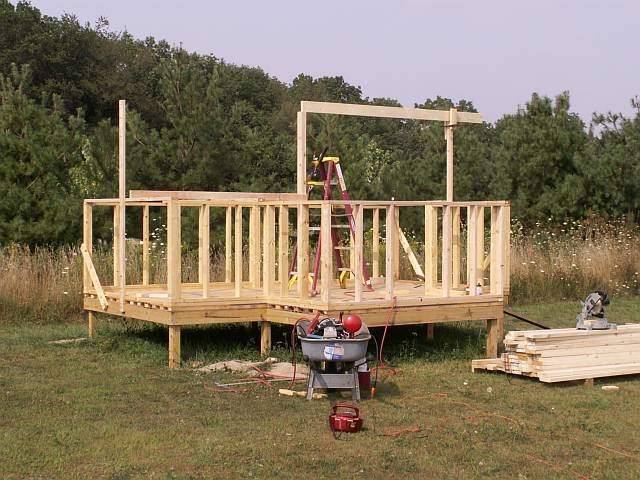
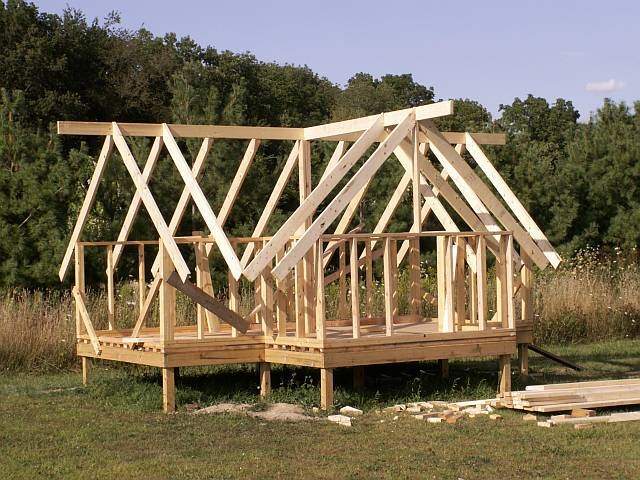
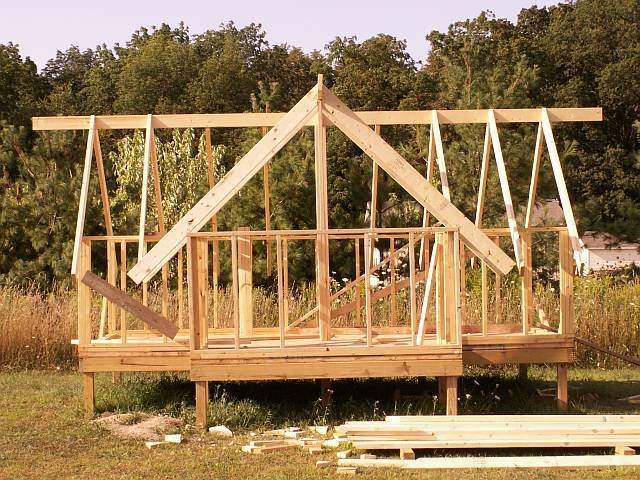
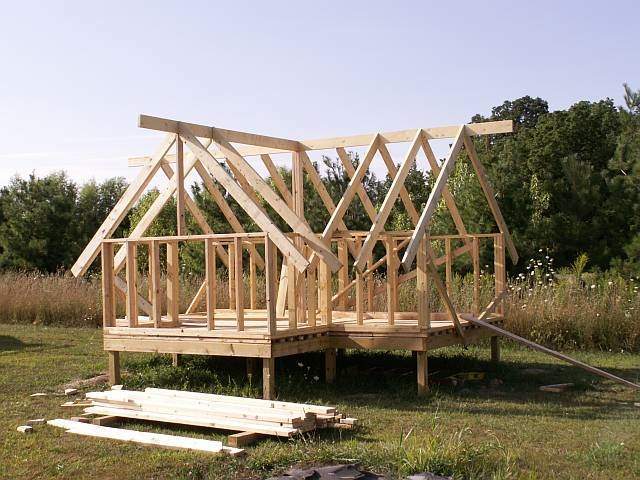
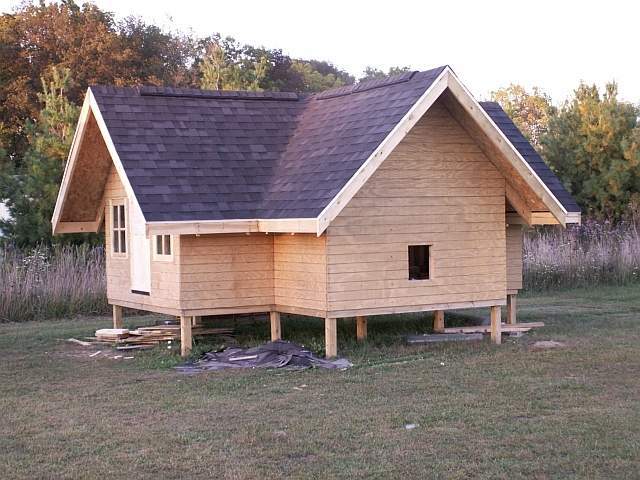
Next was on to the roof framing. I wanted an open feel inside and since my wall height was only 4 foot I made an open rafter type roof to make it easy to walk around inside. I chose a 12/12 pitch for height and I like the looks of a steep roof. Not only that it will shed water and snow faster and will make the roof last longer. The gables where the roof lines come together were a bit of a challenge but that is just the type of thing that I enjoy.
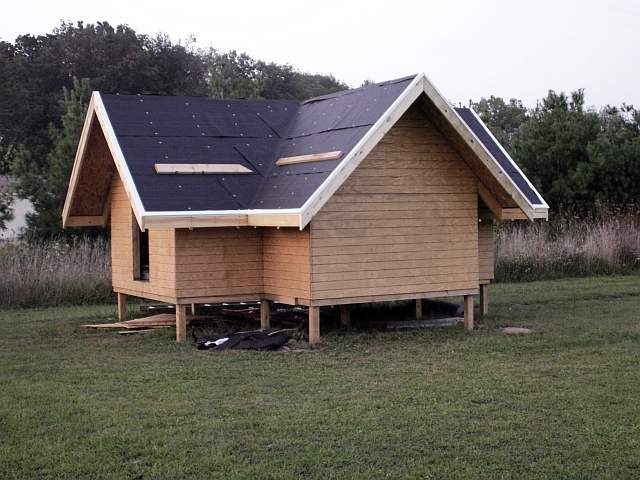
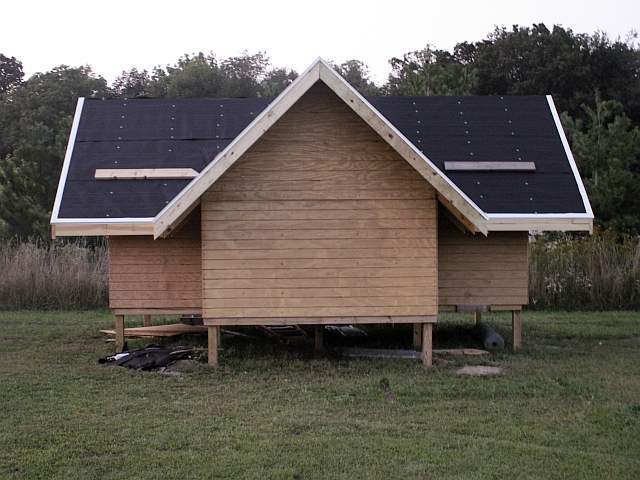
Things are starting to come along quickly now. I put OSB sheeting on the roof and for the siding I wanted someting that looked like siding so I chose 4 inch T-111 siding and installed it on its side so that the grooves were horizontal to give it that siding look. Also since my walls were 4 foot high and the building was 16 foot long the only cuts I had to make were at the peaks of the roof on the gable ends. For the roof I made the overhangs big enough to use the full width of the sheet of OSB and the only cuts here were in the valley of the roof. I then covered it with roof felt because we were expecting storms (hurricane IKE) the next couple days little did I know we were getting 65 mph winds. It held together with no damage. Wheeww!
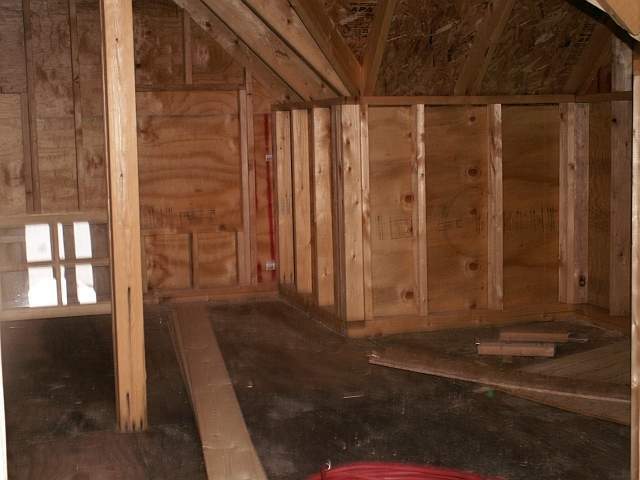
Here's a shot from the inside. Plenty of room to move around.
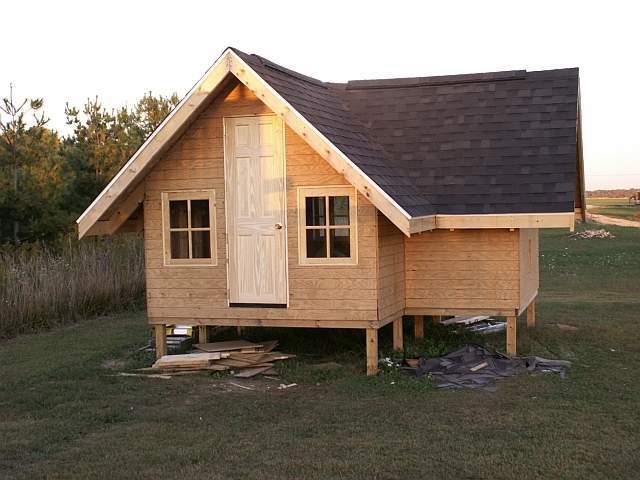
Now onto the roofing. I wanted to do a cedar shake roof but the cost of that was WAY out of the question. I chose a traditional type roof, but instead of using the 3 tab I used the dimentional shingles and it still has that shake type of feel to me. I added a newer style of ridge vent to the roof which gives 18 sq in of venting per linear foot. I also was looking at windows and the cost of buying vs building made that an easy decision for me. I built each of these windows for about $28.00 including the hardware. The door to the coop was going to present a bit of a challenge due to my roof lines. I knew a 24" door would work but I had to cut the height of the door down. I found a solid 6 panel door at Lowe's for $50.00 and it worked great.

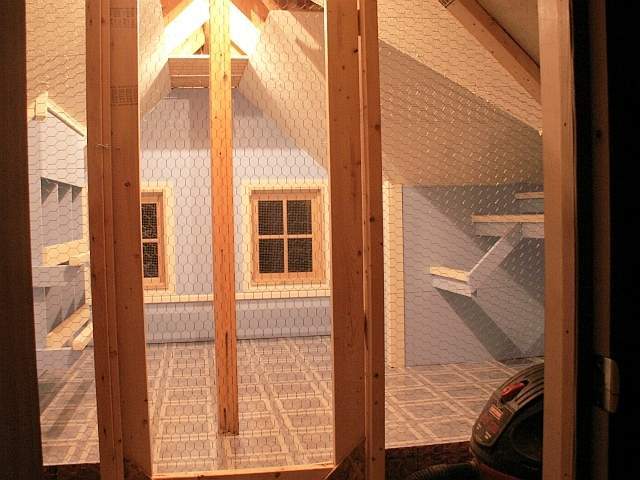
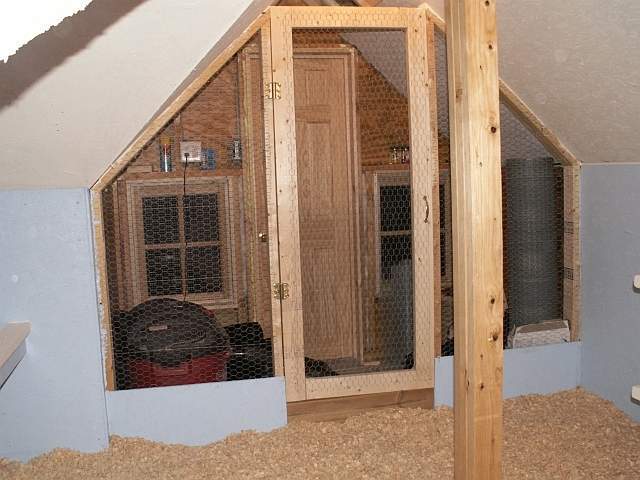
Well, I got the interior finished. I made a few changes since I drew the sketch. I decided to bump the storage wall out a little to give me a little more room for "stuff". I also made the screen door on the inside swing the other way to make it easier to move around when in the storage area. I ran electric to the coop for lights and the heater for the waterer. I installed thermal and sound insulation before installing the ceiling and left the peaks open. There was quite a bit of air movement at the roof going to the ridge vent so I made some plywood panels that go in the void at the peaks to control the amount of ventilation. When the panels are installed there is much less air movement.
Lets start by looking into the coop from the people door. I installed a roost near the windows for a lazy afternoon of gazing at the pond and relaxing. It is a lodge after all.
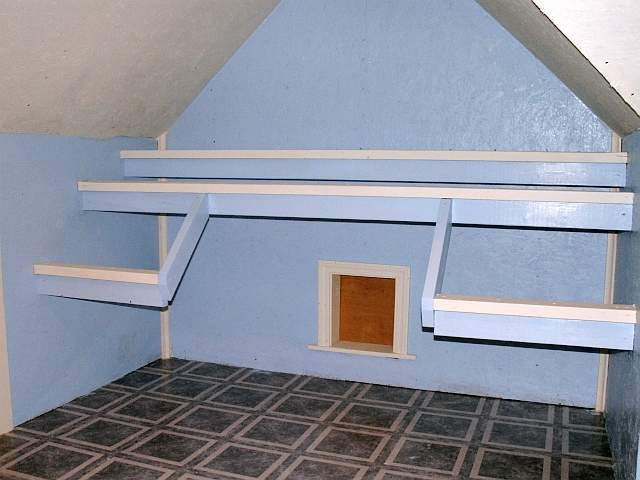
And here is the view of the inside from the pop door (chicken view) of the nest boxes under the main roost area.
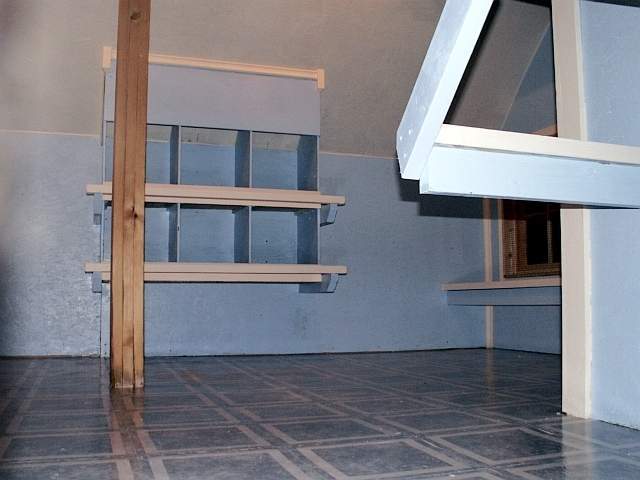

Here are the roosts. I still need to install a dropings board under them.
Here is a shot of the storage area. Not much but enough for some pine chips, feed, and DE.
I do believe that old man winter is going to catch me sooner than I can get the exterior painted. So that may have to wait until spring, unless we get a few days of warm weather. Next I will design and attach the run.