~Brooder~
For our Brooder, I thought some of the garage shelving would work good, but how?

Then we went to the feed store to get stocked with chickie supplies and voila! THERE it was!...
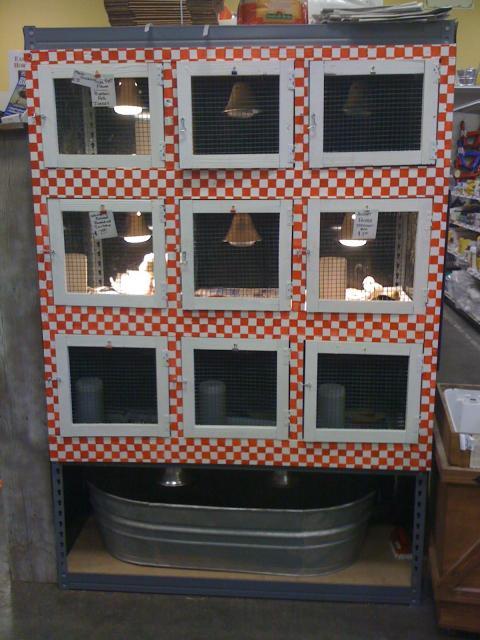
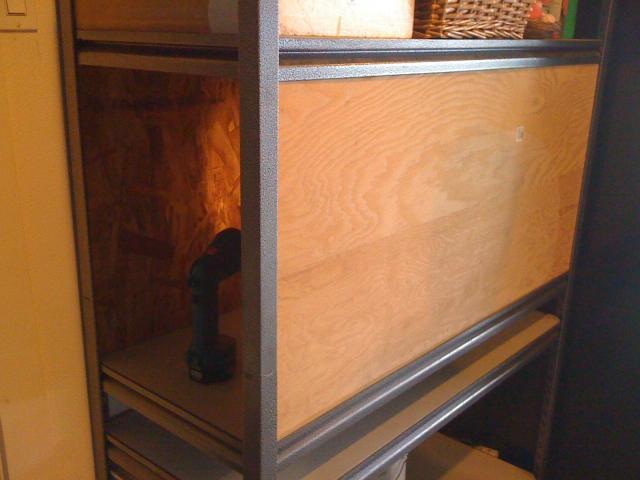
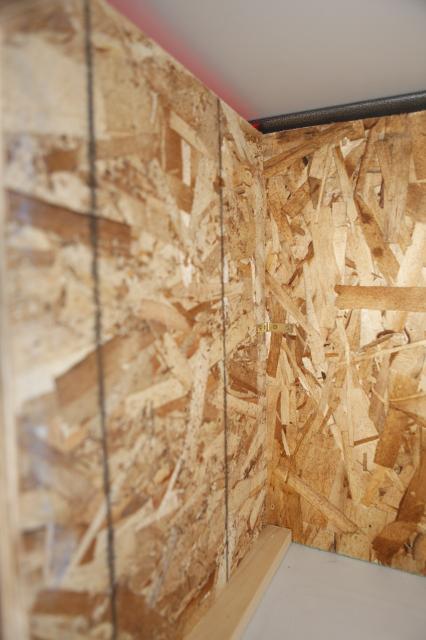
i thought i'd use the shelving because the support braces are right angles, so i cut the back and front to fit WITHIN the frame-not affixed to the outside.
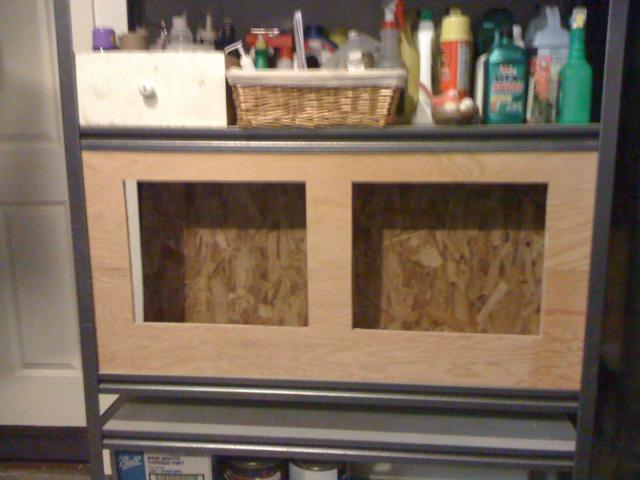
then, cut the sides to fit next and push between the back and front. next i cut the door holes... ( some of these pics are off my iphone-sorry!)
then, slide the sides in from the open side(s) and push last into place with your hand through the door.
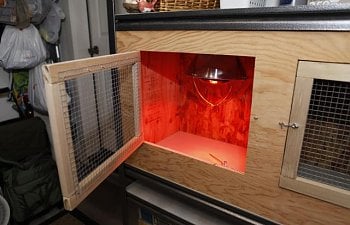
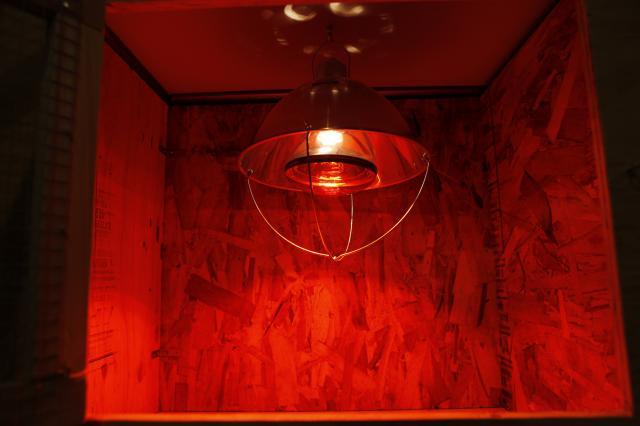
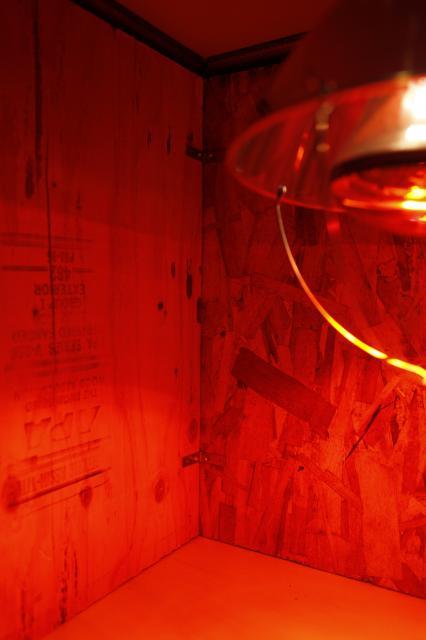
for the lamp, i drilled a hole through the shelf above and have an eye bolt, then drilled a u-shape at the top of the center-back of left compartment to run the cord down the back.
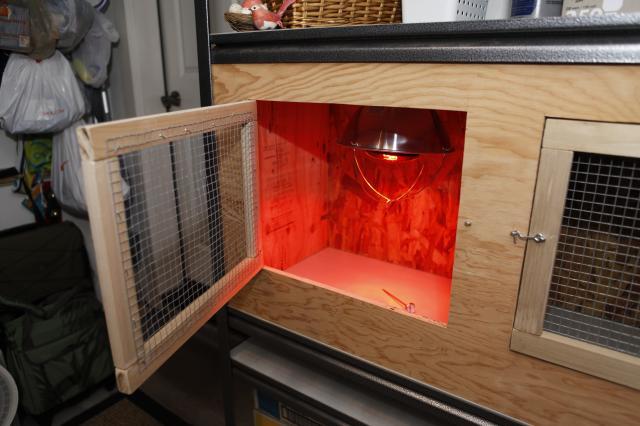
my thought is to have 2 compartments while they're small, so i cut a separating wall-the same size as the sides-which has a stabilizing 1x1 1/2 at the base and 2 braces at the top-for safety (don't want it to fall over on the little gals!). i can remove them and push to the right side as they get bigger.
i used braces on the corners just to be safe and tighten it up.
this is the separating wall
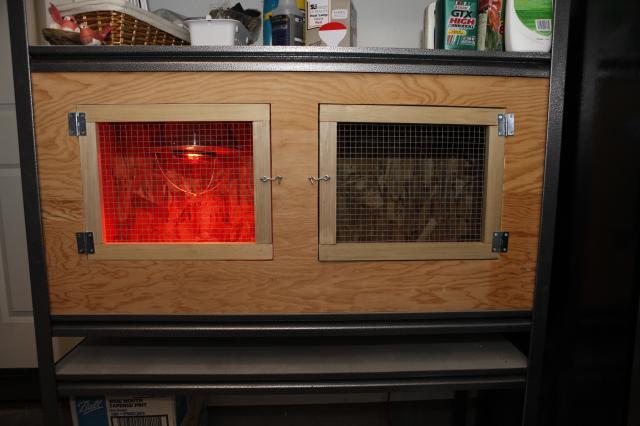
i then constructed the frame of the doors with 1x1 1/2", glue/clamps. finish nail gun, and wire stapled to the back.
attach with hinges-note: at 11:30pm they can get a little crooked!
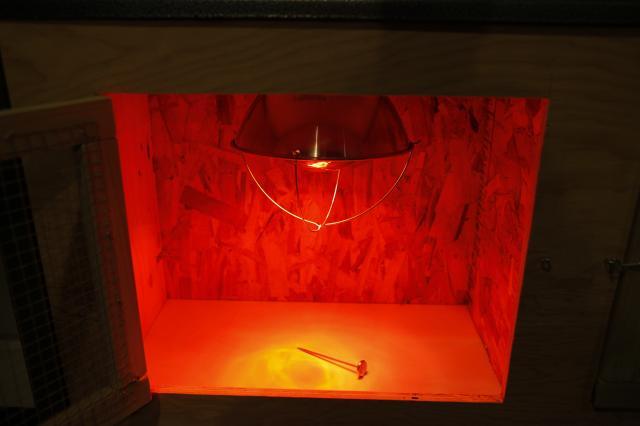
and... VOILA! Chicken Brooder!
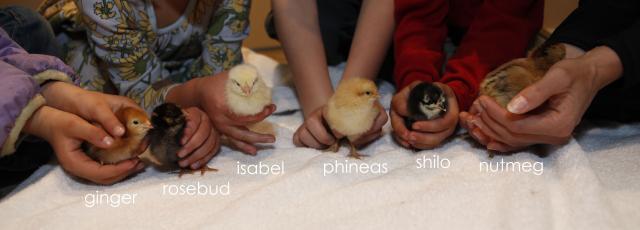
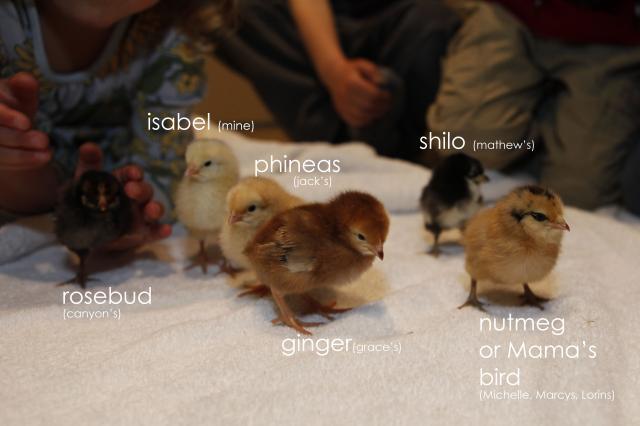
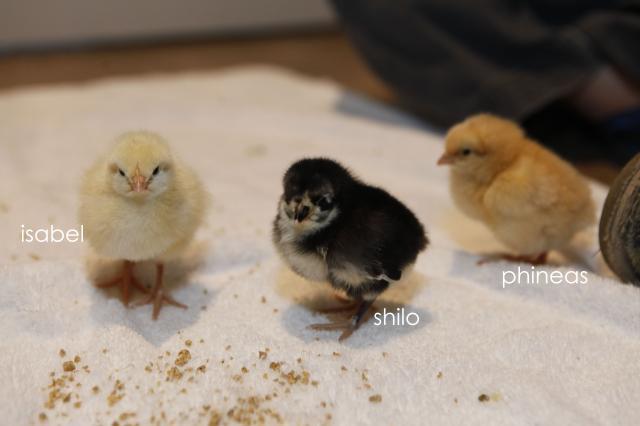
next... CHICKS!!
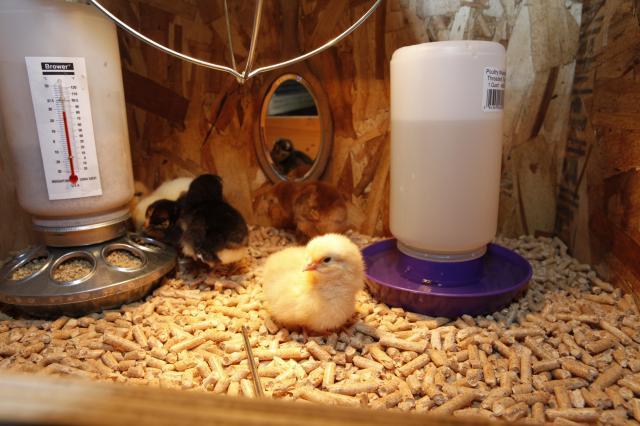
and now with pine pellets and a mirror
For our Brooder, I thought some of the garage shelving would work good, but how?
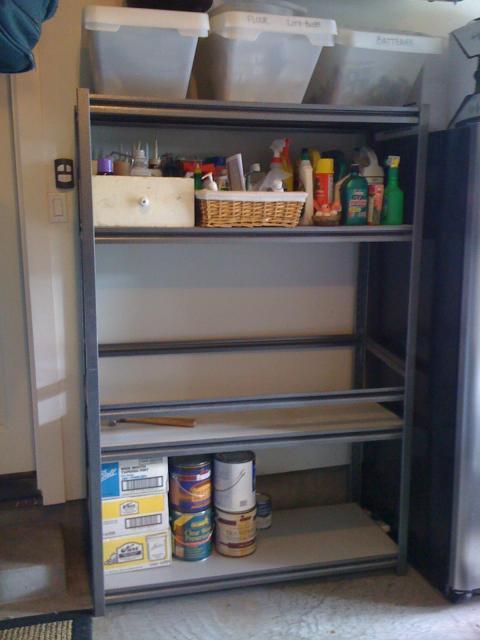
Then we went to the feed store to get stocked with chickie supplies and voila! THERE it was!...
i thought i'd use the shelving because the support braces are right angles, so i cut the back and front to fit WITHIN the frame-not affixed to the outside.
then, cut the sides to fit next and push between the back and front. next i cut the door holes... ( some of these pics are off my iphone-sorry!)
then, slide the sides in from the open side(s) and push last into place with your hand through the door.
for the lamp, i drilled a hole through the shelf above and have an eye bolt, then drilled a u-shape at the top of the center-back of left compartment to run the cord down the back.
my thought is to have 2 compartments while they're small, so i cut a separating wall-the same size as the sides-which has a stabilizing 1x1 1/2 at the base and 2 braces at the top-for safety (don't want it to fall over on the little gals!). i can remove them and push to the right side as they get bigger.
i used braces on the corners just to be safe and tighten it up.
i then constructed the frame of the doors with 1x1 1/2", glue/clamps. finish nail gun, and wire stapled to the back.
attach with hinges-note: at 11:30pm they can get a little crooked!
and... VOILA! Chicken Brooder!
next... CHICKS!!
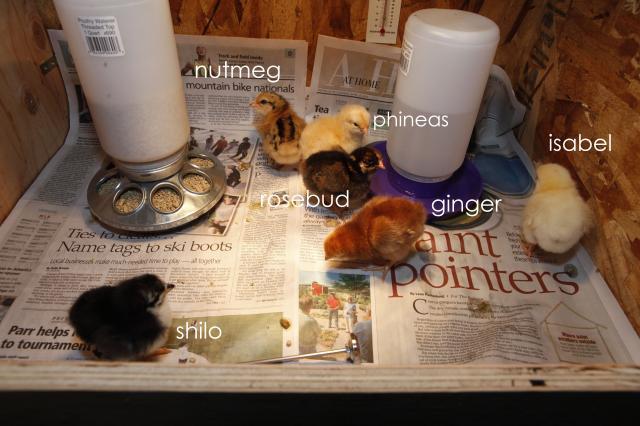
and now with pine pellets and a mirror